 Skip to content
A finish can look like a small note on a drawing. Then it quietly changes the whole project.
I have seen that happen with aluminum enclosures more times than I can count. A buyer sends a clean file. The size looks right. The cutouts look fine. The logo area is ready. Then one line appears in the spec sheet: anodized finish. At first, that sounds easy. It sounds like a simple surface treatment. It sounds like something you choose near the end.
But that is not how real projects behave.
Anodizing is an electrochemical process that builds an oxide layer on aluminum. It improves corrosion resistance, wear resistance, and appearance, but it also changes the surface conductivity of the metal.
That trade-off matters more than many people expect. I have worked with OEM enclosure buyers, product engineers, and project owners who only started asking conductivity questions after samples arrived. By then, the pressure was already building. The enclosure looked great. The color was clean. The surface felt premium. But grounding points stopped working well, contact resistance went up, and suddenly a “simple” finish choice turned into a design problem.
I do not treat anodizing as a cosmetic decision anymore. I treat it as a functional choice. It affects corrosion. It affects touch. It affects signal behavior. It can even affect whether a project moves smoothly or stalls in testing.
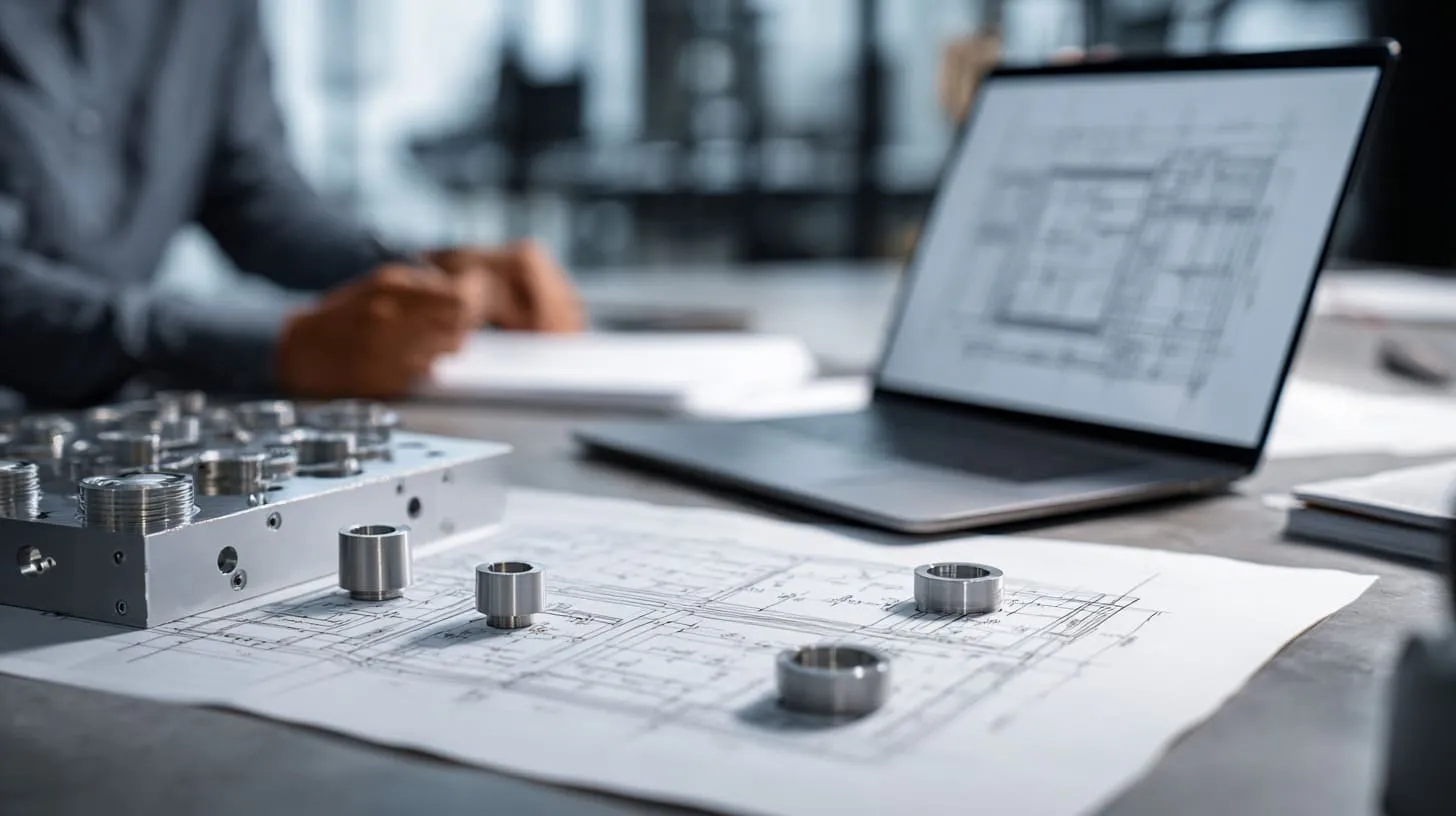
For me, this is where many enclosure projects become more interesting and more dangerous at the same time. A nice finish can solve one problem and quietly create another. That is why I want to start from the beginning and strip this topic down in a practical way.
What Is Anodizing and How Does It Work?
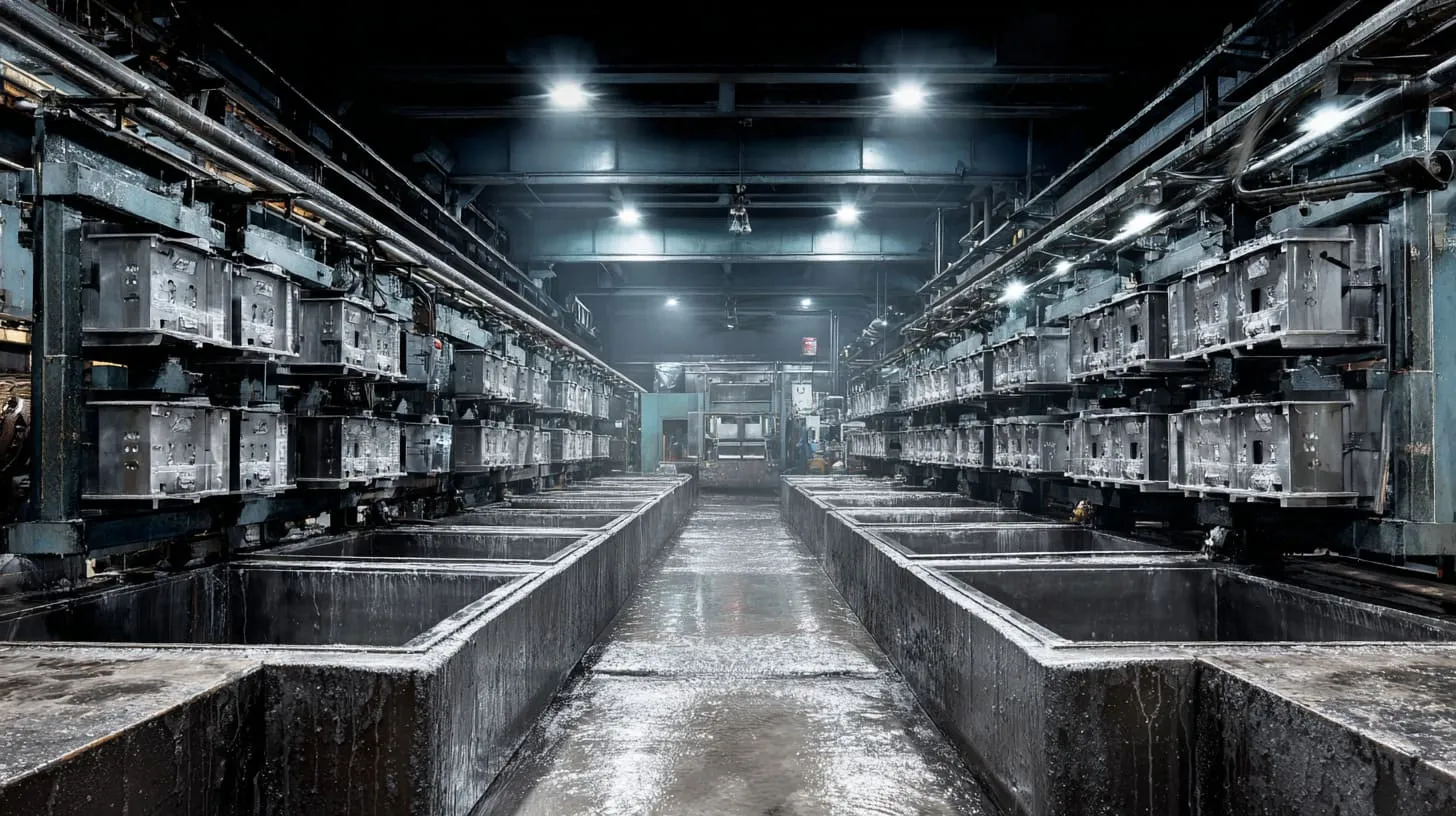
I like to explain anodizing in plain language first, because too many articles make it sound more mysterious than it really is.
Anodizing is a controlled oxidation process. It uses electricity and a chemical bath to grow a thicker oxide layer on the surface of aluminum.
What is anodizing in simple terms?
Aluminum already forms a very thin natural oxide layer when it meets air. That happens on its own. It is normal. It is also one reason aluminum resists rust better than plain steel.
Anodizing takes that natural idea and pushes it much further. The aluminum part goes into an electrolyte bath. Then current passes through it. That causes a thicker oxide layer to grow from the surface of the aluminum itself.
This point matters a lot: anodizing is not like paint sitting on top. It is not just a coating added from outside. The oxide layer grows out of the metal and into the metal at the same time. That is why it bonds so well.
I usually describe it like this:
| Surface treatment | What it does |
|---|---|
| Paint | Covers the surface |
| Powder coating | Wraps the surface with a dry cured layer |
| Anodizing | Converts the aluminum surface into oxide |
That difference is one big reason buyers like anodizing. It does not peel the same way paint can. It becomes part of the surface structure.
Still, I do not let the word part of the metal fool me into assuming it behaves like bare aluminum. It does not. That is where many design mistakes begin.
What happens to aluminum during anodizing?
During anodizing, the aluminum surface changes into aluminum oxide, often written as Al₂O₃. This oxide layer has structure. It is not just one flat shell.
In simple terms, the anodized layer usually has:
- a barrier layer close to the metal
- a porous outer layer above it
The barrier layer matters a lot for conductivity because it is dense and resistant. The porous part matters for dyeing and sealing.
Here is a simple way to view it:
| Layer | Main trait | Why it matters |
|---|---|---|
| Aluminum base metal | Conductive | Carries current inside the part |
| Barrier layer | Dense, insulating | Blocks direct surface conduction |
| Porous layer | Open structure before sealing | Can take color and then be sealed |
This is where I stop and think harder on real jobs: a buyer often sees one solid piece of aluminum, but I see two very different electrical behaviors living in the same part. Inside, the metal still conducts. On the outside, the oxide layer resists current.
That split is the whole story.
What are the main anodizing types?
Not all anodizing is the same. The main types show up again and again in enclosure work.
Type I anodizing
Type I uses chromic acid. It is thinner and often used in aerospace or cases where tight dimensional change matters. It is less common in many standard enclosure projects.
Type II anodizing
Type II uses sulfuric acid. This is the most common decorative anodizing type for aluminum enclosures. It supports many colors. It gives decent protection. It is popular because it balances looks, cost, and performance.
Type III anodizing
Type III is hard anodizing. It is thicker and tougher. It gives better wear resistance. It is often used when the enclosure must handle rough use, friction, or harder service conditions.
Here is how I usually compare them in early talks:
| Type | Common use | Thickness tendency | Main strength |
|---|---|---|---|
| Type I | Special applications | Thin | Lower dimensional change |
| Type II | Standard enclosures | Medium | Appearance + corrosion protection |
| Type III | Industrial or harsh use | Thick | Hardness + wear resistance |
I do not choose among these by habit. I choose based on what the part must do. A beautiful Type II black finish may be perfect for one case and completely wrong for another. A thick hard anodized layer may sound safer, but it can create more trouble where electrical contact matters.
That is why the next question matters so much. Why do buyers even want anodizing in the first place?
Why Is Anodizing Used in Aluminum Enclosures?

People do not ask for anodizing by accident. They ask for it because it solves real problems.
Anodizing is widely used in aluminum enclosures because it improves corrosion resistance, surface durability, and visual quality.
That sounds simple. But each one of those benefits can pull a project in a different direction.
What problems does anodizing solve?
The first big one is corrosion resistance. Aluminum already resists rust better than steel, but many buyers want more protection. They sell into wet areas, dusty areas, outdoor use, or industrial spaces where surface life matters.
The second one is wear resistance. Bare aluminum can scratch. It can scuff. It can lose its nice look faster than buyers expect. Anodizing helps the surface hold up better.
The third is appearance. This is huge in real business. Buyers want a case that feels finished. They want black, silver, blue, red, or a matte premium surface. They want consistency from one batch to another.
I have seen enclosure projects get approved faster just because the sample looked more serious after anodizing. That is not superficial. Buyers sell with their eyes too.
Main practical benefits
- better corrosion resistance
- harder surface
- cleaner appearance
- color options
- better perceived product value
Here is a quick comparison:
| Need | Bare aluminum | Anodized aluminum |
|---|---|---|
| Corrosion resistance | Fair | Better |
| Scratch resistance | Lower | Better |
| Color flexibility | Limited | Better |
| Premium look | Moderate | Stronger |
| Surface conductivity | Better | Lower |
I find that many buyers focus on the left four rows and forget the last one. That is exactly where trouble starts.
Why OEM buyers prefer anodized enclosures
OEM buyers usually care about more than just protection. They care about how the enclosure supports the whole product.
A clean anodized finish can help the product look more complete. It can support a brand image. It can make the case feel more expensive without changing the core structure.
I have worked with buyers who sold devices online. They cared about:
- how the case looked in photos
- how the case felt in hand
- whether the color matched the brand
- whether the finish held up after shipping
That last point matters. Shipping is rough. Warehouses are rough. Installers are rough. Even careful customers can be rough. Anodizing often gives the case a better chance of arriving and surviving in better shape.
What I often weigh here is not just whether anodizing looks nicer, but whether the buyer’s market will punish every small scratch after delivery. For many branded products, surface damage creates more pain than people expect.
When anodizing may not be the best choice
This is the part many people skip. They assume every finish upgrade is a real upgrade. It is not.
Anodizing may not be the best choice when the enclosure needs direct electrical contact across its surface. That can matter for:
- grounding
- EMI shielding
- contact resistance control
- chassis continuity
I have had projects where the buyer wanted the enclosure to look premium and also act like a strong conductive shell. Those two goals can fight each other. Not always, but often enough that I never ignore it.
Here is a simple judgment table I use in my head:
| Project priority | My finish thinking |
|---|---|
| Corrosion + looks first | Anodizing often makes sense |
| Grounding + EMI first | I check contact surfaces very carefully |
| Mixed needs | I look for selective masking or hybrid design |
A nice finish can win the sales meeting and lose the lab test. That is a bad trade if nobody saw it coming. And that brings us to the heart of the topic: conductivity.
Does Anodizing Affect Aluminum Conductivity?
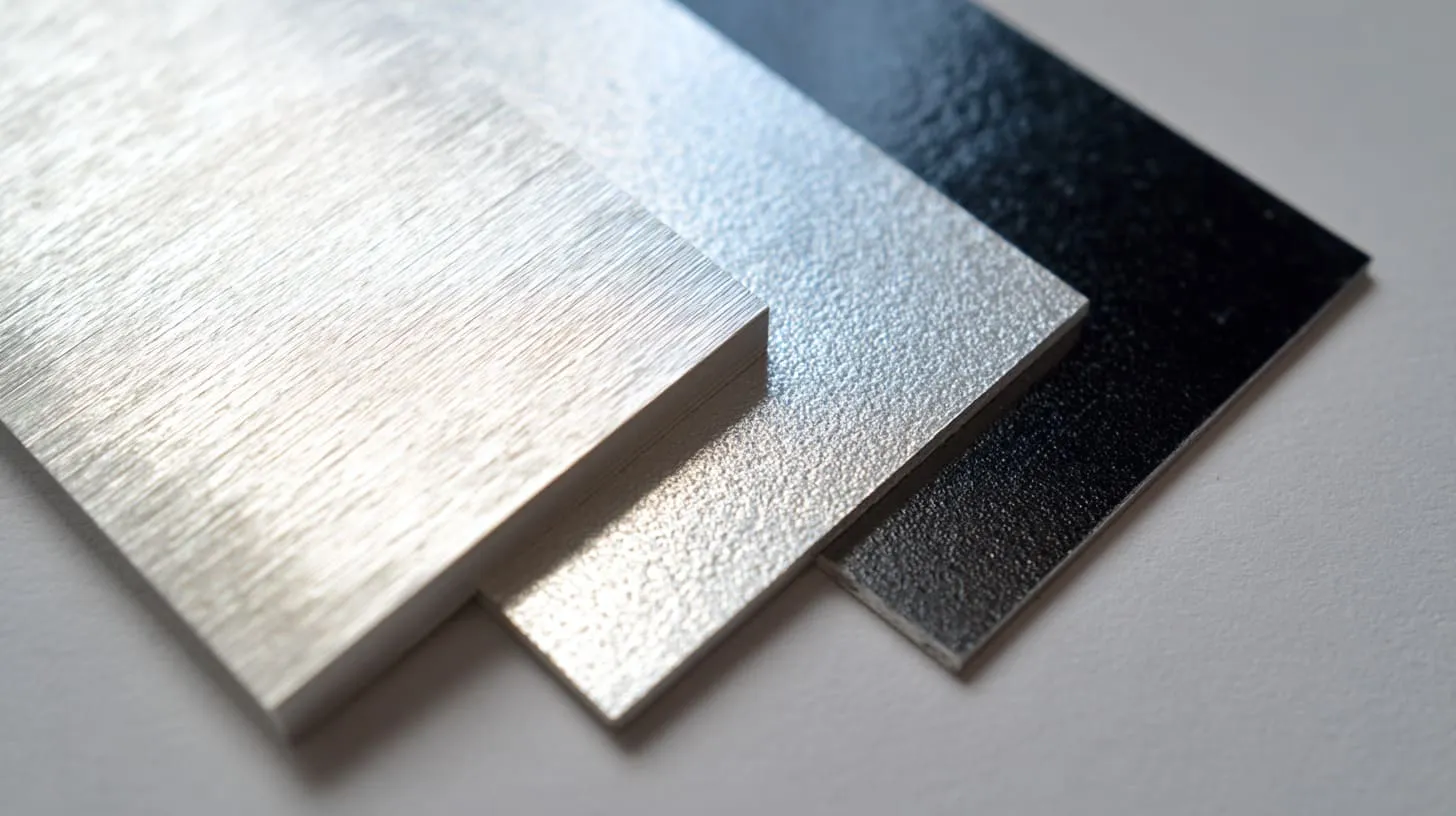
This is the question that causes the most confusion.
Many people hear “aluminum” and think “conductive.” That is true. Then they hear “anodized aluminum” and assume it stays the same. That is where the misunderstanding lives.
Yes, anodizing affects aluminum conductivity. The aluminum core remains conductive, but the anodized surface becomes far less conductive because aluminum oxide is an electrical insulator.
Is anodized aluminum conductive or insulating?
The clean answer is this: the base aluminum is conductive, but the anodized surface is mostly insulating.
That difference sounds small in words, but it is huge in real use.
If current, grounding, or shielding depends on direct surface contact, the oxide layer becomes the main thing that matters. The metal under it still conducts, but current cannot easily pass through the insulating surface layer without a proper contact path.
I often explain it like wearing gloves. Your hand still works. But the glove changes how you touch things.
Here is the key comparison:
| Part of anodized aluminum | Conductivity behavior |
|---|---|
| Aluminum core | Conductive |
| Oxide surface layer | Insulating or highly resistive |
This is where I slow down on drawings. A design may look electrically simple on screen, but the real part behaves differently once the finish is added.
How much does anodizing reduce conductivity?
There is no one magic number that fits all cases. The reduction depends on several things:
- anodizing type
- oxide thickness
- sealing
- pressure at contact points
- whether the surface is broken or masked
- shape of the mating area
Thicker anodized layers usually create higher resistance at the surface. Type III hard anodizing often causes more contact trouble than a thinner Type II finish.
That does not mean thick anodizing is bad. It means the design must respect what it does.
Here is a practical view:
| Condition | Surface conductivity tendency |
|---|---|
| Bare aluminum | Highest |
| Thin anodized layer | Lower |
| Thick anodized layer | Much lower |
| Sealed anodized layer | Often even more resistant |
I do not judge conductivity risk by finish name alone. I judge it by asking one blunt question: Will this design depend on metal-to-metal contact through the finished surface? If the answer is yes, I start looking for failure points right away.
Where conductivity is still preserved
The aluminum below the oxide is still aluminum. That part has not stopped being conductive.
So the issue is not that anodizing turns the whole part into plastic. The issue is that it changes the working skin of the part. For many enclosure functions, the skin is exactly where the electrical action happens.
This matters in cases like:
- panel-to-panel contact
- lid-to-body continuity
- screw grounding points
- bracket mounting surfaces
- shield path across seams
That is why some projects still use anodized parts successfully. The engineers create contact points on purpose. They do not rely on chance.
A lot of conductivity problems are not material failures. They are assumption failures. Someone assumes the surface will behave like bare metal, and the enclosure proves them wrong.
That leads straight into grounding, where these assumptions become expensive very fast.
How Does Anodizing Impact Electrical Grounding?
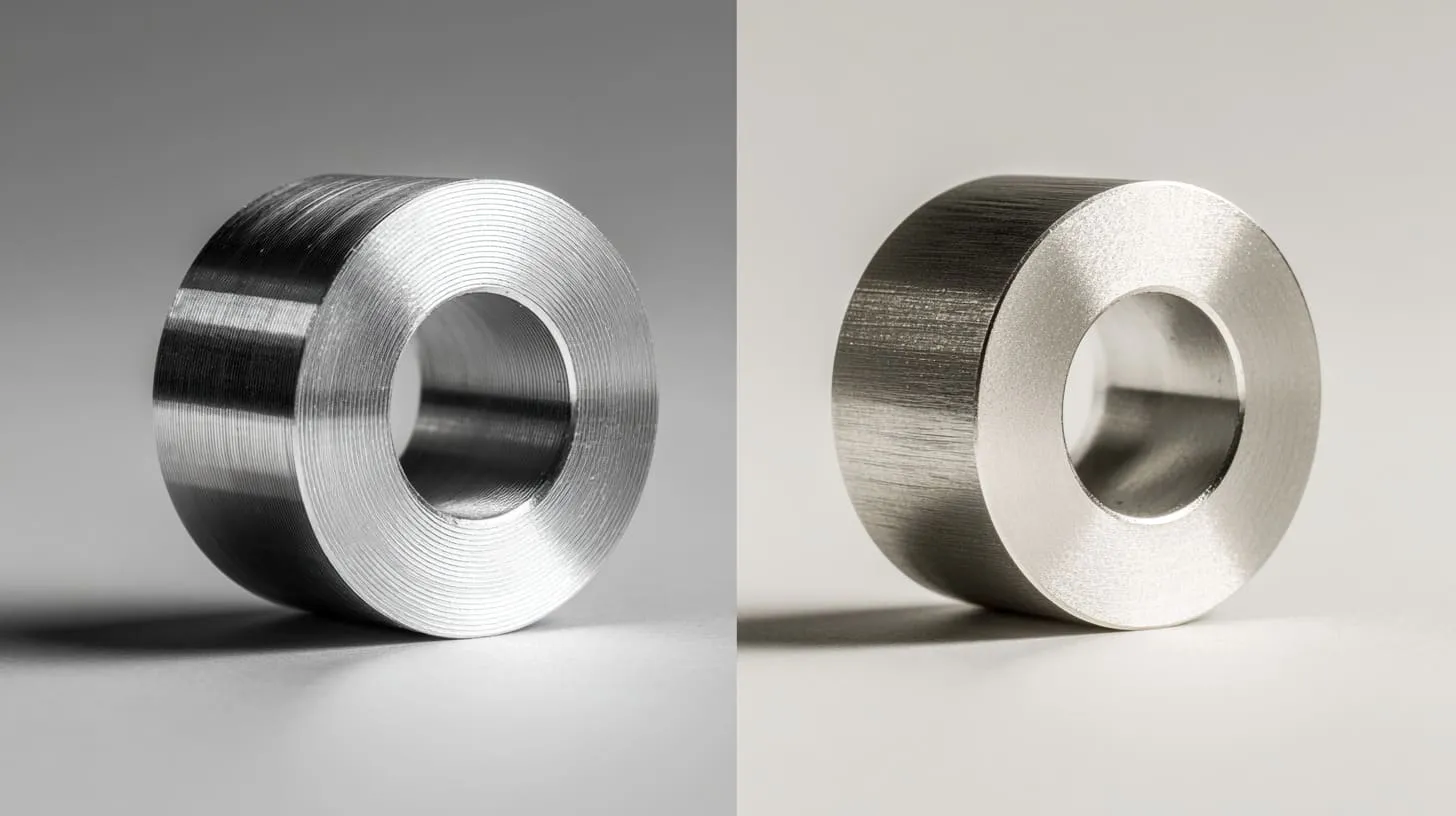
Grounding problems are often quiet at first. The enclosure looks fine. The assembly goes together. Nothing seems dramatic. Then strange behavior shows up.
Anodizing can interfere with electrical grounding because the oxide layer increases contact resistance and blocks direct metal-to-metal electrical paths.
Why grounding becomes a problem after anodizing
Grounding works best when conductive parts touch in a reliable, repeatable way. Anodizing interrupts that simple idea.
The oxide layer acts like a barrier between parts. So even if two aluminum pieces are pressed together, the surface may not give the low-resistance path the design expects.
This becomes more serious when the design depends on:
- enclosure body as chassis ground
- lid contact for continuity
- mounting points tied to system ground
- fasteners expected to “cut through” the finish
I have seen engineers assume screws will solve everything. Sometimes they do. Sometimes they do not. Much depends on pressure, finish thickness, washer type, thread engagement, and whether the contact area was designed on purpose.
The point where I become cautious is when the grounding path exists only on paper, but no one has defined how that path survives anodizing in the real assembly.
Common grounding issues in enclosures
Grounding issues after anodizing often show up in messy ways. Not always as total failure. Sometimes as unstable or inconsistent behavior.
Typical problems I have seen
- poor continuity between lid and base
- weak or inconsistent grounding through screws
- intermittent contact after vibration
- failed electrical checks
- extra debugging time during assembly
This table gives a simple field view:
| Grounding issue | What may cause it |
|---|---|
| High contact resistance | Oxide layer at mating surface |
| Unstable ground path | Poor pressure or small contact area |
| Test failure | Ground not designed through finish |
| Assembly inconsistency | Different torque or finish variation |
The frustrating part is that these issues do not always appear in the first minute. They may show up after shipping, vibration, rework, or environmental change. That is why I never trust a grounding path just because one sample happened to work once.
How engineers solve grounding problems
The good news is that grounding problems from anodizing are very solvable if people think early.
Common solutions
Mask grounding points before anodizing
This keeps selected surfaces bare.Machine or remove finish after anodizing
This exposes metal where contact must happen.Use conductive hardware
Star washers, conductive inserts, and correct screws can help.Design clear contact zones
A real grounding strategy works better than hoping fasteners scrape enough finish away.
Here is a practical comparison:
| Solution | Benefit | Limitation |
|---|---|---|
| Masking | Clean, controlled contact area | Needs clear drawing control |
| Post-machining | Precise bare metal exposure | Adds extra step and cost |
| Conductive hardware | Helps improve contact | Not enough alone in every design |
| Larger contact area | Better repeatability | Needs design space |
I once worked on an enclosure where the grounding issue was blamed on the screw supplier, then the assembly team, then even the test equipment. The real problem was simpler. The anodized contact area had never been designed correctly in the first place.
And once you start seeing that, EMI shielding begins to look very different too.
How Does Anodizing Affect EMI Shielding Performance?
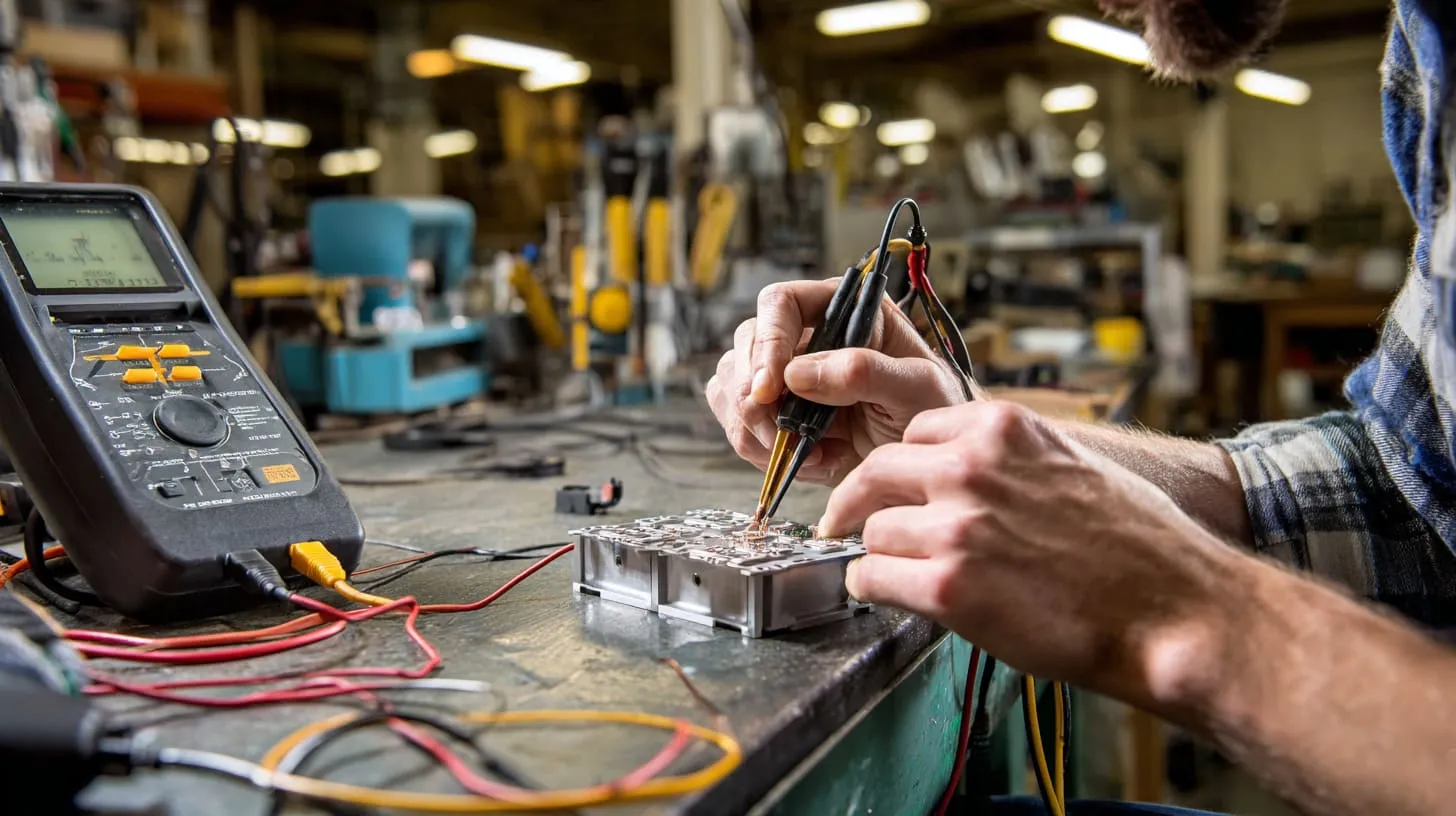
EMI shielding sounds technical, but the basic idea is simple. You want the enclosure to help contain or block unwanted electromagnetic noise.
Anodizing can reduce EMI shielding performance if it interrupts conductive paths across seams, joints, and contact surfaces.
Why conductivity matters for EMI shielding
A metal enclosure helps with EMI shielding because conductivity lets currents move along the enclosure surface in a useful way. That conductive shell helps contain or redirect interference.
For EMI shielding, continuity matters. One uninterrupted path works better than a shell with broken contact points.
That is why seams, lids, screws, and joints matter so much. The enclosure is only as strong as the weakest electrical connection in the shield path.
I do not look at EMI risk by staring at the center of the panel first. I look at edges, seams, screws, and lid contact, because that is where shielding often leaks in real hardware.
How anodized surfaces reduce shielding effectiveness
The problem is not usually the middle of one panel. The problem is connection from one panel to another.
Anodized surfaces at joints can create:
- poor conductivity at seams
- weak contact at lid edges
- leakage paths around screws
- inconsistent shield behavior across assemblies
Think about a box with a nice anodized body and anodized lid. It may look like one complete metal shell. Electrically, it may behave like several separated parts unless the design creates real conductive bridges.
Here is a plain comparison:
| Enclosure condition | EMI shielding path quality |
|---|---|
| Bare metal seam contact | Better |
| Anodized seam with no treatment | Worse |
| Anodized seam with masking or gasket | Often much better |
This is where many buyers get fooled by appearance. The enclosure still looks fully metal. But electrically, the finish has changed the conversation.
Practical EMI solutions with anodized enclosures
Good designers solve this in practical ways.
Common EMI strategies
- mask seam contact areas
- use conductive gaskets
- remove anodized layer at critical joints
- increase screw density where needed
- control flatness and pressure along seams
I like this table because it shows the trade-off clearly:
| EMI solution | What it helps | What it asks from the project |
|---|---|---|
| Conductive gasket | Improves seam conductivity | Added part cost |
| Bare seam contact | Strong direct path | Tighter process control |
| Mechanical finish removal | Local conductivity recovery | Extra manufacturing step |
| More fastening points | Better pressure distribution | More design complexity |
Sometimes buyers ask me whether anodized enclosures can still work for EMI-sensitive products. My answer is yes, often they can. But they should not be treated like bare aluminum by default. That shortcut causes trouble.
And once shielding and grounding enter the picture, one more question naturally follows: what exactly controls the amount of conductivity loss?
What Are the Key Factors That Influence Conductivity Loss?
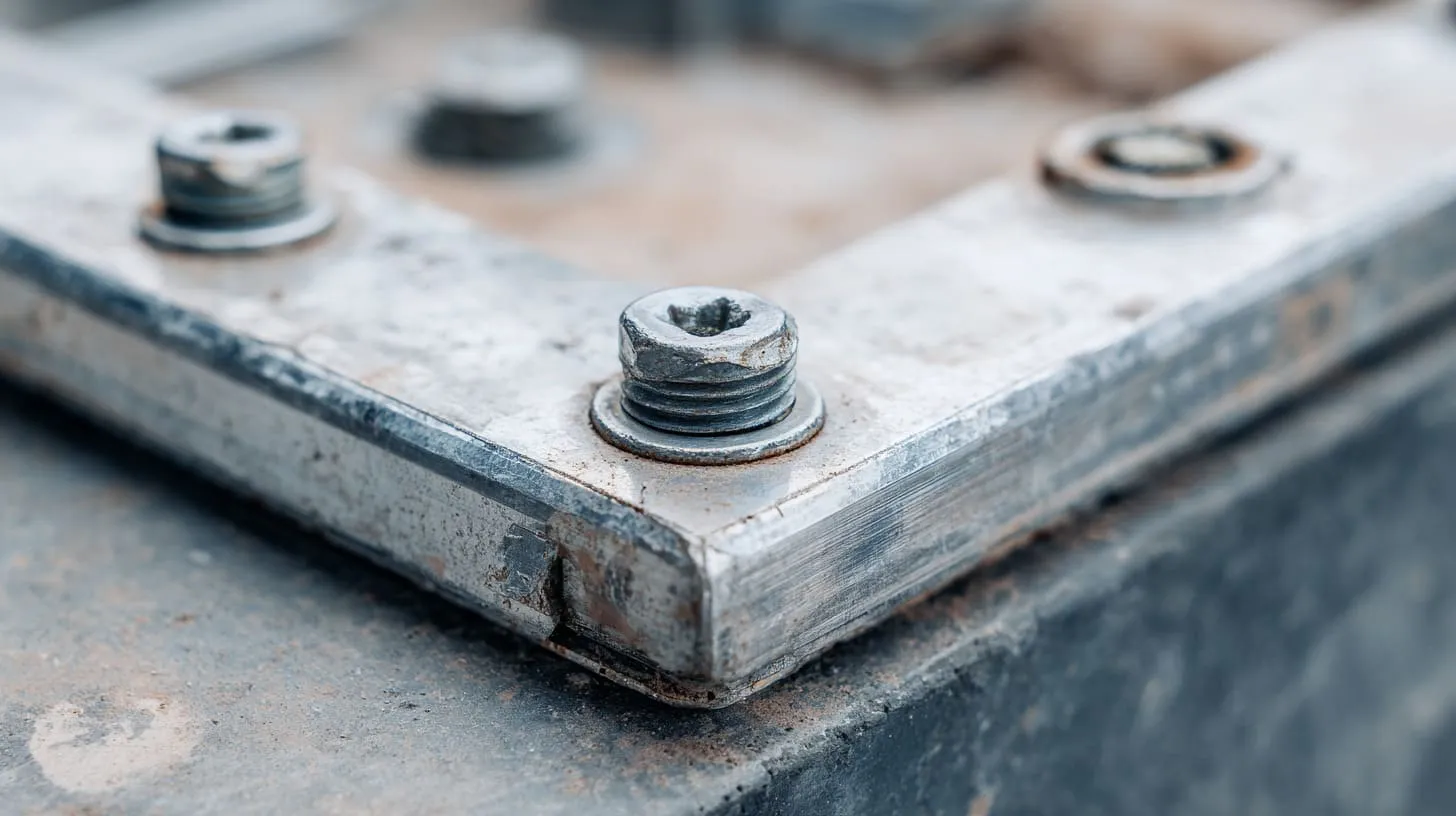
Not all anodized parts behave the same. That is one reason this topic can get messy so fast.
Conductivity loss after anodizing depends on oxide thickness, anodizing type, sealing, and the consistency of surface preparation and finishing.
How anodizing thickness affects conductivity
Thickness matters a lot.
A thicker anodized layer usually means more electrical resistance at the surface. That is one reason Type III hard anodizing often creates more concern in contact areas than Type II.
This does not mean thicker is wrong. It just means thicker changes more than appearance.
Here is the simple pattern:
| Oxide thickness | Surface resistance tendency | Typical thinking |
|---|---|---|
| Thin | Lower | Easier where some contact matters |
| Medium | Moderate | Common balance point |
| Thick | Higher | Better wear resistance, tougher for contact |
When I review a design, I do not ask for the thickest finish first. I ask what kind of abuse the enclosure will really see. Some buyers pay for heavy anodizing when their real problem was just fingerprint control and appearance.
How sealing impacts electrical performance
Sealing is another detail many buyers overlook.
After anodizing, the porous layer can be sealed. This improves corrosion resistance by closing pores. That is useful. But it can also make the surface even less friendly for electrical contact.
So here is the trade-off:
- more sealing can help protection
- more sealing can hurt surface conductivity
That is not a flaw. That is just physics doing its job.
Here is a practical view:
| Finish step | Good for | Risk for |
|---|---|---|
| Anodizing only | Hardness, appearance | Reduced conductivity |
| Sealed anodizing | Better corrosion protection | Even more electrical resistance |
I often notice the biggest mistakes happen when a team optimizes one property in isolation. A finish that is excellent for corrosion may quietly become a problem for grounding or EMI if nobody connects those dots.
Surface preparation and finishing variables
Even before anodizing starts, the surface condition matters.
Pre-treatment, etching, cleaning, and process control all affect how uniform the anodized layer becomes. Uniformity matters because inconsistent surfaces can lead to inconsistent contact behavior.
That means two parts with the same drawing note may not behave exactly the same if finishing control is weak.
Variables I watch closely
- base alloy type
- pre-treatment consistency
- etching depth
- anodizing bath control
- sealing method
- local geometry at contact points
This helps explain why some enclosure projects feel unpredictable. The material is not the only variable. The process is too.
That naturally raises a harder question. When should a buyer stop forcing anodizing into an electrical application and choose something else?
When Should You Avoid Anodizing for Electrical Applications?
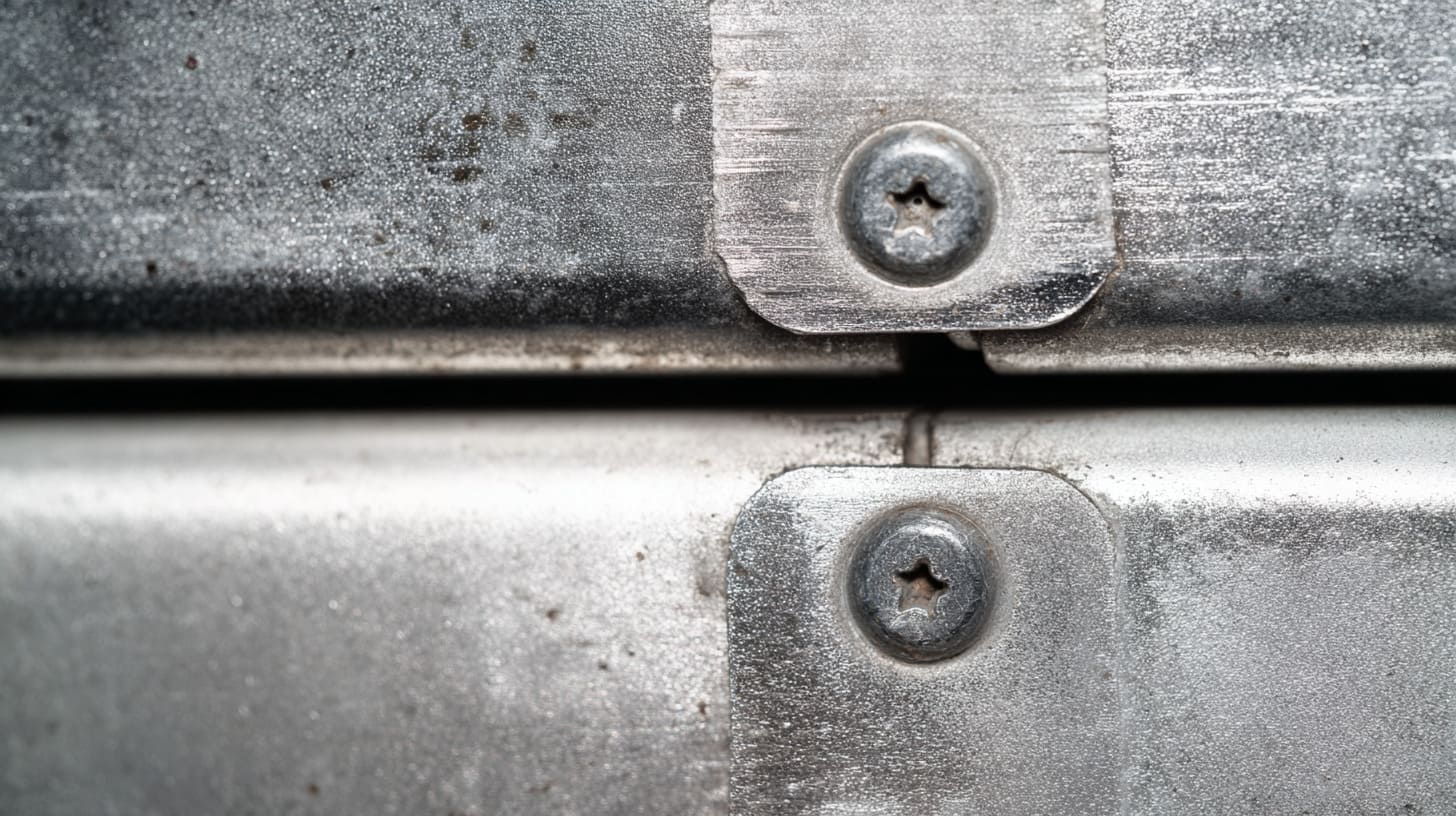
I do not believe anodizing is bad. I use it often. But I also know when it creates more risk than value.
You should avoid anodizing in electrical applications when direct surface conductivity is critical and the design cannot reliably restore conductive contact where needed.
Applications where conductivity is critical
Some products depend heavily on stable conductive paths. In those cases, a strongly insulating surface can create too much trouble.
Examples include:
- RF enclosures
- communication devices
- high-frequency systems
- sensitive measurement equipment
- enclosures with strict grounding needs
Here is a simple screening table:
| Application type | Is anodizing easy to use? | Why |
|---|---|---|
| Decorative housing | Usually yes | Looks and durability lead |
| Basic industrial box | Often yes | Depends on grounding design |
| RF enclosure | More risky | Continuity matters more |
| Precision electronics | More risky | Contact behavior matters more |
One thing I have learned the hard way is this: when electrical performance sits close to the edge, even a “small” finish decision stops being small.
Alternative surface treatments to consider
If anodizing is not the best fit, there are other options.
Common alternatives
- chemical conversion coating
- bare aluminum with controlled contact design
- conductive coatings
- selective mixed-finish solutions
Each one comes with its own trade-offs.
| Finish option | Strength | Weakness |
|---|---|---|
| Anodizing | Looks, wear, corrosion | Lower surface conductivity |
| Conversion coating | Better conductivity | Less decorative |
| Bare aluminum | Best surface contact | Lower cosmetic protection |
| Conductive coating | Functional compromise | Process and durability depend on use |
I do not pick a finish by habit anymore. I pick by asking what failure would hurt most. A scratched cosmetic surface is annoying. A failed EMI test or unstable ground path can stop the whole project.
Cost vs performance trade-offs
Cost discussions around anodizing are often too narrow. People compare only finish price. That misses the real picture.
The real cost includes:
- rework
- sample delays
- failed testing
- redesign time
- supplier back-and-forth
- lost project time
I have seen buyers save a little on one finish decision, then burn that saving many times over during debugging and schedule delay.
Here is a more honest comparison:
| Choice | Upfront cost | Hidden risk |
|---|---|---|
| Standard anodizing | Moderate | May hurt conductivity |
| Controlled hybrid solution | Higher | Better balance if designed well |
| Wrong finish for electrical use | Looks cheap first | Often expensive later |
That is why the smarter question is not “Which finish is cheapest?” The smarter question is “Which finish gives the project the fewest painful surprises?”
And if a project needs both protection and conductivity, design strategy becomes the real answer.
What Design Strategies Help Balance Protection and Conductivity?
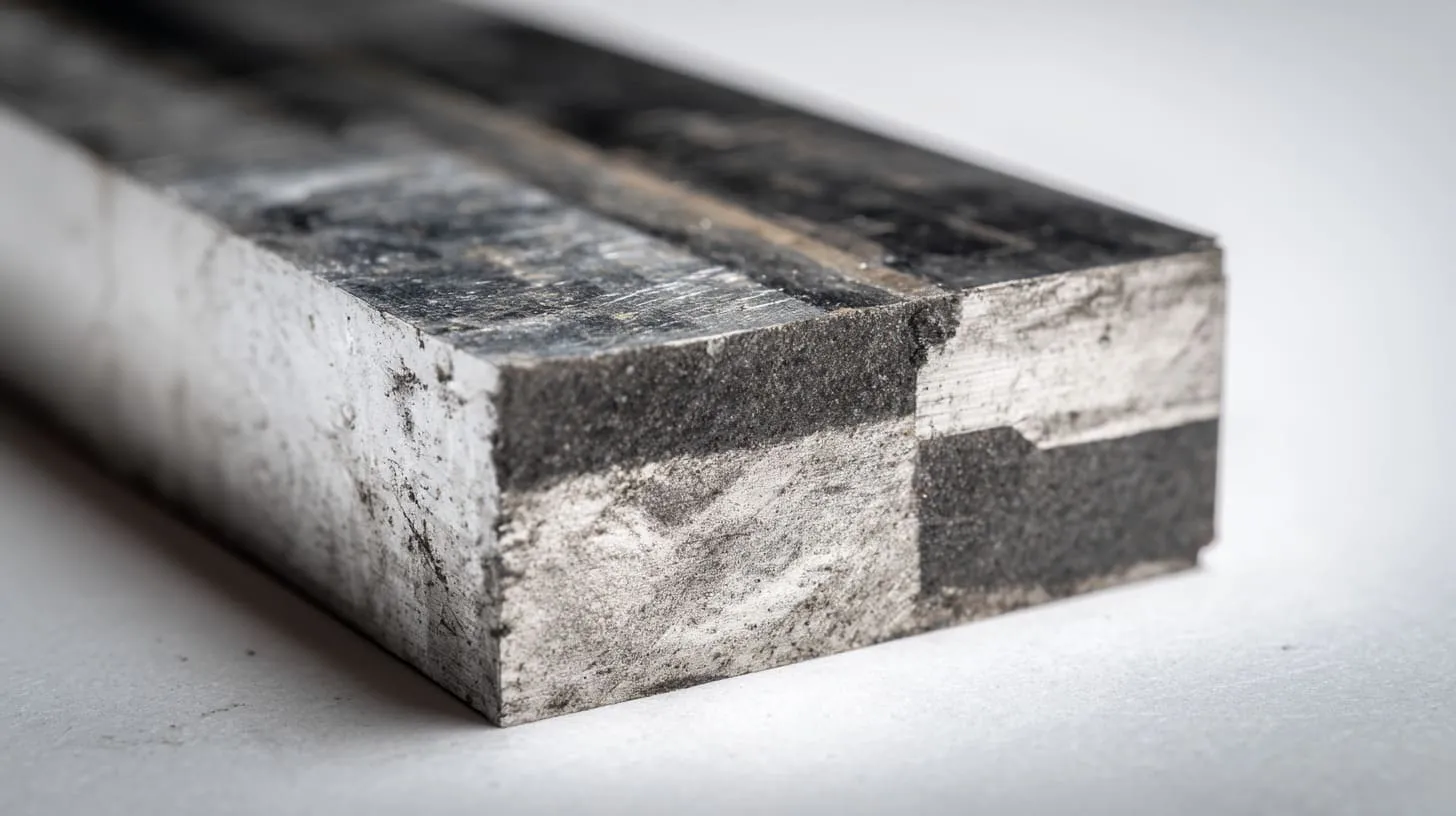
This is where good engineering gets practical. You do not always have to choose one side and give up the other.
The best way to balance protection and conductivity is to design the enclosure so anodizing protects most surfaces while specific contact areas remain electrically functional.
Hybrid design approaches
Hybrid design is often the smartest route.
That means using anodizing where you want protection and appearance, while keeping specific points conductive by masking, machining, or selective finishing.
Common hybrid ideas
- mask grounding pads
- keep seam edges conductive
- leave mounting points bare
- use mixed-finish parts in one assembly
I like hybrid thinking because it respects the real project instead of forcing an all-or-nothing answer.
| Hybrid method | Benefit | Best use case |
|---|---|---|
| Selective masking | Clean controlled contact points | Ground pads, seams |
| Partial post-machining | Precise exposure | Screw bosses, brackets |
| Mixed finish design | Balanced function | Complex OEM projects |
I tend to trust hybrid solutions more when a project asks the enclosure to do many jobs at once, because real products are almost never one-dimensional.
Mechanical design solutions
Mechanical details matter just as much as finish choice.
A design can improve contact by using:
- larger mating areas
- better lid pressure
- more fastening points
- better screw placement
- controlled contact geometry
Even simple changes in screw spacing can make a difference in seam continuity.
Here is a useful table:
| Mechanical choice | What it improves |
|---|---|
| More screws | Better pressure consistency |
| Wider contact flange | More reliable seam contact |
| Better torque control | Less assembly variation |
| Dedicated ground boss | Cleaner electrical path |
I have watched some teams argue for hours about finish chemistry while ignoring poor seam design. That is backwards. A smart geometry often saves more pain than a perfect finish note alone.
Material and assembly considerations
Then comes hardware and assembly.
The enclosure does not work alone. Washers, screws, inserts, torque settings, and assembly repeatability all matter.
Assembly details that matter
- conductive washer choice
- torque consistency
- thread quality
- flatness of mating surfaces
- cleanliness before assembly
This is where one small, overlooked detail can ruin a smart design. A perfect masked area is useless if assembly leaves oil, weak pressure, or bad contact alignment.
I have become very cautious with projects that look excellent in CAD but depend on “the assembler will make it work.” Hope is not a contact strategy.
Now, if I step back from design and look at the buying side, there is one more important question: what should OEM buyers and engineers watch most carefully?
What Should OEM Buyers and Engineers Watch Out For?
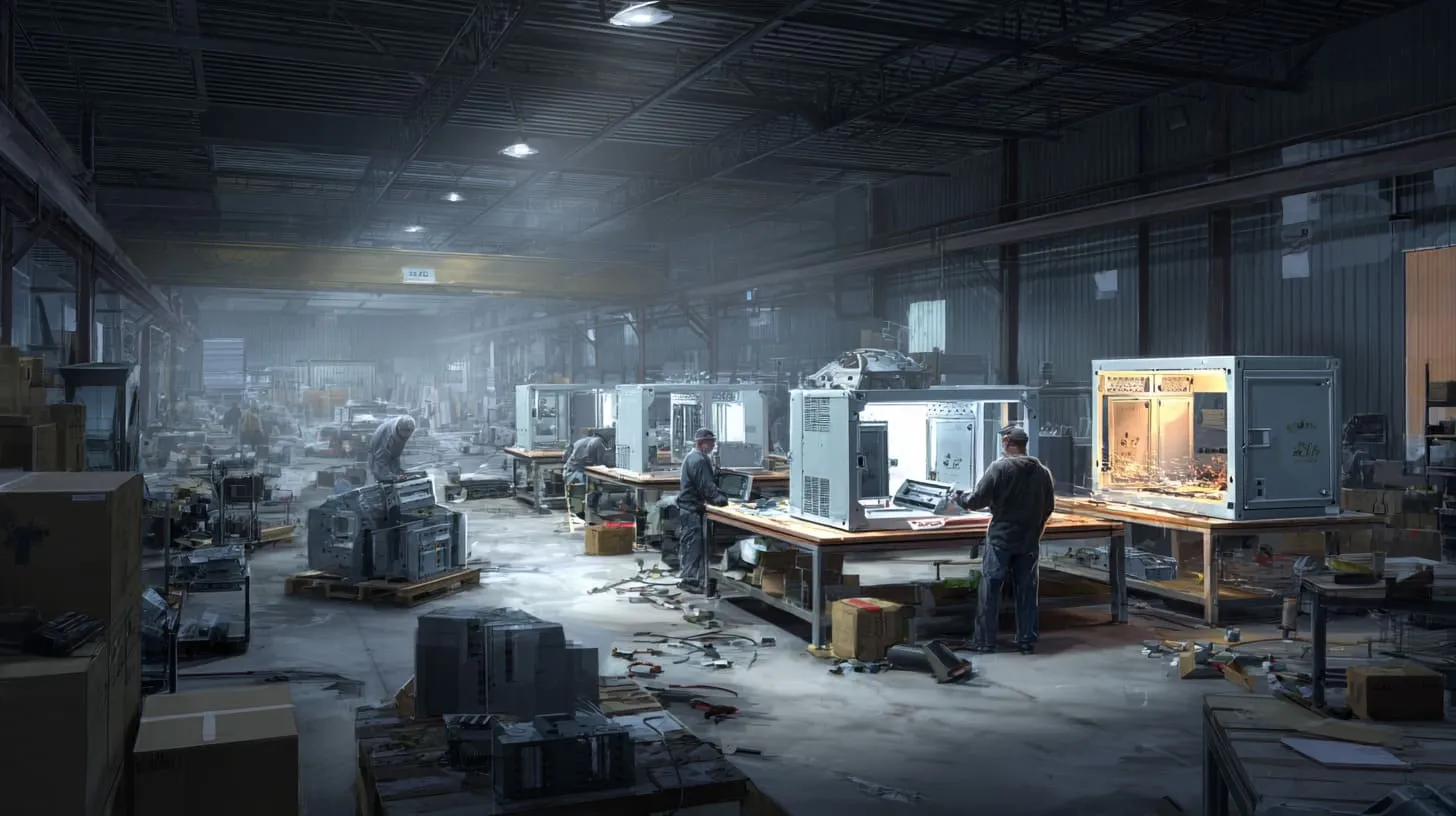
This section matters because many anodizing problems are not technical mysteries. They are communication failures.
OEM buyers and engineers should watch for vague finish specs, undefined conductive areas, and assumptions that anodizing is automatically suitable for every aluminum enclosure.
Common mistakes in sourcing anodized enclosures
I see the same mistakes repeat across projects.
Mistakes that create trouble
- treating anodizing as a visual choice only
- failing to mention grounding needs
- forgetting EMI requirements
- not marking masking areas on drawings
- assuming the supplier will “know what to do”
- skipping prototype testing
That last one hurts a lot. A team wants to move fast, so they trust the drawing and skip functional checks. Then the issue appears later, when changes cost more.
Here is a sourcing risk table I wish more buyers used:
| Mistake | What it leads to |
|---|---|
| No masking callout | Lost conductivity at key points |
| Finish chosen too late | Redesign or delay |
| No grounding review | Contact failure in assembly |
| No EMI discussion | Poor shielding results |
| Sample judged only by looks | Hidden electrical risk |
The mistake I fear most is not choosing anodizing itself. It is choosing it casually, as if the finish cannot change how the product works.
Questions to ask your enclosure supplier
A good supplier conversation should be specific.
I like buyers who ask practical questions early. It saves everyone time.
Questions worth asking
- Can you control anodizing thickness tightly?
- Can you mask selected conductive areas?
- Can you machine contact zones after anodizing?
- What finish variation should I expect between batches?
- Have you done EMI or grounding-sensitive projects before?
- What hardware do you suggest for better contact?
These questions often reveal whether the supplier understands function or only understands appearance.
| Supplier question | Why it matters |
|---|---|
| Can you mask areas? | Shows process flexibility |
| Can you hold finish thickness? | Helps control contact behavior |
| Can you suggest contact hardware? | Shows practical experience |
| Can you support testing samples? | Reduces project risk |
A supplier who only says “yes, we can anodize that” is not always helping. Sometimes that answer is too shallow to protect the project.
How to avoid delays and redesign costs
Most delays can be reduced by aligning design, finish, and function early.
That means:
- define electrical needs before approving finish
- mark conductive areas clearly on drawings
- review grounding path as a real system
- prototype before mass production
- test continuity and shielding, not just appearance
I have learned that the cheapest redesign is the one that never becomes necessary. That sounds obvious. But in custom enclosure work, people still rush past the finish review too often.
And this is exactly why I never treat anodizing as just a cosmetic line item. It may start on the surface, but its consequences go much deeper.
Conclusion
Anodizing is one of those choices that looks simple until the project starts asking harder questions.
It gives aluminum enclosures real advantages. I trust it for corrosion resistance, surface durability, and a more finished look. In many OEM and custom enclosure projects, it is a very good choice. But I also know it changes the electrical behavior of the surface. That matters more than many buyers expect.
The aluminum underneath still conducts. The anodized skin does not behave the same way. That one fact affects grounding, seam contact, shielding, and the way parts work together in real assemblies. So I do not judge anodizing by appearance alone. I judge it by the whole job the enclosure must do.
If the product needs strong conductivity at contact points, I think much more carefully. I look at masking. I look at hardware. I look at seam design. I look at how the enclosure will actually be assembled and used. That is usually where the best answer appears.
So when I ask whether anodizing is right for an aluminum enclosure, I am really asking a bigger question: What does this enclosure need to protect, and what does it need to connect?
If you are working on a custom aluminum enclosure and you are not sure how anodizing will affect conductivity, grounding, or EMI performance, feel free to reach out to me. I can help you review the design, the finish options, and the small details that often decide whether a project moves smoothly or becomes expensive later.







