 Skip to content
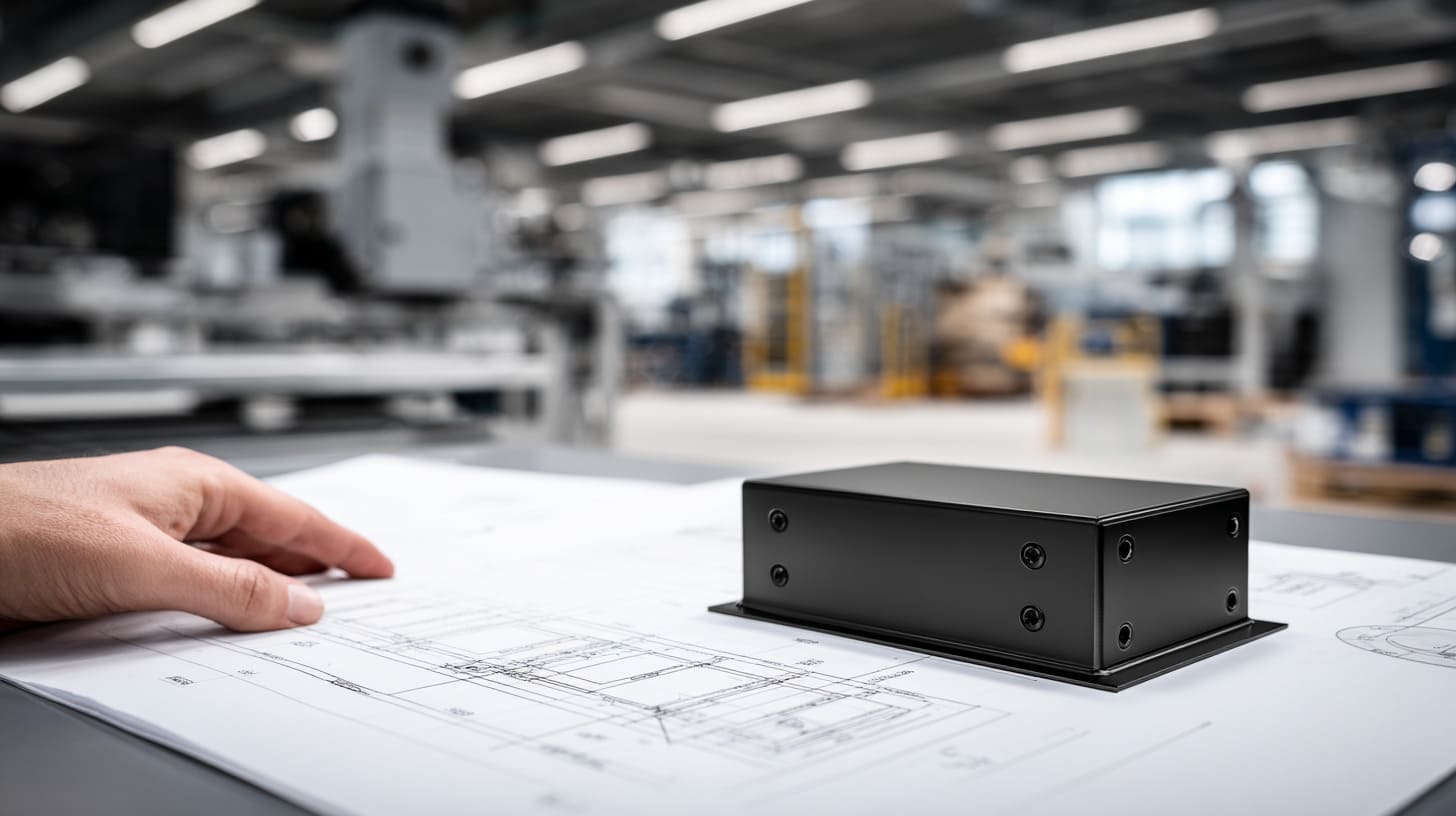
An aluminum enclosure can look almost finished on a drawing long before the hard questions begin. The cutouts are there. The logo area is marked. The wall thickness looks fine. The screws line up. Then one small note starts doing far more work than people expect: anodizing.
I have seen buyers treat anodizing like the final beauty step. They look at it as the part that makes the enclosure black, silver, or maybe a little more premium. I understand that instinct. Surface finish feels visual. It feels cosmetic. But that is only the easy part of the story.
When I work on custom aluminum enclosures, I do not see anodizing as only a color choice. I see it as a decision that can change wear life, corrosion resistance, conductivity, fit, and even the mood of the product in the hand. A case can look clean in a photo and still create trouble later because one finish choice was not thought through carefully.
I learned this in a very ordinary way. A customer once approved a neat black enclosure for an electronics project. The sample looked sharp. The machining looked tight. The branding looked expensive. But after the finish, the thread feel changed, one mating area became less cooperative, and the grounding path needed extra attention. Nothing was dramatic. That was the problem. Small issues are the ones that slip through until they become expensive.
The real question is not only what anodizing is. The real question is how it works, what it changes, and when it helps or hurts an enclosure project.
What Is Anodizing for Aluminum Enclosures?

When people first ask me about anodizing, I usually notice the same hidden idea behind the question. They think it is a coating that gets added on top of aluminum, almost like paint. That sounds reasonable. It is also not quite right.
I think the most useful way to judge anodizing is to stop calling it decoration first and start calling it surface conversion, because that one mental shift helps buyers make better decisions later.
Basic definition of anodizing
Anodizing is an electrochemical process. It changes the surface of aluminum into a controlled oxide layer. That oxide layer is not just sprayed on top. It grows from the aluminum itself.
That detail matters a lot.
A paint layer sits on the metal. An anodized layer becomes part of the metal surface. That is why anodizing often gives better bond strength and better wear behavior than many simple topcoat finishes.
Here is the simple difference:
| Finish type | How it forms | Bond to substrate | Common concern |
|---|---|---|---|
| Paint | Added on top | Surface adhesion | Chipping or peeling |
| Powder coating | Added on top and cured | Strong surface adhesion | Thickness buildup |
| Anodizing | Oxide grows from aluminum | Integrated with substrate | Conductivity loss on surface |
I often explain it this way to buyers: paint dresses the metal, but anodizing changes the skin of the metal.
Why aluminum is ideal for anodizing
Aluminum is especially good for anodizing because it already wants to form oxide naturally. If you leave raw aluminum exposed to air, it starts building a thin oxide layer on its own. Anodizing simply takes control of that process and makes it more useful, thicker, and more consistent.
This is one reason aluminum enclosures are so flexible in custom projects. The base material works well with machining, and it also responds well to finishing.
If you compare aluminum with other enclosure materials, the difference becomes clear.
| Material | Can it be anodized? | Surface finish style | Typical use logic |
|---|---|---|---|
| Aluminum | Yes | Oxide conversion layer | Good for precision, appearance, corrosion resistance |
| Steel | No in the same way | Paint, plating, powder coat | Strong but heavier, different corrosion strategy |
| Plastic | No | Texture, painting, molding color | Low weight, low conductivity |
That is why anodizing belongs naturally in the aluminum enclosure world. It is not a forced process. It fits the material.
Key properties created by anodizing
Once anodizing is done correctly, the enclosure surface gets several useful properties.
Better corrosion resistance
The oxide layer helps protect the base aluminum from moisture and many normal service conditions. This is very useful for enclosures that may live in humid places, light outdoor settings, or busy industrial rooms.
More surface hardness
Anodizing can improve wear resistance, especially with harder anodizing types. That helps when enclosures are handled often, mounted and removed many times, or used in places where tools and hands keep touching the same edges.
Electrical insulation on the surface
This part surprises many buyers. The anodized layer is electrically insulating. That can be useful in some designs, but it can also create grounding or shielding problems if nobody thinks ahead.
Better visual finish
Anodizing also gives a clean, finished look. Many brands like it because it feels more solid and refined than a simple paint job.
Here is a quick view:
| Property | What anodizing helps with | Why buyers care |
|---|---|---|
| Corrosion resistance | Protects surface | Longer service life |
| Hardness | Improves wear resistance | Better for handling and use |
| Surface insulation | Breaks conductivity at outer layer | Good or bad depending on design |
| Appearance | Clean and premium look | Better branding and perceived value |
That brings us to the next question, because understanding what anodizing is only takes you halfway. The next part is where the process starts to affect real engineering choices.
How Does the Anodizing Process Work Step by Step?
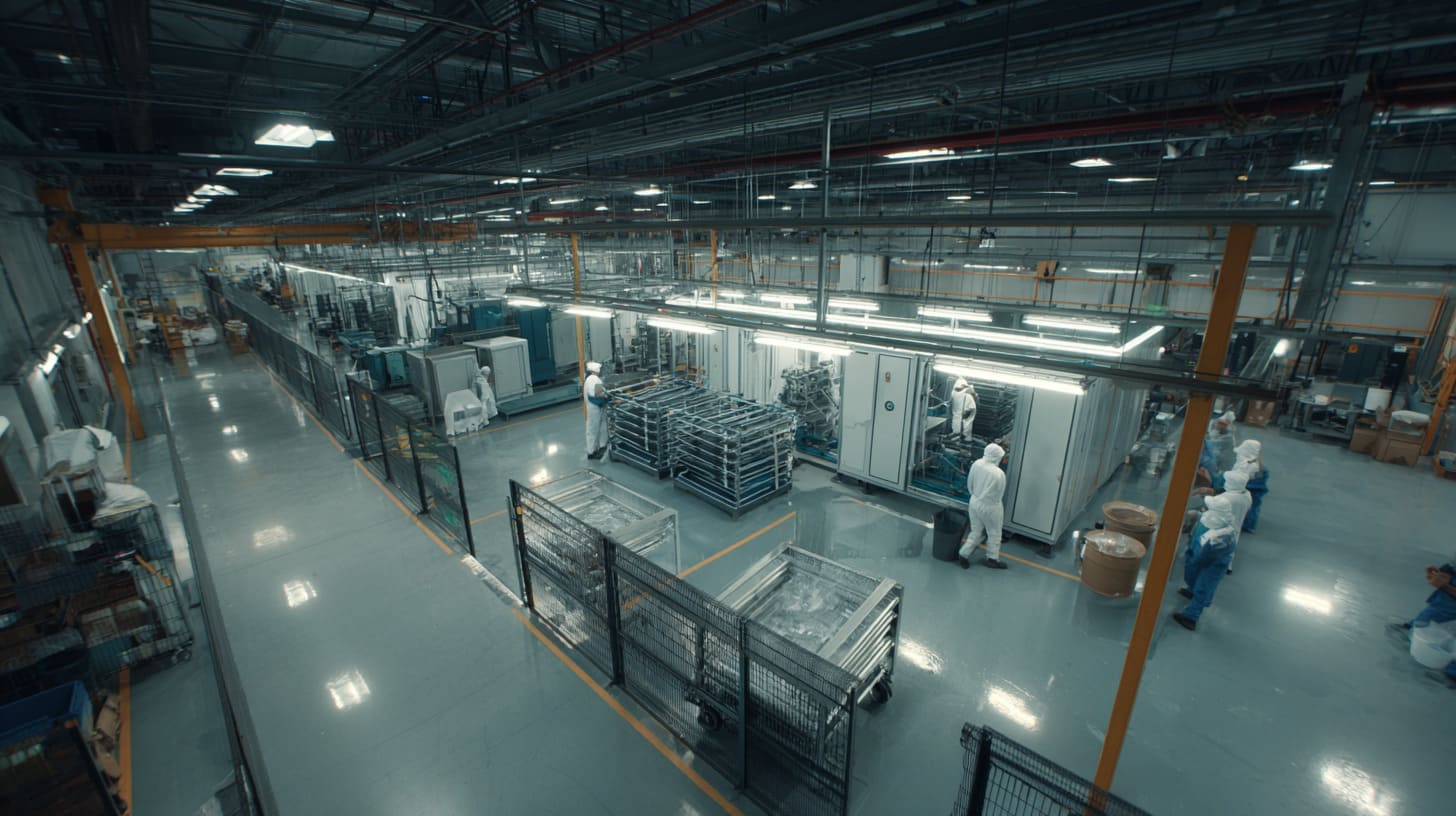
A lot of people imagine anodizing as one fast dip in a tank. I wish it were that simple. In real production, the result depends on a chain of steps, and each step leaves fingerprints on the final enclosure.
What often changes my decision is not the color sample on the table but the discipline of the process behind it, because weak preparation can ruin even a beautiful finish.
Step 1: Surface preparation
The process starts before the anodizing bath itself. The aluminum has to be cleaned well. Oil, dirt, machining residue, fingerprints, and small contamination all need to go.
Then the surface may be etched or brightened, depending on the target finish.
If this part is rushed, the final anodized result can look uneven. Color can shift. Streaks can show. Small cosmetic problems can become visible after the finish instead of disappearing.
Why surface uniformity matters
Surface preparation does more than improve appearance. It sets the starting point for the oxide layer. If the surface is inconsistent, the finish can also become inconsistent.
I have seen two enclosure parts made from the same drawing behave differently because one batch had slightly different surface prep. Buyers often blame the final anodizing tank first. Sometimes the real problem started earlier.
| Prep step | Main purpose | Risk if ignored |
|---|---|---|
| Degreasing | Removes oils and residue | Poor finish adhesion and uneven result |
| Cleaning | Removes dirt and shop contamination | Cosmetic defects |
| Etching | Creates uniform surface texture | Patchy appearance |
| Rinsing | Prevents chemical carryover | Process contamination |
Step 2: Electrolytic oxidation process
After cleaning, the aluminum goes into an acid bath. In many common cases, that bath is sulfuric acid for Type II anodizing. The aluminum part becomes the anode in an electrical circuit. That is where the word anodizing comes from.
Direct current passes through the setup. Oxygen ions react with the aluminum surface. Then the oxide layer grows.
This is not just a layer stacking on top. Part of the oxide grows inward, and part grows outward. That detail becomes very important later when we talk about tolerance and fit.
What is happening inside the tank
A buyer does not need to become a chemist, but the simple logic helps:
- The bath supports the reaction
- The electrical current drives oxide growth
- The aluminum surface transforms into a thicker oxide structure
- That structure contains pores before sealing
Those pores are useful because they allow dyeing. They are also a weakness if sealing is poor.
Step 3: Coloring (optional)
Not every anodized enclosure needs color, but many do. Black is common. Clear and silver are common too. Some projects use red, blue, or other tones for branding.
There are two main coloring routes people talk about most:
| Coloring method | How it works | Main strength | Main weakness |
|---|---|---|---|
| Dye coloring | Dye enters the pores | Flexible color choice | UV stability may vary |
| Electrolytic coloring | Metal salts deposit in pores | Better durability in some cases | Fewer color choices |
Dyeing vs electrolytic coloring
Dyeing is popular because it offers more visual freedom. It is often the easy choice for consumer-facing or branded products.
Electrolytic coloring can offer stronger long-term stability in some applications, but it is not always the first choice for small custom projects.
This is where I slow down on outdoor projects. A color that looks perfect in a sample room may not age the same way under sun, heat, and time.
Step 4: Sealing process
Once the oxide layer is formed, and coloring is done if needed, the pores need to be sealed. Sealing improves corrosion resistance and helps protect the finish.
Hot water sealing and nickel acetate sealing are common options.
If sealing is poor, the anodized layer may not perform as expected. Color durability can suffer. Corrosion resistance can drop. Surface quality can become less stable over time.
Why sealing is not a small final step
Sealing sounds like housekeeping. It is not. It is one of the steps that separates a finish that only looks good from a finish that lasts.
| Process stage | What it gives you | What can go wrong |
|---|---|---|
| Oxide growth | Functional porous layer | Weak control affects thickness and quality |
| Coloring | Appearance and branding | Fading or inconsistency |
| Sealing | Closes pores, protects finish | Lower durability if incomplete |
That is why I never like discussing anodizing only as a color request. The color is the visible part. The process discipline is the real story.
The next thing buyers usually ask is simple and practical: Which type should I use? That question opens a much bigger trade-off than people expect.
What Are the Main Types of Anodizing Used for Enclosures?
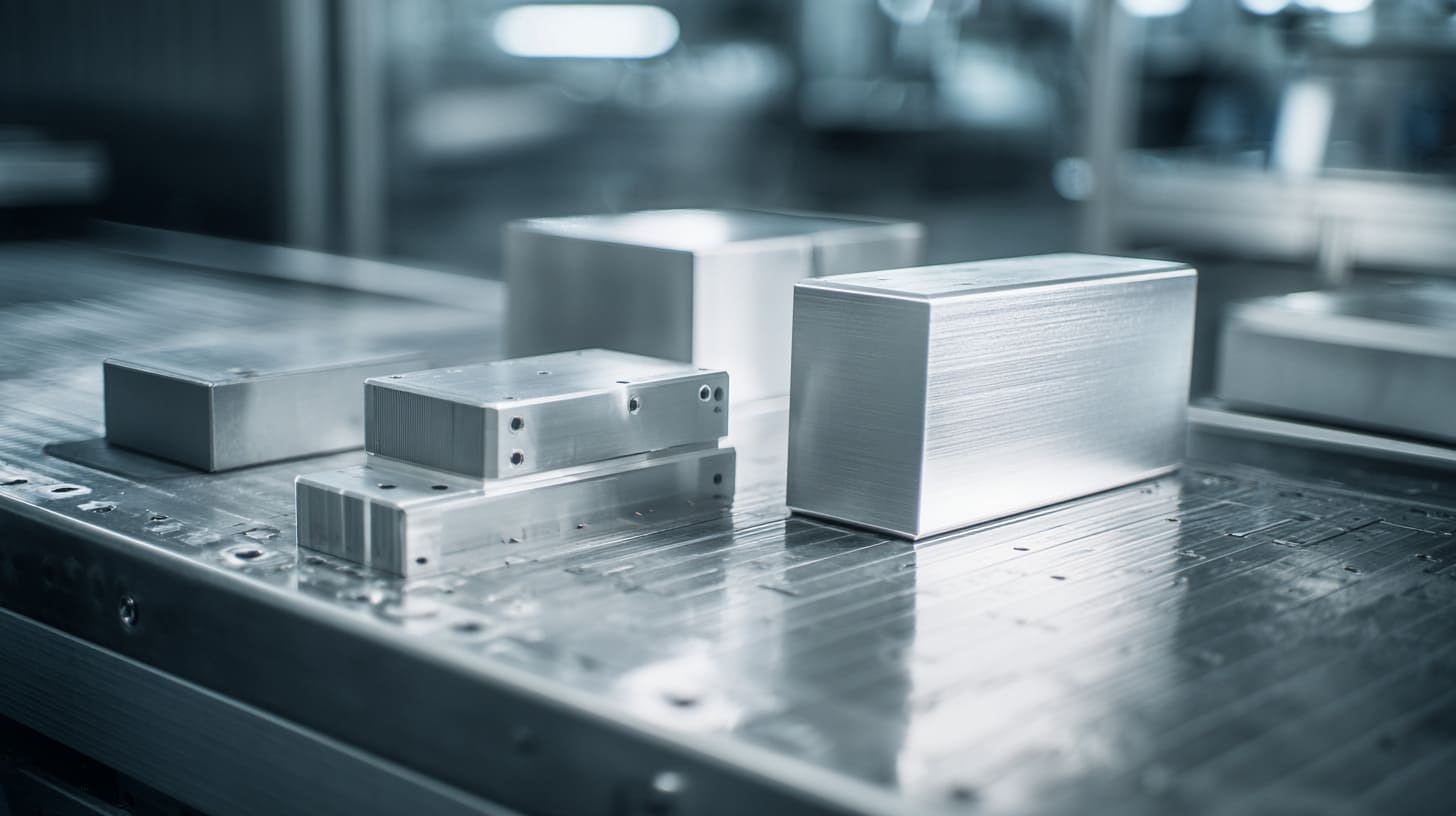
Not all anodizing is the same. I have seen buyers say “just anodize it” as if there is only one version. That is like asking for “just packaging” without saying whether you mean a thin carton or a shock-proof flight case.
The mistake I try to avoid here is picking a finish by habit, because the right type depends on use, fit, cost pressure, and the way the enclosure will live in the real world.
Type I (Chromic Acid Anodizing)
Type I is thinner than many other anodizing options. It is often linked with aerospace and more specialized use cases.
It has decent corrosion resistance and causes less dimensional change than thicker anodizing styles. That sounds attractive. But it is not the usual first choice for most general commercial aluminum enclosures.
For many buyers in electronics or industrial enclosure work, Type I comes up more in comparison than in actual selection.
Type II (Sulfuric Acid Anodizing)
Type II is the most common choice for many aluminum enclosure projects. It gives a useful balance between protection, appearance, and cost.
It can also support a wide range of colors. That makes it attractive for branded products, consumer devices, control boxes, and many custom OEM jobs.
I see Type II as the practical middle road. It is not too light for normal work, and it is not too heavy for many tolerance-sensitive parts.
Where Type II works well
- General electronics enclosures
- Branded housings
- Indoor equipment
- Moderate use industrial products
- Cases where appearance matters along with protection
Type III (Hardcoat Anodizing)
Type III is thicker and harder. It is often called hard anodizing or hardcoat anodizing. This type is chosen when wear resistance and durability matter more.
It is often used in more demanding industrial environments. It can also be useful when the enclosure will face repeated handling, rough contact, or harder service conditions.
But there is a trade-off. Type III usually costs more. It also creates more dimensional impact. So it is not something I recommend automatically.
Where Type III makes sense
- Heavy-use industrial enclosures
- Harsh environments
- Parts with frequent abrasion
- Cases where long wear life matters more than decorative color variety
Key differences between Type II and Type III
This is where many real decisions happen. The gap between Type II and Type III is not only about “better” or “worse.” It is about fit for purpose.
| Feature | Type II | Type III |
|---|---|---|
| Typical thickness | About 5–25 microns | About 25–80 microns |
| Wear resistance | Good | Much higher |
| Decorative flexibility | High | More limited |
| Cost | Lower | Higher |
| Dimensional effect | Moderate | More significant |
| Common use | General enclosures | Heavy-duty or industrial enclosures |
The real trade-off behind the choice
A thicker and harder finish sounds safer. Sometimes it is. Sometimes it creates a new problem.
If the enclosure has tight mating parts, threads, or close-fitting lids, Type III can turn a clean design into an assembly headache if the design was not prepared for it.
That is why I do not ask only, “Which type is stronger?” I ask, “Which type solves the real problem without creating a second one?”
That question leads straight into performance, because finish type matters only if it changes how the enclosure behaves in use.
How Does Anodizing Affect Aluminum Enclosure Performance?
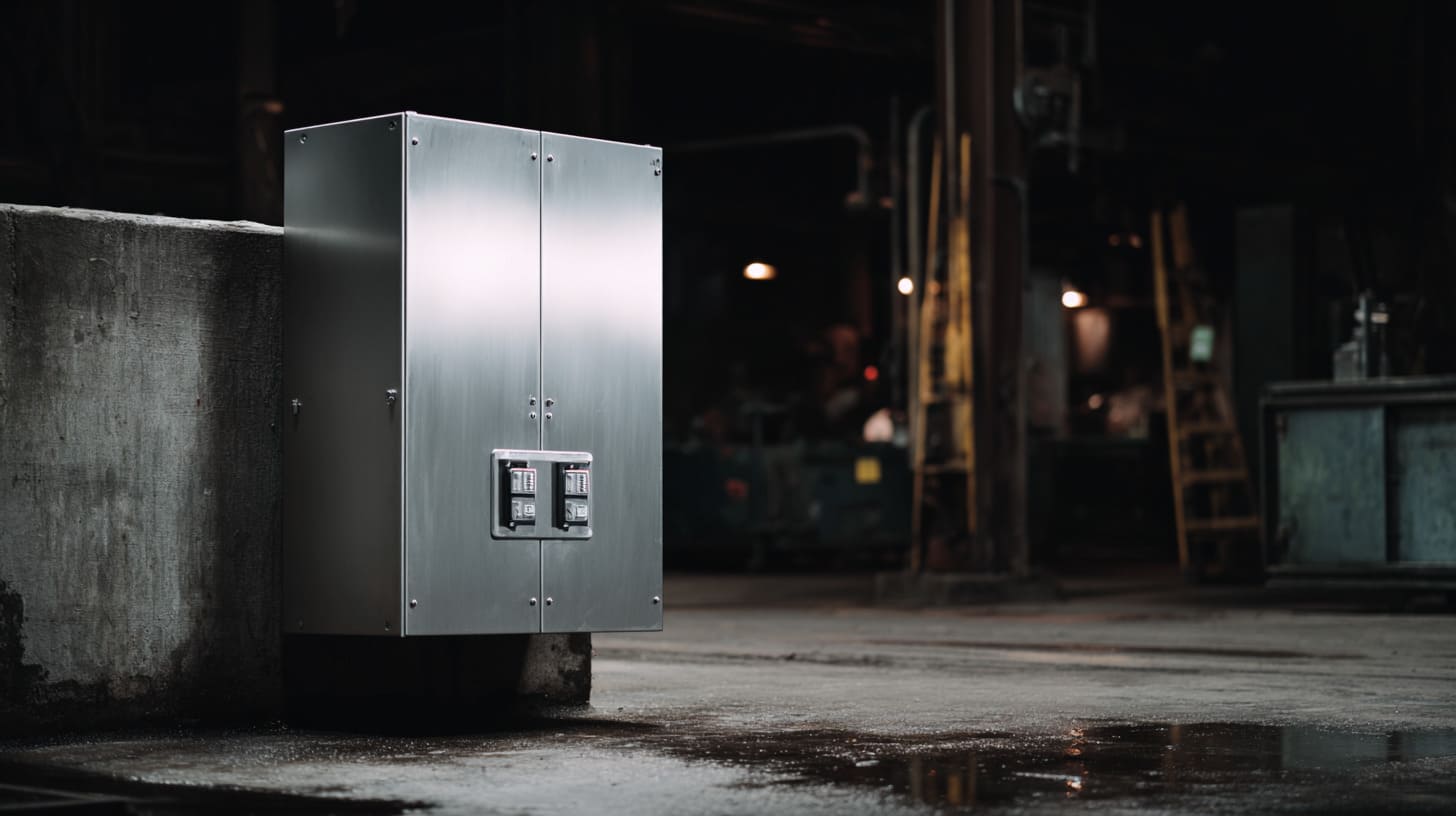
Performance is where anodizing stops being a finishing topic and becomes an engineering topic. This is also where some buyers start seeing why a nice sample photo cannot answer every important question.
What has saved me from bad finish decisions more than once is looking at the enclosure as a working object first and a pretty object second, because field use is less forgiving than a conference table.
Impact on corrosion resistance
Anodizing helps aluminum resist corrosion better than raw untreated aluminum in many environments. That matters in humid rooms, outdoor settings, and places where dust and moisture show up together.
Raw aluminum already has natural oxide protection, but controlled anodizing makes that protection thicker and more reliable.
Raw aluminum vs anodized aluminum
| Condition | Raw aluminum | Anodized aluminum |
|---|---|---|
| Basic corrosion resistance | Fair | Better |
| Humid environment performance | Variable | More stable |
| Long-term appearance | Can dull or stain | Usually holds better |
| Surface protection | Natural thin oxide | Controlled engineered oxide |
I pay extra attention here when a customer says the product will be used “indoors only” but then later mentions warehouses, coastal zones, or semi-open industrial spaces. Those little details change the finish logic fast.
Impact on wear and scratch resistance
Anodizing can improve hardness. That helps with daily use, repeated handling, and surface contact.
Type II gives useful protection for many standard products. Type III goes much further for abrasion-heavy use.
Where wear resistance matters most
- Portable enclosures handled often
- Tool-adjacent devices
- Control boxes opened many times
- Industrial equipment with frequent contact
A finish does not need to be military-tough to be good. It needs to match the abuse the product will actually face.
Impact on electrical conductivity and EMI shielding
This is one of the most important practical issues. The anodized surface is electrically insulating. That means the enclosure outer layer no longer behaves like bare conductive aluminum.
This can create trouble in:
- Grounding
- Bonding
- Electrical continuity
- EMI shielding paths
Why buyers overlook this
Many people hear “aluminum enclosure” and assume the whole thing stays conductive after finishing. That assumption is risky.
If EMI shielding matters, conductive contact points may need masking, machining after finish, star washers, or other design solutions.
| Area | Bare aluminum | Anodized aluminum |
|---|---|---|
| Surface conductivity | High | Low on oxide surface |
| EMI continuity | Easier | Needs planning |
| Grounding contact | Direct | Often needs exposed metal point |
This is where projects often go sideways, because a finish chosen for appearance can quietly break an electrical assumption that nobody wrote down.
Impact on thermal performance
Many buyers also ask if anodizing changes heat dissipation. The honest answer is yes, but the practical impact depends on the application.
In some electronics work, black anodized surfaces are discussed as helpful for radiation heat transfer. But in many enclosure projects, the larger thermal story still depends more on enclosure design, wall thickness, venting, airflow, internal layout, and contact paths.
The practical view on heat
I do not like when anodizing gets sold as a thermal shortcut. It can play a role, but it is rarely the main fix if the enclosure has a real heat problem.
That leads naturally into thickness, because many performance gains and many design failures begin with one basic question: How thick should the anodizing be?
How Does Anodizing Thickness Influence Design and Fit?
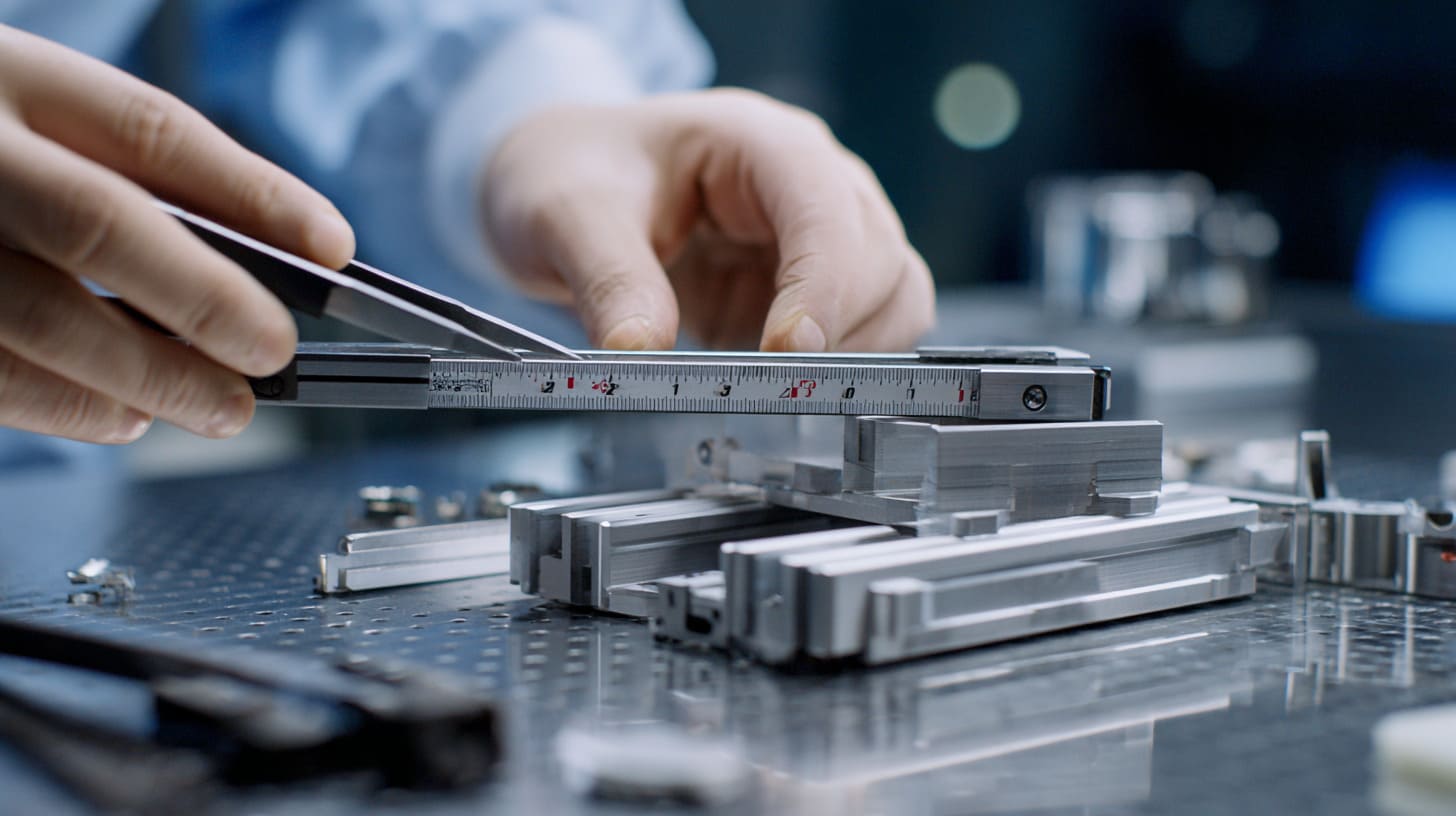
Thickness sounds like a spec line. In real factory work, it behaves more like a hidden design force. A few microns may sound tiny. Then the lid gets tight, the screw feel changes, or the mating edge stops feeling clean.
The small thing I watch here is not the number alone but where that number starts stacking up across several mating features, because tolerance pain rarely arrives one micron at a time.
Typical thickness ranges
For most enclosure projects, the common starting ranges look like this:
| Anodizing type | Common thickness range |
|---|---|
| Type II | About 5–25 microns |
| Type III | About 25–80 microns |
These are useful guide numbers. They are not automatic answers.
A simple indoor electronics enclosure may not need a very thick finish. A rough-use industrial part may need much more.
Dimensional changes after anodizing
This is the part many buyers miss. The anodized layer grows both inward and outward. So the finish changes the final dimensions of the part.
That matters for:
- Screw threads
- Precision bores
- Sliding fits
- Mating covers
- Tight grooves
Why “small thickness” still matters
If one single face grows a little, maybe nothing happens. If several connected features all change, the assembly feel can shift in a very obvious way.
I have seen nice-looking enclosures lose that crisp fit just because finish growth was not considered early enough.
Fit and assembly risks
Thread engagement issues
Threads can become tighter after anodizing. In some cases, the feel becomes rough or less reliable. Small screws suffer first.
Mating surface misalignment
Covers and bases may stop seating the same way. This becomes more visible in designs with close visual gaps or premium appearance goals.
Moving parts and precision zones
If the enclosure includes rails, slots, insert areas, or contact surfaces, anodizing thickness must be taken seriously.
| Feature area | Risk after anodizing |
|---|---|
| Screw holes | Tighter fit or thread feel change |
| Lid-to-base fit | Gap change or harder assembly |
| Contact faces | Loss of electrical continuity |
| Sliding parts | Increased friction |
Design recommendations
Plan allowance in CAD early
The best time to think about anodizing is before machining starts, not after the sample comes back.
Talk to the manufacturer clearly
A good factory discussion should include:
- Finish type
- Target thickness
- Critical dimensions
- Masking needs
- Conductive areas
- Cosmetic priority surfaces
Mark functional surfaces on drawings
That helps avoid confusion later. Buyers often tell me “this surface is important” too late. Drawings should say it first.
| Design action | Why it helps |
|---|---|
| Add finish note in drawing | Avoids assumption mismatch |
| Mark critical tolerance zones | Protects fit and function |
| Define masking areas | Preserves conductivity where needed |
| Confirm thread strategy | Prevents assembly issues |
Once thickness enters the conversation, appearance enters with it. That is when color and finish stop being simple style choices and start becoming part of brand judgment.
What Are the Common Anodizing Colors and Finish Options?
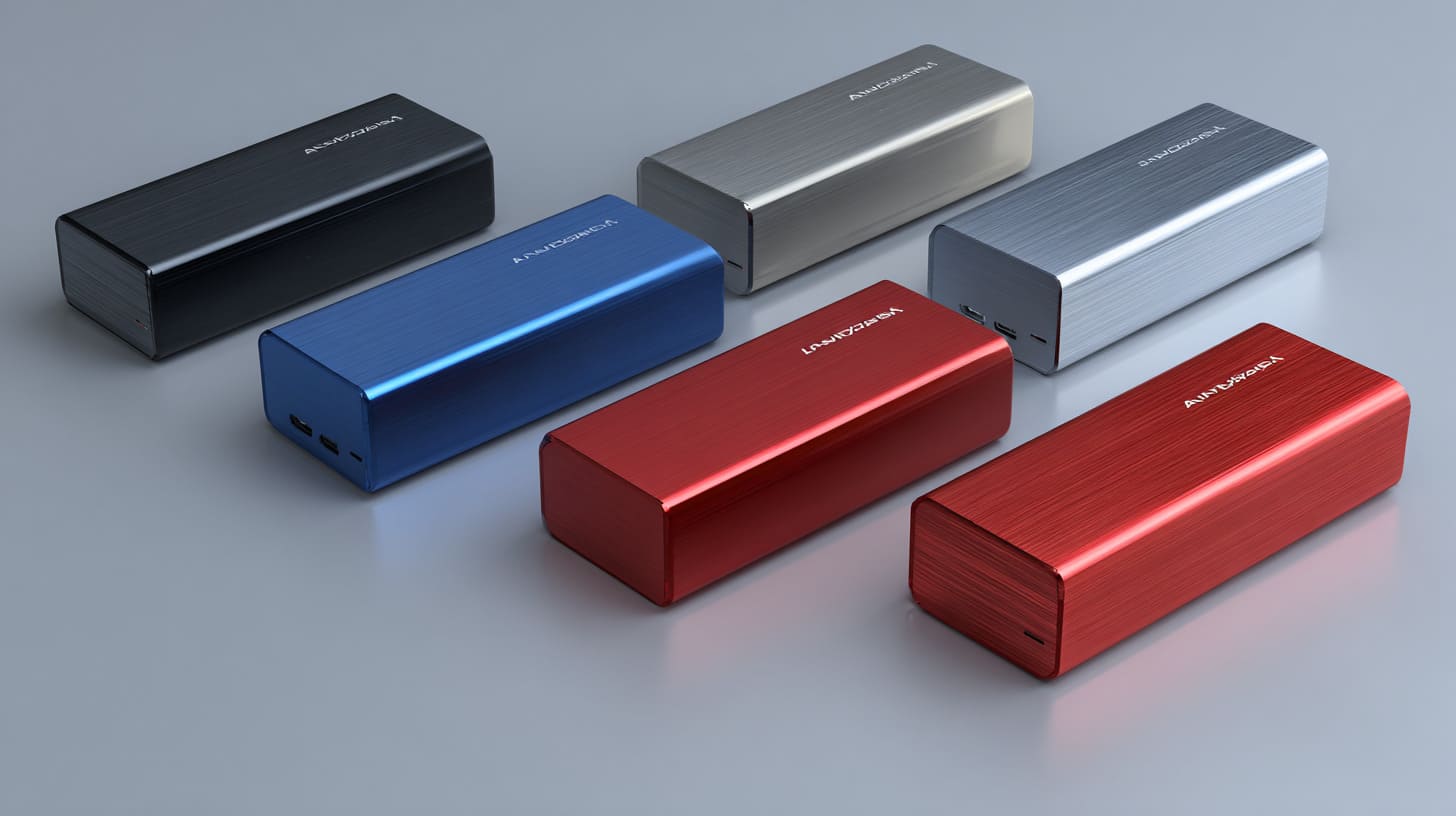
Color is the part buyers notice first. That is normal. It is the most visible part of anodizing. It is also the part most likely to create unrealistic expectations if nobody talks honestly.
My instinct with color is to treat it as a controlled compromise, not a perfect promise, because aluminum alloy, batch variation, and finish method all leave their fingerprints on the result.
Standard colors
The most common anodizing colors for enclosures are:
- Black
- Clear
- Silver
- Blue
- Red
Black is very popular because it looks clean, modern, and technical. Clear and silver work well when buyers want a more natural metal look. Blue and red appear more in branded projects or special product lines.
Matte vs glossy finishes
Anodized surfaces can also vary in feel and look. Some appear more matte. Some feel brighter or more satin-like. Surface prep affects that result a lot.
When matte makes more sense
- Industrial products
- Technical devices
- Products where fingerprints matter
- Designs aiming for a quiet premium look
When brighter finishes help
- Consumer-facing products
- Brand-focused devices
- Display products
- Cases where visual edge sharpness matters
| Finish style | Look | Best fit |
|---|---|---|
| Matte | Soft, technical, understated | Industrial and practical use |
| Satin | Balanced, clean | General branded products |
| Brighter finish | More visual pop | Consumer-facing appearance |
Limitations of color consistency
This part deserves honesty. Exact color consistency across all lots is not always easy. Alloy changes, process changes, and batch differences can affect color.
Black is popular, but even black is not always “the same black” under every condition.
Why color can vary
- Different aluminum alloys
- Surface texture differences
- Small process changes
- Thickness variation
- Dye and sealing behavior
This is why I prefer approving color with realistic expectations. If a buyer wants absolute visual sameness across years and factories, anodizing may need more control than they first expect.
Branding and logo integration
Branding matters a lot in enclosure projects. Anodizing works well with logo integration, but the method matters.
Laser engraving vs silk printing
| Branding method | Strength | Weakness |
|---|---|---|
| Laser engraving | Durable, clean, premium feel | Less color flexibility |
| Silk printing | Flexible and visible | Can wear faster in heavy use |
I usually lean toward laser engraving when the enclosure needs long-term durability and a more permanent feel. Silk printing can still work well for projects where graphic style matters more than hard wear.
Color is often where buyers fall in love with anodizing. But love is easier when the trade-offs are clear. That takes us into the full balance sheet: the good side and the frustrating side.
What Are the Advantages and Disadvantages of Anodizing?
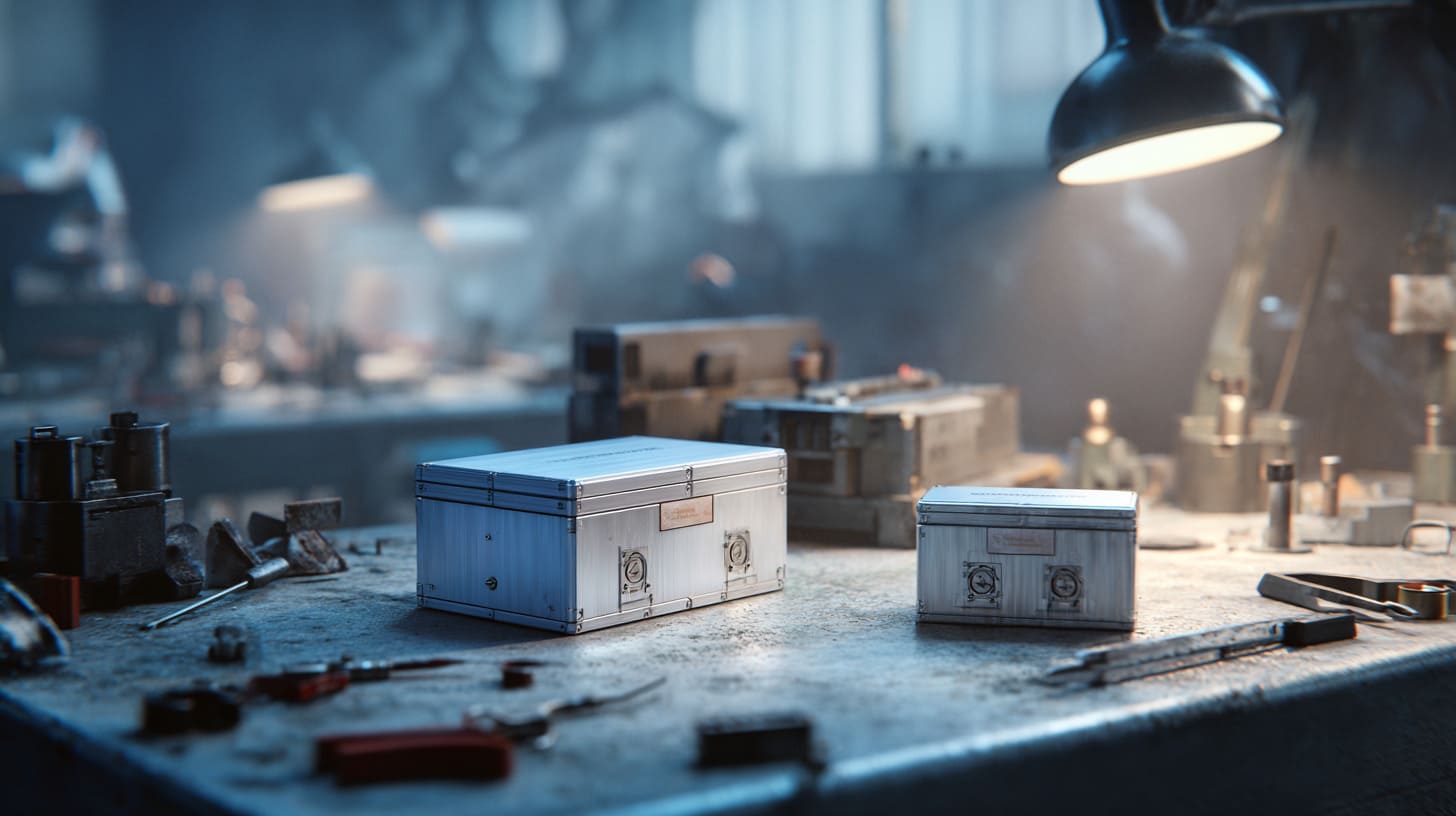
I like anodizing, but I do not treat it like the answer to every enclosure problem. Good finish choices come from seeing both sides clearly.
I make better calls when I ask what problem anodizing solves first, because a finish that looks premium but creates cost or function trouble is not really a win.
Advantages
Strong corrosion resistance
Anodizing helps protect aluminum in many common working environments. That makes it useful for products that need stable long-term appearance and surface protection.
Long-lasting surface
The finish becomes part of the surface itself. That usually gives it better durability than many simple top-applied finishes.
Premium appearance
Anodized aluminum often looks clean, sharp, and well-made. For many OEM and branded projects, that matters a lot.
Lower environmental burden than some painted systems
Compared with some coating systems, anodizing can be seen as a cleaner finishing route in many settings, though process quality and local control still matter.
Disadvantages
Higher cost
Anodizing is not free. Type, thickness, color, and process control all affect cost.
Dimensional change
This is a major issue in precision work. If the design ignores it, assembly trouble can show up fast.
Reduced surface conductivity
That becomes a real concern in EMI and grounding situations.
Color variation risk
Even good suppliers cannot promise perfect visual sameness in every condition.
| Aspect | Advantage | Disadvantage |
|---|---|---|
| Durability | Stronger surface | Higher processing cost |
| Appearance | Premium look | Batch variation possible |
| Function | Better corrosion resistance | Conductivity loss on surface |
| Engineering | Good for many enclosures | Tolerance impact must be planned |
That balance matters even more when buyers start comparing anodizing with other finish options, because not every project needs the same answer.
How Does Anodizing Compare to Other Finishing Methods?
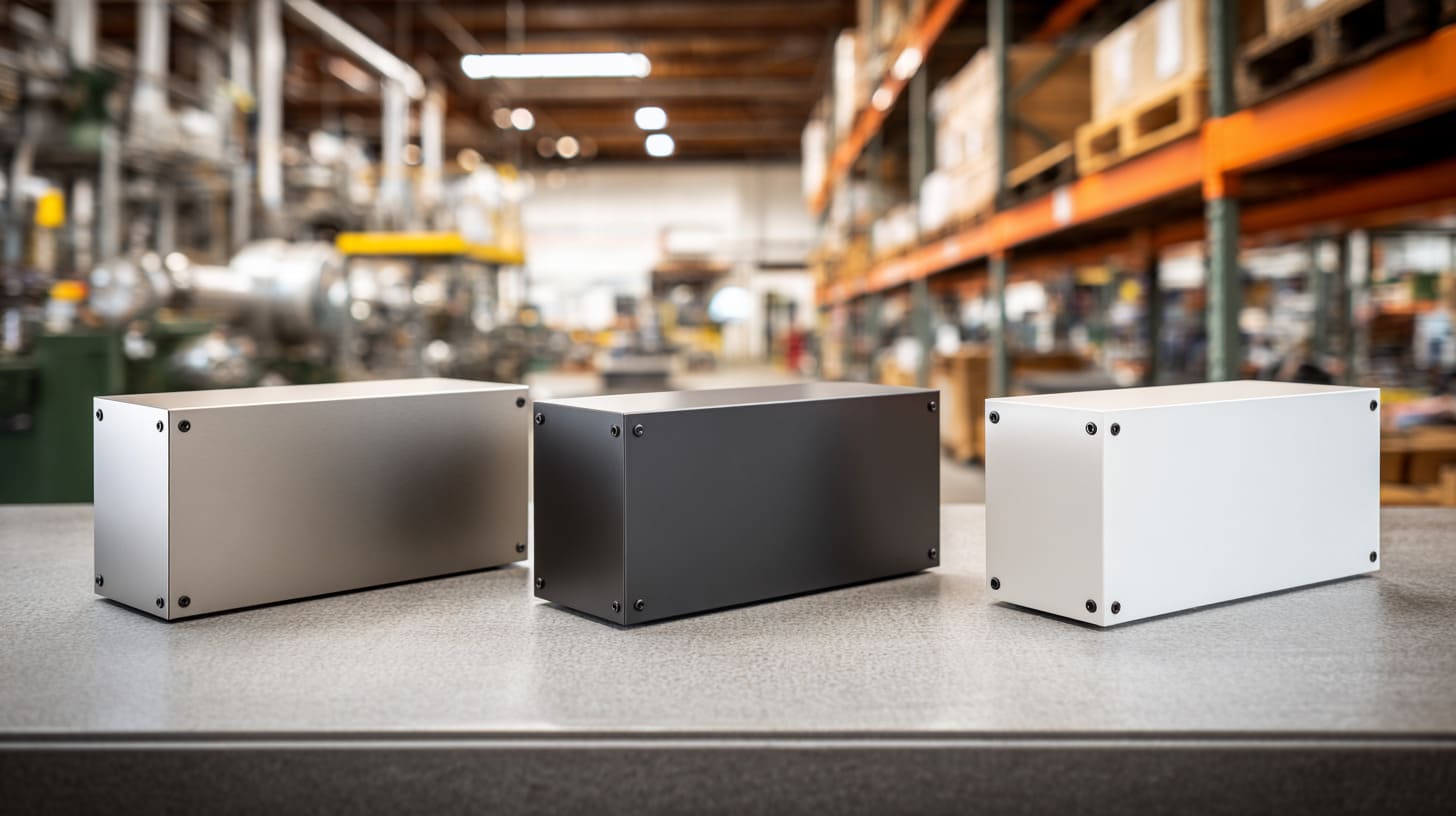
A finish decision gets easier when buyers stop asking “Which one is best?” and start asking “Which one fits this product best?” That one change in wording removes a lot of confusion.
The comparison I trust most is the one tied to product use, because finish decisions made only on sample looks tend to age badly.
Anodizing vs powder coating
Powder coating adds a thicker external layer. It offers broad color freedom and good coverage. It can hide some surface imperfections better too.
Anodizing usually gives a more metallic and refined look. It also keeps the metal feel in a way powder coating does not.
| Factor | Anodizing | Powder coating |
|---|---|---|
| Look | Metallic, refined | Coated, solid color |
| Thickness | Thinner | Thicker |
| Conductivity | Surface becomes insulating | Surface becomes insulating |
| Edge sharpness | Often preserved better | Can look heavier |
| Scratch/wear feel | Strong, especially Type III | Good, but different surface feel |
Anodizing vs painting
Painting is flexible and familiar. It can be cost-effective in some setups. But it usually does not give the same integrated metal look as anodizing.
Paint can also chip or peel more obviously over time, depending on use.
Anodizing vs chemical conversion coating
Chemical conversion coating can be useful when conductivity matters more. It often provides corrosion protection while keeping better electrical contact than anodizing.
That makes it attractive for EMI-sensitive designs. But it does not usually give the same decorative finish quality as anodizing.
| Factor | Anodizing | Chemical conversion coating |
|---|---|---|
| Appearance | Better decorative look | More functional, less decorative |
| Conductivity | Lower on surface | Better |
| Corrosion protection | Good | Good, depending on system |
| Wear resistance | Better | Usually lower |
This is where finishing stops being a style topic and becomes a buyer decision. So the next question is the one that matters most in sourcing work: What should I actually check before choosing anodizing?
What Should Buyers Consider When Choosing Anodizing for Enclosures?
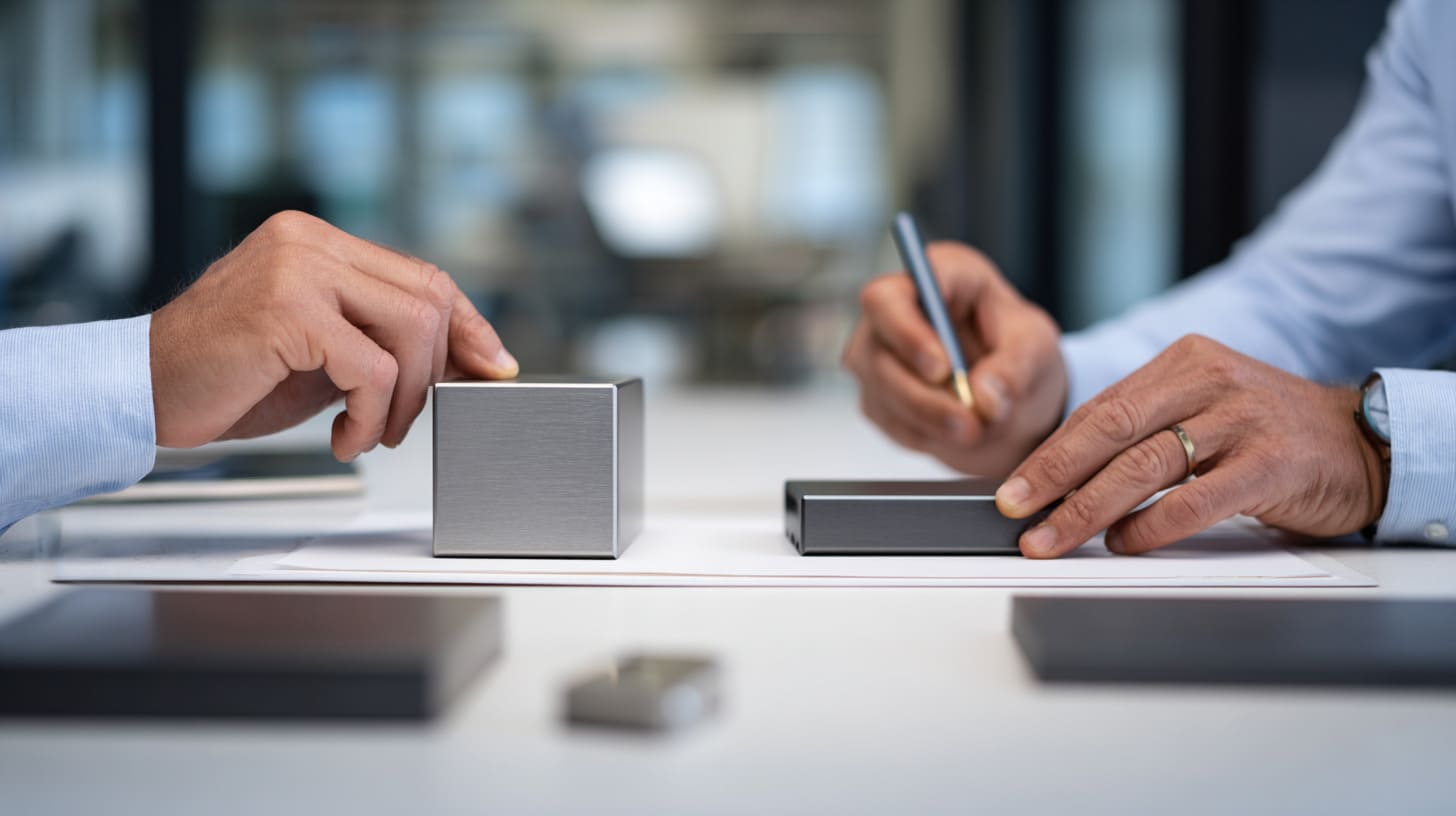
This is the part where many projects either become smooth or become annoying. The finish itself is rarely the full problem. The missing discussion before the finish usually is.
The first thing I try to judge is the real use scene, not the neat version of the project described in email, because many finish mistakes come from soft wording like “normal use” or “indoor use.”
Application environment
A buyer should think about where the enclosure will live.
Key environment questions
- Indoor or outdoor?
- Dry office or humid workshop?
- Mild handling or heavy contact?
- Near chemicals, oils, or cleaning agents?
- Coastal use or controlled room?
A project that sounds simple can become more demanding once the real environment shows up clearly.
Functional requirements
Not every enclosure needs the same finish logic.
Questions that change the finish choice
- Does it need strong wear resistance?
- Does it need conductivity at some points?
- Does EMI shielding matter?
- Does the enclosure open and close often?
- Is visual branding a priority?
If the answer to the conductivity question is yes, anodizing needs more careful planning.
Budget and cost sensitivity
Type II and Type III do not only differ in performance. They also differ in price, process time, and tolerance impact.
Cost trade-off table
| Buyer priority | Better fit |
|---|---|
| Moderate cost + good appearance | Type II |
| Heavy wear + harsher use | Type III |
| Better conductivity need | Maybe another finish or masked anodizing |
| Strong brand look | Type II or selective finish strategy |
Supplier capability and quality control
A finish is only as good as the process discipline behind it. That means supplier choice matters.
What I would check from a supplier
- Experience with custom enclosures
- Thickness control ability
- Color consistency management
- Clear communication on masking and tolerance
- Sample quality
- Understanding of EMI and fit issues
| Supplier check point | Why it matters |
|---|---|
| Drawing review ability | Prevents late-stage surprises |
| Finish process control | Improves consistency |
| Communication speed | Reduces project delays |
| OEM experience | Better support for custom needs |
This is where I often tell buyers something simple: a cheaper quote is not really cheaper if the factory does not understand the small finish details that protect assembly and delivery time.
That leads to the last practical section, because a lot of anodizing trouble comes from repeatable buyer mistakes.
Common Mistakes Buyers Make with Anodizing
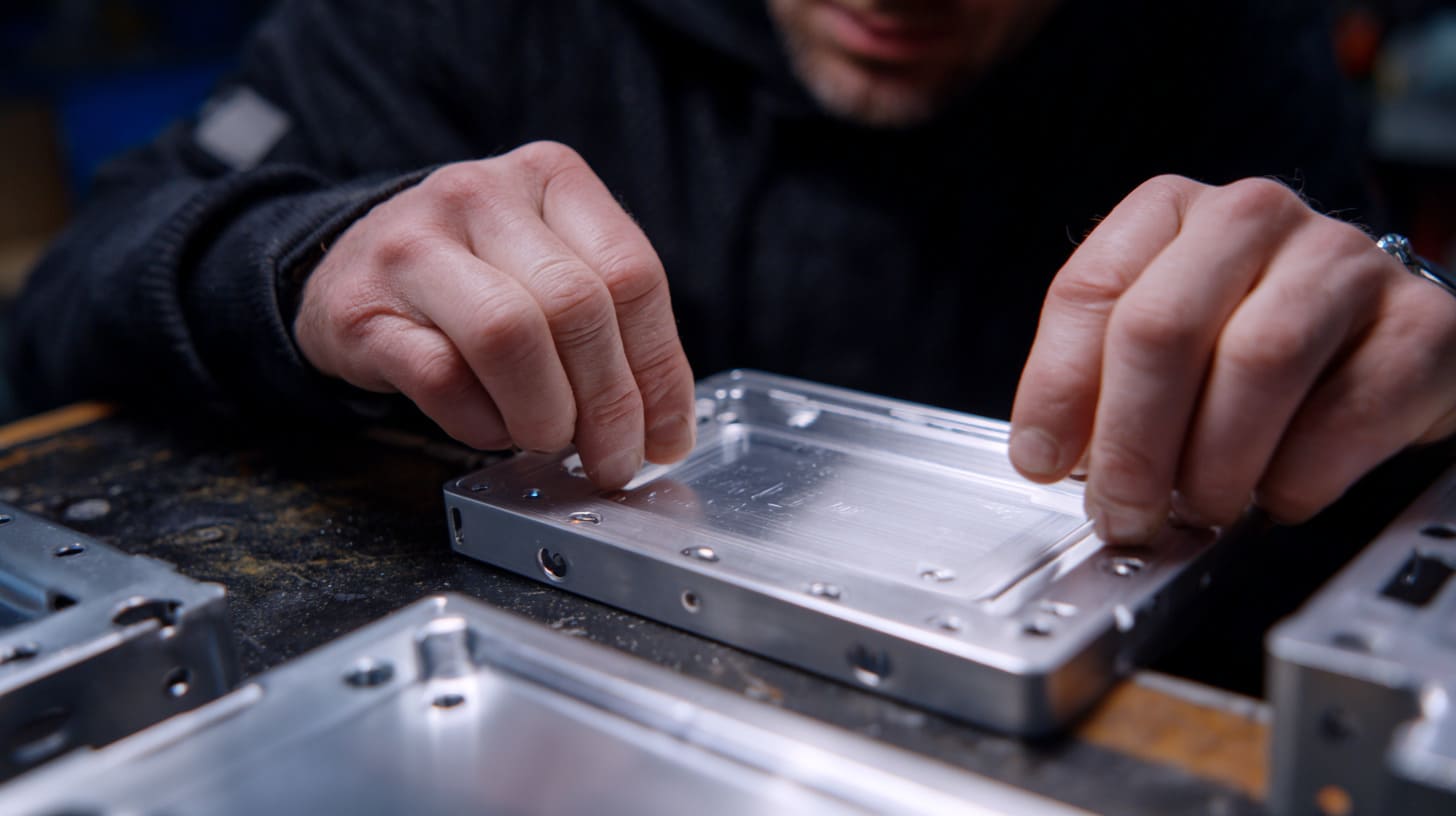
Most anodizing mistakes are not dramatic. They are quiet assumptions. That is why they survive until sampling, assembly, or field use exposes them.
The pattern I notice most is that people trust old habits more than current product needs, and that is exactly how avoidable finish problems keep repeating.
Choosing thickness based only on habit
A buyer copies an old drawing note. The number stays. Nobody asks whether the new enclosure has the same use case, same fit, same environment, or same electrical needs.
That is risky.
Ignoring tolerance and fit issues
This happens a lot in projects with nice clean industrial design. The parts look precise. The finish is discussed late. Then assembly feel changes.
A good-looking enclosure can still feel wrong in the hand if the fit is no longer crisp.
Assuming thicker is always better
This sounds safe, but it is not always smart. Thicker anodizing may improve wear resistance, but it can also create dimensional trouble and extra cost.
Overlooking electrical and EMI implications
This is a big one. Anodized aluminum is not the same as bare conductive aluminum at the surface. If the project needs grounding or EMI continuity, that must be designed on purpose.
Not confirming sealing quality
Buyers often focus on color and type but forget sealing. That can weaken corrosion resistance and finish stability.
| Buyer mistake | What it can cause |
|---|---|
| Copying old thickness blindly | Wrong fit for new project |
| Ignoring tolerance | Assembly problems |
| Choosing thick finish by instinct | Higher cost and tighter fit |
| Forgetting conductivity issue | EMI or grounding trouble |
| Skipping sealing discussion | Lower durability |
A lot of the pain here is avoidable. Not glamorous. Just avoidable. And that is exactly why this topic matters so much.
Conclusion
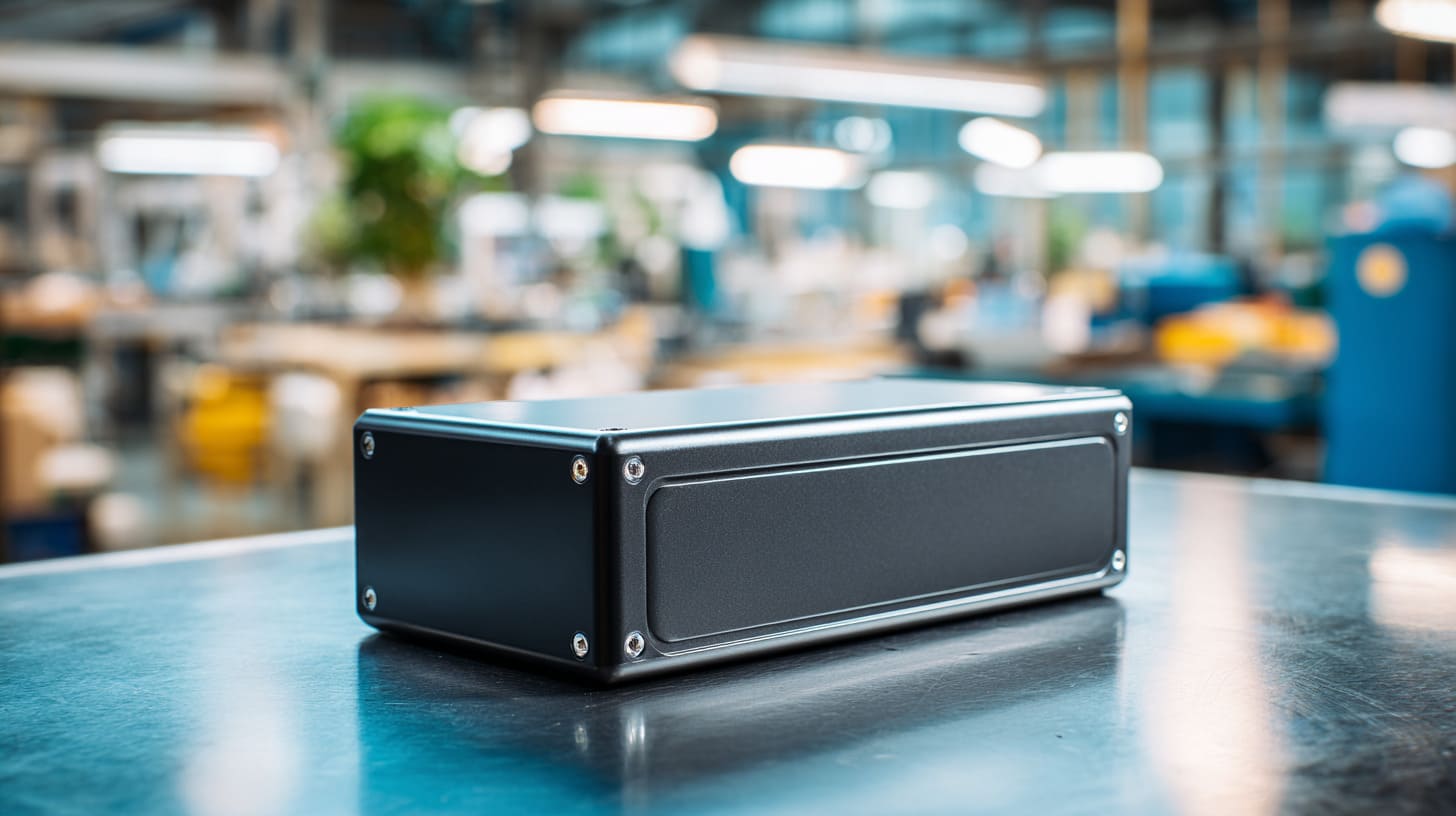
Anodizing for aluminum enclosures is not only about making metal look better. It is a functional process. It changes the aluminum surface itself. It affects corrosion resistance, wear life, conductivity, tolerance, and appearance all at once.
I think that is why this topic deserves more respect than it usually gets.
A finish note on a drawing can influence how the enclosure feels in assembly, how it performs in the field, and how the customer judges the product in the first few seconds of contact. Type II and Type III both have their place. Thickness has to match design reality. Color needs realistic expectations. Conductivity issues need planning early, not excuses later.
For me, the smartest anodizing choice is never the one that sounds strongest on paper. It is the one that fits the product, the use environment, the tolerance needs, and the buyer’s real priorities without creating a hidden second problem.
If you are working on a custom aluminum enclosure and you want to check anodizing type, thickness, color, logo method, or masking details before production, you can reach me through maidatechenclosure.com or email me at info@maidatech.com. I would rather help you catch the small finish issues early than watch them become expensive after sampling.







