 Skip to content
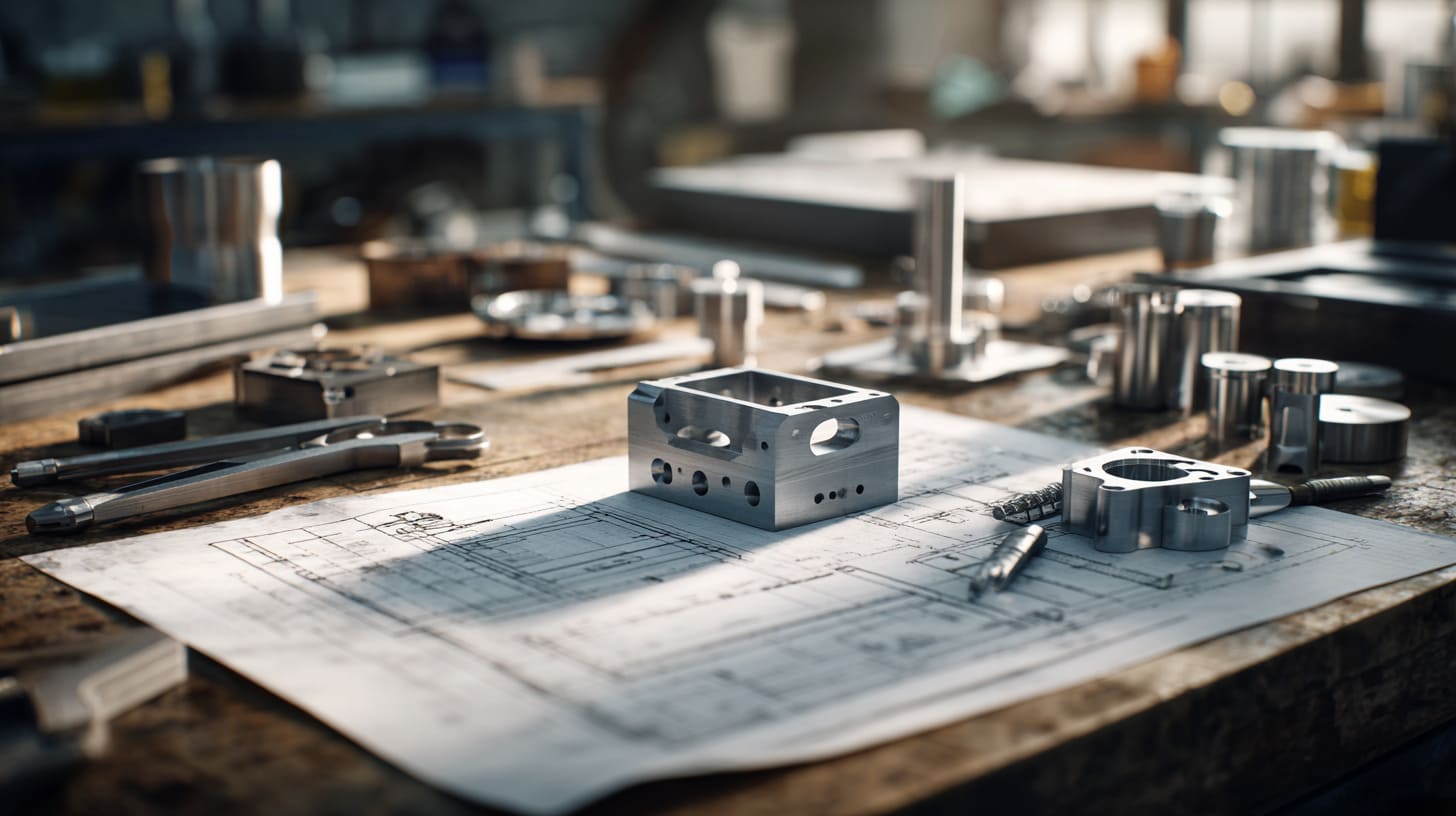
A buyer can spend days talking about board layout, port position, gasket choice, and machining tolerance, then make the anodizing decision in a few minutes. I have seen that happen more than once. The strange part is that anodizing looks like a finish choice on paper, but in real work it often turns into a durability choice, a cost choice, and sometimes even an EMI problem.
That is why I do not treat anodizing like decoration anymore.
I work with aluminum housings all the time. Some are for industrial use. Some are for embedded projects. Some are for consumer-facing devices that need to look clean in the hand and still survive shipping, handling, and daily use. In all those cases, the anodized layer changes more than people first expect. It affects color. It affects scratch resistance. It affects corrosion resistance. It can also affect how the housing fits together.
The trouble starts because many buyers hear two names again and again: Type II anodizing and Type III anodizing. The names sound simple. The choice does not stay simple for long.
A lot of people assume Type III is always better because it is harder and thicker. Others assume Type II is enough because it looks good and costs less. I understand both reactions. I have heard both from smart buyers. Still, both views can go wrong when they are used too loosely.
One thing I have learned the hard way is this: the best anodizing choice usually has less to do with which type sounds stronger and more to do with how the enclosure will actually be used, handled, assembled, and sold.
That is the real question I want to answer here. Which one is better for aluminum housings in B2B work: Type II or Type III? My answer is not based on theory alone. My answer comes from quoting projects, discussing finish requirements with buyers, checking fit after machining, and seeing where a nice-looking housing can still become a bad decision.
I think this topic matters because a finish choice can quietly shape the whole product story. It can help a case feel premium. It can help it last. Or it can create small problems that grow into expensive ones.
That is where I want to start.
A housing may look perfect under workshop light, but the real test comes later. Once I start asking what anodizing actually does to aluminum, the whole comparison becomes much easier to judge.
What Is Anodizing and Why Does It Matter for Aluminum Housings?
A lot of finish terms get thrown around too casually in enclosure work. Powder coating, plating, brushing, sandblasting, anodizing. Buyers hear them often, so the words start to feel familiar. But familiar is not the same as fully understood.
I like to slow this part down because anodizing is one of those processes that sounds simple until it starts affecting assembly, wear, grounding, and product feel.
What makes me pause first is not the finish name but the way the housing will be touched, mounted, cleaned, and judged after it leaves the factory.
What happens during the anodizing process?
Anodizing is an electrochemical process. Aluminum goes into a bath. Current passes through it. The surface changes and forms an oxide layer. That oxide layer is not paint sitting on top like a coat. It is built from the aluminum surface itself.
That difference matters.
The base metal is still aluminum. But the outer layer becomes aluminum oxide, and that oxide behaves differently from the raw metal underneath. It is harder. It resists corrosion better. It also does not conduct electricity the way bare aluminum does.
I think this is where many first misunderstandings begin. A buyer may think, “It is still aluminum, so it should still behave like aluminum.” Not exactly. The core is aluminum. The surface now has a different job.
Here is a simple way I explain it:
| Part | What it is | Why it matters |
|---|---|---|
| Base material | Aluminum substrate | Gives strength, machinability, light weight |
| Surface layer | Anodic oxide | Changes hardness, corrosion resistance, color, electrical behavior |
That surface layer can be thin or thick depending on the anodizing type. That is why Type II and Type III do not behave the same in practice.
Why anodizing is critical for enclosures
I do not see anodizing as a cosmetic extra. I see it as a finish that changes how the enclosure performs in the real world.
Corrosion resistance
Aluminum already has natural corrosion resistance. That is true. But many housings do not live gentle lives. They go into factories. They go outdoors. They sit in damp areas. They get touched by hands, wiped with cleaners, or exposed to salt, dust, and weather.
In those cases, anodizing adds protection. It helps the surface hold up longer.
Surface hardness and wear resistance
A plain aluminum housing can mark up faster than some buyers expect. The corners can rub. The lid can scratch. The contact areas can start looking tired long before the electronics inside have any issue.
Anodizing helps here. It gives the surface more hardness. The level of that protection depends on the anodizing type, but the basic point stays the same: the surface becomes more durable than untreated aluminum.
Aesthetic and brand value
This part should not be ignored. Some housings need to look clean because appearance affects perceived quality. A neat black finish, a silver tone, or a branded color can shape the whole first impression.
I have seen buyers spend serious money improving electronics inside the case, then lose visual value because the enclosure finish felt cheap. That is painful because the customer does not always judge the internal design first. The hand judges before the mind does.
Where anodizing directly impacts product performance
People often think finish affects only looks. I disagree. In many enclosure projects, finish affects the way the product lives and works.
Outdoor housings
Outdoor aluminum housings face sun, moisture, dirt, and temperature change. The finish matters because poor surface protection can shorten the housing’s useful life or make it look old too quickly.
Industrial control boxes
Industrial boxes get touched, mounted, opened, cleaned, and sometimes knocked around. They do not live pretty lives. A weak finish can become a daily annoyance.
Consumer-facing aluminum housings
These are different. The user sees them up close. The finish becomes part of the product identity. A buyer may care less about extreme wear resistance and more about color, smooth feel, and branding.
Here is how I usually frame the role of anodizing by application:
| Application | What buyers usually care about most | Finish concern |
|---|---|---|
| Outdoor enclosure | Corrosion and long-term durability | Strong protection |
| Industrial housing | Wear and handling resistance | Surface hardness |
| Consumer device case | Appearance and branding | Color and visual feel |
| Precision enclosure | Fit and tolerance | Controlled thickness |
That last line is easy to miss. Thickness is not only about protection. It is also about fit.
And once fit enters the conversation, the comparison between Type II and Type III stops being abstract and starts becoming very practical.
What Is Type II Anodizing?
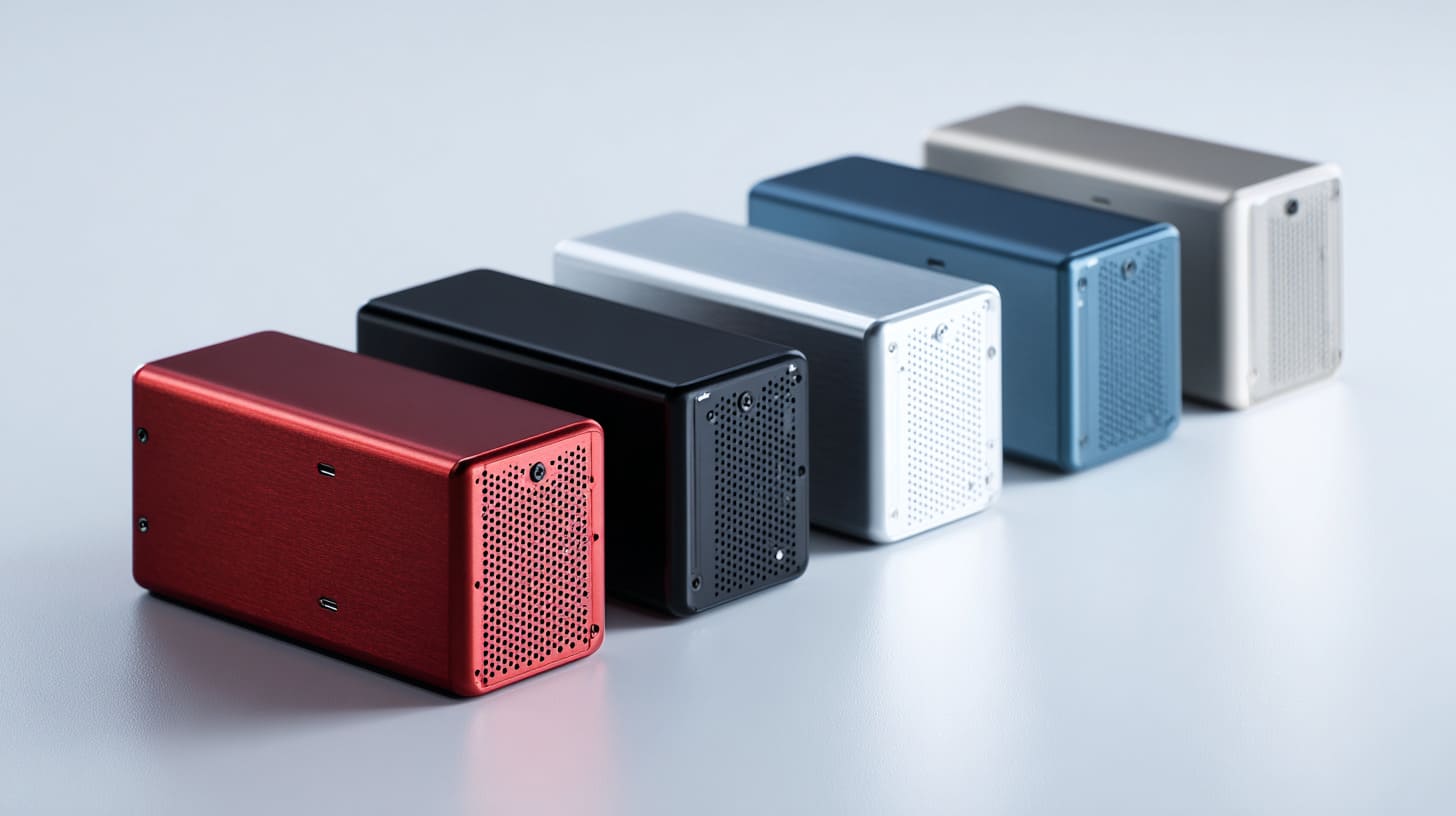
Type II anodizing is the finish many buyers meet first. It shows up in enclosure work again and again because it is practical, widely used, and usually easier to sell to a project team that wants a clean look without pushing cost too high.
I have quoted plenty of housings where Type II made sense right away. I have also seen it chosen too quickly just because it looked like the safe middle option.
The point I always watch is this: a finish can be “good enough” on the sample table and still be the wrong finish for the actual use environment.
Definition and process overview
Type II anodizing is often called standard sulfuric acid anodizing. It creates a moderate oxide layer on the aluminum surface. It is not extremely thick, and that is part of why it works well for many decorative and general-use housings.
The process allows good color absorption. That is one big reason buyers like it. When branding matters, Type II often becomes the first serious candidate.
I find that many product teams like Type II because it gives them room to balance three things at once:
- appearance
- basic protection
- reasonable cost
That combination is attractive. No surprise there.
Key characteristics of Type II
Type II usually falls into a thinner range than Type III. In many practical projects, the oxide layer is around 5 to 25 microns.
That thinner layer gives it a few clear traits.
| Type II characteristic | What it means in practice |
|---|---|
| Moderate thickness | Lower impact on dimensions |
| Good dye absorption | Better color flexibility |
| Smooth decorative finish | More attractive for visible products |
| Lower hardness than Type III | Less ideal for harsh wear |
I often describe Type II as the finish that sits between raw function and visual polish. It gives real protection, yes. But it also carries a decorative role more naturally than Type III.
Advantages of Type II for housings
Cost-effective for production
This matters in B2B work. A lot of buyers do not need the hardest possible finish. They need a housing that looks good, holds up reasonably well, and keeps the project margin healthy.
Type II often serves that need well.
Better color choices
This is one of Type II’s strongest points. Black, blue, red, gold, silver-like appearances, and other dyed finishes are easier to achieve with Type II. That makes it useful for branding-heavy projects or products sold in visible channels like Amazon, retail, or direct-to-user kits.
Good for indoor or lighter-duty use
Many housings do not live in severe environments. They sit indoors. They protect boards. They get handled, but not abused. They need to look neat more than they need to survive extreme abrasion.
That is where Type II can be the smarter choice.
Here is a quick view:
| Good match for Type II | Why |
|---|---|
| Branded electronics housing | Better color and appearance |
| Indoor control box | Enough protection without extra cost |
| Consumer-facing case | Smooth finish, better visual value |
| Tight-fit assembly | Lower thickness risk |
Limitations of Type II
This is the part some buyers do not want to hear at first. Type II is useful, but it is not magic.
Lower wear resistance
Type II is not the best choice when the housing will face repeated friction, rough contact, or hard daily abuse. It can still perform well, but it has a limit.
Weaker in harsh environments
If the housing will live outdoors, in demanding industrial settings, or in places where surface damage matters a lot, Type II may not be enough. Not always, but often enough that I stop and question it.
Can scratch or fade over time
Dyed finishes can look great at the start. Still, some projects care more about staying tough than staying pretty. In those cases, visual appeal should not lead the decision by itself.
I think the real danger with Type II is not that it is bad. The danger is that it looks good enough to approve without fully checking the environment, the handling conditions, and the wear risk.
That is exactly why some buyers move toward Type III. The moment scratches, heavy use, or long outdoor life enters the conversation, the finish choice starts to change shape.
What Is Type III Anodizing (Hard Anodizing)?
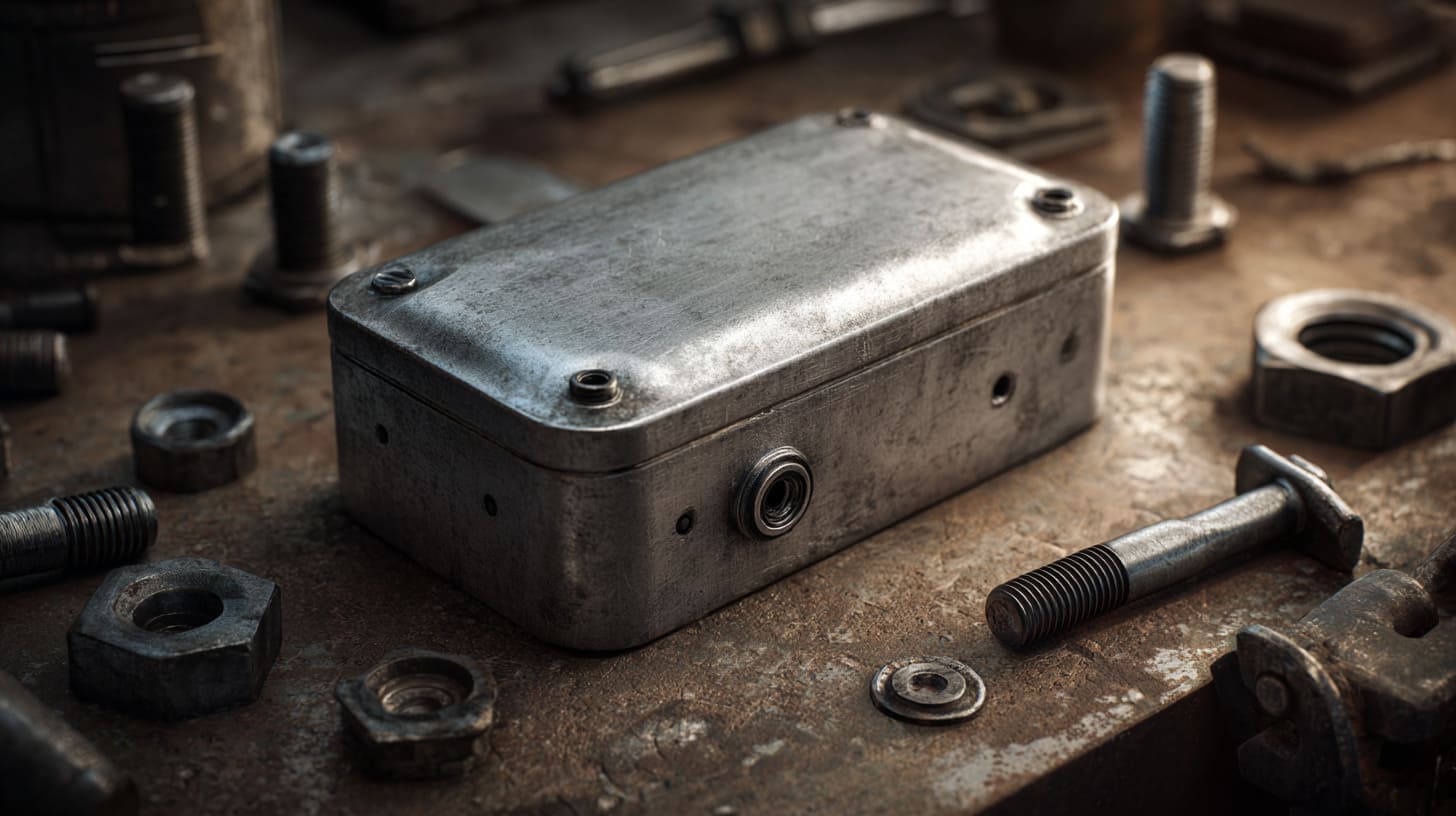
Type III anodizing often gets described with one word first: hard. That word is useful, but it is also incomplete. Yes, it is harder. Yes, it is thicker. Yes, it is often the stronger option for rough environments. Still, once I get into a real housing project, I know that “harder” does not automatically mean “better.”
That is where many finish discussions become too shallow.
The part I weigh more carefully is whether the housing truly needs that extra protection badly enough to accept the cost, color limits, and tolerance effects that come with it.
Definition and process differences
Type III anodizing is often called hard anodizing or hardcoat anodizing. The process uses different operating conditions from Type II, often with higher current density and lower temperature. The result is a much thicker oxide layer.
That thicker layer changes the game.
It pushes the finish toward function more than decoration. It tells me the housing is being asked to do tougher work.
Key characteristics of Type III
Type III is usually much thicker than Type II. In many cases it falls around 25 to 100 microns, depending on the specification and purpose.
That affects hardness, wear resistance, and dimensions.
| Type III characteristic | What it means in practice |
|---|---|
| Thick oxide layer | More surface protection |
| Very high hardness | Better against abrasion and wear |
| Lower dye flexibility | Usually darker, more limited finish options |
| Greater dimensional effect | Must be considered in fit-critical parts |
The hardness is the feature people remember most. For housings used in demanding environments, that can be a real advantage.
Advantages of Type III for housings
Excellent wear resistance
This is the selling point that matters most. If a housing is going to be opened often, touched by tools, exposed to rough contact, or used in hard industrial conditions, Type III gives a stronger surface.
Better corrosion protection
When I hear “outdoor use,” “moisture,” “industrial handling,” or “long service life,” Type III starts getting my attention fast. It offers more protection where the environment is less forgiving.
Better for heavy-duty applications
A rugged housing, a field unit, a control box in a tough setting, or a machine-related aluminum part often fits Type III better than Type II.
Here is where Type III usually shines:
| Good match for Type III | Why |
|---|---|
| Outdoor industrial housing | Stronger corrosion and wear resistance |
| Rugged embedded device enclosure | Better against daily abuse |
| Tool-adjacent equipment box | Harder surface |
| Long-life heavy-use enclosure | Better durability over time |
Limitations of Type III
This is where I try to keep buyers grounded. Hard anodizing sounds impressive, and it is impressive. But no finish choice is free.
Higher cost
Type III usually costs more. That part is obvious. But the hidden cost is that some buyers approve it on instinct, then realize later that the extra protection was not needed for the real product environment.
Less color freedom
Type III is not the finish I reach for when the project needs bright, clean, flexible brand colors. It usually leans darker. The visual result can look strong and professional, but less decorative.
More impact on dimensions
This one matters a lot in enclosure work. When the oxide layer gets thicker, fit becomes more sensitive. Threaded holes, mating surfaces, lid joints, sliding parts, and close-tolerance features can all be affected.
A lot of finish mistakes do not begin with the coating tank. They begin when nobody asks how much room the coating is about to take from a tight mechanical fit.
That point matters so much that I never discuss Type III seriously without also discussing tolerance. And once tolerance enters the room, the Type II vs Type III question becomes much more real.
Type II vs Type III Anodizing: Key Differences That Matter
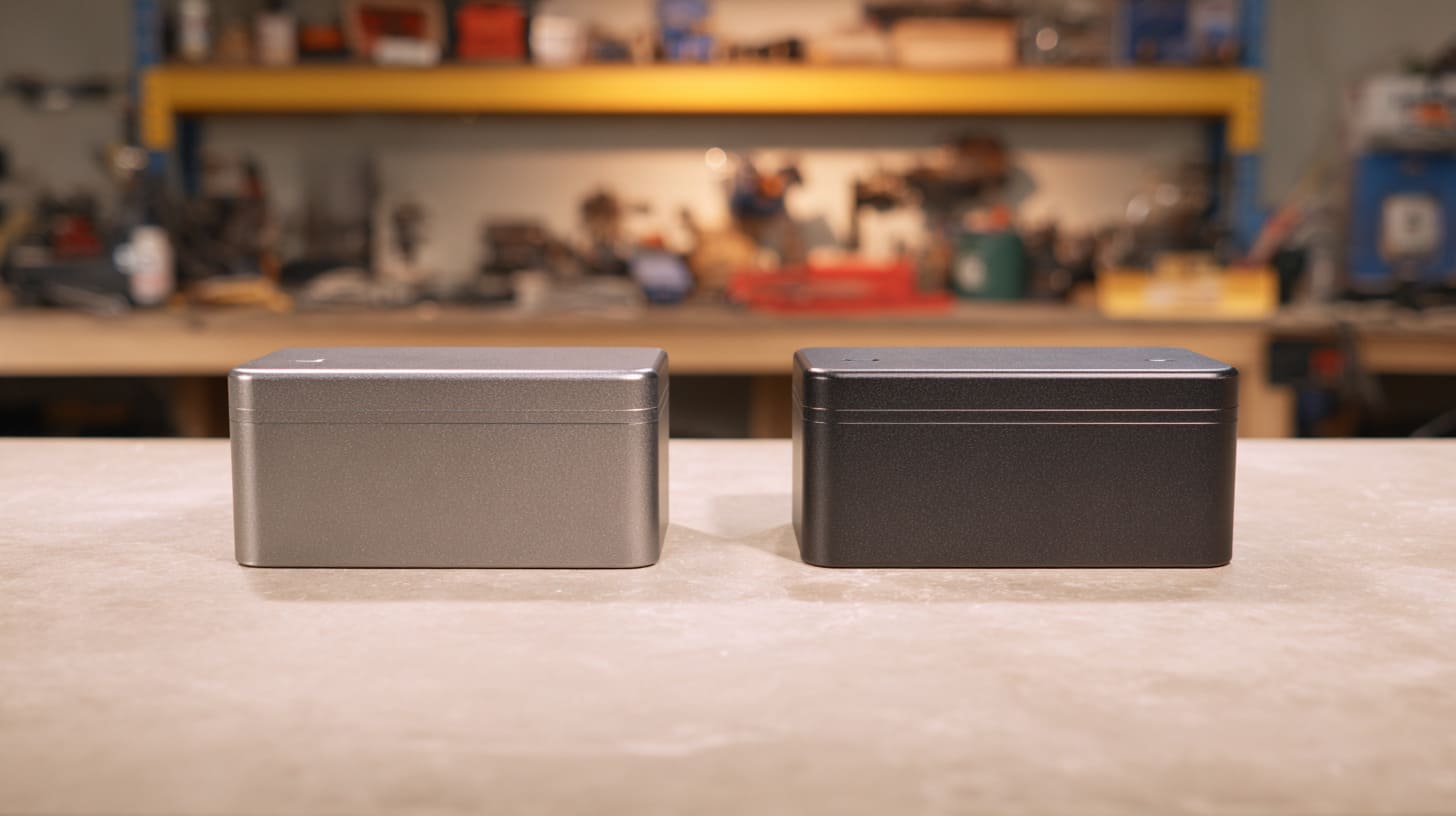
This is the part where buyers often want a clean winner. I understand that. A simple answer feels efficient. Still, I do not trust finish decisions that become too simple too fast.
Type II and Type III are not just two grades of the same idea. They pull a housing in different directions. One usually leans more toward appearance and flexibility. The other leans more toward durability and protection.
When I compare them on real enclosure work, I do not ask which one sounds more premium. I ask which one creates fewer regrets six months after launch.
Thickness and durability comparison
The first major difference is thickness.
Type II is thinner. Type III is thicker. That sounds obvious, but the consequences are not small.
A thinner finish usually means:
- less dimension change
- better fit control
- easier decorative use
A thicker finish usually means:
- stronger surface protection
- higher wear resistance
- more caution needed for tolerances
| Factor | Type II | Type III |
|---|---|---|
| Typical thickness | 5–25 microns | 25–100 microns |
| Durability level | Moderate | High |
| Best use style | Decorative/general use | Functional/heavy-duty use |
Surface hardness and wear resistance
This is where Type III clearly pulls ahead. The surface is harder. It resists abrasion better. It handles rougher use more comfortably.
That said, not every housing needs that level of protection.
I think buyers sometimes overbuy hardness the same way some people overbuy insurance. It feels safe. It sounds wise. But if the real use condition is mild, the extra cost may not return much value.
Appearance and color options
This category usually favors Type II.
Type II takes dye better. It offers more flexibility for visual branding. It is often the easier choice for products where the enclosure is part of the customer experience.
Type III can still look good. I do not want to understate that. It often has a solid, serious, industrial look. But it is less flexible when color matters.
| Appearance factor | Type II | Type III |
|---|---|---|
| Color range | Wider | Narrower |
| Decorative appeal | Stronger | More limited |
| Industrial look | Moderate | Stronger |
| Brand color matching | Easier | Harder |
Cost and production considerations
Type II is usually cheaper and easier to adopt across broader product lines.
Type III needs more from the process. It often costs more. It also requires more thought around fit, masking, and application need.
For a buyer managing margin, that matters a lot.
I have seen projects where Type III looked great in a spec sheet discussion, then became hard to justify when the team stepped back and asked what the enclosure actually needed to survive.
Dimensional impact on precision parts
This is one of the most overlooked differences.
A housing with tight lid fit, exact screw alignment, precision openings, or mating surfaces can react very differently to Type II and Type III. The thicker the finish, the more carefully the dimensions need to be planned.
I pay very close attention here because a hard finish means very little if the assembly becomes annoying, tight, or inconsistent.
Here is the real comparison in one table:
| Decision area | Type II strength | Type III strength |
|---|---|---|
| Branding | Better | Weaker |
| Cost control | Better | Weaker |
| Abrasion resistance | Weaker | Better |
| Harsh environment use | Weaker | Better |
| Tight tolerance control | Better | Weaker |
| Premium decorative finish | Better | Moderate |
| Ruggedness | Moderate | Better |
The comparison gets even more interesting when EMI enters the picture. That is where some buyers discover that surface protection and electrical behavior do not always want the same thing.
How Does Anodizing Type Affect EMI Shielding Performance?

This is one of my favorite places to challenge assumptions because it catches people off guard. A buyer may think a metal housing automatically helps with EMI shielding, and in a broad sense that is true. But the second the surface becomes anodized, the conversation changes.
That is where a lot of nice-looking enclosures become tricky.
The small detail I never ignore is whether the enclosure needs stable electrical contact across seams, screws, mating faces, or grounding points, because that is exactly where anodizing can quietly work against the design.
Conductivity vs oxide layer reality
The aluminum base is conductive. The anodic oxide layer is not conductive in the same way.
That means both Type II and Type III create insulating surface layers. This is not only a Type III issue. It is a basic anodizing issue.
Still, the thicker oxide of Type III can make the problem more serious in some designs.
I think many EMI mistakes start here because teams say “aluminum enclosure” and mentally stop there. They do not always keep asking what the surface condition is doing to continuity.
Why thicker anodizing can create EMI risks
Type III is thicker. That means it can create a stronger insulating barrier at contact areas.
This matters at:
- seam lines
- screw contact points
- lid-to-body joints
- grounding locations
- bracket interfaces
If the design depends on metal-to-metal contact for shielding continuity, a thick anodized layer can interrupt that path.
I have seen this issue confuse buyers because the enclosure still looks excellent. The machining is sharp. The assembly is clean. The finish is premium. Yet the shielding path is weaker than expected.
| EMI-related area | Risk with anodizing | Why it matters |
|---|---|---|
| Lid seam | Insulated contact | Weak shielding continuity |
| Screw joint | Poor electrical path | Grounding becomes unstable |
| Mounting face | Oxide barrier | Contact resistance rises |
| Mating flange | Reduced metal contact | EMI leakage risk increases |
Practical solutions in enclosure design
This is not a reason to avoid anodizing. It is a reason to specify it correctly.
Mask critical contact areas
This is often the cleanest fix. Leave selected areas uncoated where electrical contact matters. That way the housing keeps most of the anodized protection while preserving conductivity where needed.
Use conductive hardware or gaskets
Sometimes design details need extra help. Conductive gaskets, serrated hardware, and contact-focused fastening choices can improve the electrical path.
Use selective anodizing strategy
Not every surface needs the same finish logic. A housing can be designed with mixed priorities. Some areas can be protected for wear and corrosion. Other areas can be managed for electrical performance.
This is one of those places where a finish decision stops being cosmetic and becomes an engineering decision.
That leads naturally to the next question. Once appearance, durability, fit, and EMI all start pulling in different directions, how do I decide which anodizing type fits which application best?
Which Anodizing Type Is Better for Different Applications?
This is the section where I stop talking about anodizing in the abstract and start talking like a manufacturer working through real project conditions. I do not think Type II or Type III can be judged properly without context.
A finish that is perfect for one housing can be wasteful, awkward, or even risky for another.
The thing I trust most here is not the finish label but the use case, because the wrong finish often looks reasonable until the product reaches its real environment.
Consumer electronics and branded housings
For many branded housings, Type II is usually the better choice.
Why? Because these projects often care about:
- nice appearance
- brand color options
- lower cost
- acceptable everyday protection
A lot of consumer or semi-commercial housings do not face severe abrasion. They need to look polished. They need to feel neat in the hand. They often need a finish that supports visual branding.
That is where Type II does very well.
Best fit cases
- smart device housings
- branded controller boxes
- display-friendly enclosures
- electronics sold through retail or online channels
Industrial and outdoor enclosures
For industrial and outdoor housings, Type III often becomes the stronger candidate.
The environment is tougher. The handling is rougher. The service life may be longer. Appearance still matters, yes, but survival matters more.
I lean toward Type III when I hear words like these:
- outdoor exposure
- high wear
- field deployment
- machine-side use
- repeated maintenance access
Better fit cases
- outdoor control housing
- rugged equipment case
- workshop-mounted aluminum box
- high-contact industrial enclosure
| Application | Better fit | Main reason |
|---|---|---|
| Consumer branded housing | Type II | Better appearance and color |
| Outdoor industrial enclosure | Type III | Stronger protection |
| Retail electronics case | Type II | Lower cost, nicer finish |
| Heavy-use service housing | Type III | Higher wear resistance |
Raspberry Pi and embedded system cases
This is where things get interesting. I work around this kind of project often, and the answer is not always one-sided.
A Raspberry Pi or embedded system case may be:
- a display product
- an OEM accessory
- a project enclosure
- an industrial embedded box
If it is mostly for branding, desktop use, or resale with customer appeal, Type II often makes sense.
If it is for rougher field deployment, higher handling stress, or long service in tougher conditions, Type III can be more suitable.
I do not group all embedded cases into one finish rule because their use patterns vary too much.
High-precision or tight-tolerance housings
This is where Type II often feels safer.
If the housing has close mating parts, slide fit, exact lid alignment, or tight hole tolerance, the lower thickness of Type II usually creates fewer surprises. Type III can still be used, but only if the design accounts for it from the start.
That “from the start” part matters a lot. I do not like adding hard anodizing late in a project after the housing geometry is already fixed around a thinner finish assumption.
Here is my working view:
| Housing situation | My likely preference | Why |
|---|---|---|
| Brand-first product | Type II | Better visual flexibility |
| Harsh-use field housing | Type III | Better surface protection |
| Tight-fit precision enclosure | Type II | Lower thickness effect |
| Rugged embedded system box | Type III | Better long-term toughness |
| General indoor OEM case | Type II | Balanced value |
Once I get to this stage, buyers usually ask the question that sits behind the whole finish decision anyway: how much extra performance is actually worth paying for?
Cost vs Performance: How Should Buyers Decide?
This is where many finish discussions become honest. On paper, everybody likes stronger performance. In a budget meeting, the mood changes. That is normal. Cost matters. It should matter.
I never judge a buyer for asking hard questions about finish cost. I only worry when the cost discussion looks at unit price alone and ignores failure cost, return cost, and reputation cost.
The choice I respect most is not the cheapest one or the toughest one. It is the one that matches the real risk level of the project.
When lower cost Type II is the smarter choice
Type II is often the smart choice when the product does not need extreme surface durability.
That includes:
- indoor use
- lower-wear conditions
- short or moderate product life
- appearance-focused projects
- price-sensitive product lines
I like Type II in projects where the finish needs to support a clean look without pushing the budget harder than the use case justifies.
A practical example
If a customer is launching a branded electronics housing that will sit on desks, in stores, or in packaging kits, I usually question whether paying for Type III gives enough return. In many cases, it does not.
When higher cost Type III is justified
Type III earns its place when the environment is harder and the service demands are real.
That includes:
- outdoor mounting
- repeated handling
- abrasion risk
- long service life
- demanding industrial use
I do not sell Type III as a luxury. I sell it as a decision that must defend itself through actual work conditions.
Total cost of ownership thinking
This is the part I wish more buyers looked at earlier. Initial finish cost is only one layer of the total project cost.
A housing that costs a little less up front can become expensive if it:
- scratches too easily
- creates returns
- looks worn too soon
- fails in outdoor use
- damages brand trust
On the other hand, a housing that uses Type III without needing it can quietly waste budget and make the product harder to manufacture than necessary.
| Cost question | Type II tendency | Type III tendency |
|---|---|---|
| Upfront unit cost | Lower | Higher |
| Appearance value per dollar | Often strong | Moderate |
| Long-term wear resistance | Lower | Higher |
| Over-spec risk | Lower | Higher |
| Under-spec risk in harsh use | Higher | Lower |
When I help buyers choose, I do not ask, “Which finish costs less today?” I ask, “Which finish creates the fewest costly regrets after shipping?”
And that question becomes even more useful when I look at the mistakes buyers make most often.
Common Mistakes Buyers Make When Choosing Anodizing
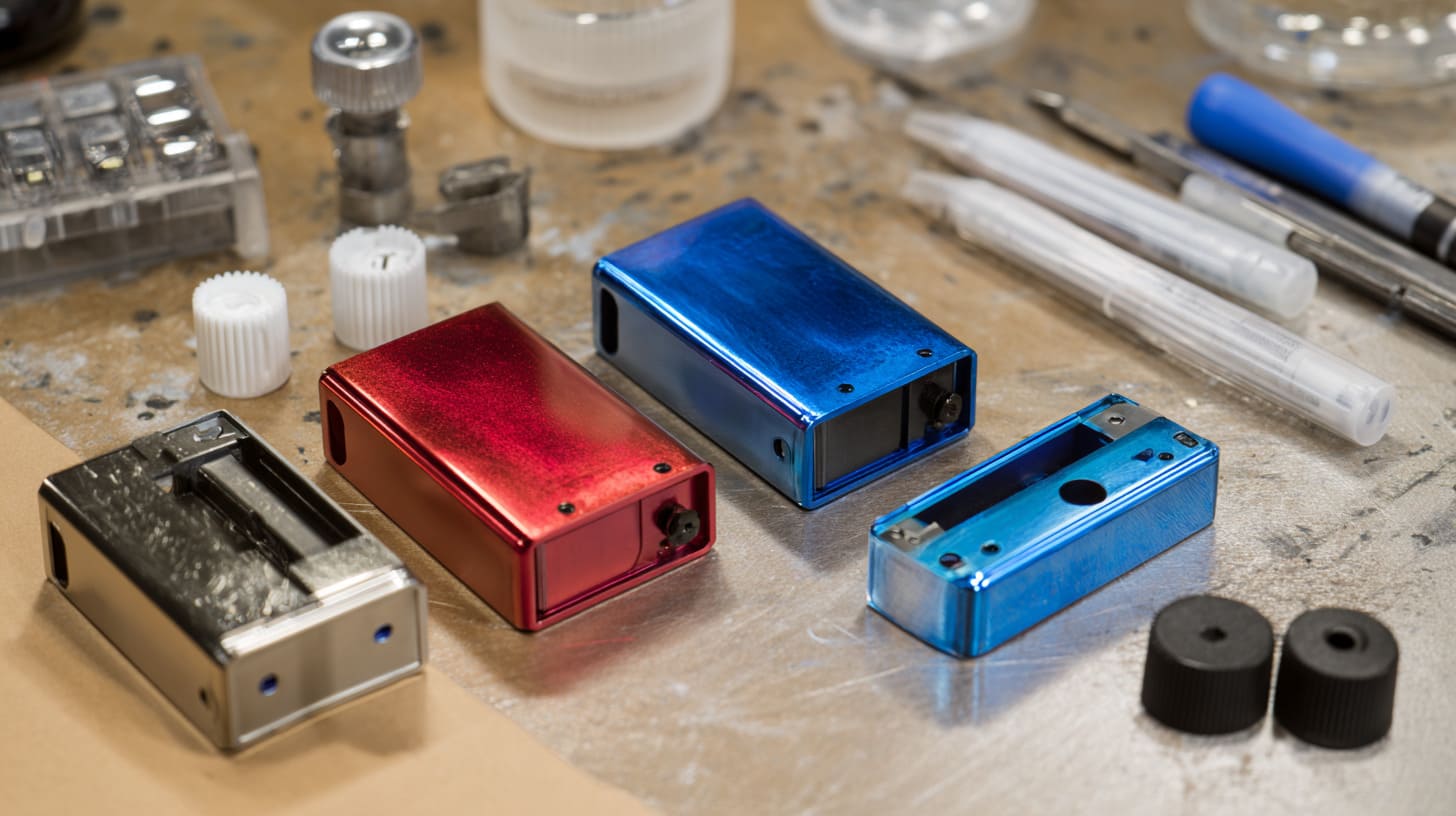
I do not think most buyers make anodizing mistakes because they are careless. I think they make them because finish decisions often get squeezed between design deadlines, cost pressure, and supplier communication gaps.
The mistakes are usually small at first. That is what makes them dangerous.
The pattern I notice most is this: problems rarely begin with a wrong material alone; they begin when a reasonable finish choice gets separated from the real conditions of use and assembly.
Over-prioritizing appearance over function
This happens often with Type II. The finish looks beautiful. The color works. The housing feels premium. Everyone is happy.
Then the product goes into a harsh environment and starts wearing faster than expected.
I understand why people fall into this trap. Visual appeal is immediate. Surface wear problems arrive later. Human beings are very easy to impress in the short term. Projects are no different.
Ignoring EMI and grounding issues
This is one of the most technical mistakes, and it can be easy to miss.
A fully anodized housing may look complete, but if no one plans for conductive contact at critical points, EMI shielding performance can suffer. I have seen buyers focus on finish thickness and color while barely discussing the electrical path at all.
That is risky.
Not considering dimensional tolerance changes
This one hits hardest in precision parts.
Type III can improve durability, yes. But if the design has close fits and the extra coating thickness was not considered properly, the assembly can become tight, awkward, or inconsistent.
That kind of issue frustrates people fast because the part still looks good. It just does not assemble the way it should.
Lack of communication with suppliers
This mistake causes more trouble than many buyers admit.
A finish spec that says “black anodized” is often not enough. It does not answer:
- Type II or Type III?
- What thickness?
- Any masking zones?
- Cosmetic priority or functional priority?
- Any tolerance-sensitive surfaces?
I have seen simple wording create expensive confusion.
Here is a table of common errors:
| Mistake | What happens | Better approach |
|---|---|---|
| Choosing by appearance only | Wrong finish for real use | Check environment first |
| Ignoring EMI contact areas | Shielding performance risk | Define conductive zones |
| Forgetting tolerance effect | Fit issues after coating | Review dimensions early |
| Sending vague RFQ | Supplier guesses wrong | Specify finish in detail |
This is why I always tell buyers that anodizing is not a one-line cosmetic note. It is part of the engineering language of the product.
And that takes us to one of the most useful parts of the whole discussion: how to write the finish requirement properly in the RFQ.
How to Specify Anodizing Correctly in Your RFQ
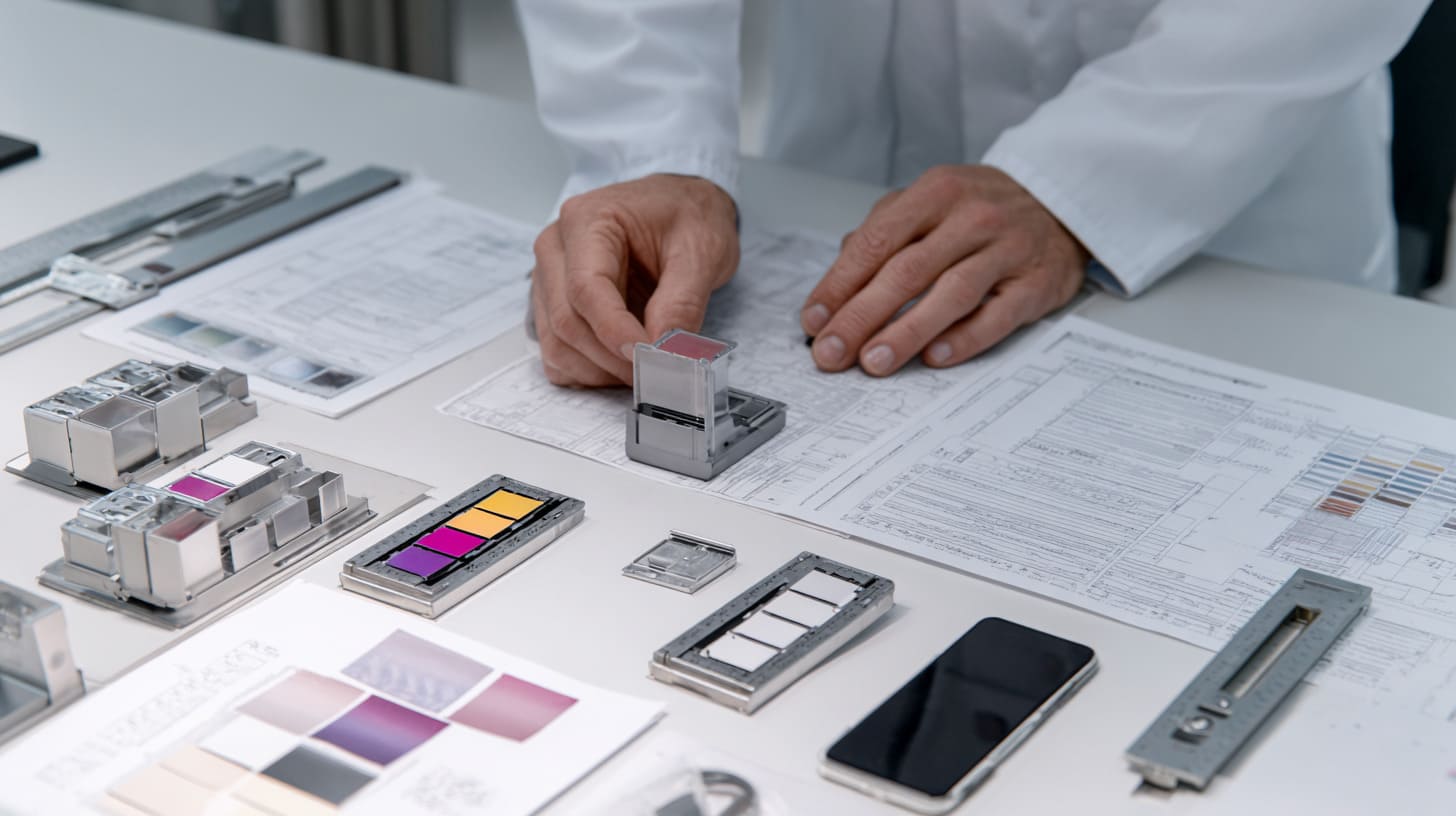
I have seen many quotation requests where the finish note is short enough to fit inside one breath: “black anodized aluminum housing.” That sounds clear until production starts asking questions.
A finish note can look complete and still leave out the details that actually control the result.
The first thing I want from an RFQ is not a pretty phrase but a finish instruction that a machinist, anodizing supplier, and quality team can all understand the same way.
Key parameters to define
The RFQ should clearly state the finish type.
That includes:
- Type II or Type III
- target thickness range
- color
- cosmetic expectation
- special appearance standard if needed
A vague finish note leaves too much room for assumption.
A better RFQ line might include:
| RFQ item | Example |
|---|---|
| Finish type | Type II sulfuric anodizing |
| Color | Matte black |
| Thickness | 10–15 microns |
| Visual standard | No visible scratch on front face |
| Special note | Internal contact pad uncoated |
Functional requirements to communicate
The finish should match use conditions, so the RFQ should explain the working environment.
That may include:
- indoor or outdoor use
- abrasion exposure
- corrosion concern
- maintenance frequency
- expected service life
This helps the supplier judge whether the requested finish matches the real need.
Engineering details to confirm
This is where strong RFQs separate themselves from weak ones.
I always want buyers to confirm:
- masking areas for conductivity
- tight tolerance surfaces
- threads or interfaces affected by coating
- contact points for grounding
- decorative surfaces vs hidden functional surfaces
A practical checklist
- Is this housing mainly decorative, protective, or both?
- Will the finish affect fit?
- Will EMI contact matter?
- Does the buyer care more about color or wear?
- Are there any “do not coat” areas?
Here is a simple RFQ structure I find useful:
| RFQ section | What to include |
|---|---|
| Finish type | Type II or Type III |
| Thickness | Defined micron range |
| Color | Specific visual requirement |
| Use condition | Indoor, outdoor, industrial, consumer |
| Functional notes | EMI contact, wear areas, corrosion needs |
| Tolerance notes | Critical fits, threads, lid joints |
| Masking notes | Ground points, seam contact, hardware zones |
A good RFQ does something very valuable. It turns finish choice from assumption into agreement.
And once that agreement is clear, the “which is better” question finally gets the answer it deserves.
Conclusion
I do not believe Type II and Type III should be treated like a simple good-versus-better ladder. I think that way of thinking causes more mistakes than it solves. These two finishes serve different purposes. One is not automatically smarter just because it is thicker or harder.
I usually come to my final view by asking a few stubborn questions that many people skip. How rough is the real environment? How much does appearance matter after six months, not only on day one? Will the housing need reliable conductive contact? Will coating thickness create fit problems? Does the buyer need long-life toughness, or just balanced protection and good branding value?
That is why I often recommend Type II for branded, indoor, consumer-facing, or tight-tolerance aluminum housings. It gives a cleaner balance of cost, appearance, and dimensional control. It fits many B2B products very well.
That is also why I often recommend Type III for outdoor, industrial, rugged, or high-wear housings. It earns its higher cost when the product truly needs stronger protection.
I think I ended up with this view because I have seen how easy it is to chase the wrong priority. Some buyers chase looks and forget wear. Some chase hardness and forget fit. Some chase low cost and forget long-term failure. Some approve a finish without discussing EMI contact at all. None of those mistakes look dramatic at first. That is exactly why they show up so often.
My own rule is simple. I do not ask which anodizing type sounds stronger. I ask which one makes the housing more honest for the job it has to do.
If you are working on a custom aluminum housing now and you are not fully sure whether Type II or Type III fits your project better, send the housing drawing, use condition, and finish target to me. I would rather help you judge the trade-offs early than watch you pay for the wrong finish later.







