Skip to content

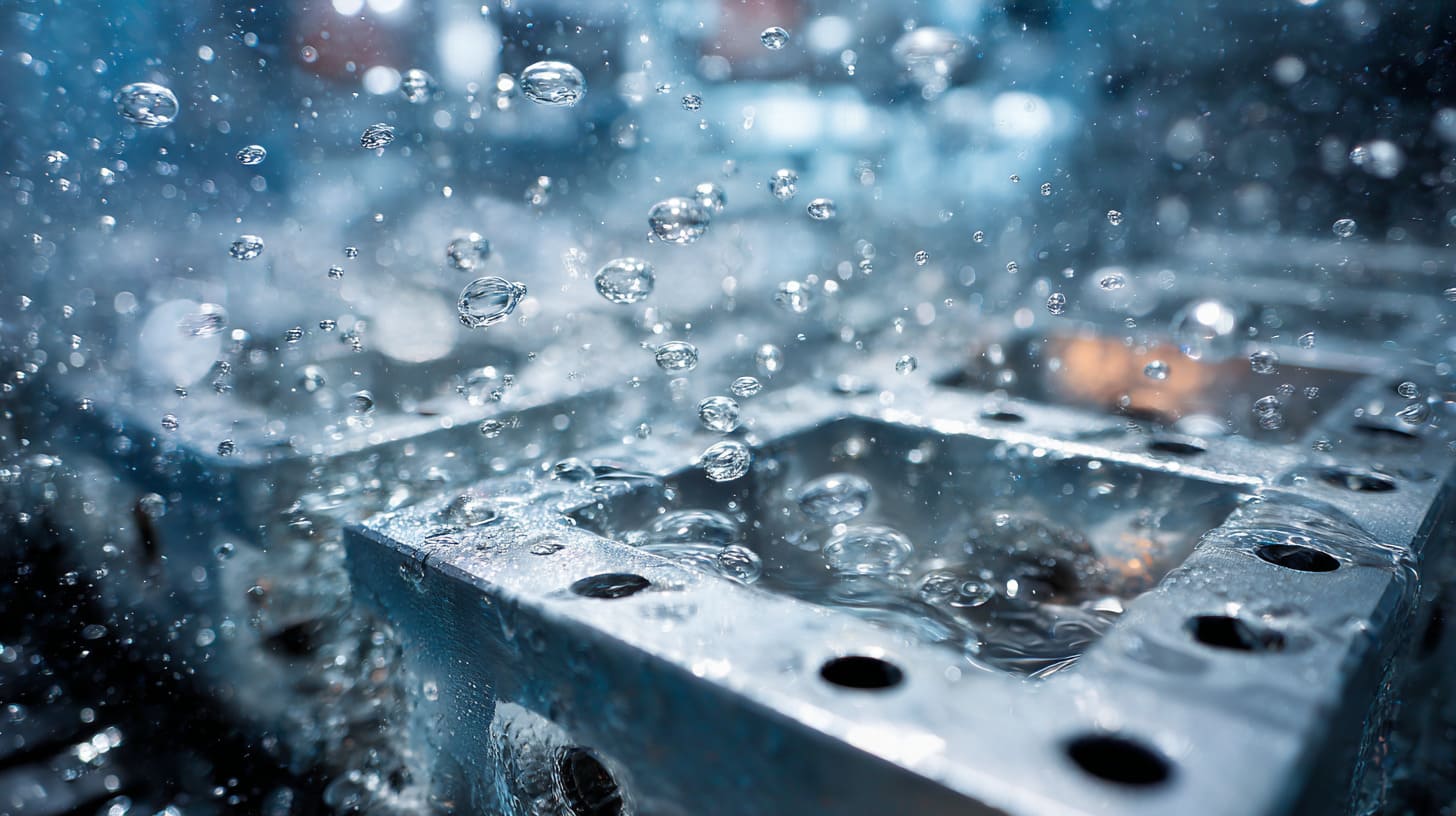
A lot of buyers look at anodizing near the end of an enclosure project. I understand why. By that point, people are tired. They have already spent time on dimensions, ports, wall thickness, mounting points, logo position, packaging, and shipping. So the finish gets pushed into the mental box of final appearance. It looks like a color choice. A neat last step. Nothing dramatic.
I do not see it that way anymore.
I have worked on enough aluminum enclosure projects to know that anodizing can quietly change the whole result. A case can look excellent in the sample photo and still create trouble later. The problem might show up in assembly. It might show up in EMI testing. It might show up when two mating parts no longer fit as cleanly as they did before finishing. It might even show up when the customer touches the product for the first time and thinks, without saying it out loud, this feels cheaper than I expected.
That is the strange thing about anodizing. It sits on the surface, but its impact goes deeper.
One buyer once focused very hard on machining details for a custom aluminum housing. He checked hole alignment, corner radius, and engraving depth. Then, almost as an afterthought, he said, “Just make it black anodized.” That sentence took five seconds. The issues that came after took much longer. We had to go back and review thread fit, logo contrast, and contact areas. The finish was not decoration anymore. It became part of the engineering discussion.
I think many misunderstandings start here. Buyers often assume a better-looking finish always means a better enclosure. That is not always true. Some projects need stronger wear resistance. Some need stable electrical contact. Some need tight control over tolerances. Some just need a clean, affordable finish that looks professional and does not create extra risk.
My own rule is simple: when a finish starts affecting fit, shielding, or long-term use, I stop calling it a cosmetic choice.
In this guide, I want to break that down in a practical way. I will explain what anodizing really is, how the main types differ, what the real benefits are, where the hidden limits sit, and how I think about Type II versus Type III when I am helping buyers choose an enclosure finish.
That is where the topic starts to get more interesting, because before choosing the right anodizing type, I think we need to look at what anodizing actually does.
What Is Anodizing for Aluminum Enclosures?
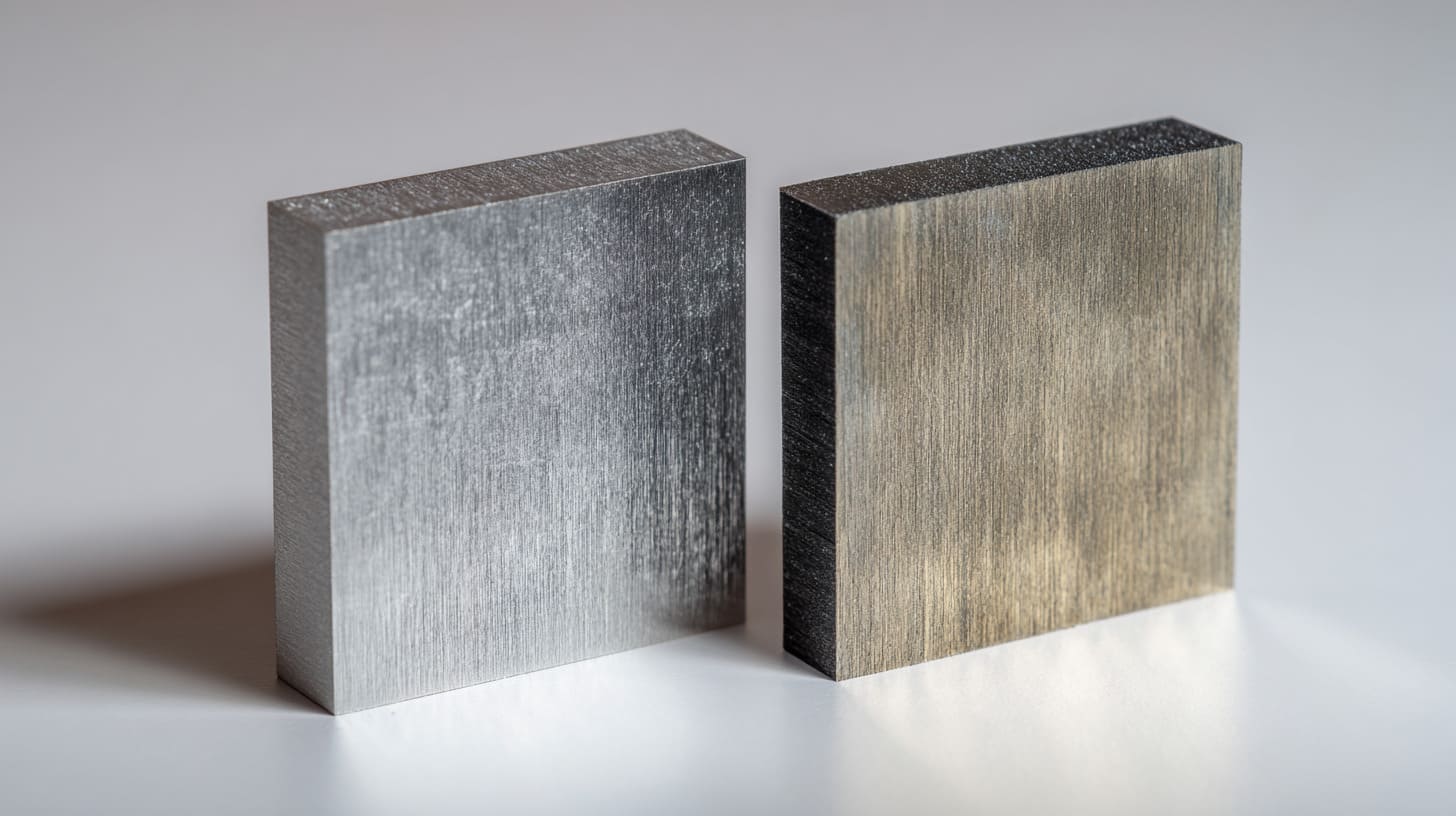
Anodizing sounds technical, and in some ways it is, but the basic idea is not hard to understand. It is a controlled process that builds up an oxide layer on the aluminum surface. Aluminum already forms a natural oxide layer when it meets air. Anodizing takes that idea and turns it into something much more intentional, much more even, and much more useful for manufacturing.
The detail I care about early is whether the buyer thinks anodizing is “paint on metal,” because once that misunderstanding enters the project, many later decisions go in the wrong direction.
What happens during the anodizing process?
In simple words, the aluminum part goes into an electrolytic bath. An electric current runs through the setup. This causes the surface of the aluminum to grow an oxide layer. That layer is not sitting on top like ordinary paint. It is bonded into the surface itself.
That difference matters a lot.
A painted part can chip in one way. An anodized part behaves differently because the finish becomes part of the metal surface structure. That is one reason anodized enclosures often feel cleaner and more “built-in” than coated ones.
Here is a simple comparison:
| Point | Natural Oxide Layer | Controlled Anodized Layer |
|---|---|---|
| How it forms | Happens naturally in air | Created in a controlled process |
| Thickness | Very thin | Much thicker and more consistent |
| Appearance | Uneven, basic | More stable and more attractive |
| Protection level | Limited | Higher corrosion and wear resistance |
| Color options | No | Yes, depending on type |
Why aluminum is ideal for anodizing
Not every metal works the same way here. Aluminum is especially suitable because it reacts well in the process and forms a useful oxide layer. It also fits very well with common enclosure manufacturing methods.
I see this all the time in:
- CNC machined aluminum enclosures
- Extruded aluminum housings
- Die-cast aluminum cases
- Sheet metal enclosure parts
That makes anodizing practical, not just theoretical. It fits real production.
Aluminum also gives buyers a good mix of light weight, corrosion resistance, machinability, and appearance. That is why it is such a common enclosure material in electronics, industrial products, and custom OEM projects.
Key characteristics of anodized surfaces
An anodized surface has a few traits that matter in real use.
First, before sealing, the oxide structure is porous. That is why dyes can enter the surface in many anodizing processes. After sealing, the surface becomes more stable.
Second, anodizing changes electrical behavior. The oxide layer is not a great conductor. In many cases, it acts more like an insulator. That can be helpful or harmful depending on the job.
Third, thickness control matters. Even small coating growth can affect fit on threads, holes, mating faces, or tightly toleranced parts.
| Surface Trait | What It Means in Real Work |
|---|---|
| Porous before sealing | Can accept color |
| Harder than raw aluminum | Better wear resistance |
| Electrically resistive | May hurt grounding or EMI contact |
| Thickness adds up | May affect assembly fit |
I think that is the first big turning point in this topic. Once a buyer understands anodizing is a surface transformation, not just a color finish, the next question becomes obvious: which anodizing type are we really talking about?
What Are the Main Types of Anodizing?
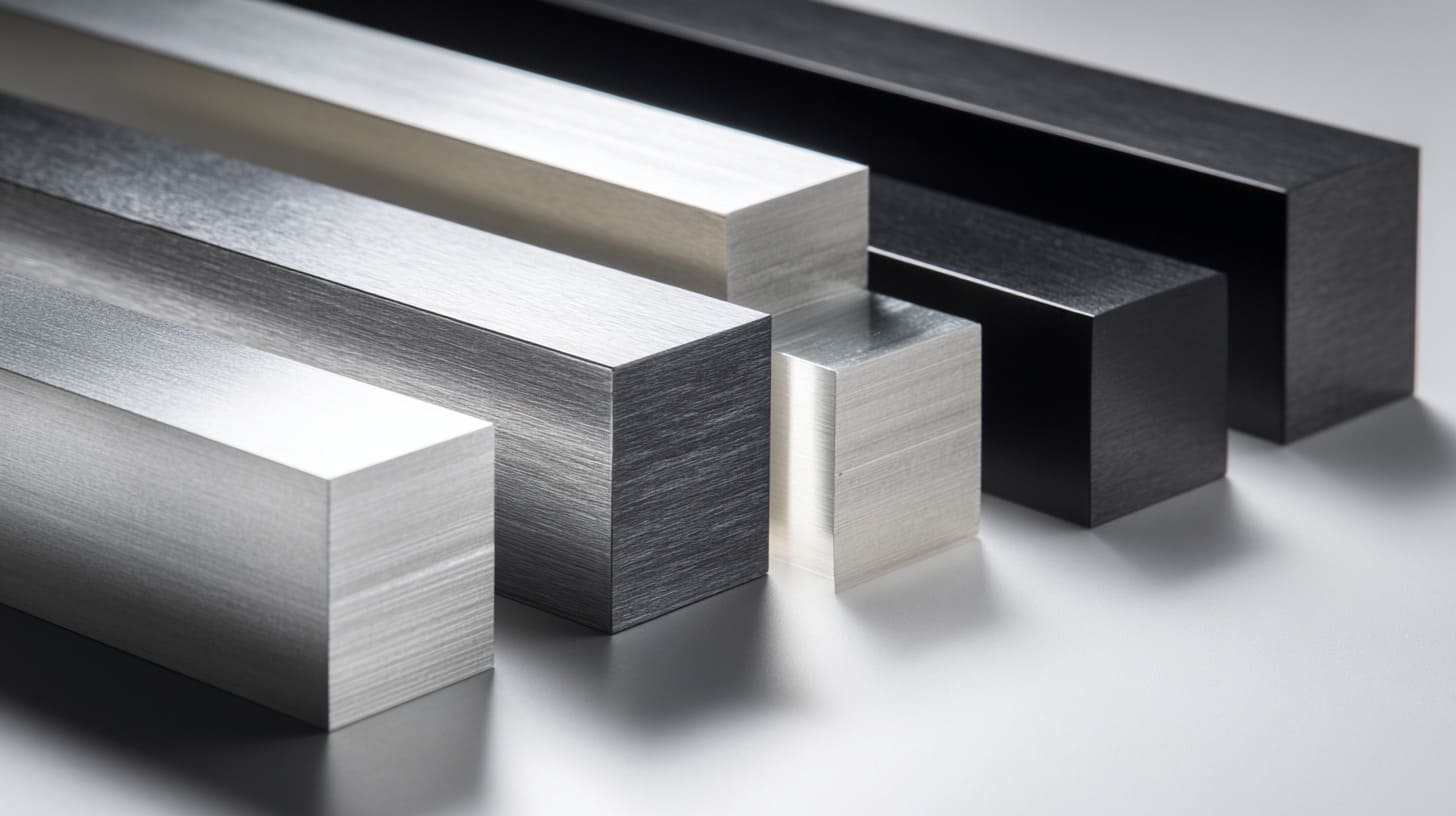
When buyers say “anodized enclosure,” they often talk as if anodizing were one single thing. It is not. The main types behave differently, cost differently, and suit different projects.
What tends to separate good choices from expensive mistakes is not the anodizing name itself, but whether the finish matches the actual abuse the enclosure will face.
Type I (Chromic Acid Anodizing)
Type I uses chromic acid. It creates a thinner coating and usually causes less dimensional change than thicker anodizing options.
Because of that, it has value in some specialized work. Aerospace is the classic example. Thin coating can be useful when dimensional control matters a lot and the application has very specific technical demands.
But for normal commercial enclosures, I rarely see Type I become the practical choice. It is not the standard answer for most OEM housings, electronics cases, or industrial aluminum boxes. It is more niche.
Type II (Sulfuric Acid Anodizing)
Type II is what many people think of first. It is common, flexible, and visually attractive. It supports a wider range of color choices, including black, clear, and other dyed finishes.
For many enclosure projects, Type II is the most balanced option.
It gives:
- Good appearance
- Solid corrosion resistance
- Reasonable wear resistance
- More manageable cost
- Broad availability
That is why so many consumer products and branded housings use it.
Type III (Hard Anodizing)
Type III is often called hard anodizing. It creates a thicker, denser oxide layer. This usually improves wear resistance and surface durability.
That sounds great, and often it is. But it also comes with trade-offs. The surface is thicker. Color choices are usually more limited. Cost is higher. Processing may take longer. Tolerance effects become more important.
Here is a quick comparison:
| Type | Main Strength | Main Limitation | Typical Use |
|---|---|---|---|
| Type I | Thin layer, low dimensional change | Niche, less common commercially | Aerospace, specialized parts |
| Type II | Good balance of look, cost, protection | Less wear resistance than Type III | Consumer and general industrial enclosures |
| Type III | High hardness and wear resistance | Higher cost, thicker buildup, fewer colors | Harsh-use and heavy-duty applications |
Once buyers see these three types side by side, the next argument usually starts right away: should I choose Type II or Type III?
Type II vs Type III: Which One Should You Choose?
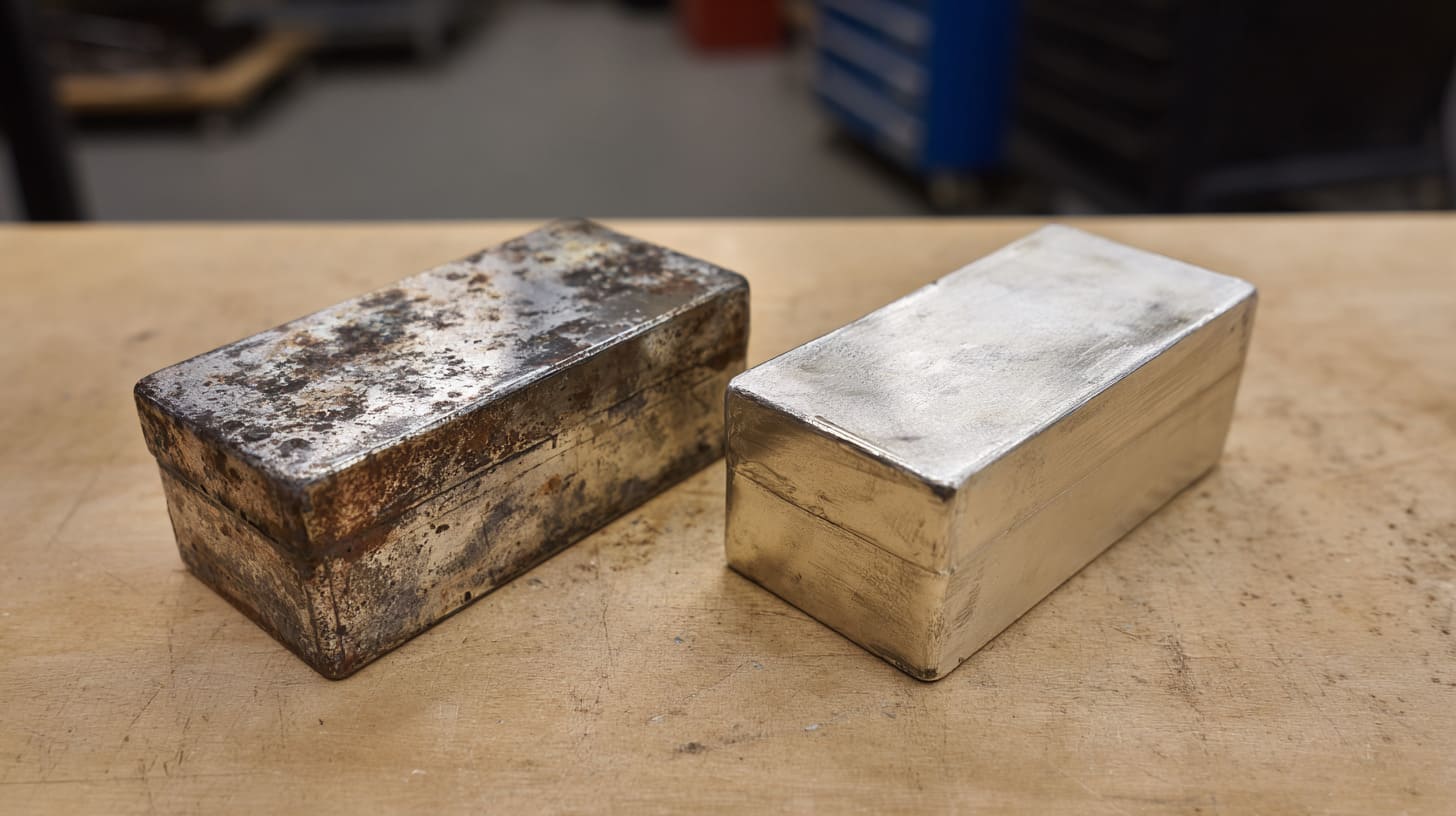
This is the part many buyers care about most, and I understand that. On paper, Type III can look like the easy winner. It sounds tougher. It sounds more premium. It sounds safer. But real projects do not reward simple thinking that often.
I get suspicious when someone picks Type III too quickly, because that usually means they are reacting to the word “hard” instead of checking what the enclosure will actually go through.
Performance comparison
Type III usually gives stronger wear resistance. It is better for rough handling, repeated friction, and harder use conditions. So if the enclosure is going into industrial equipment, field devices, or harsh environments, Type III can make real sense.
Type II still performs well in many normal situations. It gives good corrosion resistance and enough durability for a lot of electronics, branded housings, and indoor equipment.
The difference is not just “good” versus “better.” It is more about suitable versus necessary.
| Factor | Type II | Type III |
|---|---|---|
| Wear resistance | Moderate | High |
| Corrosion resistance | Good | Very good |
| Surface hardness | Lower | Higher |
| Color flexibility | Better | More limited |
| Dimensional effect | Lower | Higher |
Cost and production considerations
Type III often costs more. That is not only because of the finish itself. It can also affect production flow, lead time, and sometimes yield if the design is tight.
For buyers working on price-sensitive projects, Type II often wins because it does enough without adding too much burden.
For buyers chasing durability under abuse, Type III may be worth the higher cost.
Design implications
This part gets overlooked too often. A thicker anodized layer can affect:
- Thread engagement
- Hole tolerance
- Mating surfaces
- Sliding fit areas
- Tight assembly points
If the design is already tight, Type III needs more thought. I have seen beautifully machined parts become annoying to assemble because nobody respected finish buildup early enough.
Real-world decision scenarios
Here is how I tend to think about it:
| Scenario | My Lean |
|---|---|
| Consumer electronics enclosure | Type II |
| Branded Raspberry Pi case | Type II |
| Industrial handheld device | Depends on wear level |
| Outdoor field controller | Often Type III |
| Precision-fit assembly with tight tolerance | Careful review before Type III |
| Cost-sensitive OEM project | Usually Type II first |
The more I work on these cases, the more I believe the best choice is usually the one that prevents overbuying just as much as underperforming.
That brings us to the next part, because even the right anodizing type is chosen for a reason. So what are the actual benefits buyers are paying for?
What Are the Key Benefits of Anodized Aluminum Enclosures?
Anodizing stays popular because it solves real problems. It is not a trend finish. It gives practical value when used in the right place.
When I review a buyer’s finish request, I try to separate “I want it to look premium” from “I need it to survive real use,” because the strongest projects usually satisfy both without confusing them.
Corrosion resistance
This is one of the biggest reasons to use anodizing. The oxide layer helps protect aluminum from moisture, air, and many common corrosive conditions. That matters for outdoor products, humid environments, and devices that may face touch, sweat, or changing temperatures.
For enclosures shipped worldwide, this is not a small point. Different markets mean different climates.
Improved durability and wear resistance
Raw aluminum can mark and wear more easily. Anodizing improves surface toughness. In daily handling, that can mean fewer scratches, less visible wear, and better long-term appearance.
That matters more than some buyers expect. End users touch the enclosure long before they understand the internal engineering.
Enhanced aesthetics and branding
Anodizing often looks clean, neat, and stable. It supports better surface presentation. It also works well with engraved logos and other branding details.
I have seen buyers choose black anodizing not because black is exciting, but because it reduces risk. It looks professional. It travels well. It gives the product a more finished identity.
Electrical insulation properties
This benefit is very project-specific. Sometimes an electrically resistive surface helps. It can reduce unwanted contact in certain areas. It can help where exposed conductive metal would create issues.
But this same feature can become a drawback in shielding or grounding situations.
Here is a useful way to frame the benefits:
| Benefit | Why Buyers Care |
|---|---|
| Corrosion resistance | Longer service life |
| Better wear resistance | Fewer scratches and marks |
| Better appearance | Stronger product impression |
| Branding support | Clean logo and premium look |
| Surface insulation | Helpful in selected electrical designs |
And that is exactly why this topic needs balance. The same anodized layer that helps in one design can create problems in another.
What Are the Hidden Limitations of Anodizing?
This is where I think many finish discussions become more honest. Anodizing has real value, but it is not magic. It brings limits, and some of those limits only become visible after production starts.
The trouble often begins when a finish gets approved before anyone asks which surfaces still need to conduct, mate cleanly, or stay rework-friendly.
Electrical conductivity issues
Anodized aluminum is not the same as raw conductive aluminum at the surface. The oxide layer increases electrical resistance. So if the enclosure design depends on metal-to-metal conductivity, anodizing can interfere.
That matters in:
- Grounding paths
- EMI shielding paths
- Contact surfaces
- Fastener interfaces
Contact resistance at joints
Seams, screws, and mating faces are common problem spots. A project can look beautifully finished and still fail because contact resistance became too high where continuity mattered.
I have seen this happen in split enclosures where both halves were anodized evenly, but the design still needed reliable conductive contact at the joining edges.
Dimensional and tolerance changes
Anodizing adds thickness. Even when the numbers seem small, tight projects can feel the difference quickly. Threads may tighten. Hole fit may shift. Sliding parts may stop feeling smooth.
| Limitation | Typical Effect |
|---|---|
| Insulating surface | Weakens electrical contact |
| Contact resistance | Can hurt shielding and grounding |
| Thickness buildup | Changes fit and tolerance |
| Harder to rework | Raises correction cost |
Repair and rework challenges
Post-processing becomes harder after anodizing. Re-machining can damage the finish. Re-anodizing costs time and money. Color matching after rework can also become difficult.
That is why I prefer finish decisions that are made early, not after the sample stage feels “almost done.”
And once these limitations are on the table, one issue deserves its own close look, because it causes a lot of confusion in enclosure projects: EMI shielding.
How Does Anodizing Affect EMI Shielding?
EMI shielding and anodizing do not always work together smoothly. This is one of the most misunderstood parts of enclosure design, especially when buyers focus on finish quality and forget electrical continuity.
I do not trust a shielding design until I know exactly where current is expected to pass across seams, screws, and contact faces, because nice-looking anodized parts can fail in very ugly ways during testing.
Why conductivity matters in shielding
Effective shielding depends on a continuous conductive path. If there are gaps, weak contacts, or resistive breaks at the wrong places, leakage can happen.
That means the enclosure is not just a box. It is part of an electrical control strategy.
How anodizing disrupts shielding performance
The anodized layer can interrupt conductivity at:
- Panel joints
- Screw contact points
- Mating edges
- Lid-to-body interfaces
That is why some fully anodized enclosures struggle in EMI testing. The finish has done its job as a protective layer, but the enclosure now lacks stable conductive continuity where shielding depends on it.
Solutions to maintain EMI performance
This problem is manageable, but only if people plan for it.
Common solutions include:
- Masking selected contact areas before anodizing
- Using conductive gaskets
- Adding conductive coatings at key points
- Using hybrid finish strategies
- Designing screw and seam contact carefully
| EMI Concern | Practical Fix |
|---|---|
| Anodized seam blocks continuity | Mask seam contact area |
| Screw contact too resistive | Leave screw seating area conductive |
| Lid and base lose shielding path | Add conductive gasket |
| Full-finish design too risky | Use mixed finishing strategy |
This is one of those places where surface beauty and electrical performance have to negotiate with each other.
And once that balance is understood, the next question becomes more practical: where are anodized aluminum enclosures most commonly used?
What Are the Common Applications of Anodized Aluminum Enclosures?
Anodized aluminum enclosures show up in many industries because they solve a useful mix of durability, appearance, and corrosion concerns. Still, not every application asks for the same kind of anodizing.
I usually judge the end-use market first, because a finish that feels smart in a consumer product can feel wasteful or risky in a heavily technical enclosure.
Consumer electronics
This is a very common area. Raspberry Pi cases, small embedded housings, and branded electronics often use anodized aluminum because it looks clean and feels better in the hand.
In these products, appearance matters a lot. Buyers want a product that photographs well, ships well, and gives the customer a stronger first impression.
Industrial equipment
Industrial enclosures often care more about durability and environmental resistance than visual flair. In this space, anodizing helps protect the surface and maintain a more stable finish over time.
Control units, machine-side boxes, and automation housings often benefit from a finish that can take handling without becoming ugly too quickly.
Outdoor and harsh environments
Outdoor power systems, telecom equipment, and exposed control products may face moisture, dust, changing temperatures, and harsher contact conditions. Here, anodizing can help improve long-term resistance, though the exact type still depends on wear and electrical demands.
Medical and precision devices
These devices often need a very controlled, clean, professional appearance. Surface quality matters. Corrosion resistance matters too. Buyers in this space often care about every detail because the product has to look dependable before anyone even turns it on.
| Application Area | What Matters Most |
|---|---|
| Consumer electronics | Appearance, cost, branding |
| Industrial equipment | Wear, handling, reliability |
| Outdoor systems | Corrosion and weather resistance |
| Medical devices | Clean finish, consistency, trust |
Once I look at these use cases side by side, one thing becomes clear: anodizing is useful in many places, but the “right” anodizing only becomes clear when the project details are honest.
That leads naturally to the last big question buyers ask me.
How to Choose the Right Anodizing for Your Project?
This is where all the theory has to become a decision. Buyers do not need finish knowledge for entertainment. They need it because a real enclosure has to be built, assembled, shipped, and used.
What often decides the right finish for me is not the finish catalog, but the first point where the enclosure is most likely to disappoint the customer in actual use.
Key decision factors
I normally review three things first:
- Environment: indoor, outdoor, humid, corrosive, dusty
- Mechanical wear: light touch, repeated handling, rough field use
- Electrical needs: grounding, shielding, conductive contact
If the enclosure is mostly about appearance and moderate protection, Type II may be enough. If it faces hard use and long-term abuse, Type III becomes more attractive.
Cost vs performance trade-offs
This part needs honesty. Not every project needs the toughest finish available.
Type II is often enough for:
- Branded electronics
- Indoor control housings
- Standard OEM aluminum cases
- Price-sensitive custom projects
Type III is often worth it for:
- Rough-use equipment
- Field devices
- Heavy contact or wear conditions
- Harsh environments where durability matters more than color variety
Design checklist before finalizing anodizing
Before approving the finish, I like to review this short checklist:
| Check Item | Why It Matters |
|---|---|
| Tolerance review | Finish thickness may affect fit |
| Threads and holes | Risk of tight assembly |
| Contact points | May affect grounding or EMI |
| Logo and appearance | Needs to match brand expectations |
| Assembly method | Some joining methods are more sensitive |
Supplier communication tips
A lot of finish mistakes are really communication mistakes. Buyers should confirm:
- Which anodizing type is being quoted
- Coating thickness target
- Masking requirements
- Color expectation
- Critical dimensions after finish
- Contact surfaces that must stay conductive
I have seen buyers simply write “black anodized” in a drawing note and assume everything else will sort itself out. It usually does not.
A better approach is to be specific. A finish callout should connect to use conditions, assembly needs, and electrical function. That is when supplier communication becomes much easier and much safer.
And after all of this, I think the biggest lesson is surprisingly simple.
Conclusion
Anodizing aluminum enclosures is not just about making a case look better. It affects how the enclosure resists wear, how it handles corrosion, how it fits together, and in some projects, how it performs electrically. That is why I never like to treat anodizing as a small finishing detail anymore.
Type II and Type III both have value. Type II is often the smarter choice for general OEM enclosures, branded electronics, and projects where cost, appearance, and practical protection need to stay in balance. Type III makes more sense when the enclosure has to deal with heavier wear, rougher handling, or more demanding use conditions.
The point is not to choose the “strongest” finish by habit. The point is to choose the finish that fits the real job.
If I can leave one idea with the reader, it is this: a good enclosure finish is not the one that sounds impressive in a meeting. It is the one that still feels right after machining, assembly, shipping, and daily use all take their turn.
If you are planning a custom aluminum enclosure and you are unsure which anodizing type fits your project, I think it is worth reviewing the use environment, tolerance risks, and electrical needs before locking in the finish. And if you want a second set of eyes on that decision, you can always reach out to me at MaidaTech. I am happy to look at the design and help you judge what makes sense before a small finish choice turns into a bigger production problem.