 Skip to content
A buyer once sent me a photo of an outdoor control box after a heavy rain. The box was marked IP65. The datasheet looked fine. The enclosure body looked fine too. But inside the box, there was water at the bottom, like a small sad pond.
The buyer was angry. I understood him.
He did not buy an outdoor enclosure because he wanted to study IP ratings. He bought it because he wanted his electronics to survive outside. That is the whole point. Nobody wants to explain to their own customer why a “waterproof” box failed after installation.
This is where many engineers and buyers get trapped.
They see IP65, and their brain says:
“Good. Outdoor use. Problem solved.”
But real outdoor installations are not laboratory tests. Real sites have sunlight, wind, dust, heat, cold, rain direction, cable stress, bad installation habits, cheap cable glands, and tired workers tightening screws at 5 p.m.
IP65 is useful. I respect it. But I never treat it as a magic stamp.
The real question is not only:
“Does this enclosure pass IP65?”
The better question is:
“Will this enclosure still protect the electronics after real people install it in real weather?”
That second question is much harder. And that is where many failures begin.
In this article, I want to talk about why IP65 outdoor enclosures still fail in real installations. I will explain the common failure points from the view of someone who deals with custom enclosures, OEM projects, and buyers who need real protection, not just a nice rating on paper.
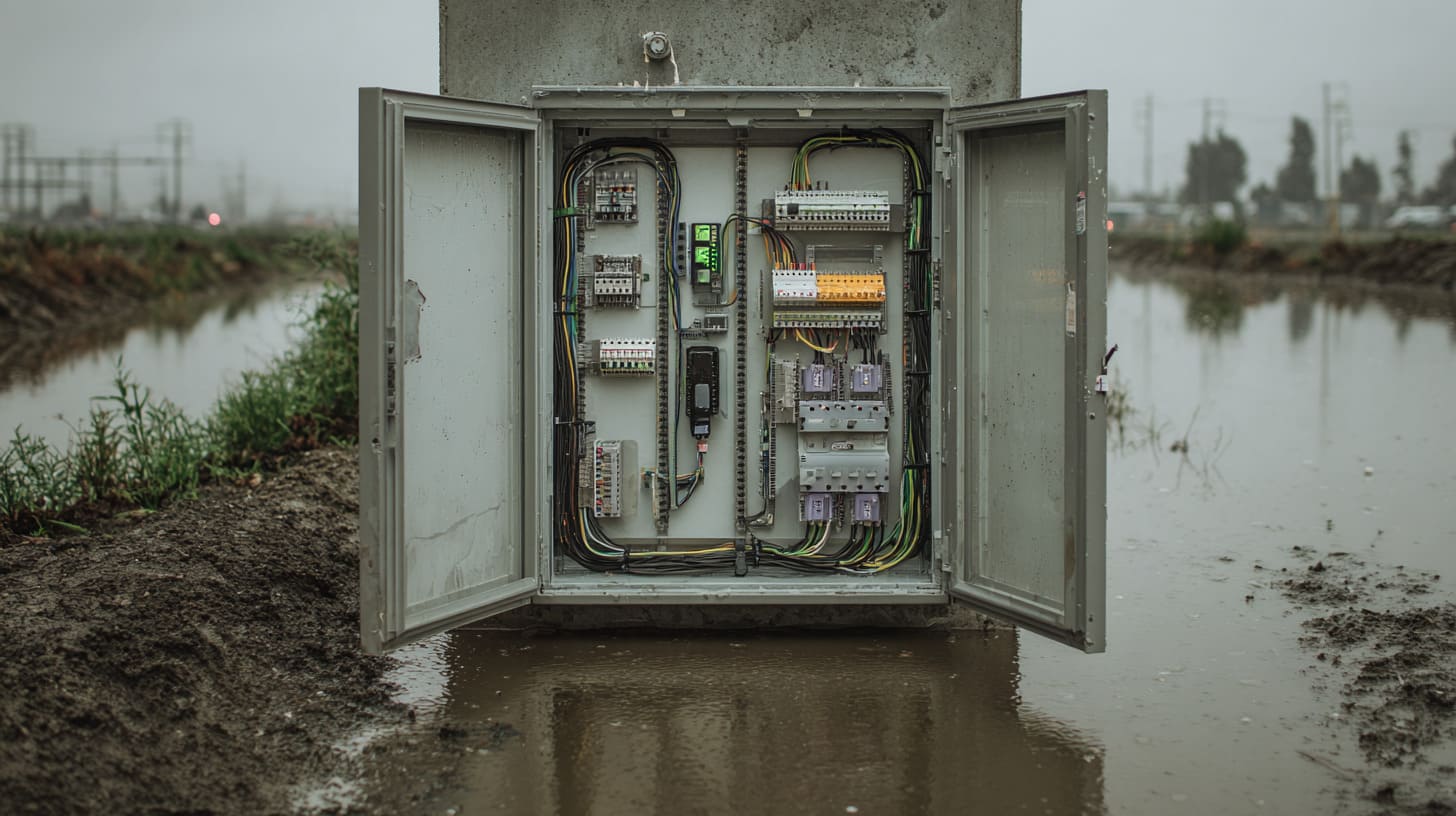
What Does IP65 Actually Protect Against?
IP65 is a good rating, but I always see it as a starting line, not a finish line. Many buyers treat it like a promise that the enclosure can survive anything outside. That is a dangerous way to think.
The first thing I usually check is not the rating itself, but the working environment behind the rating, because the same IP65 enclosure can perform very differently on a clean wall, a seaside pole, or a dusty factory roof.
Understanding the Meaning of IP65
IP ratings are used to describe how well an enclosure protects against solids and liquids. The first number is for solid protection. The second number is for water protection.
For IP65:
| Rating Part | Meaning | Simple Explanation |
|---|---|---|
| IP | Ingress Protection | Protection against things entering the enclosure |
| 6 | Dust-tight | Dust should not enter and affect internal parts |
| 5 | Water jets | Water jets from different directions should not damage the product |
So, IP65 means the enclosure should be dust-tight and protected against water jets. This sounds strong. And for many normal outdoor projects, it can be enough.
But here is the small detail that many people miss.
IP65 testing is controlled. The test conditions are clear. The water pressure, nozzle, distance, and time are defined. The enclosure is usually new. The gasket is clean. The screws are properly tightened. The sample is not aged by sun for two years. The cable glands are not twisted by installers.
A laboratory test is like a clean exam room.
A real installation is like a street fight.
Both matter. But they are not the same.
What IP65 Does NOT Guarantee
IP65 does not mean the enclosure can be submerged in water. It does not mean it can sit in a puddle. It does not mean it can survive years of sunlight without material aging. It also does not mean every screw, gland, bracket, and cable entry will stay sealed forever.
I often explain it this way to buyers:
IP65 protects against water jets. It is not a promise that the whole system will stay perfect under every outdoor condition.
Here is a simple comparison:
| Misunderstanding | More Realistic Meaning |
|---|---|
| IP65 means fully waterproof | IP65 means protected against water jets, not submersion |
| IP65 means outdoor forever | Outdoor life depends on UV, temperature, corrosion, and installation |
| IP65 means any cable gland is fine | Cable gland quality and cable size still matter |
| IP65 means no condensation | Condensation can still happen inside sealed boxes |
| IP65 means no corrosion | Corrosion depends on material, coating, screws, and environment |
This is why I get careful when a buyer only writes, “Need IP65 outdoor box,” without telling me where and how the box will be used.
Outdoor in Germany is not the same as outdoor in the Middle East.
Outdoor under a roof is not the same as outdoor on a pole near the sea.
Outdoor for a Wi-Fi device is not the same as outdoor for an industrial controller with heat inside.
The words look small. The difference is huge.
Why Buyers Often Misunderstand IP Ratings
I do not blame buyers for misunderstanding IP ratings. The market made it confusing.
Many product pages use words like “waterproof,” “weatherproof,” and “outdoor enclosure” too easily. These words feel simple, but they hide many technical details.
A product engineer may understand the board, the wiring, and the project schedule. But when he buys an enclosure from overseas, he often has to trust photos, drawings, and supplier claims. If the supplier says IP65, he may assume the enclosure is ready for all outdoor conditions.
That assumption can become expensive.
For custom OEM projects, the risk is even bigger. A standard enclosure may pass IP65. But after adding holes, connectors, vents, screens, labels, and logos, the real protection may change.
This is where I slow down the conversation with customers. Sometimes it feels annoying. But it saves trouble later.
I would rather ask one more boring question before production than receive one angry photo after installation.
A rating can open the door. But the project details decide whether the enclosure can stay outside and do its job.
Why Do IP65 Outdoor Enclosures Fail in Real Installations?
Many IP65 failures are not dramatic. They do not look like a broken box. They look like small mistakes that nobody noticed at the beginning.
A screw that was too loose.
A cable gland that did not match the cable.
A hole added on site with a hand drill.
Tiny things. Big headache.
This is where things often go wrong: people check the enclosure body, but they forget that the full protection depends on the whole installed system, including the installer’s hands.
Installation Errors in the Field
An enclosure can leave the factory in good condition and still fail after installation. This is not a comfortable truth, but it is a real one.
The gasket may need even compression. If one corner is too tight and another corner is too loose, the seal is not balanced. Water does not need a big hole. It only needs a weak path.
Screws also matter more than many people think. If screws are under-tightened, the gasket may not press enough. If screws are over-tightened, the gasket may deform. Both can cause trouble.
| Installation Mistake | What Happens Later |
|---|---|
| Screws tightened unevenly | Gasket compression becomes uneven |
| Screws over-tightened | Gasket becomes deformed or damaged |
| Enclosure mounted upside down | Water may collect near cable entries |
| Cover opened many times | Gasket may shift or get dirty |
| Wrong bracket position | Water may stay behind the box |
I have seen some outdoor boxes mounted in a way that makes water stay on top of the cover. The box may pass a water jet test, but real rain sits there for hours. That is a different story.
Water is patient. It has all night.
Cable Gland and Connector Failures
If the enclosure body is the house, cable glands are the doors.
And doors are where thieves enter.
In many projects, the enclosure itself is not the first failure point. The cable entry is. The cable gland may be too cheap. The rubber insert may not fit the cable diameter. The thread may not be sealed well. The installer may not tighten it correctly.
A cable gland has a simple job, but it must do that job under stress.
It faces UV, heat, cold, pulling force, vibration, and sometimes rain running along the cable. If the material is poor, the seal becomes weak over time.
| Cable Entry Issue | Why It Is Risky |
|---|---|
| Cable too small for gland | Rubber insert cannot grip cable tightly |
| Cable too large for gland | Rubber insert deforms and loses sealing |
| No sealing washer | Water may enter through the thread |
| Cheap plastic gland | UV aging may make it brittle |
| Connector not outdoor-rated | Water may enter around pins or housing |
I like to ask buyers for the cable diameter range before production. This small step prevents a lot of silly failures.
It is not enough to say “M16 cable gland.” The cable diameter matters. The gland material matters. The sealing washer matters.
Outdoor protection is not poetry. It is small parts doing boring work.
Human Factors During Assembly
Factory assembly and field assembly are both done by people. People get tired. People hurry. People forget small accessories. People also open and close enclosures after final testing.
That is normal. But outdoor projects do not forgive these small mistakes.
Dust or metal chips can sit on the sealing surface. A gasket can be scratched. A screw can be missed. A cable gland nut can be left loose. If production is rushed, these risks become bigger.
Here is a very common chain of failure:
- The enclosure passes inspection.
- The buyer adds wiring later.
- The cover is opened again.
- Dust falls on the gasket.
- The cover is closed quickly.
- The box is installed outside.
- Rain finds the weak spot.
Nobody planned the failure. But everybody helped it happen a little.
That is why I care about assembly instructions. I also care about packaging. A gasket should not be crushed during shipping. Small accessories should not be loose in a big carton where they can disappear like socks in a washing machine.
The enclosure may look like a metal or plastic box. But in outdoor use, it behaves more like a system.
And a system fails at the weakest habit.
Small habits are boring until they cost money. Then they become very interesting.
How Sunlight and Temperature Destroy Outdoor Enclosures
Water gets most of the blame. But sunlight and temperature are the quiet workers behind many failures.
Rain attacks from outside. Heat attacks from everywhere.
UV slowly changes plastic. Temperature changes the shape of materials. Day and night cycles make parts expand and shrink. After enough cycles, a seal that looked fine at the start can become tired.
My own rule is simple: if an enclosure will stay outside for years, I do not only ask whether it is waterproof today; I ask what the gasket, coating, and plastic parts will look like after sun, heat, and cold have worked on them for a long time.
UV Exposure Slowly Damages Materials
Sunlight looks harmless. It is not.
UV can make some plastics brittle. It can make rubber parts lose elasticity. It can fade coatings. It can make cheap plastic glands crack. The enclosure may still look acceptable from far away, but the sealing parts may already be weaker.
For plastic enclosures, UV resistance is very important. ABS, polycarbonate, and other plastics do not behave the same outdoors. Some materials need UV additives. Some need special grades. Some are better for indoor use, even if the box shape looks strong.
| Part | UV Risk | Possible Result |
|---|---|---|
| Plastic enclosure body | Brittleness, cracking | Housing cracks near screws or corners |
| Rubber gasket | Loss of elasticity | Seal becomes weak |
| Cable gland | Surface cracking | Water enters through gland |
| Coating | Fading, chalking | Less surface protection |
| Labels or printing | Peeling, fading | Branding looks poor and may trap water at edges |
I do not like to oversell one material as “always best.” Aluminum has strengths. Plastic has strengths. Steel has strengths. But outdoor projects need the right match.
A plastic box under shade may work well.
The same box under strong sun in a hot area may age faster.
That is not the fault of the box. That is the cost of choosing without context.
Thermal Expansion Creates Hidden Gaps
Materials expand when they heat up and shrink when they cool down. This sounds like a school lesson, but it becomes very real in enclosure design.
Aluminum, plastic, steel, rubber, and cable materials all move differently. When the sun heats one side of the enclosure, the body may expand. At night, it shrinks. This cycle repeats again and again.
After months or years, small gaps can appear.
The risk becomes higher when the enclosure uses mixed materials. For example, an aluminum enclosure with plastic windows, rubber gaskets, stainless screws, and different connectors needs careful design.
| Material Combination | Hidden Risk |
|---|---|
| Aluminum body + rubber gasket | Gasket may lose compression after cycling |
| Plastic cover + metal inserts | Stress may form around screw points |
| Metal box + plastic connector | Different expansion may loosen sealing |
| Large cover + many screws | Uneven compression may appear |
| Thin wall + heavy connector | Local deformation may affect sealing |
This is why I care about wall thickness, screw spacing, gasket groove design, and cover flatness. These details do not look exciting in a sales photo. But they decide whether the enclosure stays sealed after real thermal stress.
Cheap design often looks okay on day one.
Outdoor use checks day 300.
Condensation Problems Inside the Enclosure
Here is a strange thing. A sealed enclosure can still have water inside.
How?
Condensation.
When warm moist air is trapped inside and the temperature drops, moisture can condense on internal surfaces. The buyer may open the box and think rain entered. Sometimes rain did not enter at all. The water formed inside.
This is very common when:
- The enclosure heats up during the day
- The temperature drops at night
- The internal electronics generate heat
- The box has no breathing vent
- The environment has high humidity
Condensation is sneaky because it feels unfair. The enclosure may pass a water test and still have moisture inside later.
| Condition | Condensation Risk |
|---|---|
| High humidity area | More moisture available inside |
| Big day/night temperature change | More condensation cycles |
| Heat-generating electronics | Internal air warms and cools repeatedly |
| Fully sealed box | Moisture cannot escape easily |
| No drain or vent design | Water stays inside |
For sensitive electronics, condensation can cause corrosion, short circuits, sensor errors, and early failure. The enclosure did not “leak” in the normal sense, but the result is still damage.
This is why I often suggest breathable vents for some outdoor electronic projects. The buyer sometimes worries that vents will reduce waterproof performance. That is a fair concern. But with the right IP-rated membrane vent, ventilation can reduce pressure and moisture problems while keeping protection.
Outdoor design is often a trade-off.
Too open, water enters.
Too sealed, moisture may stay inside.
The smart point is not to choose one extreme. The smart point is to understand the working condition.
The sun does not ask for permission before testing your design. It just starts working from the first day.
Why Cable Entry Areas Become the Biggest Failure Point
A beautiful enclosure can fail at a cheap cable gland. I know that sounds unfair, but outdoor projects are full of unfair details.
The enclosure body may be thick. The coating may be good. The gasket may be clean. Then one cable enters from the wrong direction, and water follows it like a tiny road.
When I review an outdoor project, I spend more time looking at cable entry direction than many customers expect, because water often enters through the path that looks most harmless in the drawing.
Poor Cable Routing Design
Cable routing is not only an electrical issue. It is also a waterproofing issue.
If a cable enters from the top, rain can run along the cable and reach the gland. If the cable has no drip loop, water may travel directly into the entry point. If the gland faces upward, it becomes a small cup waiting for water.
A better design often lets cables enter from the bottom or side, with a drip loop below the entry point.
| Cable Routing Style | Risk Level | Comment |
|---|---|---|
| Bottom entry with drip loop | Low | Usually safer for outdoor use |
| Side entry with cover protection | Medium | Can work if sealed well |
| Top entry without shield | High | Water may collect and run into gland |
| Upward-facing connector | High | Connector becomes a water collection point |
| Cable pulled tightly | Medium to high | Stress may weaken gland sealing |
A drip loop is a small thing. It costs almost nothing. But it can stop water from running straight into the enclosure.
This is why I like practical design more than “clean-looking” design. A drawing may look better when all cables go straight. Real rain does not care about clean drawings.
Real rain loves straight paths.
Low-Quality Cable Glands
Not all cable glands are equal.
Some look almost the same in photos. The price difference may be small. But the material, rubber insert, thread quality, washer, and UV resistance can be very different.
For outdoor use, I pay attention to:
- Material of gland body
- Rubber insert quality
- Cable diameter range
- Thread sealing
- UV resistance
- Temperature resistance
- Pull resistance
A cheap gland may seal well at first. But after UV exposure and temperature cycling, the rubber can harden. The plastic can become brittle. The thread can loosen.
| Gland Feature | What I Prefer for Outdoor Use |
|---|---|
| Body material | UV-resistant nylon or metal, depending on project |
| Seal insert | Good elasticity and correct cable range |
| Washer | Proper sealing washer under the gland |
| Thread | Clean thread with stable tightening |
| Certification | Match required IP rating after installation |
The mistake is not always buying cheap parts. The mistake is using cheap parts in a place where failure is expensive.
If a cable gland saves $0.20 but causes a field repair, nobody will remember the $0.20. They will remember the angry customer.
Multiple Entry Holes Increase Risk
Custom enclosures often need many holes. USB holes. Power holes. Antenna holes. Sensor holes. Cable glands. Buttons. LED windows. Mounting holes. The list grows fast.
Each hole is a possible leak point.
I am not saying buyers should avoid customization. Customization is often the whole reason they come to us. But every cutout needs a sealing plan.
| Cutout Type | Main Risk | What Should Be Checked |
|---|---|---|
| Cable gland hole | Thread leakage | Washer and diameter tolerance |
| USB or connector hole | Connector seal weakness | Connector IP rating and gasket |
| Button hole | Seal around moving part | Outdoor button quality |
| Display window | Edge sealing | Adhesive and gasket design |
| Antenna hole | Thread and washer leakage | Outdoor antenna base seal |
| Field-drilled hole | Poor edge quality | Deburring and sealing method |
Field drilling is especially risky. A worker may drill a hole after the enclosure is already shipped. The hole edge may be rough. The coating may be damaged. The sealing surface may not be flat. Then the buyer still expects IP65.
That is like cutting a hole in an umbrella and blaming the rain.
For OEM projects, I prefer to confirm all holes before production. CNC machining gives better control than random site drilling. It also allows us to design gasket areas, connector positions, and cable gland spacing more carefully.
Cable entries are small, but they behave like gatekeepers. If they become lazy, the whole enclosure loses the fight.
Why IP65 Enclosures Still Corrode Outdoors
Many people connect IP ratings with water resistance. That is correct, but incomplete.
An enclosure can resist water entry and still corrode outside. Corrosion is a different enemy. It attacks the material itself, the screws, the coating, and the contact points.
My judgment changes fast when I hear words like seaside, chemical plant, food factory, or outdoor pole, because corrosion risk can turn a normal IP65 enclosure into the wrong choice even when the water sealing looks acceptable.
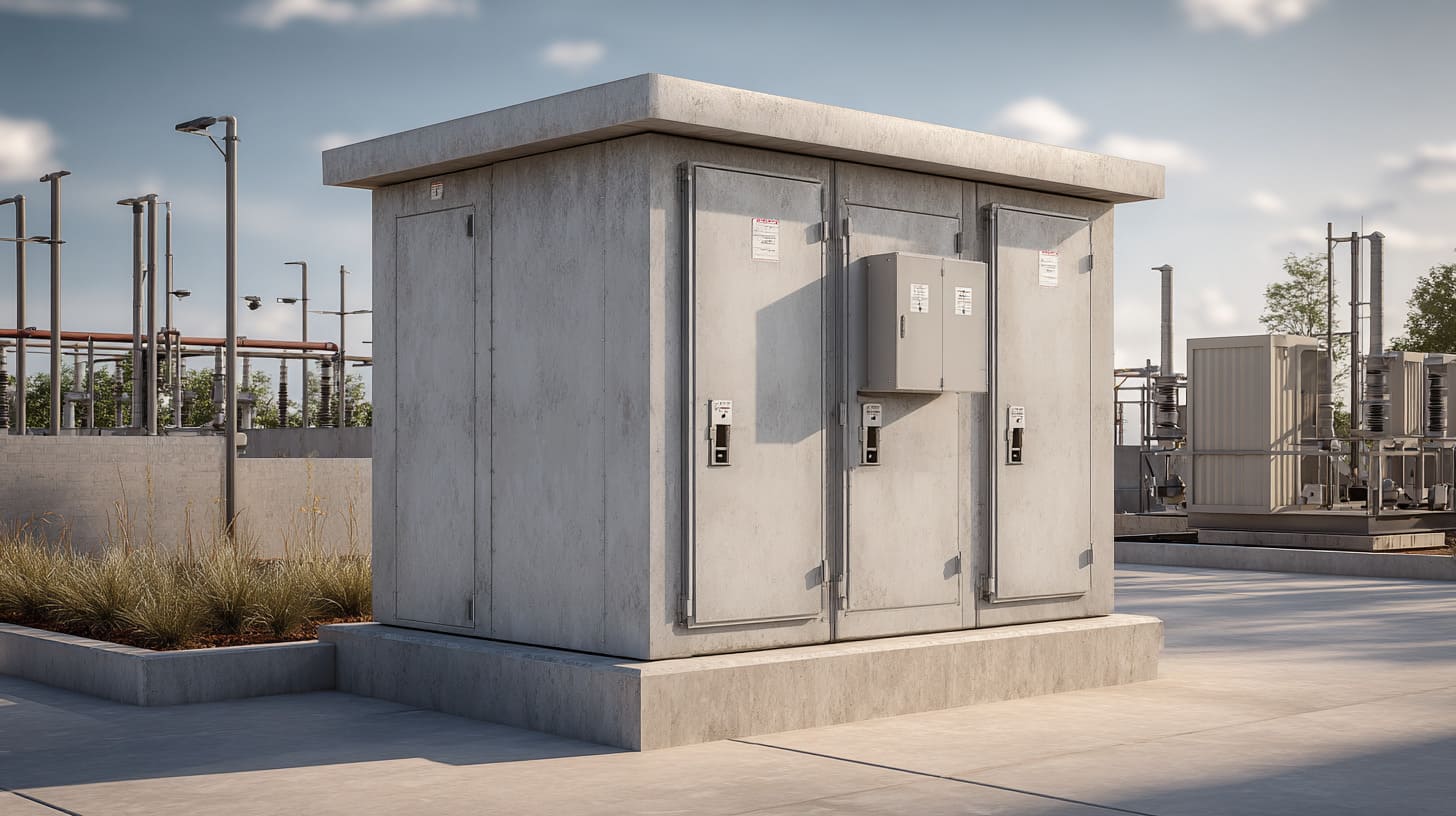
Corrosion from Coastal and Industrial Environments
Outdoor does not mean one environment. It means many environments.
A box installed in a dry inland area faces different risks from a box installed near the sea. Salt air can attack metal parts quickly. Industrial air may contain chemicals, oil, coolant, or dust. These things can damage surfaces and sealing parts over time.
| Environment | Main Corrosion Risk |
|---|---|
| Coastal area | Salt spray attacks metal and screws |
| Chemical plant | Chemical vapor damages coating or gasket |
| Food processing site | Cleaning chemicals and washdown exposure |
| Industrial workshop | Oil mist, coolant, and dust buildup |
| Rooftop installation | UV, rain, and temperature cycling combined |
Corrosion often starts in hidden places. Under screws. Behind brackets. Around scratches. At cut edges. Under damaged coating.
The enclosure may look fine from the front. But if corrosion starts behind the mounting bracket, the buyer may not see it until the structure becomes weak.
This is why I ask about the installation site. Not because I want to make the conversation longer. I ask because “outdoor” is too simple a word for a very complicated problem.
Galvanic Corrosion Between Different Metals
Galvanic corrosion happens when different metals contact each other in the presence of moisture. Many buyers do not think about this until they see strange corrosion marks around screws or brackets.
For example, stainless steel screws with aluminum housings can create corrosion risk under some conditions. The risk depends on environment, coating, contact area, moisture, and material choice.
This does not mean stainless screws are always bad. No. Stainless screws are often useful. But the full system must be considered.
| Metal Contact | Possible Concern |
|---|---|
| Stainless screw + aluminum body | Risk at contact points in wet/salty areas |
| Steel bracket + aluminum enclosure | Coating damage may speed corrosion |
| Mixed fasteners | Uneven corrosion behavior |
| Damaged coating near screw holes | Exposed metal becomes weak point |
| Bare cut edges | Corrosion may start from exposed area |
A small scratch near a screw hole can become a big problem in a salty environment. That is why surface treatment and assembly control matter.
Corrosion does not need a big invitation. It only needs moisture, material weakness, and time.
Why Surface Treatment Matters
Surface treatment is not decoration only. It is protection.
Powder coating, anodizing, plating, and painting all affect outdoor performance. The best choice depends on material, environment, appearance needs, budget, and quantity.
Here is a simple comparison:
| Surface Treatment | Strength | Possible Weak Point |
|---|---|---|
| Powder coating | Good coverage, color options | Poor coating may peel or chip |
| Anodizing | Good for aluminum surface | Limited color and may not cover deep scratches well |
| Painting | Flexible appearance | Quality depends heavily on process |
| Plating | Useful for some metal parts | May fail if thickness or preparation is poor |
For custom aluminum enclosures, many buyers care about color first. I understand that. Branding matters. But for outdoor use, I care about coating thickness, edge coverage, pretreatment, and adhesion.
A beautiful finish that peels after six months is not beautiful. It is delayed trouble.
Cheap finishing can make a product look good in photos. Outdoor use asks a harder question:
Can this surface keep protecting the enclosure after sun, rain, dust, and handling?
That question is not glamorous. But it is the question that saves projects.
Corrosion is slow, but it is not shy. Once it starts, it keeps asking for more space.
How Poor Ventilation Causes Internal Failures
A sealed box feels safe. I understand why buyers like it.
No holes. No air exchange. No water entry. It sounds perfect.
But electronics are not jewelry. They produce heat. They may need pressure balance. They may live in humid air. A fully sealed enclosure can trap problems inside.
I often treat ventilation as a design decision, not an afterthought, because the wrong sealed box can protect against rain while slowly cooking or sweating the electronics inside.
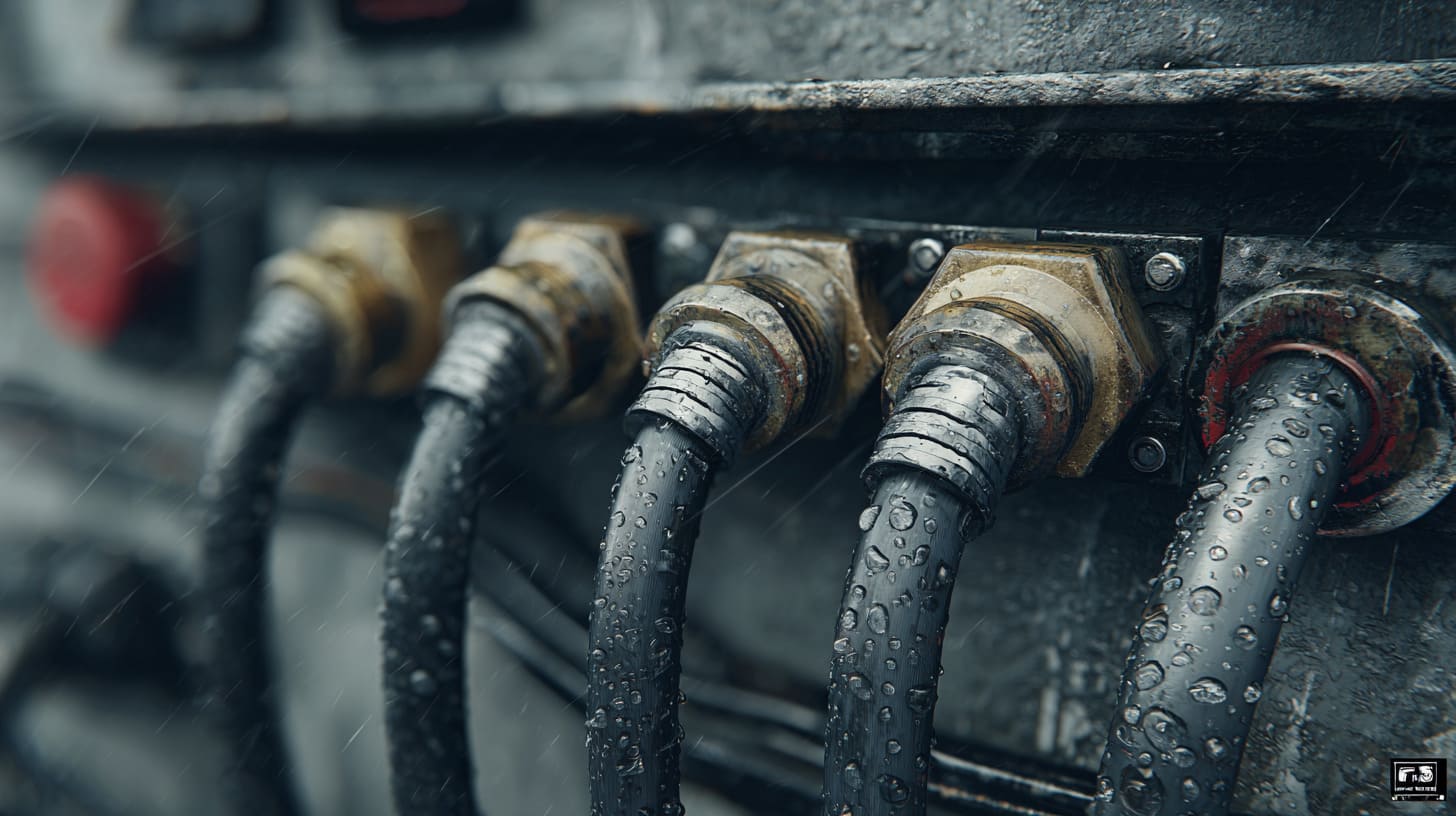
Heat Build-Up Inside Sealed Enclosures
Electronics generate heat. Power supplies, boards, batteries, relays, and communication modules all add heat. If the enclosure is sealed, that heat may build up inside.
High temperature can reduce component life. It can also affect seals, adhesives, batteries, and connectors.
| Internal Part | Heat Risk |
|---|---|
| Power supply | Efficiency drops, lifespan shortens |
| PCB | Components age faster |
| Battery | Safety and lifespan concerns |
| Rubber gasket | Faster aging |
| Adhesive parts | Weak bonding over time |
| Plastic connector | Deformation or brittleness risk |
The enclosure material also matters. Aluminum conducts heat better than many plastics. A plastic enclosure may need more ventilation or a different internal layout. An aluminum enclosure may help spread heat, but it can also become very hot under direct sun.
So the question is not simply “metal or plastic?”
The better question is:
Where does the heat go?
If there is no answer, the heat stays inside and starts making decisions for you.
Pressure Changes Pull Moisture Inside
A sealed enclosure can “breathe” through tiny gaps.
During the day, the air inside heats up and expands. At night, it cools and contracts. This pressure cycle can pull outside air and moisture into the enclosure through small weak points.
This can happen even if the enclosure looks sealed.
| Cycle | What Happens |
|---|---|
| Daytime heat | Internal air expands |
| Night cooling | Internal pressure drops |
| Weak sealing point | Moist air may be pulled inside |
| Repeated cycles | Moisture builds up slowly |
| Long-term result | Condensation and corrosion inside |
This is why pressure balance matters. A waterproof breathable vent can reduce pressure stress. It helps the enclosure breathe in a controlled way.
Without pressure balance, the enclosure may breathe through the worst possible place: a weak gasket, cable gland, or connector.
That is not a design. That is a gamble.
Using Ventilation Without Losing IP Rating
Some buyers hear “vent” and immediately worry.
I understand that reaction. A hole in a waterproof box sounds wrong.
But an IP-rated breathable vent is not a random hole. It uses a membrane that allows air exchange while blocking water under rated conditions. It can help reduce condensation and pressure stress.
| Vent Option | Benefit | Caution |
|---|---|---|
| Waterproof breathable vent | Helps pressure balance and moisture control | Must match required IP rating |
| Drainage design | Allows water to escape in some designs | Not suitable for every electronic product |
| Heat sink structure | Helps heat leave enclosure | Needs good contact design |
| Larger enclosure size | More air volume and easier heat control | Higher cost and space use |
| Aluminum housing | Better heat spreading | May need insulation or coating in some cases |
The right answer depends on the device.
For low-heat electronics in a mild environment, a sealed IP65 enclosure may be fine.
For heat-generating electronics in humid outdoor conditions, ventilation may be a better long-term choice.
This is why I dislike one-line answers like “IP65 is enough.” Enough for what? Enough for where? Enough for how long?
Good enclosure design is less like buying a box and more like choosing shoes for a long walk. The wrong shoes may look fine in the shop, but your feet will tell the truth later.
Why Custom Modifications Often Break IP65 Protection
Custom work is useful. It is also dangerous if nobody respects the sealing design.
Many OEM buyers need holes, logos, brackets, windows, connectors, special colors, and packaging. That is normal. But every modification changes the enclosure in some way.
Before I accept a custom change for an outdoor enclosure, I look for the sealing path first, because one attractive design detail can quietly destroy the original IP performance.
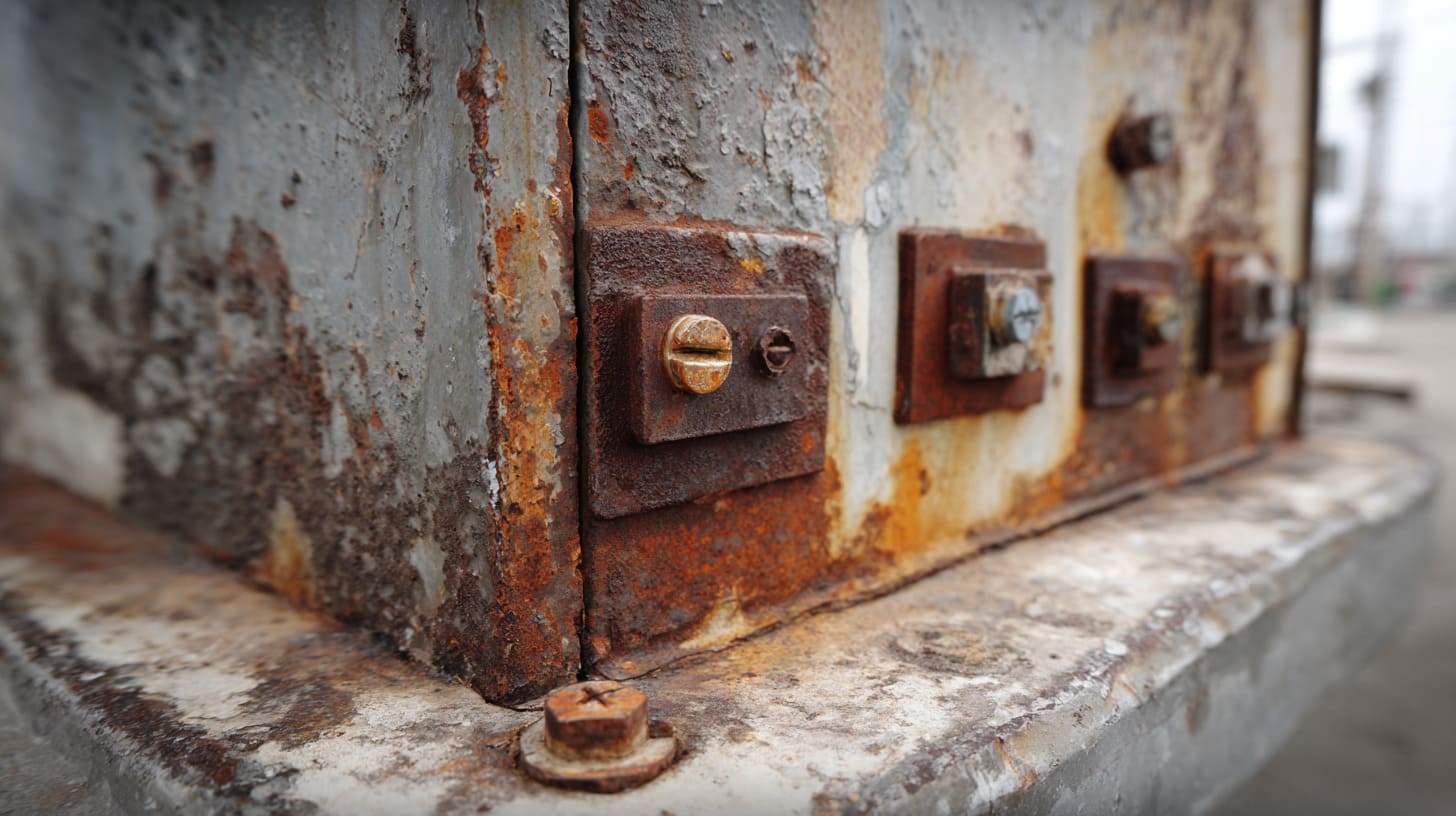
CNC Machining and Cutout Risks
CNC machining gives clean and accurate cutouts. But it still needs the right design rules.
If a cutout is too close to a gasket groove, the sealing structure may become weak. If the edge is sharp, it may damage a gasket or connector seal. If the tolerance is loose, the connector may not sit flat.
| CNC Issue | Possible Failure |
|---|---|
| Cutout too close to cover edge | Weak sealing area |
| Sharp burrs | Gasket or washer damage |
| Oversized hole | Connector cannot seal tightly |
| Uneven surface | Gasket compression becomes poor |
| No deburring | Seal damage during assembly |
For outdoor connector holes, I like to check the connector datasheet and installation method. Some connectors need a flat surface. Some need a certain panel thickness. Some need a sealing washer. Some need torque control.
If the enclosure wall is too thin or too thick, the connector may not seal as expected.
This is the kind of detail that does not appear in a nice 3D rendering.
But it appears in the failure report.
Logo Printing and Surface Processing Problems
Logo printing, engraving, and branding are important for OEM buyers. A good logo makes the product look finished. It also helps the buyer sell the product under their own brand.
But outdoor branding needs care.
Some printing inks are not suitable for UV exposure. Some labels peel under rain and heat. Laser engraving may affect surface treatment if not controlled well. If a coating is damaged during secondary processing, corrosion may start there.
| Branding Method | Outdoor Concern |
|---|---|
| Silk screen printing | Ink must resist UV and weather |
| Laser engraving | May expose base metal or weaken coating |
| Sticker label | Edge peeling and water trapping |
| Pad printing | Adhesion depends on surface preparation |
| Aluminum nameplate | Needs strong adhesive or mechanical fixing |
I am not against branding. Of course not. Many MaidaTech projects include logo printing or engraving.
But for outdoor enclosures, I prefer to discuss the logo method together with the surface treatment. A logo should not only look good in a photo before shipping. It should still look acceptable after outdoor use.
A brand mark that peels early can make the whole product feel cheap, even if the enclosure body is still working.
That hurts trust.
OEM Design Changes Without Full Testing
Prototype success can be misleading.
A prototype may pass basic checking. The buyer may approve it. Then mass production begins. But small changes during production can affect protection:
- Different gasket batch
- Different screw torque
- Slight machining tolerance change
- Added logo process
- New connector supplier
- Modified cable gland position
- Different surface treatment thickness
Each change may look small. Together, they can create a new failure risk.
| Project Stage | Common Risk |
|---|---|
| Prototype | Looks good but not fully tested |
| Sample approval | Buyer focuses on appearance and fit |
| Mass production | Process variation appears |
| Final assembly | Workers may miss small sealing details |
| Field installation | Real environment exposes weak points |
For outdoor OEM projects, I prefer to re-check IP performance after major modifications. If the buyer changes hole positions or connector types, I do not want to assume the old protection still applies.
Assumption is cheap.
Field repair is expensive.
Custom design is like cooking with a recipe. You can change the ingredients, but you cannot pretend the taste will stay exactly the same.
How to Improve Real Outdoor Reliability Beyond IP65
If IP65 is not enough by itself, what should buyers do?
I do not think the answer is always “buy the highest rating.” That can waste money. The better answer is to design around real use.
A project becomes more reliable when I connect the rating with the installation environment, material choice, cable plan, heat plan, and production control instead of treating IP65 as a single checkbox.
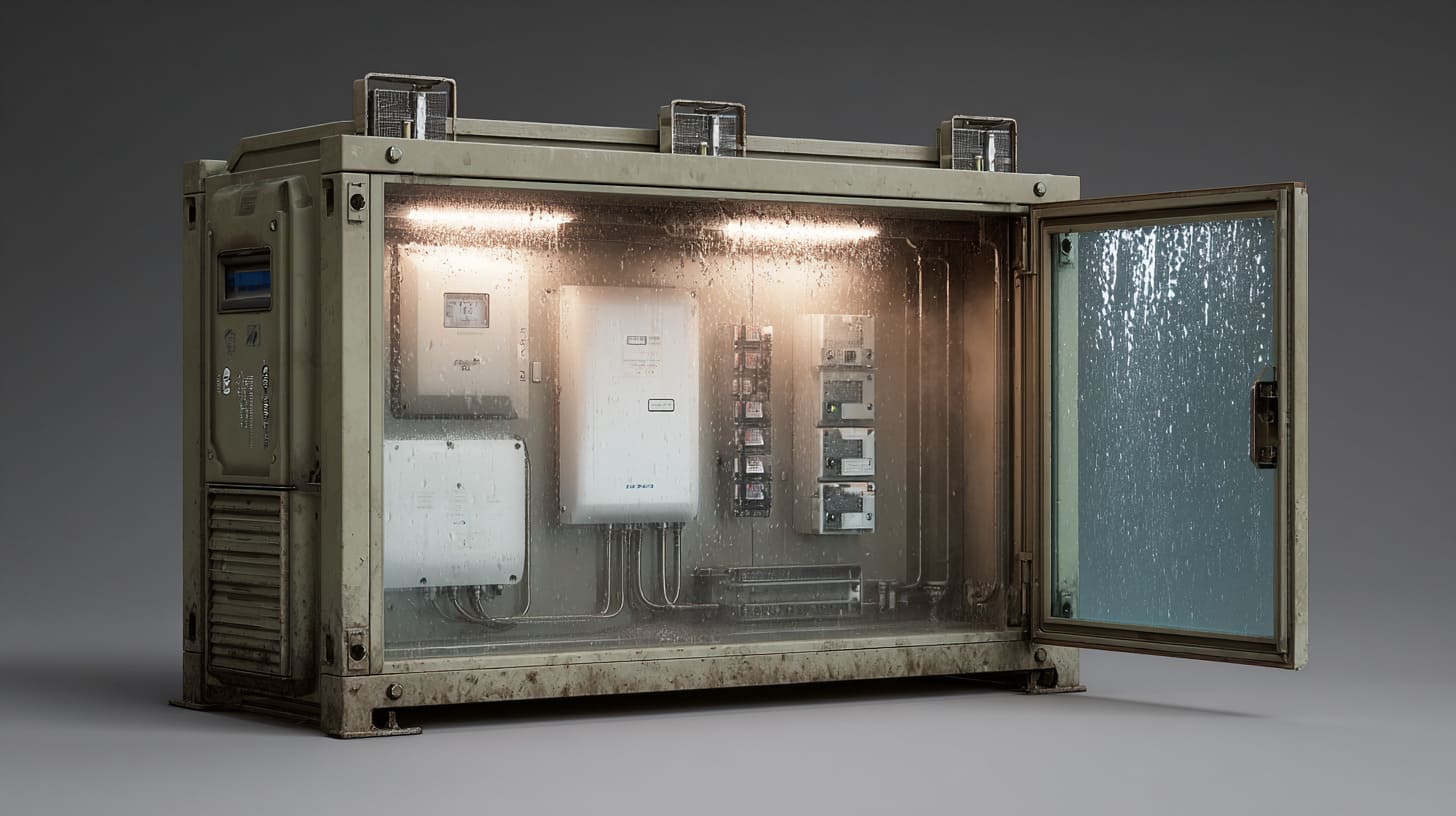
Designing for Real Weather Conditions
Real weather does not attack in one clean way.
Rain comes with wind. Dust sticks to wet surfaces. Snow melts and refreezes. Sun heats one side of the box. Cold nights pull moisture into weak points.
So outdoor design should consider combined effects.
| Real Condition | Design Response |
|---|---|
| Wind-driven rain | Avoid upward openings and weak side seals |
| Direct sunlight | Use UV-resistant materials and coatings |
| Dust + rain | Keep sealing surfaces clean and protected |
| Snow or ice | Avoid water pooling areas |
| High humidity | Consider breathable vents and condensation control |
| Installation errors | Make design more forgiving |
A small rain shield can help. A better mounting direction can help. A drip loop can help. A drainage path may help in some designs. A larger gasket contact area can help.
These solutions are not always expensive. Many are just thoughtful.
The painful failures often come from designs that look perfect on a table but never imagined a tired installer working in rain.
Choosing Better Materials
Material choice is not only about strength. It is also about weather, heat, corrosion, weight, cost, and appearance.
For outdoor enclosures, I usually think through several material questions:
- Will the enclosure face direct UV?
- Is the site near the sea?
- Will there be chemical exposure?
- Does the device generate heat?
- Is weight important?
- Does the customer need a premium appearance?
- Does the product need custom machining?
| Material | Strength | Outdoor Caution |
|---|---|---|
| Aluminum | Good heat transfer, strong, premium feel | Needs good surface treatment |
| Stainless steel | Strong corrosion resistance in many cases | Higher cost and harder processing |
| Carbon steel | Strong and cost-effective | Needs strong coating protection |
| Polycarbonate | Good impact resistance | Needs UV-resistant grade |
| ABS | Easy to process and cost-friendly | Not always ideal for long outdoor UV exposure |
Gasket material also matters.
Silicone gaskets often perform better in temperature and weather aging than cheap rubber. But cost is higher. For important outdoor projects, that extra cost may be worth it.
| Gasket Type | Possible Advantage | Possible Concern |
|---|---|---|
| Silicone | Better aging and temperature resistance | Higher cost |
| EPDM | Good weather resistance | Must match chemical environment |
| NBR | Good oil resistance | Not always best for UV/weather |
| Cheap unknown rubber | Low cost | Unstable long-term performance |
I always prefer to discuss material honestly. A cheaper material may be acceptable for a short-life project or indoor use. But if the buyer wants outdoor reliability for years, the wrong material becomes a hidden debt.
And debt always asks for payment.
Testing Beyond Standard IP Testing
IP testing is important. But outdoor reliability may need more than one test.
Depending on the project, buyers may need:
- Salt spray testing
- UV aging testing
- Thermal cycling testing
- Condensation testing
- Vibration testing
- Cable gland pull testing
- Coating adhesion testing
- Final waterproof testing after assembly
| Test | What It Helps Check |
|---|---|
| IP water test | Water entry under rated conditions |
| Salt spray test | Corrosion resistance |
| UV aging test | Sunlight aging of materials |
| Thermal cycling test | Expansion, contraction, and seal fatigue |
| Condensation test | Moisture behavior inside box |
| Coating adhesion test | Surface treatment quality |
| Assembly inspection | Real production consistency |
Not every project needs every test. That would be too expensive and too slow.
But for serious outdoor OEM projects, some extra testing is much cheaper than field failure.
This is where a supplier should not just say yes to everything. A good supplier should say:
“This design may work, but here is the risk.”
That sentence may feel less smooth than a sales pitch. But it is more useful.
Good outdoor reliability is built before the rain arrives. After the rain arrives, we are only reading the result.
What Smart Buyers Should Ask Enclosure Suppliers
A smart buyer does not only ask, “Can you make IP65?”
That question is too easy. Many suppliers will say yes.
A better buyer asks questions that reveal whether the supplier understands real outdoor problems.
When a buyer asks detailed questions about gaskets, cable entries, testing, and past failure cases, I usually respect that buyer more, because he is not shopping only for a box; he is trying to reduce project risk.
Questions About Real Outdoor Experience
A supplier with real outdoor project experience will not only talk about the rating. They will talk about installation, materials, cable glands, coatings, and testing.
Good questions include:
| Buyer Question | Why It Matters |
|---|---|
| Have you made similar outdoor enclosures before? | Checks real project experience |
| What environments were they used in? | Checks whether the experience matches your project |
| What were the common failure points? | Reveals supplier honesty and knowledge |
| Can you suggest better cable entry design? | Checks engineering support |
| What material do you recommend for my site? | Checks practical thinking |
I like when buyers share photos of the installation site. A photo can answer many questions quickly. It shows cable direction, mounting surface, weather exposure, space limits, and possible water paths.
A drawing tells me shape.
A site photo tells me risk.
Questions About Manufacturing Control
Outdoor protection depends on repeatable production. One good sample is not enough.
Buyers should ask how the supplier controls gasket installation, screw tightening, machining tolerance, surface treatment, and final testing.
| Manufacturing Control Point | Question to Ask |
|---|---|
| Gasket | How do you inspect gasket fit and position? |
| Screws | Do you control screw tightening consistency? |
| CNC holes | What tolerance do you follow for connector cutouts? |
| Surface treatment | How do you check coating quality? |
| Cable glands | Do you match gland size with cable diameter? |
| Final test | Do you test after full assembly? |
For custom OEM orders, I also suggest using a checklist before mass production.
A simple checklist may include:
- Final drawing confirmed
- Cable diameter confirmed
- Gland type confirmed
- Connector IP rating confirmed
- Gasket material confirmed
- Surface treatment confirmed
- Logo method confirmed
- Packaging method confirmed
- Testing standard confirmed
This may sound basic. But basic things fail when people skip them.
Most serious project problems are not caused by one person being careless. They are caused by no one owning the boring details.
Questions About OEM Customization
Customization is where many hidden risks appear. Buyers should ask how each modification affects IP performance.
For example:
| Custom Request | What Buyer Should Ask |
|---|---|
| Add connector holes | Will the connector keep IP65 after installation? |
| Add logo engraving | Will engraving damage coating protection? |
| Change gasket material | Will it handle temperature and UV? |
| Add display window | How will the window be sealed? |
| Change enclosure size | Will cover flatness and gasket compression change? |
| Add ventilation | What IP rating does the vent have? |
A good supplier should not only make the drawing. They should review the risk behind the drawing.
For example, if a buyer asks for too many holes on one side, I may suggest changing the layout. If a cable gland is too close to a corner, I may suggest moving it. If a logo position may affect coating, I may suggest another method.
That is not being difficult. That is protecting the project.
In OEM work, fast communication matters. But fast wrong communication is still wrong. I prefer clear communication, even if it takes one more message.
A buyer may forget one email.
Water will not forget one weak hole.
Conclusion
IP65 is useful. I do not want to make it sound weak. It gives buyers and engineers a clear standard. It helps us compare enclosure protection. It also helps avoid vague words like “waterproof” and “weatherproof.”
But after many enclosure projects, I do not see IP65 as the final guarantee.
I see it as the basic ticket to enter the outdoor conversation.
Why do I think this way?
Because real failures often do not come from the big things. They come from small details that people ignore when they are busy.
A gasket is a small detail.
A cable gland is a small detail.
A screw torque is a small detail.
A drip loop is a small detail.
A coating scratch near a mounting hole is a small detail.
But outdoors, small details become big decisions. Rain, sun, dust, heat, cold, and time will test every one of them.
This is why I never like to answer an outdoor enclosure request with only “Yes, IP65 is okay.” That answer is too easy. I prefer to ask where the box will be installed, what cables will enter, what electronics will generate heat, what material is needed, and how the buyer will assemble or install it.
Maybe that sounds less smooth than a perfect sales answer.
But it is more honest.
For OEM and custom enclosure projects, the goal is not to win the sample photo. The goal is to avoid field failure after the product reaches the customer. That is where trust is built. That is also where a good supplier becomes more than a factory that cuts metal or molds plastic.
At MaidaTech, I care about this because many of our buyers are not buying a box for fun. They are building their own product, their own brand, and sometimes their own customer promise. If the enclosure fails, their product fails with it.
So my advice is simple:
Do not ask only whether the enclosure is IP65.
Ask whether the full design can survive the real installation.
Ask about cable entries.
Ask about gaskets.
Ask about sunlight.
Ask about corrosion.
Ask about heat.
Ask about testing after customization.
If you are working on a custom aluminum enclosure, plastic electronic enclosure, sheet metal enclosure, or Raspberry Pi-style project enclosure for outdoor use, you can send us your drawing, cable layout, installation photos, and project requirements.
I will not only look at the box shape.
I will help you look for the weak points before the weather finds them first.







