 Skip to content
Many buyers see a prototype enclosure and feel relieved.
The shape looks right.
The surface looks clean.
The screws fit.
The PCB can sit inside.
The logo position also looks nice.
So the next thought comes very fast: “Good. Now we can start mass production.”
I understand this feeling very well. In custom enclosure projects, a good prototype feels like a green light. It makes the project look real. It gives the engineer confidence. It gives the buyer something they can show to their boss, customer, or sales team.
But I have also seen the other side.
A beautiful prototype can still hide many production risks. A CNC sample may be made slowly by one skilled worker. A mass production enclosure may be made by machines, molds, workers, assembly lines, surface treatment suppliers, packing teams, and shipping companies. That is a very different story.
The prototype is like a carefully cooked dish in a small kitchen. Mass production is like serving the same dish to 5,000 people at the same time. The recipe may be the same, but the pressure is not.
That is why I always tell OEM buyers and product engineers one thing: a prototype proves that the design can exist, but mass production proves that the design can survive.
Before a buyer invests in tooling, molds, or a large order, they need to understand the difference between prototype enclosures and mass production enclosures. This difference affects cost, lead time, quality, surface finish, tolerance, assembly, and even the final user experience.
What Is a Prototype Enclosure?
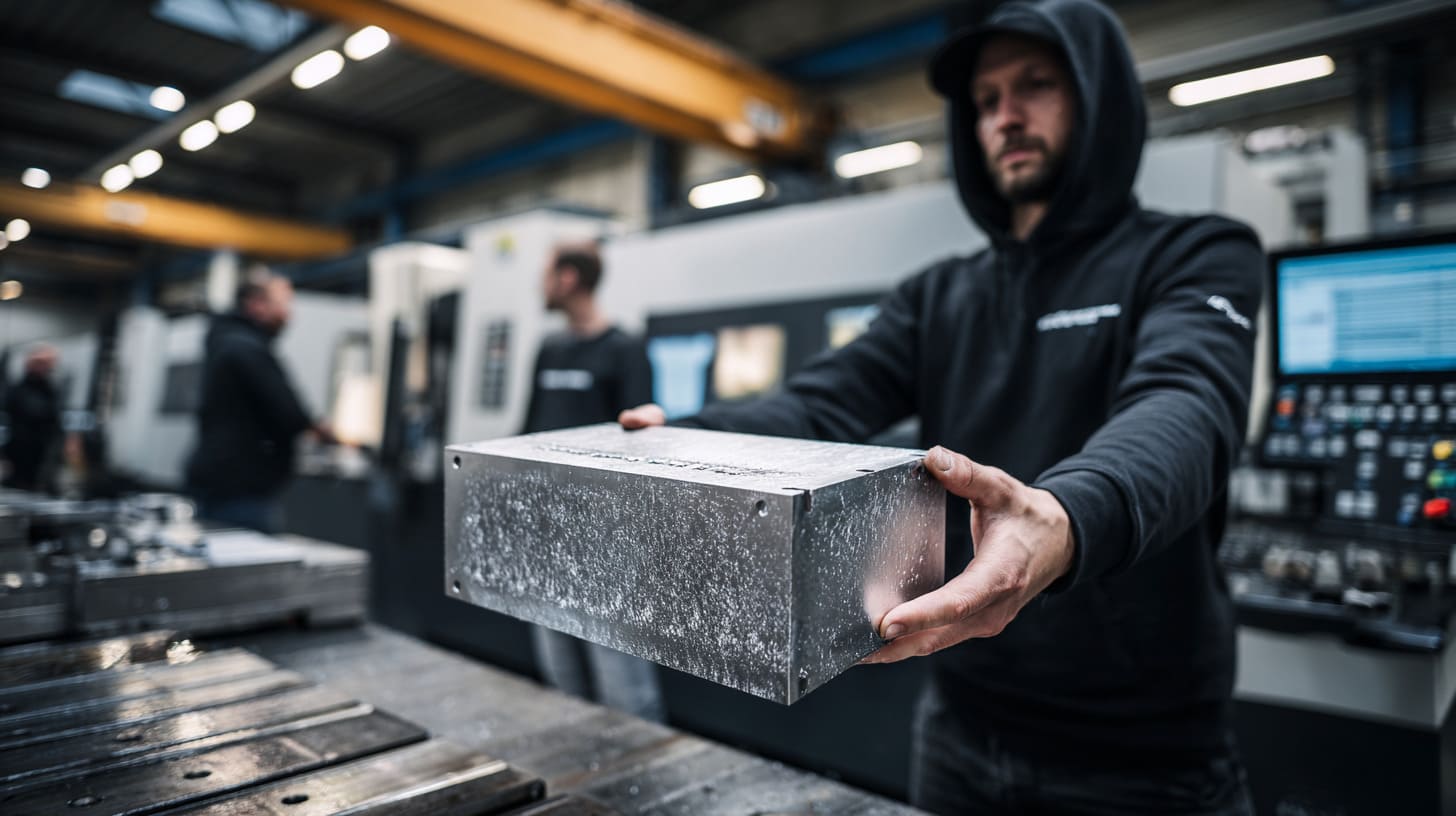
A prototype enclosure is the first physical version of an enclosure design. It is usually made before mass production. It helps the buyer and factory check if the design is correct, practical, and ready for the next step.
I like to think of a prototype as a “truth test.” A 3D drawing can look perfect on a computer screen. But once the enclosure becomes a real object, many small questions appear.
Can the PCB fit?
Can the cable come out smoothly?
Can the screws lock well?
Can the heat escape?
Can the user open the cover without fighting with it?
A prototype answers these questions with real material, real hands, and real mistakes.
The first thing I look at during a prototype review is not whether the sample looks beautiful. I look at whether the design tells us the truth about the next production step, because a pretty sample can sometimes lie very politely.
Purpose of Prototype Enclosures
A prototype enclosure is not only a “sample.” It has several jobs.
| Prototype Purpose | What It Helps Check | Why It Matters |
|---|---|---|
| Design verification | Size, shape, hole position, structure | It confirms if the drawing works in real life |
| Functional testing | PCB fit, heat, cable routing, button access | It shows whether the enclosure can support the product |
| Internal engineering review | Assembly method, user handling, weak points | It helps teams improve the design before tooling |
| Investor or customer presentation | Appearance, product concept, branding | It makes the project easier to explain and sell |
For example, one buyer may send us a custom aluminum enclosure drawing for a small electronic device. On the drawing, everything looks fine. But after we make the prototype, we may find that the USB port is too close to the side wall. The cable can plug in, but it bends badly.
This is a small detail. But small details have sharp teeth.
If the buyer ignores it and starts mass production, the end user may complain. The product may look cheap. The cable may break faster. The enclosure itself may be blamed, even if the real problem came from the design stage.
Common Prototype Manufacturing Methods
Prototype enclosures are usually made by flexible processes. These methods are good for small quantities and fast design changes.
| Method | Common Use | Main Benefit | Main Limitation |
|---|---|---|---|
| CNC machining | Aluminum prototypes, plastic prototypes | High precision and good appearance | Higher unit cost |
| 3D printing | Early shape testing, concept models | Fast and flexible | Surface and strength may not match final production |
| Laser cutting | Sheet metal or acrylic samples | Good for flat parts and quick testing | Limited 3D structure |
| Hand assembly | Mixed material samples | Flexible for special designs | Hard to repeat in mass production |
CNC machining is very common for custom aluminum enclosures. It can create clean shapes, accurate holes, and nice surface details. But it is still different from die casting, extrusion, or stamping.
3D printing is useful for checking shape and space. But I never suggest judging final strength or surface quality only from a 3D printed sample. It is like testing a car by looking at a toy model. It helps, but it does not tell the full story.
Typical Materials Used for Prototypes
Prototype materials are chosen for speed, convenience, and testing needs. They may not always be the same as final production materials.
Common prototype materials include:
- Aluminum blocks
- ABS plastic
- Acrylic
- Temporary sheet metal materials
- 3D printed resin or nylon
- Soft mock-up materials for shape testing
This is where many buyers need to be careful.
A prototype may use CNC aluminum, but the final product may use die-cast aluminum. A prototype may use 3D printed plastic, but the final product may use injection-molded ABS or PC. These materials may behave differently under heat, stress, impact, and surface treatment.
| Prototype Material | Possible Production Material | Risk If Buyer Ignores Difference |
|---|---|---|
| CNC aluminum block | Die-cast aluminum | Surface texture and tolerance may change |
| 3D printed resin | Injection-molded ABS | Strength and shrinkage may change |
| Acrylic sheet | Molded plastic | Assembly and impact resistance may change |
| Temporary sheet metal | Final stamped sheet metal | Bending accuracy and finish may change |
A prototype gives useful direction. But it does not always give final production behavior.
Why Prototype Enclosures Often Look “Perfect”
Many prototype enclosures look better than mass production parts because they receive more human attention.
A worker may polish the edges slowly.
An engineer may adjust the hole position by hand.
A technician may rework a small scratch before sending the sample.
The factory may spend more time because the sample represents its ability.
This is normal. A prototype is often made like a small custom gift.
Mass production is different. The factory needs to make hundreds or thousands of pieces with stable quality. Workers cannot spend one hour adjusting every enclosure by hand. If they do, the cost becomes impossible.
So when I check a prototype, I do not only ask, “Does it look good?” I ask, “Can this quality be repeated at scale without special treatment?”
That question is much more useful.
A prototype can open the door. But mass production decides whether the project can walk through that door without falling down.
What Is a Mass Production Enclosure?
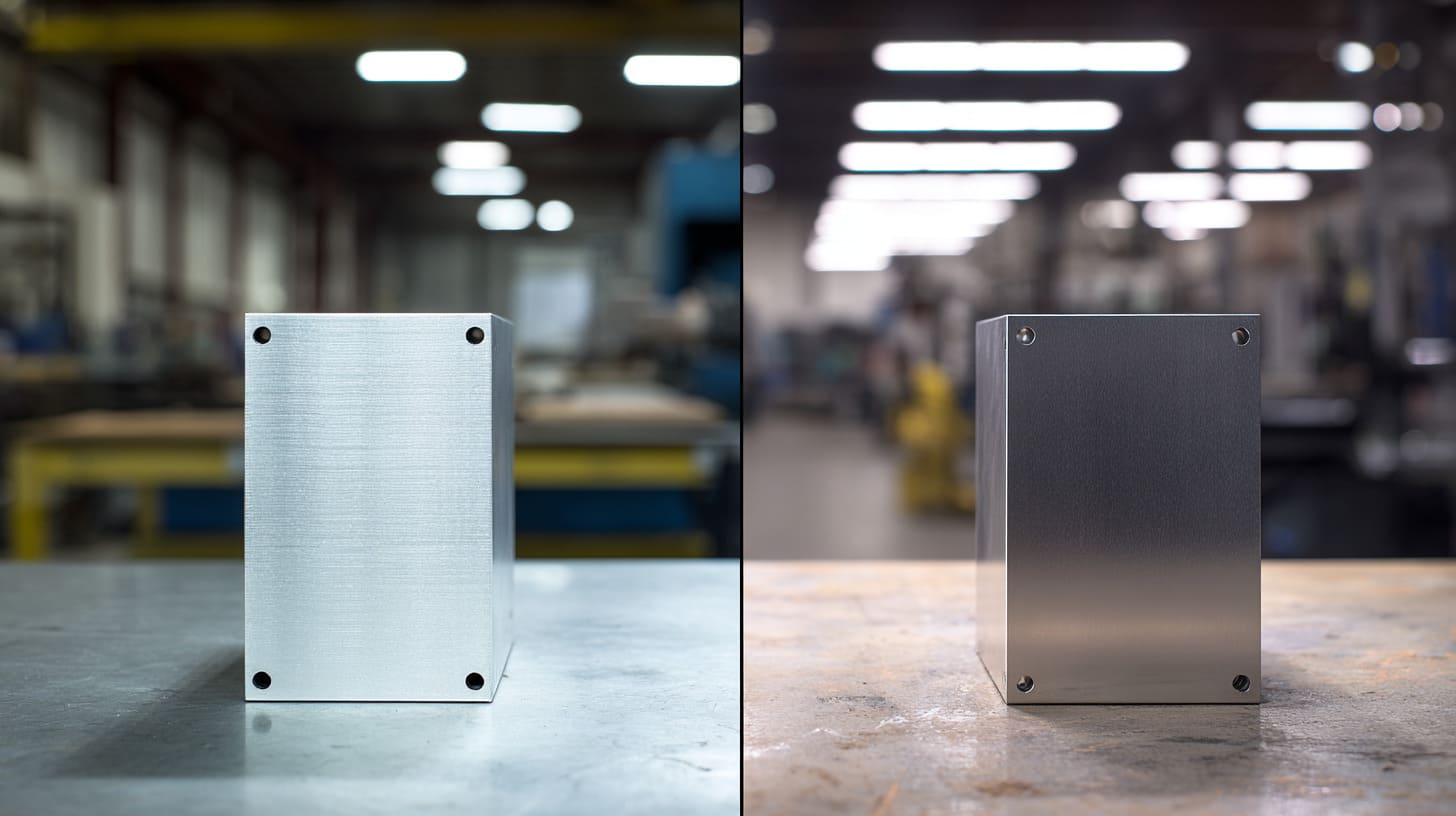
A mass production enclosure is made for repeat orders, stable quality, and larger quantity. It is not made as one special piece. It is made as part of a system.
The system may include molds, machines, fixtures, surface treatment, assembly workers, inspection rules, packaging, and shipping plans.
When I talk with buyers about mass production, I always remind them that the factory is no longer making “one good sample.” The factory is building a repeatable process.
That sounds less romantic, I know. But in manufacturing, repeatability is where the money hides.
When I judge whether a design is ready for production, I care less about one perfect sample and more about whether the same result can be repeated on Monday morning, Friday afternoon, and during a busy month when everyone is under pressure.
Definition of Mass Production Enclosures
A mass production enclosure is a protective housing made in larger quantities through a controlled production process.
It usually needs:
- Stable dimensions
- Repeatable surface finish
- Controlled material quality
- Clear assembly method
- Quality inspection standards
- Cost-efficient production flow
For OEM and ODM projects, mass production is often the real business stage. The enclosure is no longer only for testing. It becomes part of the final product. It may be sold on Amazon, installed in industrial machines, used in electronic projects, or shipped to end users.
At this stage, every small problem becomes larger.
One wrong hole in a prototype is one wrong hole.
One wrong hole in 2,000 pieces is a customer service headache.
Common Manufacturing Processes
Mass production enclosures can be made by many processes. The correct process depends on the product design, quantity, material, budget, and performance needs.
| Process | Common Material | Best For | Key Concern |
|---|---|---|---|
| Die casting | Aluminum, zinc alloy | Complex metal shapes, medium to high volume | Mold cost and surface treatment |
| Injection molding | ABS, PC, nylon | Plastic enclosures, high-volume products | Shrinkage and tooling design |
| Sheet metal stamping | Steel, aluminum, stainless steel | Industrial boxes, electrical enclosures | Bending tolerance and surface finish |
| Aluminum extrusion | Aluminum profiles | Long profile enclosures, electronic cases | Cross-section design limits |
| CNC machining | Aluminum, plastic | Low volume or high precision | Higher unit cost |
Some buyers think mass production always means injection molding or die casting. That is not always true.
For custom aluminum enclosures, CNC machining may still be the best option if the quantity is low or the design changes often. For sheet metal enclosures, bending and punching may be more practical. For Raspberry Pi-style aluminum cases, extrusion and CNC secondary processing may work very well.
The process should serve the project. The project should not be forced into a process just because it sounds “professional.”
Production Goals in Mass Manufacturing
Mass production has different goals from prototyping.
| Goal | Prototype Stage | Mass Production Stage |
|---|---|---|
| Main focus | Verify design | Repeat stable quality |
| Cost target | Accept higher unit cost | Reduce unit cost |
| Speed | Fast sample creation | Stable production schedule |
| Flexibility | Easy to change | Harder to change after tooling |
| Inspection | Check one or few pieces | Control many pieces |
Mass production is about balance.
The factory needs to keep quality stable, but the cost cannot become too high.
The buyer needs fast delivery, but the production team still needs enough time for inspection.
The engineer wants tight tolerance, but the process may have natural limits.
This is why communication before mass production is so important. If the buyer, engineer, and factory do not align early, the project can move fast in the wrong direction. And fast in the wrong direction is still wrong.
Why Mass Production Changes Product Details
Mass production can change product details because the manufacturing environment changes.
A prototype may be made by CNC from a solid block. A production version may be die-cast from molten metal. These two processes do not create the same result.
A 3D printed plastic sample may have one wall thickness. An injection-molded part may need different wall thickness to avoid sink marks or warping.
A handmade sheet metal sample may allow small manual adjustment. A stamped part needs tooling consistency.
Common reasons product details change include:
- Mold limitations
- Tool wear
- Material flow
- Plastic shrinkage
- Metal cooling
- Faster production cycle
- Fixture limits
- Assembly speed
- Surface treatment batch differences
This does not mean mass production is worse. It means mass production is more honest about process limits.
I sometimes tell buyers that production is like a strict teacher. It does not care how nice the drawing looks. It only cares whether the design can be made again and again.
Once we understand mass production as a process, the next question becomes clearer: where exactly are the biggest differences?
What Are the Biggest Differences Between Prototype and Mass Production Enclosures?
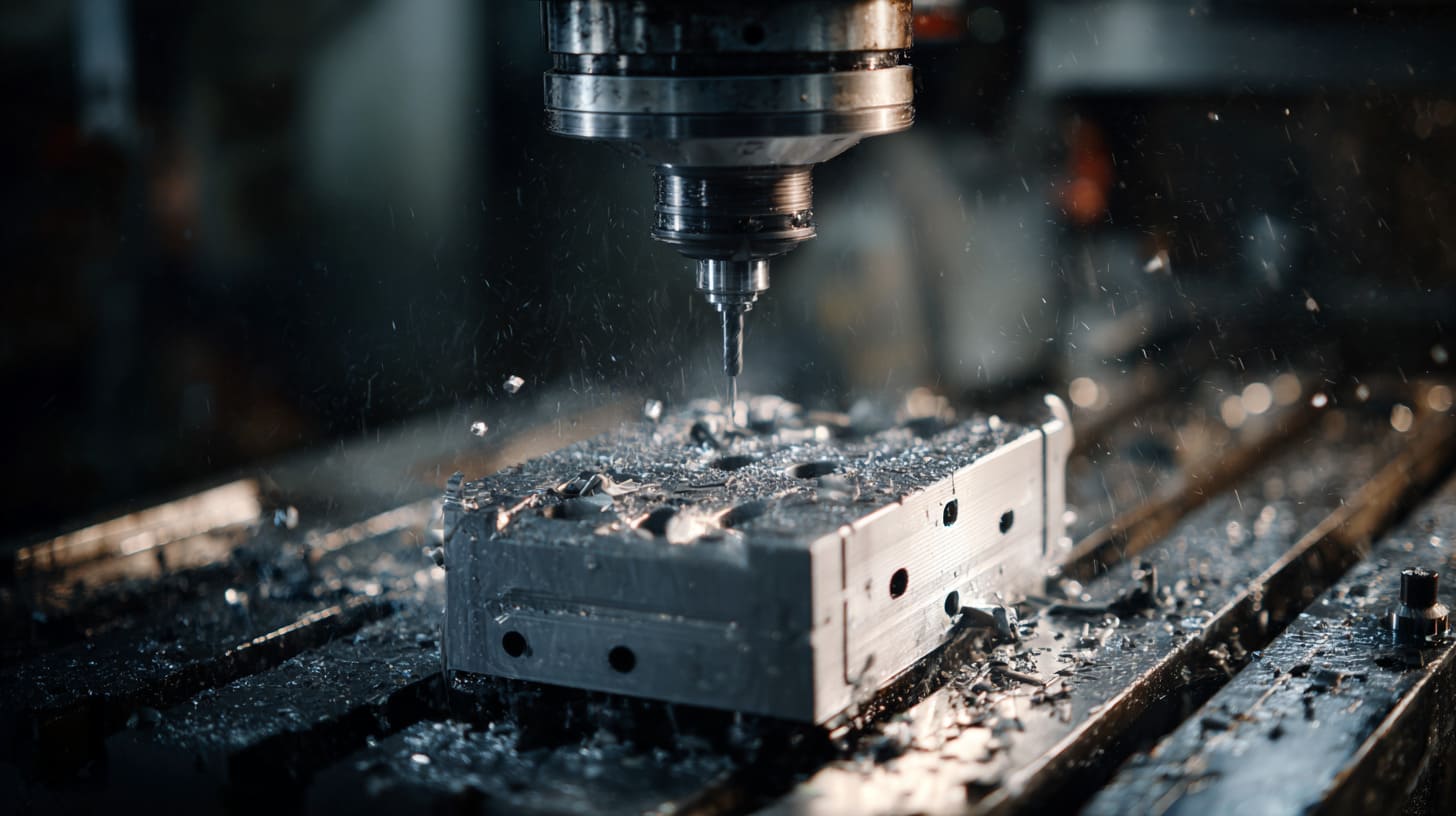
The biggest difference is not only quantity. It is the way the enclosure is made, checked, finished, assembled, and paid for.
A prototype is a conversation with a design.
Mass production is a contract with reality.
I have seen buyers compare a prototype and a production part side by side and ask, “Why is this not exactly the same?” It is a fair question. But the better question is, “Which differences are acceptable, and which differences will hurt the product?”
My own habit is to separate “cosmetic differences” from “functional risks” first, because a tiny color change may be acceptable, but a tiny screw-hole shift can destroy the whole assembly.
Manufacturing Method Differences
Prototype and mass production often use different manufacturing methods.
| Area | Prototype Enclosure | Mass Production Enclosure |
|---|---|---|
| Production method | CNC, 3D printing, laser cutting, hand work | Die casting, injection molding, stamping, extrusion, automated machining |
| Quantity | 1 to small batch | Hundreds to thousands |
| Worker role | Skilled manual adjustment | Process-based operation |
| Change flexibility | High | Lower after tooling |
| Repeatability | Limited | Must be controlled |
CNC prototypes can be very accurate. A skilled worker can adjust many details. But once the product moves to molding or stamping, the design must follow process rules.
For example, a CNC aluminum prototype can have sharp internal corners if the tool can reach them. But die casting may need draft angles, rounded corners, and proper material flow. If the design ignores this, the final part may have defects.
This is not a supplier being difficult. It is physics being stubborn.
Cost Structure Differences
Prototype cost and mass production cost work in opposite ways.
A prototype usually has a high unit cost but low setup investment. Mass production often has high initial tooling cost but lower unit cost later.
| Cost Item | Prototype | Mass Production |
|---|---|---|
| Tooling cost | Low or none | Medium to high |
| Unit cost | High | Lower at volume |
| Engineering cost | High per piece | Spread across quantity |
| Design change cost | Lower | Higher after tooling |
| Best quantity range | 1–100 pieces | Larger and repeat orders |
This is why a buyer should not judge mass production price only from prototype cost.
A CNC sample may cost much more per piece. But if the buyer needs only 50 pieces, CNC may still be better because there is no expensive mold. If the buyer needs 10,000 pieces per year, tooling may save money in the long run.
The wrong cost decision often happens when buyers only ask, “What is the cheapest unit price?” But the smarter question is, “What is the cheapest safe path for my real quantity?”
Tolerance and Precision Differences
Many people assume mass production must be more accurate than prototypes. That is not always true.
CNC prototypes can sometimes achieve very tight precision. Mass production parts may have tolerance changes because of mold wear, material shrinkage, bending springback, or assembly stack-up.
| Tolerance Issue | Prototype Stage | Mass Production Stage |
|---|---|---|
| Single part accuracy | Often very high | Depends on process |
| Assembly fit | Easy to adjust manually | Must fit without hand repair |
| Hole position | Can be corrected one by one | Must stay stable in batch |
| Tolerance stack-up | Less visible | Becomes serious at scale |
Tolerance stack-up is a quiet troublemaker.
One part may be within tolerance. Another part may also be within tolerance. But when they are assembled together, the small differences add up. Then the cover does not close smoothly. The screw feels tight. The PCB touches the wall. The button does not return well.
No one likes this kind of problem because every single part looks “acceptable” on paper.
Surface Finish Differences
Prototype surface finish can look very clean because workers often spend more time on each piece.
Mass production surface finish is controlled by process, not by love.
That sounds cold, but it is true.
| Surface Area | Prototype | Mass Production |
|---|---|---|
| Polishing | Manual and careful | Batch controlled |
| Anodizing | Small batch | Larger batch, possible color variation |
| Powder coating | Few pieces | Batch consistency needed |
| Scratches | Easy to repair before sending | Need prevention system |
| Logo marking | Adjusted carefully | Needs fixed fixture and standard |
For aluminum enclosures, anodizing color can vary slightly between batches. For painted or powder-coated parts, thickness may affect assembly. For brushed surfaces, the grain direction must be controlled. For logo printing or engraving, fixture positioning matters.
A beautiful surface is not only about appearance. It also affects brand feeling. If a buyer sells the enclosure as part of a premium product, small surface defects can feel expensive, even when the product still works.
Material Behavior Differences
Prototype materials may not behave like production materials.
This is especially important for plastic enclosures and aluminum die-cast parts.
| Material Factor | Why It Matters |
|---|---|
| Heat resistance | The enclosure may deform or soften |
| Strength | The enclosure may crack or fail during use |
| Shrinkage | Holes and internal structures may shift |
| Surface treatment | Final color and texture may change |
| Weight | User experience and shipping cost may change |
For example, a 3D printed prototype may pass an internal fitting test. But the injection-molded version may shrink slightly after cooling. That small shrinkage can change hole positions and internal space.
For aluminum, CNC parts and die-cast parts may have different internal structure and surface behavior. The final part may need extra machining for critical areas.
This is why I prefer to review material choice early. Material is not a decoration. It is part of the design logic.
And once the differences become clear, we can understand a painful question many buyers face: why does a perfect sample still fail later?
Why Do Many Perfect Samples Fail During Mass Production?
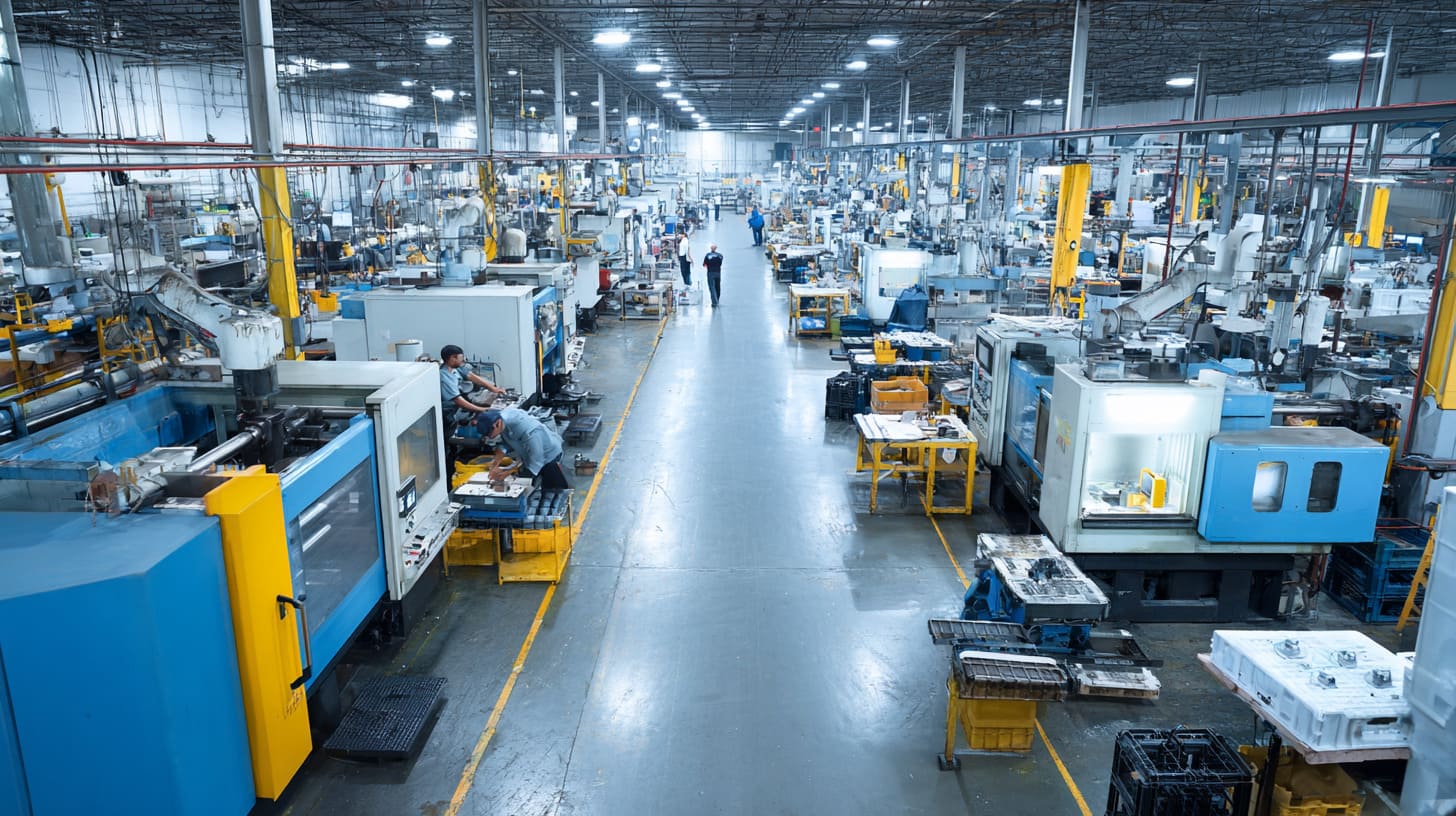
A perfect sample can fail in mass production because the sample was made under special conditions. Mass production removes those special conditions.
This is the uncomfortable truth.
A prototype may be built by the best technician. It may be checked by the engineer several times. It may be polished before shipping. It may even be slightly adjusted by hand so it works.
But mass production does not allow this kind of “small magic” on every piece.
One detail I always watch carefully is whether the sample needs too much hand correction, because if a product only works after a skilled worker quietly fixes it, the design is not ready yet.
Design That Is Difficult to Manufacture
Some designs look beautiful but fight the production process.
Common risky design features include:
- Very sharp corners
- Very thin walls
- Deep narrow cavities
- Complex internal ribs
- Impossible mold release angles
- Tight screw bosses
- Very small gaps
- Too many cosmetic surfaces
These details may not be a problem in a prototype. CNC can cut many difficult shapes. A worker can polish small areas. A 3D printer can form shapes that molds cannot easily make.
But mass production has rules.
For injection molding, plastic needs to flow smoothly. The part needs to release from the mold. The wall thickness should not change too suddenly. For die casting, metal needs proper flow, cooling, and ejection. For sheet metal, bends need enough space and correct radius.
| Difficult Design Feature | Possible Production Problem |
|---|---|
| Thin wall | Warping, weak structure, short mold life |
| Sharp corner | Stress concentration, poor material flow |
| No draft angle | Difficult mold release |
| Deep narrow slot | Tooling difficulty, surface defects |
| Complex inner ribs | Sink marks, longer cycle time |
A good factory should not just say “yes” to every drawing. A good factory should push back when the design is risky. Sometimes that pushback saves the buyer from a very expensive lesson.
Assembly Problems Appear at Scale
A sample can fit because someone made it fit. A production part must fit because the design allows it.
This difference is huge.
Assembly problems often appear only after small batch or mass production starts.
Common issues include:
- Screw holes do not align smoothly
- PCB has no enough clearance
- Cable bends too sharply
- Button or switch touches the shell
- Heat sink position is slightly off
- Cover needs force to close
- Gasket does not sit flat
- Snap-fit parts break during assembly
In one custom aluminum enclosure project, a buyer wanted a clean outside appearance with very little internal space. The prototype looked excellent. But during assembly review, we found the cable connector needed more room. It could fit, but the worker had to bend the cable every time.
That is not a good design. It is a hidden future complaint.
| Assembly Detail | Good Design Thinking | Risky Design Thinking |
|---|---|---|
| Screw position | Easy to reach and align | Looks clean but hard to assemble |
| PCB space | Allows tolerance and movement | Fits only in perfect condition |
| Cable routing | Gives bending room | Forces cable into tight corners |
| Cover closing | Smooth and repeatable | Needs pressure or adjustment |
| Button area | Leaves enough clearance | Touches the shell after tolerance shift |
Assembly should feel boring. I mean that in a good way. If assembly feels exciting, something is probably wrong.
Production Speed Creates New Problems
Mass production is faster. Faster production brings new risks.
When workers handle many pieces every day, scratches can happen. When parts move between machining, surface treatment, assembly, inspection, and packing, damage can happen. When one process waits for another, schedule pressure can build.
Prototype production is slow and careful. Mass production is controlled but busy.
Production speed may create:
- Handling scratches
- Mixed parts
- Surface marks
- Missing screws
- Packing damage
- Batch color difference
- Inspection blind spots
- Worker fatigue mistakes
This is why production planning matters. It is not enough to make the enclosure. The factory also needs to protect it during the whole process.
For aluminum enclosures with nice anodized surfaces, packing between processes is very important. A perfect part can become a rejected part because two pieces rub against each other in a box.
That is painful because the design is not wrong. The process control is wrong.
Supplier Communication Problems
Sometimes the sample is good because the engineer understood the project. But mass production fails because the details were not passed clearly to the production team.
This happens more often than people want to admit.
A prototype may be made by a senior engineer or a small sample team. Mass production may be handled by different workers, different machines, and different QC staff. If the project documents are not clear, the production team may make reasonable but wrong decisions.
Important documents may include:
- 2D drawings with tolerances
- 3D files
- Material specification
- Surface finish requirements
- Logo file and position
- Assembly instruction
- Critical dimension list
- Packaging standard
- Inspection checklist
| Missing Information | Possible Result |
|---|---|
| No tolerance standard | Factory uses general tolerance, causing fit issues |
| No surface finish sample | Color or texture does not match expectation |
| No logo position drawing | Logo shifts during batch production |
| No assembly notes | Workers assemble in different ways |
| No packing standard | Parts arrive scratched or dented |
For international OEM projects, communication is even more important because time zones slow everything down. One unclear message can waste two days. One missing drawing can delay the whole schedule.
This is why I always prefer clear files over long chat messages. Chat messages are easy to forget. Drawings and standards are easier to control.
After we understand these failure points, the next practical question is simple: which manufacturing process should we choose?
How Does Manufacturing Process Selection Affect the Final Enclosure?

The manufacturing process affects almost everything: cost, strength, surface, tolerance, lead time, tooling cost, and future design flexibility.
I have met buyers who already decided the process before they understood the product. They may say, “We need die casting,” or “We want injection molding,” because they heard it is cheaper for mass production.
Sometimes they are right. Sometimes they are walking into a trap with a confident smile.
When I help judge a process, I first ask about real quantity and design stability, because an expensive mold for an unstable design is like buying a wedding suit before meeting the bride.
CNC Machining vs Die Casting
CNC machining and die casting are both common for aluminum enclosures. But they serve different needs.
| Factor | CNC Machining | Die Casting |
|---|---|---|
| Best quantity | Low to medium | Medium to high |
| Tooling cost | Low | High |
| Unit cost | Higher | Lower at volume |
| Precision | Very good | Good, but may need secondary machining |
| Design change | Easier | Hard after mold is made |
| Surface | Clean machined look | Cast texture, may need finishing |
| Lead time | Faster for small batches | Longer at tooling stage |
CNC is good when the design may still change. It is also good for low-volume projects, testing markets, industrial equipment, and custom OEM orders.
Die casting is better when the design is stable and quantity is high enough to spread the mold cost.
But die casting also needs careful design. Wall thickness, draft angles, ribs, and material flow must be considered. If the buyer sends a CNC-style design and asks to “make it die casting,” the factory may need to redesign several areas.
That is not a failure. That is normal engineering work.
Injection Molding vs 3D Printing
3D printing is excellent for early prototypes. Injection molding is excellent for stable plastic mass production.
But they are not the same animal.
| Factor | 3D Printing | Injection Molding |
|---|---|---|
| Best use | Concept, fitting test, early design | High-volume plastic production |
| Tooling cost | None or low | High |
| Unit cost | High at volume | Low at volume |
| Surface finish | Layer marks or post-finished | Stable molded surface |
| Strength | Depends on printing method | Better for final use if material is right |
| Design rules | More flexible | Must follow mold design rules |
A 3D printed enclosure may look good in a meeting. But injection molding needs draft angles, uniform wall thickness, proper gate position, and shrinkage control.
Plastic is a little dramatic. It cools, shrinks, bends, and sometimes leaves marks in places you did not expect. If the design ignores this behavior, the final product may have warping, sink marks, or weak screw bosses.
So I treat 3D printing as a conversation starter, not a final answer.
Sheet Metal vs Extruded Aluminum
Sheet metal and extruded aluminum are both useful for enclosures, but they solve different problems.
| Factor | Sheet Metal Enclosure | Extruded Aluminum Enclosure |
|---|---|---|
| Structure | Bent and assembled plates | Profile-based body |
| Best for | Electrical boxes, industrial control boxes | Electronic cases, small device housings |
| Customization | Flexible size and holes | Good for profile-based designs |
| Tooling | Lower for small batches | Profile tooling may be needed |
| Strength | Good with correct thickness | Good for compact shapes |
| Surface | Powder coating, plating, brushing | Anodizing, brushing, machining |
Sheet metal is practical for many industrial enclosures. It is flexible and cost-effective. It works well for control boxes, junction boxes, and equipment covers.
Extruded aluminum is good for electronic enclosures where the body can be made from a fixed profile. It gives a clean look and good strength. It can also help with heat dissipation.
But extrusion has limits. The cross-section must be possible to extrude. If the buyer wants many complex side features, extra CNC machining may still be needed.
Which Process Is Better for Low MOQ Projects?
For low MOQ projects, the best process is often the one that avoids expensive tooling.
Common low MOQ choices include:
- CNC machining
- Sheet metal bending
- Laser cutting
- Standard extrusion plus CNC machining
- 3D printing for early testing
- Small batch manual assembly
| Project Type | Better Process Choice | Reason |
|---|---|---|
| Early startup idea | 3D printing or CNC | Fast changes |
| Custom aluminum device | CNC machining | Good precision, no mold |
| Industrial control box | Sheet metal | Flexible and practical |
| Raspberry Pi-style case | Extrusion plus CNC | Good balance of cost and appearance |
| Market test batch | CNC or sheet metal | Lower investment risk |
Low MOQ buyers often care about speed and flexibility more than the lowest possible unit cost. That is reasonable.
If the product has not proven sales yet, it may be smarter to pay a higher unit price for 100 pieces than to invest in a mold too early. A mold is useful only when the design and market are stable.
A good process choice should protect both the product and the buyer’s cash flow.
Of course, process choice is only one side. The design itself also needs to change before mass production.
What Design Changes Are Usually Needed Before Mass Production?

Before mass production, many enclosure designs need adjustment. These changes do not mean the original design was bad. They mean the design needs to become more production-friendly.
I sometimes compare this stage to tailoring clothes. A drawing may be like a fashion sketch. A prototype is like the first fitting. Mass production is the final pattern that must work for every piece.
Before I support tooling or large production, I like to check whether the design is easy to make, easy to assemble, easy to inspect, and easy to repair if something goes wrong.
Optimizing Wall Thickness
Wall thickness is one of the most important design details for enclosures.
If the wall is too thin, the enclosure may be weak, warped, or hard to mold. If the wall is too thick, the part may cost more, cool unevenly, or show surface defects.
| Material / Process | Wall Thickness Concern |
|---|---|
| Injection-molded plastic | Avoid sudden thickness changes |
| Die-cast aluminum | Support metal flow and reduce defects |
| Sheet metal | Balance strength, bending, and weight |
| CNC aluminum | Balance strength, cost, and machining time |
For plastic enclosures, uniform wall thickness is especially important. It helps material flow better and reduces warping. For aluminum die casting, wall thickness also affects filling and cooling.
For CNC aluminum enclosures, thicker walls may look stronger, but they also increase material cost and machining time. Sometimes a clever rib or better structure can solve the problem without making everything thicker.
A heavy enclosure is not always a strong design. Sometimes it is just an expensive design.
Adding Draft Angles
Draft angles help molded parts release from the mold.
This detail is easy to ignore in early prototypes because CNC and 3D printing do not always need draft angles. But injection molding and die casting usually need them.
| Without Draft Angle | Possible Problem |
|---|---|
| Part sticks in mold | Production slows down |
| Surface gets scratched | Appearance becomes worse |
| Mold wears faster | Maintenance cost increases |
| Part deforms during release | Assembly problems appear |
Draft angles can slightly change the appearance of the part. Some buyers worry about this. I understand. Product designers care about clean lines.
But no draft angle can create bigger problems. The part may be difficult to release. The surface may be damaged. The mold may suffer.
The best solution is to add draft angles early and hide them smartly in the design. A good engineer can make the product easier to produce without making it look ugly.
Simplifying Internal Structures
Many enclosure problems hide inside the product.
External surfaces get the most attention because everyone sees them. But internal structures decide whether the product can be assembled smoothly.
Common internal structures include:
- Screw posts
- Ribs
- PCB supports
- Cable slots
- Heat sink areas
- Snap-fit clips
- Battery compartments
- Connector openings
| Internal Feature | Common Risk | Better Design Thinking |
|---|---|---|
| Screw post | Cracking or misalignment | Add support ribs and enough material |
| Rib | Sink marks outside | Control thickness and placement |
| PCB support | Wrong height | Confirm with real board sample |
| Cable slot | Too tight | Leave bending space |
| Snap fit | Breaks after repeated use | Test material and stress |
A complex internal design may look clever, but it can make production harder. It can also slow down assembly.
I like simple internal structures when they do the job well. Simple is not lazy. Simple is often the result of painful experience.
Improving Assembly Design
Good assembly design saves time, money, and nerves.
An enclosure should not need a worker to “feel” the correct position. It should guide the worker naturally. Screws should align. Covers should close. PCB boards should sit properly. Cables should not fight the shell.
Important assembly details include:
- Screw positioning
- Snap-fit strength
- PCB clearance
- Cable routing
- Gasket placement
- Heat sink contact
- Label and logo orientation
- Tool access space
| Assembly Question | Why I Ask It |
|---|---|
| Can one worker assemble it easily? | Labor cost and consistency matter |
| Can the screw enter straight? | Bad screw entry damages threads |
| Can the cable move naturally? | Forced cables cause long-term failure |
| Can the cover close without pressure? | Pressure means tolerance risk |
| Can QC check it quickly? | Slow inspection increases cost |
For OEM buyers, assembly is not only a factory issue. It affects delivery time and after-sales risk. If the enclosure is hard to assemble, workers make more mistakes. If workers make more mistakes, quality becomes unstable.
A product should not depend on heroic workers. It should depend on good design.
Once the design is more production-friendly, buyers still need a plan to reduce risk before the big order starts.
How Can OEM Buyers Reduce Production Risks?
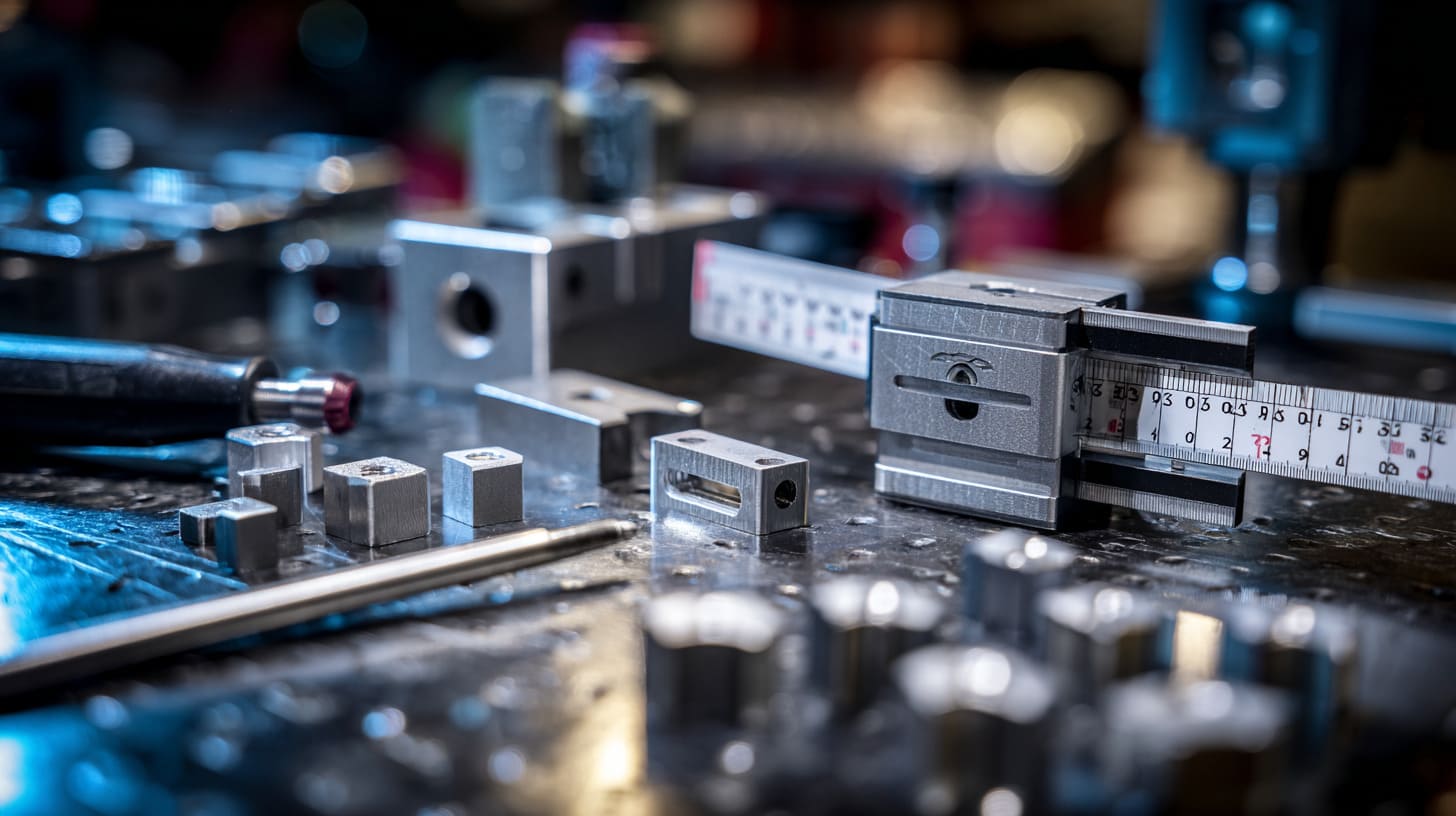
OEM buyers can reduce production risks by checking the design, process, tolerance, sample, and supplier ability before placing a large order.
This sounds basic. But many problems happen because people rush through the basic things.
A buyer may feel pressure from a launch date. A factory may feel pressure to win the order. An engineer may feel pressure to finish the design. When everyone is in a hurry, the small risks sit quietly in the corner and smile.
The step I never like to skip is a small pilot run, because it shows problems that drawings and one beautiful sample usually keep hidden.
Verify DFM Before Tooling
DFM means Design for Manufacturing. In simple words, it means checking whether the design is suitable for real production.
A DFM review should happen before tooling, not after tooling.
| DFM Check Area | What to Review |
|---|---|
| Material | Is it suitable for use and production? |
| Wall thickness | Is it stable and process-friendly? |
| Draft angle | Can the part release from the mold? |
| Tolerance | Are critical dimensions realistic? |
| Surface finish | Can the finish be controlled in batch? |
| Assembly | Can workers assemble it quickly and correctly? |
| Cost | Does the design create unnecessary cost? |
A proper DFM review may suggest changes. Some buyers feel nervous when they hear this. They worry that the factory is changing their design.
But the goal is not to destroy the design. The goal is to help the design survive production.
A good DFM review should be specific. It should not only say, “This is difficult.” It should explain why it is difficult and what can be changed.
Request Pilot Run Samples
A pilot run is a small production batch made before full mass production.
It is one of the best ways to catch hidden problems.
| Pilot Run Purpose | What It Reveals |
|---|---|
| Test production process | Whether machines and fixtures work well |
| Check assembly | Whether workers can assemble smoothly |
| Confirm tolerance | Whether batch dimensions stay stable |
| Review surface finish | Whether appearance is consistent |
| Test packing | Whether parts survive handling and shipping |
A prototype may use one piece. A pilot run may use 20, 50, or 100 pieces. This small batch can show real variation.
For example, the first sample may fit perfectly. But in a pilot run, 5 out of 50 pieces may have tight screw assembly. That tells us something important. It means the tolerance or fixture may need adjustment before full production.
Pilot runs cost time and money. But they are often cheaper than fixing 2,000 wrong parts.
Confirm Production Tolerances Early
Tolerance should not be treated as a small note on a drawing. It should be treated as a project rule.
Some dimensions are not critical. Some dimensions are very critical.
Critical dimensions may include:
- PCB mounting holes
- Connector openings
- Screw hole positions
- Heat sink contact area
- Cover fit area
- Gasket groove
- Button or switch position
| Dimension Type | Example | Control Level |
|---|---|---|
| Critical | PCB hole position | Tight control needed |
| Important | Cover fit gap | Medium to tight control |
| Cosmetic | Non-functional outer edge | General tolerance may be acceptable |
| Flexible | Internal empty space | Can allow wider tolerance |
Not every dimension needs tight tolerance. If every dimension is tight, cost rises and production becomes harder.
This is a common buyer mistake. They think tighter tolerance always means better quality. But tight tolerance should be used where it matters. A good drawing tells the factory where to focus.
That is how we control cost and quality at the same time.
Evaluate Supplier Production Experience
A supplier that can make a prototype may not always be able to manage mass production.
This is especially true for custom enclosures. The factory needs not only machines but also engineering experience, QC control, communication ability, and project management.
Buyers should check:
- Similar project experience
- Material knowledge
- Process capability
- Surface treatment control
- QC system
- Communication speed
- Engineering support
- Packing experience
- Export experience
| Supplier Factor | Why It Matters |
|---|---|
| Similar projects | Reduces learning mistakes |
| Engineering team | Helps improve design before production |
| QC process | Controls batch quality |
| Fast communication | Avoids time zone delays |
| Export experience | Reduces shipping and documentation issues |
| Packing method | Prevents damage during delivery |
For overseas buyers, communication is part of quality. I mean that seriously.
A factory may have good machines. But if the sales team cannot confirm details clearly, the project still suffers. Slow replies, unclear answers, and missing updates can create real production risk.
Good manufacturing is not only metal, plastic, and machines. It is also clear communication.
After risk control, buyers often ask the next big question: how does cost change from prototype to mass production?
How Do Costs Change From Prototype to Mass Production?
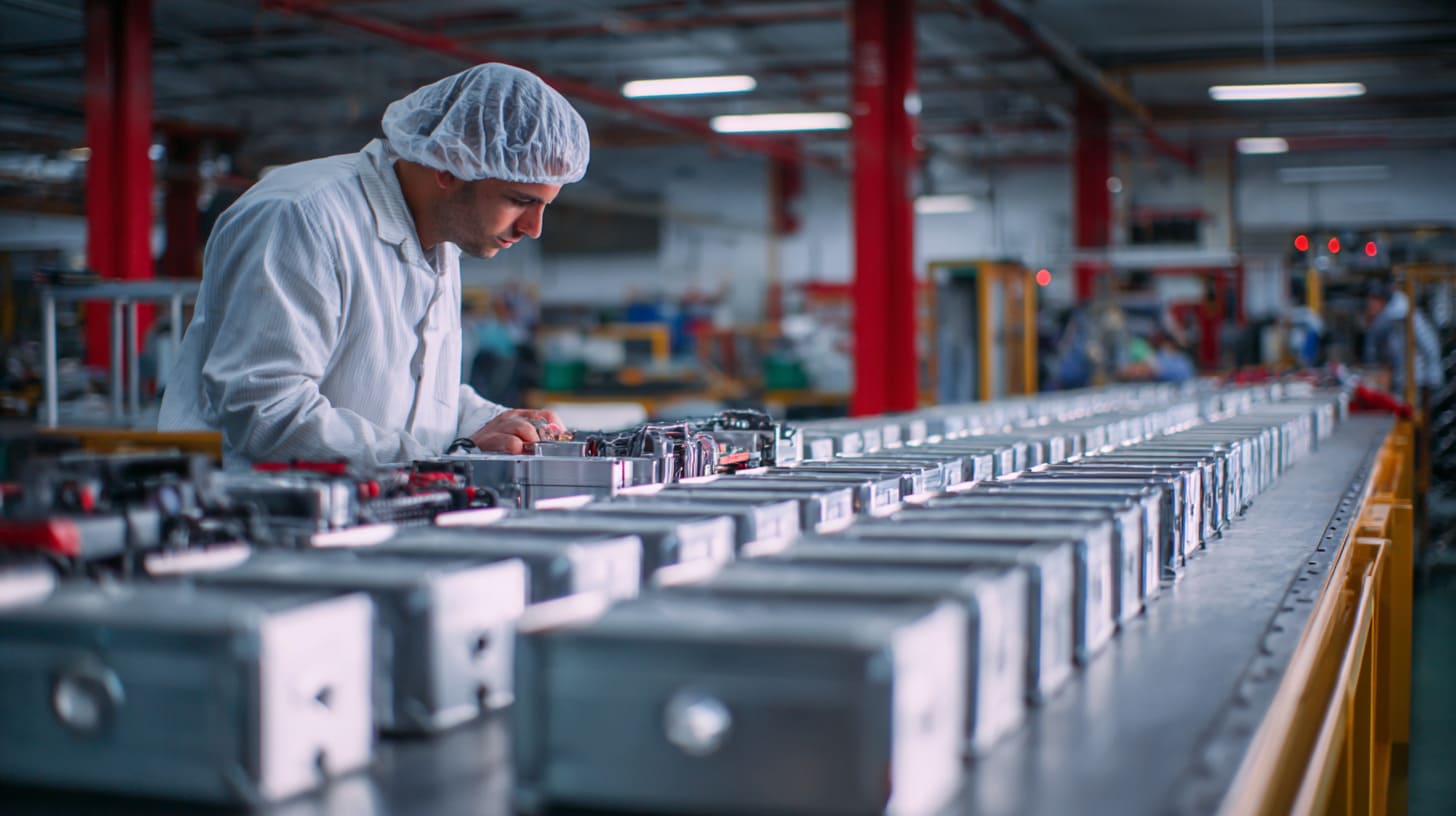
Costs change a lot from prototype to mass production because the cost logic changes.
Prototype cost is based on engineering time, machine time, and manual work. Mass production cost is based on tooling, process efficiency, material buying, labor control, scrap rate, and repeatable output.
I have seen buyers feel shocked by prototype price. I have also seen buyers feel shocked by mold cost. Both reactions are normal.
When I review cost, I do not only compare unit price. I also ask what cost appears now, what cost appears later, and what cost appears only when something goes wrong.
Prototype Cost Breakdown
Prototype cost usually includes several hidden efforts.
| Cost Item | Why It Costs Money |
|---|---|
| Engineering review | The factory needs to understand the design |
| CNC programming | Tool paths need to be prepared |
| Machine time | Low quantity does not spread setup cost |
| Material waste | One-piece production is less efficient |
| Manual finishing | Polishing and adjustment take time |
| Sample inspection | Each piece needs careful checking |
| Communication | Many details need confirmation |
A prototype may look small, but the work behind it is not always small.
For example, a custom CNC aluminum enclosure may need programming, fixture setup, machining, deburring, sanding, anodizing, laser engraving, inspection, and packing. Even if the buyer orders only one piece, the factory still needs to prepare many steps.
This is why prototype unit cost can be high.
Tooling and Mold Investment
Mass production often needs tooling or molds. This is the big cost difference.
Common tooling costs include:
- Injection molds
- Die casting molds
- Stamping tools
- Extrusion dies
- Assembly fixtures
- Inspection gauges
- Printing or engraving fixtures
| Tooling Type | Used For | Cost Character |
|---|---|---|
| Injection mold | Plastic enclosures | High initial cost, low unit cost later |
| Die casting mold | Aluminum or zinc parts | High initial cost, good for repeated orders |
| Stamping tool | Sheet metal parts | Medium to high, depends on complexity |
| Extrusion die | Aluminum profile | Useful for profile-based designs |
| Fixture | Assembly or machining support | Improves consistency |
Tooling is not only a cost. It is a commitment.
Once a mold is made, design changes become more expensive. Some changes are possible. Some changes are painful. Some changes may require a new mold insert or even a new mold.
This is why I prefer to slow down before tooling and speed up after the design is stable. It feels slower at first, but it often saves time later.
Why Unit Cost Drops in Production
Mass production unit cost drops because the fixed work is spread across many pieces.
Machines can run faster. Materials can be bought in bulk. Workers can follow a stable process. Fixtures help improve speed. QC standards become clearer.
| Reason Unit Cost Drops | How It Helps |
|---|---|
| Bulk material purchasing | Reduces material price |
| Faster cycle time | Lowers labor and machine cost |
| Stable fixtures | Reduces adjustment time |
| Automation | Improves consistency |
| Repeat orders | Reduces learning cost |
| Standard packing | Saves handling time |
But the unit cost only drops when the process is stable. If the design keeps changing, or if scrap rate is high, the cost may stay high.
This is why “cheap mass production” depends on good preparation. A bad design can make mass production expensive very quickly.
Hidden Costs Buyers Often Ignore
Some costs do not appear clearly in the first quotation. But they can appear later.
Hidden costs may include:
- Mold modification
- Extra surface treatment
- Rework
- Scrap parts
- Slow assembly
- Packaging upgrade
- Shipping damage
- Delay cost
- Replacement parts
- Extra inspection
| Hidden Cost | Common Cause | How to Reduce It |
|---|---|---|
| Mold modification | Design not ready | DFM review and prototype testing |
| Scrap rate | Process instability | Pilot run and QC control |
| Assembly labor | Complicated design | Improve assembly structure |
| Packing damage | Weak packaging | Test packing before shipment |
| Delay cost | Unclear details | Confirm drawings and standards early |
For many OEM buyers, delay cost is the most painful because it affects sales plans. If the enclosure is late, the whole product may be late. If the whole product is late, the buyer may miss a launch window.
This is why the lowest quote is not always the lowest real cost.
A good price should include stable production, clear communication, and fewer surprises.
Now the final practical question remains: should your project stay in prototype-style production, or should it move to mass production?
Which Enclosure Type Is Better for Your Project?

The better enclosure type depends on your project stage, quantity, budget, design stability, and market risk.
There is no one answer for every buyer.
A startup project may need speed and flexibility. A stable product may need tooling and low unit cost. A custom industrial project may need CNC production for a long time because the quantity is low but precision is important.
My decision usually starts with one honest question: if the design changes next month, will this production choice still make sense?
Best Choice for Startup Projects
Startup projects often need fast testing and low initial investment.
For these projects, prototype or small-batch production is usually better.
Good choices include:
- 3D printing for early shape testing
- CNC machining for aluminum samples
- Sheet metal for practical industrial samples
- Standard enclosure modification
- Small batch pilot production
| Startup Need | Better Choice |
|---|---|
| Fast design changes | Prototype production |
| Low upfront cost | CNC or 3D printing |
| Market testing | Small batch production |
| Investor demo | High-quality prototype |
| Function testing | Real material prototype |
Startup buyers should not rush into tooling unless the design is stable and demand is clear.
I know tooling can feel like progress. It feels serious. It feels like the project is growing up. But tooling too early can lock the buyer into the wrong design.
A flexible path is often safer at the beginning.
Best Choice for Stable High-Volume Products
For stable products with repeated demand, mass production is usually better.
If the buyer has clear sales, stable design, and long-term demand, tooling can reduce unit cost and improve production speed.
| Stable Product Condition | Why Mass Production Makes Sense |
|---|---|
| Design is confirmed | Tooling risk is lower |
| Quantity is high | Mold cost can be spread |
| Repeat orders exist | Process becomes more efficient |
| Quality standard is clear | QC can be controlled better |
| Delivery schedule is planned | Production can be arranged early |
Mass production also gives better long-term consistency when it is managed well.
But the buyer should still avoid rushing. Even for high-volume products, the project should pass prototype review, DFM review, pilot run, and final sample approval before full production.
Skipping steps does not save time. It only moves the problem to a more expensive place.
When to Stay With CNC Production
CNC production may be the better long-term choice for some projects.
This is common for:
- Low annual quantity
- High precision needs
- Frequent design updates
- Custom OEM orders
- Industrial equipment
- Premium aluminum enclosures
- Projects with many versions
| Reason to Stay With CNC | Practical Benefit |
|---|---|
| Low quantity | Avoids mold cost |
| Frequent design changes | Easier to update |
| High precision | Good for critical dimensions |
| Many product versions | Flexible production |
| Custom branding | Easy logo and hole changes |
Some buyers think CNC is only for prototypes. That is not true.
For many B2B custom enclosure projects, CNC is also a production method. It may not be the cheapest per piece, but it can be the smartest total solution.
If the buyer needs 100 or 300 pieces per batch with special holes and branding, CNC can be very practical. It protects flexibility and avoids heavy tooling investment.
When to Move Into Tooling Investment
Tooling investment makes sense when the design and market are stable.
A buyer should consider tooling when:
- The product design is confirmed
- The order quantity is large enough
- The buyer expects repeat orders
- Unit cost reduction is important
- Lead time needs to improve
- The product version will not change often
- The mold cost can be recovered through sales
| Tooling Decision Question | Why It Matters |
|---|---|
| Will this design stay stable? | Tool changes cost money |
| How many pieces will I need per year? | Quantity decides cost recovery |
| Can I accept mold lead time? | Tooling needs time |
| Is the unit cost saving clear? | Savings must justify investment |
| Have we tested pilot samples? | Reduces production risk |
A mold should not be treated like a magic button. It is more like a long-term business tool. When used at the right time, it helps a lot. When used too early, it can trap the project.
For OEM buyers, the best path is often staged:
- Make a prototype.
- Test the design.
- Improve manufacturability.
- Make a pilot run.
- Confirm demand.
- Move into tooling if the numbers make sense.
That path may not sound exciting. But it is safe, practical, and much less painful.
Conclusion
Prototype enclosures and mass production enclosures look connected, but they serve different jobs.
A prototype enclosure helps prove the design idea. It helps engineers check the shape, function, space, material choice, and user experience. It is flexible. It is useful. It can also look very beautiful because it often receives extra manual care.
A mass production enclosure must do something harder. It must repeat the same result again and again. It must control tolerance, surface finish, assembly, packing, cost, and delivery. It must survive real production pressure.
The biggest mistake is assuming that a perfect prototype automatically means smooth mass production. That is not always true. A sample can hide problems in wall thickness, draft angle, assembly space, tolerance stack-up, material behavior, surface finish, and production handling.
For me, the safer way is simple: test the prototype, review the design for manufacturing, confirm critical tolerances, run a small pilot batch, and then move into larger production when the project is ready.
If you are developing custom aluminum enclosures, plastic enclosures, sheet metal enclosures, or Raspberry Pi-style cases, the best result usually comes from early engineering communication. A good supplier should not only make the part. A good supplier should help you see the risks before they become expensive.
At MaidaTech, this is the kind of work we deal with every day. We support custom OEM and ODM enclosure projects with design review, prototype production, logo or brand customization, packaging options, and mass production support.
If you already have a drawing, sample, or new enclosure idea, you can send the details to us. I will be happy to help you check which production path makes more sense before you spend money in the wrong place.







