 Skip to content

A meter box looks like “just a box” until the inspector rejects it, the utility refuses the hookup, or water gets inside. Then it becomes delays, rework, and an ugly safety risk nobody wants to own.
You install an electric meter box by following your utility’s rules first, choosing the correct rated enclosure, mounting it on a solid surface at the required height/location, and leaving the service conductors and terminations to a licensed electrician or the utility when required.
Most problems I see are not “bad hands.” They are bad assumptions. Someone buys the wrong box, mounts it in the wrong place, or treats utility requirements like suggestions. So I’m going to walk through the real questions I hear from buyers and homeowners—and where projects usually go wrong.
What is an electric meter box and what does it do?
A meter box is where the utility meter sits and where service power enters the building. It protects the meter, keeps wiring enclosed, and creates a controlled “handover point” between the utility side and the customer side.
An electric meter box is a protective enclosure that holds the meter and service connection points, keeping live parts secured, weather-protected (when outdoors), and accessible for utility reading, sealing, and maintenance.
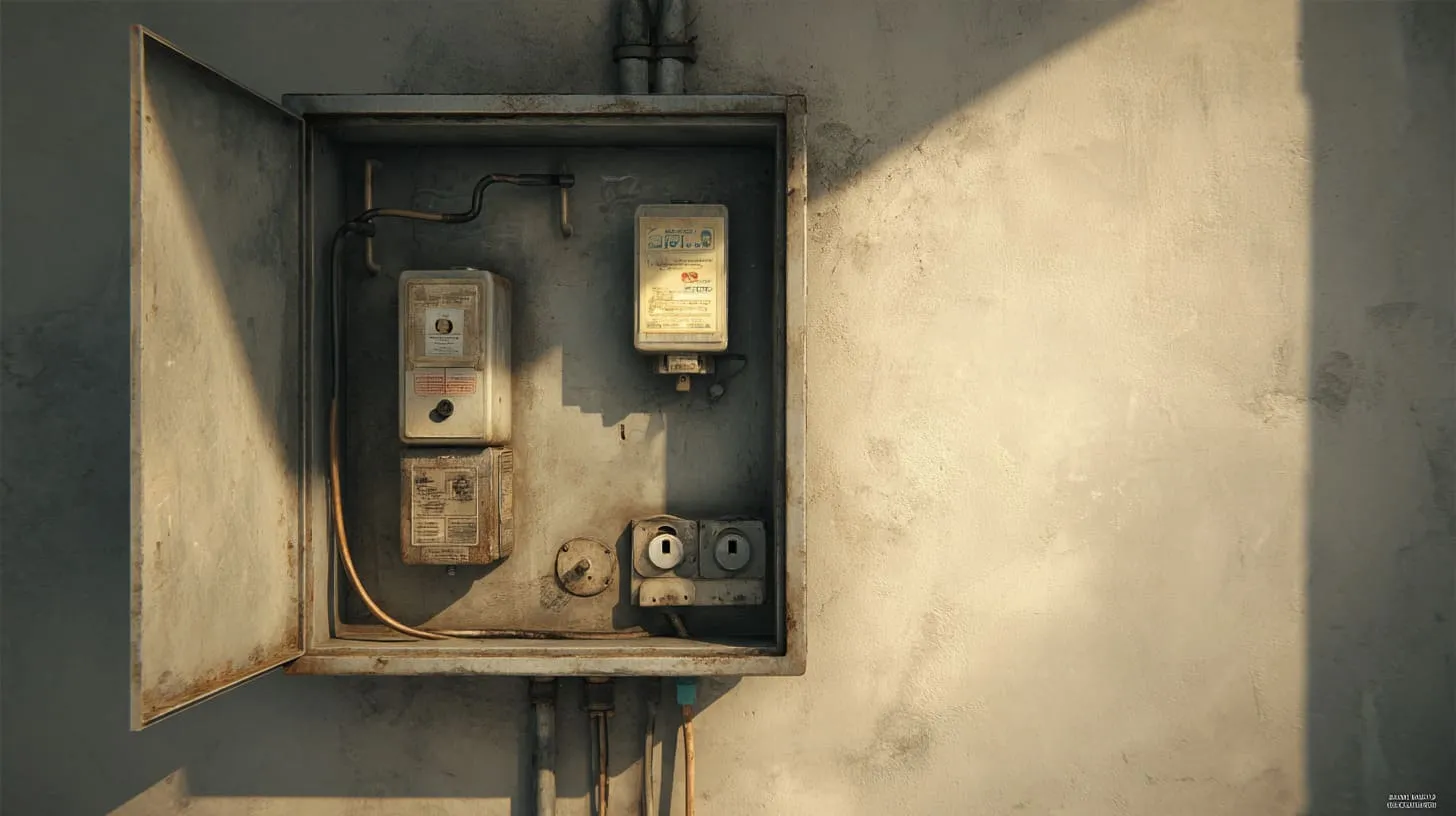
The part that surprises new buyers is this: the meter box is not only for you. It is also for the utility.
This is where my experience gets picky: I don’t judge a meter box by how strong it looks—I judge it by whether the utility can seal it, service it fast, and accept it without arguing.
What the meter box “controls” in a project
- Safety: reduces exposure to live parts
- Compliance: meets utility + code rules
- Serviceability: meter swaps without ripping walls open
- Weather protection: keeps water and dust away from terminations
Typical meter box types (high level)
| Type | Common use | Notes |
|---|---|---|
| Ring-type meter socket | Many residential installs | Utility preference varies |
| Ringless meter socket | Utility wants quick access | Often needs specific seal features |
| Meter-main combo | Meter + main disconnect together | Can simplify exterior shutdown |
| CT cabinet / metering cabinet | Higher current / commercial | More utility involvement |
If the meter location and socket style are wrong, the whole building can be “done” and still not get energized. That pain is very real.
Where should an electric meter box be installed on a building?
The “right place” is the place your utility and local code allow, and where technicians can access it safely in bad weather and at night.
Most meter boxes are installed on an exterior wall near the service entry, at an approved height, with clear working space in front, and a location that stays accessible, visible, and protected from flooding or physical damage.
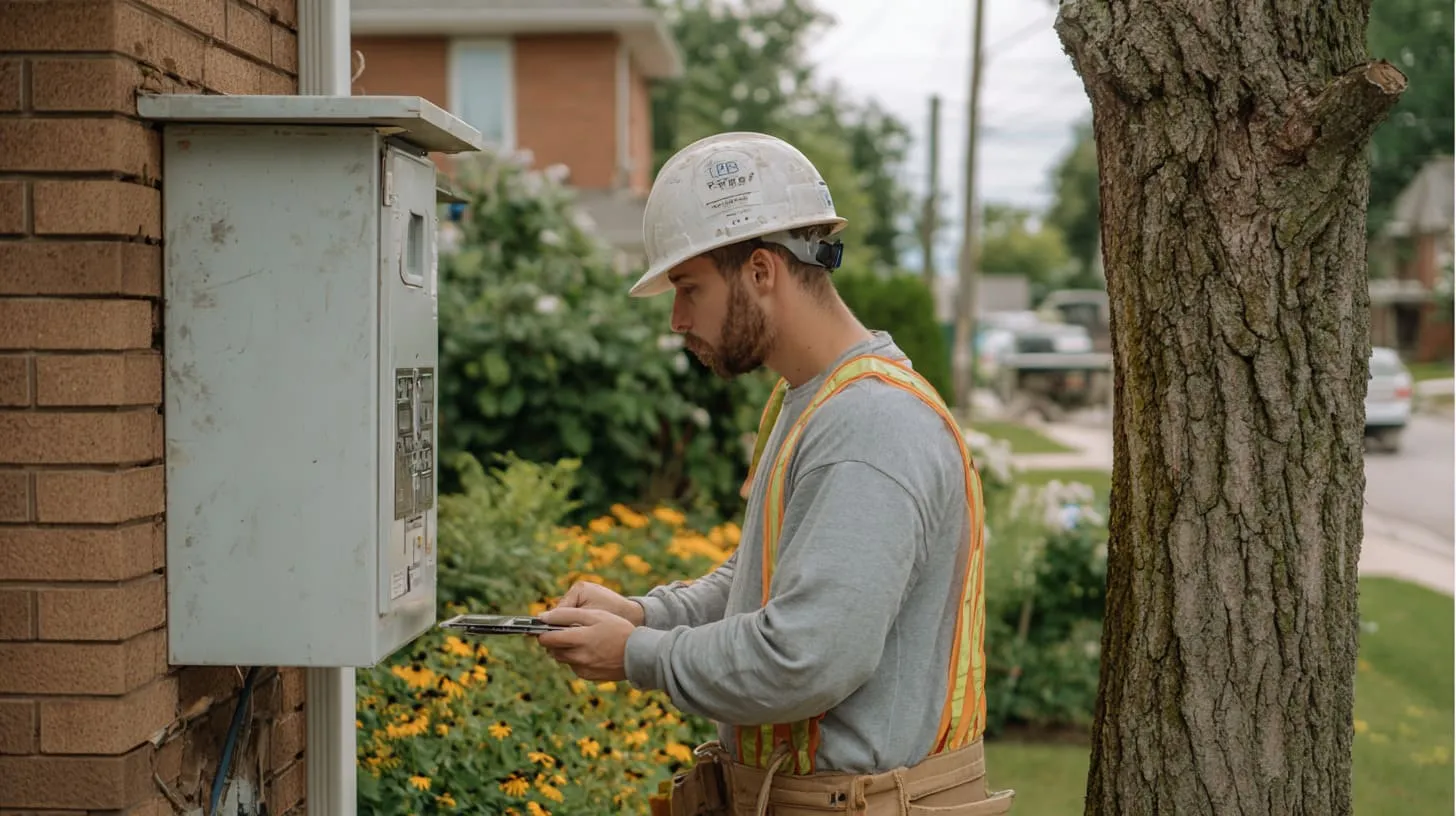
I’ve seen crews mount a perfect box… then get told to move it 1 meter because it blocks a walkway or sits too close to a gas regulator. That kind of rework hurts.
The personal way I judge placement is simple: I imagine a tired technician standing there in rain, holding tools, and ask myself, “Can they work safely without climbing, bending into bushes, or standing in water?”
Practical placement checklist
- Accessibility: no locked rooms, no high ladders, no hidden corners
- Working clearance: free space in front (follow your local requirement)
- Avoid hazards: away from gas lines, exhaust vents, sprinkler discharge, and driveways where cars can hit it
- Water risk: not in low spots where water pools, and not where gutters dump
Common placement zones
| Location | Pros | Cons |
|---|---|---|
| Exterior wall near main entry | Easy access | Can be hit or tampered with |
| Side wall near service entry | Clean cable routing | May conflict with pathway |
| Meter pedestal (some sites) | Useful when wall mount is hard | Needs ground/structural plan |
Are all electric meter boxes the same?
No. They can look similar, but they are not interchangeable, especially across utilities or countries.
Electric meter boxes vary by meter socket type (ring/ringless), amp rating, jaw configuration, phase (single/three), outdoor rating, sealing method, and utility approval—so “same size” does not mean “same acceptance.”

I’ve watched John try to standardize one enclosure for multiple markets. It feels efficient. Then one utility rejects it because of a tiny sealing detail. That is the trap.
My own “go/no-go” rule is not the datasheet—it’s whether the exact model appears on the utility’s approved list, because arguing later costs more than buying right now.
The differences that actually matter
| Feature | Why it matters | What goes wrong if ignored |
|---|---|---|
| Utility approval / listing | Utility must accept it | Failed inspection, no connection |
| Amp rating (e.g., 100/200A) | Heat + conductor sizing | Overheating, code violation |
| Ring vs ringless | Sealing + access style | Utility refuses to seal |
| Outdoor rating | Water/UV protection | Corrosion, water ingress |
| Material | Rust and impact | Door warps, box rots |
| Space / depth | Wire bending radius | Cramped wiring, unsafe bends |
Quick tip for B2B buyers
If you export enclosures, don’t assume “NEMA 3R” or “IP54” alone closes the deal. Utilities often have their own rules on top.
What size electric meter box is required for residential installations?
“Size” usually means service rating and configuration, not just physical dimensions.
Residential meter boxes are commonly sized by service amperage (often 100A or 200A) and system type (single-phase typical), and the correct choice depends on the service entrance conductors, main disconnect plan, and the utility’s exact meter socket requirement.
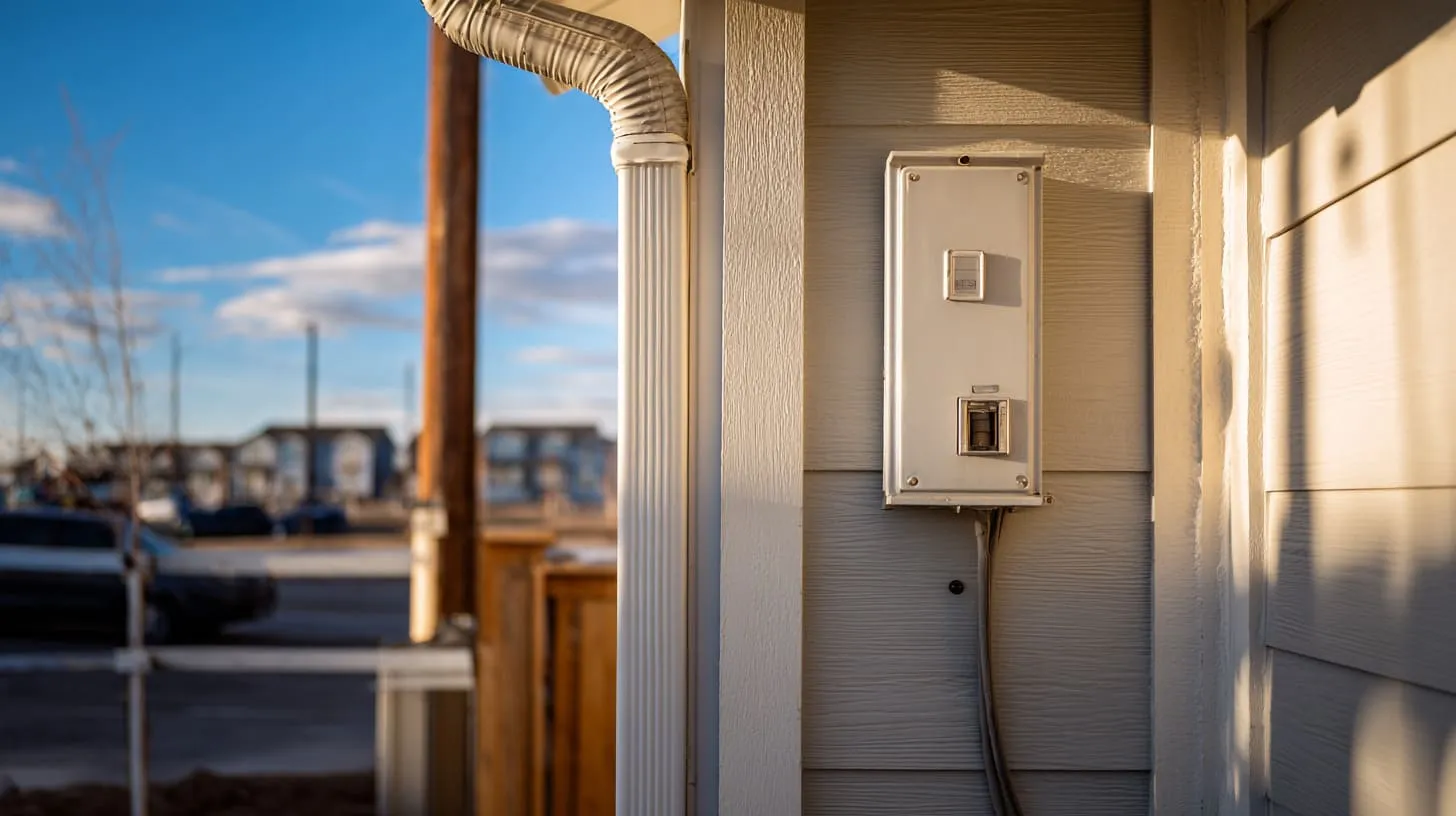
I’ve seen homeowners buy a 200A socket because it sounds “better,” then realize their panel and conductors are sized for something else. Bigger is not always smarter.
The way I decide is to match three items first: the utility meter requirement, the service rating, and the downstream panel/disconnect plan—if one doesn’t match, something will get rejected.
What “size” includes
- Service rating: 100A / 200A / higher
- Configuration: single-phase vs three-phase
- Meter-main combo or meter-only: changes enclosure size and wiring paths
- Conductor space: bending radius and lug capacity
Simple sizing view (conceptual)
| Typical home scenario | Common direction | Why |
|---|---|---|
| Standard modern home | Often 200A | More loads (HVAC, EV, etc.) |
| Smaller/older service | Sometimes 100A | Existing service limitations |
| Multi-unit / higher load | Meter-main or multiple sockets | Simplifies service control |
What tools are needed to install an electric meter box?
You don’t need exotic tools, but you do need the right ones—and you need to know where your legal boundary is.
Basic meter box mounting needs measuring tools, a level, masonry/wood drilling tools, appropriate anchors, torque tools for lugs (when permitted), and PPE—while utility-side terminations often require licensed work and utility procedures.

People love to rush the mounting step. Then the box sits crooked, conduit runs look ugly, and the door binds.
My gut-check is: if you can’t torque a lug to spec and document it, you should not be the person landing those service conductors.
Common tool list (mounting + prep)
- Tape measure, marker, chalk line
- Level
- Drill/driver and bits (wood/masonry as needed)
- Anchors and fasteners rated for exterior use
- Knockout set / hole saw (if allowed and done cleanly)
- Conduit tools (bender/cutter) depending on system
- Torque screwdriver/wrench (for electrical terminations when allowed)
- PPE: gloves, eye protection
Materials you should not “cheap out” on
| Item | Why it matters |
|---|---|
| Anchors/fasteners | Box weight + vibration + weather |
| Sealing grommets | Stops water intrusion |
| Proper hubs/fittings | Prevents sharp edges and leaks |
How do you mount an electric meter box on a wall?
Mounting is mostly about structure, straight alignment, and long-term weather exposure.
To mount a meter box, mark the utility-approved height, locate solid structure (studs or masonry), use corrosion-resistant anchors/fasteners, keep the box plumb and level, and seal penetrations to prevent water entry.
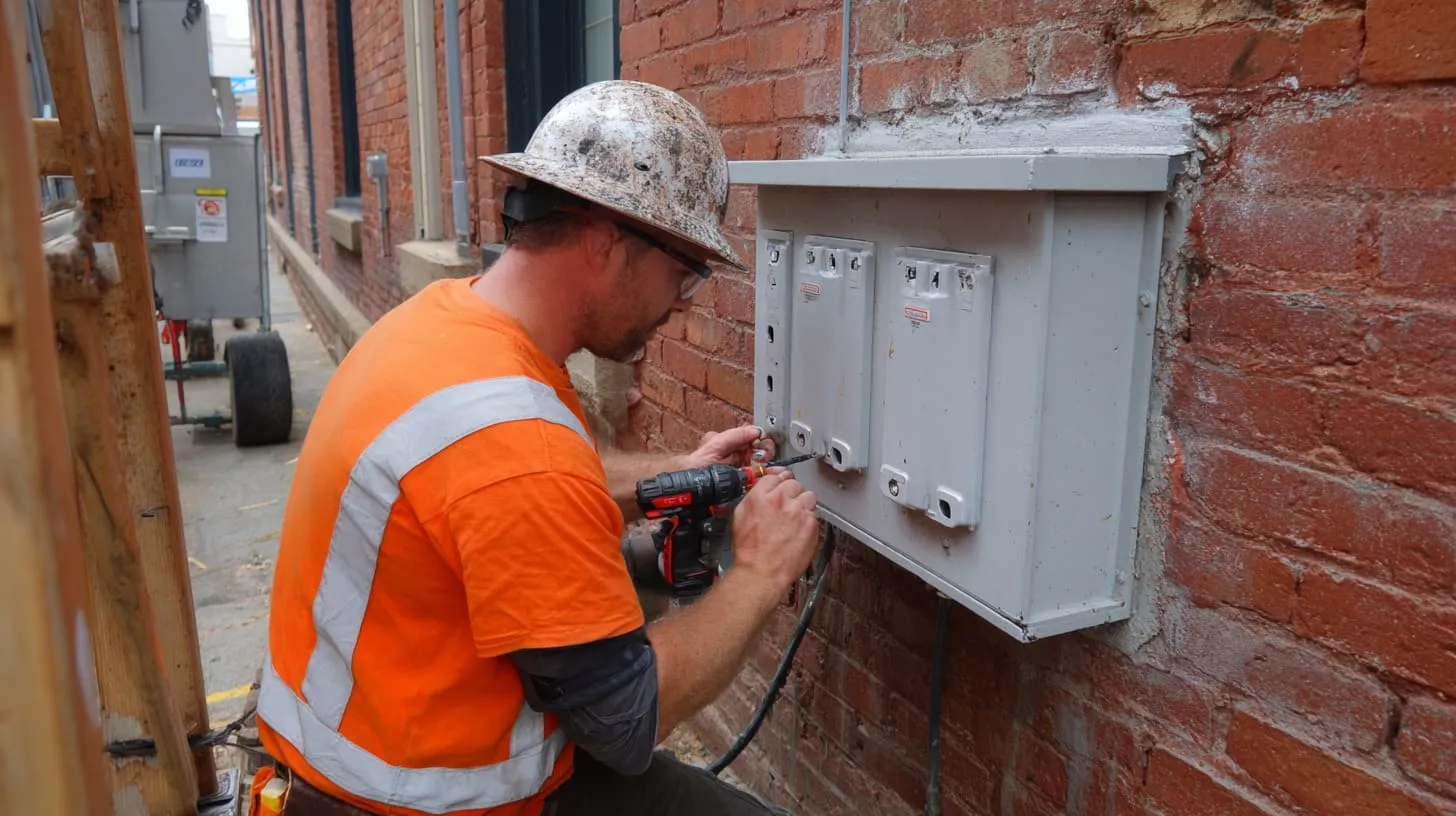
A meter box can feel “light” when empty, but once conduit and conductors pull on it, weak mounting shows up fast.
The honest way I judge a mount is to grab the box and shake it after fastening—if it flexes now, it will move later when the conduit warms, cools, and pulls.
Step-by-step mounting flow (practical)
- Confirm location + height requirement (utility/code)
- Check wall structure and choose anchor type
- Mark mounting holes
- Drill and install anchors (especially for masonry)
- Hang and tighten fasteners
- Re-check level and door swing
- Seal back and top edges where required
- Plan conduit entry to avoid “water highways” into the box
Fastener and wall pairing
| Wall type | Typical approach | Risk if wrong |
|---|---|---|
| Wood studs | Lag screws into studs | Pull-out over time |
| Brick/CMU | Expansion anchors | Cracked masonry, loose mount |
| Concrete | Concrete anchors | Misdrill = weak hold |
How do you connect the wires inside an electric meter box safely?
This is the point where DIY confidence can become real danger, because service conductors can be live and unforgiving.
Safe wiring in a meter box means following utility lockout procedures, using correct conductor sizes and insulation, routing with proper bending space, tightening lugs to specified torque, maintaining neutral/ground rules, and sealing entries—while many regions require a licensed electrician for these terminations.

If someone tells you “it’s just two hot wires and a neutral,” I get nervous. Service work is where tiny mistakes create big heat.
The way I personally decide who should wire it is simple: if the service can be energized without your control, you should not be inside that box at all.
Wiring principles that reduce risk
- Use the correct conductor size and insulation rating
- Keep bends gentle and avoid sharp edges
- Use proper connectors and bushings at entries
- Tighten to torque spec (not “hand tight”)
- Keep neutral and ground correct for your system and code
What “bad wiring” often looks like
| Mistake | What it causes |
|---|---|
| Under-torqued lugs | Heat, arcing, failure |
| Over-torqued lugs | Damaged conductor, weak contact |
| Tight bends | Insulation damage, stress |
| No bushings | Cut insulation at knockout |
| Poor sealing | Water ingress, corrosion |
A small note for B2B enclosure projects
If you manufacture enclosures, design enough room for bending radius and tool access. I’ve seen “perfect CAD” become “impossible hands” in the field.
What safety rules must be followed when installing an electric meter box?
Safety is not a slogan here. It is procedure, PPE, and knowing what you are allowed to touch.
Key safety rules include following utility lockout/tagout rules, treating all service conductors as live, using proper PPE, keeping clearances, using torque specs, preventing moisture entry, and passing inspection requirements before energizing.
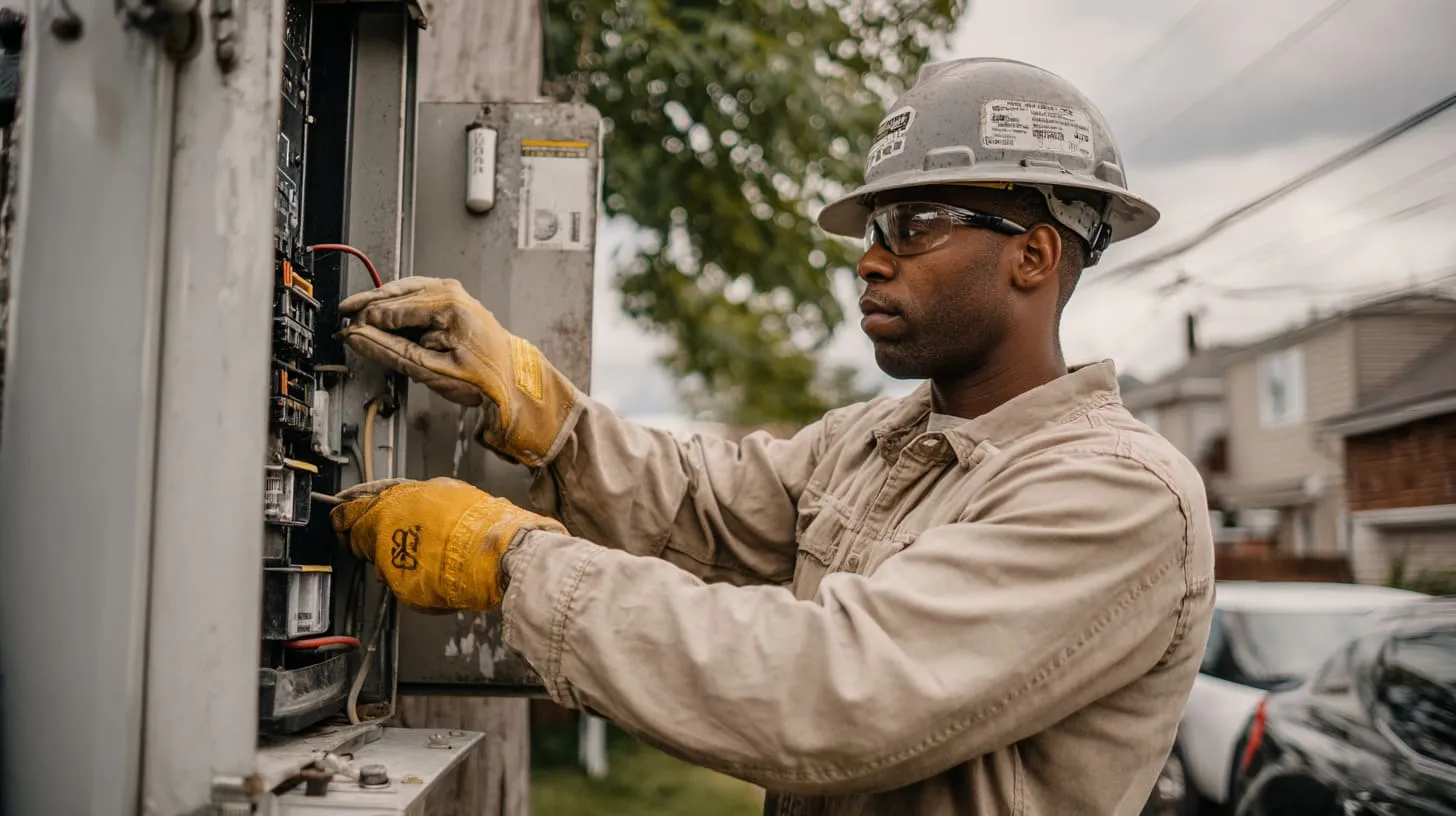
I have seen smart people get hurt because they trusted “the power is off” without verifying. That’s a hard lesson.
What I watch most is not skill, but behavior: if someone skips verification steps because they feel rushed, I stop the job right there.
Core safety rules (real-world)
- Confirm who controls the disconnect (utility vs electrician)
- Verify de-energized status using approved methods
- Wear appropriate PPE for the task
- Keep the area dry and stable (no wet ground work)
- Respect required working clearances
- Follow inspection sequence (don’t close walls too early)
Safety checklist table
| Safety item | Why it matters | Simple action |
|---|---|---|
| Verification | “Off” can be wrong | Test properly |
| PPE | Reduces injury severity | Gloves/eye/arc-rated as required |
| Moisture control | Water + power is chaos | Seal entries, drip loops |
| Torque | Heat starts at loose joints | Use torque tool |
Can homeowners install an electric meter box, or is an electrician required?
In many places, a homeowner can mount the box and do some prep work, but the service terminations and meter work are often restricted.
Homeowners can sometimes mount the meter box and install conduit, but licensed electricians (and often the utility) are usually required for service conductor terminations, meter socket connections, sealing, and final energization—depending on local law and utility policy.
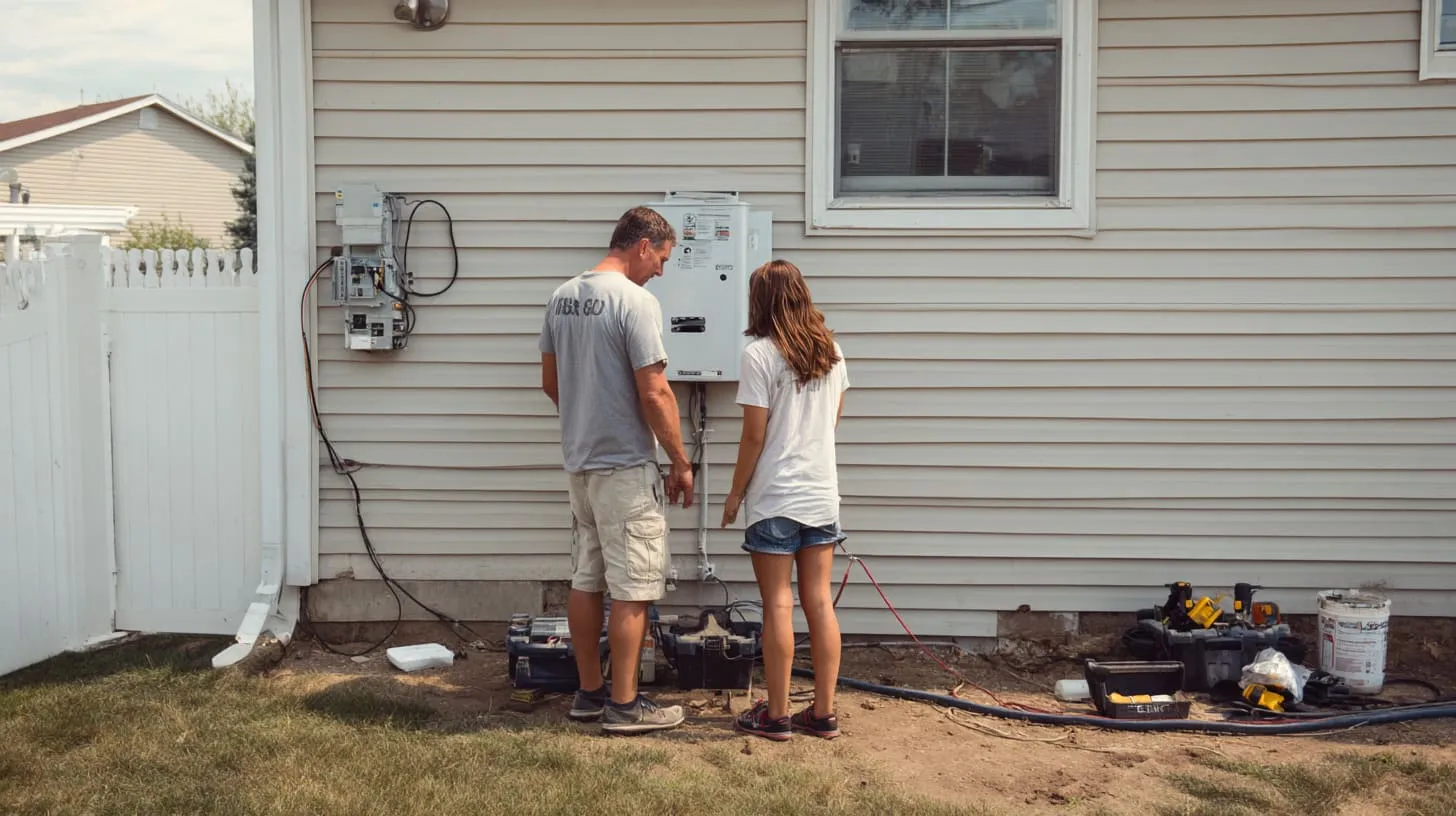
People hate hearing “it depends,” but this one truly does. Utilities guard the meter point for good reasons.
My personal line is this: I’m comfortable with a homeowner mounting a box neatly, but I do not like homeowners landing service conductors because the failure mode is too expensive and too dangerous.
Typical responsibility split (varies by region)
| Task | Often homeowner allowed? | Often electrician/utility required? |
|---|---|---|
| Choose approved box model | Yes (with guidance) | Utility may require approval |
| Mount box to wall | Often yes | — |
| Conduit routing | Sometimes | Sometimes |
| Service conductor terminations | Rarely | Yes |
| Meter install/seal | No | Utility |
Can I install my own meter box?
You can sometimes do part of it, but not always the full scope.
You may be able to install your own meter box physically (mounting and conduit prep), but in many regions you cannot legally complete the service wiring or meter connection without a licensed electrician and utility approval.
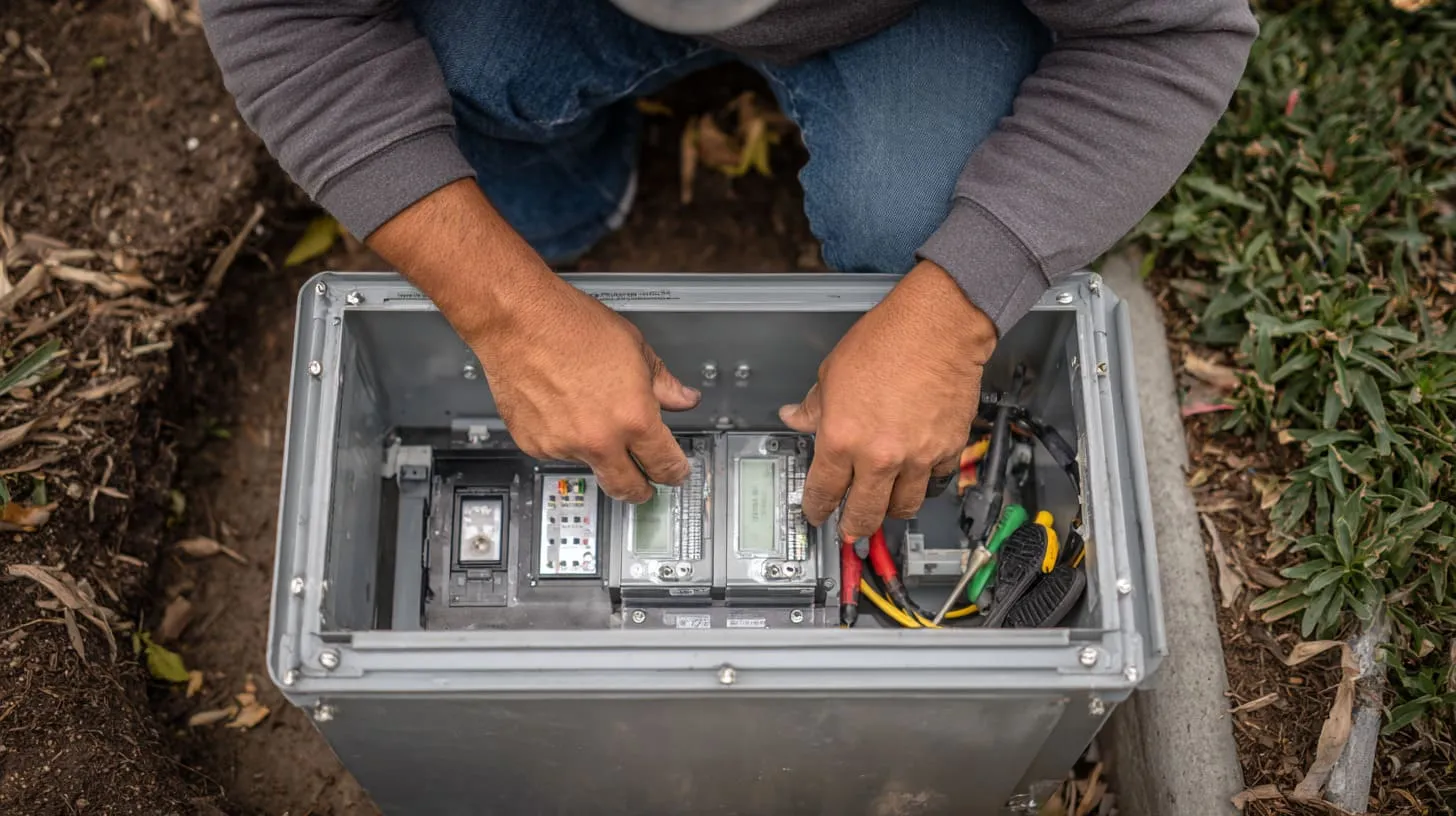
I’ve seen projects go smooth when the homeowner does the clean mounting and the electrician does the live work. I’ve also seen projects stall when someone tries to “finish everything” and then fails inspection.
The way I look at it is practical: if your plan risks a failed inspection, you’re not saving money—you’re just moving the cost into rework.
If you want to DIY the “safe part”
- Confirm the exact approved model first
- Mount it correctly at the right height
- Leave wiring space and neat conduit paths
- Take photos before closing anything up
Can I install my own prepaid electricity meter?
Prepaid meters are usually controlled by the utility or an authorized provider because they involve billing, calibration, and tamper protection.
In most cases, you cannot install your own prepaid electricity meter because the utility must provide, program, seal, and approve the metering device, even if you can prepare the meter box and wiring path.
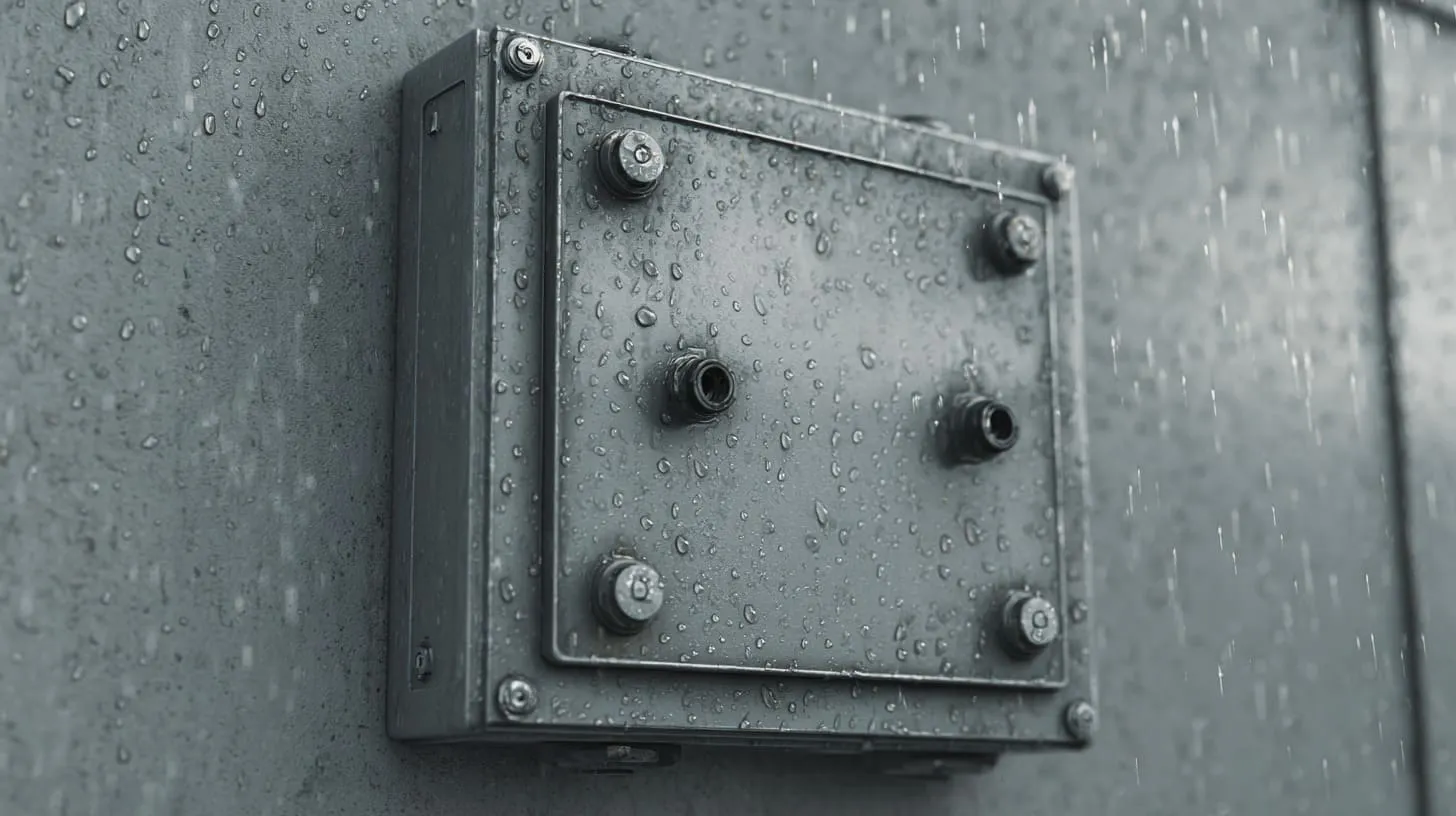
This one frustrates people because it feels like “just swapping a device.” But metering is money, and money gets strict rules.
What I’ve learned is to treat prepaid meters like passports, not gadgets—if the issuing authority doesn’t stamp it, it doesn’t count.
Why prepaid meters are restricted
| Reason | What it protects |
|---|---|
| Billing integrity | Accurate charges |
| Anti-tamper | Prevent bypass |
| Calibration | Correct measurement |
| Safety | Proper installation |
How do weatherproof and outdoor meter boxes get installed?
Outdoor installs are less forgiving because water, UV, and temperature swings punish every shortcut.
Outdoor meter boxes are installed by using an outdoor-rated enclosure, mounting with corrosion-resistant hardware, sealing all penetrations, using proper hubs and gaskets, creating drip loops, and ensuring the door and seams shed water instead of catching it.
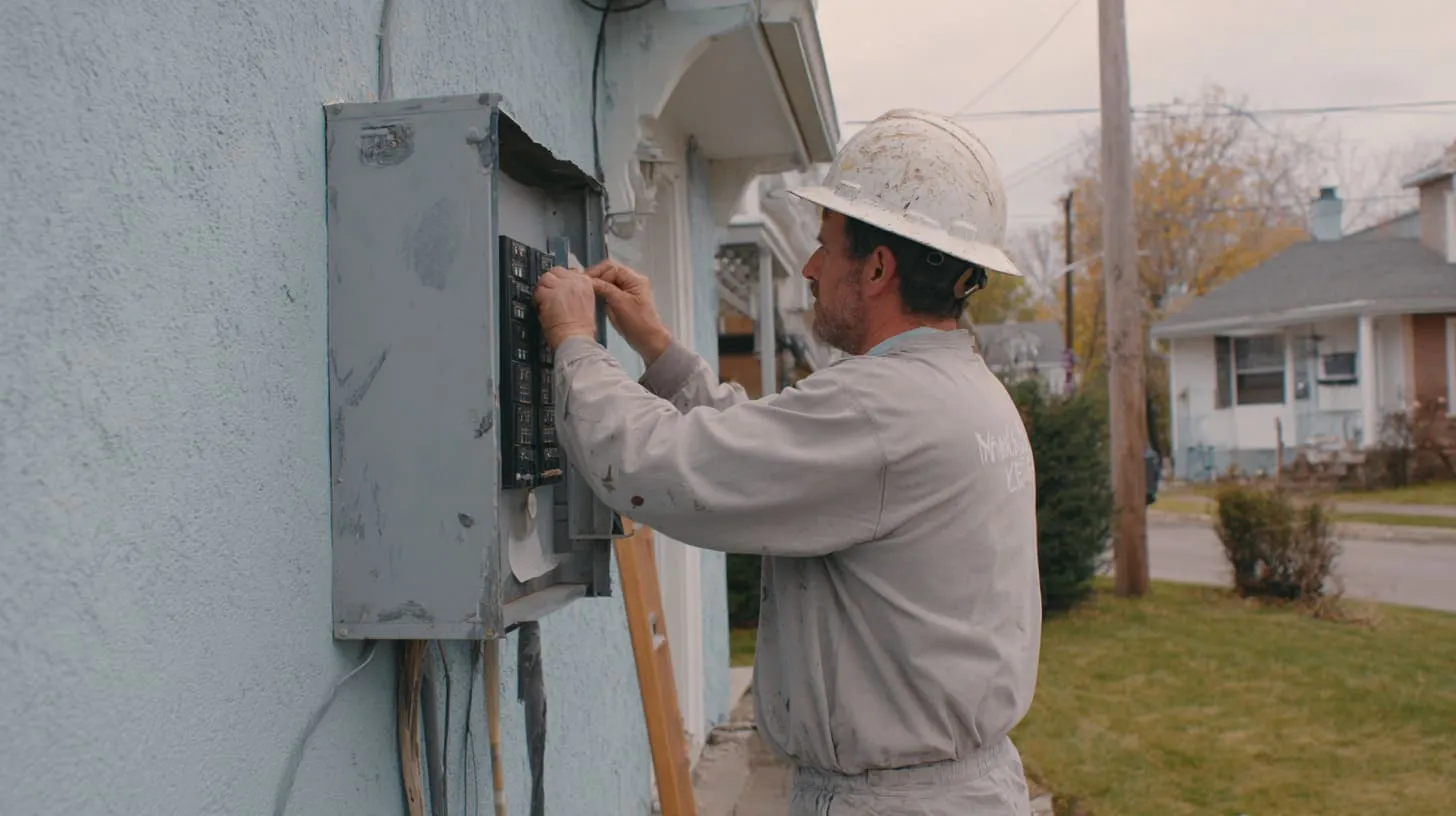
I’ve opened “outdoor” boxes that were full of rust because one conduit entry acted like a funnel. It’s painful to see.
My real-world test is simple: I look for where water will travel during a storm, and I assume it will always choose the worst path—right into the box—unless I block it.
Outdoor installation details that matter
- Use correct outdoor rating (your market’s standard)
- Seal top entries carefully
- Use drip loops so water doesn’t run along cables into the box
- Avoid direct gutter discharge onto the enclosure
- Consider sun exposure for plastics (UV aging)
Outdoor risk table
| Outdoor risk | Cause | Prevention |
|---|---|---|
| Water ingress | Bad hubs/gaskets | Proper fittings + sealing |
| Corrosion | Cheap material/fasteners | Rated materials |
| Door leaks | Misalignment | Solid mounting + checks |
| UV damage | Long sun exposure | UV-stable materials |
How long does it take to replace a meter box?
Time depends on whether it is a simple swap or a service upgrade with inspections and utility scheduling.
A straightforward meter box replacement can take a few hours on-site, but the full timeline often becomes days or weeks when you include permitting, inspection booking, utility disconnect/reconnect scheduling, and parts availability.

I’ve watched jobs where the physical work was fast, but the project sat dead because someone didn’t book the utility reconnect early.
The way I judge timeline risk is by asking, “Who is the bottleneck?” If it’s the utility schedule, your tools don’t matter anymore.
What affects the timeline
- Permit and inspection lead time
- Utility disconnect/reconnect appointment window
- Wall repair work (if the old mount is damaged)
- Service upgrade scope (100A to 200A, etc.)
Typical timeline view
| Scenario | On-site work | Total calendar time |
|---|---|---|
| Like-for-like replacement | Hours | Days to weeks |
| Upgrade + panel changes | 1–2 days | Often longer |
| Weather damage repair | Variable | Variable |
How much does it cost to install an electric box?
Costs vary widely because labor rules, utility fees, service upgrades, and wall conditions change the job.
Meter box installation costs usually include the enclosure, fittings, conduit, labor, permits/inspection fees, and utility service charges; costs rise fast if you need a service upgrade, wall repair, long conduit runs, or expedited scheduling.
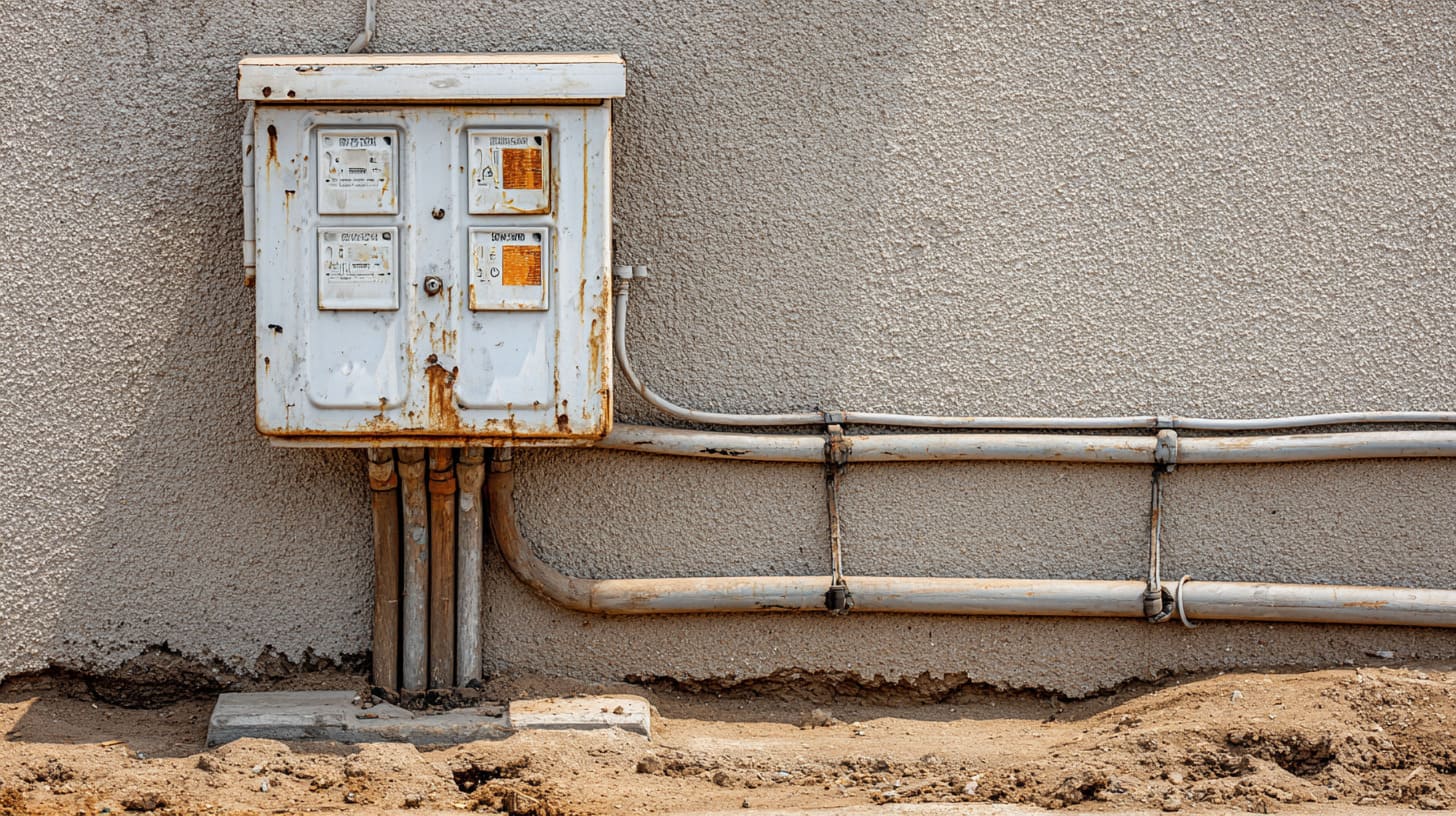
I’ve had buyers ask me for “a quick number,” and I always hesitate because one hidden factor can double it.
My pricing instinct is to separate “hardware cost” from “process cost,” because the box itself is often not the expensive part—the scheduling and compliance is.
Cost components (what you’re paying for)
| Cost item | Why it shows up |
|---|---|
| Meter box hardware | Rating, approval, outdoor needs |
| Electrician labor | Licensed work and liability |
| Permit + inspection | Legal requirement |
| Utility fees | Disconnect/reconnect and sealing |
| Wall/conduit work | Mounting and routing |
| Upgrade scope | Bigger service, more changes |
Where cost jumps happen
- Changing service rating (upgrade)
- Long distance from service entry
- Difficult wall material (old brick, damaged stucco)
- Tight scheduling (rush jobs)
What common mistakes should be avoided when installing an electric meter box?
Most mistakes are boring. That’s why they keep happening.
Avoid these common mistakes: buying a non-approved meter socket, mounting at the wrong height/location, ignoring clearances, poor sealing that allows water in, tight wire bends, wrong torque on lugs, mixing neutral/ground rules, and starting work before confirming utility procedures and inspection steps.
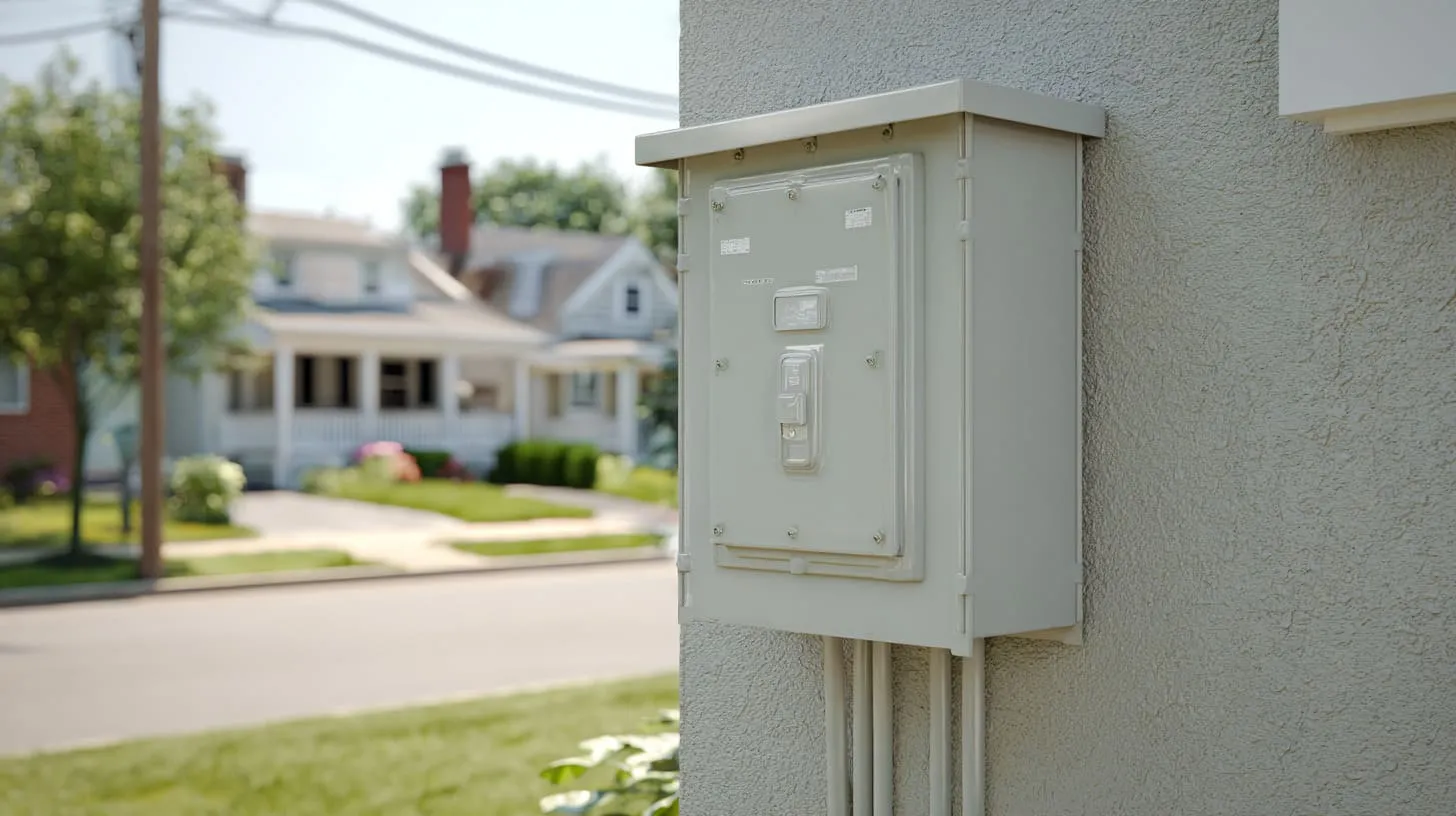
I’ve seen “perfect installs” fail because the model number wasn’t on the approved list. That hurts more than a crooked conduit, because it forces replacement.
The hard-earned way I judge risk is this: if a mistake will trigger a utility rejection, I treat it as a top priority even if it feels small.
Top mistakes (and how they show up)
| Mistake | What you see later | How to prevent it |
|---|---|---|
| Not utility-approved | No connection | Verify approved list first |
| Wrong placement | Rework | Confirm height/clearance early |
| Bad sealing | Rust/water | Use correct hubs + gaskets |
| Poor conductor handling | Heat issues | Correct bends + torque |
| Skipping inspection flow | Delays | Plan sequence before work |
A short “before you drill” list
- Confirm approved model number
- Confirm exact location and height
- Confirm who does which part (homeowner/electrician/utility)
- Confirm inspection and reconnect steps
Conclusion
Installing a meter box is part mounting, part compliance, and part humility. If you want fewer delays, match the utility rules first—then build clean and safe. If you need OEM meter enclosures or weatherproof boxes, email me at info@maidatech.com.







