 Skip to content
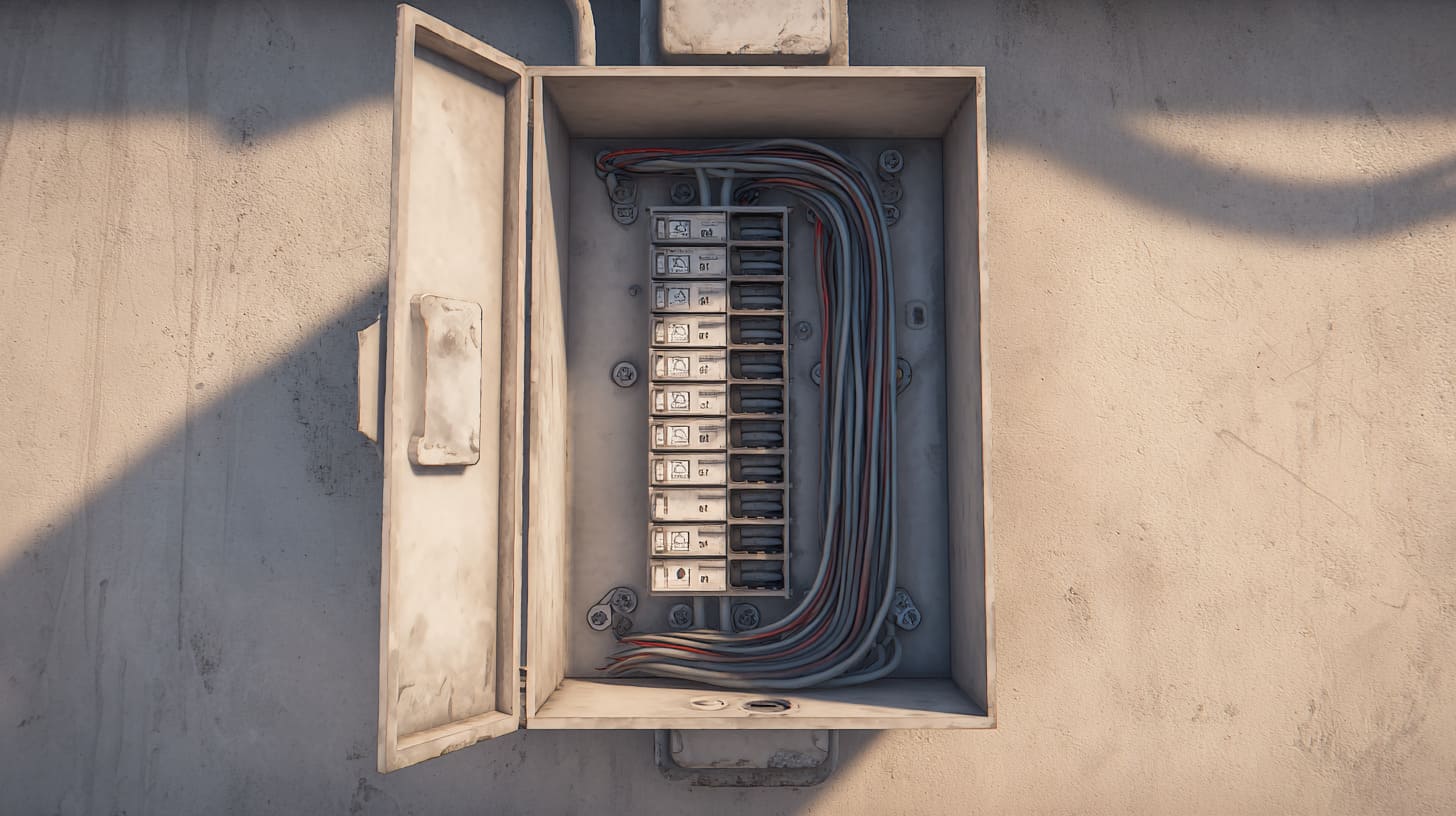
A junction box looks simple until one loose splice or hidden connection turns into flickering lights, a hot smell, or a failed inspection. That stress shows up fast, and it is expensive.
You wire a junction box by turning off power, bringing cables in through approved connectors, splicing matching conductors with proper connectors, bonding the ground, folding wires neatly, and closing the box with an accessible cover—while following your local electrical code.
I learned to treat junction boxes like “truth boxes.” If the wiring inside is messy, the project usually has other hidden problems too. Let’s slow down and do it clean.
How do you connect wires in a junction box?
Good splices are boring, and boring is what we want here. The box should feel calm when you open it later.
Connect wires by matching function and size (hot-to-hot, neutral-to-neutral, ground-to-ground), stripping to the connector’s spec, using listed wire connectors, and tug-testing each splice before you fold everything back into the box.
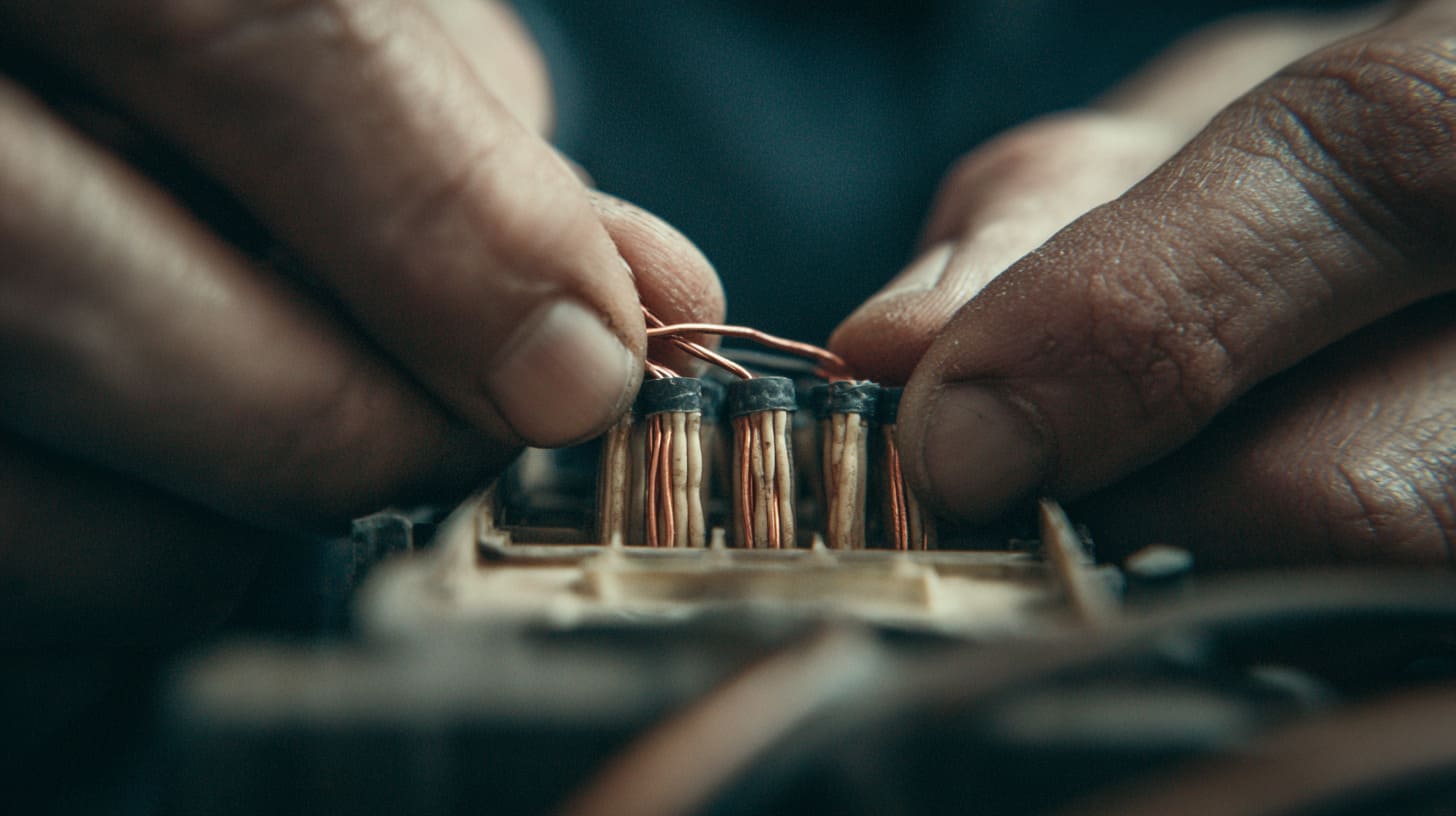
Match first, then connect
When people rush, they connect “whatever fits.” That is how weird problems are born.
- Hot conductors connect to hot conductors (often black or red, but color rules vary).
- Neutral conductors connect to neutral conductors (often white or blue, but again, vary).
- Ground connects to ground (bare or green/yellow).
If colors are inconsistent, I stop and identify the conductors instead of guessing.
Choose the connector that fits the job
Different splices need different connectors. This is where many DIY jobs quietly fail.
| Splice situation | Typical safe choice | Why it matters |
|---|---|---|
| Two or more solid/stranded conductors | Listed twist-on connector (wire nut) or listed push-in | Correct spring pressure reduces heat |
| Mixed sizes | Connector rated for that exact mix | Wrong mix can loosen over time |
| Ground bundles | Crimp sleeve or green nut with pigtail | Keeps bonding reliable |
My quick “splice quality” checklist
- Strip length matches the connector instructions.
- Copper is clean and not nicked.
- Connector fully seats with no bare copper showing outside (unless allowed by the connector design).
- Tug test each wire individually.
Which wires go together in a junction box?
This question sounds basic, but it prevents most mistakes. I like it because it forces clean thinking.
In a junction box, wires go together by purpose: supply hot to load hot, neutrals tied together, grounds tied and bonded to the box, and any device connection made using pigtails—never by “color only” or guesswork.
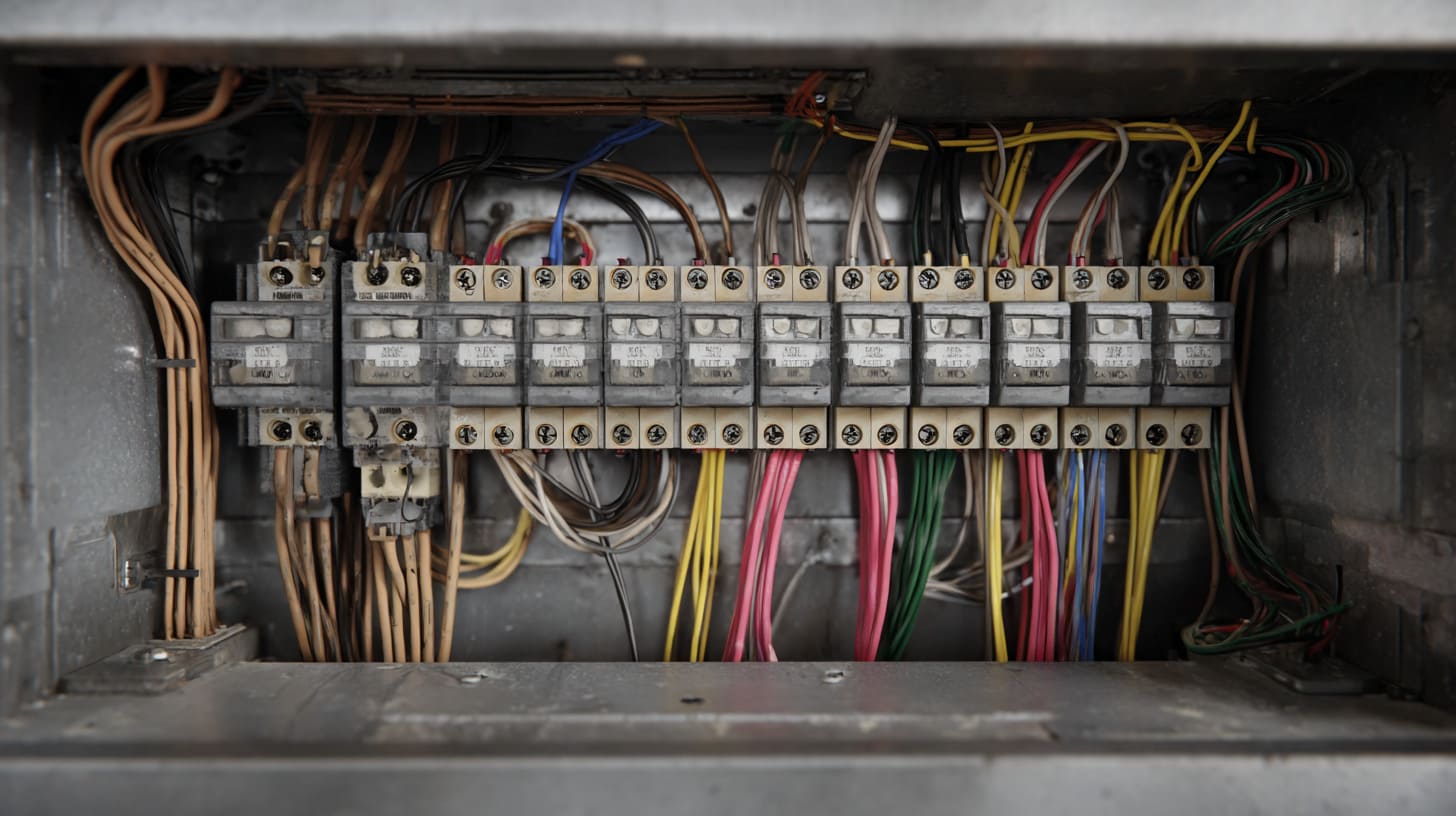
Think in “circuits,” not colors
Color helps, but it is not the truth. The truth is function.
| Conductor role | What it usually does | Common mistake |
|---|---|---|
| Line / Supply hot | Brings power in | Mixing circuits in one box without planning |
| Load hot | Sends power out | Loose splice causes heat |
| Neutral | Returns current | Open neutral creates strange behavior |
| Ground / bond | Safety path | Missing bond makes faults dangerous |
Use pigtails when multiple connections exist
If three wires need to share one point, I prefer a splice bundle plus a pigtail rather than “stacking” under one terminal.
- Cleaner.
- Easier to service.
- More reliable under vibration and heat cycles.
How do you wire a junction box step by step?
I know why you want steps. Steps reduce anxiety. But electricity punishes “confidence without proof,” so I’ll keep this safe and code-aware.
The safe workflow is: shut off and verify power is off, mount the box, secure cable entries, prepare conductors, make listed splices, bond grounds, arrange wires without stress, then close with an accessible cover and test—only after code checks.
Step 1: Kill power and verify
This is not a “flip the breaker and hope” moment.
- Turn off the breaker.
- Use a tester to confirm the circuit is dead.
- If you cannot verify, stop.
Step 2: Mount the box and protect the cable entry
A box is not just “a container.” It is part of the mechanical safety system.
- Use the correct box type for the environment.
- Use approved connectors/clamps.
- Prevent sharp edges from cutting insulation.
Step 3: Prepare conductors without damaging them
I have seen more failures from bad stripping than from “wrong parts.”
- Strip cleanly.
- Do not nick copper.
- Keep lengths reasonable so nothing is strained.
Step 4: Splice with listed connectors and do a tug test
Splices should feel firm. If one wire slips, redo it.
Step 5: Ground and bond correctly
- Grounds tied together.
- Ground bonded to the box if it is metal.
- Use pigtails where required.
Step 6: Fold wires neatly, then cover
Neat folds reduce stress on splices. The cover stays accessible.
Do I need a junction box for splicing wires?
A splice feels small, so people hide it. That is exactly why codes don’t allow hidden splices.
Yes, most wire splices must be inside an approved junction box with a cover that stays accessible, because the box protects the splice mechanically and reduces fire risk, and it makes future inspection and repairs possible.

Why “accessible” matters in real life
A junction box is a promise to your future self.
| Hidden splice risk | What happens later |
|---|---|
| Heat buildup | Insulation degrades over time |
| Loose connection | Flicker, arcing, or failure |
| No access | Repairs become demolition |
Common exceptions still require rules
Some wiring systems have special listed methods, but “I taped it well” is not one of them.
What are the rules about junction boxes?
Rules feel annoying until you see what they prevent. I have seen a lot of “almost good” work fail because of one rule.
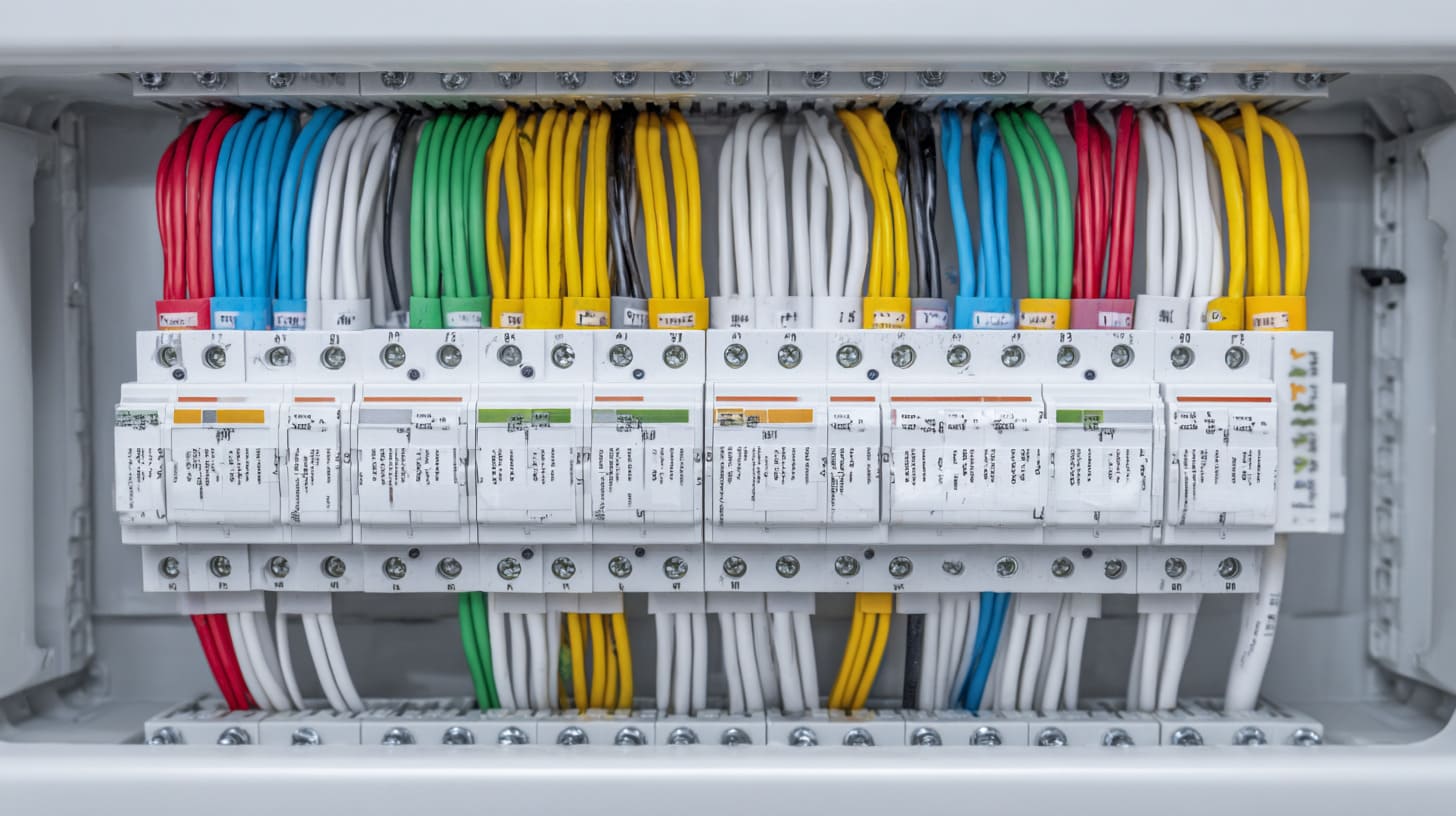
The rules I see enforced most often
- Box must be sized for the conductors inside (box fill).
- Cable must be secured with correct fittings.
- No exposed splices outside the box.
- Cover required and reachable.
Code is local, not universal
The exact details depend on where the job is. If you are not sure, treat that as a stop sign, not a speed bump.
How many wires can be in a junction box?
This is where “it fits” becomes “it overheats.” Box fill is boring math, but it keeps wiring cool and safe.
The number of wires allowed depends on box volume, wire gauge, devices inside, and how grounds count in box-fill rules; you must follow your local code’s box-fill calculation to avoid overheating and inspection failure.
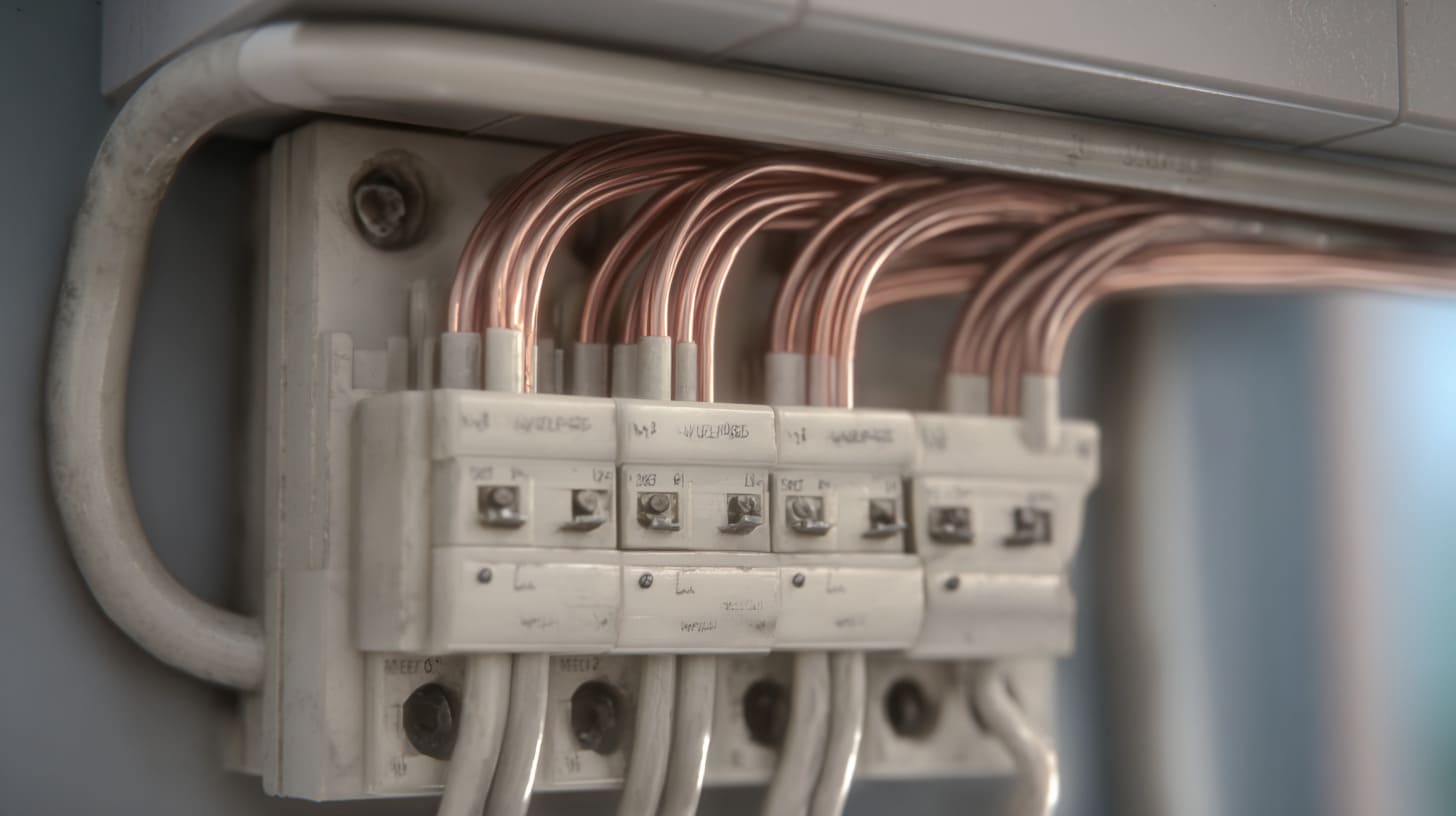
The simple way I explain box fill
Think of the box like a backpack. If it is overstuffed, the zipper fails and everything rubs.
Here is a practical checklist (not a substitute for code math):
- Larger wire gauge needs more space.
- Devices (like switches) take space.
- Clamps and fittings can reduce usable volume.
- Grounds count in a special way under many codes.
A quick planning table
| What increases box fill | Why it matters | Safer move |
|---|---|---|
| More conductors | Less air space | Use a larger/deeper box |
| Heavier gauge wire | Stiffer bend radius | Increase box volume |
| Multiple splices | More connector bulk | Add a second box if needed |
| Devices inside | Device body takes space | Use a box designed for devices |
How many wires are allowed in a junction box?
This sounds like the same question, and it basically is. People ask it twice because they feel the risk.
There is no one fixed number; the limit is set by box-fill rules based on box size and wire gauge, so the correct answer is the one your local code calculation gives for that exact box and conductor set.
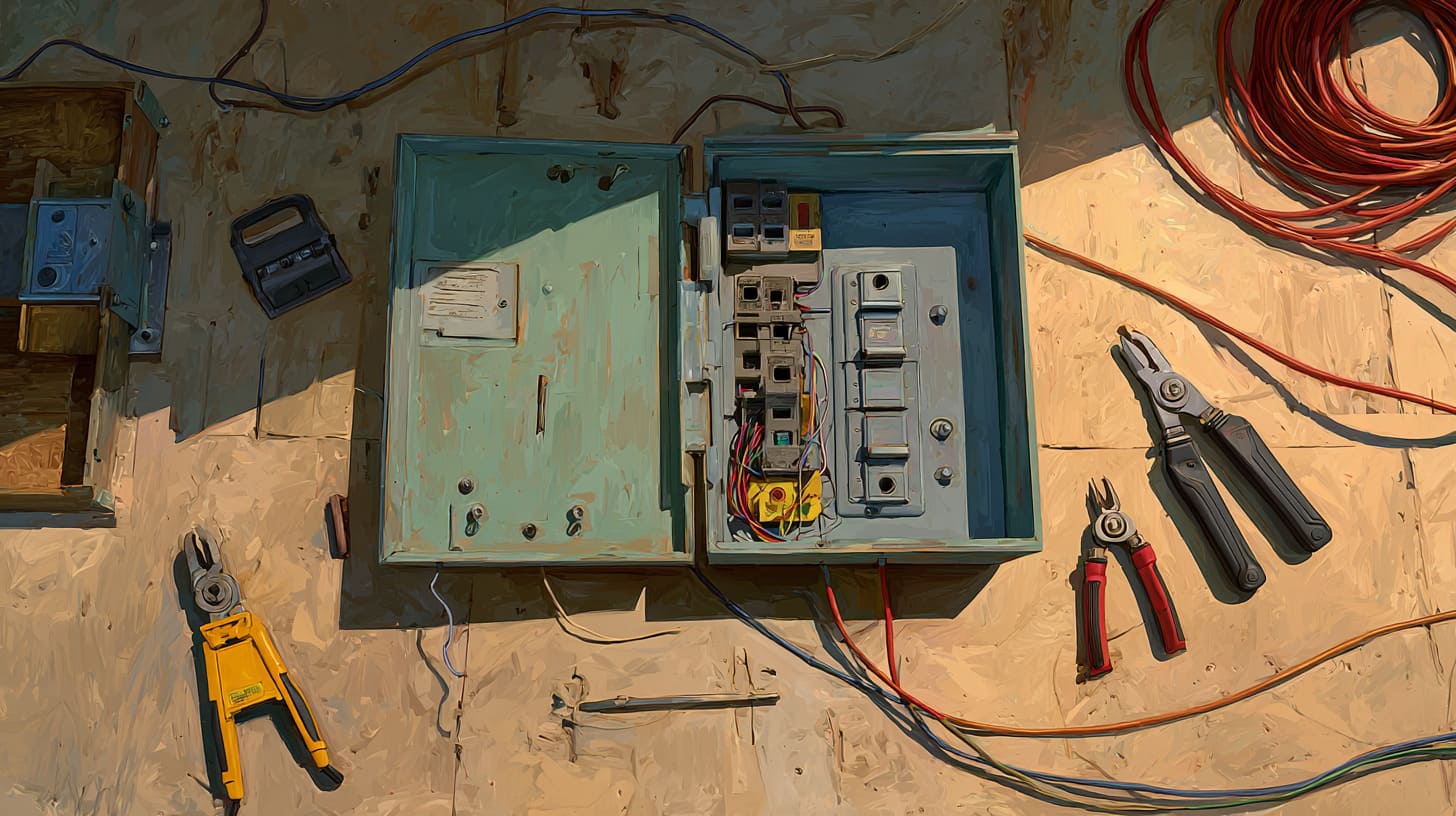
My “when in doubt” rule
If you have to force the cover closed, the box is too small. That is not a style issue. It is a heat and stress issue.
What are common J-box mistakes?
I can usually spot trouble by the first ten seconds after the cover comes off. The same mistakes repeat.
Common junction box mistakes include loose splices, mixed circuits without labeling, overfilled boxes, missing cable clamps, exposed copper, forgotten grounding/bonding, and burying the box behind drywall or cabinetry where it cannot be accessed later.

The “silent failure” mistakes
These are the ones that don’t fail today, but they fail later.
- Overstripped copper: bare copper outside the connector.
- No strain relief: cable pulls on splice.
- No label: next person guesses.
- Box buried: repair becomes destruction.
Mistake-to-consequence table
| Mistake | What you might notice | What it can turn into |
|---|---|---|
| Loose splice | Flicker | Heat and arcing |
| Overfill | Cover won’t sit flat | Damaged insulation |
| No ground bond | Nothing “seems wrong” | Dangerous fault path |
| Buried box | Looks clean | Illegal and risky |
What are the three basic rules of wiring?
If I had to reduce a safe wiring job to three rules, I’d pick the ones that protect people, not pride.
The three basics are: make solid mechanical connections, protect and bond the grounding path, and follow code for protection and accessibility—because a neat-looking job is useless if it runs hot, fails later, or cannot be serviced safely.
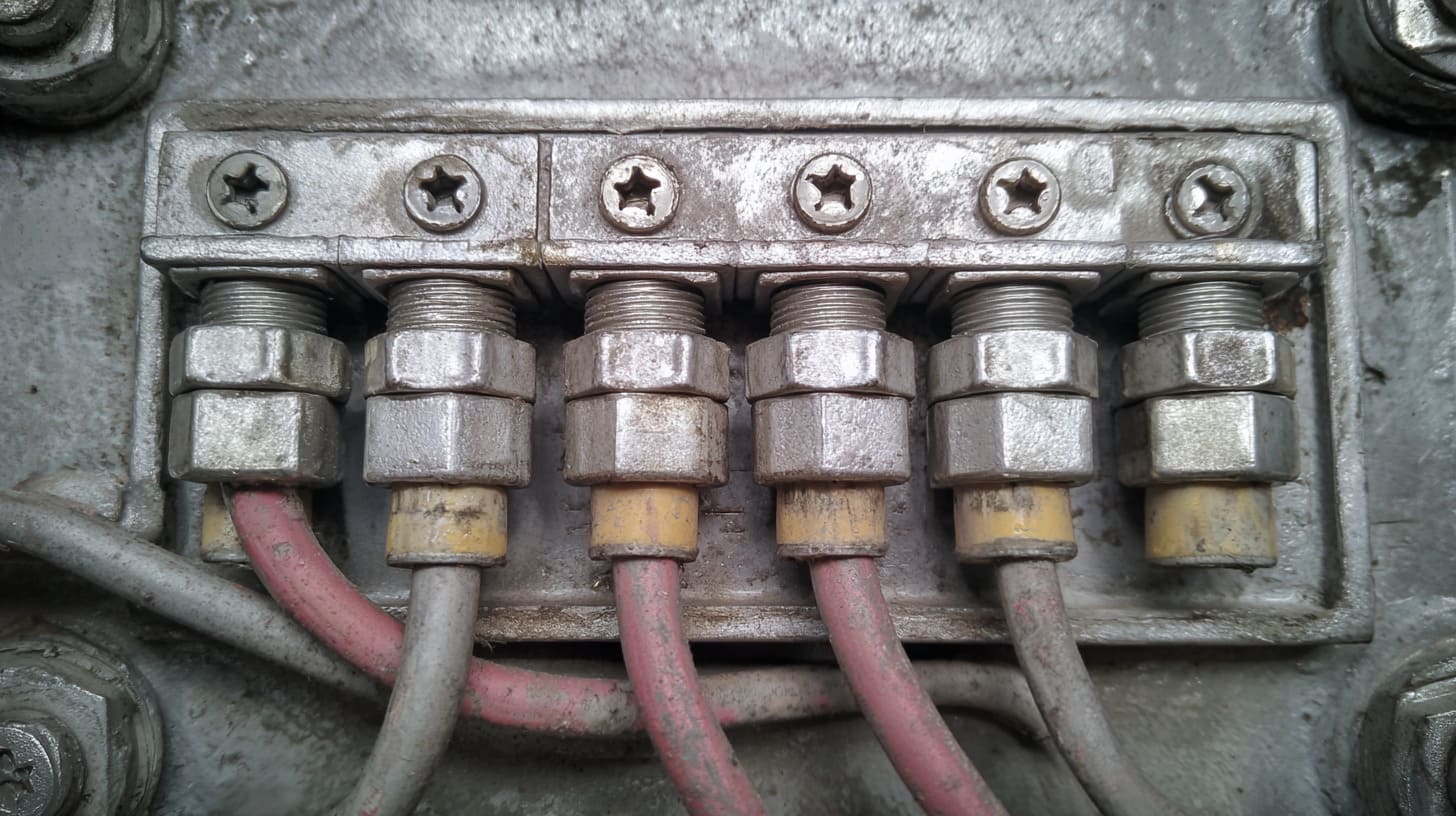
My personal version of the three rules
- Verify power state before touching conductors.
- Connections must be tight and listed for the conductors.
- Grounding and accessibility are non-negotiable.
Do I need an electrician to install a junction box?
This is the honest question. And the honest answer depends on your skill, your risk tolerance, and your local law.
If you are not trained to identify conductors, test circuits safely, and follow local code, you should hire a licensed electrician; junction box mistakes can cause shock, fire, and failed inspections, and the cost of fixing them is usually higher than doing it right once.

When I tell people “call a pro”
- You cannot confirm the circuit is off.
- The wiring colors are inconsistent or confusing.
- There is aluminum wiring, old insulation, or signs of heat.
- The box will be in a wet, outdoor, or critical area.
A simple decision table
| Situation | DIY risk | Best move |
|---|---|---|
| Simple replacement in dry indoor area | Medium | Only if you can test safely |
| Mixed circuits / unknown wiring | High | Electrician |
| Outdoor / damp / industrial | High | Electrician + correct rated box |
| Any sign of heat or arcing | Very high | Stop and call help |
What tools do I need to wire a junction box properly?
Tools don’t make you safe, but missing tools makes you sloppy. Sloppy and electricity don’t mix.
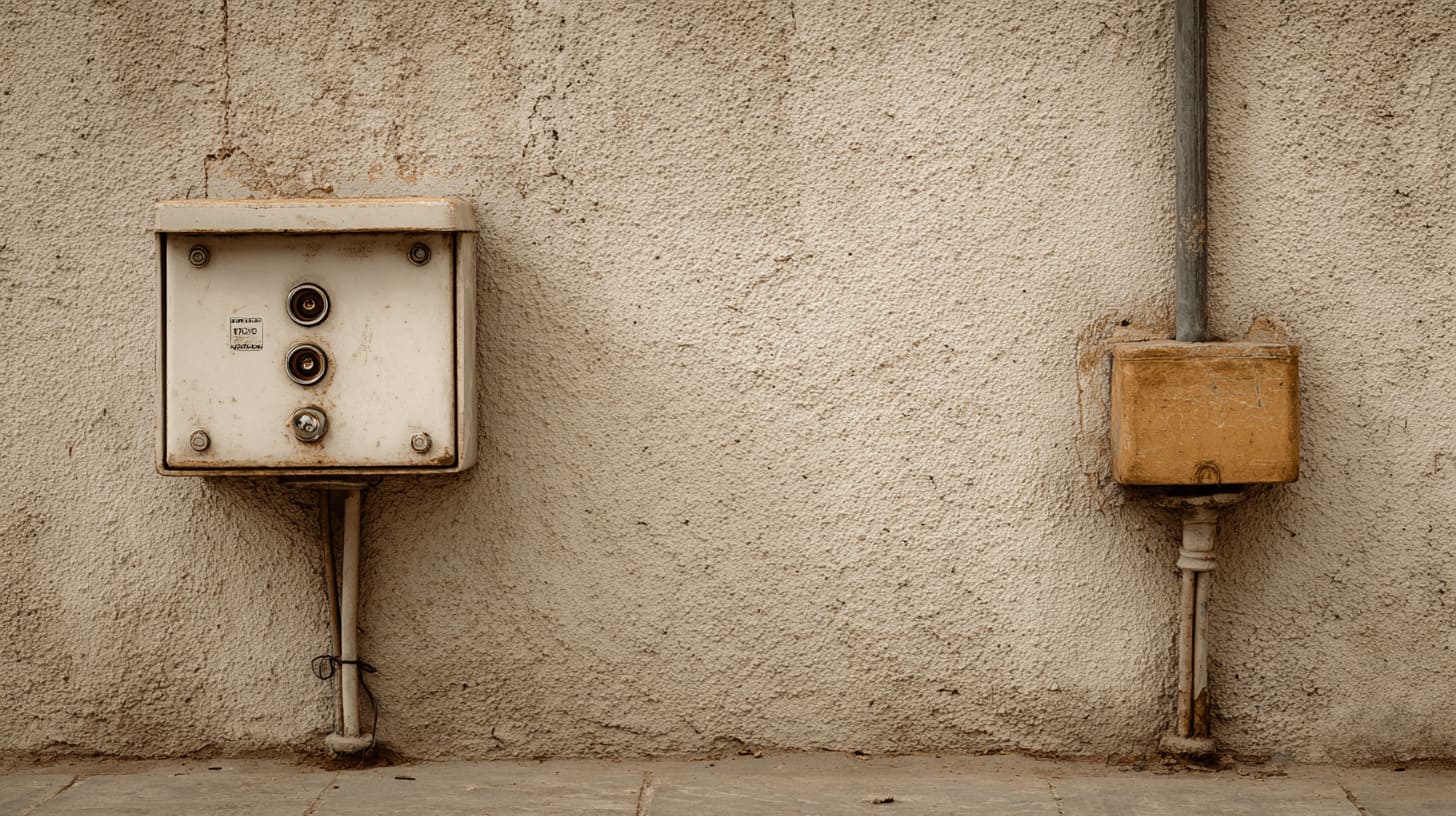
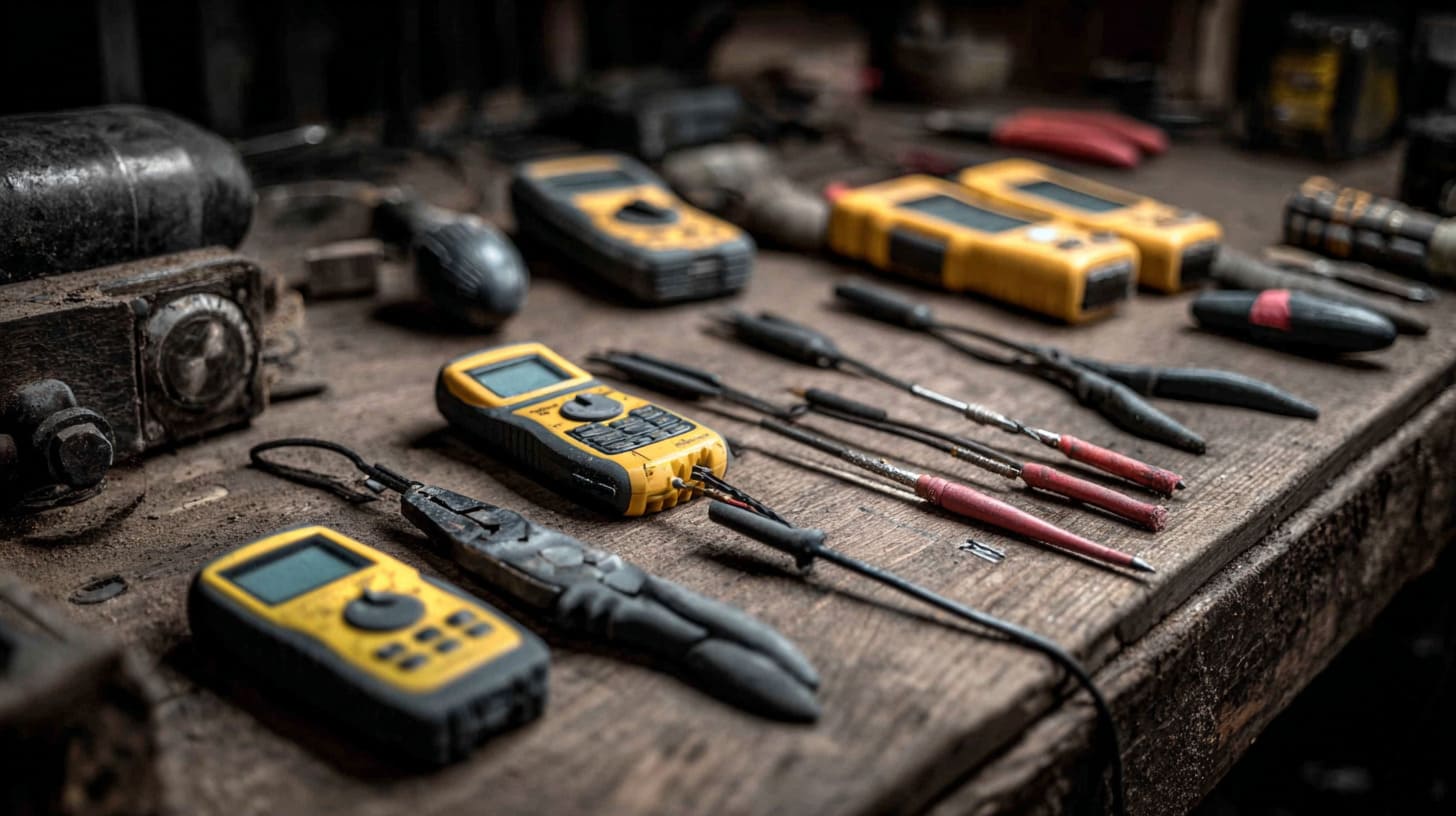
You typically need a voltage tester or meter, wire stripper, proper cutters, listed connectors, screwdrivers, and cable fittings matched to the box; the key tool is the one that lets you verify power is off and connections are secure.
My practical tool list
- Voltage tester / multimeter (and know how to use it)
- Insulated screwdrivers
- Wire stripper sized for your conductors
- Cutters
- Approved wire connectors
- Cable clamps/connectors
- Flashlight (always)
Tool-to-purpose table
| Tool | Purpose | What goes wrong without it |
|---|---|---|
| Tester / meter | Verify safe condition | You work “blind” |
| Stripper | Clean strip | Nicked copper, weak splice |
| Correct connector | Reliable splice | Heat, loosening |
| Cable clamp | Strain relief | Splice gets pulled |
What happens if you wire a junction box incorrectly?
Bad wiring rarely fails in a dramatic way at first. It usually whispers.
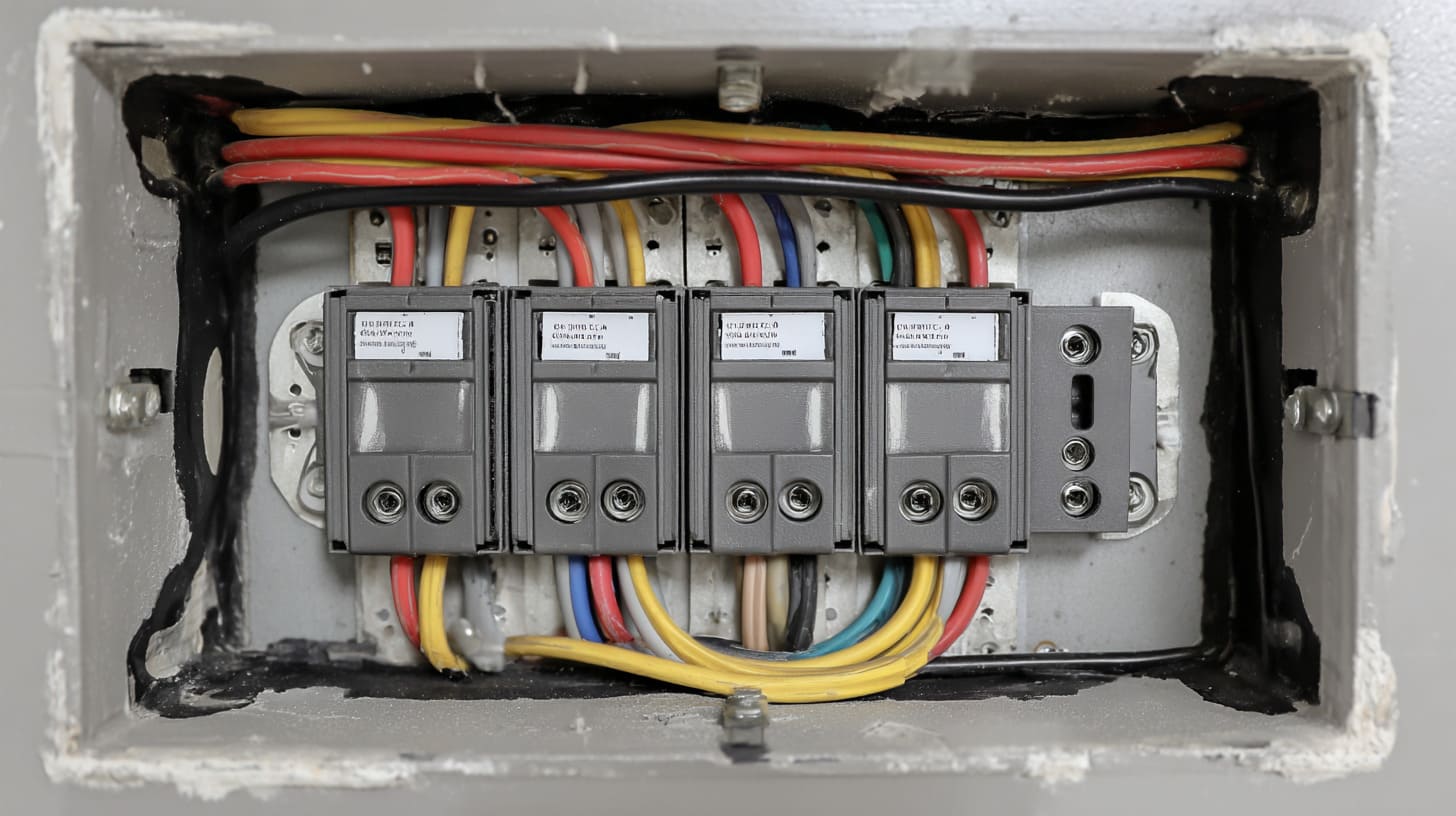
Incorrect junction box wiring can cause loose connections that heat up, arcing that damages insulation, intermittent power issues, shock hazards from poor grounding, and code violations that fail inspection—sometimes showing up months later as a “mystery” problem.
The warning signs I never ignore
- Warm cover plate or box area
- Burning smell
- Buzzing sound
- Flickering lights tied to one location
- Tripping breaker under normal load
If any of those show up, I stop and treat it as urgent.
Can I wire a junction box without grounding?
People ask this when they see old wiring, or when the ground wire “is missing.” That is a serious moment.
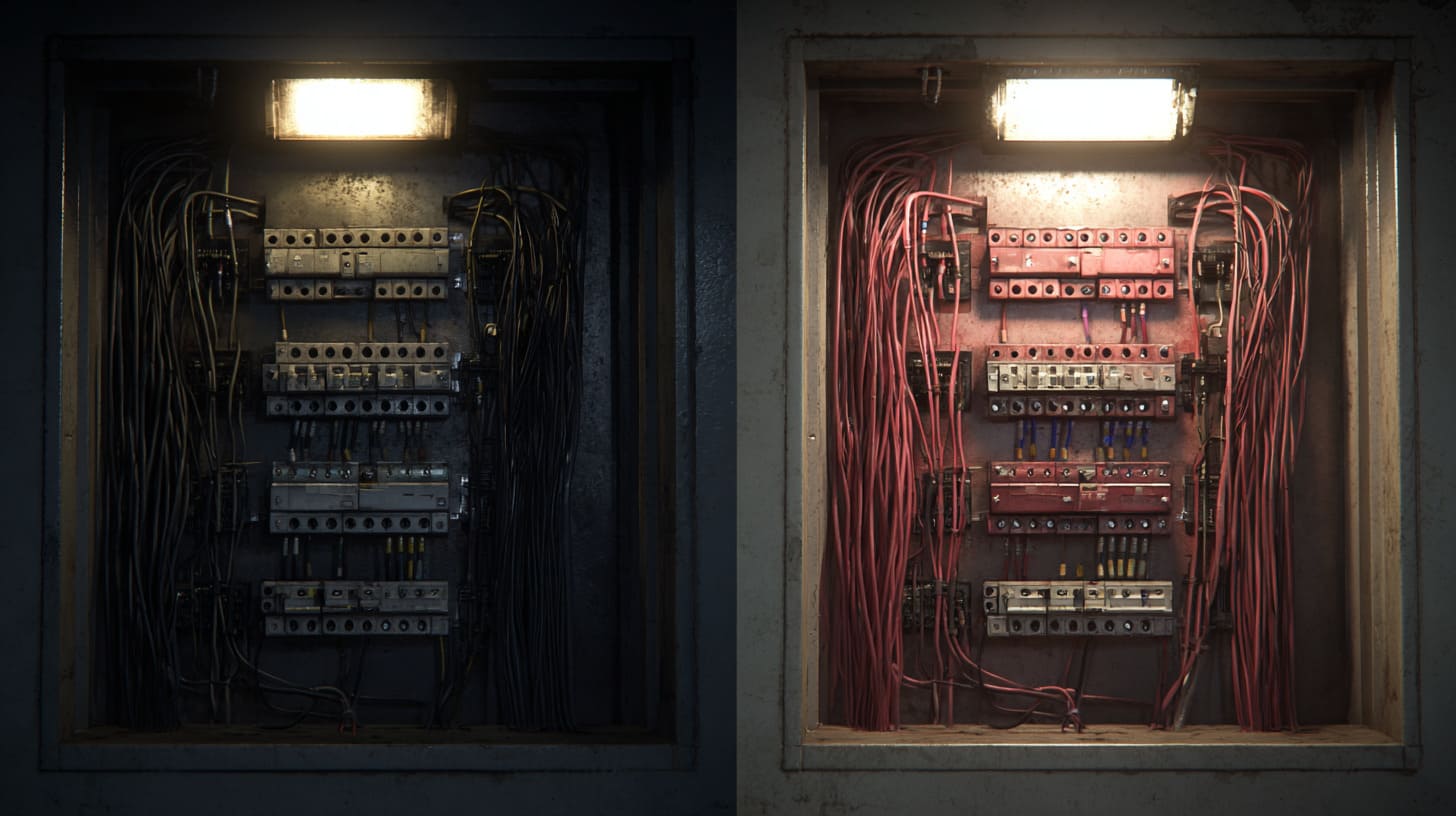
You should not ignore grounding; a proper grounding and bonding path is a key safety feature, and if your wiring system has no ground available, you need a code-compliant solution—often requiring an electrician and local code guidance.
Why grounding is not “optional”
Grounding is the emergency exit for fault current. Without it, the “exit” might be you.
If you have no ground present
This is where I stop giving DIY-style advice, because the right fix depends on your wiring system and local rules. The safe next step is a qualified inspection.
Should a junction box be metal or plastic for wiring?
This is a great buyer-style question. It is not about “better.” It is about fit.
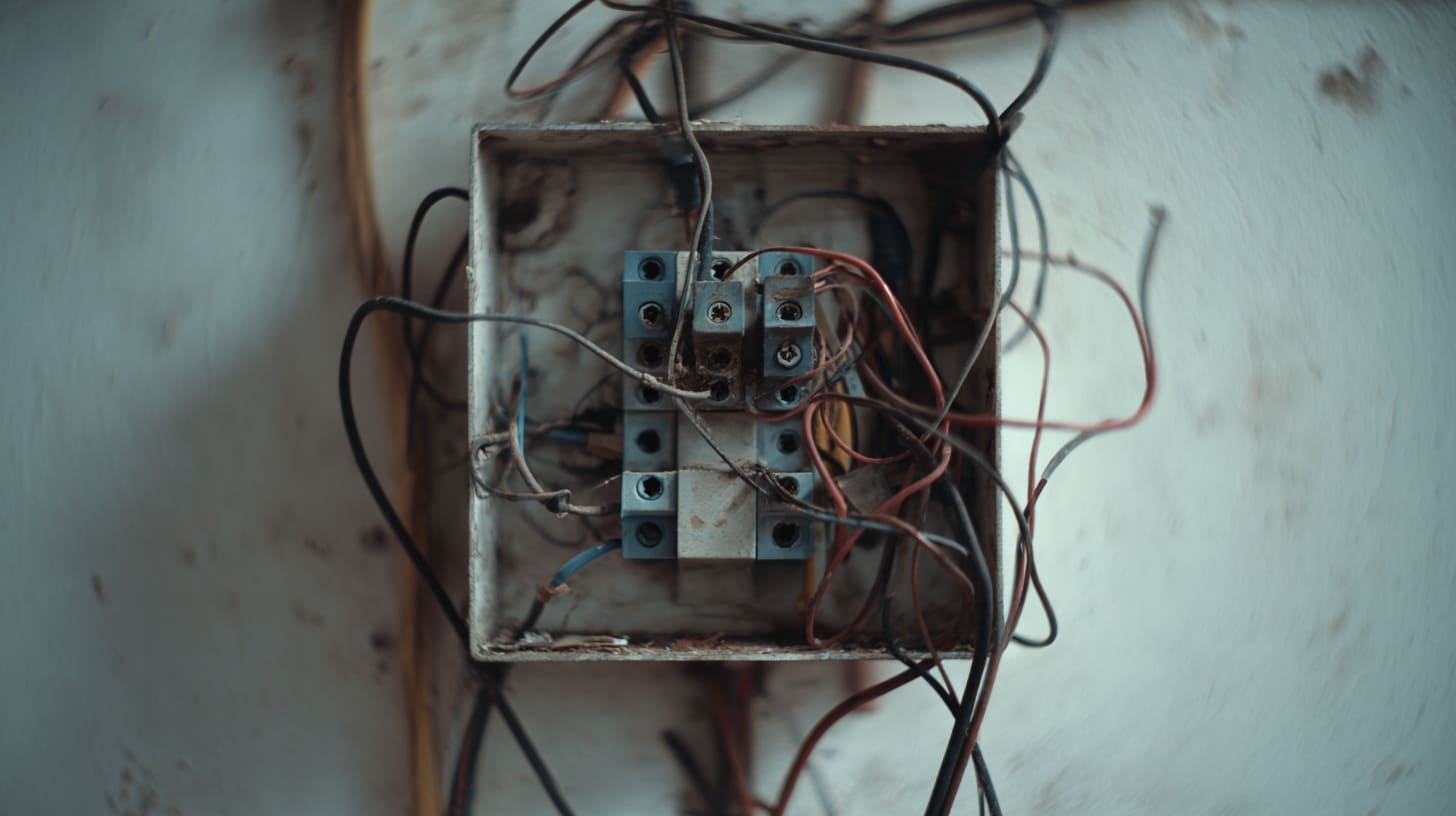
Metal boxes are strong and handle heat and impact well, but they must be bonded properly; plastic boxes resist corrosion and are easy indoors, but may not suit high-heat, high-impact, or certain industrial environments—choose based on code, location, and duty.
A clear comparison table
| Box type | Best for | Watch-outs |
|---|---|---|
| Metal | Industrial, exposed runs, durability | Needs correct bonding/grounding |
| Plastic | Many indoor residential uses | Can crack under impact; temp limits vary |
| Weather-rated systems | Outdoor/wet | Must match sealing and fittings |
My “environment first” rule
If the environment is harsh, I assume the box will get punished. That pushes me toward stronger materials and better sealing methods, not the cheapest option.
Do junction boxes need to be accessible after wiring?
This is one of the most ignored rules, and it causes the most pain later.
Yes, junction boxes generally must remain accessible with a removable cover, because splices and connections may need inspection, testing, or repair; burying a box behind finishes can violate code and turn a small fix into major demolition.
What “accessible” means in real life
Accessible means you can remove the cover without destroying building parts.
- Not behind drywall.
- Not inside sealed cabinetry.
- Not under glued panels.
The “future you” test
If future you will curse present you, don’t do it.
How do you test a junction box after wiring?
Testing is where calm returns. Or where you catch the mistake before it bites.
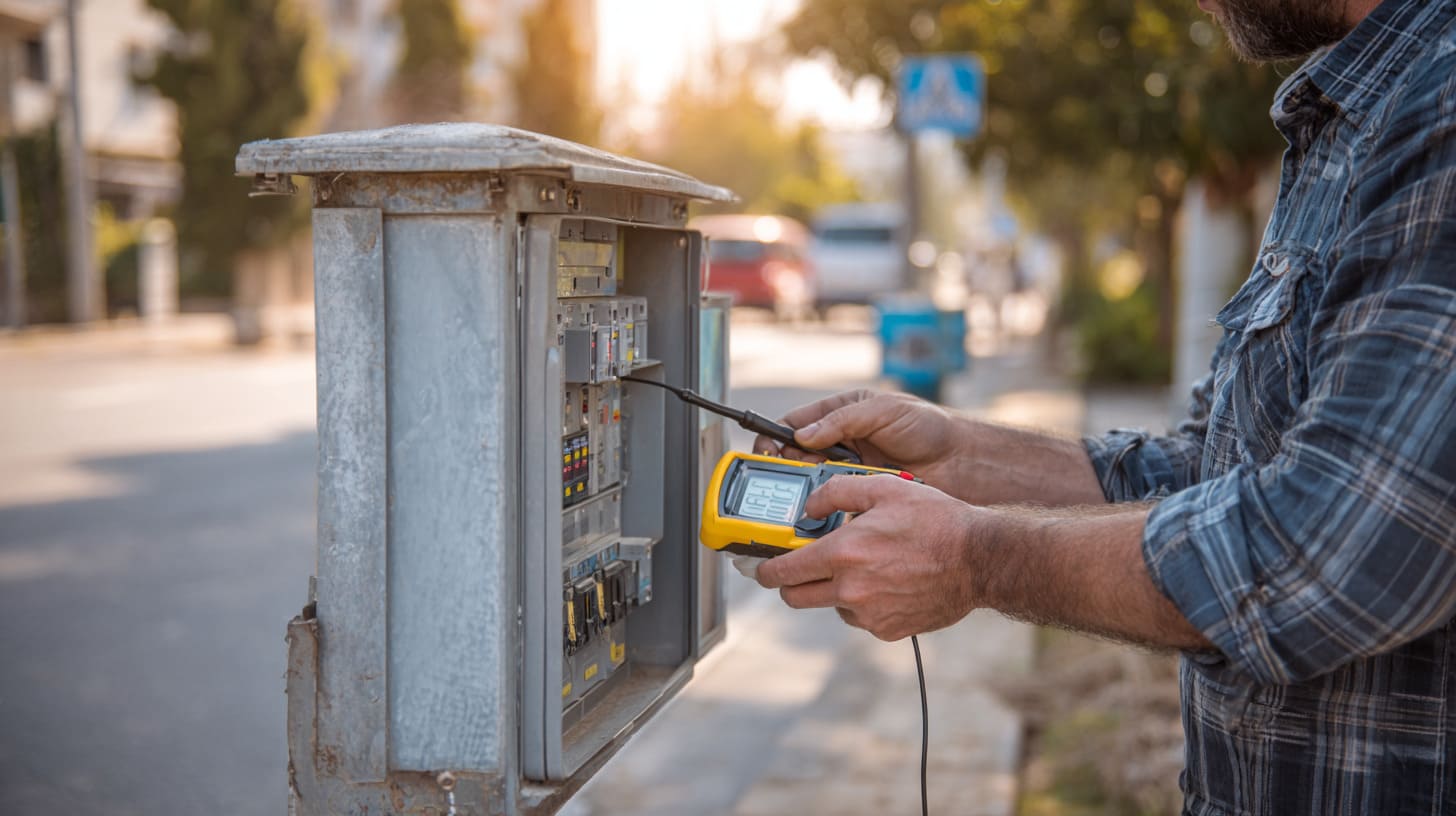
After wiring, you test by checking the box is closed and secured, verifying grounding/bonding continuity where required, restoring power, confirming correct voltage and polarity with a tester, and watching the circuit under normal load for heat, noise, or flicker—following safe test practices.
Safe test flow
- Visual inspection first (no exposed copper, secure fittings, cover installed).
- Restore power only after the box is closed.
- Use a tester to confirm expected readings.
- Monitor for a few minutes under normal use.
What I document for peace of mind
| What I check | Why | What I write down |
|---|---|---|
| Voltage reading | Confirms correct feed | Reading + location |
| Ground continuity | Confirms safety path | Pass/fail |
| Load behavior | Finds loose splice | Any flicker/heat/noise |
Conclusion
Wiring a junction box is not hard, but it demands respect: correct splices, proper grounding, box-fill discipline, and permanent access. If any part feels uncertain, hire a licensed electrician. If you need custom enclosure parts or clear protective covers for industrial projects, you can reach me at info@maidatech.com.







