Skip to content

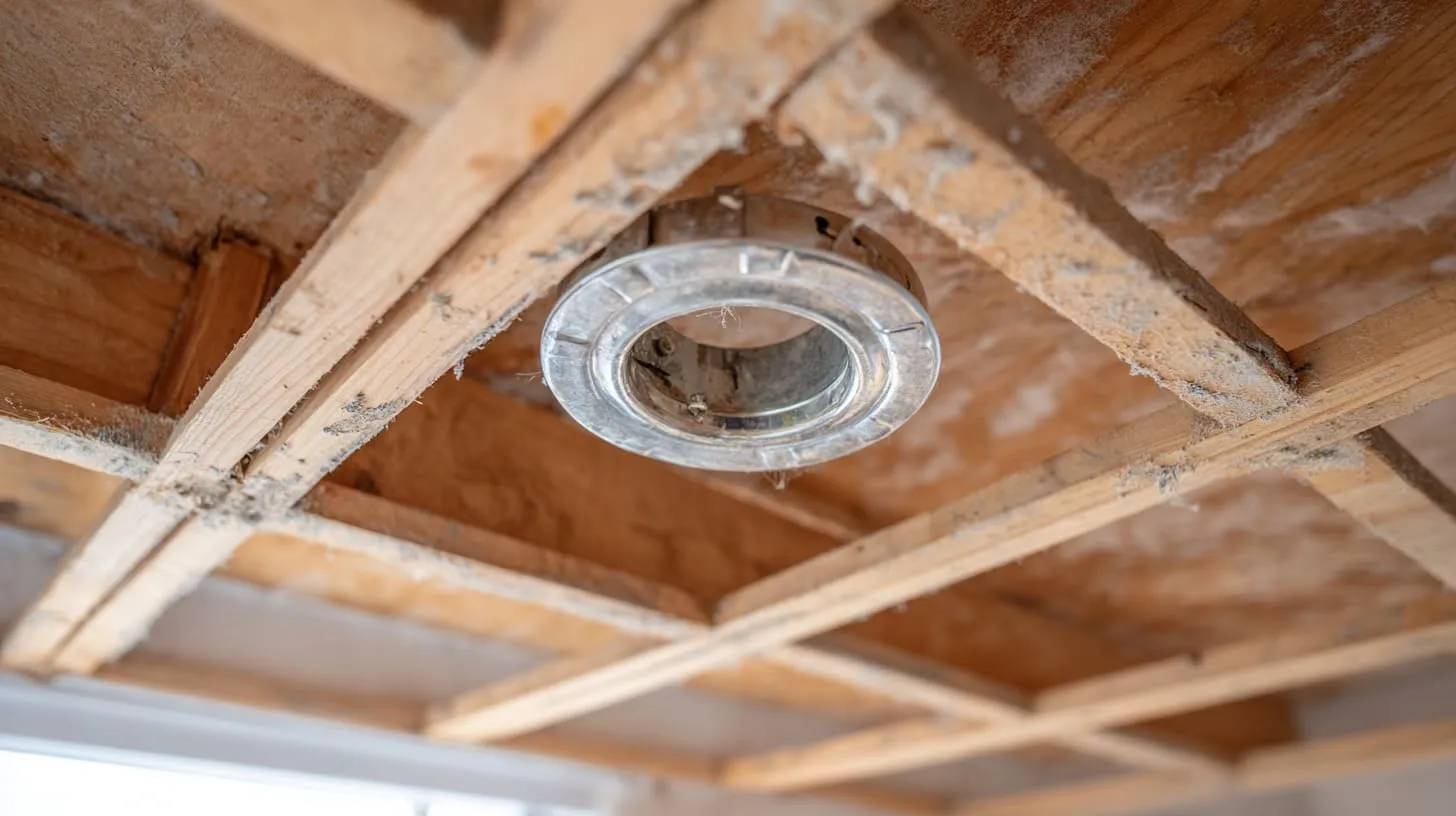
A ceiling light looks easy until the box wiggles, the drywall cracks, or the fixture starts to sag. That’s when “simple” turns into stress, delays, and rework.
You install a ceiling electrical box by choosing the right box type for the fixture weight and ceiling structure, cutting a clean opening, fastening the box to framing (or an approved brace), making safe splices with correct box fill, and finishing with a flush, secure mount.
A buyer once sent me a photo of a “finished” ceiling light that still moved when he tapped it. He asked for a faster fix. I told him the truth: the fastest fix is the one you do before the ceiling is patched.
Can I put an electrical junction box in the ceiling?
People get nervous about “hidden” wiring, and they should. A ceiling is not a place for mystery splices.
Yes, you can put a junction box in the ceiling if it stays accessible with a cover, supports the wiring method you use, and is not buried behind drywall, insulation, or finishes.
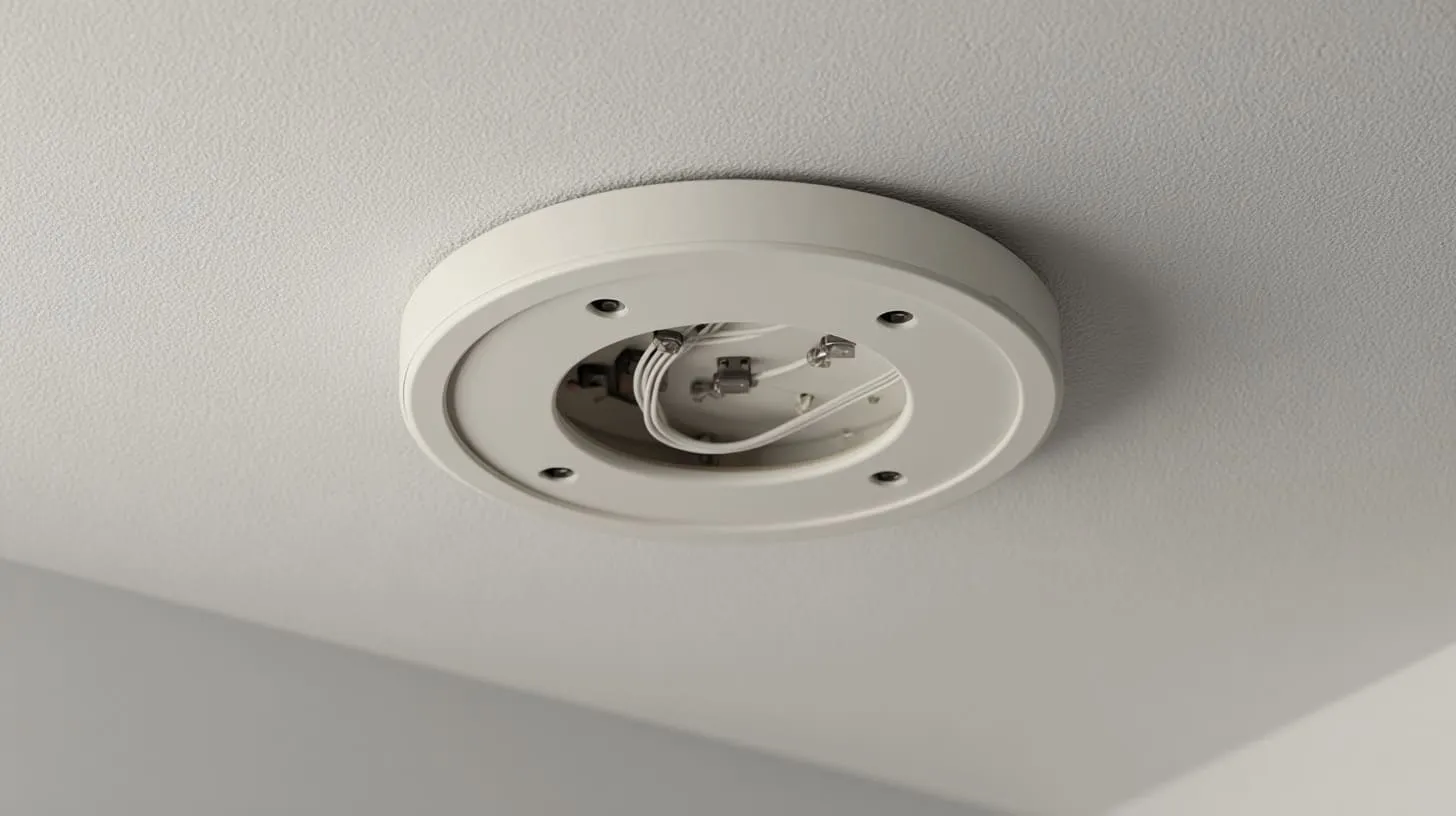
What “accessible” really means
A junction box is only legal and safe when you can open it later without cutting the ceiling.
- Good: box above a removable light canopy or access panel
- Bad: box plastered over, tiled over, or hidden behind a fixed ceiling
Where people go wrong
Here’s the pattern I see:
- Someone makes a splice “just this once”
- The ceiling closes
- Months later, there’s flicker, heat, or a smell nobody can explain
Quick decision table
| Situation | OK to junction in ceiling? | What makes it acceptable |
|---|---|---|
| Splice inside the fixture box | Yes | Box is rated, cover/fixture keeps access |
| Splice in separate junction box with blank cover | Yes | Cover remains reachable |
| Splice buried in drywall | No | Not accessible, unsafe troubleshooting |
| Splice inside ceiling void with no access panel | No | Fails basic serviceability |
Do I need an electrician to install a ceiling light?
This depends less on confidence and more on local law, insurance, and what you’re actually changing.
If you are adding a new ceiling box, running new wiring, or changing a circuit, you usually need a licensed electrician; swapping an existing light on an existing box may be allowed in some places, but rules vary.

The honest risk checklist
If any of these are true, I treat it as “call a pro”:
- You need a new circuit or new cable run
- You are unsure which breaker controls the point
- The existing wires have no clear grounding path
- The ceiling is concrete, metal framing, or unknown structure
- You are mounting anything heavy (large chandelier, fan)
A practical middle ground
If you want speed and safety, do the prep work:
- Choose the fixture and confirm weight
- Confirm ceiling type (joist, truss, concrete)
- Take photos of the existing wiring path
Then let the electrician do the parts that carry real risk.
My personal rule
When I’m advising buyers like Davide, I say it plainly: if the job creates new splices in a ceiling, you want someone who does this every day. Pride is expensive.
How much to install a ceiling electrical box?
Cost questions sound simple, but ceiling work is never “just one step.” Access decides everything.
Installing a ceiling electrical box can range from a small service job when a box already exists, to a higher-cost job when you need new wiring, cutting, patching, and a fan-rated brace—especially without attic access.
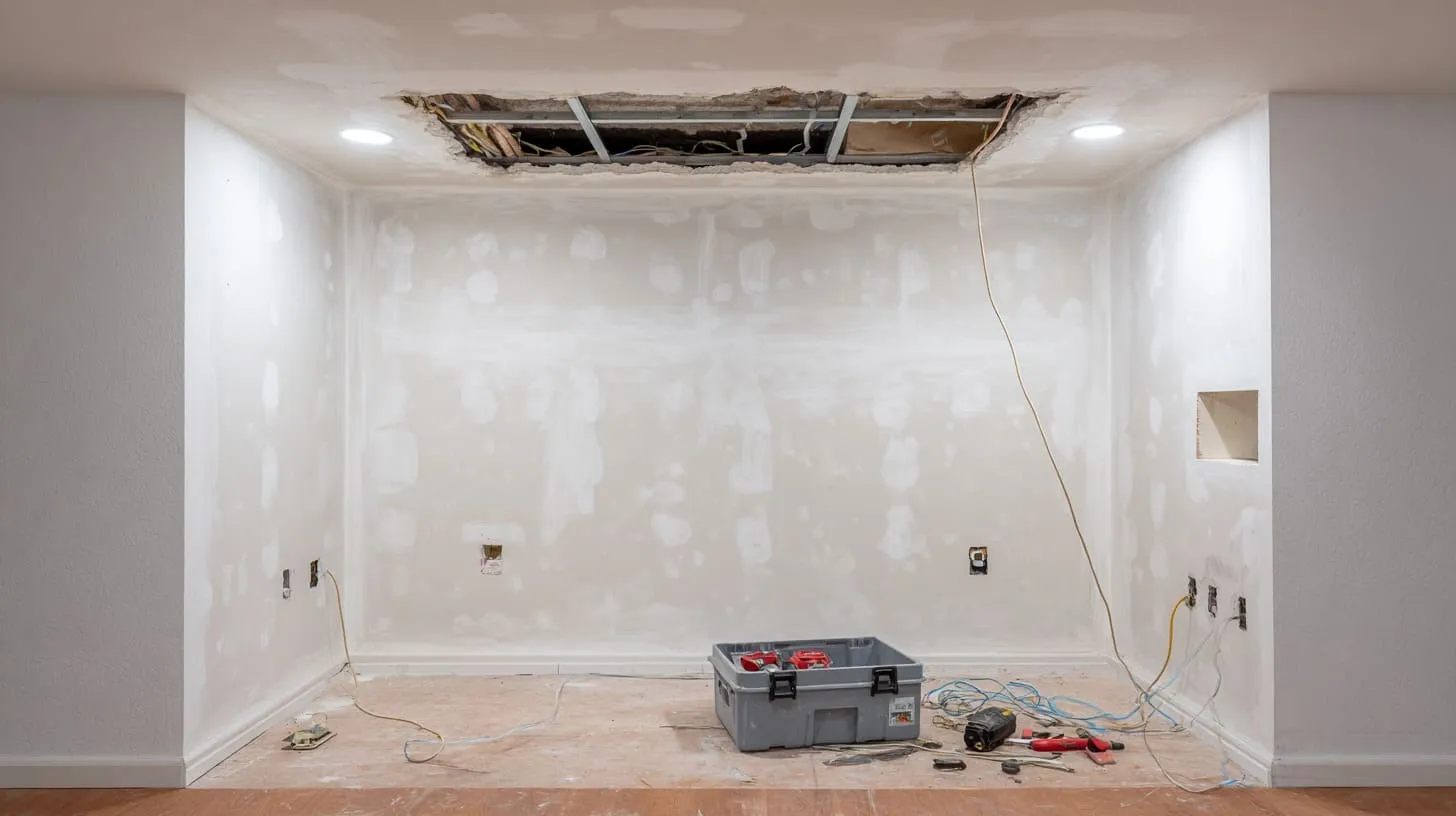
What drives price up fast
- No attic access (more cutting, fishing, patching)
- Concrete ceiling (core drilling, anchors, conduit)
- New switch leg or new circuit
- Fan-rated support (brace + listed box)
- High ceiling height (time + safety equipment)
Cost components table
| Cost item | What it includes | Why it matters |
|---|---|---|
| Box + hardware | box, screws, brace, connectors | Wrong box causes rework |
| Labor | cut, mount, splice, test | Time dominates cost |
| Wiring | cable/conduit, fishing | Access is the enemy |
| Patch/paint | drywall, skim, repaint | Often forgotten |
A quick way to estimate
I ask three questions:
1) Is there already a box in the right spot?
2) Can you reach the area from above?
3) Is it a fan/heavy fixture or a light fixture?
Your answers usually predict the job complexity better than any online price range.
What kind of electrical box do I need for a ceiling light?
This is where many installs fail quietly. The light works, but the support is wrong.
Most ceiling lights use a round/octagon ceiling box secured to framing; choose the box by fixture weight, ceiling structure, wiring method, and whether you need a brace, not by what’s cheapest on the shelf.

The common box types (plain language)
- Round pan / shallow box: tight spaces, limited wiring room
- Octagon box: classic ceiling light box, good volume
- Deep round box: more wiring space, safer box fill
- Fan-rated box: built to handle vibration and load
- Concrete box: designed for masonry mounting
Selection table (fast matching)
| Fixture type | Typical box choice | Mounting requirement |
|---|---|---|
| Small flush light | round/octagon | screwed to joist or brace |
| Medium pendant | deep round/octagon | secure framing + good box fill |
| Heavy chandelier | listed box for weight or independent support | do not “hope” |
| Ceiling fan | fan-rated listed box | brace/joist rated for fan |
What I look for on the box label
- “Suitable for fixture support” (and weight rating if marked)
- Fan-rated marking (when needed)
- Volume marking (helps avoid overfill)
- Material and grounding provision (for metal boxes)
Is it better to use metal or plastic electrical boxes?
I’ve seen people argue this like sports teams. The truth is calmer.
Metal boxes are strong, handle heat well, and work great with metal conduit and grounding; plastic boxes resist corrosion and are easy in wood framing, but they must still be properly secured and rated for the load.
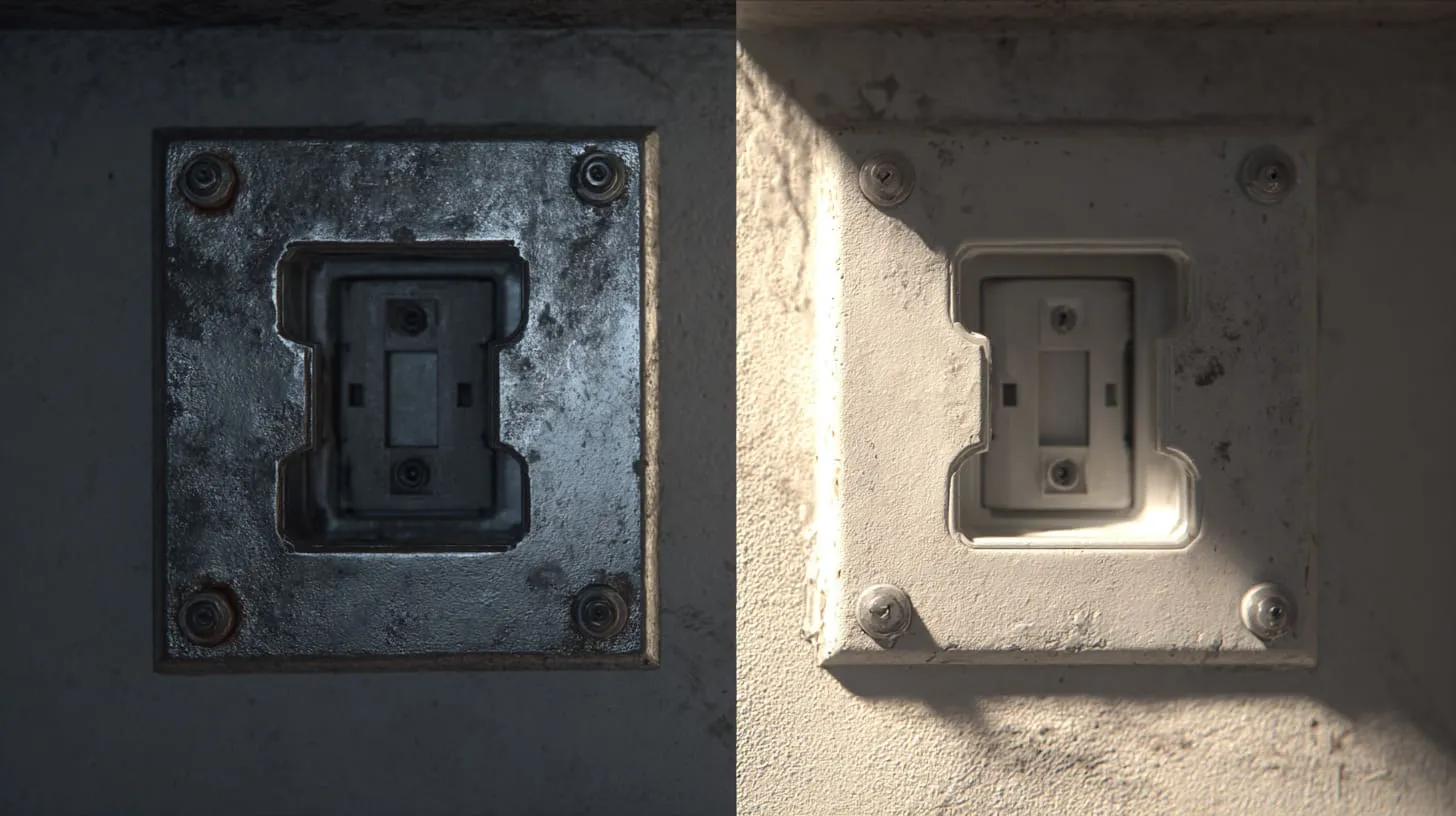
Strength vs convenience
- Metal: tougher threads, less flex, better for heavy fixtures (when rated)
- Plastic: faster install, no rust, but can flex if poorly mounted
Grounding reality (simple version)
- Metal boxes usually need a proper ground bond
- Plastic boxes don’t conduct, but grounding still matters for the fixture and cable
Comparison table
| Factor | Metal box | Plastic box |
|---|---|---|
| Load feel | More rigid | Can flex if not braced |
| Corrosion | Can rust (depends on environment) | Resistant |
| Grounding | Needs correct bonding | Fixture still must be grounded |
| Common use | conduit/industrial, heavy-duty feel | residential wood framing |
My “buyer” advice
If you want fewer surprises, choose based on structure + weight + wiring method. Not personal taste.
What type of ceiling electrical box should I use for a light fixture?
This question is about mounting method, not just box shape.
Choose a ceiling box type based on whether you can fasten to a joist, need a between-joist brace, or must use an old-work/remodel clamp; the safest choice is the one that transfers load into real structure.
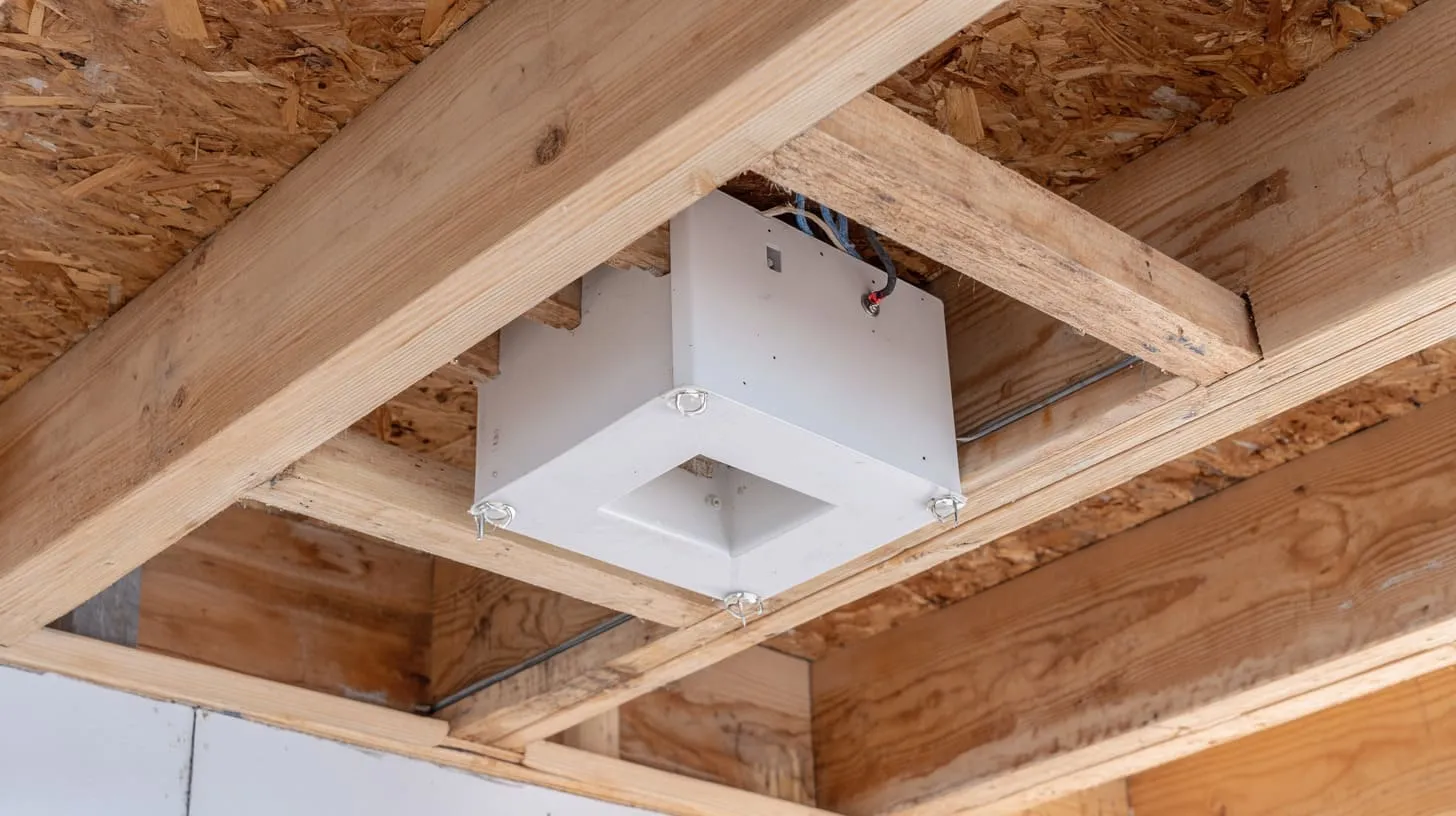
Three real-world mounting scenarios
1) Direct to joist: strongest, simplest
2) Between joists with brace: great when centered location matters
3) Old-work clamp box: only when framing access is limited and fixture is light
Matching table
| Ceiling condition | Best box style | Why |
|---|---|---|
| Joist available at location | joist-mount box | direct structure load path |
| Center of room, no joist | brace + box | spans joists safely |
| Finished ceiling, no access | old-work box (light duty) | avoids major opening |
A short warning
If you are tempted to “hang it from drywall,” pause. Drywall is decoration, not structure.
Can I install a ceiling electrical box without attic access?
Yes, but it changes the game. You are now doing careful cutting and fishing.
Yes, you can install a ceiling electrical box without attic access by using an old-work ceiling box or a remodel fan brace (if needed), fishing cable through the cavity, and keeping all splices inside an accessible listed box.
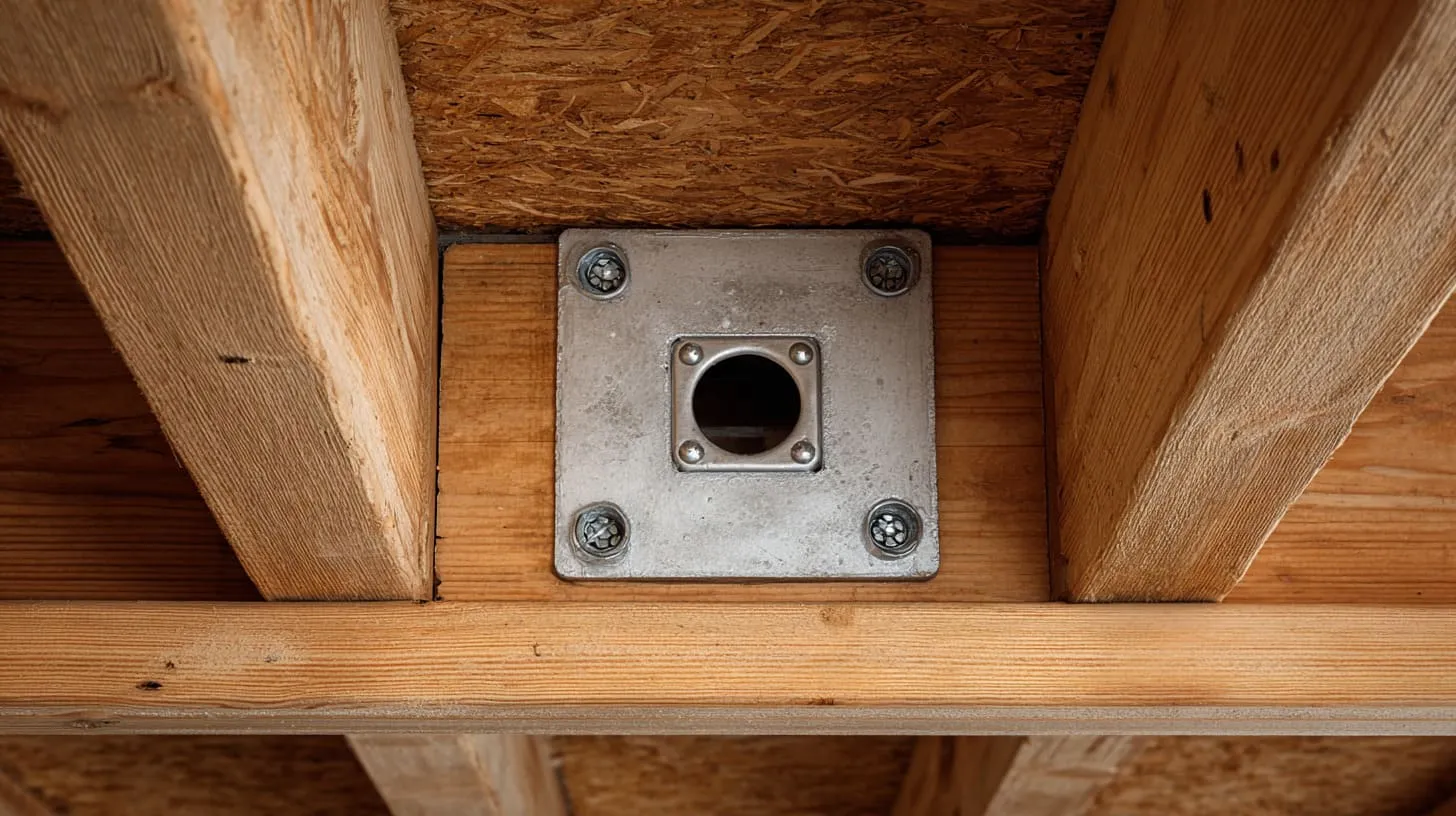
The method that usually works
- Cut the opening cleanly (measure twice)
- Inspect with a small camera or mirror if possible
- Use a brace if the fixture is heavy or centered
- Fish the cable with minimal damage
- Mount the box tight, then test for movement
Tools that save drywall
- Stud finder (with deep scan)
- Flexible drill bit (used carefully)
- Fish tape or glow rods
- Oscillating multi-tool for clean cuts
“No attic access” decision table
| Fixture | No attic access approach | Should you DIY? |
|---|---|---|
| Light flush mount | old-work box (light duty) | maybe, if rules allow |
| Pendant | brace preferred | often better with pro |
| Fan | remodel fan brace + fan-rated box | I strongly prefer pro |
How do I secure a ceiling electrical box to a joist correctly?
If the box moves now, it will move more later. Vibration always wins.
Secure the ceiling box by fastening it with the correct screws into solid framing (joist or brace), keeping the box flush to the finished surface, and ensuring the fixture mounting screws engage fully without stripping.

What “correctly” looks like
- Box does not twist when you tug the mounting ears
- Screws bite into wood/metal framing, not just plaster
- Fixture sits flat, no gap, no rocking
Fastening checklist
- Use the manufacturer’s mounting holes
- Use screws sized for the box and framing
- Don’t rely on drywall anchors for ceiling loads
- If you strip a hole, stop and fix it (don’t “add more force”)
Common joist-mount options
| Mount type | Typical hardware | Good for |
|---|---|---|
| Nail-on new-work | nails/screws into joist | open framing |
| Screw-on bracket | screws into joist side | tight cavities |
| Adjustable brace | brace + box screws | centered fixtures |
What is the difference between old work and new work ceiling electrical boxes?
This is a timing question more than a product question.
New-work boxes mount to exposed framing before drywall; old-work (remodel) boxes clamp to finished surfaces when you can’t access framing easily, and they are usually more limited for heavy loads.
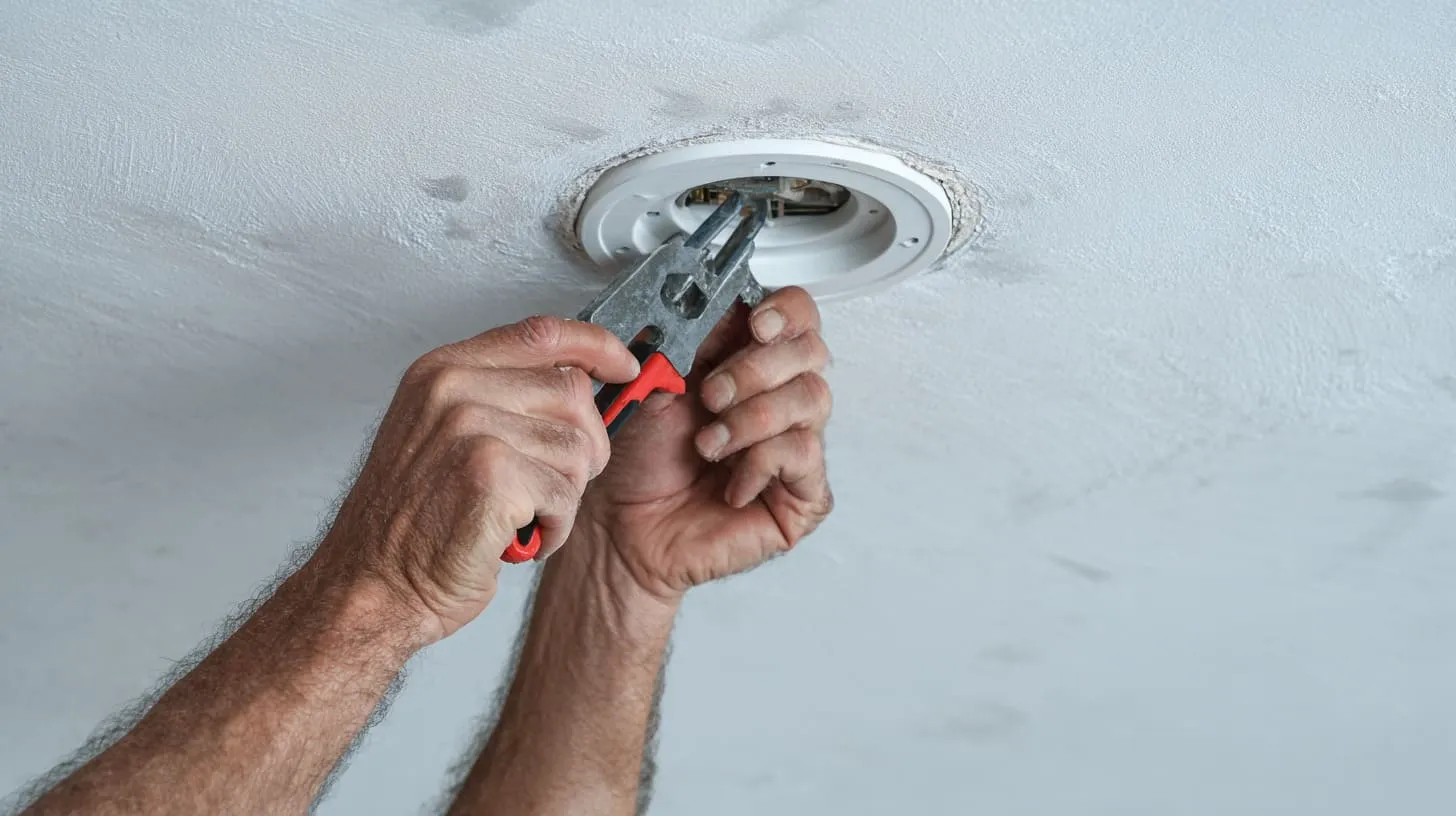
Quick definitions
- New work: open studs/joists, strongest mounting options
- Old work: finished ceiling, uses clamps or wings
Comparison table
| Feature | New work | Old work |
|---|---|---|
| When used | before drywall | after drywall |
| Strength potential | high (direct framing) | depends on clamp + surface |
| Best for | most fixtures | light fixtures, retrofit |
| Risk | low if planned | higher if overloaded |
My plain opinion
If you can plan for new work, do it. Old work is for reality, not for perfection.
How much weight can a ceiling electrical box safely support?
This is where people guess, and guessing is how ceilings get scars.
A ceiling electrical box can only support what it is listed and installed to support; many standard fixture boxes are intended for lighter luminaires, heavier fixtures may require a listed/marked box or independent support, and fans require a fan-rated listed system.
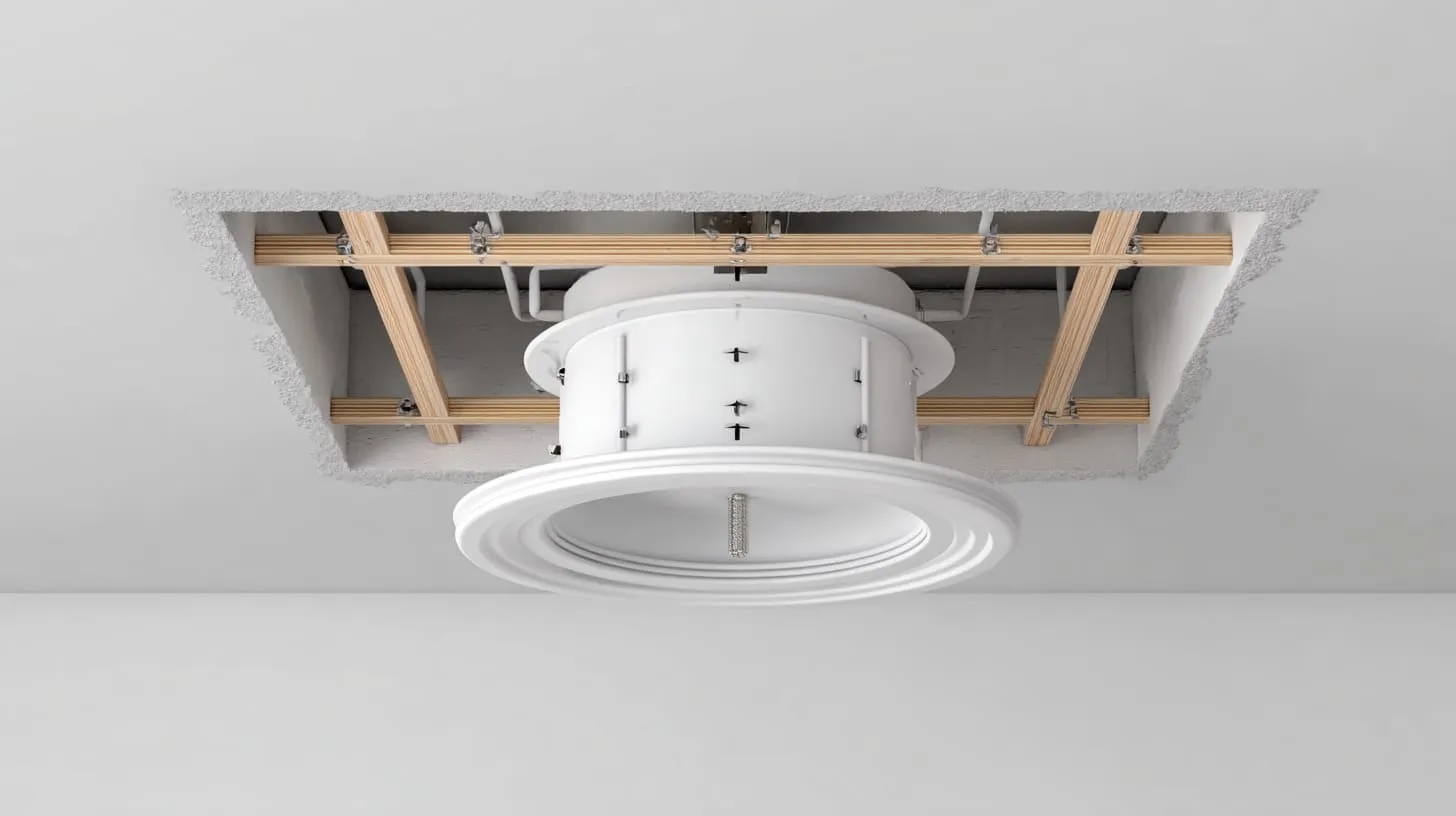
A safe way to think about weight
I separate it into three buckets:
1) Light fixture: low risk if box is solid and rated
2) Heavy fixture: needs a listed box for that weight or separate support
3) Fan: needs fan-rated listing because vibration is the real enemy
Weight planning table
| Item | What matters most | What I check first |
|---|---|---|
| Small light | box rigidity | does it move? |
| Chandelier | rating + structure | is it listed/marked for weight? |
| Fan | fan listing + brace | is it fan-rated and braced? |
A small story from the field
I once watched a “fine” install fail after a few weeks because the fixture wasn’t heavy, but it pulled sideways every time someone cleaned it. Load direction matters. People forget that.
Do I need a special ceiling electrical box for a ceiling fan?
Yes. For fans, “almost right” is wrong.
Yes, ceiling fans require a special listed fan-rated outlet box or outlet box system, installed to framing or a fan brace, because fans add vibration and dynamic load that normal light boxes are not built to handle.
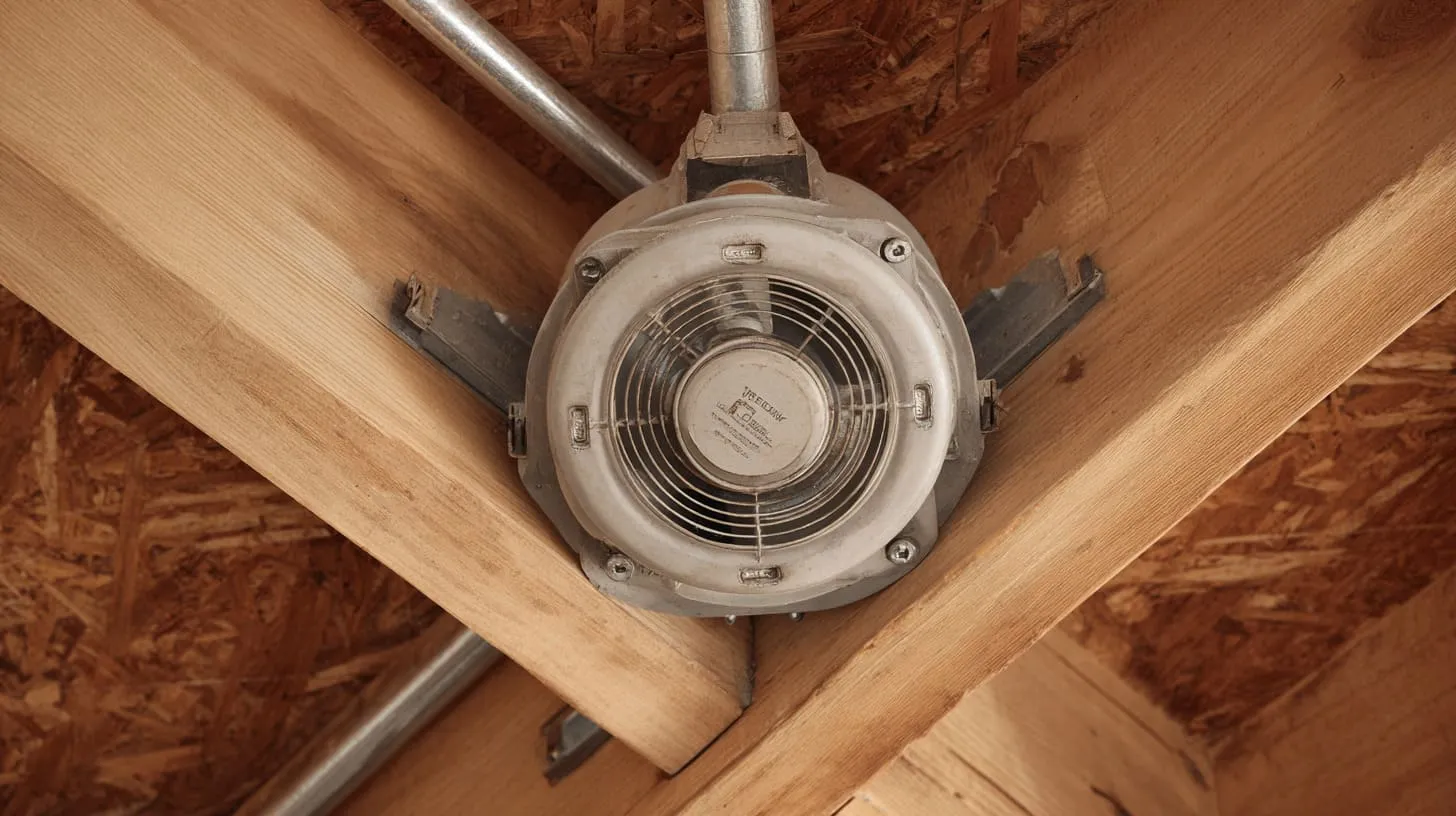
What “fan-rated” means in practice
- The box is tested and marked for fan support
- The system is designed for vibration
- The mounting screws and threads are part of the rating story
Fan install must-haves
- Listed fan-rated box
- Brace or direct joist mounting
- Correct screws (not random leftovers)
- Tight, flush finish so the canopy hides nothing risky
Fan vs light box table
| Feature | Light box | Fan-rated box |
|---|---|---|
| Vibration tolerance | limited | designed for it |
| Typical use | luminaires | fans (and fan-light combos) |
| Failure mode | loosening over time | less likely when installed right |
What building codes apply to ceiling electrical box installation?
Code talk can feel dry, but it’s the guardrail that keeps “normal” jobs from turning into fire investigations.
Ceiling electrical box work is governed by your local electrical code (often based on NEC, CEC, or IEC standards), plus local building rules on permits and inspections; you must follow box support, box fill, grounding, accessibility, and flush-mount requirements.
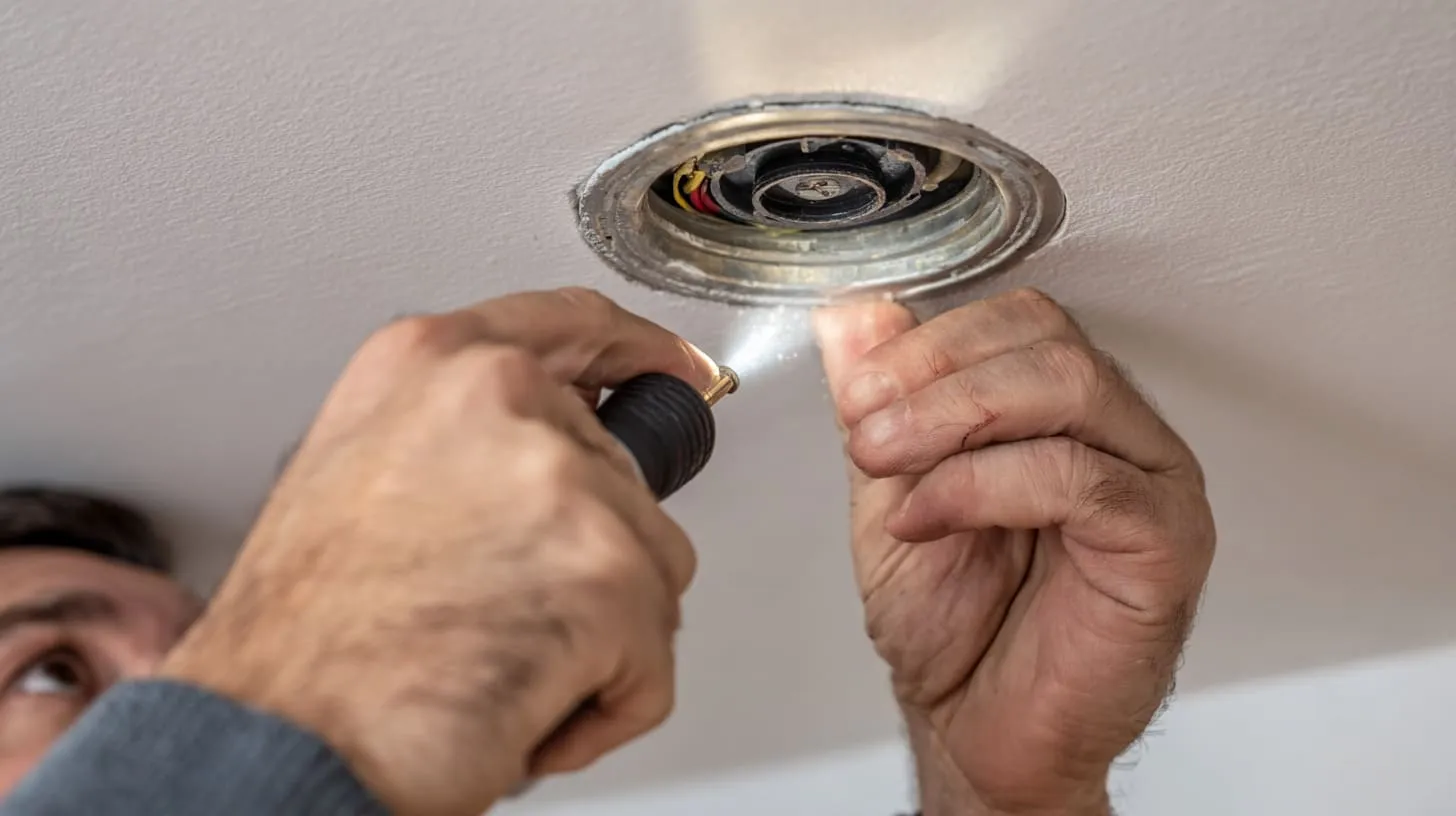
The codes you’ll hear most
- United States: NEC (NFPA 70) + local amendments
- Canada: CEC + provincial rules
- Many other regions: national rules aligned with IEC 60364
- Singapore (example): SS 638 and licensed worker requirements
What inspectors care about (real-life list)
- Box is secure and rated for the load
- Splices are inside the box with a cover
- Correct grounding/bonding
- Box is not overfilled
- Box is flush with the finished surface where required
If you’re in Singapore
I’ll be direct: fixed wiring work is not a casual DIY topic here. The licensed-worker rule is real, and it protects you when something goes wrong.
How deep should a ceiling electrical box be for proper wiring?
Depth is not about looks. It’s about space, heat, and not crushing conductors.
A ceiling box should be deep enough to handle conductor count (box fill), allow safe splices, and sit flush with the finished surface; shallow boxes can force tight bends and crowded splices that lead to heat and headaches.
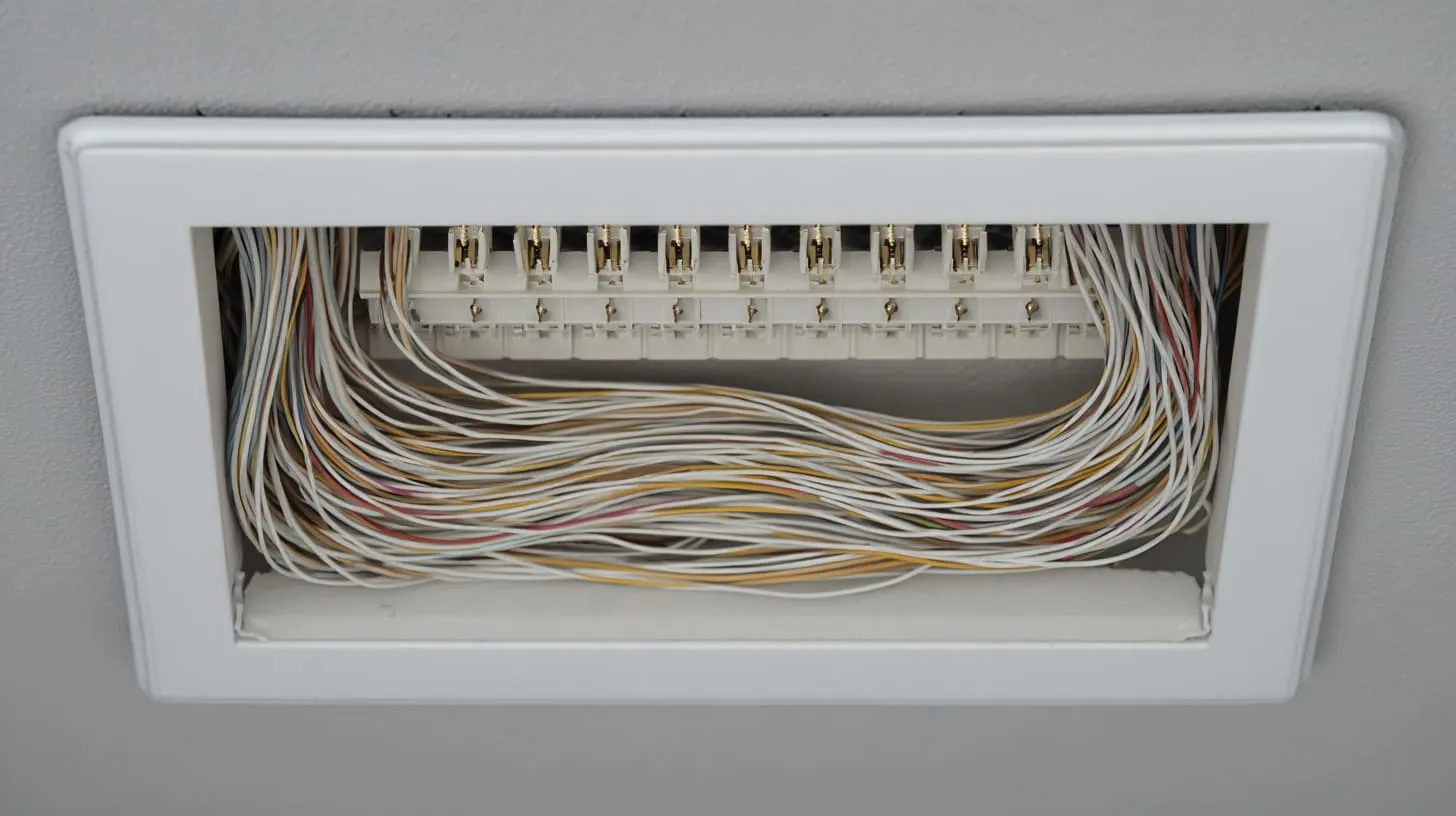
Two depth rules that matter
1) Flush mounting: the box edge should align correctly with the finished ceiling surface
2) Box fill: you need enough volume for the conductors, device yoke (if any), and grounds
Simple box fill cheat table (common conductors)
| Wire size | Typical volume allowance per conductor | What it means for you |
|---|---|---|
| 14 AWG | ~2.0 in³ | needs space fast |
| 12 AWG | ~2.25 in³ | needs even more space |
Practical advice
If you’re deciding between shallow and deep:
- Choose deep when you have multiple cables, splices, or smart switches/drivers in the canopy
- Choose shallow only when space is truly limited and conductor count is low
Can I replace a plastic ceiling electrical box with a metal one?
Yes, but do it for a reason, not because it “feels stronger.”
Yes, you can replace a plastic ceiling box with a metal one if the new box fits the opening, can be secured to framing or a brace, and you handle grounding/bonding correctly; the swap should improve support or match your wiring method.
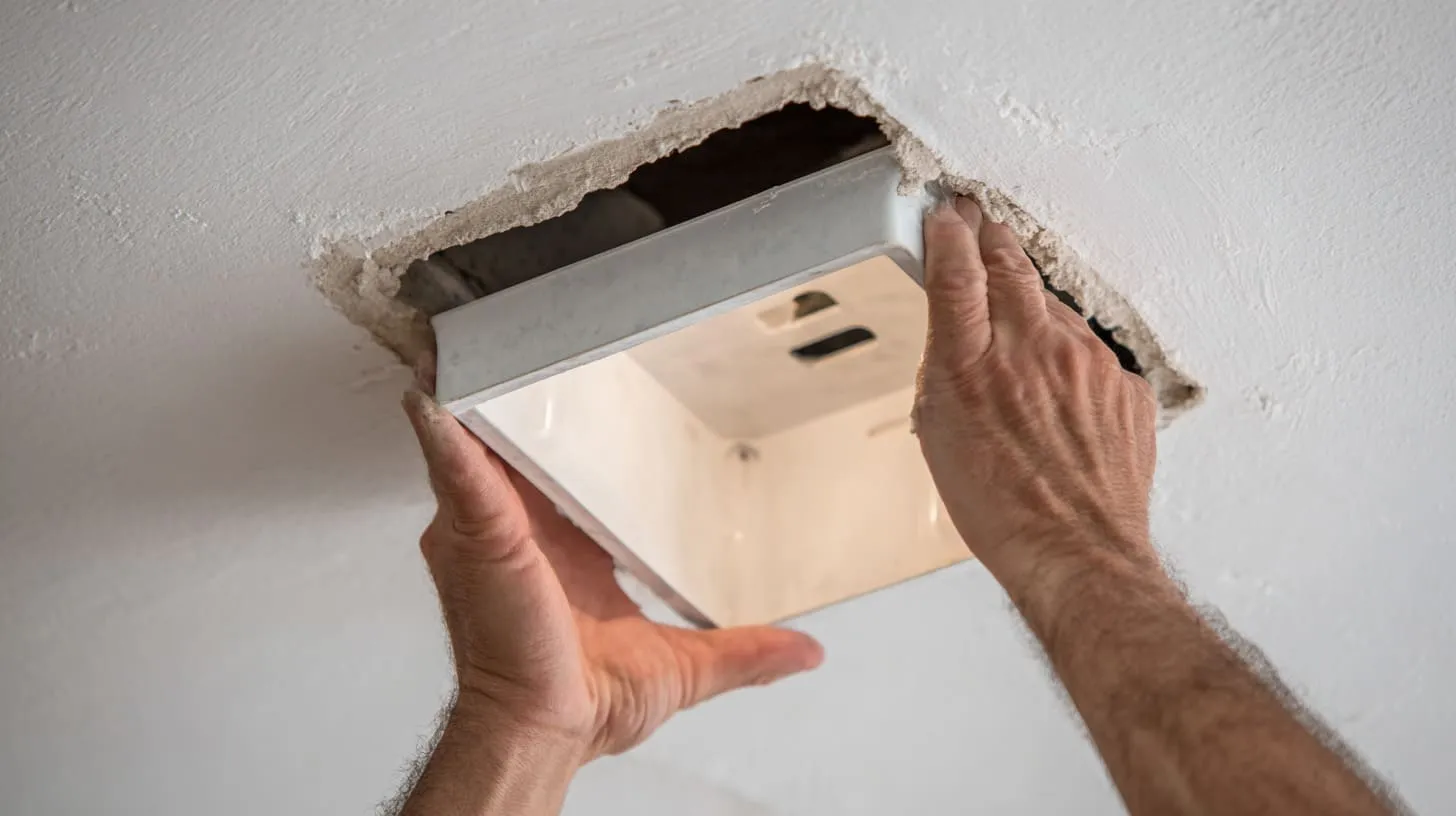
When replacement makes sense
- The plastic box is cracked or loose
- Threads are stripped and won’t hold fixture screws
- You’re switching wiring method (like conduit)
- You need a listed box for higher load
Swap checklist
- Power off and verified
- Box is supported by framing/brace
- Ground bond is correct for a metal box
- Connector/clamp matches your cable or conduit
- Fixture canopy still covers the opening cleanly
Replacement decision table
| Reason | Replace? | Better option |
|---|---|---|
| Cosmetic preference | maybe not | keep, if safe and solid |
| Loose mount | yes | brace or joist mount |
| Fan install | yes | fan-rated listed system |
| Rust risk area | depends | corrosion-resistant or plastic with correct rating |
What are the most common mistakes when installing a ceiling electrical box?
This part hurts because I see the same mistakes again and again—usually made by smart people who were just in a hurry.
The most common mistakes are using a non-rated box for a heavy fixture or fan, failing to fasten into real structure, overfilling the box, burying splices, leaving the box recessed, and “testing” stability only after the ceiling is closed.
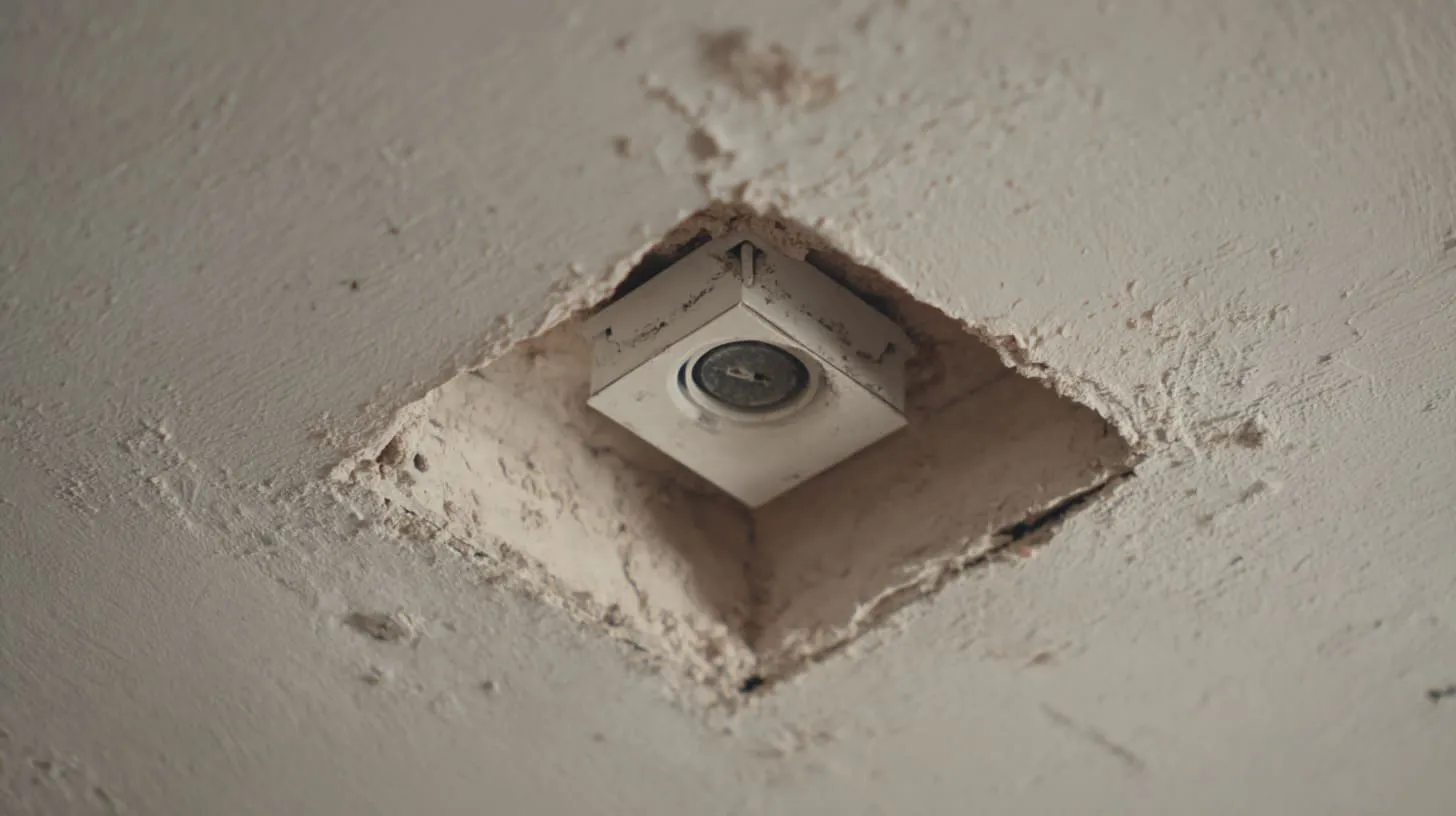
The “top 10” mistake list
- Choosing a box by price, not by rating
- Mounting to drywall instead of framing
- Using an old-work box for a heavy pendant
- Skipping the fan-rated requirement for fans
- Overstuffing conductors (box fill ignored)
- Poor splices (loose connectors, nicked wire)
- No proper grounding path (especially with metal boxes)
- Box set too deep behind the finished surface
- Cutting the opening too big, then “hiding it”
- Forgetting that vibration and cleaning create side-load
Quick self-audit table
| Question | If “no,” stop and fix |
|---|---|
| Does the box feel rock-solid with a firm tug? | ✅ |
| Is the box rated/marked for the fixture or fan? | ✅ |
| Are all splices inside a covered, accessible box? | ✅ |
| Is the box fill reasonable, not crowded? | ✅ |
| Does the fixture sit flat with no rocking? | ✅ |
My closing thought on mistakes
Most failures are not from ignorance. They come from excitement. People want to see the light turn on. They forget the box has to live there for ten years.
Conclusion
A ceiling electrical box is a small part with a big job: support, safety, and service access. If you share your ceiling type and fixture weight, I can help you sanity-check the box choice at info@maidatech.com.