 Skip to content

A custom enclosure sample is not just a small box on the desk.
To me, it is a warning light.
It tells me if the drawing is clear. It tells me if the factory understood the design. It tells me if the product can really be produced, packed, shipped, assembled, and used without giving everyone a headache later.
Many buyers see a sample as a simple approval step. They receive it, take a few photos, check the color, and say, “Looks fine. Let’s start production.”
That is where trouble often starts.
A sample can look good from one meter away. But when I hold it in my hand, I look at the corners, screw holes, coating, wall thickness, logo position, and the way the cover fits the base. These small details decide whether mass production will be smooth or painful.
For custom aluminum enclosures, plastic enclosures, sheet metal enclosures, or Raspberry Pi style cases, one small mistake can become 1,000 mistakes after production starts.
I have seen projects where the sample looked acceptable, but the screw holes were 0.5 mm off. Not much, right? Almost nothing. But the customer’s PCB could not fit properly. The project had to stop. New samples had to be made. The launch date moved again.
That tiny 0.5 mm became a big problem.
A fast approval feels good at first. The buyer feels progress. The supplier feels pressure is lower. The project seems alive.
But a rushed sample approval can hide many risks:
| Risk | What It Looks Like at Sample Stage | What It Becomes in Mass Production |
|---|---|---|
| Wrong hole position | “Maybe it still fits” | Assembly failure |
| Weak surface finish | “Only a small scratch” | Customer complaints |
| Poor packaging | “Sample arrived okay” | Bulk shipment damage |
| Loose tolerance | “This piece is acceptable” | Unstable batch quality |
| Wrong material thickness | “It feels close enough” | Strength or heat issue |
I usually slow down when a buyer approves a sample too quickly, because fast approval saves a few days now but may cost weeks later.
Why prototype quality does not always reflect mass production quality
A prototype can be made by CNC machining. It can be handled by one experienced worker. It can be checked piece by piece. It can even be polished more carefully because everyone knows it is a sample.
Mass production is different.
Mass production has rhythm. Machines run longer. Workers repeat the same step many times. Surface finishing depends on batch control. Packaging depends on workflow. The goal is not to make one nice piece. The goal is to make hundreds or thousands of stable pieces.
This is why I never judge only the beauty of the sample. I also ask one hard question:
Can this quality be repeated in production?
That question changes everything.
How a proper sample evaluation reduces project risk and cost
A good sample evaluation helps both buyer and factory. It does not slow the project down. It protects the project.
When I evaluate a sample, I want to find problems early, when they are still cheap to fix.
| Stage | Cost of Fixing a Problem | Example |
|---|---|---|
| Drawing stage | Low | Adjust hole location |
| Sample stage | Medium | Make one revised sample |
| Mass production stage | High | Rework or scrap hundreds of pieces |
| After delivery | Very high | Replacement, refund, lost trust |
A sample is like a small rehearsal before the real show. If the rehearsal is messy, I do not pretend everything is fine. I fix the messy part first.
That may sound strict. But in custom enclosure projects, strict early checks are a form of kindness.
They protect the buyer’s money. They protect the supplier’s time. And yes, they protect everyone’s mood too.
A sample can look simple, but the next step is where the real inspection begins.
What Should You Check First When Receiving a Custom Enclosure Sample?
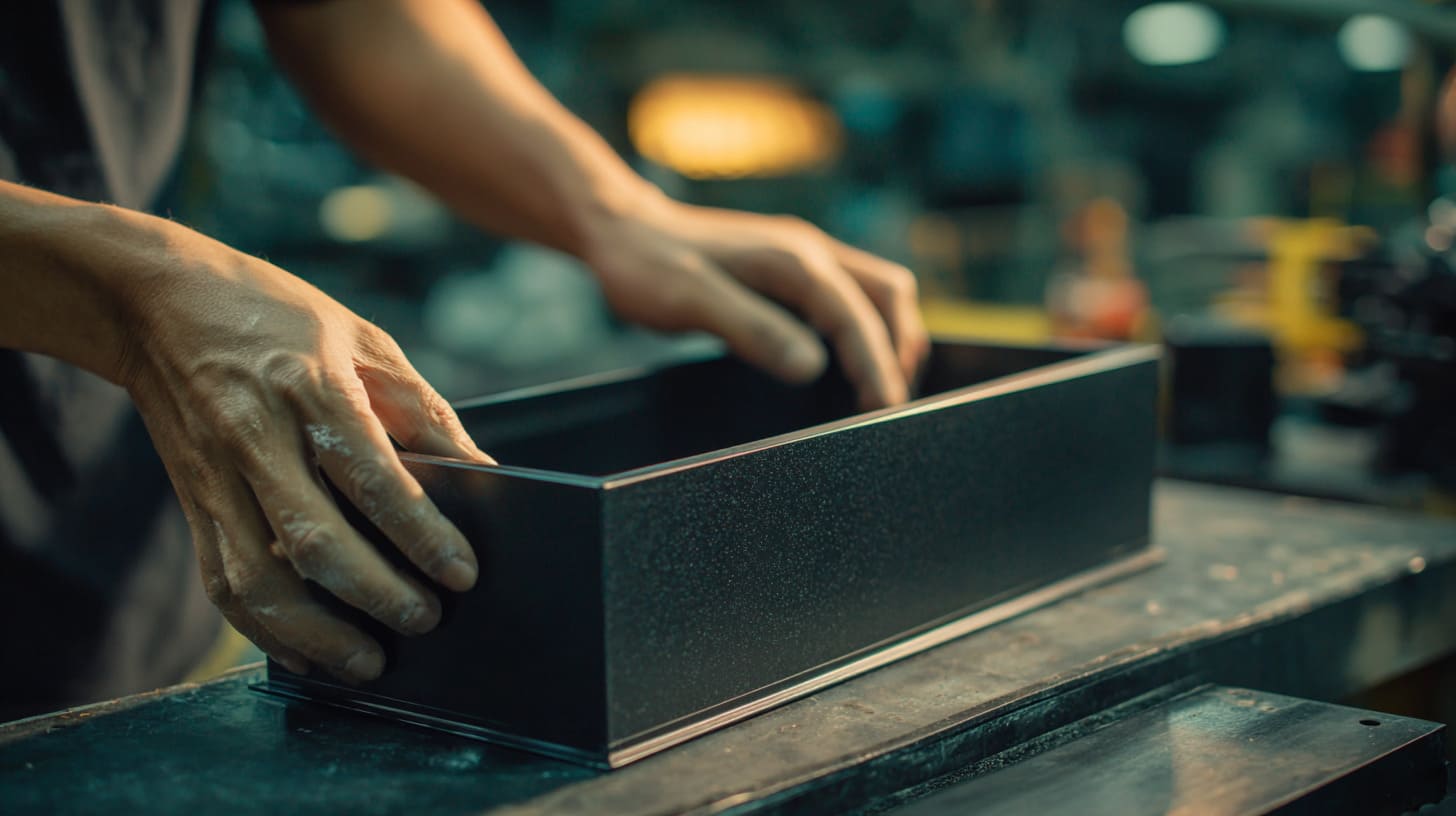
When I receive or prepare a custom enclosure sample, I do not start with a caliper immediately.
I start with my eyes.
That may sound too simple, but the first look often tells me a lot. A product engineer may care about dimensions first. A brand owner may care about surface finish first. A wholesaler may care about packaging first. All of them are right from their own angle.
The sample has to satisfy more than one type of buyer.
The first check is not only technical. It is also emotional. If the buyer opens the box and feels disappointed, the project already loses some trust.
The first thing I notice is whether the sample feels like a product or like a rushed workshop part.
Visual appearance and first impression
The enclosure should look clean, balanced, and close to the design target.
I check:
- Is the shape correct?
- Are the edges clean?
- Does the cover fit naturally?
- Does the product feel solid in the hand?
- Does the surface look even under normal light?
- Are there obvious marks, dents, stains, or scratches?
For custom aluminum enclosures, the first impression often comes from the surface. A small scratch on raw aluminum may not matter for internal use. But a scratch on a black anodized enclosure for a branded product? That becomes a problem fast.
For plastic enclosures, I check the plastic flow marks, sink marks, color stability, and surface texture. Some marks may be normal for early tooling samples, but they still need to be discussed clearly.
Surface finish consistency and scratch inspection
Surface finish is where many samples lie a little.
One side may look perfect. Another side may show machining marks. A corner may have uneven coating. A logo area may look different from the rest.
I usually turn the enclosure under different light angles. Flat light hides defects. Side light exposes them.
| Surface Issue | Possible Cause | My Usual Judgment |
|---|---|---|
| Light scratch | Handling or packaging | Acceptable only if not on visible area |
| Uneven coating | Poor process control | Needs correction before production |
| Color difference | Batch or finishing issue | Must confirm color standard |
| Machining mark | CNC path or tool issue | Depends on cosmetic requirement |
| Dents on corner | Transport or rough handling | Packaging must be improved |
A buyer may say, “It is only a sample.” I understand that. But I also know one thing: if the factory does not respect the sample, the buyer will worry about the mass order.
Color accuracy and branding/logo quality
Color and logo are not decoration only. They are part of the buyer’s brand.
For many customers from Europe, North America, Japan, and South Korea, the logo position and color tone matter a lot. Their customers may not know how the enclosure was made, but they will notice if the logo looks cheap.
I check:
- Is the logo size correct?
- Is the logo centered?
- Is the printing clear?
- Is the engraving depth even?
- Is the color close to the approved sample or Pantone reference?
- Does the logo survive light rubbing?
For aluminum enclosures, logos may be silk printed, laser engraved, or CNC engraved. Each method has a different look.
| Logo Method | Good For | Possible Risk |
|---|---|---|
| Silk printing | Color logo, low cost | May wear if surface is rough |
| Laser engraving | Durable mark | Limited color effect |
| CNC engraving | Premium look | Higher cost, longer time |
| UV printing | Rich color | Needs adhesion testing |
I do not judge logo quality only by whether it is “visible.” I judge if it matches the buyer’s product positioning.
A Raspberry Pi enclosure for a hobby kit may accept a simple logo. A high-end industrial control box may need a much cleaner finish.
Packaging protection during transportation
Many people check packaging last.
I check it early.
A beautiful enclosure is useless if it gets scratched inside the box. For custom enclosure export orders, packaging is not a small detail. It is part of quality control.
I look at:
- Inner bag quality
- Foam or paper protection
- Separation between parts
- Screw and accessory packing
- Carton strength
- Corner protection
- Whether the surface can rub during shipping
For samples, express delivery can be rough. For bulk orders, sea shipment can be even rougher. The carton may face vibration, pressure, humidity, and careless handling.
I like to say this in the factory: the customer does not receive our production process; they receive the final packed product.
If the packaging is weak, all previous work becomes fragile.
A clean first check gives me the feeling of the sample. But the next question is more serious: does it actually match the design?
Does the Enclosure Match the Original Design Requirements?
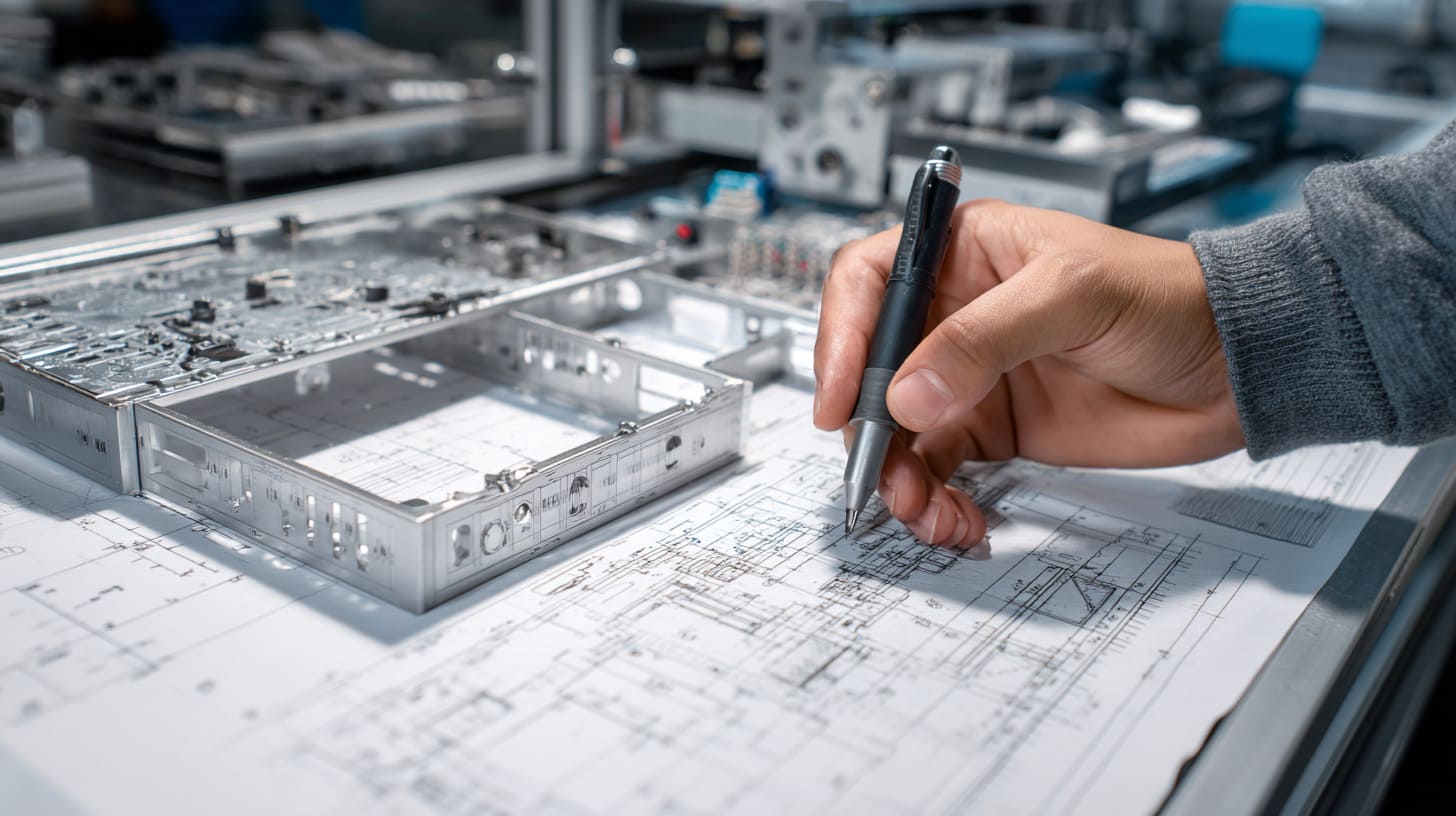
After the visual check, I go back to the design files.
This step is less emotional and more honest.
A sample may look nice, but if it does not match the drawing, it is not correct. Custom enclosure projects are usually built around a PCB, battery, connector, screen, cable, sensor, or mounting bracket. The enclosure is not alone. It has a job.
One nice-looking mistake is still a mistake.
I have seen buyers approve a sample by photos only. Later, when they tried to install their board, they found the USB opening was slightly wrong. Nobody was happy. The supplier said the sample was approved. The buyer said the function failed. Both sides had a point. But the project still suffered.
For design matching, I trust the drawing more than my feeling, because feeling cannot measure a connector hole.
Comparing the sample with 2D drawings and 3D files
I always compare the physical sample with the original design files.
For a custom enclosure project, the key files may include:
- 2D drawing
- 3D file
- PCB layout
- Logo artwork
- Assembly drawing
- Surface finish requirement
- Packaging requirement
Each file controls a different part of the final result.
| File Type | What I Check |
|---|---|
| 2D drawing | Dimensions, tolerances, holes, notes |
| 3D file | Shape, structure, fit, internal space |
| PCB file or board sample | Real assembly compatibility |
| Logo file | Size, position, artwork accuracy |
| Finish reference | Color, texture, coating type |
| Packing instruction | Protection method and labels |
When the 2D and 3D files conflict, I stop and confirm. I do not guess. Guessing is fast, but guessing is expensive.
Verifying dimensions and tolerances
Dimensions are where custom enclosure projects become real.
I check external size first. Then I check internal size. Then I check the functional areas.
For example:
- Overall length, width, and height
- Wall thickness
- Cover thickness
- Boss height
- Screw column diameter
- Hole diameter
- Cutout size
- Slot width
- PCB mounting position
- Gap between top and bottom cover
A small dimension error may not matter for a simple box. But for an electronic enclosure, even a small error can block assembly.
| Dimension Area | Why It Matters |
|---|---|
| Outer size | Product appearance and installation |
| Inner space | PCB and component clearance |
| Screw boss | Assembly strength |
| Connector cutout | Cable and port access |
| Wall thickness | Strength and cost |
| Cover gap | Dust, water, and visual quality |
For CNC aluminum enclosures, tight tolerance is possible, but cost may rise. For plastic injection molded enclosures, tolerance depends on mold design, material shrinkage, and structure. For sheet metal enclosures, bending tolerance and hole position after bending need extra care.
So I do not ask for “perfect tolerance” without reason. I ask for the tolerance the product really needs.
Checking hole positions, cutouts, and mounting points
Hole positions are small, but they can make a project succeed or fail.
I check every hole and cutout against the real components.
This includes:
- USB ports
- HDMI ports
- Power connectors
- Antenna holes
- Vent holes
- Button openings
- Mounting holes
- Wall mounting slots
- Cable glands
- LED openings
A drawing may say the hole is correct. But the real cable head may be bigger than expected. A connector may need finger space. A screw may need tool clearance. A wire may need bending room.
This is where real product experience matters.
Sometimes the drawing is technically correct but still hard to use. I like to catch that before production.
Confirming assembly compatibility with internal components
The best way to check assembly is simple: put the real parts inside.
If the customer can send us the PCB, connector, button, display, or internal bracket, we can test much better. If not, we need detailed drawings and component datasheets.
I check:
- Does the PCB sit flat?
- Do screws align smoothly?
- Is there enough height for tall components?
- Are heat-generating parts close to the heat sink area?
- Can cables bend without pressure?
- Can the user open and close the enclosure easily?
- Will the assembly worker waste time adjusting each piece?
| Assembly Issue | Possible Result |
|---|---|
| Tight PCB fit | Difficult assembly, board damage |
| Misaligned screw boss | Broken boss or loose screw |
| Poor connector access | Bad user experience |
| Not enough cable space | Wire damage or cover cannot close |
| Tall component interference | Redesign needed |
A custom enclosure is like a small house for electronics. The outside may look beautiful, but the inside must allow everything to live comfortably.
Once the design fit is clear, I move to the next layer: the material itself.
How Important Is Material Quality During Sample Evaluation?
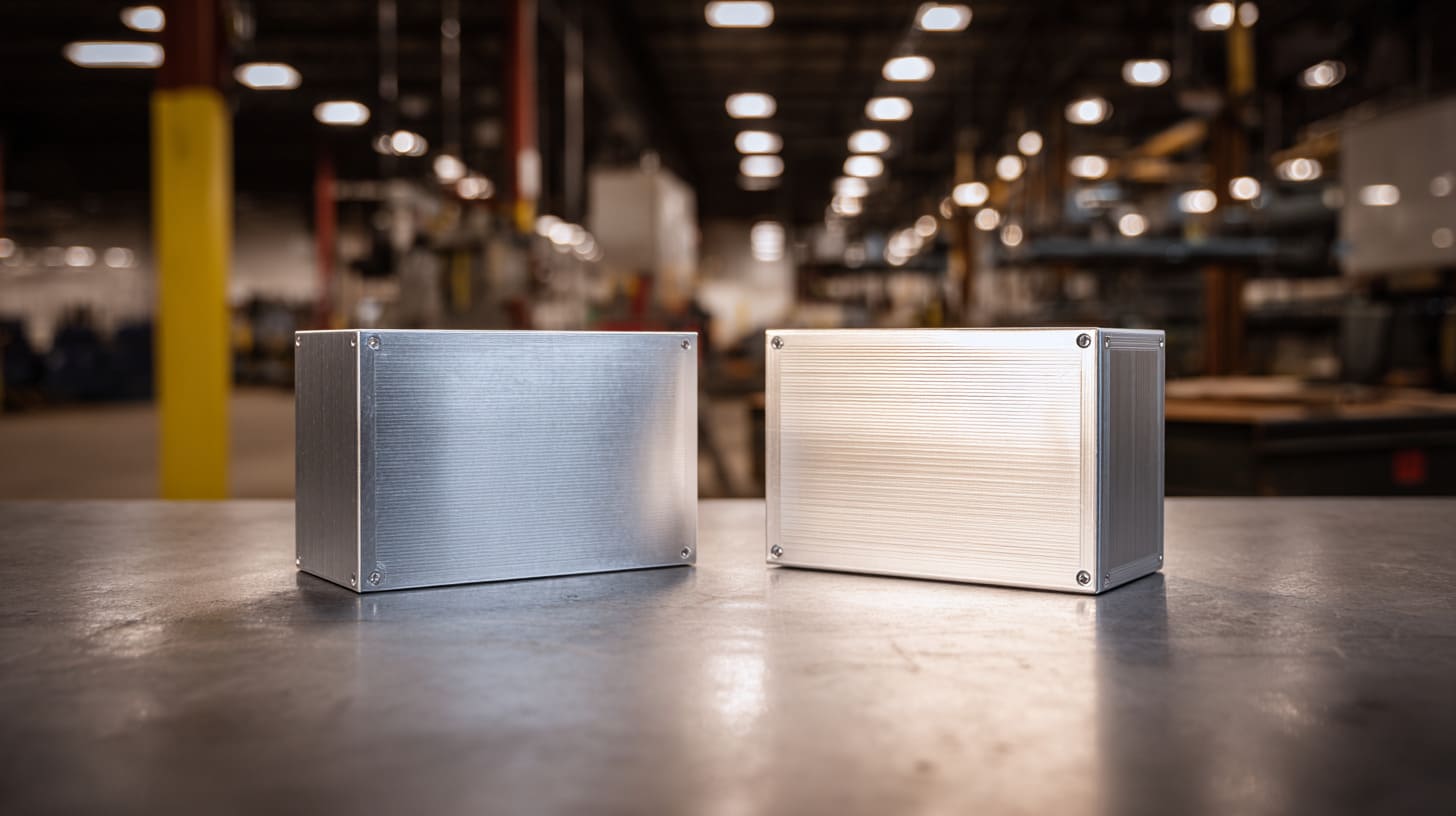
Material is easy to ignore when the sample looks good.
But material decides strength, weight, heat behavior, surface finish, and long-term reliability. It also affects cost. For B2B buyers, this is not a small topic.
A buyer may request aluminum because it feels premium. Another buyer may choose plastic because it is lighter and cheaper. A product engineer may care more about heat dissipation. A distributor may care more about appearance and damage rate.
Nobody is wrong. They just have different priorities.
My own rule is simple: I do not judge material by name only; I judge whether the material matches the application, quantity, cost target, and risk level.
Aluminum vs plastic enclosure material differences
Aluminum and plastic are both useful. But they solve different problems.
| Material | Strength | Heat Dissipation | Weight | Surface Options | Best For |
|---|---|---|---|---|---|
| Aluminum | High | Good | Medium | Anodizing, powder coating, polishing | Industrial devices, Raspberry Pi cases, heat-sensitive products |
| ABS Plastic | Medium | Low | Light | Texture, color molding, painting | General electronics, cost-sensitive products |
| PC Plastic | Stronger than ABS | Low | Light | Transparent or solid colors | Impact-resistant electronic housings |
| Sheet Metal | High | Medium | Medium to heavy | Powder coating, plating | Control boxes, industrial cabinets |
For Raspberry Pi enclosures, aluminum is often used because it can help with heat and gives a solid hand feel. For simple electronic devices, plastic can be enough and may reduce cost.
But the design must match the material. You cannot use plastic like aluminum and expect the same result. You also cannot use aluminum for every project and pretend cost does not matter.
Checking material thickness and strength
Wall thickness is one of the first things I check.
If the wall is too thin, the enclosure may bend, deform, or feel cheap. If it is too thick, the cost may rise, and the product may become too heavy.
For aluminum CNC enclosures, common wall thickness may depend on size and use. For plastic enclosures, wall thickness must also consider molding flow, shrinkage, and sink marks.
| Product Type | Material Thickness Concern |
|---|---|
| Small aluminum case | Strength, machining cost, heat path |
| Large aluminum enclosure | Weight, bending, shipping cost |
| Plastic enclosure | Sink marks, strength, molding stability |
| Sheet metal enclosure | Bending strength, deformation, coating |
| Raspberry Pi enclosure | Heat transfer, screw strength, port accuracy |
I also press the sample gently by hand. I do not use force like a machine test. I just want to feel if the structure is weak in an obvious way.
Sometimes the hand tells the truth before the report does.
Evaluating edge finishing and machining quality
Edges show the attitude of the factory.
A good enclosure should not hurt the hand. It should not have sharp burrs. It should not show careless deburring marks in visible areas.
I check:
- Sharp edges
- Burrs near holes
- Uneven chamfers
- Rough inner corners
- Tool marks
- Scratches caused by handling
- Poor polishing near logo areas
For custom aluminum enclosures, CNC machining can give clean edges, but deburring still matters. For sheet metal enclosures, cut edges and bending corners need extra attention. For plastic enclosures, gate areas and parting lines must be checked.
A small burr can scratch a cable. A sharp edge can hurt the assembly worker. A rough corner can make a good product feel cheap.
That is why I never treat edge finishing as a “small cosmetic detail.”
Testing corrosion resistance and coating durability
Many custom enclosures are used in real working places.
They may face humidity, heat, dust, oil, hand sweat, or outdoor air. Surface finish protects the material. It also protects the buyer’s brand image.
For aluminum enclosures, anodizing and powder coating are common. For sheet metal enclosures, powder coating is often used. For plastic enclosures, the material itself and any painting process need to be checked.
| Finish Type | What I Check |
|---|---|
| Anodizing | Color consistency, scratch resistance, edge coverage |
| Powder coating | Adhesion, thickness, orange peel, chipping |
| Painting | Color match, wear resistance, peeling risk |
| Raw aluminum | Oxidation risk, scratch visibility |
| Plastic texture | Gloss, flow mark, color stability |
For high-risk projects, salt spray testing or adhesion testing may be needed. For normal indoor products, a simple scratch and rubbing check may already give useful information.
The material tells me what the enclosure can become. The application tells me what it must survive.
So the next question is not “Is this sample nice?” It is “Can it work in the real world?”
Can the Enclosure Support Real Product Applications?
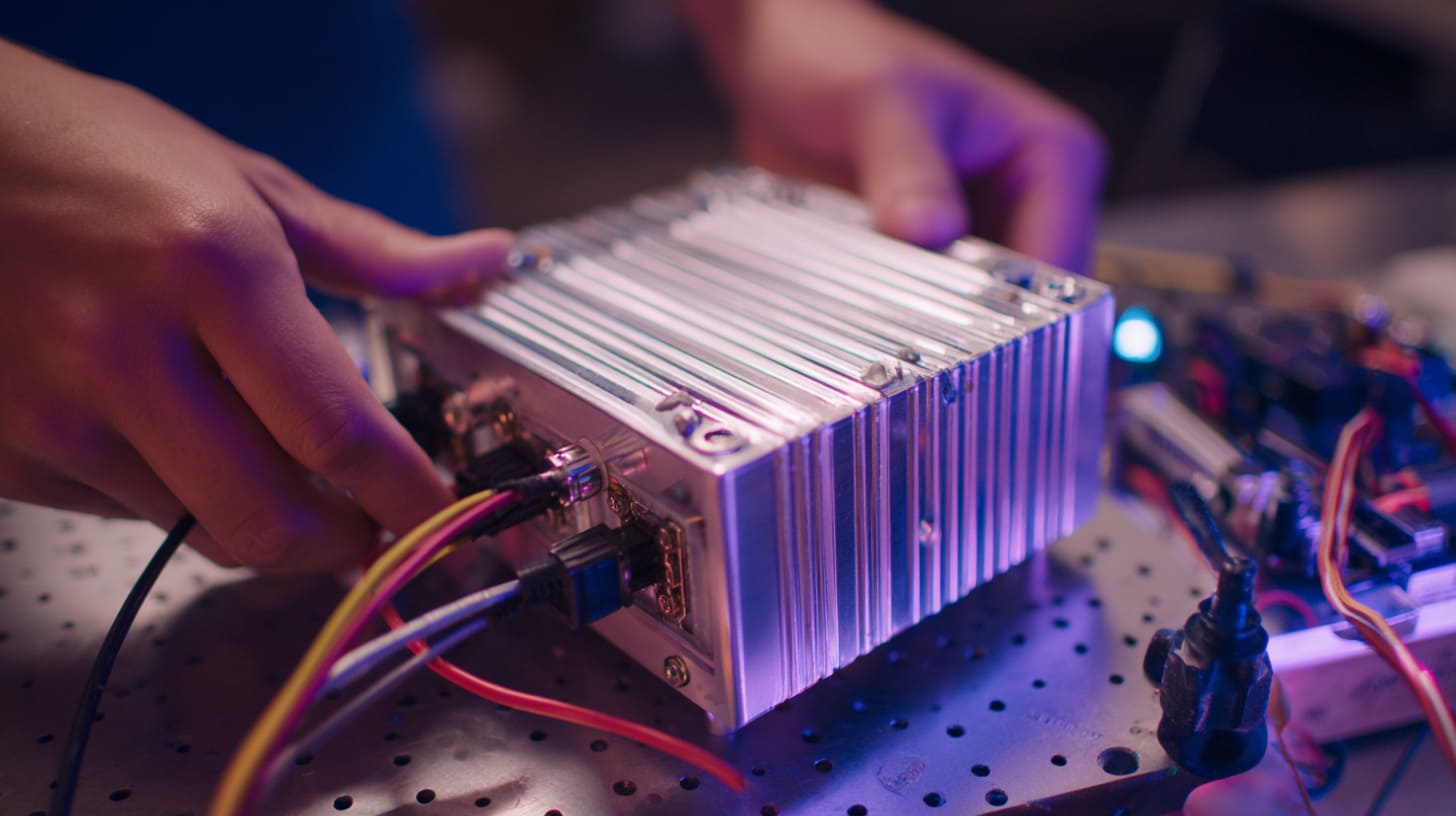
A custom enclosure is not made to sit on a table and look handsome.
It must protect something. It must hold something. It must cool something. It must allow a person to plug in a cable, press a button, install it on a wall, or carry it without worry.
This is where many sample reviews become too shallow.
A buyer may check the look. A factory may check the size. But real use can still expose problems.
A Raspberry Pi case may look perfect until the board becomes too hot. A plastic enclosure may look clean until the connector area cracks after repeated use. A sheet metal enclosure may look strong until water enters from a cable opening.
At this stage, I like to think less like a factory and more like the final user, because the user will find the weak point faster than anyone.
Thermal management and heat dissipation testing
Heat is one of the most common reasons buyers choose aluminum enclosures.
But aluminum alone does not solve every heat problem. Heat needs a path. It must move from the hot component to the enclosure body, then from the enclosure body to the air.
I check:
- Is there contact between the heat source and the enclosure?
- Is a thermal pad needed?
- Is the wall thickness enough for heat spreading?
- Are vents needed?
- Will the surface become too hot to touch?
- Does the enclosure trap heat inside?
| Heat Design Choice | Benefit | Risk |
|---|---|---|
| Aluminum body | Better heat spreading | Higher cost |
| Vent holes | Better airflow | Dust or water risk |
| Heat sink fins | Better cooling | More machining cost |
| Thermal pad | Better contact | Assembly step added |
| Sealed design | Better protection | Heat may build up |
For Raspberry Pi cases, heat is not a theory. It is a daily problem. If the case is too closed, performance may drop. If the design has fins but no good contact with the chip, the fins only look nice.
A heat sink without a heat path is like a nice road that goes nowhere.
Waterproof, dustproof, or IP rating considerations
Some buyers ask for waterproof enclosures. But “waterproof” can mean many things.
Do they mean splash-resistant? Outdoor rain? Washdown? Temporary immersion? Dusty factory use?
The answer changes the design.
I check:
- Gasket design
- Cover gap
- Screw pressure
- Cable gland position
- Drainage risk
- Surface flatness
- Material deformation
- Seal aging
| Protection Need | Design Focus |
|---|---|
| Indoor dust | Tight gaps, simple seals |
| Outdoor rain | Gasket, cable glands, coating |
| Washdown | Strong sealing, screw pressure |
| Dusty factory | Dust protection and easy cleaning |
| High humidity | Corrosion resistance and seal quality |
An enclosure can fail not because the box is weak, but because one cable hole is badly handled.
That is the kind of small detail I watch closely.
EMC/EMI shielding performance checks
Some electronic products need protection from electromagnetic interference. Aluminum and sheet metal enclosures can help. Plastic usually needs extra shielding treatment if EMC matters.
I am careful here because EMC is not something we should casually promise without testing.
For projects that need EMC control, I check:
- Material conductivity
- Grounding points
- Coating on contact surfaces
- Seams between covers
- Cable entry design
- Internal shielding needs
- Whether third-party testing is required
| Enclosure Type | EMC Consideration |
|---|---|
| Aluminum enclosure | Good potential, but seams and coating matter |
| Sheet metal enclosure | Good potential, depends on contact and grounding |
| Plastic enclosure | Needs shielding coating or internal metal parts |
| Mixed material design | Must check grounding path carefully |
A painted metal enclosure may look fully metal, but the coating can block electrical contact. That small detail can affect shielding.
I do not make EMC claims based on appearance. I ask what standard the product needs and whether testing is planned.
Cable routing and connector accessibility
A product may pass all factory checks and still annoy users.
Why?
Because the cable is hard to plug in. The connector hole is too deep. The button is hard to press. The wall mount blocks the cable. The cover cannot close after wires are installed.
These are not “factory defects” in the simple sense. They are design experience problems.
I check:
- Is there enough finger space?
- Can the cable plug in fully?
- Can the connector be removed easily?
- Does the cable bend too sharply?
- Are ports clearly accessible?
- Does the enclosure still look clean after cables are connected?
For B2B buyers, this matters a lot because their customers judge the whole product, not only the enclosure.
A good enclosure should not fight the user.
Once I know the sample can support the real application, I move to the assembly process. That is where hidden cost likes to hide.
Should You Test the Assembly Process Before Production?
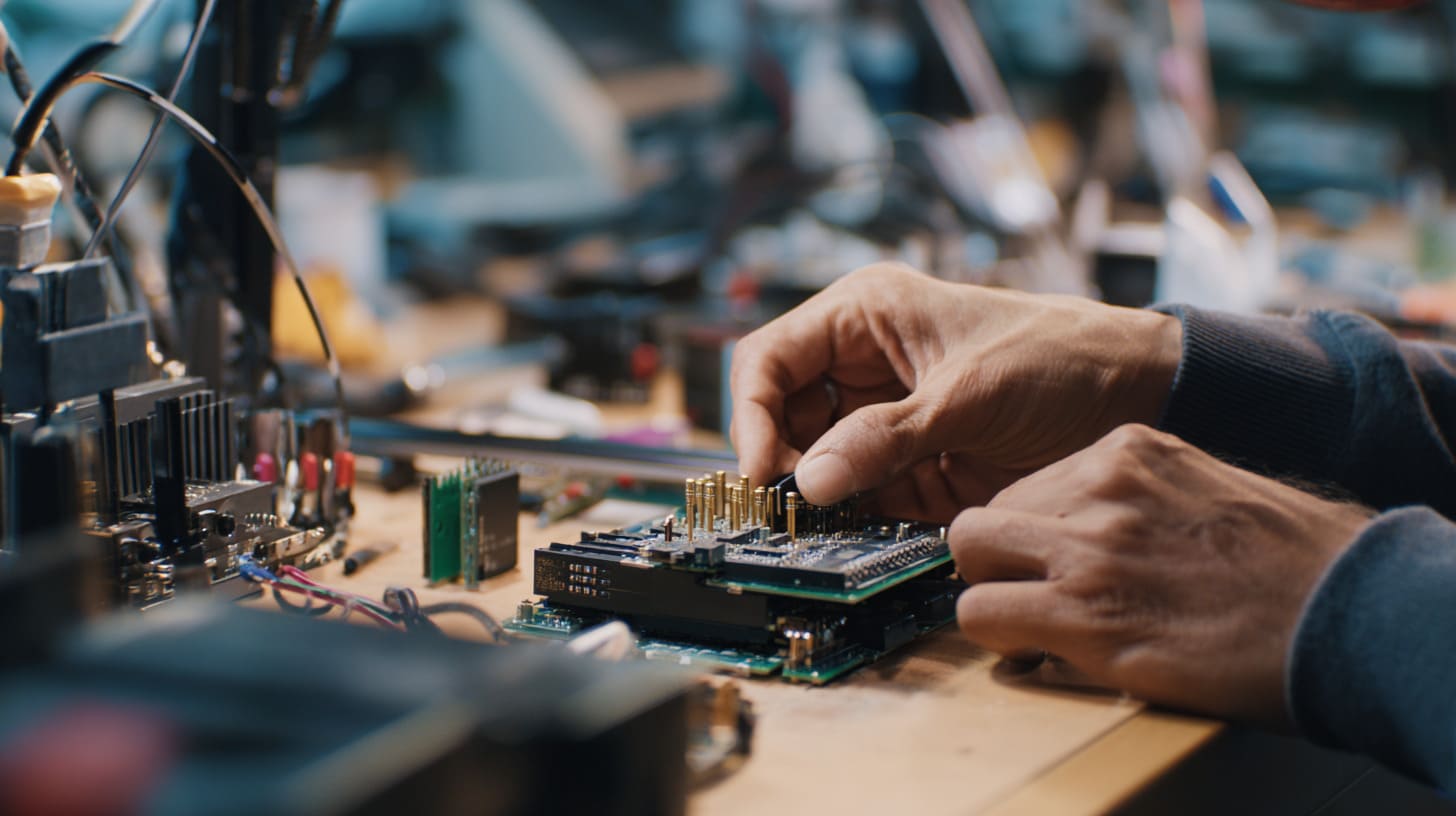
Assembly is where beautiful drawings meet impatient hands.
A sample may pass size inspection, but if it is hard to assemble, production will suffer. Workers may spend extra time on each piece. Screws may cross-thread. Covers may need force. Internal boards may shift. Small problems become slow production.
I always test assembly before mass production because a hard-to-assemble enclosure does not only cost time; it also creates random quality problems.
For buyers like David or John, this part is important. They may sell the enclosure with their own product. They may also assemble boards inside before delivery. If each unit takes too long to assemble, their cost rises quietly.
Nobody likes quiet costs. They are sneaky.
Ease of assembly and disassembly
I open and close the sample several times.
Not once.
Several times.
I want to know if the parts fit naturally. A sample that only works after pushing, twisting, or “adjusting by hand” is not ready.
I check:
- Does the cover sit flat?
- Are screws easy to start?
- Does the enclosure close without force?
- Can it be opened again without damage?
- Do parts rub against each other?
- Does the assembly direction make sense?
| Assembly Feeling | What It May Mean |
|---|---|
| Smooth and stable | Good fit and process control |
| Needs pressure | Tolerance or structure issue |
| Screw feels rough | Thread or hole problem |
| Cover rocks | Warping or uneven surface |
| Parts scratch each other | Clearance or finish issue |
If assembly feels difficult at sample stage, I expect it to become worse when workers repeat it hundreds of times.
Screw alignment and fastening quality
Screws look simple. They are not.
They control strength, maintenance, sealing, and user experience. A bad screw structure can ruin a good enclosure.
I check:
- Screw hole alignment
- Thread quality
- Screw length
- Screw head position
- Boss strength
- Whether screws strip easily
- Whether screws are easy to lose during assembly
For aluminum enclosures, threaded holes must be clean. For plastic enclosures, screw bosses need enough strength and proper design. For sheet metal enclosures, fasteners may need nuts, PEM inserts, or welded parts.
| Screw Issue | Possible Result |
|---|---|
| Misalignment | Slow assembly or damaged thread |
| Weak boss | Crack during tightening |
| Wrong screw length | Loose assembly or part damage |
| Poor thread | Screw cannot lock well |
| Too many screws | Higher labor cost |
A screw is cheap. But a screw problem is not cheap.
Internal space for PCB and accessories
Internal space is one of the easiest things to underestimate.
A PCB drawing may fit. But real components have height. Wires need bending space. Connectors need room. A thermal pad needs compression space. A battery may expand slightly. Accessories need a place to sit.
I check:
- PCB clearance
- Component height
- Cable path
- Battery space
- Sensor window position
- Antenna space
- Heat pad compression
- Screw clearance
| Internal Part | Space Risk |
|---|---|
| PCB | Mounting hole mismatch |
| Battery | Swelling or tight fit |
| Cable | Hard bending or pressure |
| Connector | Cannot plug in fully |
| Heat pad | Too loose or too tight |
| Antenna | Signal blocked by metal |
For aluminum enclosures, antenna design needs care because metal can block wireless signal. Sometimes we need a plastic window or external antenna design.
This is why I always ask the buyer how the enclosure will be used, not only what size they want.
Risks of difficult assembly during mass production
Difficult assembly does not always show as a big problem in one sample.
One engineer can patiently adjust one unit. But production workers cannot spend five minutes solving every small problem.
If each unit takes one extra minute, then 1,000 units take 1,000 extra minutes. That is more than 16 hours.
And that does not include mistakes.
| Assembly Problem | Mass Production Impact |
|---|---|
| Tight fit | Slow assembly |
| Misaligned screw | Rework |
| Sharp edge | Worker injury or cable damage |
| Poor internal layout | Higher defect rate |
| Unclear assembly order | Training cost |
A good sample should not only look correct. It should be easy to repeat.
And once assembly is clear, surface finishing deserves its own careful look.
How Can You Evaluate Surface Finishing Quality?
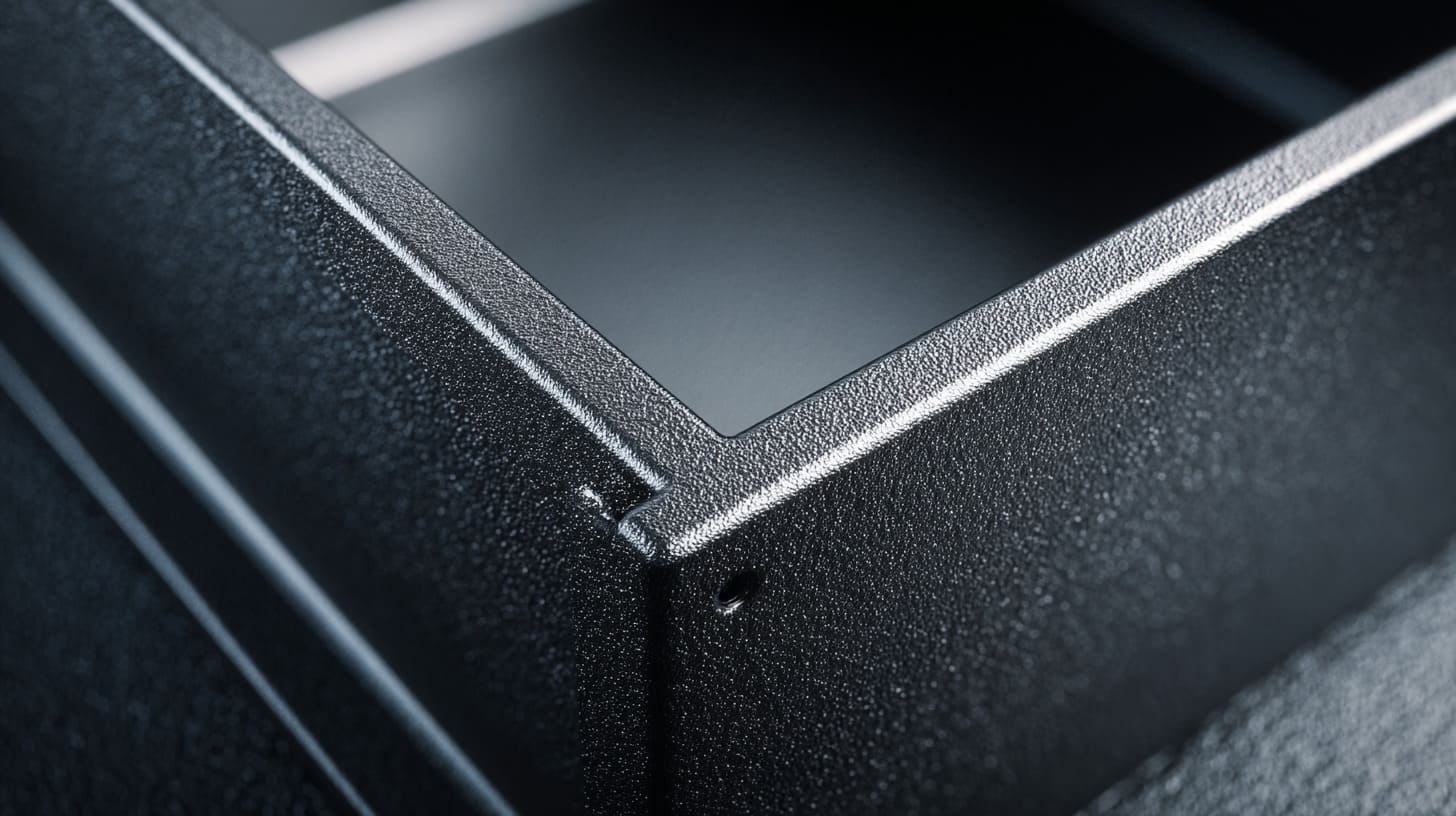
Surface finishing is the face of the enclosure.
It is also one of the most emotional parts of sample approval. Buyers react quickly to color, texture, scratches, and marks. Their customers do the same.
For custom aluminum enclosures, surface finishing can include anodizing, powder coating, polishing, brushing, sandblasting, or laser engraving. For sheet metal enclosures, powder coating is common. For plastic enclosures, texture, painting, and color matching matter.
A technical product still has a face. If the face looks careless, people start to doubt what is inside.
My surface judgment is simple: I check the areas the end user will see first, and then I check the hidden areas where factory shortcuts often appear.
Anodizing consistency for aluminum enclosures
Anodizing is common for aluminum cases, especially Raspberry Pi enclosures and CNC aluminum boxes.
It can look clean and premium. But color consistency can be tricky. Different aluminum batches, surface preparation, and anodizing process control can affect the final color.
I check:
- Color consistency between parts
- Color difference between inside and outside
- Scratches after anodizing
- Uneven tone near corners
- White marks or stains
- Logo contrast after engraving
| Anodizing Issue | Why It Happens | What I Usually Do |
|---|---|---|
| Slight color difference | Material batch or process | Confirm acceptable range |
| White marks | Poor handling or chemical issue | Reject visible defects |
| Dark corner | Uneven treatment | Ask factory to adjust |
| Scratch | Handling after finishing | Improve protection |
| Poor logo contrast | Wrong engraving setting | Test logo again |
Black anodizing is popular, but it shows scratches easily. Silver hides some defects better. This is a trade-off buyers should know before approval.
Powder coating adhesion and durability
Powder coating is often used for sheet metal enclosures and some aluminum enclosures.
It can create a strong and clean finish. But coating quality depends on surface preparation, powder quality, curing temperature, and process control.
I check:
- Coating thickness
- Adhesion
- Orange peel texture
- Chipping at edges
- Color match
- Surface dust or particles
- Coverage inside corners
| Check Item | Simple Test Idea |
|---|---|
| Adhesion | Cross-cut test if needed |
| Edge durability | Light impact or handling check |
| Color match | Compare with approved sample |
| Surface smoothness | Check under side light |
| Coverage | Inspect corners and holes |
Edges are important. Coating often fails first at edges and holes. If the sample already chips at the corner, I do not feel safe starting production.
CNC machining marks and polishing quality
CNC machining marks are normal to some level. The question is whether they are acceptable for the product grade.
Some industrial enclosures can accept visible machining lines. Some premium branded enclosures cannot.
I check:
- Tool path marks
- Uneven polishing
- Rough inner pockets
- Sharp machining corners
- Burrs near holes
- Surface waves
- Scratches before finishing
A buyer may ask for “no machining marks.” That sounds simple, but it may increase cost. Polishing takes time. Better tools cost more. Slower machining may be needed.
So I try to match the finish level with the product purpose.
| Product Position | Surface Requirement |
|---|---|
| Internal industrial part | Functional finish may be enough |
| Consumer-facing enclosure | Cleaner cosmetic finish needed |
| Premium branded case | High finish consistency |
| Prototype only | Some marks may be acceptable |
| Outdoor control box | Durability more important than perfect gloss |
Surface quality is not only about beauty. It is about expectation.
Common finishing defects to avoid
Some defects should not be accepted if they are visible or repeated.
Common finishing defects include:
- Scratches
- Dents
- Uneven color
- Paint bubbles
- Dust under coating
- Finger marks
- Stains
- Poor logo edge
- Exposed raw material
- Coating cracks near bends
I also check if the defect is random or process-related.
One small scratch may come from handling. Many similar scratches may mean the packaging or workflow is wrong.
That difference matters.
If the problem is random, we improve handling. If the problem is process-related, we must fix the process before production.
After the surface check, I want to know if the enclosure can survive use. A nice surface is good. A durable product is better.
What Functional Tests Should Be Performed on a Sample?
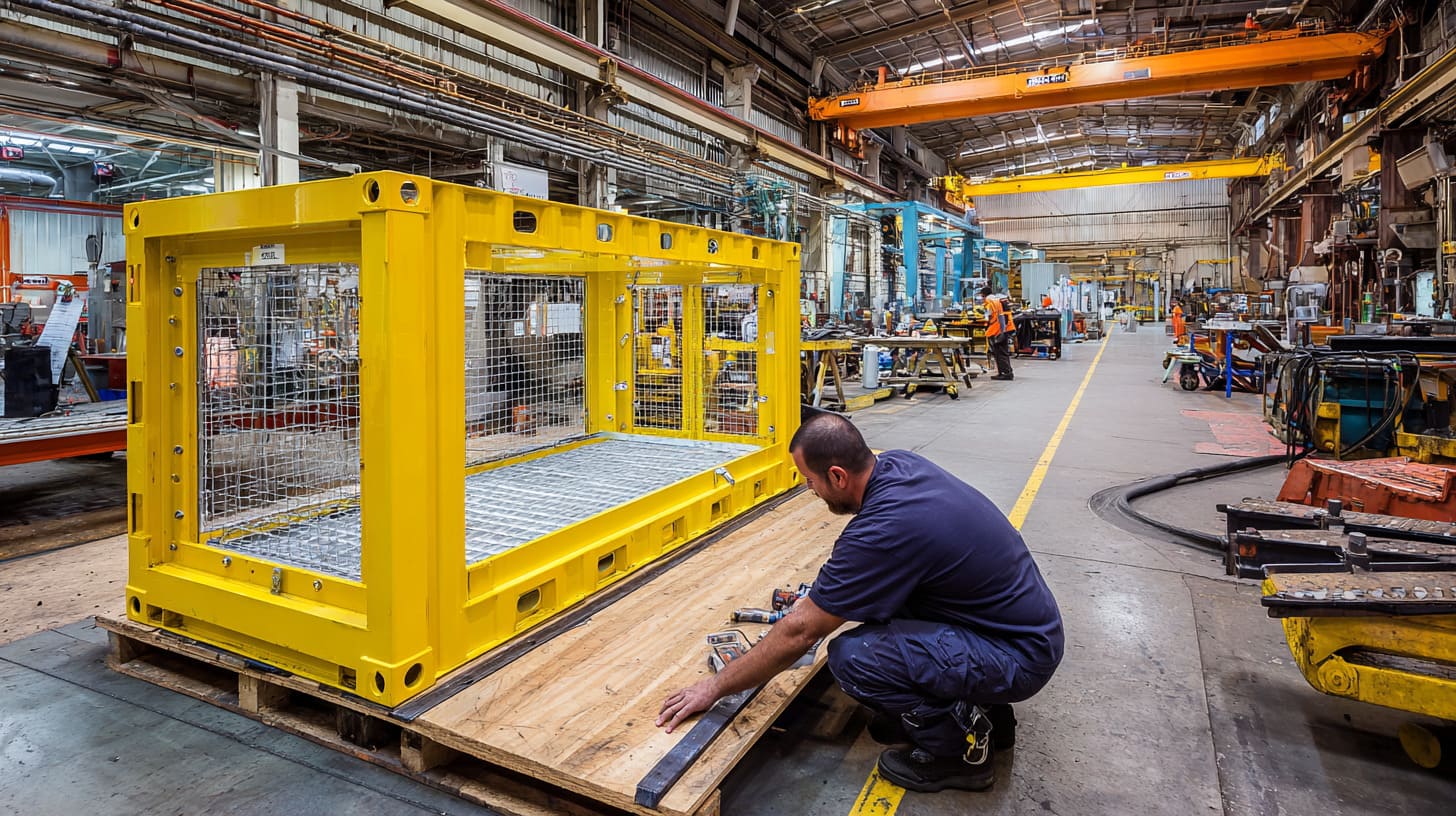
Functional testing sounds serious, but it does not always mean a big laboratory.
Sometimes it means opening and closing the enclosure ten times. Sometimes it means plugging in the cable many times. Sometimes it means checking if the product gets too hot after running for a few hours.
The goal is simple: find the weak point before the customer finds it.
I decide the test level based on the product use, not based on a fixed checklist, because a Raspberry Pi case, a control enclosure, and a simple plastic housing do not face the same risks.
Drop testing and structural durability
Drop testing is useful for products that may be handled often, shipped often, or sold directly to end users.
I do not drop every enclosure in the same way. A heavy industrial cabinet and a small plastic device housing need different test ideas.
I check:
- Corner damage
- Cover separation
- Screw loosening
- Internal part movement
- Surface cracking
- Coating chipping
- Packaging protection
| Product Type | Drop Test Focus |
|---|---|
| Small plastic enclosure | Crack and cover separation |
| Aluminum Raspberry Pi case | Corner damage and screw stability |
| Sheet metal box | Deformation and coating chip |
| Large enclosure | Packaging and transport damage |
| Branded retail product | Cosmetic damage after shipping |
A sample that breaks easily may still be improved. The good thing is we find it early.
Heat resistance and environmental testing
Heat testing is important when the enclosure holds electronics, power modules, CPUs, motors, LEDs, or communication devices.
I check:
- Internal temperature rise
- External surface temperature
- Heat transfer path
- Material deformation
- Coating behavior under heat
- Ventilation need
- Long operation stability
For plastic enclosures, heat can cause deformation or aging. For aluminum enclosures, heat can spread better, but the user may feel the surface getting warm.
| Test Area | Why It Matters |
|---|---|
| Running temperature | Product reliability |
| Touch temperature | User comfort and safety |
| Heat source contact | Cooling efficiency |
| Vent design | Airflow and dust trade-off |
| Plastic deformation | Long-term stability |
Environmental testing may also include humidity, UV exposure, salt spray, dust, or vibration. Not every project needs all tests. But every project needs the right tests.
Connector insertion and repeated use testing
Connectors are small doors into the product.
If those doors are hard to use, the whole product feels bad.
I check:
- Can the plug enter smoothly?
- Is the cutout large enough?
- Is the connector centered?
- Does repeated plugging scratch the surface?
- Is there enough clearance for thick cable heads?
- Does the connector area feel weak?
For Raspberry Pi cases, this is very important. HDMI, USB, power, and GPIO access must be practical. A cutout that looks correct in CAD may still feel tight with real cables.
| Connector Problem | User Complaint |
|---|---|
| Hole too small | Cable cannot plug in |
| Hole too deep | Plug cannot seat fully |
| Misalignment | Port feels blocked |
| Sharp cutout edge | Cable scratch |
| Weak plastic around port | Crack after use |
A good enclosure should make the device easier to use, not harder.
Long-term wear and reliability evaluation
Some problems only appear after repeated use.
For a sample, I may not be able to simulate years of use. But I can still check weak areas.
I look at:
- Screw thread wear
- Hinge strength if used
- Snap-fit fatigue
- Coating wear
- Logo rubbing
- Rubber feet adhesion
- Gasket compression
- Button feel
| Feature | Long-Term Risk |
|---|---|
| Snap-fit | Loosening or breaking |
| Screw boss | Stripping after repeated use |
| Rubber feet | Falling off |
| Gasket | Compression loss |
| Logo print | Wearing away |
| Coating | Scratches and chips |
For B2B custom projects, reliability is not only a quality issue. It is a reputation issue. The buyer’s brand is on the product. If the enclosure fails, their customer will not blame the factory in China first. They will blame the brand they bought from.
That is why I care about function before the mass order starts.
But function alone is not enough. The next question is whether the factory can repeat this sample at scale.
Are Manufacturing Details Consistent With Production Capability?
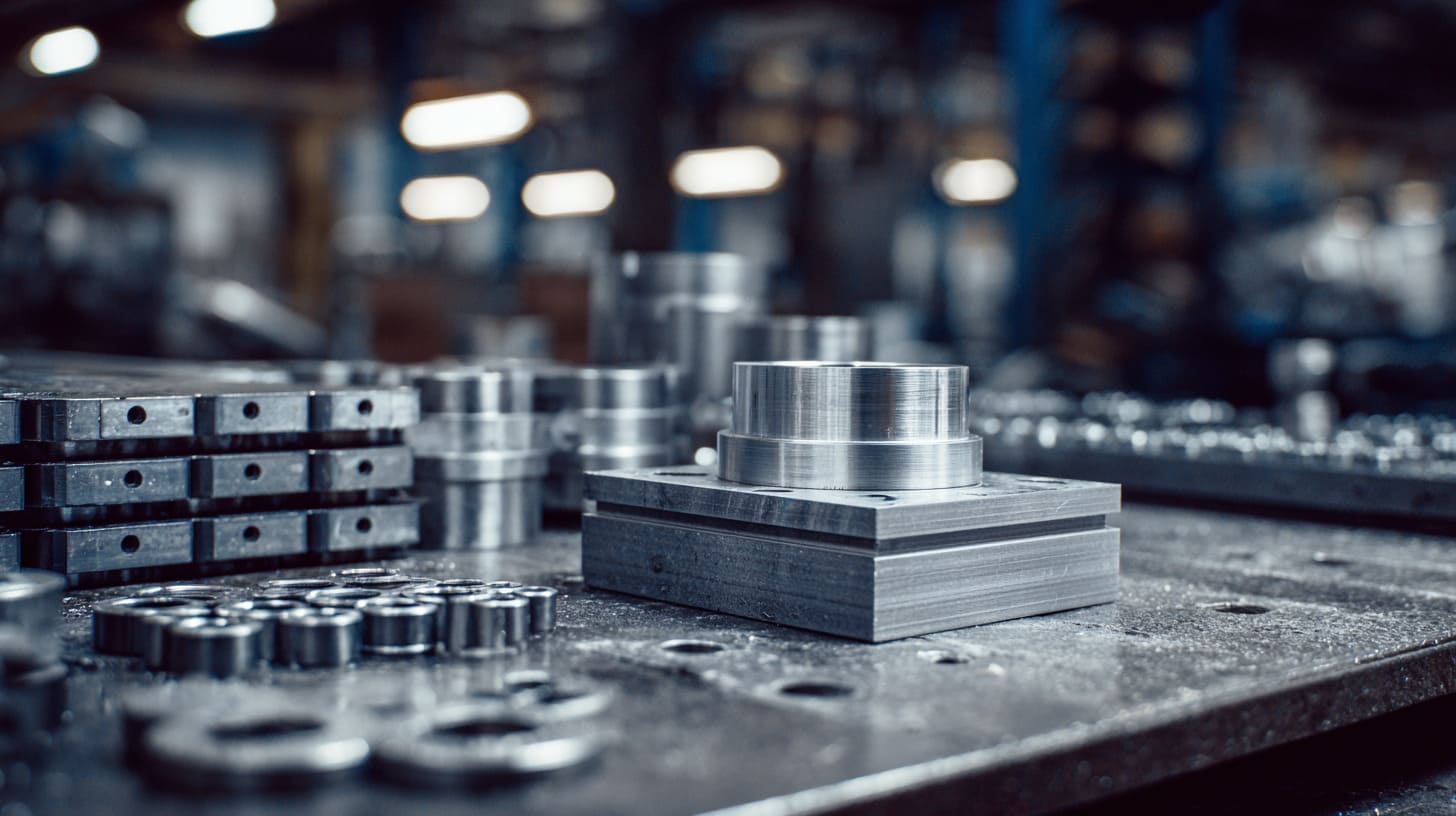
A sample can be made like a handmade gift.
Mass production cannot.
This is one of the biggest traps in custom enclosure projects. A prototype can be carefully repaired, polished, adjusted, and checked. But mass production needs stable process control.
So I always ask: Is this sample showing real production capability, or is it showing special sample treatment?
That question is not rude. It is necessary.
A good supplier should be able to explain how the sample was made and how the mass production will be controlled.
The detail I care about most is whether the sample quality comes from a stable process or from one worker spending too much time fixing it by hand.
CNC prototype vs mass production differences
CNC prototypes are common for custom aluminum enclosures and early-stage plastic enclosure concepts.
CNC is flexible. It is fast for samples. It is good for small batches. But it may not represent die casting, extrusion, injection molding, or sheet metal production exactly.
| Process | Good For | Main Difference From Mass Production |
|---|---|---|
| CNC machining | Prototype, small batch, high precision | Higher cost per piece |
| Extrusion + CNC | Aluminum profiles and cases | Shape depends on extrusion die |
| Die casting | Larger metal production | Tooling cost and draft angles matter |
| Injection molding | Plastic mass production | Shrinkage and mold design matter |
| Sheet metal | Industrial boxes | Bending tolerance and coating matter |
If the final production method is different from the sample method, I must check the risk again.
For example, a CNC plastic sample may look sharp and clean. But injection molded plastic may show shrinkage, parting lines, and gate marks. That does not mean the factory is bad. It means the process is different.
Injection molding and die-casting limitations
Tooling processes have their own rules.
Injection molding needs draft angles, proper wall thickness, ribs, bosses, gates, and ejector pin planning. Die casting needs draft, flow, strength design, and post-machining planning.
A buyer may design a shape that looks perfect in 3D, but the mold may not like it.
Common tooling concerns include:
- Too thick walls
- Sharp inner corners
- Deep narrow slots
- No draft angle
- Weak screw bosses
- Sink marks
- Warpage
- Difficult ejecting
- Extra machining needed
| Design Feature | Possible Manufacturing Risk |
|---|---|
| Thick plastic wall | Sink marks and long cooling time |
| No draft angle | Hard to release from mold |
| Deep pocket | Tooling difficulty |
| Tall thin rib | Warping or breakage |
| Sharp metal corner | Weak flow or cracking risk |
| Large flat surface | Deformation or uneven finish |
This is why supplier engineering support matters. A good factory should not only say “yes.” Sometimes the best support is a polite “this part needs adjustment.”
Production tolerance consistency
One sample may measure correctly. But what about 500 pieces?
That is where tolerance consistency matters.
I check if the factory has a plan for controlling key dimensions. Not every dimension needs strict control. Some dimensions matter more than others.
| Dimension Type | Control Priority |
|---|---|
| PCB mounting holes | Very high |
| Connector cutouts | Very high |
| External cosmetic size | Medium to high |
| Internal non-contact area | Lower |
| Logo position | High for branded products |
| Screw holes | Very high |
I like to mark key dimensions clearly before production. This helps QC focus on what matters most.
If every dimension is marked as critical, then nothing is really critical. The factory needs priority.
Supplier process control and quality systems
A supplier’s process control decides whether the sample quality can become order quality.
I care about:
- Incoming material check
- First article inspection
- In-process inspection
- Surface finish control
- Assembly check
- Final inspection
- Packaging inspection
- Clear revision records
| QC Step | Why It Matters |
|---|---|
| Material check | Prevents wrong material |
| First article inspection | Catches early production mistakes |
| In-process inspection | Stops batch defects |
| Final inspection | Protects shipment quality |
| Packaging check | Prevents transport damage |
| Revision control | Avoids old-version production |
For custom orders, revision control is very important. One old drawing can create a very new problem.
The factory side must be organized. The buyer side must also confirm clearly.
And that brings us to communication, the part nobody sees on the product but everyone feels during the project.
How Important Is Communication During Sample Evaluation?

Communication is not a soft skill in custom enclosure projects.
It is part of production control.
A buyer may think the factory understood the revision. The factory may think the buyer accepted the sample. Both sides may be polite. Both sides may still be wrong.
This happens often when customers and suppliers work across time zones. A customer in Finland or Germany may send comments at the end of their workday. A factory in China may reply the next morning. One unclear sentence can waste a full day.
For me, unclear communication is more dangerous than a visible defect, because a visible defect can be photographed; a misunderstanding can hide until production starts.
Confirming all revision points clearly
After sample evaluation, every revision point should be written clearly.
Not only in chat.
Not only in memory.
Not only in one photo with a red circle and no explanation.
I prefer a revision table.
| No. | Issue | Current Sample | Required Change | Priority | Responsible Side |
|---|---|---|---|---|---|
| 1 | USB cutout too tight | Cable hard to insert | Increase width by 0.5 mm | High | Factory |
| 2 | Logo too low | Not centered | Move up 2 mm | Medium | Factory |
| 3 | Surface scratch | Visible on top cover | Improve handling and packing | High | Factory |
| 4 | Screw too long | Touches PCB | Change screw length | High | Buyer/factory confirm |
A table removes emotion. It makes the project calm.
It also helps the factory engineer, sales person, QC team, and production workers follow the same information.
Avoiding misunderstandings with overseas suppliers
Many misunderstandings are not caused by bad attitude.
They are caused by unclear words.
For example, a buyer says:
“Please make the hole a little bigger.”
How much is “a little”?
0.2 mm? 0.5 mm? 1 mm?
For a connector, that difference matters.
Better wording is:
“Please increase the USB-C cutout width from 8.8 mm to 9.5 mm. Keep the center position unchanged.”
That is much safer.
| Vague Comment | Better Comment |
|---|---|
| Make it stronger | Increase wall thickness from 1.5 mm to 2.0 mm |
| Logo is not good | Move logo 3 mm to the right and reduce size by 10% |
| Hole is wrong | Change hole diameter from 4.0 mm to 4.5 mm |
| Color is too dark | Match approved color sample A |
| Packing is weak | Add foam between each enclosure |
Good communication is not about using fancy English. It is about being specific.
Creating a sample approval checklist
A sample approval checklist helps both sides.
It makes the decision visible.
I like a checklist that includes:
- Appearance
- Dimensions
- Material
- Surface finish
- Logo
- Assembly
- Function
- Packaging
- Accessories
- Revision status
- Approval condition
| Check Area | Result | Notes |
|---|---|---|
| Appearance | Pass / Fail | Scratches, dents, color |
| Dimensions | Pass / Fail | Key tolerance check |
| Assembly | Pass / Fail | PCB fit, screws, cover |
| Function | Pass / Fail | Heat, cable, sealing |
| Logo | Pass / Fail | Size, position, quality |
| Packaging | Pass / Fail | Protection and carton |
| Accessories | Pass / Fail | Screws, pads, labels |
| Approval | Approved / Revise | Next step |
This does not need to be complicated. A simple checklist is better than a long email chain nobody wants to read.
Managing revision timelines effectively
Sample revision takes time.
Sometimes buyers want everything fast. I understand. Their project may already have a launch plan. But some changes affect drawings, programming, tooling, finishing, or material preparation.
I separate revisions into two types:
| Revision Type | Example | Time Impact |
|---|---|---|
| Simple revision | Logo position, screw length, packing change | Usually faster |
| Medium revision | Hole size, coating change, small structure change | Needs new sample or rework |
| Major revision | Internal layout, mold change, new process | Longer timeline |
Not all changes are equal.
Changing a label is not the same as changing a mold. Changing packaging is not the same as changing a die-cast structure.
Clear communication helps the buyer make better decisions. It also helps the factory plan real lead time instead of giving a nice but risky promise.
Good communication cannot replace good manufacturing. But without good communication, even good manufacturing can go in the wrong direction.
And yes, many sample problems repeat because the early warning signs were ignored.
What Common Problems Appear During Sample Approval?
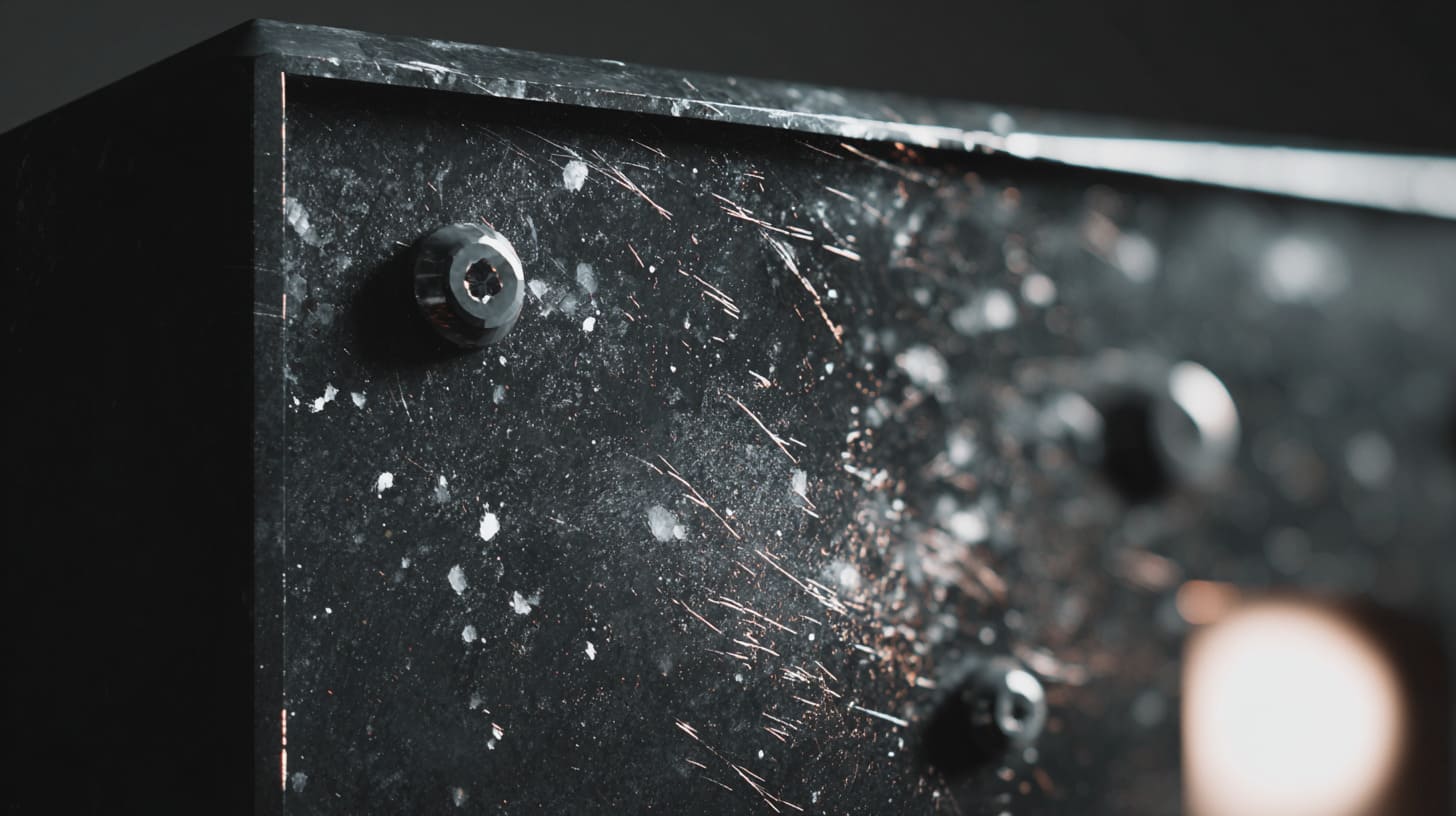
Sample approval problems are rarely dramatic at first.
They are usually small. Too small. That is why they are dangerous.
A tiny scratch. A slightly tight connector hole. A logo that is not perfectly centered. A cover that needs just a little pressure. A screw that feels slightly rough.
Everyone wants to move forward. So these small issues get pushed aside.
This is where things often go wrong: the problem that looks “acceptable” in one sample can become a repeated complaint in a full shipment.
Cosmetic defects that become worse in mass production
Cosmetic defects may look harmless in a sample.
But if the defect comes from the process, it can appear again and again.
Common cosmetic issues include:
- Scratches
- Dents
- Color difference
- Coating dust
- Uneven texture
- Tool marks
- Fingerprints
- Poor polishing
- Edge marks
| Defect | One-Sample Meaning | Mass Production Risk |
|---|---|---|
| Small scratch | Handling issue | Many scratched pieces if packing is weak |
| Uneven coating | Process issue | Batch rejection |
| Tool mark | Machining issue | Customer sees low quality |
| Color difference | Finish control issue | Mixed-color shipment |
| Dust spot | Coating environment issue | Repeated surface complaints |
I try to find the source of the defect. If the source is not fixed, the defect will come back like an unpaid bill.
Incorrect logo engraving or printing
Logo issues are painful because they are highly visible.
The enclosure may work perfectly, but if the logo is wrong, the buyer cannot use it.
I check:
- Spelling
- Size
- Position
- Color
- Direction
- Engraving depth
- Print adhesion
- Artwork version
A wrong logo is not a technical failure only. It is a trust failure.
| Logo Problem | Impact |
|---|---|
| Wrong artwork version | Whole batch may be unusable |
| Poor position | Product looks cheap |
| Weak printing | Logo wears off |
| Wrong color | Brand mismatch |
| Low engraving contrast | Logo not clear |
For re-brand customers and Amazon sellers, logo quality can affect product photos, reviews, and customer confidence.
That is why I always ask for final artwork confirmation before production.
Weak structural design discovered during testing
Some designs look good but are weak.
This may happen in plastic bosses, thin aluminum walls, long sheet metal panels, snap-fit clips, or mounting tabs.
Weak areas may include:
- Screw bosses
- Corners
- Hinges
- Mounting holes
- Snap-fit hooks
- Thin walls
- Long unsupported covers
- Connector openings
| Weak Area | Possible Failure |
|---|---|
| Screw boss | Cracks during assembly |
| Thin cover | Bends or feels cheap |
| Mounting tab | Breaks during installation |
| Large flat panel | Warps or vibrates |
| Port opening | Cracks after repeated use |
When I find a weak structure, I do not only ask, “Can we make it stronger?” I ask, “What cost, size, weight, or tooling change will this cause?”
There is always a trade-off.
Delays caused by incomplete confirmation
Some delays are not caused by production.
They are caused by missing decisions.
For example:
- Buyer has not confirmed logo file
- Buyer has not sent PCB sample
- Surface color is not approved
- Screw type is still unclear
- Packaging method is not confirmed
- Drawing revision is not final
- Payment or shipping detail is pending
| Missing Confirmation | Possible Delay |
|---|---|
| Logo file | Printing cannot start |
| PCB sample | Assembly cannot be verified |
| Color sample | Surface finish cannot proceed |
| Final drawing | Production cannot be released |
| Packaging instruction | Carton design delayed |
| Shipping method | Delivery schedule unclear |
A custom order needs decisions. If one decision is missing, the project waits.
And waiting has a cost.
Sometimes the best way to avoid this is not to rush into production, but to request another sample or a small trial run.
Should You Request More Than One Sample?
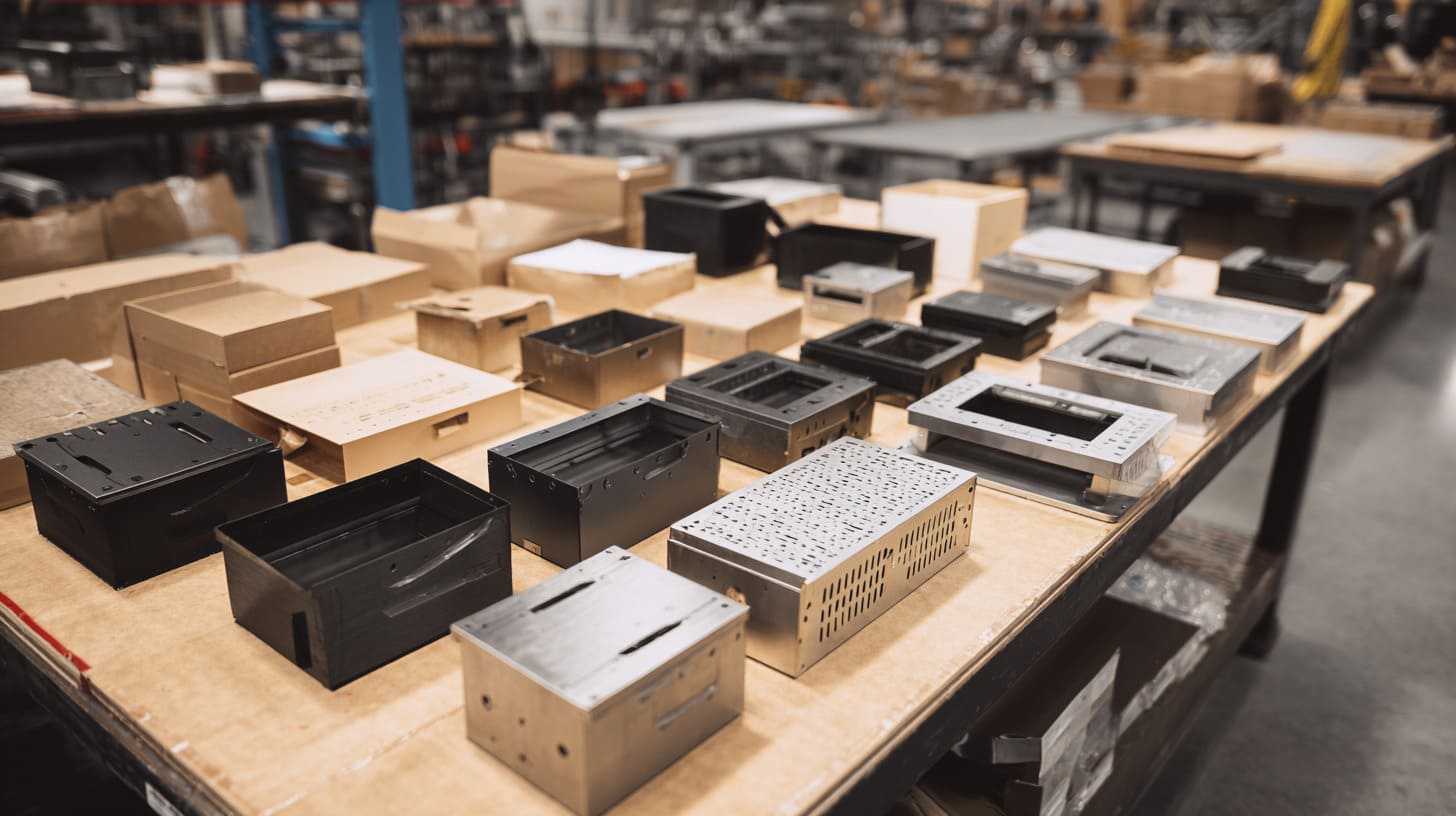
Many buyers want one sample, one approval, and then mass production.
I understand this. Samples cost money. Shipping costs money. Time costs money.
But in some projects, one sample is not enough.
If the first sample has only small cosmetic issues, maybe we can correct them before production with clear notes. But if the sample has structural, functional, or tooling-related problems, a second sample is often the safer choice.
I do not request a second sample to slow the project; I request it when the risk of guessing is higher than the cost of checking.
When a second revision sample is necessary
A second sample is useful when the revision affects important areas.
I usually suggest a second sample when there are changes in:
- PCB mounting
- Connector openings
- Internal space
- Gasket or sealing
- Heat dissipation
- Surface finish method
- Logo process
- Mold structure
- Screw boss design
- Packaging protection
| Change Type | Need Second Sample? | Reason |
|---|---|---|
| Logo moved 1 mm | Maybe not | Can confirm by drawing |
| USB cutout changed | Often yes | Real cable fit matters |
| Wall thickness changed | Yes | Strength and cost affected |
| Gasket design changed | Yes | Sealing must be checked |
| Surface color changed | Maybe yes | Buyer must approve appearance |
| PCB boss moved | Yes | Assembly risk is high |
A second sample may feel like a delay. But a failed mass order is a much bigger delay.
Golden sample approval before production
A golden sample is the approved standard for production.
It should represent:
- Final structure
- Final material
- Final color
- Final logo
- Final surface finish
- Final assembly method
- Final packaging standard
The golden sample becomes the reference for QC.
| Golden Sample Item | Why It Matters |
|---|---|
| Structure | Confirms final design |
| Color | Controls finish comparison |
| Logo | Controls branding quality |
| Packaging | Controls shipping protection |
| Accessories | Controls full product set |
| Assembly | Confirms usability |
I like golden samples because they reduce argument later.
If a mass production piece looks different from the golden sample, the issue is easy to discuss. Without a golden sample, everyone may argue from memory.
Memory is a poor QC tool.
Small trial production vs prototype sample
For some projects, a small trial production is better than only one prototype.
This is useful when:
- The order quantity is large
- The design is new
- Tooling is involved
- Finish quality is sensitive
- Assembly is complex
- The customer has a strict launch date
A trial production may include 20, 50, or 100 pieces depending on the project.
| Option | Best For | Risk Level |
|---|---|---|
| One prototype sample | Simple design, low quantity | Medium |
| Revised sample | Important design changes | Lower |
| Golden sample | Final approval standard | Low |
| Small trial production | Complex or larger project | Lowest before mass production |
Trial production shows batch behavior. It tells us if the process is stable, not only if one sample is beautiful.
Balancing sample cost and project safety
Nobody wants endless samples.
That is not professional either.
The goal is not to sample forever. The goal is to remove the main risks before production.
I usually think about it this way:
| Question | If Answer Is Yes |
|---|---|
| Does the sample affect function? | Test again |
| Does the change affect assembly? | Make revised sample |
| Does the change affect sealing or heat? | Test again |
| Is it only a small cosmetic adjustment? | Confirm by photo or drawing |
| Is the order quantity large? | Consider trial production |
Sample cost should be compared with production risk.
Spending a little more before production can save a lot after production. That is not theory. That is factory life.
After the sample decision is made, I still need to judge something bigger: whether the supplier is really ready for mass production.
How Can You Judge if a Supplier Is Ready for Mass Production?
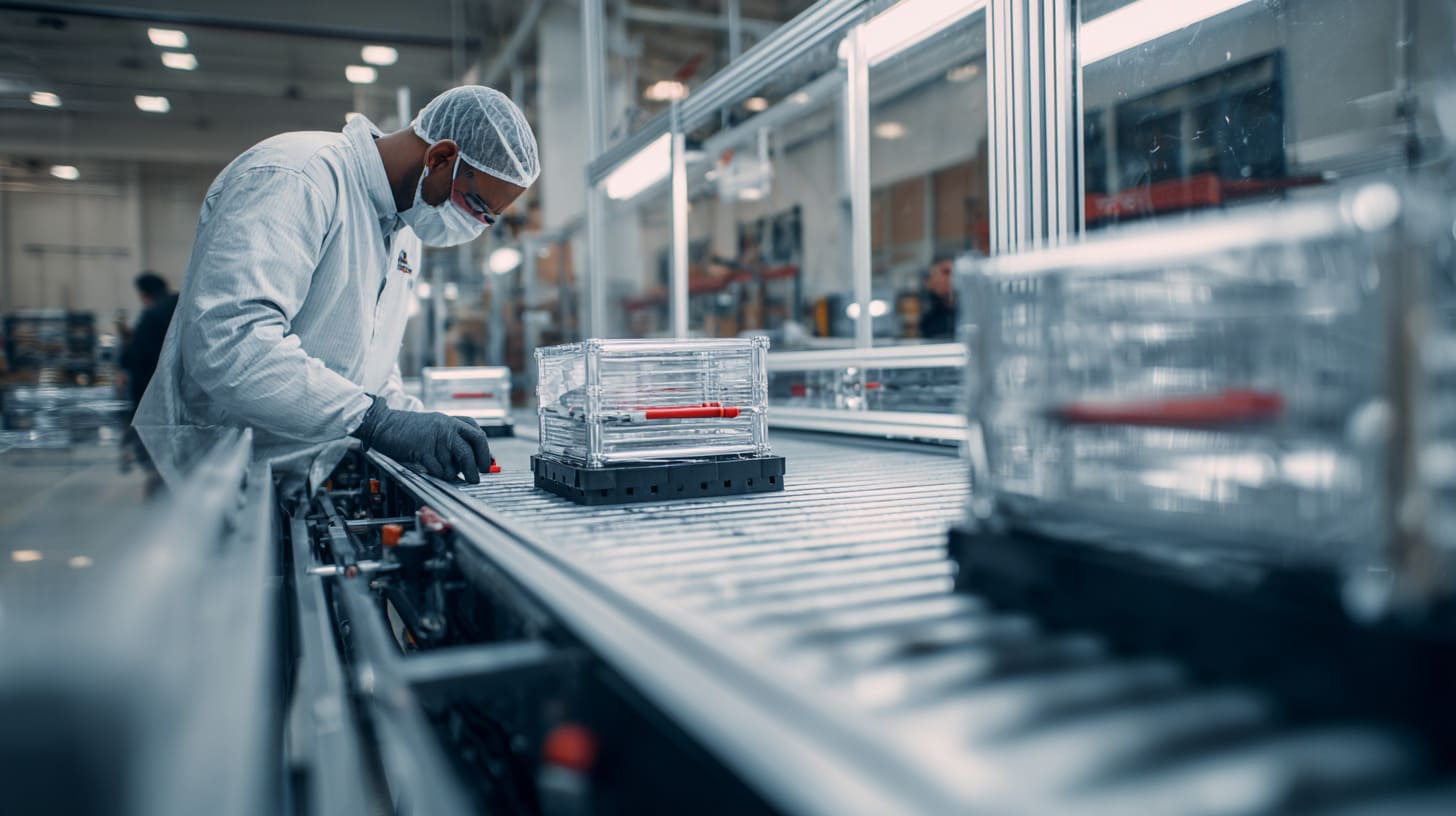
A good sample does not always mean a good supplier.
This may sound harsh, but it is true.
Some suppliers can make one good sample but cannot control a full order. Some suppliers reply fast before payment but become slow when problems appear. Some suppliers say “no problem” too easily. That phrase makes me nervous.
For custom enclosure projects, I judge supplier readiness by behavior, not only by product photos.
A reliable supplier should be able to discuss details, explain risks, suggest changes, control quality, and ship on time.
The supplier’s reaction during the sample stage often tells me how they will behave when pressure comes.
Factory responsiveness and engineering support
Fast replies are good. But useful replies are better.
A supplier should not only say:
“Yes, we can do.”
They should also say:
“This hole may be too close to the edge.”
“This wall thickness may increase cost.”
“This plastic boss may crack.”
“This surface may show scratches easily.”
That kind of reply is valuable.
| Supplier Response | What It May Show |
|---|---|
| Only says yes | May lack engineering review |
| Asks technical questions | Usually more responsible |
| Provides drawing suggestions | Good engineering support |
| Explains process limits | More realistic |
| Avoids clear answers | Higher project risk |
For OEM and ODM customers, engineering support is often more important than the cheapest price.
A cheap price cannot fix a wrong design by itself.
Quality control process evaluation
I care about how the supplier checks products.
A reliable enclosure factory should have a clear QC process. It does not need to sound fancy. It needs to work.
I look for:
- Material inspection
- First sample inspection
- Key dimension control
- Surface finish inspection
- Assembly test
- Logo check
- Packing check
- Final report if needed
| QC Area | What I Want to See |
|---|---|
| Dimensions | Caliper, gauge, or CMM if needed |
| Surface | Visual standard and lighting |
| Logo | Artwork confirmation and sample check |
| Assembly | Real fitting test |
| Packaging | Drop or transport protection thinking |
| Records | Clear photos and inspection notes |
If the supplier cannot explain how quality is checked, I feel uneasy.
Quality is not a slogan. It is a routine.
Lead time and production planning capability
Lead time is not only about speed.
It is about planning.
A supplier may promise a very fast lead time to win the order. But if the plan is not realistic, the buyer will suffer later.
I check:
- Material availability
- Production schedule
- Surface finishing lead time
- Logo process time
- Packing time
- Export shipping plan
- Holiday impact
- Possible revision time
| Lead Time Risk | Common Cause |
|---|---|
| Late material | Special aluminum or plastic not ready |
| Finish delay | Anodizing or coating queue |
| Logo delay | Artwork not confirmed |
| QC delay | Batch defects need rework |
| Shipping delay | Poor planning or peak season |
| Holiday delay | Factory schedule not checked early |
For international buyers, late delivery can affect product launches, retail sales, installation dates, and customer trust.
A supplier should give a lead time they can protect, not a lead time that only looks good in email.
Signs of a reliable OEM & ODM enclosure supplier
A reliable supplier usually shows several signs during sample evaluation.
| Sign | Why It Matters |
|---|---|
| Clear questions | Shows they are checking details |
| Practical suggestions | Helps reduce design risk |
| Honest limits | Prevents false expectations |
| Stable sample quality | Shows process control |
| Good packaging | Shows export experience |
| Organized revision records | Reduces mistakes |
| Reasonable price | Supports long-term cooperation |
| Fast but careful replies | Saves time without creating confusion |
For custom enclosure projects, I believe the best supplier is not always the one with the lowest price.
The best supplier is the one who can help the buyer avoid expensive mistakes.
Price matters. Of course it matters. But a low price with poor communication, weak QC, and late delivery is not really low. It only looks low at the beginning.
A real supplier should make the project feel clearer, safer, and easier to control.
And that is why proper sample evaluation matters so much.
Conclusion
How Does Proper Sample Evaluation Protect Your Custom Enclosure Project?
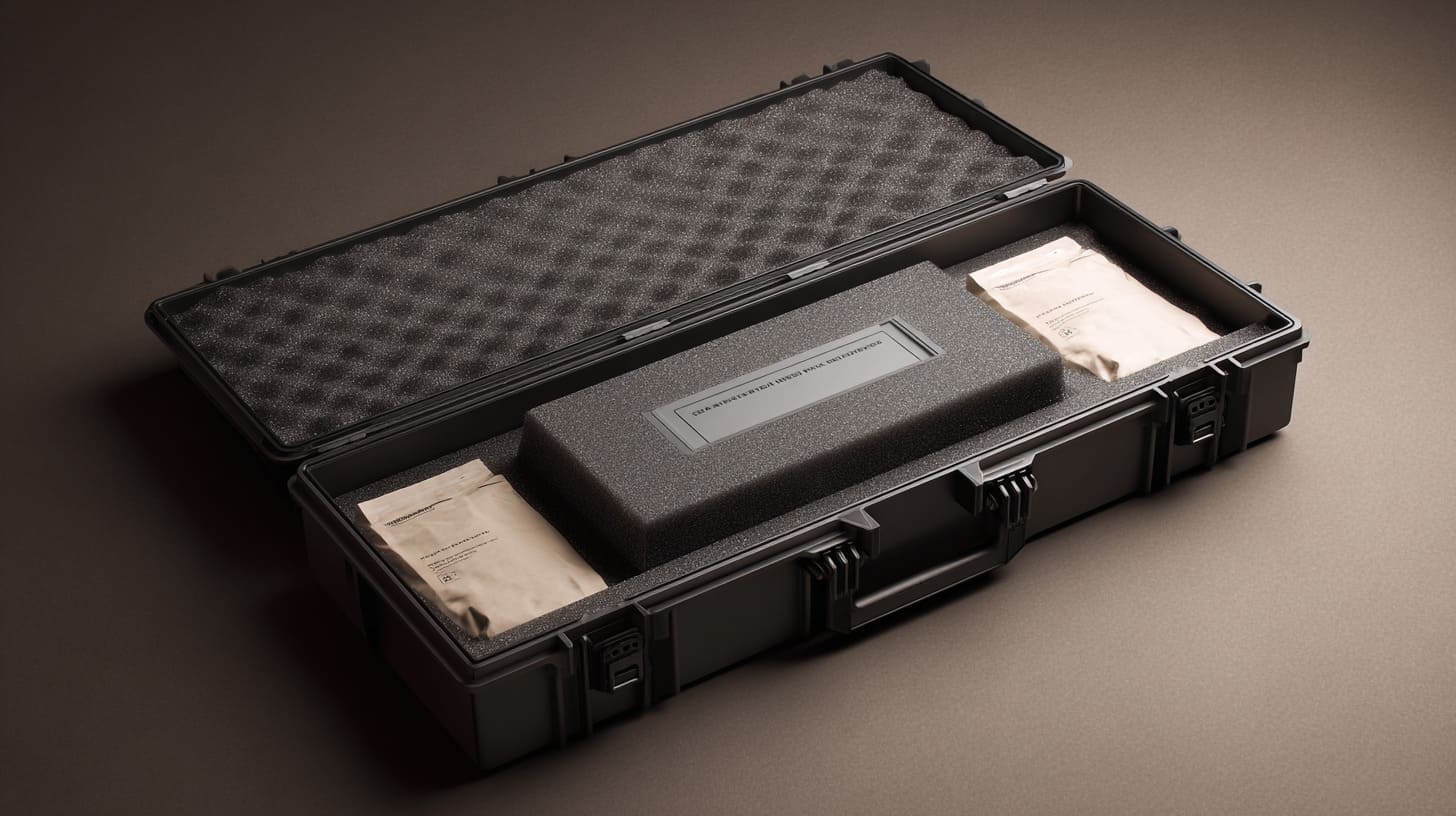
A custom enclosure sample is a small product, but it carries a big responsibility.
It carries the design idea. It carries the buyer’s brand. It carries the factory’s process. It carries the schedule. It carries the hidden cost of every detail that was not checked early.
I pay close attention to samples because I have seen what happens when people skip this step too fast. One wrong hole can stop assembly. One weak coating can create complaints. One unclear revision can produce the wrong batch. One poor package can damage a good product before the customer even touches it.
For me, sample evaluation is not about being picky. It is about being practical.
Preventing expensive production mistakes
A mistake found in the sample stage is still manageable.
A mistake found after mass production is painful.
That is why I check appearance, dimensions, material, assembly, function, finishing, packaging, and communication before production starts.
| Sample Check | Problem It Helps Prevent |
|---|---|
| Dimension check | Assembly failure |
| Surface check | Customer complaints |
| Material check | Weak structure or wrong cost |
| Function test | Real-use failure |
| Packaging check | Shipping damage |
| Revision record | Wrong version production |
I would rather spend more time checking one sample than spend weeks explaining one failed shipment.
Improving product quality and customer satisfaction
A good enclosure does not shout.
It quietly does its job.
It protects electronics. It fits the board. It feels solid. It looks clean. It arrives safely. It helps the buyer’s product feel more complete.
That is why I care about small details like screw feeling, logo position, cable clearance, and surface protection.
These details may not look exciting in a sales brochure. But customers feel them.
A buyer may not say, “Your tolerance control is excellent.” But they will notice when the enclosure assembles smoothly and their customer does not complain.
Building long-term cooperation with reliable suppliers
Custom enclosure projects are not only transactions.
They are cooperation.
The buyer brings the idea, design, market need, and brand plan. The factory brings material knowledge, process experience, engineering support, and production control.
When both sides evaluate the sample seriously, the relationship becomes stronger. The project becomes more predictable. The next order becomes easier.
That is the kind of cooperation I value.
Not noisy. Not full of empty promises. Just clear work, clear details, and fewer surprises.
Why experienced enclosure factories simplify the process
An experienced enclosure factory can help buyers avoid many problems before they happen.
At MaidaTech, we work with custom aluminum enclosures, plastic enclosures, sheet metal enclosures, Raspberry Pi cases, and OEM/ODM enclosure projects. We know that every buyer has different concerns. Some care most about heat. Some care about cost. Some care about branding. Some care about fast delivery. Most care about all of them at the same time.
That is real business. It is never one simple answer.
My view is simple: a good sample should make the buyer feel more confident, not more confused.
If you are developing a custom enclosure and you are not sure how to evaluate the sample, you can send us your drawing, 3D file, PCB details, or project idea. I can help review the design from a factory point of view and suggest what should be checked before production.
You can contact me at info@maidatech.com or visit maidatechenclosure.com.
A sample is small.
But if we check it carefully, it can protect the whole project.







