 Skip to content
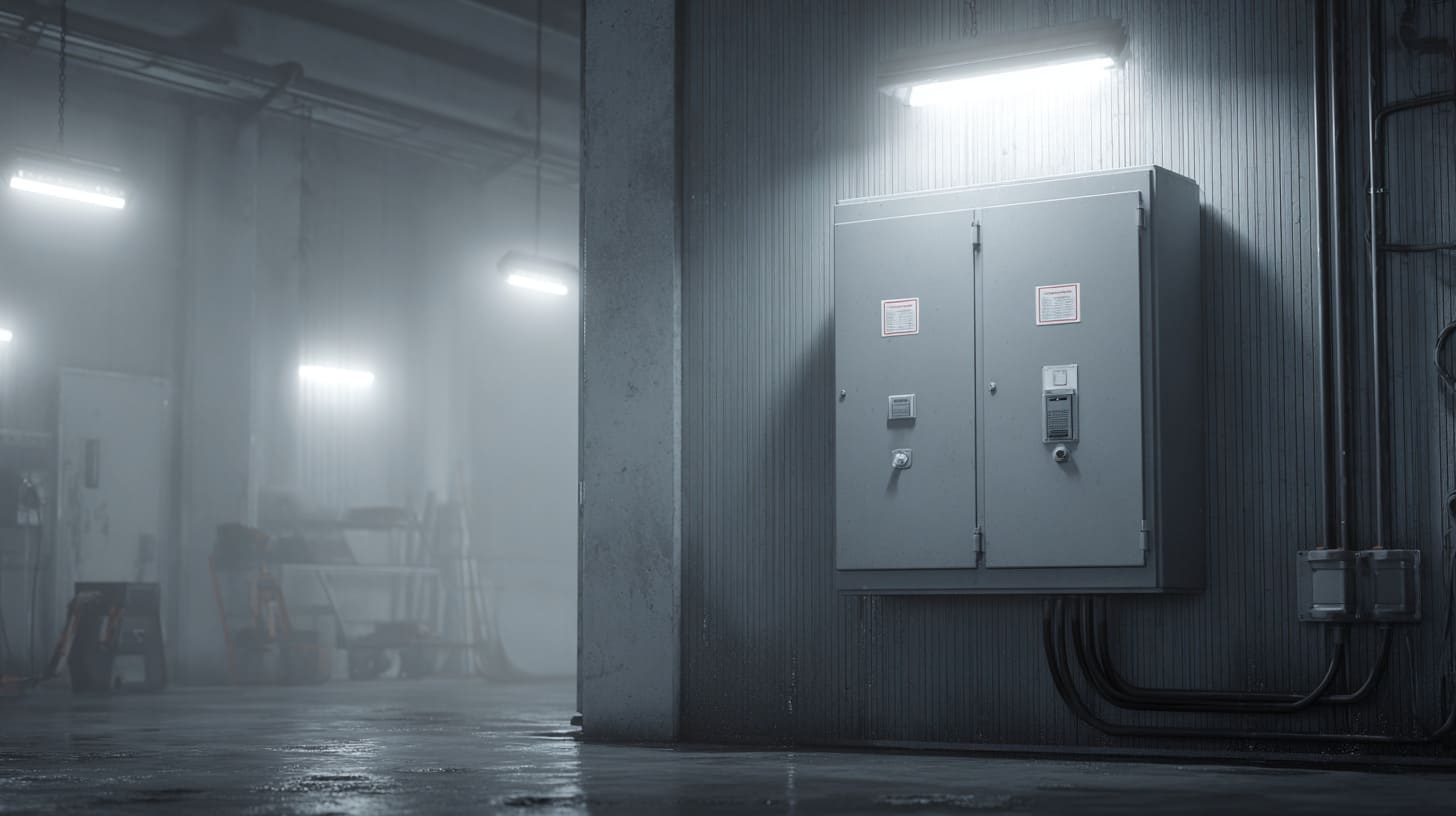
Many people feel relaxed when they hear the words “indoor NEMA enclosure.”
I understand that feeling.
Indoor sounds gentle. It sounds like a clean room, a dry wall, and a stable temperature. It sounds far away from rain, sunlight, snow, salt air, and all the ugly outdoor problems that make engineers lose sleep.
But after working with custom enclosures for many years, I have learned one uncomfortable lesson:
Many indoor NEMA enclosure failures do not begin in the factory. They begin after installation.
The enclosure may pass inspection before shipping.
The surface finish may look clean.
The door may close well.
The gasket may sit neatly in place.
The drawing may look correct.
Then the enclosure arrives at the customer’s site.
Someone drills one more hole.
Someone installs the cable gland too loosely.
Someone mounts the box on an uneven wall.
Someone forgets to tighten the screws after maintenance.
Someone places the enclosure near heat, oil mist, water spray, or vibration.
And slowly, the “safe indoor box” becomes a small problem factory.
Water gets in. Dust builds up. Heat stays trapped. Terminals corrode. Components fail earlier than expected. Sometimes the first sign is not a big bang. It is just a small fault that keeps coming back.
That is why I do not judge indoor enclosures only by the word indoor. I judge them by the real place where they will live.
For product engineers, OEM buyers, and industrial enclosure buyers, this small shift in thinking matters a lot. A good enclosure is not only a metal or plastic box. It is part of a working environment. It has to deal with people, cables, machines, cleaning habits, heat, dust, and time.
The box may be born in the factory.
But its real test starts after installation.
A nice-looking enclosure can still fail quietly, like a good umbrella with one tiny hole. You only notice it when the rain has already reached your shirt.
Why Do Indoor NEMA Enclosures Still Fail in Real Factories?
Indoor NEMA enclosures fail because many buyers treat “indoor” as one simple condition. But real indoor factories are not all the same. Some indoor spaces are clean and dry. Some are hot, oily, dusty, wet, or full of vibration.
The label says indoor.
The factory says something else.
One detail I always try to confirm before discussing an indoor enclosure is the actual working area, because a dry control room and a metal cutting workshop may both be “indoors,” but they attack the enclosure in completely different ways.
Indoor Does Not Mean Clean or Safe
An indoor office room is one thing. A CNC workshop is another thing. A food processing room is another world again.
I have seen buyers describe a project as “indoor use,” then later mention coolant, oil mist, cleaning water, and metal powder. At that moment, I usually pause. Not because the project is impossible. It is not. But because the word indoor is not enough anymore.
Here is a simple way to look at it:
| Indoor Environment | Common Risk | Possible Enclosure Problem |
|---|---|---|
| Office room | Low dust, stable temperature | Usually low risk |
| Warehouse | Dust, vibration, forklift movement | Loose fittings, dust ingress |
| CNC workshop | Oil mist, metal dust, heat | Corrosion, gasket damage, contamination |
| Food processing area | Water cleaning, chemicals, humidity | Moisture ingress, chemical attack |
| Power room | Heat, poor airflow | Overheating, shortened component life |
| Packaging line | Vibration, dust, repeated maintenance | Loose screws, damaged seals |
This is why I never like to hear only one sentence: “It is used indoors.”
That sentence feels clean. But factory life is not always clean.
The Difference Between Laboratory Ratings and Real Usage
A NEMA rating is useful. I respect it. It gives buyers and engineers a common language. It helps people compare protection against dust, water, oil, corrosion, and other risks.
But a rating is not magic.
A rating is tested under controlled conditions. The enclosure is complete. The sealing surface is correct. The door is closed. The hardware is properly installed. The test does not always copy the strange things that happen at a real site.
Real life is messier.
A technician may drill a hole in a hurry.
A cable gland may not match the cable size.
A gasket may be pinched after service.
A conduit may pull sideways on the enclosure wall.
A worker may spray cleaning water from the wrong angle.
The rating tells us what the enclosure can do when it is built and used correctly.
It does not promise that the enclosure can survive every bad installation habit.
Why Buyers Often Underestimate Indoor Risks
Most buyers underestimate indoor risks for three reasons.
First, they want to save cost. I do not blame them. Everyone has a budget. A project needs to make business sense.
Second, they often think weather is the main enemy. If there is no rain, they think the box is safe.
Third, many people do not connect installation quality with enclosure protection. They may spend time choosing the material, finish, and size. Then they leave the installation details to someone else.
That is where trouble starts.
| Buyer Assumption | Real Risk |
|---|---|
| “It is indoors, so dust is not serious.” | Some indoor workshops have more dust than outdoor areas. |
| “No rain means no water problem.” | Condensation, cleaning water, and coolant can still enter. |
| “The NEMA rating will protect it.” | Bad installation can destroy the protection. |
| “A small hole is not a big issue.” | One unsealed hole can become the main failure point. |
| “Maintenance teams will handle it.” | Maintenance shortcuts often create new risks. |
I like to tell customers: Do not buy protection for the name of the environment. Buy protection for the behavior of the environment.
That sounds simple. But it can save a project.
And once we accept that indoor conditions can be harsh, the next question becomes painful: who usually creates the first weak point? Very often, it is not the enclosure supplier. It is the installation.
How Does Poor Installation Create Most Enclosure Problems?
Poor installation creates enclosure problems because it changes the protection that the enclosure was designed to provide. A box may be well made, but a loose gland, crooked mounting surface, or badly sealed hole can turn it into a failure point.
I often care more about the installation drawing than the product photo, because a beautiful enclosure mounted badly is like a good door with a broken lock.
Incorrect Cable Gland Installation
Cable glands look small. That is why people ignore them.
But in real enclosure work, cable entry is one of the most dangerous places. If the gland is too loose, moisture can enter. If the gland is too tight, the cable may be damaged. If the cable size does not match the gland, the seal may not work.
The problem is not always visible on day one.
At first, everything looks fine. The cable enters the box. The gland is there. The door closes. The customer signs the installation report.
Then vibration starts. Temperature changes. Workers touch the cable. The gland slowly loosens. A tiny gap opens.
Dust loves tiny gaps. Water loves them too.
Common cable gland mistakes include:
- Using the wrong gland size
- Forgetting the sealing washer
- Tightening the gland unevenly
- Using a low-quality gland in a harsh environment
- Installing the gland on a rough or scratched surface
- Pulling the cable at a sharp angle
A cable gland is not decoration. It is a seal. If it is treated like a cheap accessory, the enclosure pays the price.
Bad Wall Mounting or Surface Alignment
A wall is not always flat.
That sounds boring, but it matters. When an enclosure is mounted on an uneven wall or frame, the body can twist slightly. The twist may be small. The human eye may not catch it.
But the gasket catches it.
The door may not press evenly. One side may seal tightly. Another side may have weaker compression. Over time, vibration and repeated opening make the problem worse.
Here is how mounting problems show up:
| Mounting Issue | What Happens Later |
|---|---|
| Uneven wall surface | Enclosure body twists |
| Poor bracket alignment | Door pressure becomes uneven |
| Over-tightened mounting screws | Back panel or body may deform |
| Weak wall support | Vibration increases |
| Wrong mounting height | More water, dust, or impact exposure |
I have seen projects where the enclosure itself was blamed first. But after checking photos, the box was mounted on a rough frame with stress at the corners. That kind of problem is quiet. It does not shout. It just slowly breaks the seal quality.
Drilling Extra Holes Without Proper Sealing
This is one of the most common real-world problems.
The enclosure leaves the factory with correct cutouts. Then the site team discovers one more sensor cable, one more switch, or one more conduit. So they drill a new hole.
No problem, right?
It depends.
If the hole is drilled cleanly, deburred, painted or treated if needed, and sealed with the correct fitting, it can work. But if the hole is rough, open, scratched, or poorly sealed, the enclosure is now weaker than the drawing promised.
Worse, metal shavings may fall inside.
Small metal shavings inside an electrical enclosure are not friendly guests. They can touch terminals, damage insulation, or create electrical shorts. They may hide in corners and wait like tiny troublemakers.
A simple field modification can create several risks:
- Bare metal edges
- Paint damage around the hole
- Poor sealing surface
- Metal chips left inside
- Wrong fitting used in a hurry
- Open unused holes after layout changes
I always prefer to finish cutouts at the factory when possible. Factory machining is not only about a clean appearance. It is about control.
Why Installer Experience Matters More Than Many Buyers Expect
A skilled installer protects the enclosure’s original design. A careless installer slowly deletes it.
That may sound harsh, but I have seen it too many times.
An experienced installer checks cable direction. He checks gasket pressure. He checks unused holes. He checks whether the conduit pulls the enclosure wall. He does not leave the door open for half a day in a dusty area.
A cheap or rushed installation can make an expensive enclosure perform like a poor one.
| Installer Behavior | Result |
|---|---|
| Checks sealing washers | Lower moisture risk |
| Cleans metal shavings | Lower short-circuit risk |
| Uses correct torque | Better gasket compression |
| Avoids stress on cables | Longer gland life |
| Seals unused holes | Better dust and water protection |
| Documents field changes | Easier future maintenance |
In many projects, installation is not the last step. It is the second manufacturing process.
The factory makes the enclosure.
The installer makes the enclosure useful.
And the most sensitive area in this second process is usually where the cables enter the box.
Why Are Cable Entry Points the Most Common Failure Area?
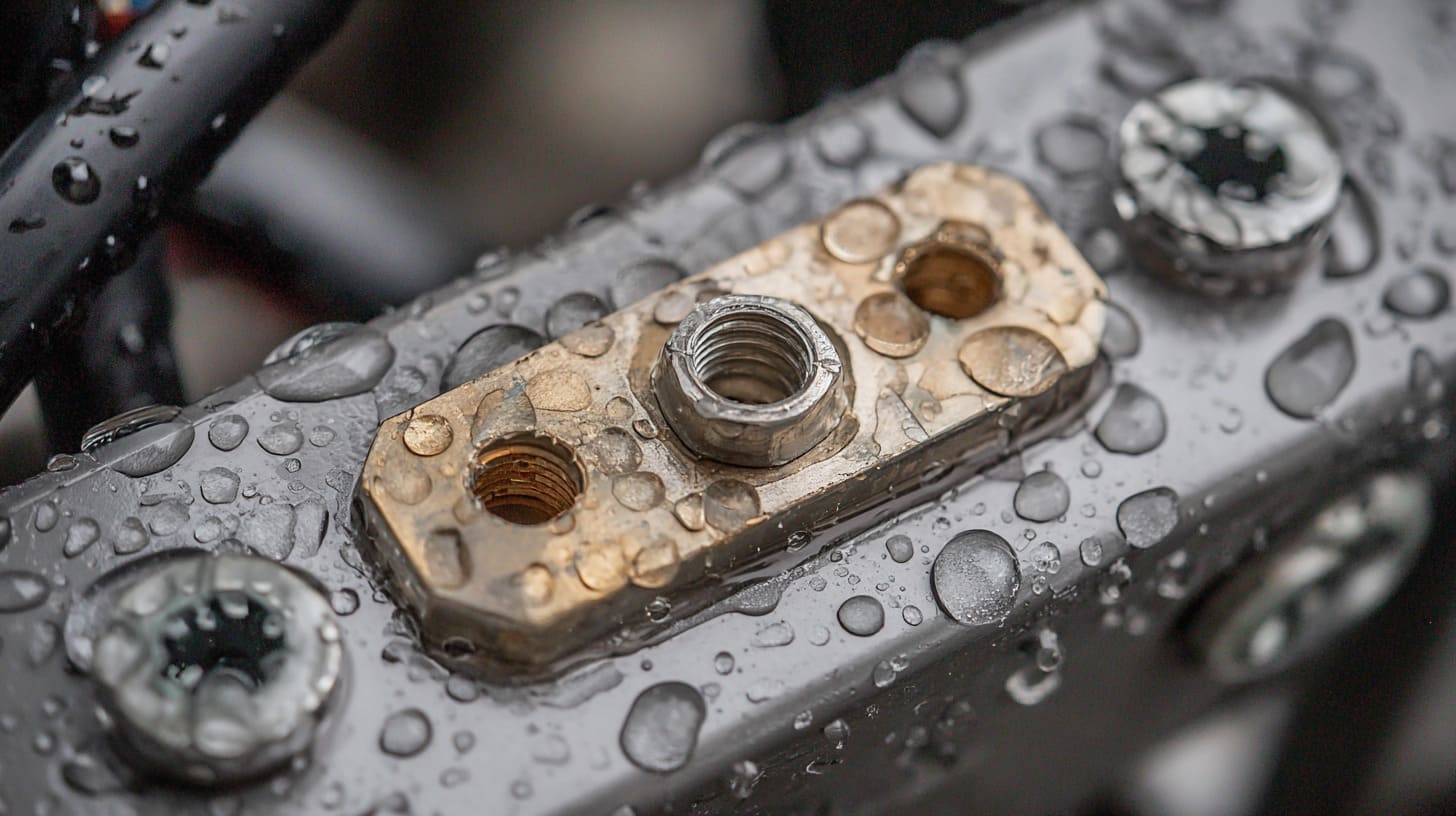
Cable entry points fail often because they break the enclosure wall by design. Every hole, gland, conduit, and fitting becomes a place where dust, water, oil, or stress can enter if the details are not handled well.
When I review a custom enclosure design, my eyes usually go to the cable entry area very early, because that small area often tells me whether the buyer is thinking like a designer or only like a buyer.
Top Cable Entry vs Bottom Cable Entry
Cable entry direction is not a small detail.
Top cable entry can be convenient. It may make wiring easier in some layouts. But it can also invite water or condensation to move toward the enclosure. If water runs along the cable, it may reach the gland area. If the gland is weak, water may enter.
Bottom cable entry is often safer for water behavior because gravity helps. Water tends to move downward and away. But bottom entry can collect dust or make installation harder in some machines.
There is no perfect answer for every project.
There is only a better answer for the real environment.
| Cable Entry Position | Advantage | Risk |
|---|---|---|
| Top entry | Easy for some layouts | Higher water migration risk |
| Bottom entry | Better for drainage behavior | May collect dust or be harder to access |
| Side entry | Flexible for machine wiring | Risk depends on cable stress and spray direction |
| Rear entry | Clean appearance | Harder inspection and maintenance |
If the area has water spray, condensation, or cleaning routines, I become careful with top entry. I do not say “never use it.” I say, “Show me the real site first.”
Flexible Conduits and Their Hidden Weaknesses
Flexible conduits are useful. They help when machines move, vibrate, or need easier routing. But flexible does not mean risk-free.
A conduit can pull on the gland.
A bend can add stress.
A vibration point can loosen over time.
A low-quality conduit can crack.
Many buyers look at the enclosure and forget the cable system around it. But the enclosure does not work alone. It works with glands, conduits, brackets, and human hands.
Flexible conduit problems often appear after months of operation:
- Cracks near bending points
- Loose connection threads
- Water trapped inside the conduit
- Cable stress near the gland
- Poor sealing where conduit meets fitting
- Vibration transfer into the enclosure wall
For equipment with movement, I like to check the full cable path. I do not only ask, “Where is the hole?” I ask, “How will the cable behave when the machine runs?”
That question feels small. It is not.
The Real Problem With “Temporary” Wiring
Temporary wiring is dangerous because it often becomes permanent.
Someone opens a hole for testing.
Someone removes a plug during commissioning.
Someone adds a temporary cable.
Someone says, “We will fix it later.”
Later becomes next month.
Next month becomes next year.
The enclosure keeps working, so nobody cares. But the protection level has already changed.
Temporary wiring can create:
| Temporary Shortcut | Long-Term Problem |
|---|---|
| Open unused hole | Dust and moisture entry |
| Loose temporary cable | Poor strain relief |
| Missing plug | Lost sealing performance |
| Unlabeled change | Future maintenance confusion |
| Quick tape sealing | Aging, peeling, leakage |
| Unplanned cable path | Stress and vibration damage |
I am not against field adjustment. Real projects need flexibility. But every temporary change needs a final decision. Either seal it properly, or redesign it properly.
A temporary hole does not care about your schedule. It only cares that it is open.
Once the cable entry is weak, other problems follow faster. And one of the biggest silent killers inside the enclosure is heat.
How Does Heat Build-Up Destroy Indoor Electrical Enclosures?
Heat build-up destroys indoor electrical enclosures by slowly damaging components, seals, wiring, and internal electronics. The failure may not happen in one day. It often happens through shortened lifespan, unstable operation, and repeated small faults.
The first thing I check in a dense enclosure layout is not always the outside size; I check whether the heat has a real escape path, because a compact box can look smart on the drawing and still cook the parts inside.
Why Indoor Factories Can Become Extremely Hot
People often connect heat with outdoor sunlight. But indoor factories can also become very hot.
A CNC workshop may have machines running all day.
A power equipment room may have poor airflow.
A production line may place enclosures near motors, drives, heaters, or control equipment.
A small cabinet may sit in a corner where air barely moves.
The room may be indoors. But the enclosure may still live inside a warm pocket.
I have seen buyers choose a smaller enclosure to save space and cost. I understand why. Smaller boxes look neat. Shipping can be easier. Material cost is lower.
But electronics need breathing room.
| Indoor Heat Source | How It Affects the Enclosure |
|---|---|
| Motors and drives | Adds nearby heat |
| Poor room ventilation | Traps warm air |
| High-density electronics | Raises internal temperature |
| Machine operation | Creates continuous heat load |
| Dust on vents | Reduces cooling |
| Small enclosure size | Less air volume inside |
Heat is patient. It does not need drama. It just needs time.
How Internal Heat Damages Components
Heat makes many parts age faster.
It can reduce the life of electronics. It can dry or weaken some gasket materials. It can affect adhesives, labels, terminals, cable insulation, and internal plastic parts. It can also create temperature swings that lead to condensation.
Many buyers think overheating means smoke or burned parts. Sometimes it does. But many heat failures are quieter.
The machine resets.
The sensor behaves strangely.
The power supply fails earlier.
The relay becomes unstable.
The customer blames the component.
But the real problem may be the thermal design.
Here is a simple table:
| Heat Effect | Possible Result |
|---|---|
| Higher internal temperature | Shorter electronic lifespan |
| Hot gasket area | Faster seal aging |
| Warm/cool cycles | Condensation risk |
| Overheated power supply | Unstable output |
| Cable insulation stress | Premature aging |
| Dust-covered vents | Lower cooling performance |
The enclosure does not only protect components from outside danger. It can also trap inside danger if the design is wrong.
Why Small Enclosures Often Overheat Faster
A small enclosure is attractive on paper.
It saves space.
It looks clean.
It may reduce material cost.
It may fit the machine better.
But when the internal layout becomes too tight, heat has nowhere to go. Components sit close together. Air movement becomes poor. Cables block airflow. Maintenance becomes difficult.
This is where a cheap saving can become expensive.
A small enclosure may work for a sample. But mass production and real operation are different. In a sample room, the box may run for a short test. In real use, it may run all day, every day.
I usually look at these points before accepting a smaller enclosure:
- Total heat from internal components
- Distance between heat sources
- Air space around power supplies
- Vent location
- Ambient temperature
- Maintenance access
- Future upgrade space
A tight box is like a crowded elevator. It may work for one minute. It does not feel good for a long ride.
Common Cooling Solutions
Cooling does not always mean adding a big air conditioner. The best solution depends on the environment, cost, protection level, and maintenance ability.
Common options include:
| Cooling Method | Good For | Main Concern |
|---|---|---|
| Larger enclosure size | Lower heat density | More space and cost |
| Ventilation fan | General heat removal | Dust and filter maintenance |
| Heat sink | Passive heat transfer | Needs good thermal path |
| Air conditioner | High heat load | Higher cost and maintenance |
| Breather vent | Pressure and moisture control | Must match protection needs |
| Layout redesign | Better airflow | Needs early planning |
For many OEM projects, I prefer solving heat early in the design stage. If we wait until the enclosure is already installed, cooling becomes more expensive and uglier.
And heat has one close friend that causes even more hidden trouble: condensation.
Why Does Condensation Cause So Many Hidden Failures?
Condensation causes hidden failures because moisture can form inside the enclosure even when no outside water enters. This moisture slowly attacks terminals, PCBs, screws, and metal surfaces.
A dry-looking enclosure can still hide moisture inside, so I never judge condensation risk only by whether the site has visible water.
Condensation Happens Even Indoors
Condensation is sneaky.
It does not need rain. It does not need a leaking roof. It only needs temperature difference and moisture in the air.
A factory may be warm during the day and cooler at night. Machines may shut down after work. The enclosure cools. Moist air inside reaches a point where it forms water droplets. The next morning, everything looks normal from the outside.
Inside, small droplets may already be doing their work.
Common indoor condensation triggers include:
- Humid factory air
- Night shutdowns
- Temperature swings
- Cold walls or floors
- Equipment near doors
- Poor airflow
- Warm components inside a sealed box
Condensation is like a quiet guest who never knocks.
How Moisture Slowly Damages Electronics
Moisture damage does not always happen fast. That is why it is hard to catch early.
Terminals may oxidize. Screws may rust. PCB surfaces may become contaminated. Small leakage currents may appear. Connectors may become unreliable.
A buyer may report that the equipment works sometimes and fails sometimes. That kind of fault is painful. It wastes time because it is not always easy to repeat.
| Moisture Contact Area | Possible Failure |
|---|---|
| Terminals | Oxidation, poor contact |
| PCB boards | Corrosion, leakage current |
| Screws and brackets | Rust, weak grounding |
| Cable ends | Insulation issues |
| Gasket area | Mold, aging, poor seal |
| Labels and adhesives | Peeling, unreadable marks |
Water does not need to flood the enclosure to cause trouble. A little moisture in the wrong place is enough.
Why Stainless Steel and Aluminum Behave Differently
Material choice matters when moisture is present.
Stainless steel usually gives stronger corrosion resistance in wet or cleaning-heavy areas. Aluminum is lighter and often easier for custom machining. It can also perform well with the right surface treatment, such as anodizing or powder coating. Carbon steel can be cost-effective, but it needs proper coating and may not be ideal in humid or corrosive areas.
There is no material that is best for everything.
| Material | Strength | Concern |
|---|---|---|
| Carbon steel | Cost-effective, strong | Coating damage can lead to rust |
| Aluminum | Light, good for machining, good heat behavior | Surface treatment matters |
| Stainless steel | Strong corrosion resistance | Higher cost, heavier, harder processing |
| Plastic | Lightweight, corrosion-free in some uses | Heat, UV, and chemical limits |
For indoor projects with moisture, I do not only ask, “Which material is cheaper?” I ask, “What happens when the coating is scratched, the gasket ages, or the cleaner touches the surface every week?”
That is the real question.
Practical Ways to Reduce Condensation
Condensation control needs design and maintenance together.
Useful methods include:
- Breather vents
- Small enclosure heaters
- Better airflow
- Correct mounting position
- Avoiding cold surfaces
- Using suitable gasket material
- Reducing unnecessary openings
- Checking humidity in the room
- Choosing corrosion-resistant hardware
Here is a practical view:
| Condensation Risk | Possible Action |
|---|---|
| Night temperature drop | Use heater or breather vent |
| High humidity | Improve ventilation or sealing plan |
| Cold wall mounting | Change position or add spacing |
| Sealed hot enclosure | Manage pressure and airflow |
| Regular washdown nearby | Improve material and gasket selection |
Condensation is not dramatic. But it is loyal. If the conditions are right, it keeps coming back.
The same thing happens with maintenance habits. Many failures do not come from one big mistake. They come from many small habits repeated over time.
How Do Maintenance Habits Accidentally Damage NEMA Enclosures?
Maintenance habits damage NEMA enclosures when workers open doors, remove screws, clean surfaces, adjust wiring, or replace parts without protecting the original sealing and mounting design.
The part many people miss is human behavior, because even a well-designed enclosure can lose protection if the maintenance team treats it like a simple storage box.
Doors Left Open During Maintenance
During maintenance, doors often stay open longer than planned.
A technician opens the enclosure. Then someone asks a question. A tool is missing. A phone rings. Another machine needs attention. The door stays open in a dusty, humid, or oily area.
This sounds ordinary. It is ordinary. That is why it is dangerous.
While the door is open, the enclosure is no longer protecting the components. Dust enters. Moisture enters. Metal particles may enter. Cleaning spray may reach the inside.
The enclosure rating does not help when the door is open.
Good maintenance habits include:
- Open the door only when needed
- Avoid opening during cleaning nearby
- Cover sensitive parts if work takes time
- Close the door fully after inspection
- Check that no cable blocks the seal
- Clean the gasket surface before closing
A five-minute habit can decide a five-year product life.
Gaskets Damaged by Repeated Opening
Gaskets are soft parts. They work by compression. They need clean surfaces and proper pressure.
Repeated opening can slowly damage them. So can dirt, oil, chemicals, wrong cleaning methods, and careless handling.
A gasket may look simple, but it is doing serious work. It is the soft handshake between the door and the enclosure body. If that handshake becomes weak, protection becomes weak too.
Common gasket problems include:
| Gasket Problem | Cause | Result |
|---|---|---|
| Compression fatigue | Long use, repeated closing | Weak sealing pressure |
| Cuts or tears | Tool damage, careless handling | Water or dust ingress |
| Chemical swelling | Wrong cleaner | Poor fit |
| Dirt on sealing surface | Dust or oil | Uneven seal |
| Hardening | Heat and aging | Cracking or leakage |
| Poor replacement | Wrong gasket type | Reduced protection |
I like to see gaskets treated as service parts, not permanent parts. They are not expensive compared with downtime.
Why Missing Screws and Loose Fasteners Matter
One missing screw can change door pressure.
One loose fastener can allow vibration.
One forgotten plug can become a dust inlet.
These are small details. But enclosures fail through small details.
In maintenance work, screws may be removed and not replaced. Fasteners may be tightened by feel. Some workers may think, “Three screws are enough.” Maybe the door still closes. Maybe it looks fine. But the gasket pressure is no longer the same.
| Small Maintenance Issue | Bigger Result |
|---|---|
| Missing screw | Uneven gasket compression |
| Loose hinge | Door alignment problem |
| Loose ground screw | Safety risk |
| Missing hole plug | Dust or water entry |
| Over-tightened screw | Deformed cover or gasket |
| Wrong replacement hardware | Corrosion or poor fit |
For buyers, this means the enclosure should be easy to maintain. If maintenance is too difficult, people take shortcuts. And shortcuts are where failures grow.
The Hidden Risk of Poor Cleaning Methods
Cleaning can protect equipment. It can also damage it.
Some factories use water spray. Some use high-pressure washing. Some use chemicals. Some use solvents. Some wipe surfaces with whatever is nearby.
For the wrong enclosure, cleaning is not cleaning. It is attack.
High-pressure water can push into weak seals. Chemicals can damage gaskets or coatings. Solvents can weaken plastic parts. Aggressive wiping can scratch labels, windows, or surface finishes.
A simple cleaning question can prevent many problems:
| Cleaning Condition | Buyer Should Check |
|---|---|
| Water spray | NEMA/IP protection level |
| High-pressure wash | Seal strength and door design |
| Chemical cleaners | Gasket and coating resistance |
| Oil removal solvents | Plastic and paint compatibility |
| Frequent cleaning | Hardware corrosion resistance |
| Food factory cleaning | Stainless steel and hygiene design |
I always prefer to know the cleaning method before choosing the enclosure material and gasket. If the customer says, “Only indoor,” but the workers wash the area every day, then “indoor” is not enough.
And this leads to another big question: why do some enclosure materials survive these conditions better than others?
Why Do Some Indoor Enclosure Materials Fail Faster Than Others?
Some indoor enclosure materials fail faster because they react differently to heat, moisture, chemicals, dust, vibration, impact, and cleaning methods. The right material depends on the real working environment, not only on the enclosure size or price.
When I help a buyer choose material, I try not to chase the strongest material first; I try to find the material that matches the actual abuse the enclosure will receive.
Carbon Steel vs Aluminum vs Stainless Steel
Metal enclosures are common in industrial projects. But each metal has a different personality.
Carbon steel is strong and cost-effective. It is widely used. With good coating, it can work well in many dry indoor areas. But if the coating is scratched or the environment is humid, rust can become a problem.
Aluminum is light and easy to machine. It is good for many custom enclosures, especially when buyers need CNC work, custom holes, and a clean appearance. Aluminum also has better heat behavior than many plastics. But surface treatment still matters.
Stainless steel is strong in wet, corrosive, or cleaning-heavy areas. It is often a better choice for food processing, chemical exposure, or frequent washdown areas. But it costs more. It is also heavier and harder to process.
| Material | Best Use | Main Risk | My Practical View |
|---|---|---|---|
| Carbon steel | Dry indoor control boxes | Rust if coating is damaged | Good for cost-sensitive dry areas |
| Aluminum | Custom OEM enclosures, lighter builds | Surface finish and corrosion details | Good balance for many custom projects |
| Stainless steel | Wet, food, chemical, washdown areas | Higher cost and processing difficulty | Worth it when corrosion risk is real |
| Sheet metal with coating | General industrial use | Coating damage | Good if environment is controlled |
The cheapest material is not always cheap after installation. If it fails early, the customer pays with service calls, downtime, and reputation.
Why Plastic Enclosures Sometimes Fail Indoors
Plastic enclosures can be very useful. They are lightweight. They do not rust. They can be cost-effective. They can work well for many electronic devices.
But plastic is not automatically safe indoors.
Heat can deform some plastics. Chemicals can attack certain materials. UV from windows or special lighting can age plastics over time. Mechanical impact can crack weak designs. Poor screw boss design can fail after repeated opening.
A plastic enclosure near a window may receive sunlight every day. A plastic box near a heat source may soften or age faster. A plastic enclosure in a workshop may face oil, coolant, or cleaning chemicals.
| Plastic Risk | What Can Happen |
|---|---|
| Heat | Deformation, softening, aging |
| UV exposure | Yellowing, brittleness |
| Chemicals | Cracking, swelling, surface damage |
| Impact | Broken corners or covers |
| Repeated screws | Damaged threads or bosses |
| Poor gasket design | Weak sealing |
Plastic is not bad. Bad matching is bad.
For a Raspberry Pi style case, small electronics box, or lightweight device enclosure, plastic may be a good solution. But for a hot power room or harsh workshop, I would check very carefully before choosing it.
Material Selection Based on Factory Conditions
Material selection should start from the site, not from the catalog.
A food processing area may need stainless steel.
A dry automation cabinet may use powder-coated steel.
A custom electronic device may use aluminum.
A small indoor sensor box may use plastic.
A dust-heavy workshop may need better sealing and easier maintenance.
Here is a simple decision table:
| Factory Condition | Better Material Direction | Reason |
|---|---|---|
| Dry indoor room | Carbon steel or aluminum | Cost and strength balance |
| Wet cleaning area | Stainless steel | Better corrosion resistance |
| Lightweight custom device | Aluminum or plastic | Easier handling and machining |
| High heat area | Aluminum or metal enclosure | Better heat management |
| Chemical exposure | Stainless steel or tested plastic | Chemical resistance matters |
| Dust-heavy workshop | Metal with good sealing | Durability and maintenance |
| Food processing | Stainless steel | Cleaning and corrosion needs |
The material is only one part of the answer. Finish, gasket, hardware, cable entry, and maintenance also matter.
A smart material choice is not about showing off. It is about avoiding regret.
Now the useful question is not “Why do enclosures fail?” The useful question is “How can buyers stop the failure before it starts?”
How Can Buyers Prevent Indoor NEMA Enclosure Failures Before They Start?
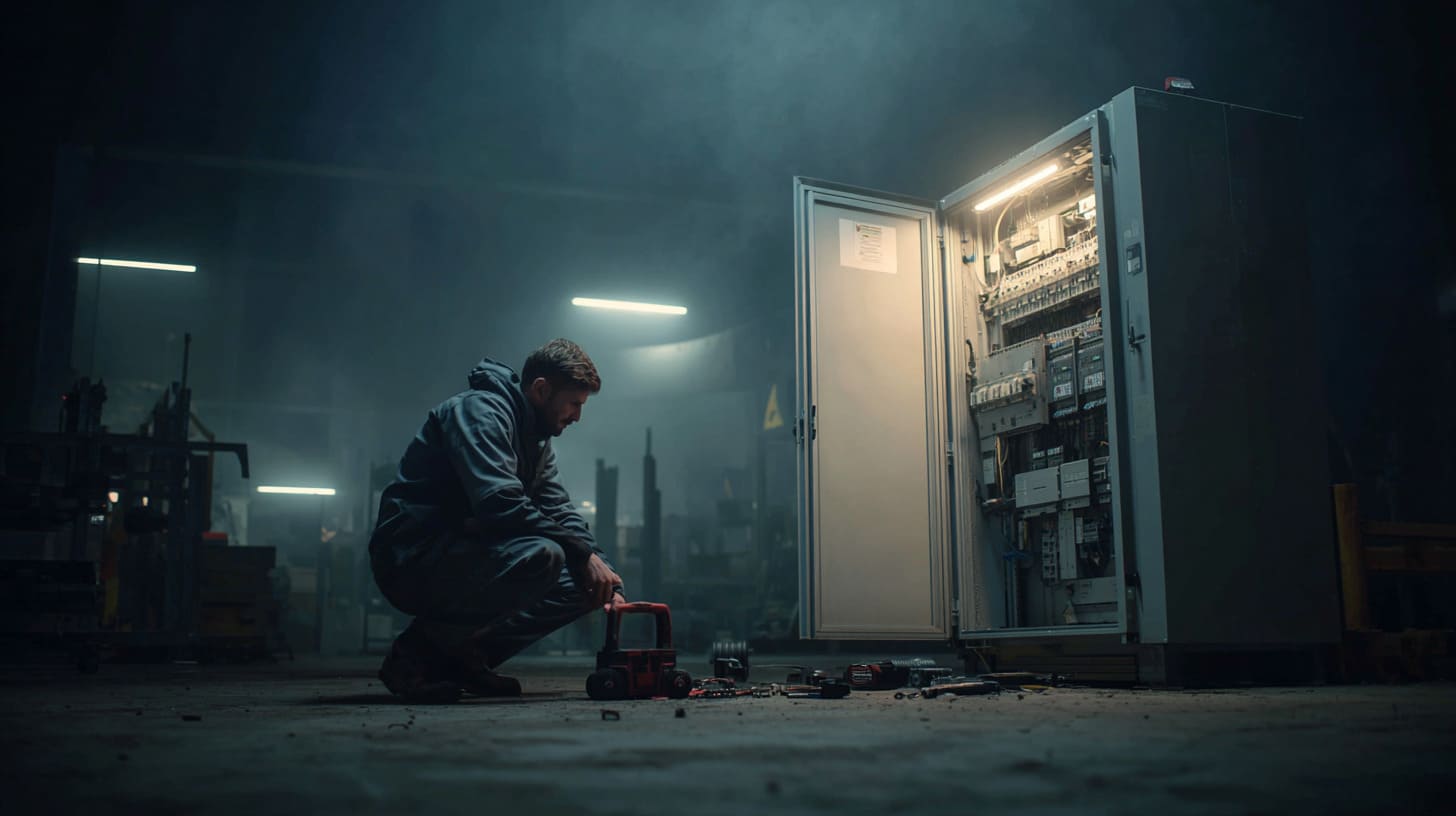
Buyers can prevent indoor NEMA enclosure failures by checking the real environment, asking better engineering questions, using proper customization, and planning maintenance before the enclosure is installed.
Before I quote a custom enclosure, I like to slow the conversation down a little, because a fast quote based on weak information can make everyone feel efficient today and disappointed later.
Evaluate the Real Environment, Not Just “Indoor”
The first step is simple. Do not only say “indoor.”
Describe the real environment.
I like to ask questions like:
- Is there dust?
- Is there oil mist?
- Is there coolant?
- Is there cleaning water?
- Are chemicals used nearby?
- Is the room hot?
- Is there vibration?
- Will the door be opened often?
- Are there night temperature changes?
- Will cables enter from the top, side, or bottom?
A better description leads to a better enclosure.
| Question | Why It Matters |
|---|---|
| Is moisture present? | Affects sealing, material, and condensation control |
| Is dust heavy? | Affects NEMA choice, gasket, and maintenance |
| Are chemicals used? | Affects coating, gasket, and plastic choice |
| Is heat high? | Affects enclosure size and cooling |
| Is vibration present? | Affects mounting, fasteners, and glands |
| Is cleaning frequent? | Affects material and seal design |
The word indoor is a starting point. It is not a specification.
Ask Suppliers the Right Engineering Questions
A good supplier should not only ask for size and quantity.
Size and quantity are important. But they are not enough.
For custom enclosures, buyers should ask questions about gasket material, cooling, cable management, mounting, corrosion resistance, coating, and future maintenance.
Useful supplier questions include:
| Question to Ask | What It Helps Prevent |
|---|---|
| What gasket material is suitable? | Seal aging, chemical damage |
| Can you pre-cut cable holes? | Bad field drilling |
| Can you install glands before shipping? | Installation mistakes |
| What surface finish is best? | Corrosion or cosmetic failure |
| Do we need vents or fans? | Heat build-up |
| Is the mounting design strong enough? | Vibration and deformation |
| Can we add logo or labels safely? | Branding without damaging function |
| Can the layout be adjusted? | Better wiring and heat control |
For OEM buyers, this matters a lot. The enclosure is not only protection. It is also part of the product image. If the enclosure fails, the final customer may blame the whole product, not only the box.
Why OEM Customization Helps Reduce Failure Risk
Customization is not only about logo printing.
Yes, logo and branding are important. Many of our customers need custom enclosures with their own brand. They sell to their local markets, Amazon stores, industrial customers, or project users. A good-looking enclosure helps their product feel complete.
But customization also helps reduce failure risk.
Factory-made custom cutouts are usually cleaner than field drilling. Pre-installed hardware can reduce installer mistakes. A redesigned internal layout can improve heat flow. Correct mounting holes can reduce stress. Better cable entry planning can improve sealing.
OEM customization can help with:
- Custom cutouts
- Logo printing or engraving
- Cable gland planning
- Mounting hole design
- Internal bracket design
- Heat sink or vent position
- Surface finish selection
- Custom packaging
- Better product matching
| Custom Option | Practical Benefit |
|---|---|
| Factory cutouts | Cleaner holes and better sealing |
| Pre-installed glands | Less installation error |
| Custom internal layout | Easier wiring and cooling |
| Logo engraving or printing | Better brand appearance |
| Custom brackets | Stronger mounting |
| Surface finish choice | Better corrosion and appearance |
| Custom packaging | Less shipping damage |
| Redesign support | Better fit for project board or device |
For customers like David or John, this is important. They are not buying a simple box from a shelf. They are trying to make their own product work better, look better, and ship on time.
A custom enclosure should help them reduce trouble, not create more emails at midnight.
Build a Long-Term Maintenance Plan
Many buyers think the job ends after installation.
I do not agree.
The enclosure begins its real work after installation. So maintenance needs to be part of the plan.
A basic maintenance plan should include:
- Check gasket condition
- Check screws and fasteners
- Check cable glands
- Check unused holes
- Clean sealing surfaces
- Inspect for corrosion
- Check dust inside the box
- Replace damaged seals
- Review cleaning methods
- Record field modifications
| Maintenance Item | Suggested Check |
|---|---|
| Gasket | Cracks, hardening, dirt, compression |
| Cable glands | Tightness, cable fit, washer condition |
| Screws | Missing, loose, corroded, over-tightened |
| Holes and plugs | Open holes, damaged plugs |
| Interior | Dust, moisture, metal shavings |
| Surface finish | Scratches, rust, chemical damage |
| Cooling parts | Fan, filter, vent, heat sink |
| Door alignment | Even closing and gasket pressure |
Maintenance is not exciting. But neither is downtime. I prefer boring maintenance over exciting failure.
A buyer who plans maintenance before installation usually has fewer surprises later.
And that is the whole point of this topic. We do not choose enclosures only to pass inspection. We choose them to survive real use.
Conclusion
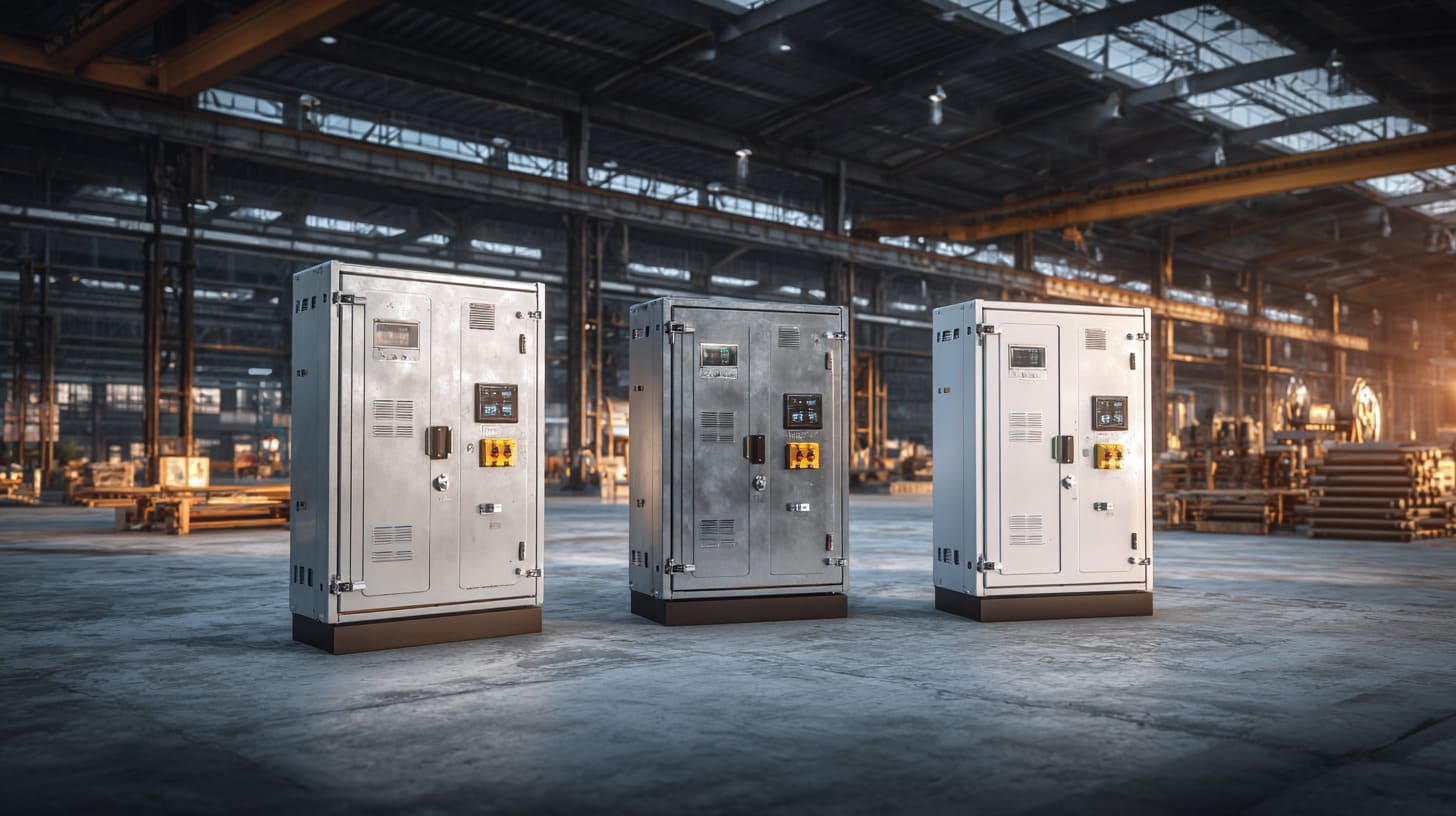
I believe most indoor NEMA enclosure failures start after installation because I have seen how real projects behave.
The enclosure may be good.
The material may be correct.
The drawing may be approved.
The sample may look perfect.
But after installation, the enclosure meets the real world.
It meets the installer who drills one more hole.
It meets the cable gland that is almost tight, but not tight enough.
It meets the wall that is not flat.
It meets heat from nearby equipment.
It meets condensation during night shutdown.
It meets cleaning water, oil mist, dust, vibration, and rushed maintenance.
That is why I do not treat “indoor use” as a complete answer. I treat it as the first question.
Indoor where?
Near what machine?
With what cable entry?
With what cleaning method?
With what heat source?
With what maintenance habit?
This is how I judge enclosure projects in real work. I do not only look at the box. I look at the life around the box.
A properly installed average enclosure often performs better than a poorly installed premium enclosure. That sentence may not sound fancy, but it is very true in factory work.
For buyers, product engineers, and OEM project owners, my suggestion is simple:
Do not wait until failure teaches the lesson.
Before you confirm the enclosure, check the installation details. Check the environment. Check cable entry. Check heat. Check condensation. Check maintenance habits. Ask your supplier real engineering questions, not only price and delivery questions.
At MaidaTech, we work with custom aluminum enclosures, plastic enclosures, sheet metal enclosures, Raspberry Pi cases, and OEM/ODM enclosure projects for customers in North America, Europe, Japan, South Korea, and other markets. We can support custom cutouts, logo printing or engraving, redesign, packaging, and factory production based on your project needs.
If you are developing a custom enclosure for your product, you can send us your drawing, board size, application environment, quantity, and branding requirements.
I would rather ask a few more questions before production than help you fix a painful problem after installation.







