 Skip to content
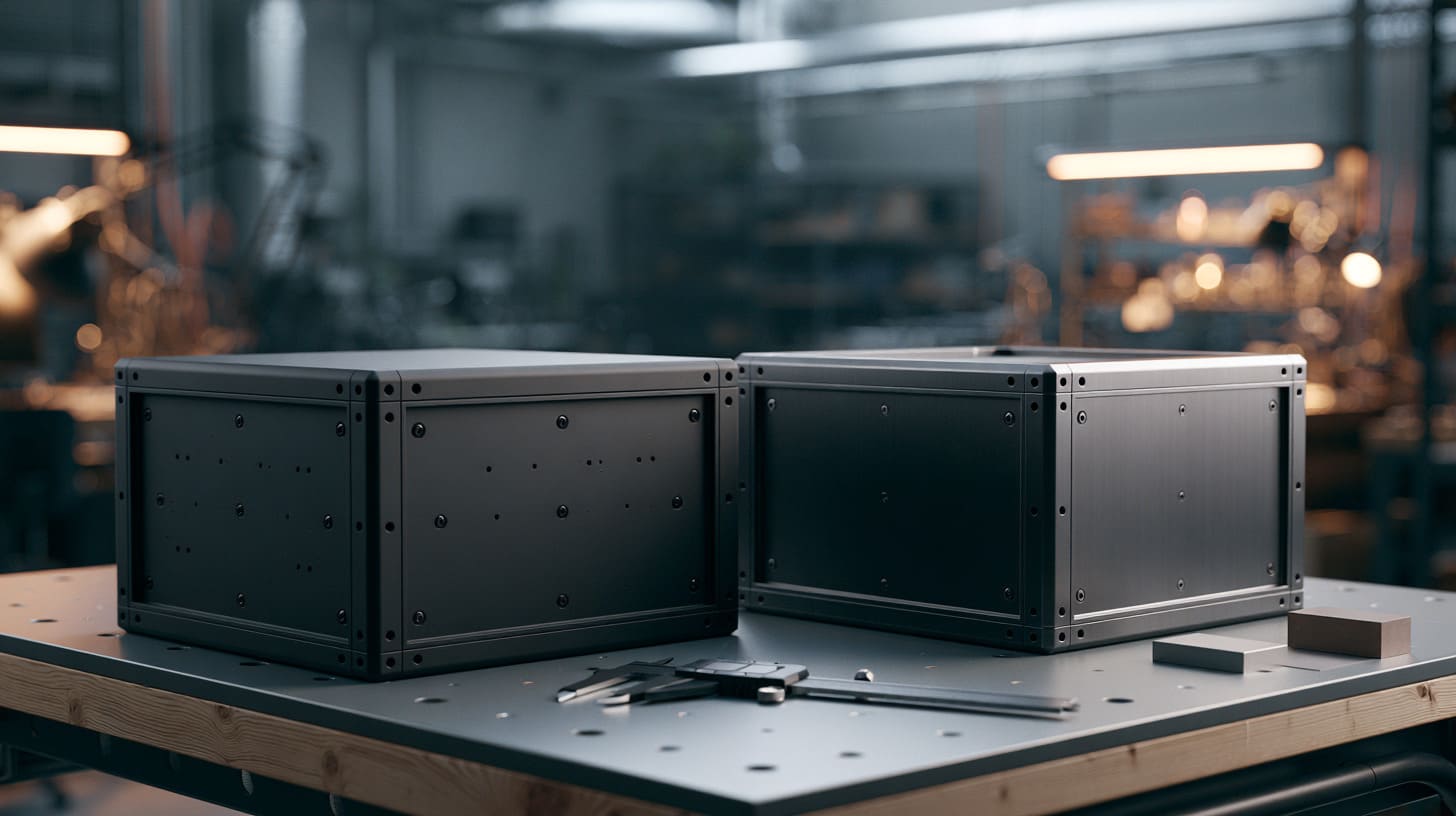
A buyer once sent me two finishing quotations for the same aluminum enclosure.
The powder coating price was lower. The anodizing price was higher.
The choice looked easy.
“Let us use powder coating,” he said. “It saves money.”
But the enclosure had several threaded holes, two grounding points, a sliding cover, and a narrow groove for a silicone gasket. After coating, the threads needed cleaning. The cover became difficult to slide. The grounding areas needed extra machining. Some parts had to be rejected because too much coating had built up around the groove.
The cheaper surface finish created the more expensive finished enclosure.
I see this problem often in OEM projects. Buyers compare the finishing price per piece, but they do not always compare the full cost of machining, masking, assembly, inspection, rework, and maintenance.
That is the real cost trap.
Powder coating and anodizing are both good finishing methods. I use both for custom enclosure projects. I do not believe that one process is always better than the other.
The right answer depends on several questions:
- What material is the enclosure made from?
- Will the product be used indoors or outdoors?
- Does the enclosure need electrical grounding?
- Are there tight-fitting parts?
- Does the customer need a metallic finish or a branded color?
- How many pieces will be produced?
- What happens if the finish gets scratched?
- How strict is the color requirement?
My judgment starts with the finished product, not the price line on the quotation. A finish that saves one dollar but creates three dollars of rework is not a saving.
In this article, I will explain where the hidden costs come from and how I compare powder coating with anodizing for real OEM enclosure projects.
The first step is simple: we need to understand what each finish actually does to the metal.
What Is the Real Difference Between Powder Coating and Anodizing?
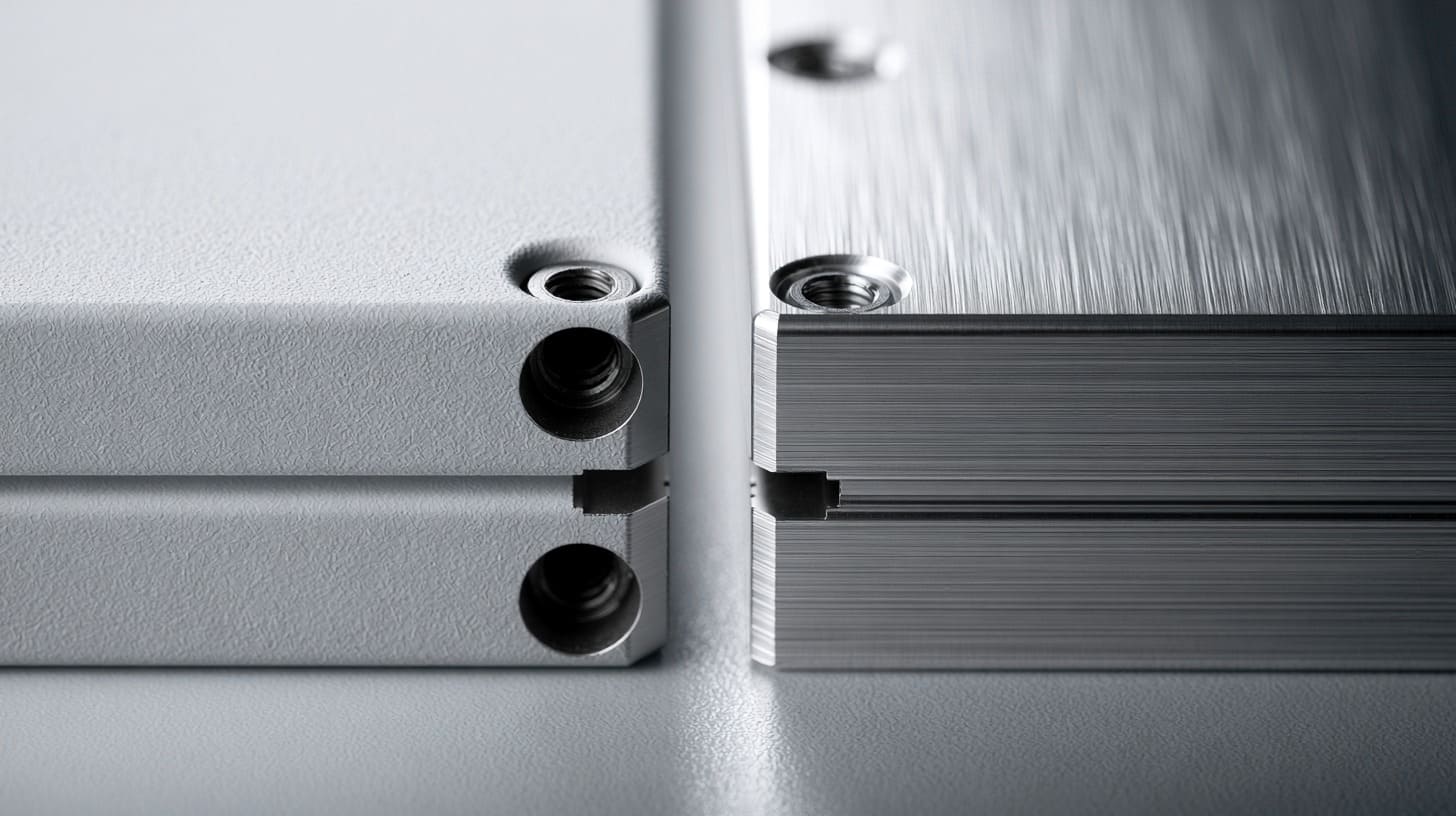
Many buyers treat powder coating and anodizing as two color options.
They are not.
They protect the metal in different ways. They also affect dimensions, appearance, electrical contact, repair, and long-term use in different ways.
When I review a drawing, I first ask whether the finish will sit on top of the metal or become part of the metal surface. That single difference can change the whole production plan.
Powder Coating Adds a Separate Protective Layer
Powder coating adds a dry powder layer to the surface of the metal.
The powder is usually applied with an electrostatic spray gun. The coated part then goes into an oven. Heat melts and cures the powder into a solid finish.
The result is a continuous coating over the metal.
This process gives buyers many choices:
- Standard and custom colors
- Matte, semi-gloss, and gloss finishes
- Smooth or textured surfaces
- Indoor and outdoor powder grades
- Different coating thicknesses
Powder coating can also cover small surface marks better than anodizing. This makes it useful for sheet metal enclosures, welded assemblies, outdoor cabinets, and branded equipment.
Still, the coating has physical thickness.
That thickness may sound small, but small changes matter when parts need to fit together.
| Area of the enclosure | Possible powder coating issue |
|---|---|
| Threaded holes | Screws may not enter smoothly |
| Sliding rails | Movement may become tight |
| Connector openings | Connectors may no longer fit correctly |
| Gasket grooves | Sealing pressure may change |
| Hinges | Coating may crack or interfere with movement |
| Grounding points | Electrical contact may be blocked |
| Panel joints | Gaps may become uneven |
| Heat-transfer surfaces | Thermal contact may be reduced |
A powder-coated part can look perfect and still fail during assembly.
For this reason, I never judge powder coating only by color and surface appearance. I also check every place where the enclosure touches, moves, seals, grounds, or transfers heat.
Anodizing Converts the Aluminum Surface
Anodizing works differently.
It uses an electrochemical process to grow a controlled oxide layer on the aluminum surface. The finish is not simply sprayed on top. It is formed from the aluminum itself.
This gives anodizing several useful qualities:
- It keeps the natural metallic look of aluminum.
- It does not peel like a separate paint layer.
- It offers good wear resistance.
- It usually preserves sharp details better than thick coatings.
- It works well on extruded and CNC-machined aluminum parts.
Common anodized colors include:
- Clear or natural
- Black
- Gray
- Gold
- Red
- Blue
However, anodizing is closely connected to the aluminum alloy and the original surface.
It does not hide defects well.
Machining marks may stay visible. Extrusion lines may become clearer. Welding areas may show a different shade. Two aluminum alloys can produce different colors, even when they go through the same anodizing tank.
| Factor | Effect on anodized appearance |
|---|---|
| Aluminum alloy | Can change shade and finish consistency |
| CNC cutting marks | May remain visible after anodizing |
| Extrusion quality | Lines may become more noticeable |
| Welding | Welded areas may anodize differently |
| Sandblasting | Creates a matte texture |
| Brushing | Creates directional lines |
| Polishing | Creates a brighter finish |
| Batch conditions | Can affect color from one run to another |
This is why anodizing requires more control before the finishing step.
I often tell buyers that anodizing is honest. It shows the quality of the aluminum and the quality of the surface preparation. That honesty can look premium, but it can also expose every weakness.
The technical difference is now clear. The financial mistake usually begins when the quotation arrives.
The Cost Trap: Comparing Only the Finishing Price
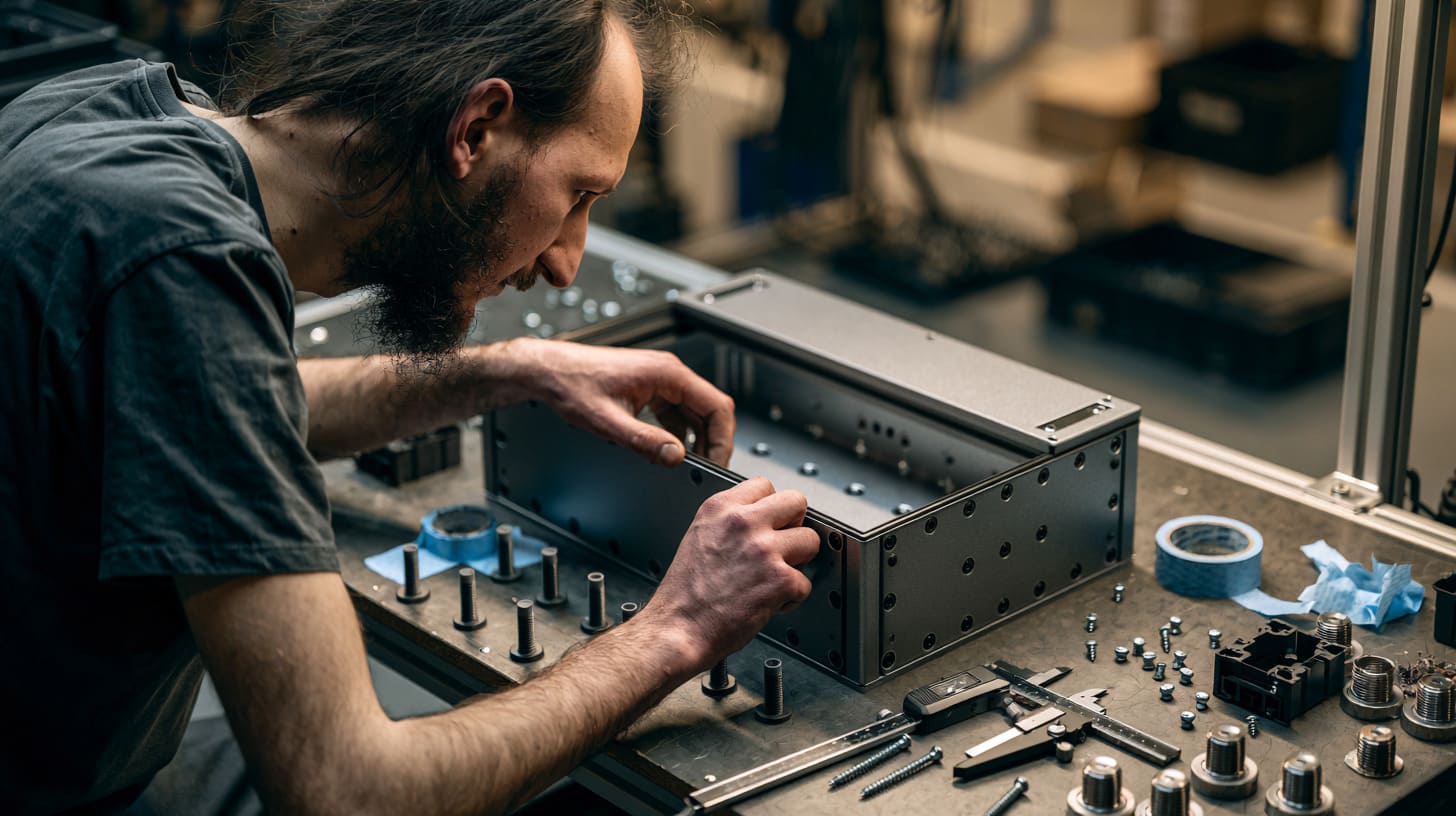
A quotation usually presents finishing as a simple line:
- Powder coating: USD X per piece
- Anodizing: USD Y per piece
This format encourages buyers to compare X and Y.
But that comparison is incomplete.
The more useful question is this:
What must happen before and after the finish so the part can pass inspection and assemble correctly?
This is where I slow down. A low finishing price catches my attention, but I become cautious when the quotation says nothing about masking, pretreatment, tolerance control, or surface acceptance.
A Lower Unit Price Can Create Higher Secondary Costs
Suppose powder coating saves USD 0.80 per enclosure.
That looks attractive on an order of 1,000 pieces. The expected saving is USD 800.
But now imagine the enclosure requires:
- Masking of six threaded holes
- Masking of two grounding points
- Plugging of four connector openings
- Extra inspection of a sliding panel
- Cleaning of threads after coating
- Rework on 5% of the parts
The original saving may disappear very quickly.
Here is a simplified example:
| Cost item | Powder coating | Anodizing |
|---|---|---|
| Basic finishing cost | $2.20 | $2.90 |
| Masking and plugging | $0.55 | $0.15 |
| Thread cleaning | $0.25 | $0.05 |
| Extra assembly labor | $0.20 | $0.05 |
| Average rework allowance | $0.35 | $0.10 |
| Estimated effective cost | $3.55 | $3.25 |
These numbers are only an example. Real pricing depends on the drawing, factory, quantity, location, and quality standard.
The point is not that anodizing is always cheaper. The point is that the finishing price is only one part of the cost.
Powder buildup can also force the engineer to modify the design.
A hole may need to be enlarged. A groove may need more clearance. A mating surface may need to stay uncoated. A heat sink contact area may need secondary machining.
Each small change adds time and risk.
Setup Charges Distort Small-Batch Comparisons
Low-volume orders create another trap.
A buyer may request:
- 2 prototypes
- 10 pilot units
- 50 first-production units
- 500 units after approval
The price per piece can change greatly at each stage.
Anodizing factories often have minimum tank or batch charges. A few small parts may still require a full process setup.
Powder coating has its own setup costs. A custom color may require:
- Purchasing a minimum amount of powder
- Cleaning the spray line
- Changing the powder in the equipment
- Producing test panels
- Adjusting curing conditions
- Cleaning the line again after production
For a large order, these costs are spread across many parts. For ten parts, they may dominate the quotation.
| Order stage | Common pricing problem |
|---|---|
| Prototype | Minimum process charge is divided by very few parts |
| Pilot run | Setup cost is still high compared with quantity |
| First production | Reject risk may be higher before standards are stable |
| Repeat production | Price becomes more predictable |
| Large production | Process efficiency usually improves |
I do not use a two-piece prototype price to predict a 5,000-piece production cost. I ask for separate pricing by production stage because the cost structure is different.
This becomes even more important with custom colors.
A standard black powder may be readily available. A special gray with a precise gloss level may require a new powder purchase and dedicated setup.
The same is true for anodizing. Standard black may be easier to schedule than a tightly controlled custom bronze or gray.
The quotation tells us the starting number. The next problem is what the powder coating process may hide inside that number.
Hidden Powder Coating Costs OEM Buyers Often Miss
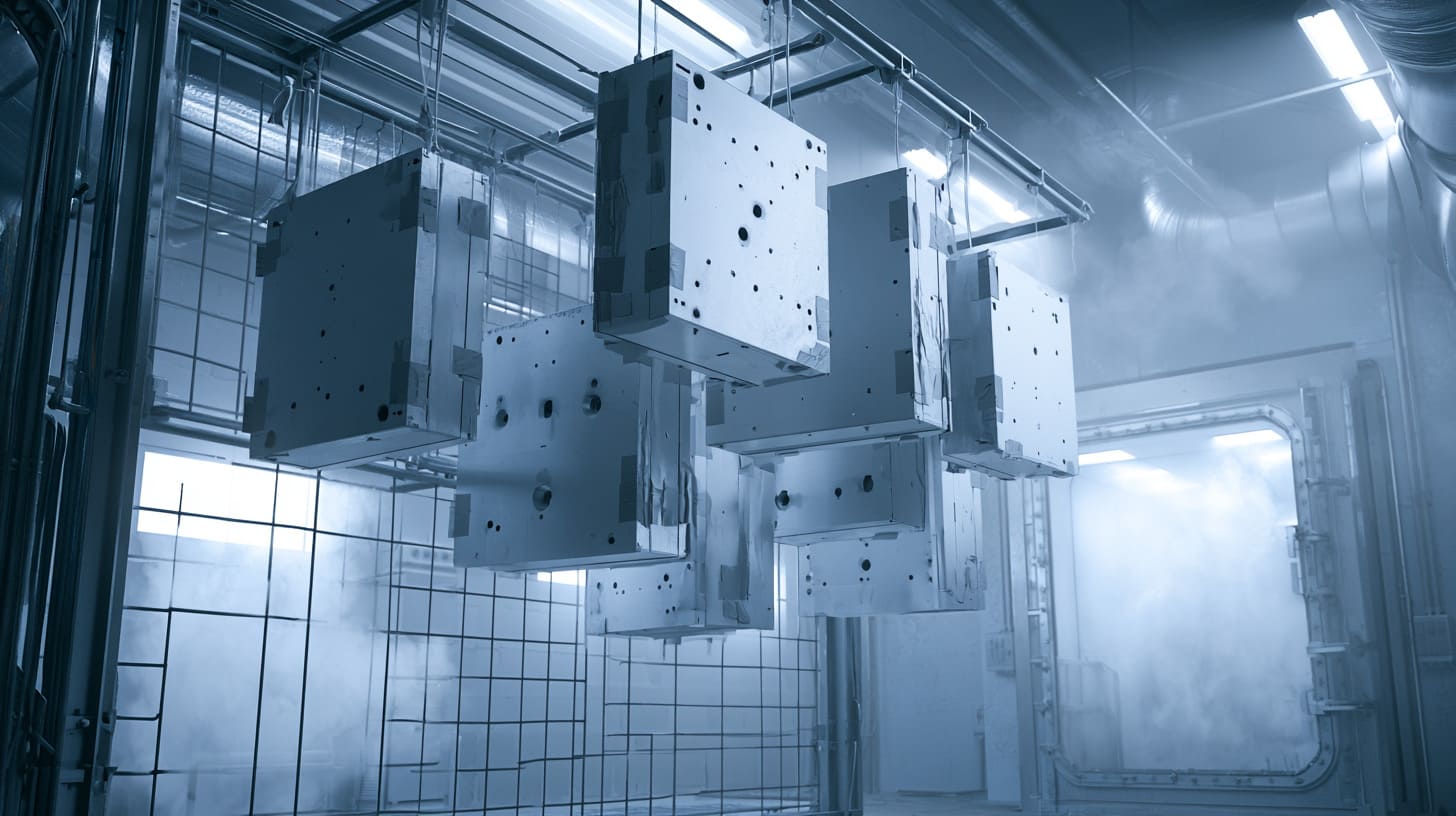
Powder coating can be a strong choice for custom enclosures. It offers good color control, broad material compatibility, and strong surface coverage.
But the visible coating is only the final layer.
The process underneath matters just as much.
This is where projects often fail quietly: the sample looks good, but the pretreatment, masking, or assembly clearance was never fully discussed.
Pretreatment Determines Long-Term Performance
Powder does not perform well on a poorly prepared surface.
Before coating, the factory normally needs to remove:
- Oil
- Dust
- Oxide
- Cutting fluid
- Fingerprints
- Welding residue
- Other contamination
The metal may also need a conversion treatment or another pretreatment system to improve adhesion and corrosion resistance.
This step is easy to overlook because buyers cannot see it in the finished product.
Two enclosures may look almost identical on the first day. After months outdoors, one may still look good while the other starts to blister or corrode under the coating.
| Application | Pretreatment concern |
|---|---|
| Indoor office device | Basic protection may be enough |
| Factory floor equipment | Oil, chemicals, and impact may matter |
| Outdoor control box | Moisture and UV resistance become important |
| Coastal installation | Salt exposure requires stronger protection |
| Transport equipment | Vibration, chips, and weather may combine |
| Food or medical area | Cleaning chemicals may affect the finish |
The cheapest quotation may include a basic cleaning process only.
That may be suitable for an indoor electronic box. It may not be suitable for a coastal telecom enclosure.
I judge pretreatment by the real environment, not by the product photo. A smooth surface on a sample tells me very little about how it will survive salt, moisture, or repeated cleaning.
Buyers should ask clear questions:
- What pretreatment is included?
- Is the powder suitable for indoor or outdoor use?
- What corrosion test is required?
- Is the base material aluminum, steel, or galvanized steel?
- Is the expected service environment dry, humid, coastal, or chemical?
- What powder brand and grade will be used?
These questions do not make the project complicated. They prevent the wrong finish from looking correct until it is too late.
Coating Thickness Can Create Assembly Problems
Powder coating thickness is not just a quality number. It is also a design input.
More thickness can improve coverage, but more is not always better.
A thick layer can create problems around:
- Threads
- Countersunk holes
- Sliding parts
- Hinges
- Connector cutouts
- Press-fit components
- Gasket grooves
- Heat sinks
- Electrical contact areas
Consider a two-part enclosure with a lid that slides into side rails.
The bare metal parts fit well before coating. Powder is then applied to both the lid and the rails. The total buildup now comes from two coated surfaces facing each other.
The lid may become tight even though each individual coating layer is within tolerance.
This is a common design mistake. The drawing controls the metal dimensions but does not define the finished dimensions.
| Design feature | Better planning method |
|---|---|
| Internal thread | Mask or use a thread plug |
| Grounding point | Mask and mark clearly on drawing |
| Sliding surface | Add finish allowance or leave uncoated |
| Connector opening | Confirm final coated dimensions |
| Gasket groove | Check compression after coating |
| Heat-transfer surface | Mask or machine after coating |
| Press-fit part | Control final opening size |
| Hinge area | Allow movement and bending stress |
Masking solves some of these issues, but masking is not free.
It requires plugs, tapes, fixtures, labor, removal, cleaning, and inspection. Complex masking can become a major part of the finishing cost.
Electrical performance is another concern.
Powder coating is normally non-conductive. If the enclosure needs grounding or EMI continuity, the contact points cannot simply be covered.
The engineer may need to specify:
- Bare grounding pads
- Masked screw positions
- Conductive gaskets
- Serrated washers
- Secondary machining
- Conductive conversion coating in selected areas
I have seen buyers focus on the outside color while the real product risk was hidden inside a small grounding point. That small uncoated circle can matter more than the whole visible surface.
Damage Can Become Expensive After Assembly
Powder coating can be durable, but it can still chip.
Damage often happens during:
- Transport
- Assembly
- Screw installation
- Installation at the customer site
- Contact with tools
- Repeated opening and closing
- Impact on corners and edges
Once the coating is damaged, the underlying metal may become exposed.
Touch-up paint can help, but local repair may not match the original:
- Color may look different.
- Gloss may look different.
- Texture may look different.
- The repaired area may be visible under certain light.
- Corrosion protection may not equal the original coating system.
Repair becomes even harder after electronics, seals, labels, or cables have been installed.
A fully assembled enclosure cannot always be returned to the coating oven. Heat may damage internal parts.
| Damage stage | Likely consequence |
|---|---|
| Before assembly | Part may be stripped and recoated |
| During assembly | Touch-up or replacement may be needed |
| After electronics installation | Recoating may require full disassembly |
| After delivery | Field repair may look inconsistent |
| Outdoor use | Exposed metal may begin corroding |
I usually pay extra attention to edges, corners, and screw areas because that is where a beautiful coating often meets real human behavior. People use tools, parts knock together, and installers work under pressure.
Packaging also matters.
A good coating can still arrive damaged if the parts rub against each other during shipping. Protective film, foam, separators, and individual bags may add cost, but they reduce scratches and chips.
Powder coating has real strengths. Anodizing has a different set of hidden costs that buyers also need to understand.
Hidden Anodizing Costs OEM Buyers Often Miss

Anodizing often gives aluminum enclosures a clean and premium appearance.
It works especially well for extruded cases, CNC-machined parts, front panels, heat sinks, and consumer electronics.
Still, anodizing is not a magic process that makes every aluminum part look perfect.
It often reveals more than it hides.
The detail I watch most closely is the unfinished aluminum sample. If the bare part already has inconsistent texture, scratches, welding marks, or mixed alloys, anodizing will not politely cover them.
Alloy and Surface Quality Affect the Final Appearance
Not every aluminum alloy anodizes in the same way.
The chemical composition affects:
- Color
- Brightness
- Texture
- Uniformity
- Response to dye
- Final cosmetic appearance
For example, an extruded 6063 aluminum profile may produce a different appearance from a CNC-machined 6061 panel.
If these two parts are assembled together, the customer may notice a color difference even when both are called “black anodized.”
Welded areas can create an even larger difference because the welding wire and heat-affected area may react differently.
| Surface condition | What anodizing may reveal |
|---|---|
| CNC tool marks | Lines may remain visible |
| Extrusion lines | Surface streaks may become clearer |
| Scratches | May stay visible after finishing |
| Welding marks | Shade may differ around welds |
| Mixed alloys | Parts may not match in color |
| Uneven polishing | Brightness may vary |
| Poor blasting | Texture may look patchy |
This is why cosmetic anodized parts often need controlled surface preparation.
Common options include:
- Sandblasting
- Bead blasting
- Brushing
- Polishing
- Chemical etching
- Mechanical deburring
Each step adds cost.
A buyer may receive an anodizing price that does not include the required cosmetic preparation. The price looks low, but the final finish may not meet the visual standard.
For premium products, the surface preparation can matter more than the anodizing color itself.
A satin gray enclosure, for example, may require:
- Careful CNC machining
- Fine deburring
- Controlled blasting
- Cleaning
- Anodizing
- Sealing
- Cosmetic inspection
- Protective packaging
Skipping one of these steps can change the appearance.
Color Consistency Can Increase Rejection Rates
Anodized color can vary between batches.
The difference may come from:
- Aluminum material lot
- Alloy composition
- Surface preparation
- Bath condition
- Processing time
- Temperature
- Dye concentration
- Part position
- Sealing process
For many industrial enclosures, a small color difference is acceptable.
For a premium consumer product, it may not be.
The buyer may compare the enclosure with:
- A plastic component
- A logo plate
- A display bezel
- A previous production batch
- A replacement part
- Another anodized aluminum component
This creates a more difficult color-control problem.
| Color requirement | Practical control method |
|---|---|
| General black | Standard factory reference may be enough |
| Premium black | Approve upper and lower shade limits |
| Custom gray | Use physical samples, not screen images |
| Multi-part assembly | Process matching parts together |
| Repeat orders | Keep material and process records |
| Replacement parts | Accept a controlled shade range |
I do not promise an exact anodized color based only on a Pantone number. Pantone is useful for communication, but anodized metal reflects light differently from printed paper or painted plastic.
Physical samples are much safer.
For strict cosmetic projects, I recommend creating:
- A target sample
- A light limit sample
- A dark limit sample
These samples give the factory and buyer a practical acceptance range.
Without a range, one person may approve a part while another person rejects the same part.
Color expectations need to be measurable.
Replacement parts are another issue.
A customer may order 1,000 enclosures now and 100 replacement covers a year later. Even with the same specification, the new batch may not match the old batch perfectly.
Before I accept a very tight anodizing color requirement, I ask how the product will be used and compared. A tiny shade change matters more on two panels placed side by side than on two machines installed in different buildings.
Electrical and Dimensional Requirements Need Planning
Anodized aluminum looks metallic, but the anodized oxide layer is electrically insulating.
This surprises some buyers.
If the enclosure needs reliable grounding, the engineer may need to create conductive contact areas.
Options include:
- Masking before anodizing
- Removing anodizing after finishing
- Machining contact points
- Using grounding washers
- Using conductive gaskets
- Applying conversion coating to selected areas
Each method has a cost and a risk.
Masking can be difficult on small or complex areas. Post-machining can leave visible bare aluminum. Grounding washers depend on assembly pressure. Conductive gaskets may add material cost.
Dimensional control also matters.
Standard anodizing is usually thin enough for many enclosure projects, but precision fits still need review. Hard anodizing is thicker and can have a greater effect on holes, grooves, and mating surfaces.
| Feature | Anodizing concern |
|---|---|
| Precision bore | Final size may change |
| Tight sliding fit | Friction and clearance need review |
| Thread | Fit may be affected in small threads |
| Grounding point | Oxide layer blocks conductivity |
| Thermal contact | Surface layer may affect interface |
| Press-fit component | Final dimensions need control |
| Cosmetic edge | Rack marks may need planning |
Rack marks are another small detail.
Anodizing requires electrical contact during processing. The factory must hold the part at one or more points. These contact points may leave small marks.
The drawing should define where rack marks are acceptable.
A buyer may inspect the front face carefully and ignore the hidden inside surface. That hidden surface is often the right place for the rack point.
I treat grounding areas, rack marks, and tight dimensions as drawing requirements, not as informal comments in an email. Small verbal instructions are easy to lose during production.
Now we can return to the question most buyers ask first: which process is actually cheaper?
Powder Coating vs Anodizing: Which One Is Actually Cheaper?
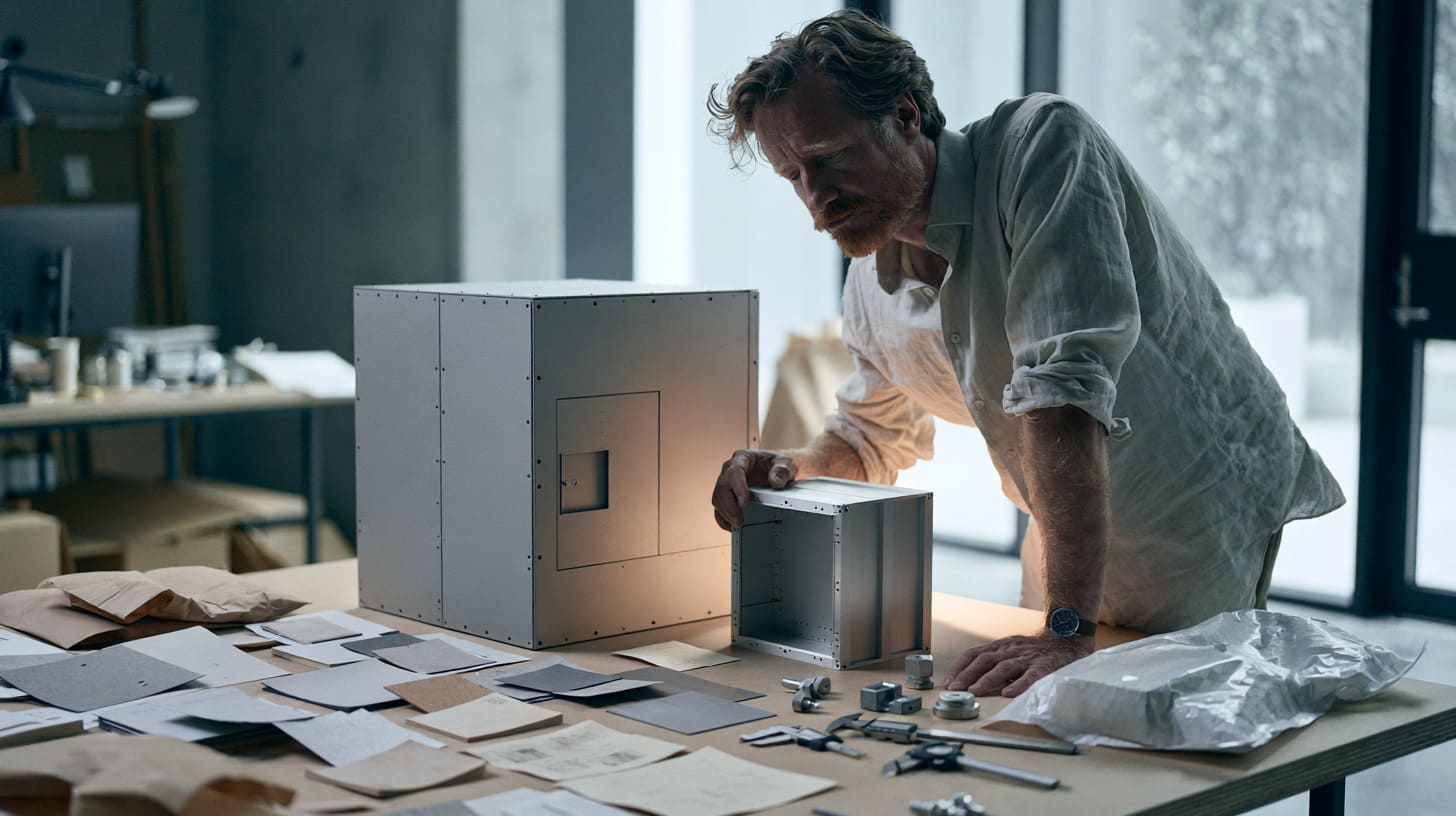
There is no honest answer without a drawing, quantity, material, and application.
Powder coating may be cheaper for one enclosure and more expensive for another.
Anodizing may be the lower-risk option for a CNC aluminum case but the wrong process for a welded steel cabinet.
I make this decision by matching the process to the product instead of forcing the product into the cheapest price category.
Powder Coating Is Usually Better When
I often prefer powder coating when the project needs strong visual branding or broad material coverage.
It is usually a good option when:
- The customer needs a specific brand color.
- The product uses sheet metal.
- The enclosure contains welded areas.
- Minor surface marks need to be hidden.
- The product requires a textured finish.
- The enclosure may use steel and aluminum parts.
- The design can allow for coating thickness.
- The masking requirements are simple.
Powder coating is especially practical for:
- Electrical cabinets
- Wall-mounted control boxes
- Sheet metal housings
- Outdoor equipment
- Machinery covers
- Industrial racks
- Battery enclosures
- Branded retail equipment
A textured powder finish can hide fingerprints and minor manufacturing marks. It may also give a large sheet metal enclosure a more uniform look.
The color choice is another major advantage.
A customer can match the enclosure with a brand system or product family more easily than with anodizing.
Still, custom color control has a cost. A special powder should be approved using a coated metal sample, not only a digital image.
Anodizing Is Usually Better When
I often prefer anodizing for aluminum products that need a clean metallic appearance.
It is usually a strong choice when:
- The product should look like aluminum.
- The enclosure uses extruded profiles.
- The design contains fine CNC details.
- The surface will face repeated handling.
- Peeling or chipping would be a major concern.
- The product needs a premium technical appearance.
- The assembly has tight-fitting parts.
- Heat dissipation matters.
- The order uses standard anodized colors.
Common examples include:
- Extruded aluminum electronics enclosures
- Audio equipment cases
- Instrument housings
- CNC front panels
- Heat sink enclosures
- Small desktop devices
- Raspberry Pi and embedded computer cases
- Premium consumer electronics
Black anodizing is popular because it offers a clean technical look.
Clear anodizing is useful when the customer wants to keep the natural aluminum appearance.
Hard anodizing may be suitable for parts that need stronger wear resistance, but it is not always necessary. It can add cost and may change dimensions more than standard anodizing.
I do not choose hard anodizing simply because it sounds more durable. I use it when the wear, friction, or service conditions justify the added cost.
Neither Process Is Cheapest in Every Situation
A standard black anodized extruded enclosure may be very economical at a suitable batch size.
A custom low-gloss powder color may cost more because of setup, powder purchase, and line cleaning.
In another project, a large welded sheet metal cabinet may be much cheaper to powder coat than to redesign in anodized aluminum.
The design controls the economics.
| Project condition | Likely cost advantage |
|---|---|
| Standard black extruded aluminum case | Often anodizing |
| Large welded sheet metal cabinet | Often powder coating |
| Very small custom-color batch | Depends heavily on setup charges |
| Tight sliding aluminum parts | Often anodizing |
| Mixed steel and aluminum assembly | Often powder coating |
| Premium metallic consumer product | Often anodizing |
| Outdoor branded equipment | Often powder coating |
| High cosmetic standard with poor raw surface | Depends on preparation cost |
Quantity also changes the answer.
At low volume, minimum charges have a strong effect. At high volume, process efficiency and reject rates become more important.
Supplier capability matters too.
A factory that controls extrusion, CNC machining, finishing, inspection, and assembly may reduce handling problems. A fragmented supply chain may create more variation and communication gaps.
The cheapest process on paper can become expensive when too many suppliers touch the part.
This is why the quotation itself needs closer inspection.
How OEM Buyers Should Compare Quotations
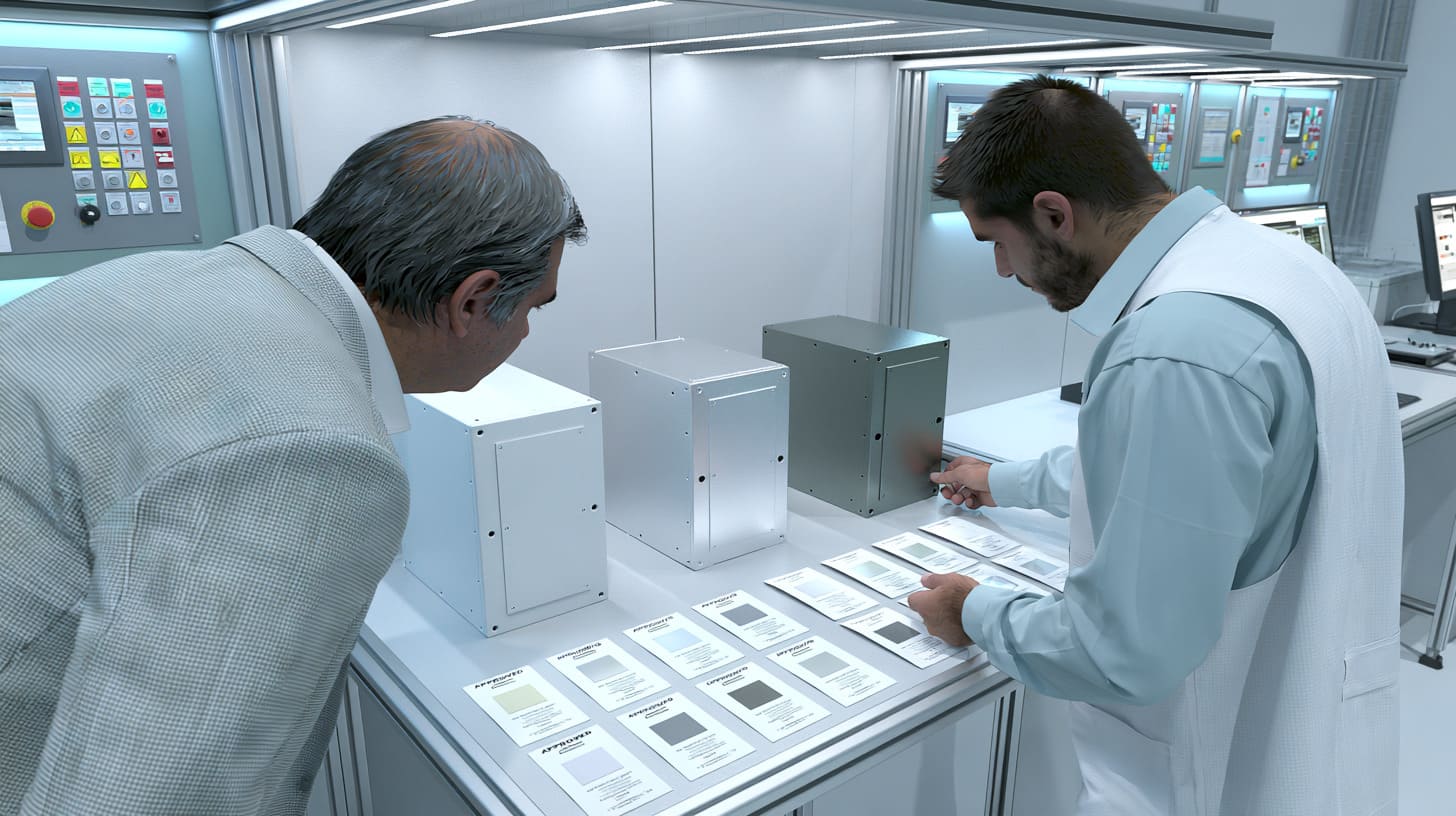
Two quotations are only comparable when they include the same work and the same quality standard.
A low price may exclude pretreatment. Another price may include masking, inspection, and protective packaging.
The totals look different because the scope is different.
When I compare quotations, I look for missing information before I look for price differences. Missing details are often where future arguments begin.
Request a Complete Finishing Specification
“Black powder coating” is not a complete specification.
“Black anodizing” is not a complete specification either.
A useful finishing specification should include the main technical and cosmetic requirements.
| Requirement | Questions to define |
|---|---|
| Finish type | Powder coating, standard anodizing, or hard anodizing? |
| Material | Which aluminum alloy or metal grade? |
| Thickness | What range is acceptable? |
| Surface preparation | Brushed, blasted, polished, etched, or as-machined? |
| Color | RAL, Pantone reference, sample, or approved limit range? |
| Gloss | Matte, semi-gloss, or gloss? |
| Texture | Smooth, fine texture, or coarse texture? |
| Masking | Which holes, threads, contacts, and surfaces stay uncoated? |
| Corrosion | What environment or test is required? |
| UV exposure | Indoor or outdoor grade? |
| Cosmetic area | Which surfaces are highly visible? |
| Defect standard | What scratches, marks, and shade variation are acceptable? |
| Packaging | How will parts be protected from rubbing and impact? |
The drawing should clearly mark:
- Cosmetic surfaces
- Hidden surfaces
- Grounding points
- Masked areas
- Threads
- Tight-fit dimensions
- Heat-transfer areas
- Acceptable rack-mark areas
This prevents production teams from guessing.
A phrase such as “good surface” is too subjective. A drawing, sample, and inspection standard are much stronger.
Compare Total Landed and Lifecycle Cost
The true cost continues after finishing.
I compare the full project cost, including:
- Raw material
- Machining
- Deburring
- Surface preparation
- Finishing
- Masking
- Inspection
- Rework
- Assembly
- Packaging
- Freight
- Damage risk
- Maintenance
- Replacement
A simple comparison table can help:
| Cost category | Powder coating question | Anodizing question |
|---|---|---|
| Setup | Is a custom powder change required? | Is there a minimum batch charge? |
| Surface preparation | What cleaning and conversion treatment are included? | Is blasting, brushing, or polishing included? |
| Masking | How many areas need plugs or tape? | Which grounding or cosmetic areas need masking? |
| Dimensions | Will coating buildup affect fit? | Will anodizing affect precision dimensions? |
| Appearance | Can the coating hide surface variation? | Will machining and alloy differences remain visible? |
| Repair | Can chips be repaired acceptably? | Can scratches be accepted or refinished? |
| Repeat orders | Is powder color still available? | Can future batches match the shade range? |
| Service life | Will the coating suit UV and corrosion exposure? | Will wear and appearance remain acceptable? |
Lifecycle cost matters most for equipment that stays in service for years.
A finish that looks good at delivery but fails after twelve months may damage more than the enclosure. It may damage the customer’s brand.
For some industrial equipment, appearance is less important than corrosion and maintenance.
For premium electronics, a small scratch or shade difference may trigger a rejection even when the enclosure still functions perfectly.
The correct cost model must reflect how the customer judges the product.
Approve Physical Samples Before Mass Production
Digital images are useful, but they are not enough for surface approval.
Screens change color. Lighting changes color. Camera settings change color.
A physical sample gives both sides a shared reference.
I recommend that samples use:
- The intended aluminum alloy
- The intended surface preparation
- The intended finish
- The intended thickness
- The intended production process
- The intended logo or marking method
A flat color chip may help, but a real enclosure sample is better because geometry affects appearance.
Curved surfaces, edges, grooves, and large flat panels can reflect light differently.
The sample should also be tested, not only admired.
| Sample check | What it reveals |
|---|---|
| Assembly test | Fit, movement, and screw access |
| Grounding test | Electrical continuity |
| Scratch test | Surface resistance |
| Adhesion test | Coating bond |
| Impact check | Chipping risk |
| Gasket compression | Sealing performance |
| Connector installation | Opening and coating allowance |
| Lighting comparison | Color and gloss variation |
| Packaging test | Transport damage risk |
The approved sample should be labeled and stored.
It can then become the reference for:
- Mass production
- Inspection
- Repeat orders
- Dispute resolution
- Supplier communication
My rule is simple: if appearance can cause rejection, appearance must be approved physically. Words such as “nice black,” “premium gray,” or “smooth finish” are not quality standards.
The final step is turning all these points into a practical decision process.
A Practical Decision Framework for Custom Enclosures
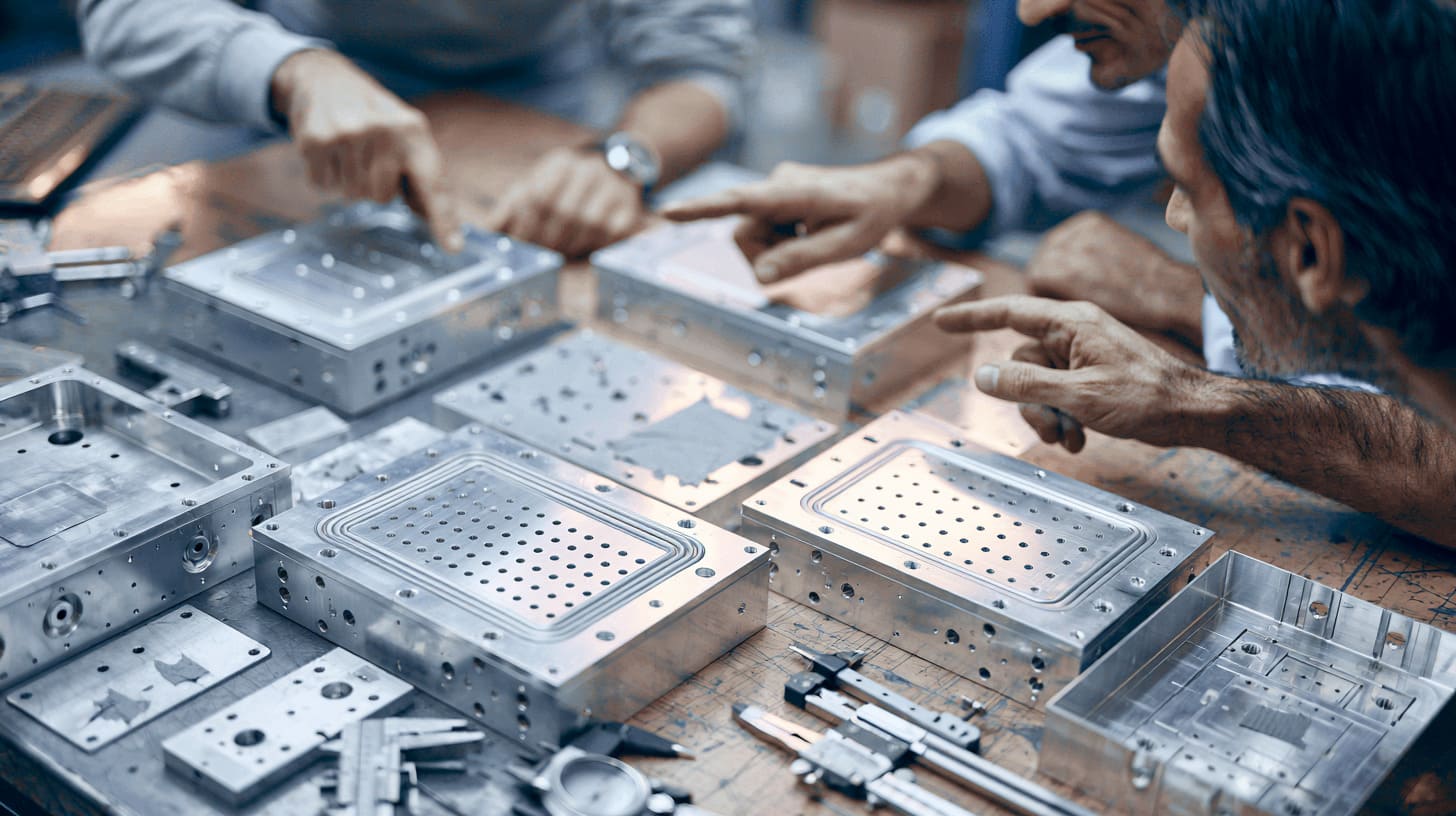
Buyers do not need to become surface-treatment engineers.
They need a clear way to ask the right questions before the drawing is frozen.
I use a practical sequence: function first, geometry second, appearance third, and price after that. Price still matters, but it only becomes useful after the technical risks are visible.
Choose by Product Function First
The enclosure exists to protect and support a product.
The finish should serve that job.
I begin with the use environment:
- Indoor or outdoor?
- Dry, humid, coastal, or chemical?
- Desktop, wall-mounted, rack-mounted, or mobile?
- Frequently handled or rarely touched?
- Consumer product or industrial equipment?
- Visible to the end user or hidden inside a cabinet?
- Grounded for safety or EMC?
- Exposed to scratches, tools, cleaners, or impact?
Then I review the product priorities.
| Main priority | Finishing direction to consider |
|---|---|
| Custom brand color | Powder coating |
| Metallic aluminum appearance | Anodizing |
| Mixed metal assembly | Powder coating |
| Fine CNC detail | Anodizing |
| Outdoor UV exposure | Outdoor-grade powder with proper pretreatment |
| Wear on aluminum surface | Anodizing or hard anodizing |
| Tight mating parts | Anodizing or controlled masking |
| Welded sheet metal appearance | Powder coating |
| Easy cosmetic coverage | Powder coating |
| No peeling risk | Anodizing |
These are directions, not fixed rules.
A metallic-looking powder exists. An anodized part can still be colored. A powder-coated aluminum enclosure can perform very well outdoors.
The project details always decide.
Calculate Cost at the Project Level
I divide the project into three stages:
- Prototype
- Pilot production
- Mass production
Each stage has a different purpose.
The prototype checks the design. The pilot run checks the process. Mass production checks repeatability and efficiency.
| Stage | Main goal | Cost focus |
|---|---|---|
| Prototype | Confirm appearance and fit | Setup and sample accuracy |
| Pilot run | Find process problems | Assembly, rejection, and control |
| Mass production | Maintain stable output | Unit cost and consistency |
I do not expect prototype pricing to equal mass-production pricing.
I also do not choose a process for 10,000 pieces based only on the easiest way to make two samples.
Sometimes CNC-machined and anodized prototypes are useful, while the final product may use die-cast aluminum with powder coating.
Sometimes powder-coated sheet metal prototypes help verify the layout, while the final product uses an extruded anodized enclosure.
The production method and finishing method must be planned together.
A useful project-level cost formula is:
Total project cost = part manufacturing + surface preparation + finishing + masking + inspection + rework + assembly impact + packaging + service risk
This formula is not complicated. It simply forces the buyer to see the full process.
Involve the Enclosure Manufacturer Early
Surface finishing should not be the last note added to a finished drawing.
The manufacturer should review the finish before final dimensions and tolerances are locked.
Early review can identify:
- Areas that need masking
- Dimensions that need finish allowance
- Surfaces that need blasting or brushing
- Grounding points
- Heat-transfer surfaces
- Rack-mark positions
- Possible color differences
- Difficult coating corners
- Water-trapping areas
- Packaging risks
A short engineering review can prevent expensive changes later.
For example, the manufacturer may recommend:
- Moving a grounding point to a hidden surface
- Increasing clearance in a sliding joint
- Changing a sharp edge to reduce coating weakness
- Processing matching anodized parts in the same batch
- Using a standard powder color instead of a custom color
- Masking a heat-transfer area
- Changing the aluminum alloy for better anodizing appearance
- Separating cosmetic and structural parts
The drawing should then capture these decisions.
I become concerned when a project reaches mass production while the finish is still described only in email messages. Important requirements belong on the drawing, sample approval sheet, and inspection standard.
A good enclosure manufacturer should not simply ask, “Powder coating or anodizing?”
The better questions are:
- What does the product need to survive?
- What should the customer see and feel?
- Where must parts fit, move, seal, ground, or transfer heat?
- What variation can the project accept?
- What volume will be produced?
- What will happen during assembly and field use?
That is how finishing becomes part of engineering instead of decoration.
Conclusion
I do not choose powder coating or anodizing by looking at one price line.
I have seen low finishing prices create high rework costs. I have also seen buyers pay for a premium finish that their application did not need.
That is why I start with function, geometry, assembly, and service environment.
I usually choose powder coating when the project needs strong color flexibility, full coverage, or a finish for sheet metal and welded structures.
I usually choose anodizing when the product needs a metallic aluminum appearance, good wear resistance, precise details, and a surface that will not peel.
But those are starting points, not automatic answers.
My final decision depends on the small details that often stay outside the quotation:
- Does the enclosure need grounding?
- Will two coated surfaces slide against each other?
- Can the customer accept color variation?
- Will the product face salt, UV, or cleaning chemicals?
- Can a damaged finish be repaired after assembly?
- Does the production quantity justify the setup cost?
- Will future replacement parts need to match?
I think this way because the customer does not buy a finishing process. The customer buys a finished enclosure that must assemble correctly, look right, survive its environment, and arrive on schedule.
The surface finish should support that result.
It should not force the buyer to pay for thread cleaning, failed assembly, rejected colors, damaged coatings, or redesign after production starts.
Before selecting powder coating or anodizing for your next enclosure, send the manufacturer the complete drawing, material, quantity, use environment, appearance requirement, grounding points, and critical tolerances.
If you are developing a custom aluminum, plastic, or sheet metal enclosure and need a practical finishing review, you can contact me at info@maidatech.com. My team at MaidaTech can review the design and help identify the finishing risks before they become production costs.







