 Skip to content
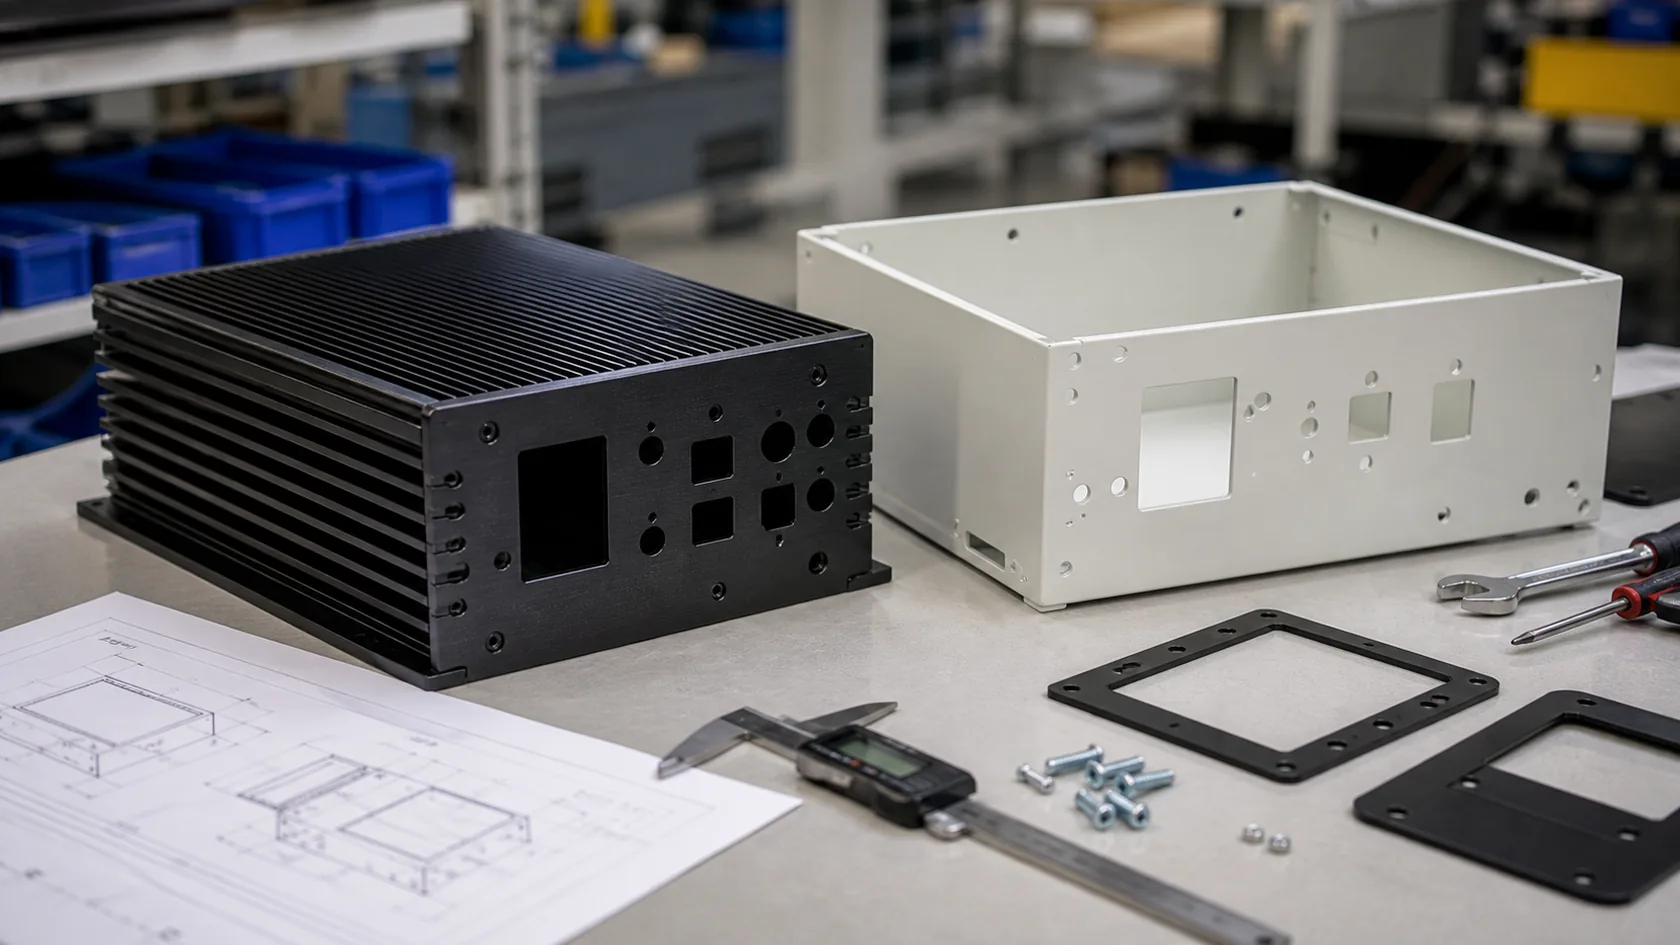
Many buyers compare powder coating and anodizing from the outside. They look at color, gloss, texture, and the sample photo. That is understandable. A product must look right before anyone wants to sell it.
But assembly is where the finish becomes honest.
A lid that fitted nicely before coating may suddenly feel tight. A screw may not enter a threaded hole. A grounding point may stop conducting. A gasket may not sit flat. A sliding cover may scrape. The buyer sees a surface finish problem, but the real cause often started in the drawing, not in the coating line.
In our factory, I have learned to treat surface finishing like a small engineering process. Powder coating and anodizing are both useful. I use both often for custom aluminum enclosures and sheet metal housings. The trouble begins when the finish is chosen only by appearance and the assembly points are left for the supplier to guess.
My first question is not "Do you want powder coating or anodizing?" My first question is "Where does this part touch another part?" That one question prevents a surprising number of expensive little disasters.
This article explains the hidden assembly problems most buyers ignore when comparing powder coating and anodizing.
The Difference Is Not Only Appearance
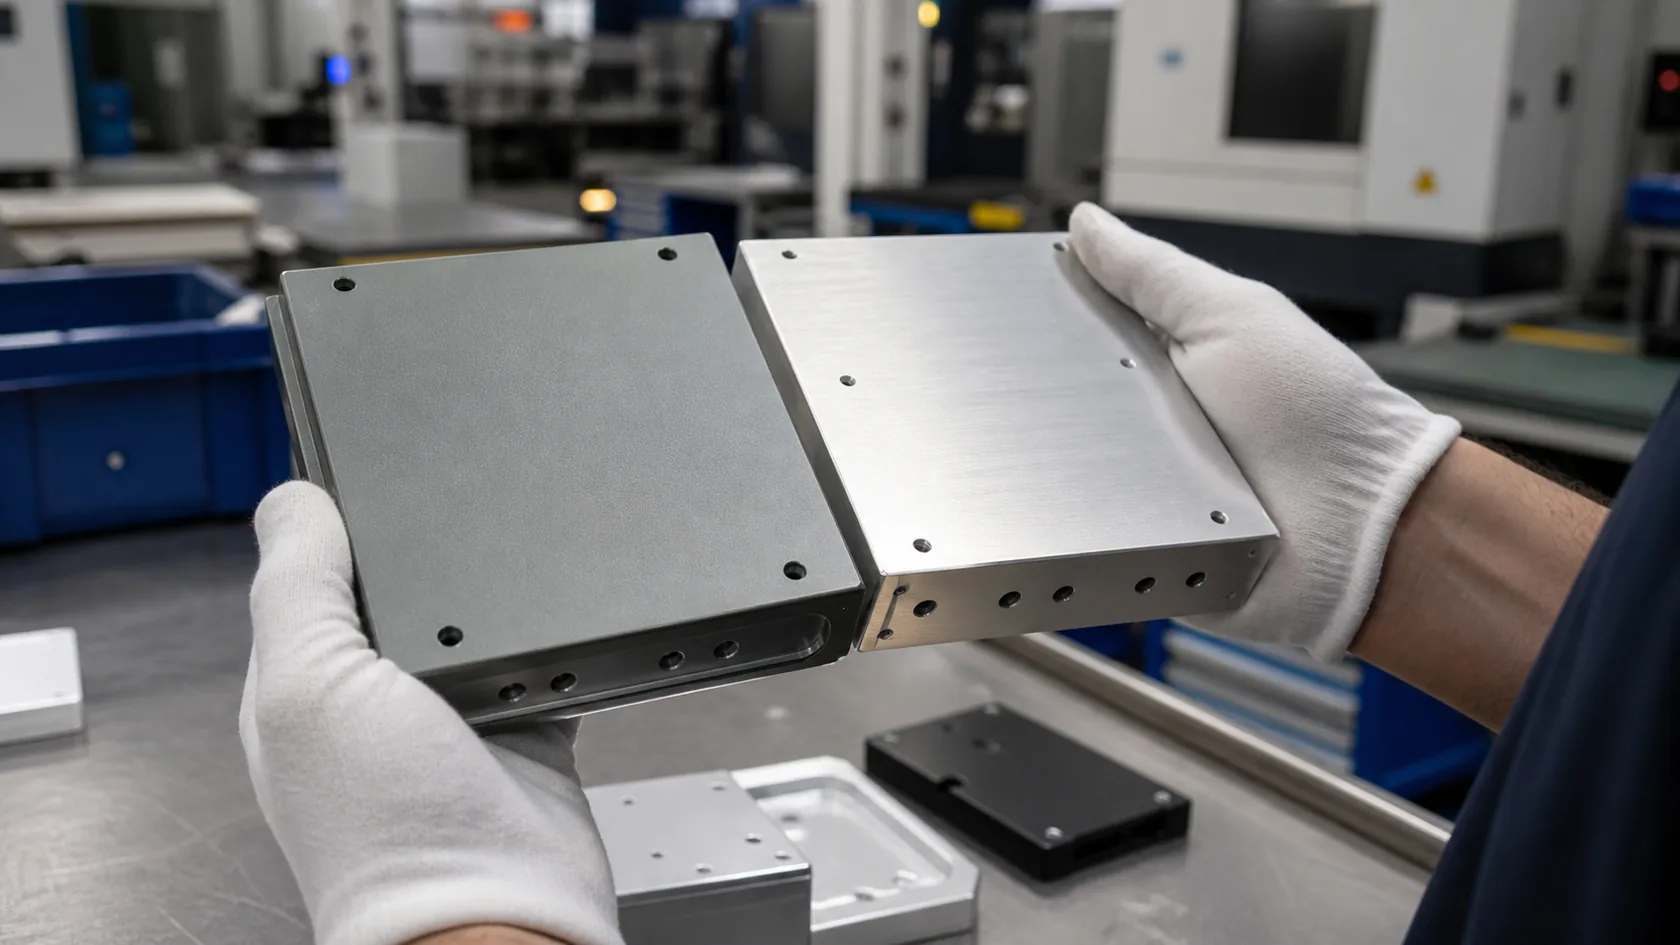
Powder coating and anodizing work in very different ways. That difference affects fit, touch points, masking, and quality control.
Powder coating adds a separate coating layer
Powder coating sprays dry powder onto the aluminum surface and cures it in an oven. The result is a relatively thick organic coating. It can give strong color coverage, good texture choices, and a durable finish for many enclosure projects.
Powder coating is often useful when buyers need:
- RAL colors or brand colors
- white, gray, black, or textured finishes
- better hiding of small sheet metal marks
- thicker visual coverage on outdoor enclosures
- a consistent painted appearance across aluminum and steel parts
But because powder coating adds a thicker layer, it can change the real size of holes, edges, slots, and mating faces.
Anodizing grows from the aluminum surface
Anodizing creates a controlled oxide layer on aluminum. It is not paint sitting on top in the same way. It keeps sharper edges and a more metallic look. It is common for CNC aluminum housings, extruded cases, front panels, and technical products.
The Aluminum Anodizers Council explains that anodized finish selection depends on alloy, mechanical finish, chemical preparation, oxide requirements, and final use. That is why anodizing should not be treated as just "black metal color."
Anodizing can be excellent for wear resistance and clean aluminum appearance, but it can still affect dimensions, color consistency, electrical contact, and sealing areas.
I judge these two finishes by how the product will be assembled, not by which sample looks more expensive under office light. Office light is polite. Screws and gaskets are not.
Once the process difference is clear, the next assembly issue is coating thickness.
Coating Thickness Changes Real Fit
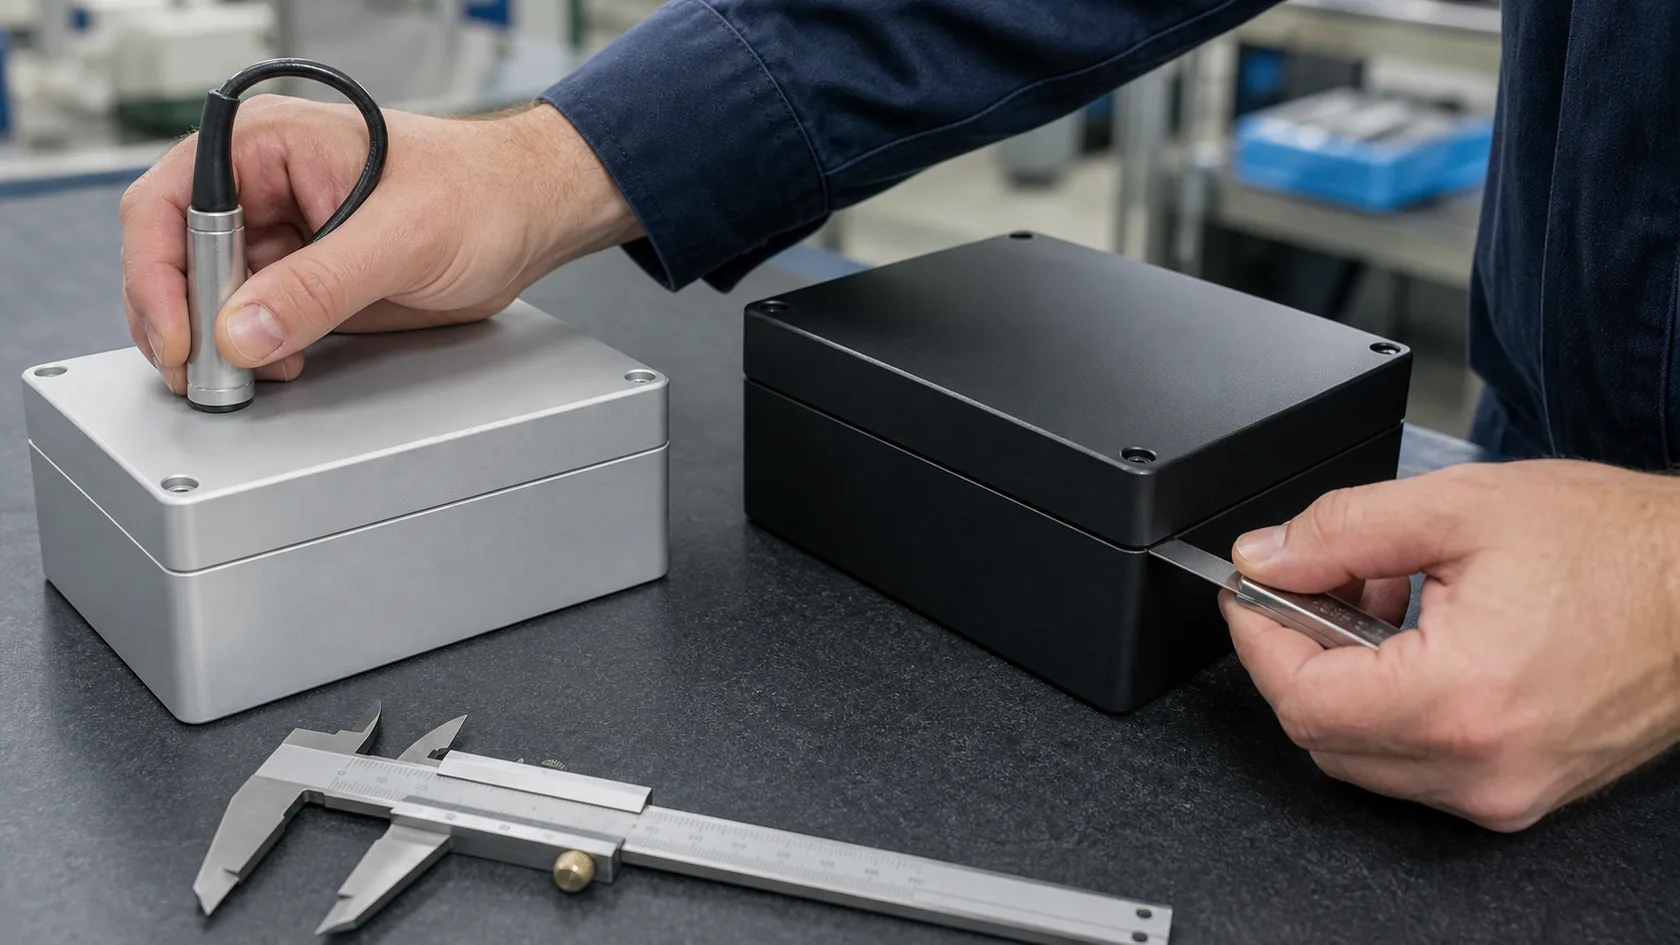
Coating thickness is one of the most common causes of assembly trouble. Buyers often think the finish is "thin," so it will not matter. Sometimes that is true. Sometimes it is exactly where the problem begins.
Powder coating can build up quickly
Powder coating is usually much thicker than decorative anodizing. The exact film thickness depends on powder type, surface preparation, spray control, part geometry, and customer specification. Corners, edges, slots, and recessed areas may not receive coating evenly.
This matters for:
- cover-to-base fits
- screw holes
- slots for PCBs
- snap-fit or slide-fit areas
- gasket grooves
- connector cutouts
- tight clearance between stacked parts
If a sheet metal enclosure has a lid that overlaps the base, coating on both parts can create a double-thickness problem. The drawing may show enough clearance before coating, but the finished parts tell a different story.
Anodizing is thinner, but not invisible
Standard anodizing is often thinner than powder coating, but it still changes the surface. Hardcoat anodizing can be thicker and more important for fit. Some of the oxide grows into the aluminum, and some builds outward, so tight dimensions should be reviewed before finishing.
Hardcoat anodizing is often connected with MIL-A-8625 anodic coating requirements. That type of finish can be useful for wear resistance, but the buyer should not apply it casually to all surfaces without checking tolerance.
Inspection should match the finish
For coating thickness measurement, standards such as ASTM D7091 are commonly referenced for dry film thickness measurement on coated metals. The practical point is simple: if coating thickness matters to assembly, it should be specified and checked, not guessed.
When I see tight enclosures, I ask for the final fit requirement after finishing, not only the raw metal size. A raw part that passes inspection can still fail after coating if the finish allowance is missing.
Thickness is only one piece. Threads and fasteners are where buyers notice the problem fastest.
Threads, Inserts, and Fasteners Create Trouble
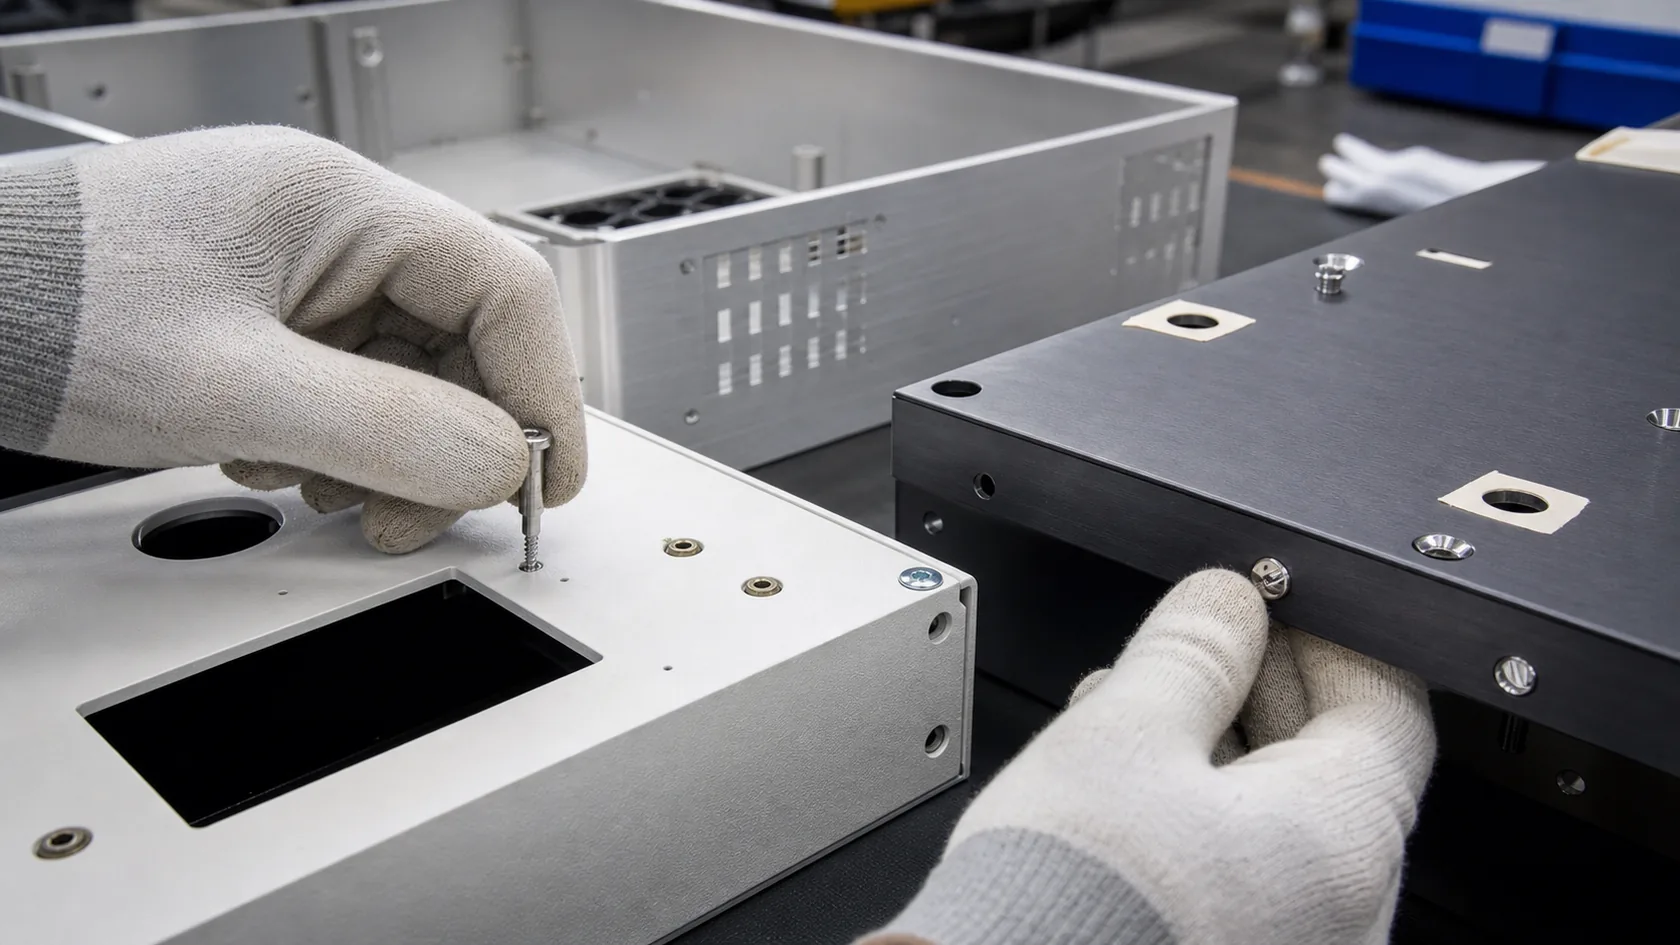
Threads look small on a drawing, but they can become a loud problem in assembly. A screw that does not enter smoothly can slow the production line, damage the finish, or create customer complaints.
Powder coating can fill or choke threaded areas
Powder coating can enter threaded holes, PEM inserts, countersinks, and small screw holes. If those areas are not masked, the screw may feel tight or may scrape coating during assembly. The operator may force the screw, and then the buyer gets chipped coating around the hole.
This is common on sheet metal enclosures with many M3, M4, or M5 holes. It is even worse when the buyer wants a thick textured coating. Texture looks nice, but it does not magically stay away from threads.
Anodizing can affect threaded fits too
Anodizing is thinner, but it can still affect threaded holes, especially with hardcoat anodizing or tight thread classes. Some buyers assume anodizing never needs masking. That is not safe. If the thread must remain exact, the drawing should say whether it is machined after anodizing, masked, chased, or accepted with the finish.
Fastener heads can damage the finish
The problem is not only inside the thread. Screw heads, washers, and standoffs press against the finish during assembly. Powder coating can chip if the screw head bites into it. Anodized surfaces can show circular marks if the fastener rotates directly on the visible surface.
For visible screws, I prefer to discuss washer choice, countersink control, torque, and whether the area under the screw head is cosmetic or functional. This small conversation is boring in a good way. Boring before production is much cheaper than drama after delivery.
After fasteners, the next hidden issue is electrical contact.
Grounding, EMI, and Contact Areas Are Easy to Miss
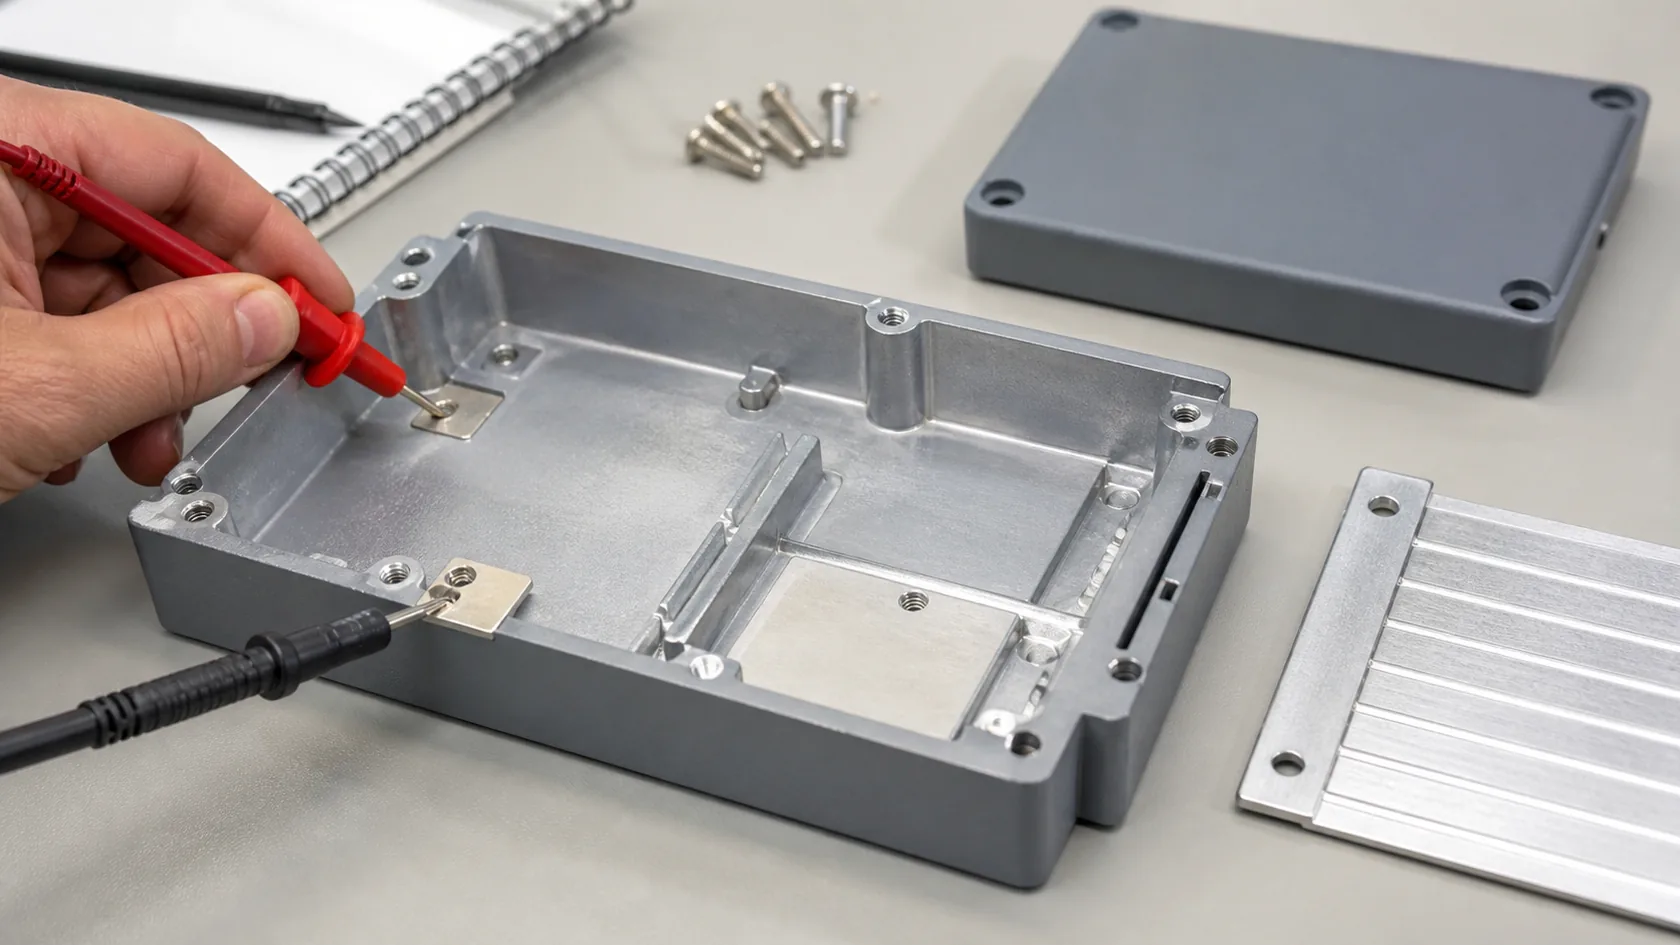
Many aluminum enclosures need electrical contact somewhere. The contact may be for grounding, EMI shielding, antenna performance, board mounting, or internal hardware. Surface finish can help the enclosure look better, but it can also insulate the exact place that needs to conduct.
Powder coating is usually an insulator
Powder coating covers the metal surface with an organic layer. That is usually good for corrosion protection and appearance, but bad for direct electrical contact. If a grounding screw lands on powder coating, it may not create reliable contact.
The solution is not complicated, but it must be planned:
- mask grounding pads
- use conductive hardware where suitable
- add serrated washers only when approved
- define bare metal contact zones
- verify resistance after finishing
- protect bare areas from corrosion risk
Anodizing also needs contact planning
Anodizing creates an oxide layer, so it can also reduce electrical conductivity at the surface. Clear anodizing may look like bare metal to the eye, but it is not the same as raw aluminum contact. This point surprises many buyers.
For projects with EMI or grounding requirements, I ask where the current must pass, not only what color the part should be. If that answer is unclear, the finish choice is not ready.
Conversion coating may be better for some contact areas
Some aluminum parts use chemical conversion coating where conductivity and corrosion resistance both matter. For example, ASTM B449 covers chromate conversion coatings on aluminum alloys for corrosion protection, paint base, and low electrical contact impedance.
In real enclosure work, we sometimes combine methods: powder coat the outside for appearance, mask the inside grounding areas, or use conversion coating before another finish. The best answer is often a controlled combination, not a beauty contest between two finishes.
Electrical contact is invisible in product photos, which is exactly why buyers should not ignore it.
Gaskets, Sealing Faces, and Sliding Parts Need Clear Rules
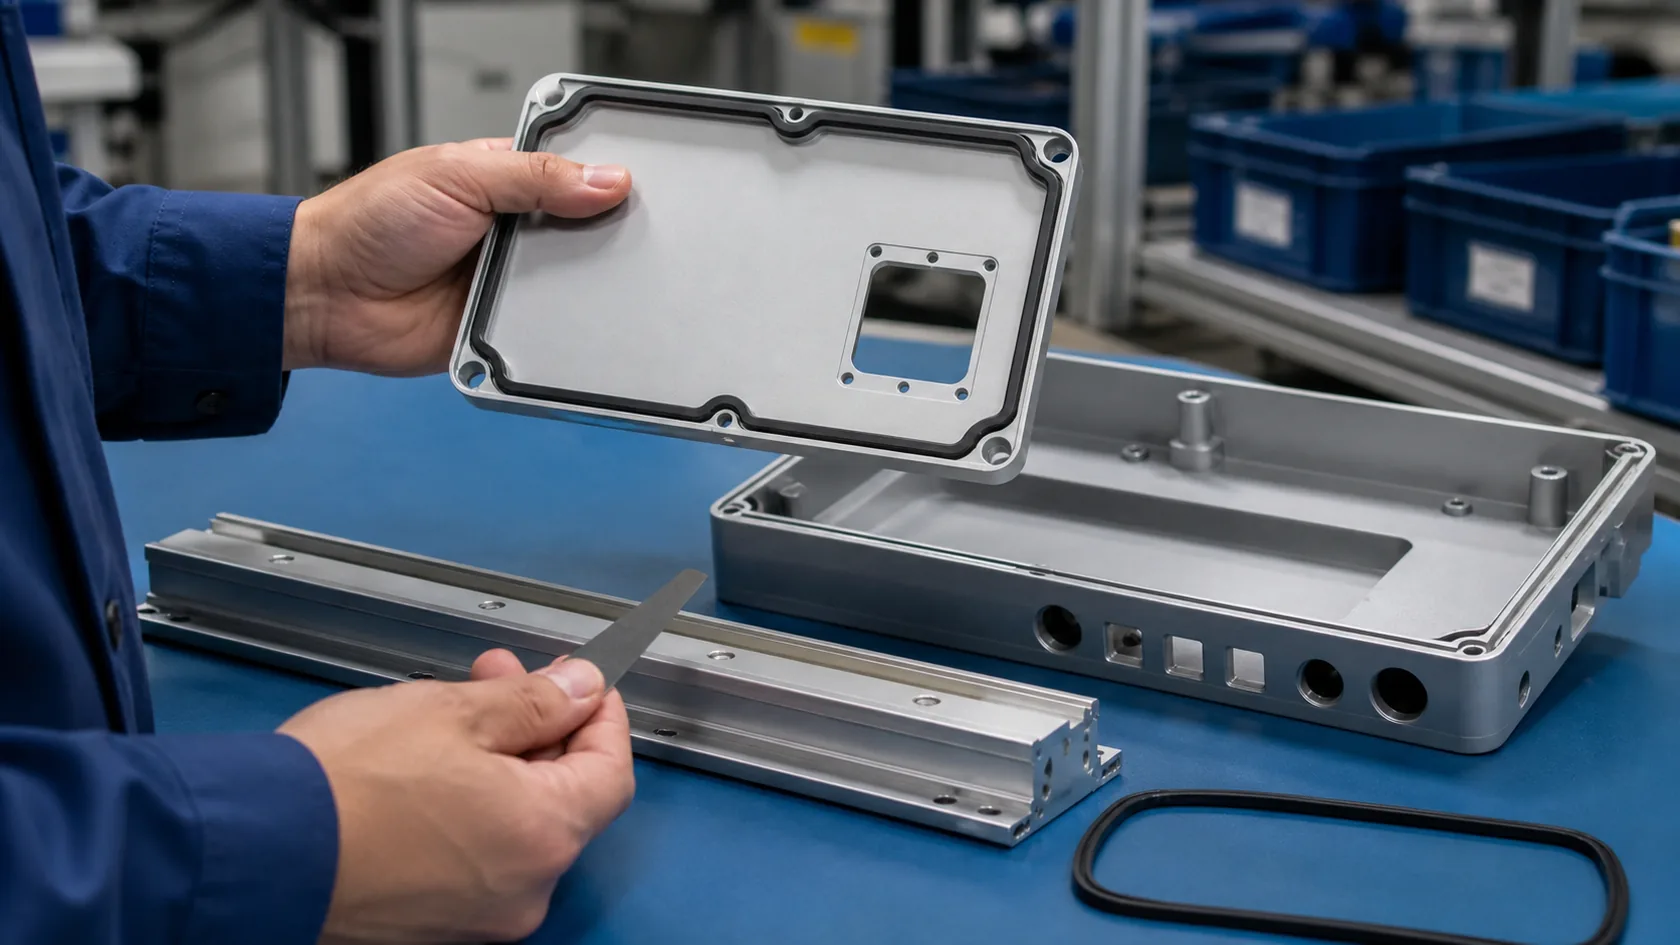
Sealing and sliding areas are another source of trouble. A surface finish can change how a gasket compresses, how a lid slides, or how two parts rub against each other.
Gasket surfaces must stay predictable
If an enclosure uses a gasket, the sealing face should be flat, clean, and controlled. Powder coating texture can change the way the gasket sits. Too much coating buildup near a groove can reduce compression space. Uneven coating on a flange can create small leak paths.
Anodizing usually keeps a thinner surface, but bead blasting or surface preparation before anodizing can still affect the sealing face. For higher sealing needs, the finish and gasket design should be reviewed together.
Sliding fits can scrape or bind
Some aluminum enclosures use sliding covers, rails, grooves, or removable panels. Powder coating can add friction and thickness. It can also scrape if the clearance is too tight. Anodizing is often better for sliding features, especially when the buyer wants a thin hard surface, but hardcoat thickness still needs design allowance.
Connector openings need final-size thinking
Connector cutouts are another quiet problem. USB, HDMI, cable glands, switches, screens, and rubber plugs all have fit limits. If the cutout is designed only from the raw metal drawing, finishing can make the final opening too small.
When I check these areas, I like to mark the "do not guess" zones on the drawing: gasket land, sliding rail, connector opening, hinge area, and latch area. Those zones decide whether the user feels quality or frustration.
The next topic is less glamorous, but just as important: masking and rack marks.
Masking, Rack Marks, and Finish Boundaries Must Be Drawn
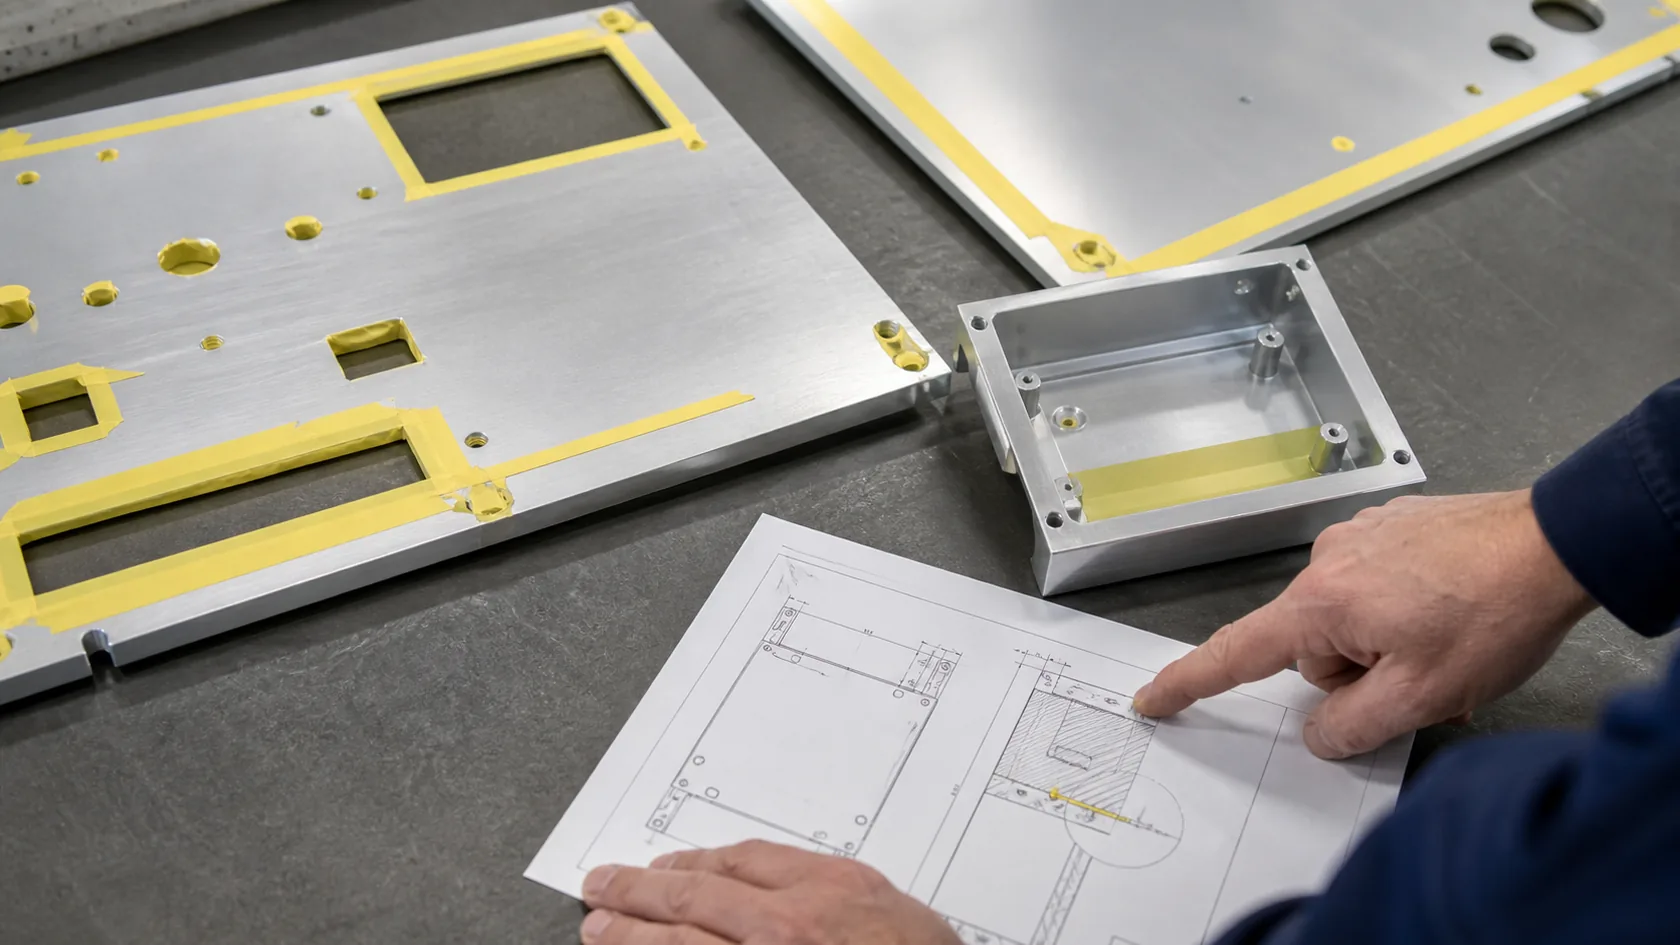
Every finishing process needs a way to hold the part. Every masking process needs a boundary. If the drawing does not define those areas, the supplier will choose a practical location. Sometimes that location is not where the buyer wanted it.
Masking is not only for threads
Masking may be needed for:
- threaded holes
- grounding pads
- gasket surfaces
- bearing or sliding areas
- logo zones
- connector faces
- press-fit insert areas
- mating flanges
Powder coating masking is often more visible because the coating is thicker. Anodizing masking can also leave boundary marks. Both need approval when cosmetic surfaces are involved.
Rack marks are normal, but location matters
Parts must be hung, clamped, or contacted during finishing. That can leave small rack marks, hook marks, or contact points. A rack mark on an inside hidden face may be acceptable. A rack mark on the front panel of a premium device is not a good surprise.
The QUALICOAT specifications show how coating quality depends on process control, pretreatment, coating application, and inspection. Even if your enclosure does not require QUALICOAT certification, this thinking helps: quality is not only color, but also process control.
Finish boundaries should be part of the drawing
If one area must be bare and another must be coated, the drawing should show the boundary clearly. If a color break line must align with a bend, flange, or front edge, write it down. A photo note is helpful, but a drawing note is safer.
I do not like relying on memory for finish boundaries. Memory is a charming human feature, but it is a weak production control system.
Once these hidden areas are defined, the buyer can compare powder coating and anodizing much more fairly.
How to Choose Before Production
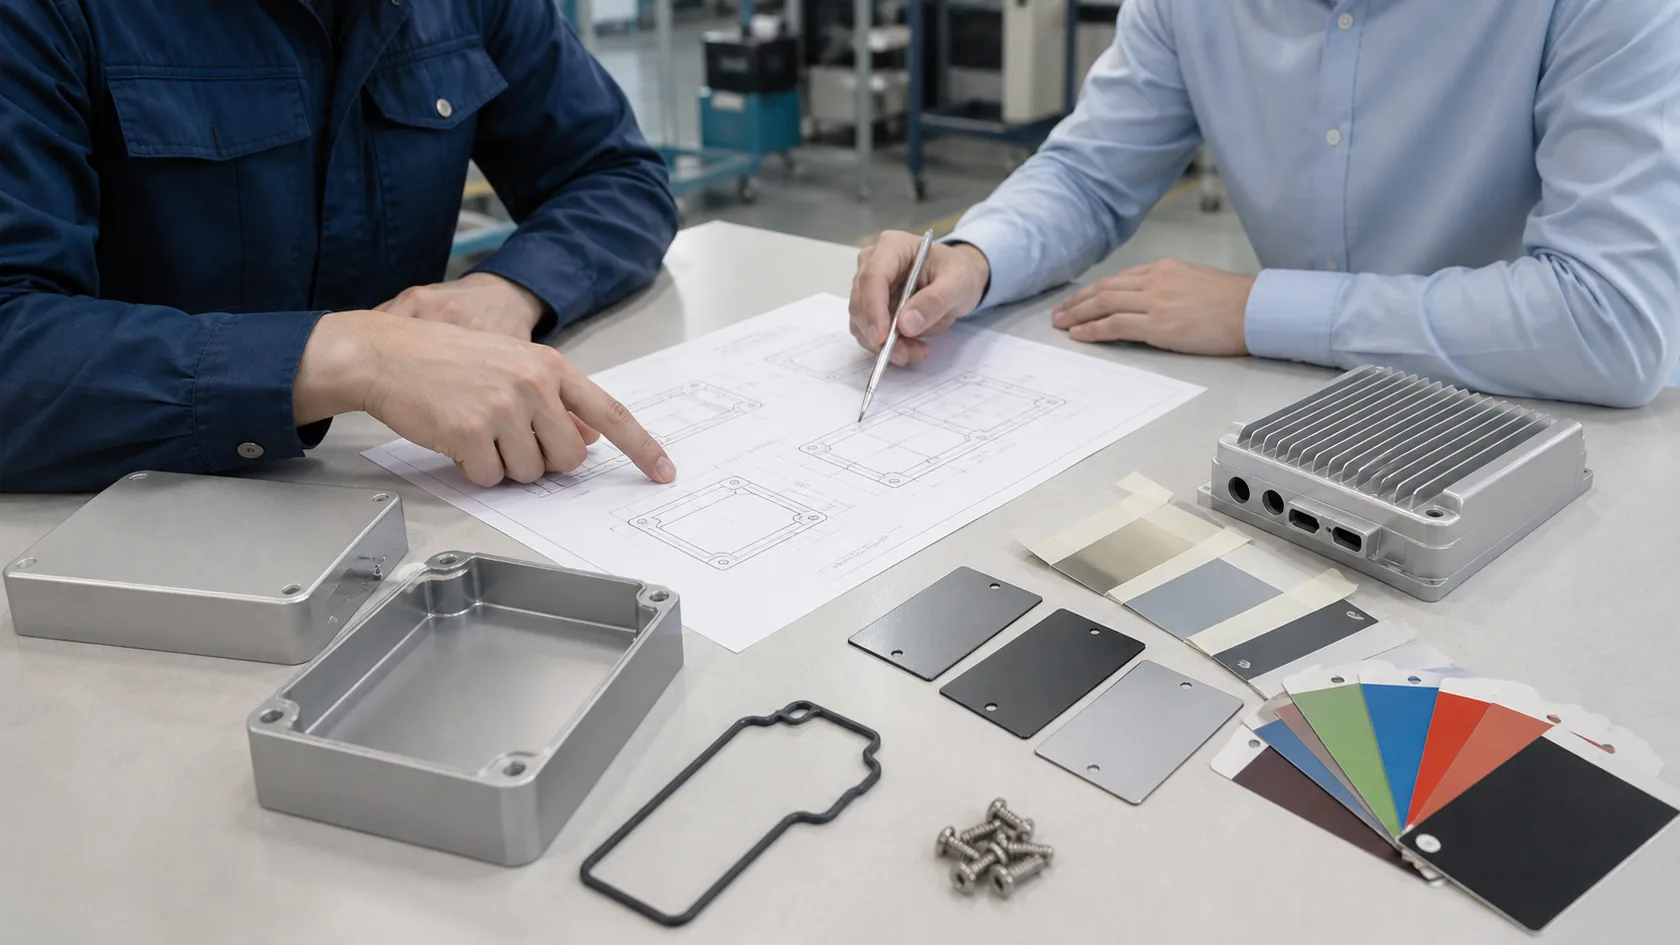
The best choice is not always powder coating or always anodizing. It depends on the part and the assembly.
A practical comparison
| Assembly concern | Powder coating risk | Anodizing risk | What to define |
|---|---|---|---|
| Tight cover fit | thicker buildup | smaller but still present thickness | final clearance after finish |
| Threaded holes | coating fill and screw tightness | thickness on thread flanks | mask, chase, or accept finish |
| Grounding | insulating layer | oxide reduces contact | bare pads or conductive finish |
| Gasket land | texture or uneven buildup | surface prep effect | sealing face requirement |
| Sliding rails | friction and scraping | hardcoat thickness | clearance and wear target |
| Visible screws | chipping around heads | circular rub marks | washer, torque, cosmetic rule |
| Rack marks | hook/contact marks | contact marks | allowed rack location |
My usual selection logic
For sheet metal electrical boxes with RAL colors, powder coating is often the practical choice. It gives good color coverage and hides small fabrication marks better. But I want threads, grounding pads, gasket areas, and tight slots defined before coating.
For CNC aluminum housings, extruded cases, and compact electronics enclosures, anodizing often looks cleaner and keeps sharper edges. But I still check alloy, color consistency, hardcoat thickness, and any electrical contact requirements.
For outdoor projects, I do not only ask "powder or anodizing?" I ask about UV exposure, salt air, cleaning chemicals, scratches during installation, and how long the buyer expects the finish to stay acceptable. The coating system and pretreatment may matter more than the simple finish name.
A short pre-production checklist
Before confirming the finish, buyers should ask:
- Which surfaces are cosmetic?
- Which surfaces are functional?
- Which holes or threads need masking?
- Where does grounding or EMI contact happen?
- What is the final fit after coating?
- Where are rack marks allowed?
- Is a finish sample approved for color and texture?
- What inspection method will confirm thickness or adhesion?
For adhesion checks, standards such as ASTM D3359 are often referenced for tape testing on coatings. The main point for buyers is not to turn every enclosure into a laboratory project. The point is to agree on the checks that match the real risk.
Good finish selection should make assembly calmer. That is my very unromantic target, and I like it that way.
Conclusion
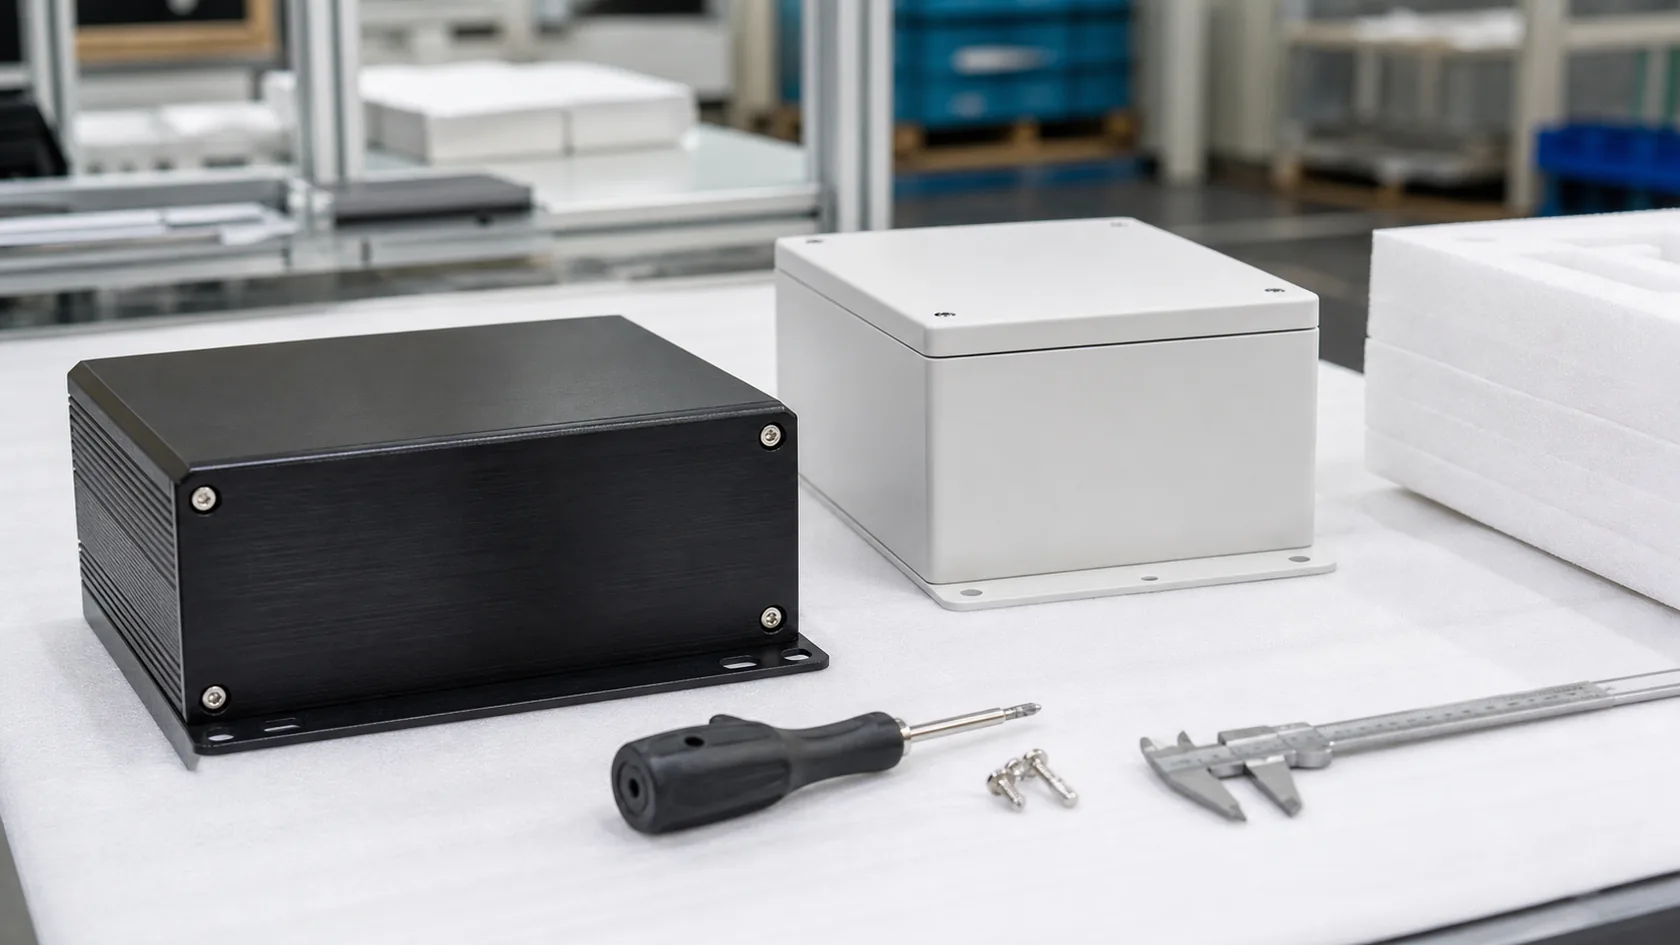
Powder coating and anodizing can both be excellent choices for aluminum enclosures. Powder coating gives strong color coverage, texture options, and good visual consistency. Anodizing gives a clean metal look, sharper edges, and good wear resistance in the right design.
The hidden problems appear when buyers compare only appearance and forget assembly.
Coating thickness, threads, inserts, grounding, EMI contact, gasket lands, sliding rails, connector openings, masking boundaries, and rack marks all decide whether the finished part assembles smoothly. These details are small on the drawing, but they are not small in production.
My advice is simple: choose the finish after you mark the functional areas. If a surface touches, seals, slides, conducts, screws, clips, or carries a gasket, it deserves a note before finishing starts.
At MaidaTech, we help buyers review custom aluminum enclosure drawings before surface finishing. If you are choosing between powder coating and anodizing, send us the drawing, the assembly method, the use environment, and the color target. We can help you find the finish that looks right and still behaves well when the product is assembled.







