Skip to content
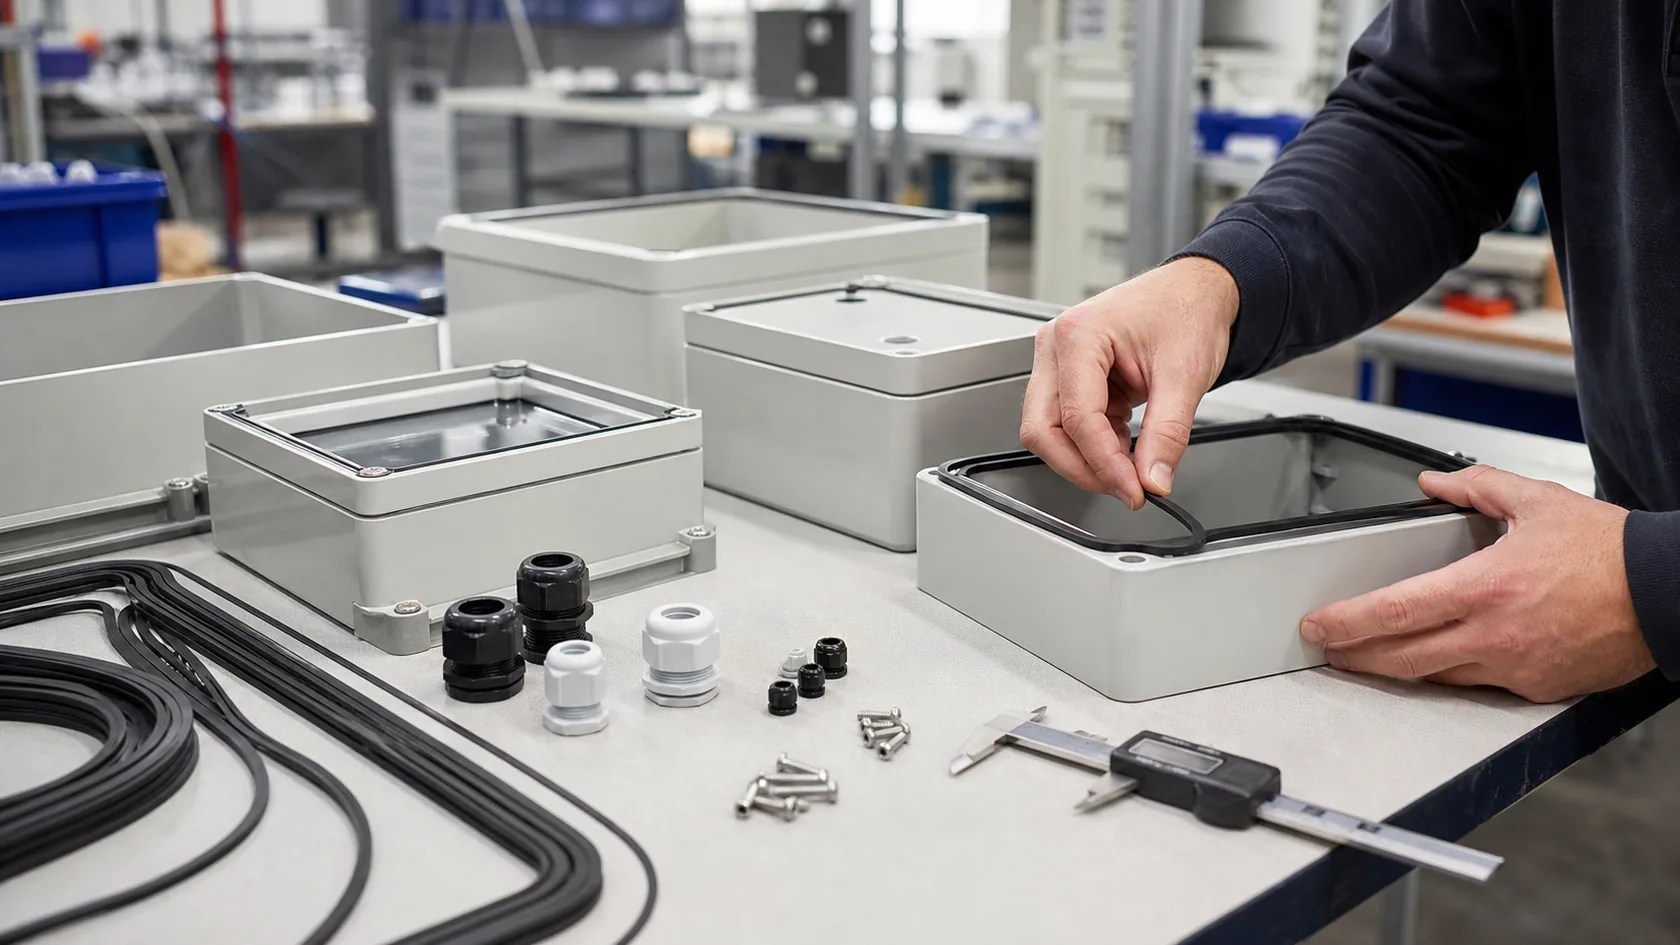
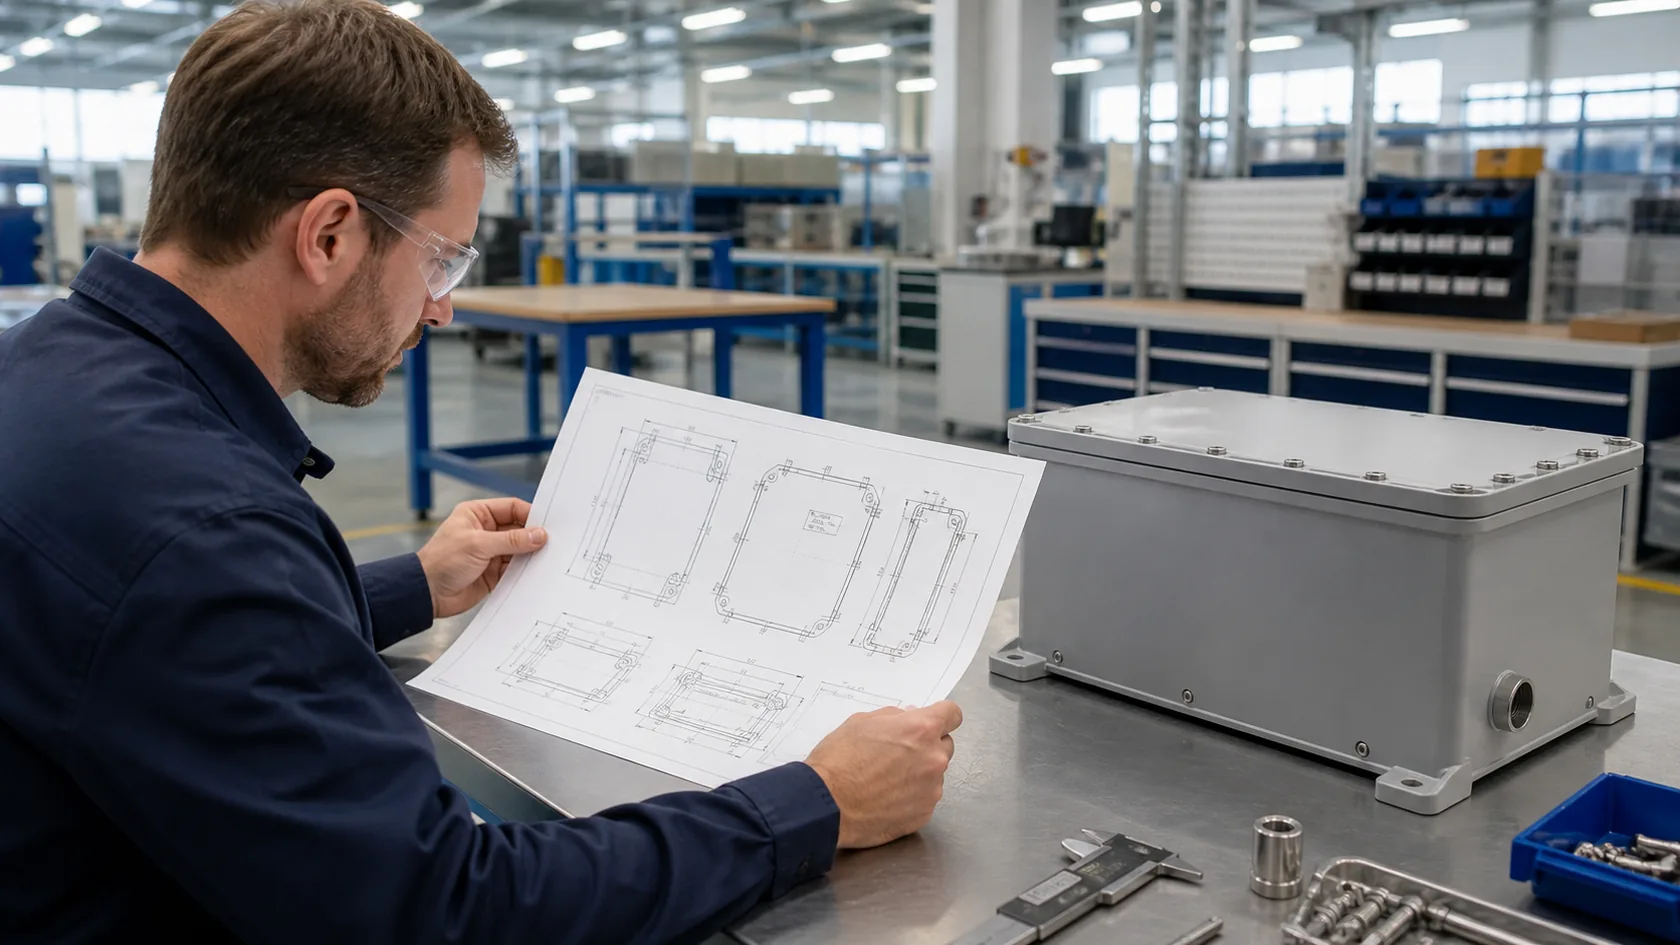
On the QC bench, a small enclosure can look finished and still hide the wrong decision.
The cover closes. The screws fit. The surface looks clean. Then someone notices the cable gland is too close to the PCB connector. Or the gasket land is broken by a late cutout. Or the internal power supply has no room to lose heat. That is the moment when a "simple box" becomes a project risk.
This is why I do not choose an electrical enclosure by size alone.
An enclosure protects electrical parts, but it also controls access, heat, wiring, mounting, sealing, appearance, shipment, and service. A good choice helps the whole product feel stable. A weak choice creates small problems that travel all the way to installation.
In my factory work, I judge an enclosure by what happens after the drawing becomes a real part, because the real failure is often not the material name or the catalog rating. It is the detail that was not discussed early enough.
So if you need to choose the right electrical enclosure for your application, I suggest a practical sequence: define what it protects, check the environment, choose the rating, choose the material, size it correctly, plan cable entries and mounting, then check whether the supplier can actually build it well.
Let us go through that step by step.
Start With What the Enclosure Must Protect
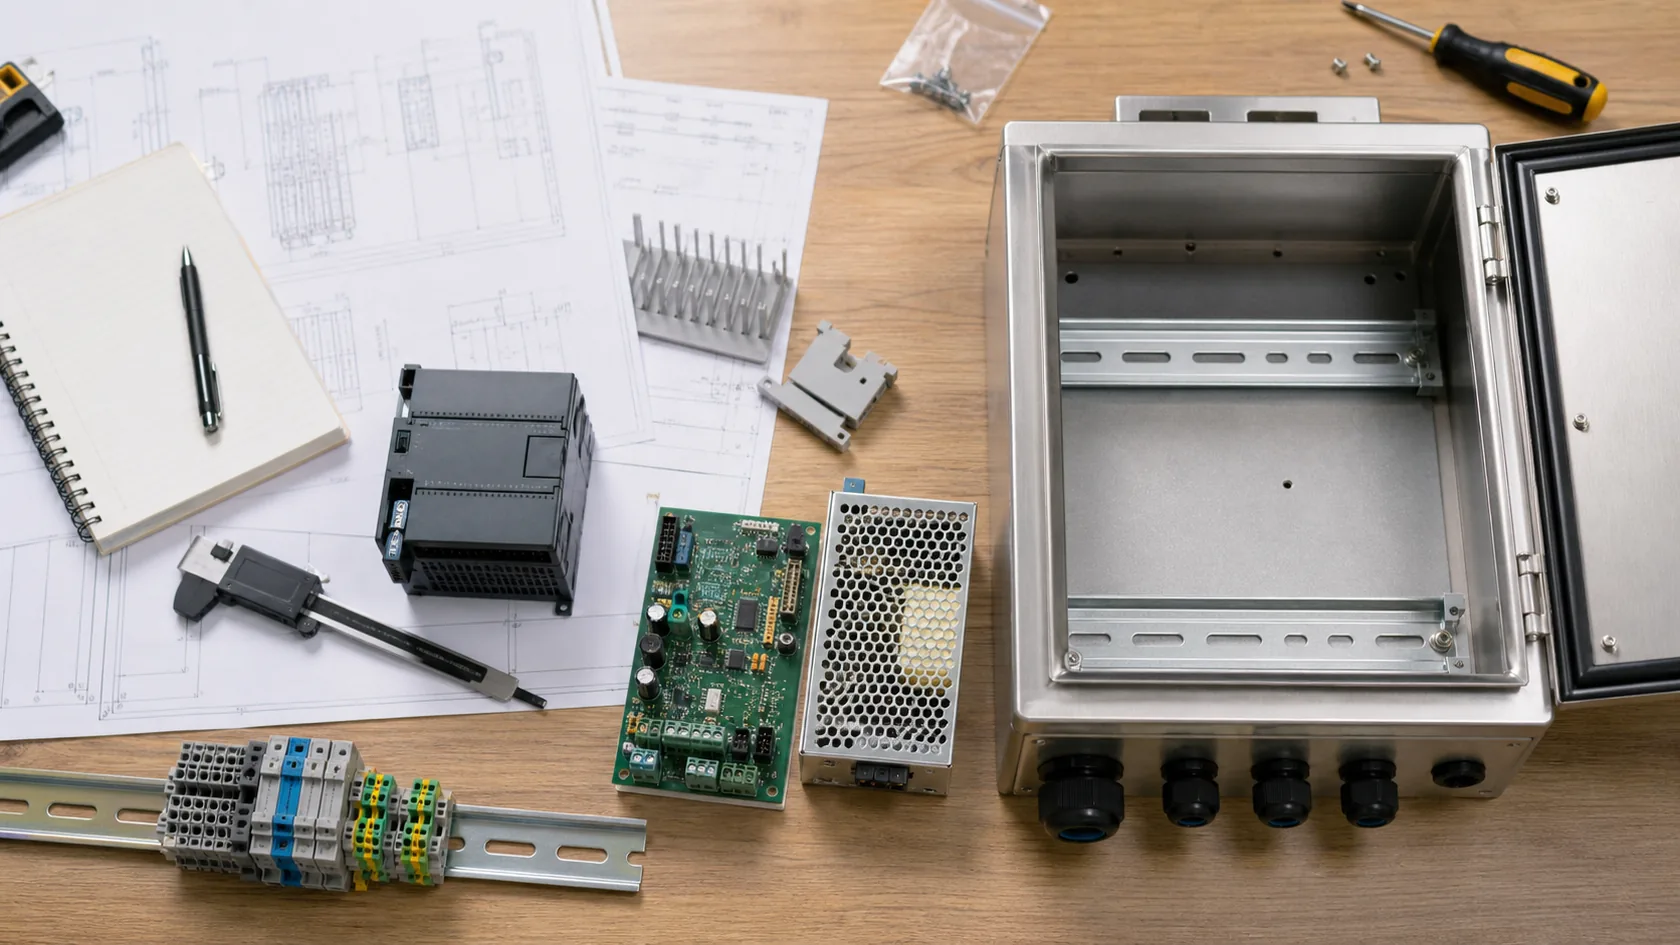
The first question is not "Which enclosure looks right?" The first question is "What must survive inside it?"
A junction box, a PCB housing, a PLC control cabinet, and a small outdoor sensor enclosure all have different needs. They may all be called electrical enclosures, but they do not fail in the same way.
Identify the internal components
Start by listing the parts inside the enclosure.
Common items include:
- PCBs
- Power supplies
- Circuit breakers
- Terminal blocks
- Relays
- PLCs
- HMIs
- Displays and keypads
- Batteries
- Sensors
- Antennas
- Fans, filters, or heaters
Each part brings a different concern. A PCB may need standoffs, insulation, and ESD care. A power supply may need airflow. Terminal blocks need wiring space. A display needs a clean front cutout. A wireless module may perform badly inside a fully metal box unless the antenna design is handled.
When I review a new enclosure project, I like to see the internal layout before talking too much about the outside shape. A beautiful shell does not help if the technician cannot route wires or remove a board during service.
Understand user access and maintenance
Next, think about who opens the enclosure and how often.
Some boxes are closed once and left alone. Others are opened every month for inspection, firmware updates, wiring changes, or component replacement. This changes the hinge, latch, screw type, gasket design, internal clearance, and even the finish around the opening.
If workers open the cover often, small inconveniences become real costs. Lost screws, damaged gaskets, tight wire bends, and hard-to-reach terminals slow down service and increase mistakes.
Decide whether standard or custom is realistic
A standard enclosure can be a good choice when the internal layout is simple and the environment is normal. It saves time and tooling cost.
Custom work makes sense when the application needs exact cutouts, special mounting, branding, heat features, unusual size, internal brackets, PCB bosses, or a product appearance that standard boxes cannot provide.
| Application need | Standard enclosure may work | Custom enclosure may be better |
|---|---|---|
| Simple wiring junction | Yes | Only if size or entries are special |
| PCB product housing | Sometimes | Often, especially for ports and branding |
| Outdoor controller | Sometimes | Often, if cable entry and sealing are critical |
| HMI or display product | Rarely perfect | Usually better for cutout and front design |
| OEM product sold to end users | Sometimes | Often, because appearance and fit matter |
Once you know what the enclosure protects, the next step is to look outside the box. The environment will narrow your choices very quickly.
Match the Environment Before You Pick the Rating
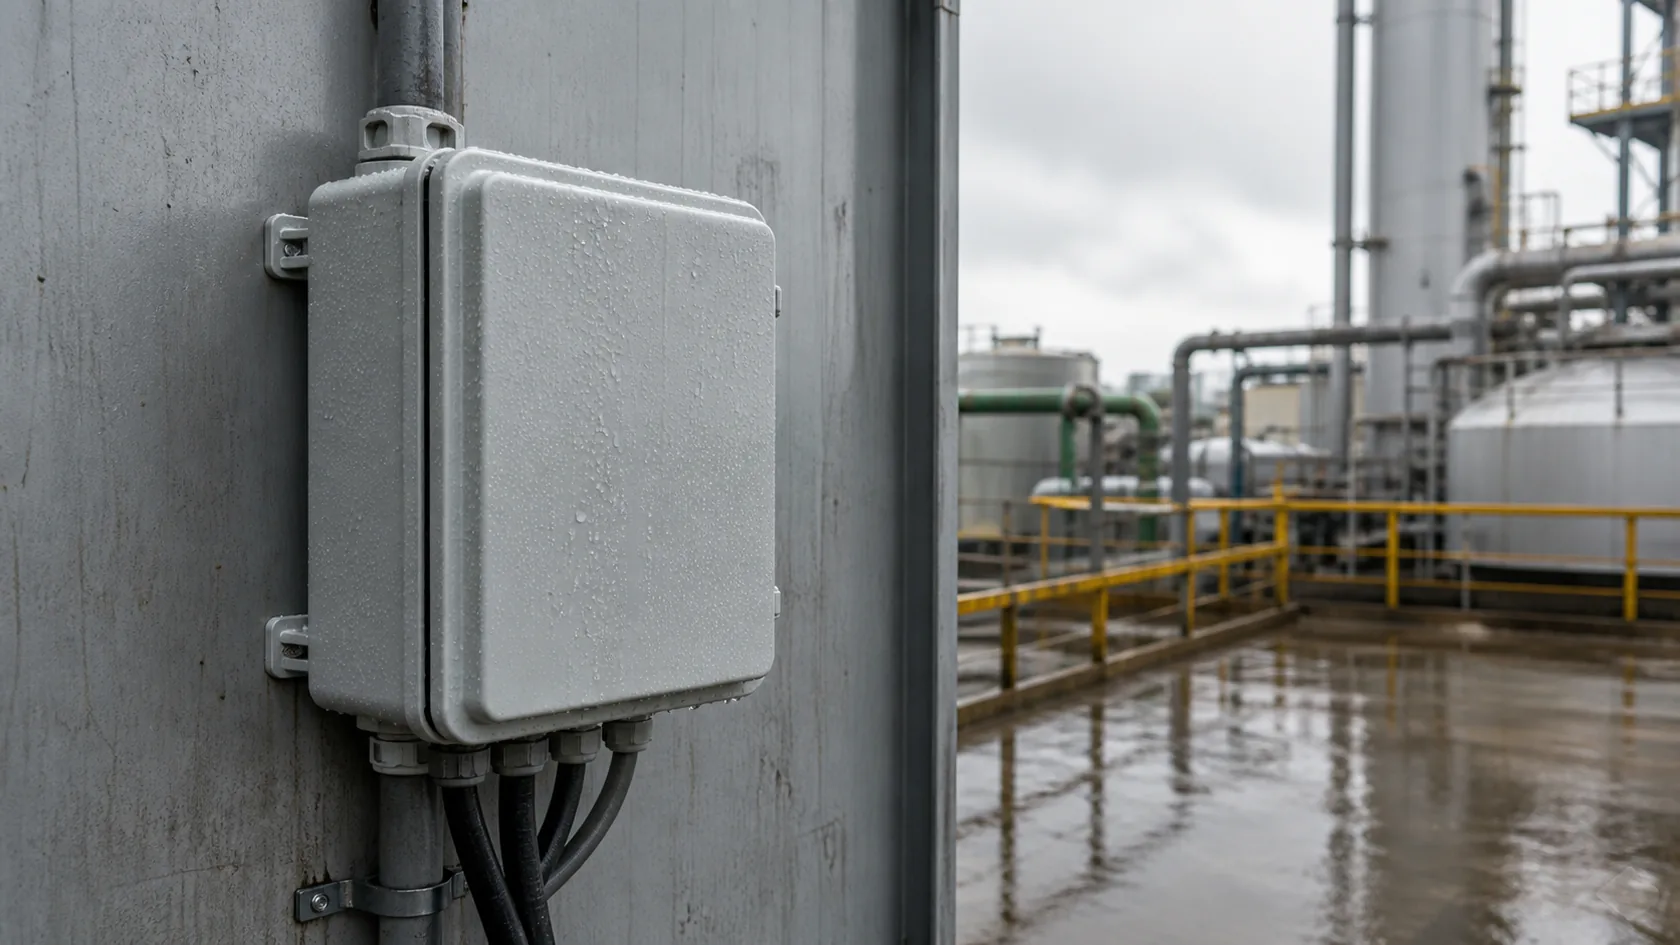
Many buyers start with a rating like IP65, IP66, NEMA 4, or NEMA 4X. Ratings are useful, but the site condition should come first.
The rating is only a language for the risk. It is not the risk itself.
Indoor, outdoor, washdown, dusty, and corrosive sites
An indoor office device, an indoor machine control box, and an indoor food-processing control cabinet do not face the same environment.
The same is true outdoors. Outdoor may mean light rain under a roof. It may mean direct sun in Arizona. It may mean salt air near the sea. It may mean a wastewater plant, a solar farm, a telecom pole, or a machine that gets washed every day.
Before choosing the rating, write down the real conditions:
- Indoor or outdoor
- Rain direction and water pressure
- Dust, fibers, sand, or metal particles
- Oil, coolant, cleaning liquid, or chemicals
- Salt air or coastal exposure
- UV sunlight
- Ambient temperature range
- Internal heat load
- Ice, condensation, or humidity cycling
- Vibration or impact
- Whether operators wash the equipment
I usually become careful when a buyer says "waterproof" without more detail. Water from rain, water from a hose, water from submersion, and condensation inside a sealed box are different problems.
NEMA and IP ratings in practical use
For international projects, buyers often use IP ratings from IEC 60529. IP ratings describe protection against solid objects and water ingress. For example, IP65 and IP66 both describe dust-tight enclosures, but the water test level is different.
For North American projects, buyers often use NEMA enclosure types or UL Type ratings. A useful point from UL's panelboard guidance is that enclosure type markings help show suitability for environmental conditions and are coordinated with NEC enclosure selection rules. The UL Panelboard Application Guide is a good reference for that idea.
Here is a simple practical view:
| Condition | Common rating direction |
|---|---|
| Dry indoor protection | NEMA 1 or basic indoor enclosure |
| Indoor dust and dripping non-corrosive liquid | NEMA 12 or similar industrial indoor protection |
| Outdoor rain and sleet | NEMA 3R or suitable outdoor IP-rated design |
| Outdoor dust, rain, and hose-directed water | NEMA 4 or IP66-style protection |
| Corrosive outdoor or washdown environment | NEMA 4X or corrosion-resistant design |
| Temporary submersion risk | NEMA 6, NEMA 6P, or suitable IP67/IP68 design |
This table is only a starting point. Project region, code requirements, certification needs, and installation method still matter.
Why ratings do not solve every field risk
The NEC 110.28 table reminds designers that enclosure types are selected for environmental conditions, but it also points out that some problems, such as condensation or contamination entering through openings, need separate attention.
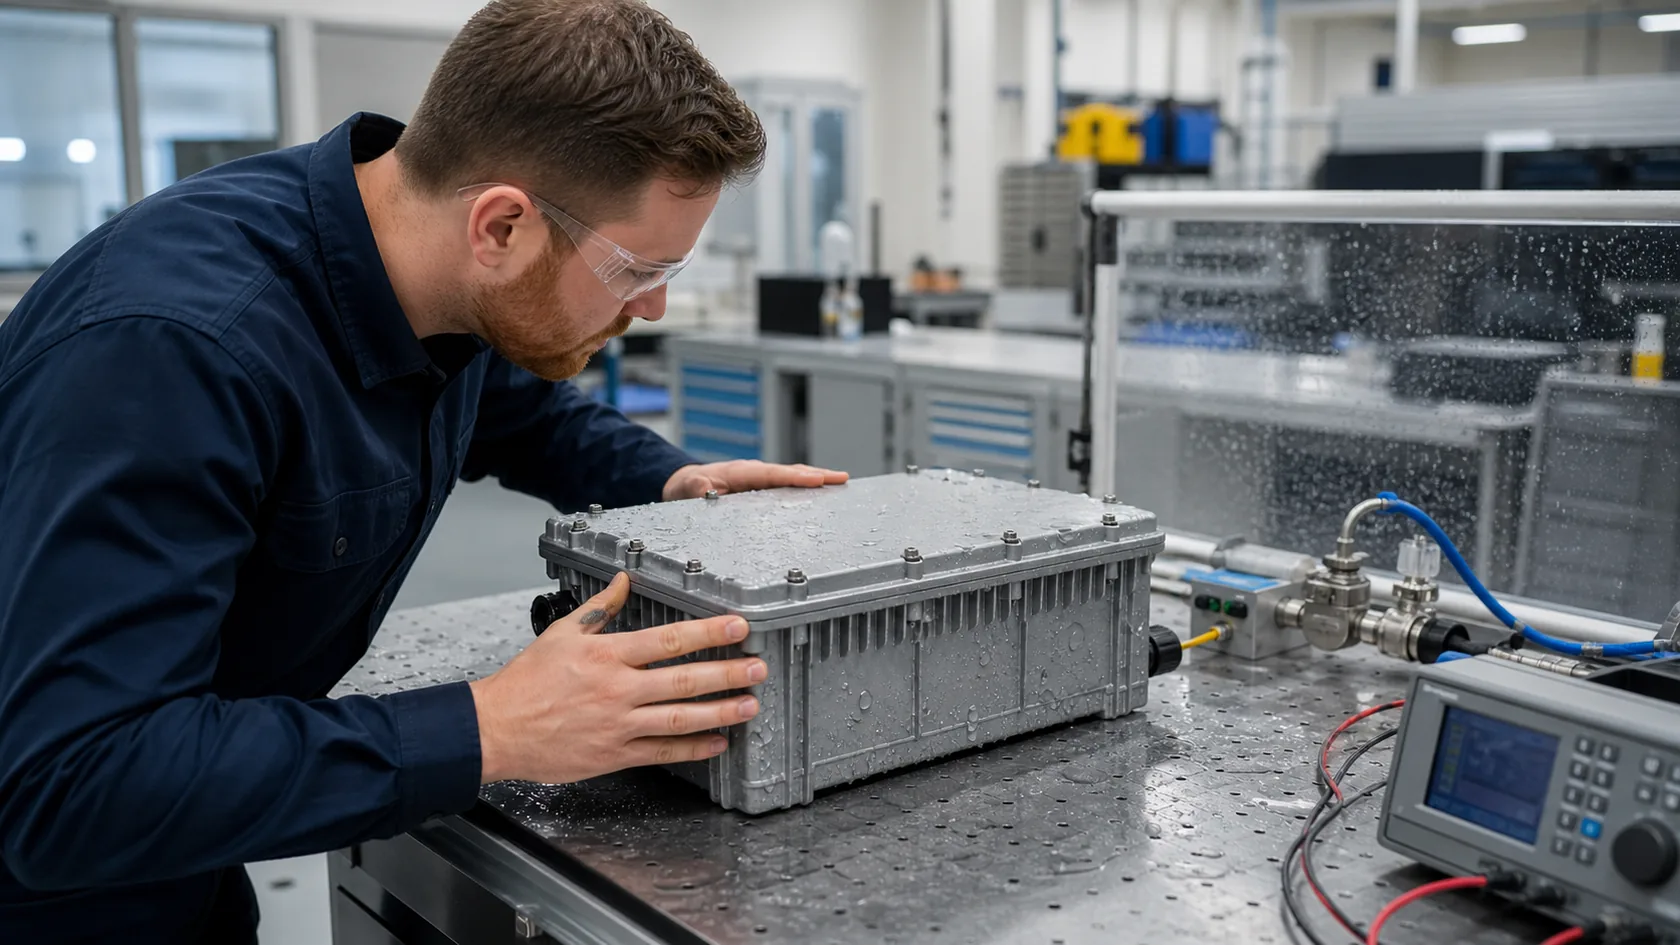
That matches what I see in real projects. A rated enclosure can still fail if the cable gland is wrong, the gasket is damaged, the installer drills an extra hole, or the internal heat creates condensation. The enclosure rating belongs to the complete system, not to a loose metal box after every modification.
After the environment and rating direction are clear, the material choice becomes much easier.
Choose Material by Failure Risk, Not Habit
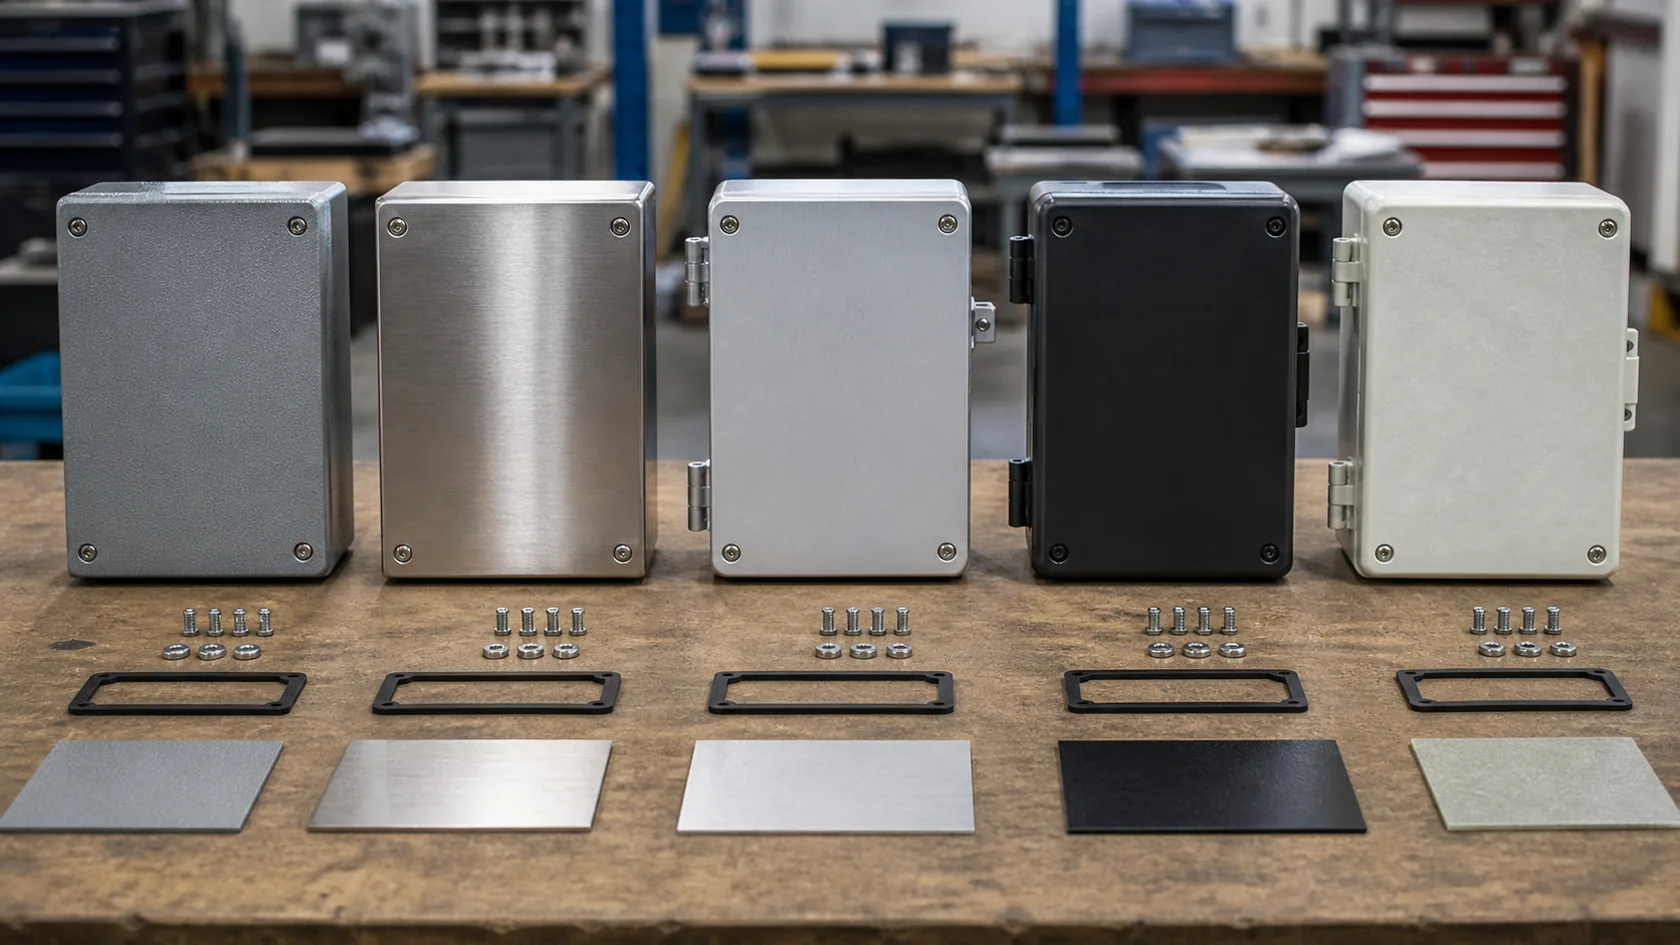
Many teams have a favorite material. Some like stainless steel because it sounds strong. Some like aluminum because it looks clean and is easy to machine. Some like plastic because it is light and does not rust.
All of these can be right. All of them can also be wrong.
Steel, stainless steel, aluminum, plastic, and fiberglass
Each material solves one group of problems and creates another group.
| Material | Where it often works well | Watch carefully for |
|---|---|---|
| Powder-coated steel | Indoor panels, control cabinets, cost-sensitive industrial boxes | Rust at edges, coating damage, weight |
| Stainless steel | Washdown, food processing, outdoor corrosion risk | Higher cost, harder fabrication, fingerprints, grade choice |
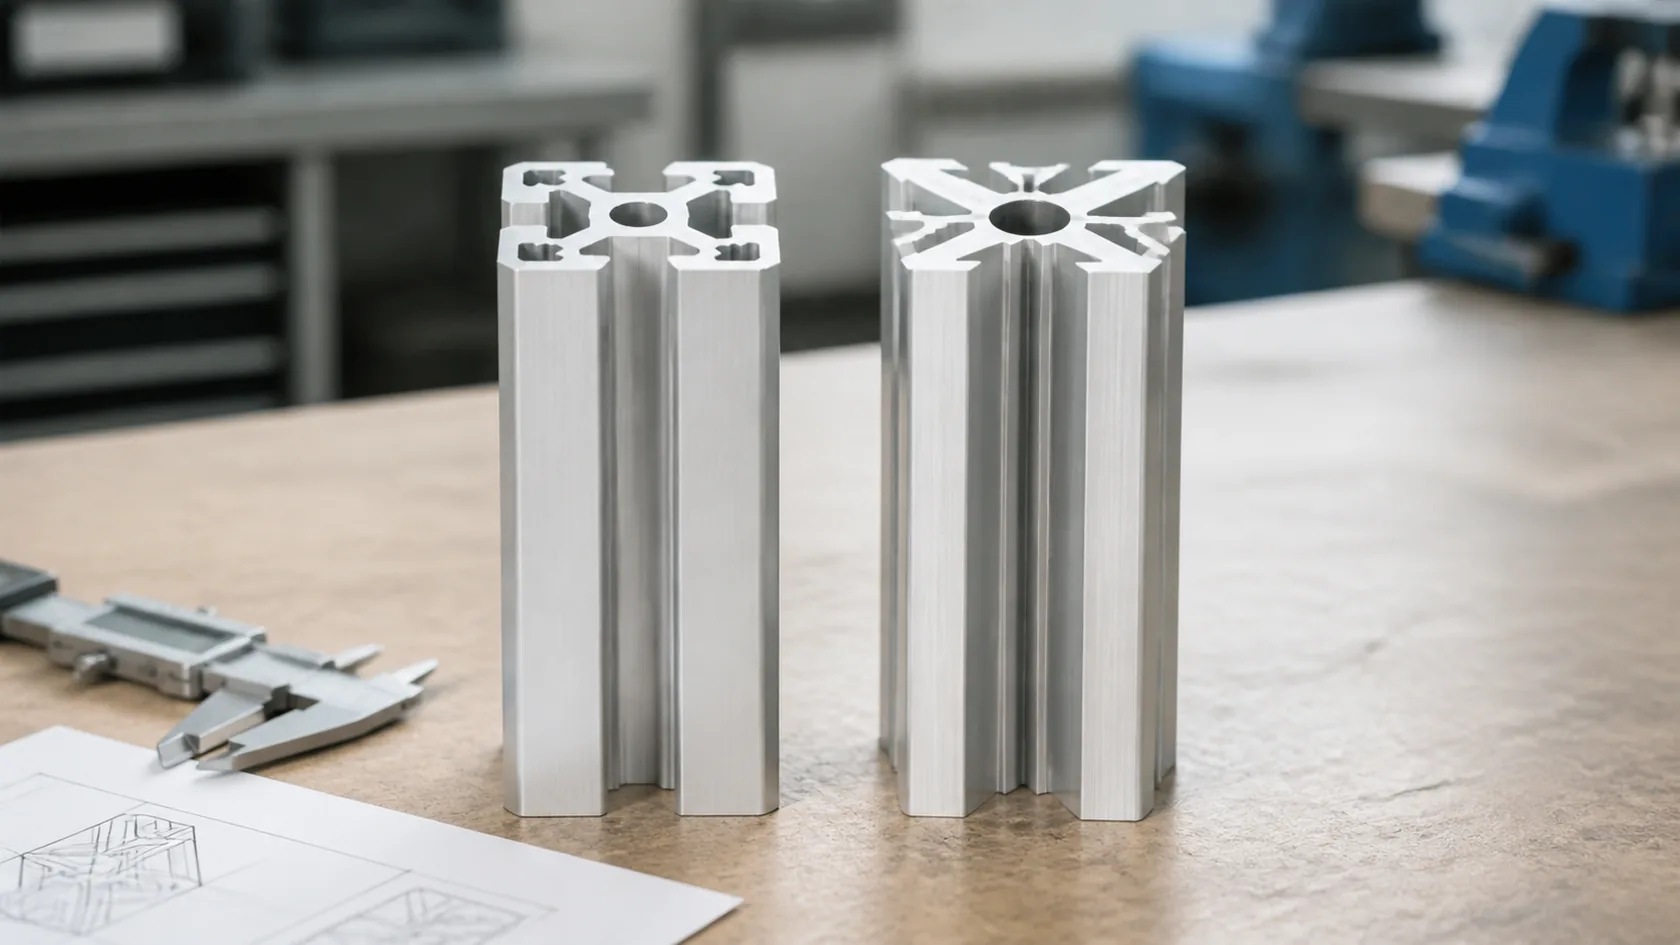
| Aluminum | Custom electronics, outdoor light-duty use, heat transfer, lower weight | Galvanic corrosion, surface scratches, sealing details |
| ABS or polycarbonate | Small electronic devices, wireless products, lightweight housings | UV grade, impact strength, heat, screw boss design |
| Fiberglass or FRP | Chemical, coastal, and corrosive sites | Finish quality, machining dust, appearance limits |
In real production, I do not ask only which material is "best." I ask which material leaves the fewest weak points after cutting, bending, machining, finishing, assembling, packing, and field installation.
Heat, EMI, weight, wireless signal, and corrosion
Material is not only about strength.
Metal enclosures help with grounding and EMI shielding. Aluminum can help move heat from electronics. Steel gives strong structure at a fair cost. Stainless steel improves corrosion resistance in many harsh places.
Plastic and fiberglass do not rust and can help wireless signals pass more easily. But they do not dissipate heat like metal, and the design must handle screw strength, wall thickness, ribs, inserts, UV exposure, and flame rating when required.
If the product has an antenna inside, a sealed aluminum box may create a wireless problem. If the product has a hot power supply, a plastic box may create a heat problem. If the product sits near salt spray, plain powder-coated steel may become a maintenance problem.
Surface finish and hardware details
Surface finish changes the result. Powder coating, anodizing, brushing, passivation, painting, plating, and texture all affect corrosion resistance, appearance, wear, and cost.
Hardware also matters. Hinges, latches, screws, inserts, cable glands, washers, and gasket material must match the environment. A corrosion-resistant enclosure with cheap fasteners is not a corrosion-resistant system.
UL notes that enclosure certifications can include Type, IP, and IK ratings and related accessories such as hinges, latches, windows, hole plugs, and filter fan kits. That is a useful reminder from UL's enclosure certification page: accessories can decide whether the enclosure still performs as intended.
Once the material is selected, do not rush to order the smallest size that fits. Space inside the enclosure is not wasted if it prevents heat, wiring, and service problems.
Size the Enclosure for Heat, Wiring, and Service
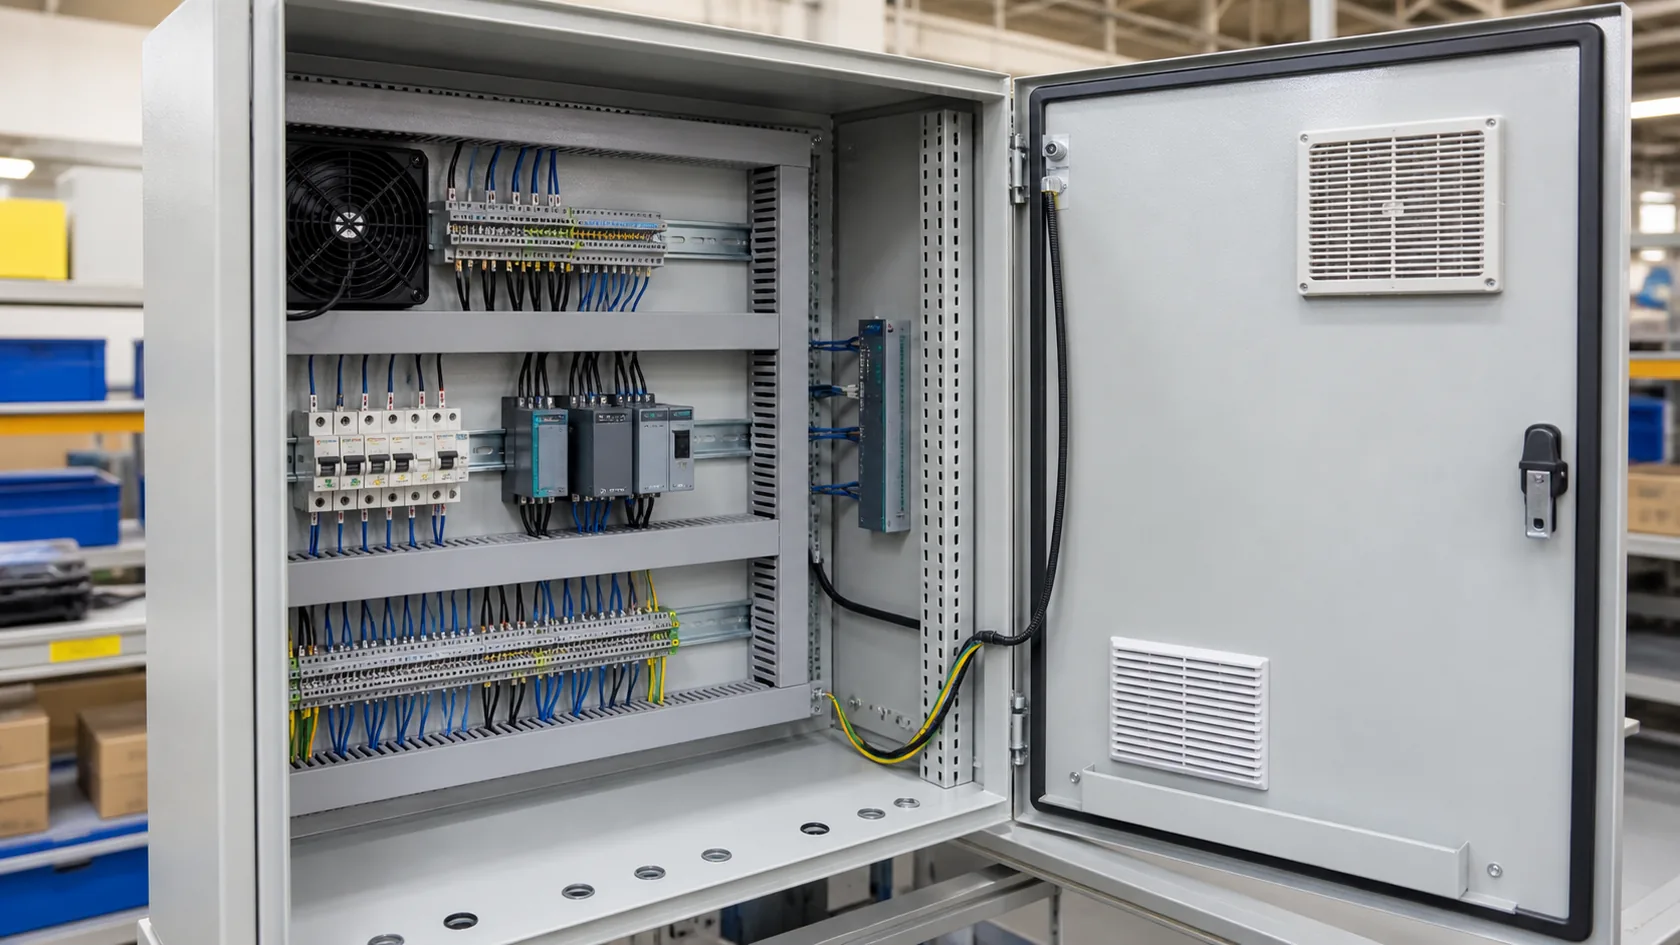
An enclosure that barely fits the parts is usually too small.
It may look efficient in a drawing, but the real product still needs wire bends, connectors, airflow, assembly tools, labels, terminals, grounding points, and hands.
Do not size only around the parts
Start with the internal components, then add space for:
- Wire routing
- Cable glands and connector backshells
- DIN rail and mounting plate
- Heat-generating parts
- Airflow path
- Door swing and cover clearance
- Tool access
- Future component changes
- Labels and warning marks
- Gasket compression area
If the enclosure is a custom electronics housing, add space for PCB tolerance, screw bosses, inserts, ports, buttons, displays, and assembly sequence. A PCB can be correct on the drawing and still be painful to assemble if the connector is too close to a wall.
Thermal headroom and airflow
Heat is one of the quiet reasons enclosures fail.
A sealed box protects against water and dust, but it also traps heat. A ventilated box breathes better, but vents and filters can reduce the ingress rating and require maintenance.
The right answer depends on heat load, ambient temperature, sunlight, duty cycle, and whether the box must stay sealed. Options may include a larger enclosure, aluminum heat spreading, vents, filtered fans, heat sinks, heat exchangers, enclosure air conditioners, or changing the internal component layout.
When I review a hot enclosure, I look for the heat path. Where does the heat start? Where can it go? What blocks it? A fan added late is not a full thermal design if the air has no clean path.
Wiring space, bend radius, and future changes
Wiring space is easy to underestimate.
Terminal blocks need access. Thick cables need bend radius. Glands need enough spacing for nuts and tools. Installers need room to work without pulling wires against sharp edges.
This becomes more important for industrial control enclosures and outdoor boxes. A small saving in enclosure size can create a bigger cost in installation time, rework, or field complaints.
After the size feels right, check the details that connect the enclosure to the outside world. Many failures start at the entry points.
Plan Cable Entries, Mounting, and Custom Details Early
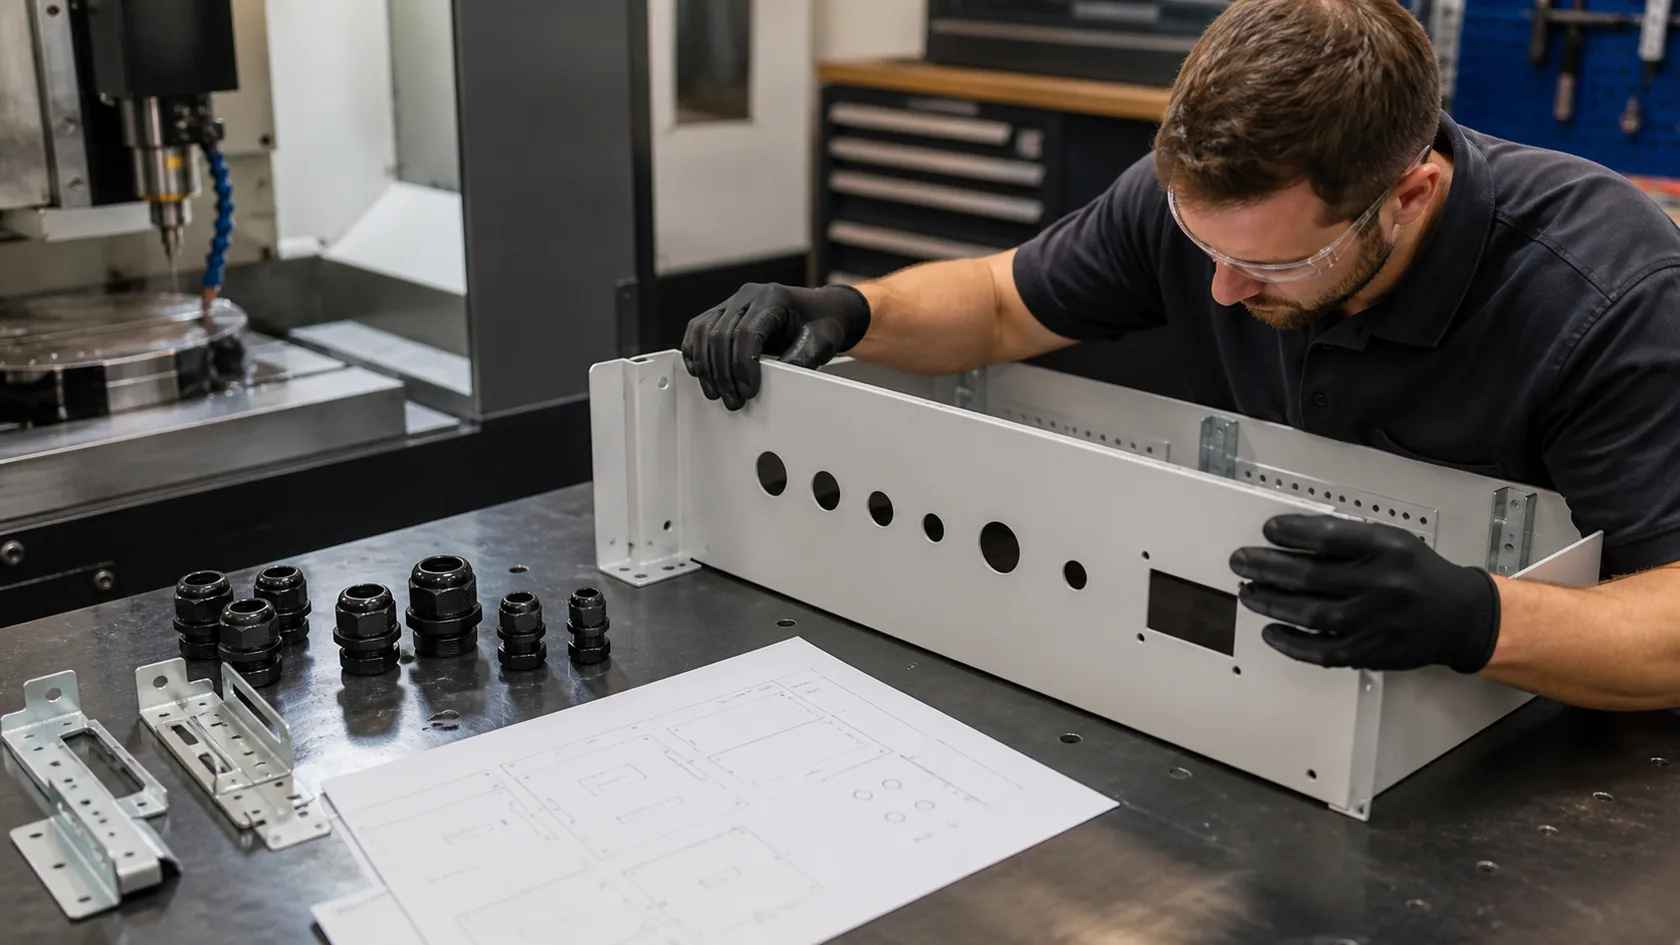
Cable entries are small details until they leak, crack, block a connector, or force the installer to drill new holes on site.
That is why I like to discuss cable entry positions before final quotation whenever possible.
Cable glands, conduit, connectors, and gland plates
For cable entries, define:
- Cable quantity
- Cable diameter range
- Gland or connector type
- Entry direction
- Required spacing between holes
- Whether the gland needs a flat sealing surface
- Whether the installer needs a removable gland plate
- Whether the cable needs strain relief
- Whether the entry affects the rating
Cable glands should match the enclosure rating, material, and environment. A good enclosure can lose its protection if the gland, washer, thread, torque, or hole quality is wrong.
For custom production, I also check whether the hole location leaves enough distance from bends, corners, screws, gasket areas, PCB connectors, and internal brackets. A drawing can look clean until the wrench has no room.
Wall, pole, floor, handheld, and machine mounting
Mounting style changes the structure.
A wall-mounted enclosure needs rear holes, brackets, or ears. A pole-mounted box needs clamp points and wind-load thinking. A floor-standing cabinet needs base strength and possibly lifting points. A machine-mounted box may face vibration. A handheld case needs grip, drop resistance, and screw design.
Mounting also affects water behavior. A top cable entry outdoors is very different from a bottom cable entry. A flat cover outdoors may collect water. A poorly placed bracket may trap dirt or moisture behind the box.
Cutouts, windows, labels, logos, and packaging
Custom details should be planned together, not added one by one at the end.
These details may include:
- Display windows
- Button holes
- Connector cutouts
- Vent patterns
- DIN rails
- Mounting plates
- PEM nuts or threaded inserts
- Ground studs
- Silk screen printing
- Laser engraving
- Logo printing
- Custom color
- Foam packaging
I often see cost rise when custom details are confirmed too late. A small cutout change after powder coating can damage the finish. A logo position change after sampling can delay approval. A packaging issue can scratch a beautiful surface during shipment.
When these details are clear, the final decision is not only the enclosure design. It is also whether the supplier can support the project correctly.
Check Supplier Support Before You Confirm the Order

For a custom electrical enclosure, the supplier is part of the engineering result.
The drawing matters. But the supplier's review, communication, sample control, and production discipline decide whether the drawing becomes a stable shipment.
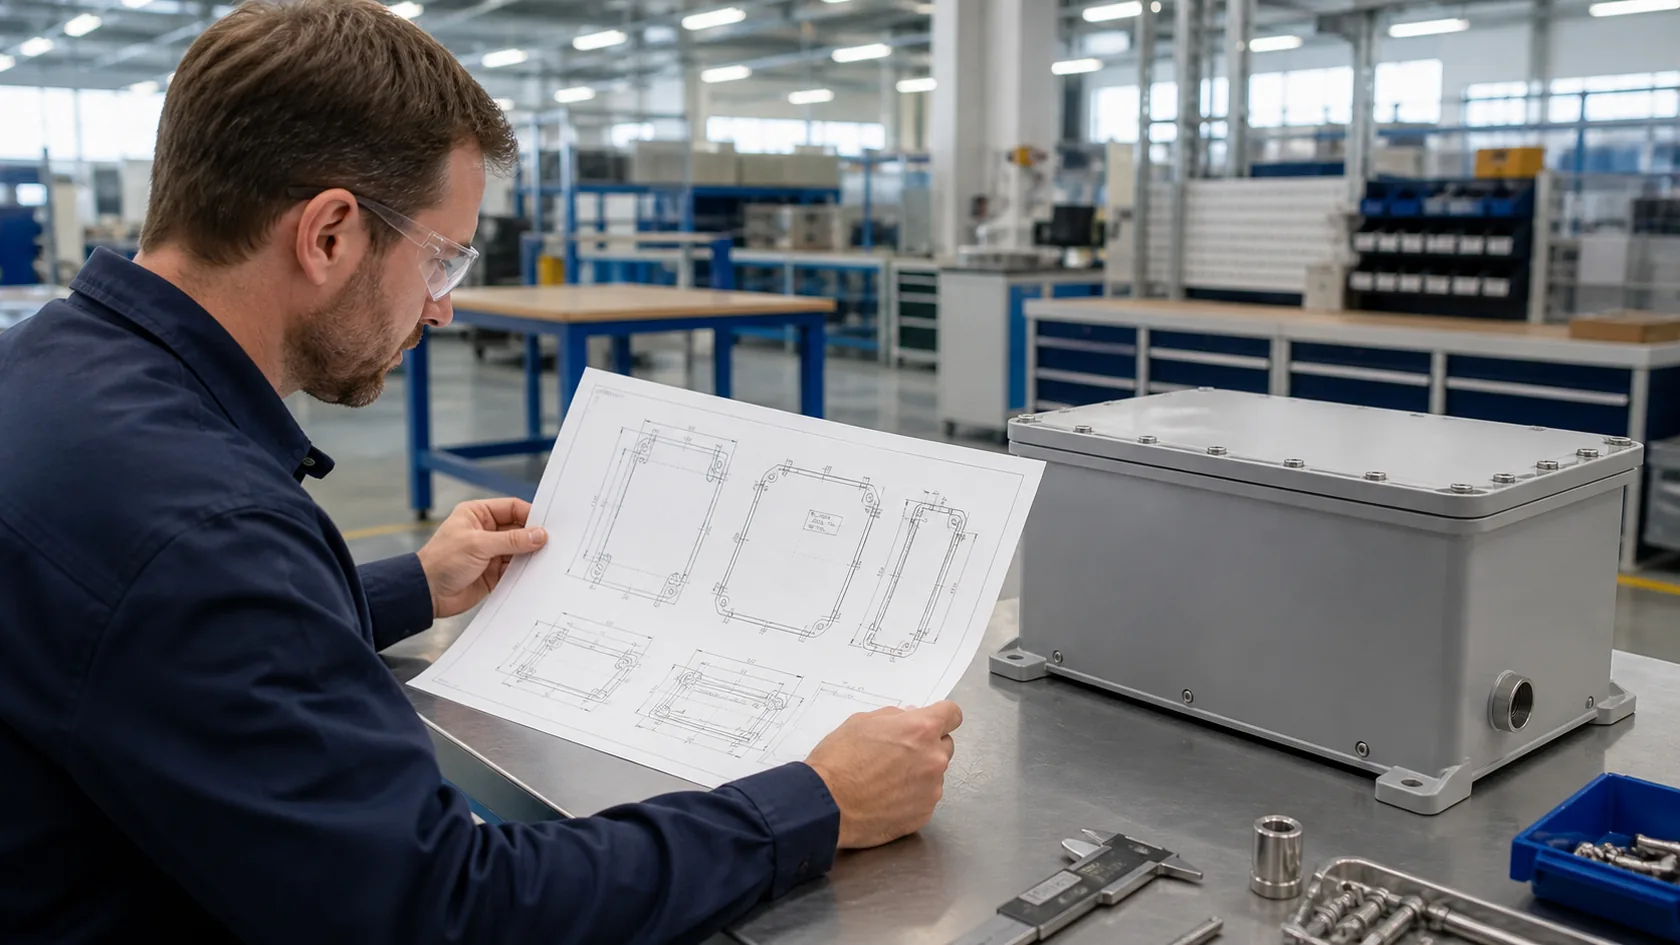
Drawing review and manufacturability
A good supplier should check the drawing for practical manufacturing issues.
For example:
- Are bends too close to holes?
- Is the gasket path continuous?
- Are screw bosses strong enough?
- Is wall thickness suitable?
- Can the finish cover the part evenly?
- Are tolerances realistic for the process?
- Can the cable gland be tightened?
- Will the enclosure still meet the needed rating after cutouts?
- Is the material suitable for the environment?
At MaidaTech, this is where many useful discussions happen. I would rather slow down for one clear drawing review than ship a sample that teaches us an expensive lesson.
Samples, inspection, and documentation
For new custom projects, samples are not only for appearance. They are for checking assembly, fit, sealing, surface finish, packaging, and service access.
Ask what the supplier can provide:
- 2D drawings or 3D files
- Material confirmation
- Surface finish sample
- Prototype or pre-production sample
- Inspection photos
- Dimensional report if needed
- Packaging method
- Basic test or certification support when required
- Clear change record
Not every project needs every document. But the supplier should understand which details matter for your application.
RFQ checklist for buyers
Before sending an RFQ, prepare the key information.
| RFQ item | What to include |
|---|---|
| Application | What the enclosure protects and where it is used |
| Environment | Indoor/outdoor, water, dust, UV, chemicals, salt, temperature |
| Rating target | IP, NEMA, UL Type, or project-specific requirement |
| Material | Preferred material or open options |
| Size | Outside size, internal space, or component layout |
| Drawings | 2D, 3D, hole pattern, mounting details |
| Cable entries | Quantity, size, side, gland type, conduit needs |
| Internal parts | DIN rails, mounting plate, standoffs, brackets |
| Finish | Powder coating, anodizing, brushing, printing, engraving |
| Quantity | Prototype, trial order, mass production estimate |
| Market | Country or region if certification matters |
| Packaging | Surface protection, carton, foam, export packing |
The more clearly you describe the real use, the less the supplier has to guess. Guessing is where many enclosure problems begin.
Now we can bring the selection method together.
Conclusion
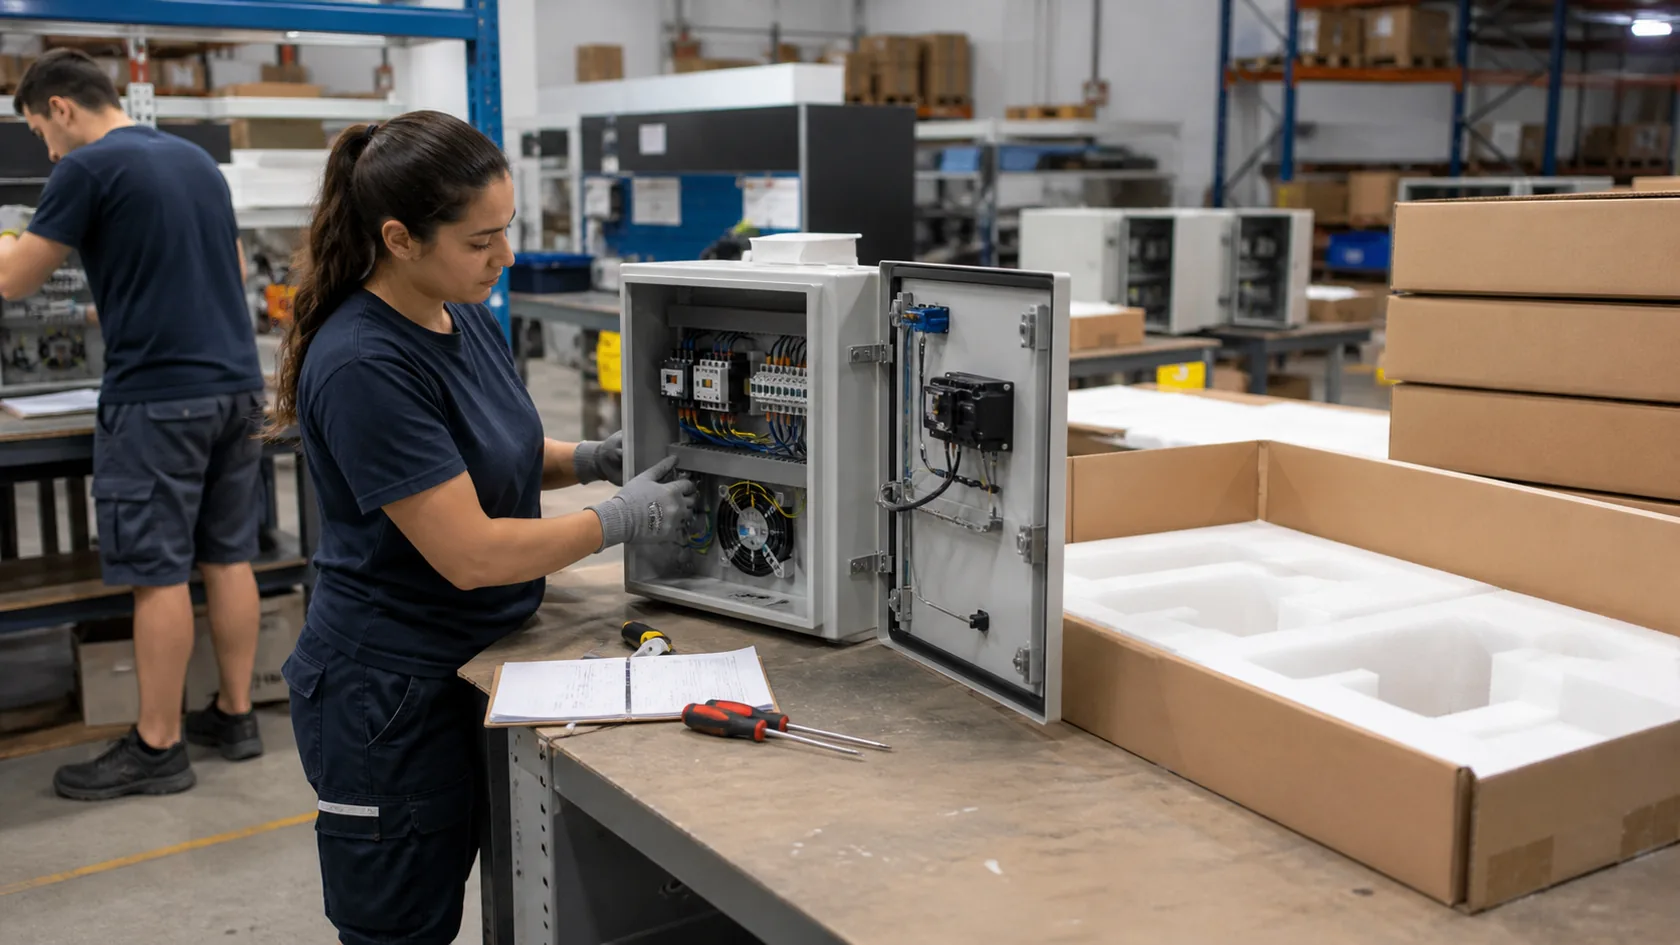
Choosing the right electrical enclosure is not about finding the most expensive material or the highest rating.
It is about matching the enclosure to the application. What does it protect? Where will it work? How will water, dust, heat, chemicals, users, cables, and maintenance affect it? Can the material, finish, gasket, hardware, and cutouts survive together as one complete system?
That is how I think about enclosure selection in real factory work.
I start from the protected parts. Then I check the environment. Then I choose the rating and material. After that, I review heat, wiring space, cable entries, mounting, custom details, and production risk. This method takes a little more time at the beginning, but it usually saves much more time later.
If you are choosing an enclosure for a new product or industrial project, the best next step is to prepare the drawing, internal component layout, expected environment, target rating, and quantity. With those details, MaidaTech can review the design and suggest a practical enclosure direction before the project becomes expensive to change.