 Skip to content
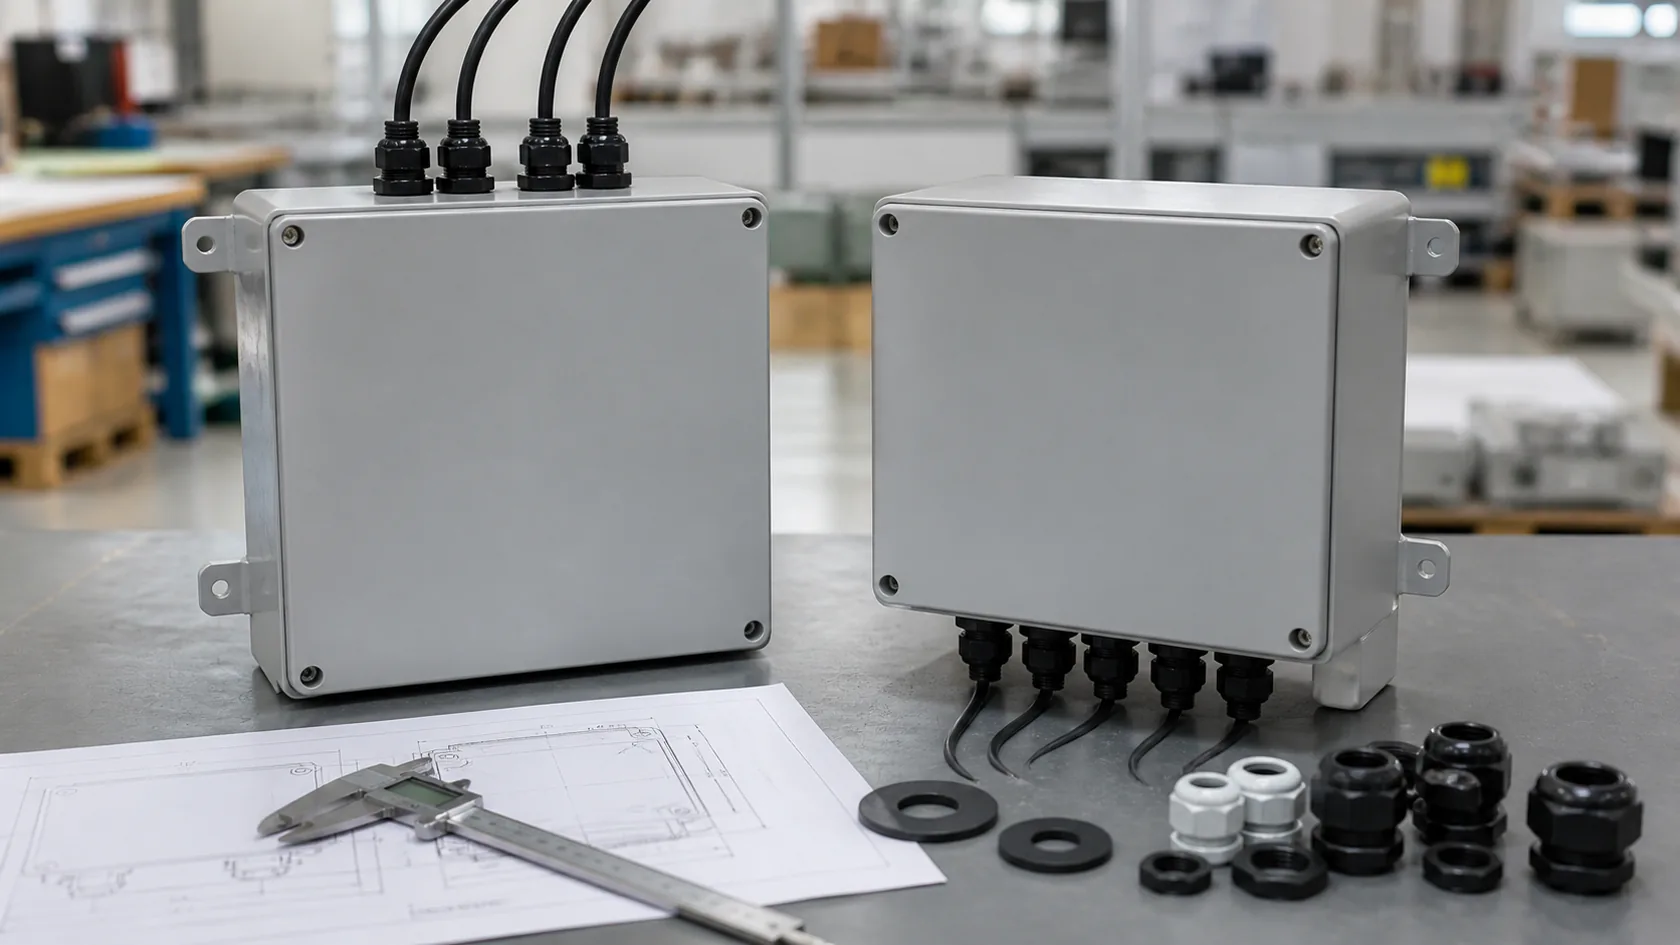
Cable entry position often becomes a small fight between convenience and reliability.
The installer wants the shortest route. The product engineer wants clean wiring. The buyer wants the enclosure to look neat. The maintenance team wants easy access. The outdoor environment, sadly, does not care about any of these wishes.
Rain only follows gravity, surface tension, wind, and time.
In OEM outdoor enclosure projects, I often see this discussion appear late. A customer sends a drawing with holes on the top because the cables come from above. Another customer asks for bottom cable entry because someone told them it is always safer. Both ideas can be right in some situations. Both can also create problems if the rest of the design is ignored.
At MaidaTech, I do not judge top or bottom cable entry only by which position is easier to machine. I look at the installed direction, rain path, cable bend, gland range, sealing washer, base drainage, internal layout, and whether a worker can assemble it without inventing a solution on site.
This article compares top and bottom cable entry from a practical factory view. It is not a rulebook. It is a way to avoid the kind of outdoor failure that starts from one convenient hole.
Let us begin with the simple reason this decision matters so much.
Cable Entry Position Is a Water Management Decision
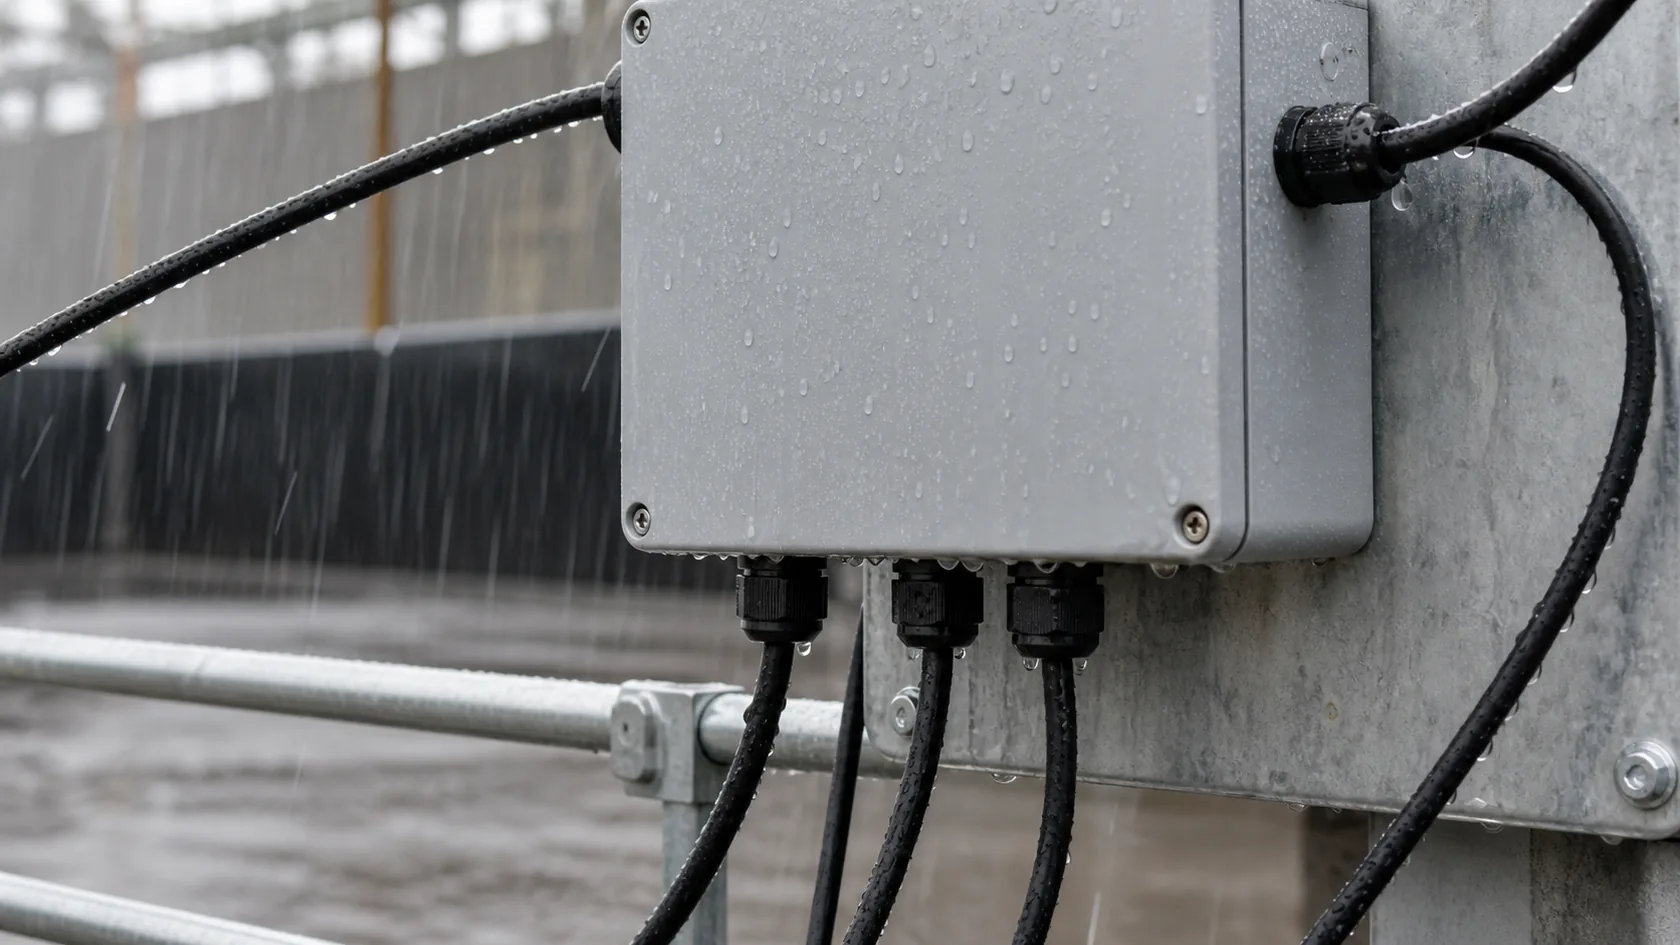
Cable entry is not only a wiring decision. It is a water management decision.
When an enclosure is installed outdoors, water can reach the cable entry area in several ways. Rain can fall directly on the gland. Wind can push water sideways. Water can run along the cable jacket. Condensation can form inside conduit. A worker can wash the equipment with a hose. In coastal or industrial areas, salt and dirt can also sit around the entry and slowly attack the seal.
Standards such as IEC 60529 describe degrees of protection provided by enclosures, and NEMA enclosure Types are used for environmental protection categories. These are useful references. But in real installations, the enclosure rating, cable gland, washer, cable route, and assembly quality must all work together.
How Water Usually Finds the Entry
| Water path | Why it matters |
|---|---|
| Direct rain on top gland | Water sits around the entry and tests the seal longer |
| Cable from above | Water follows the cable sheath toward the gland |
| Side wind and spray | Side entries can receive water even under a small cover |
| Standing water near base | Bottom entry can be exposed from below |
| Conduit moisture | Water can move inside conduit like a small pipe |
| Condensation | A sealed box can still have moisture cycles inside |
This is why I do not like to approve an outdoor cable entry from one drawing view. A front view may look clean, but water moves in three dimensions. The real question is not "Where is the hole?" The real question is "Where will water go after the product is installed?"
Once we think this way, the risk of top entry becomes easier to understand.
Why Top Cable Entry Looks Convenient
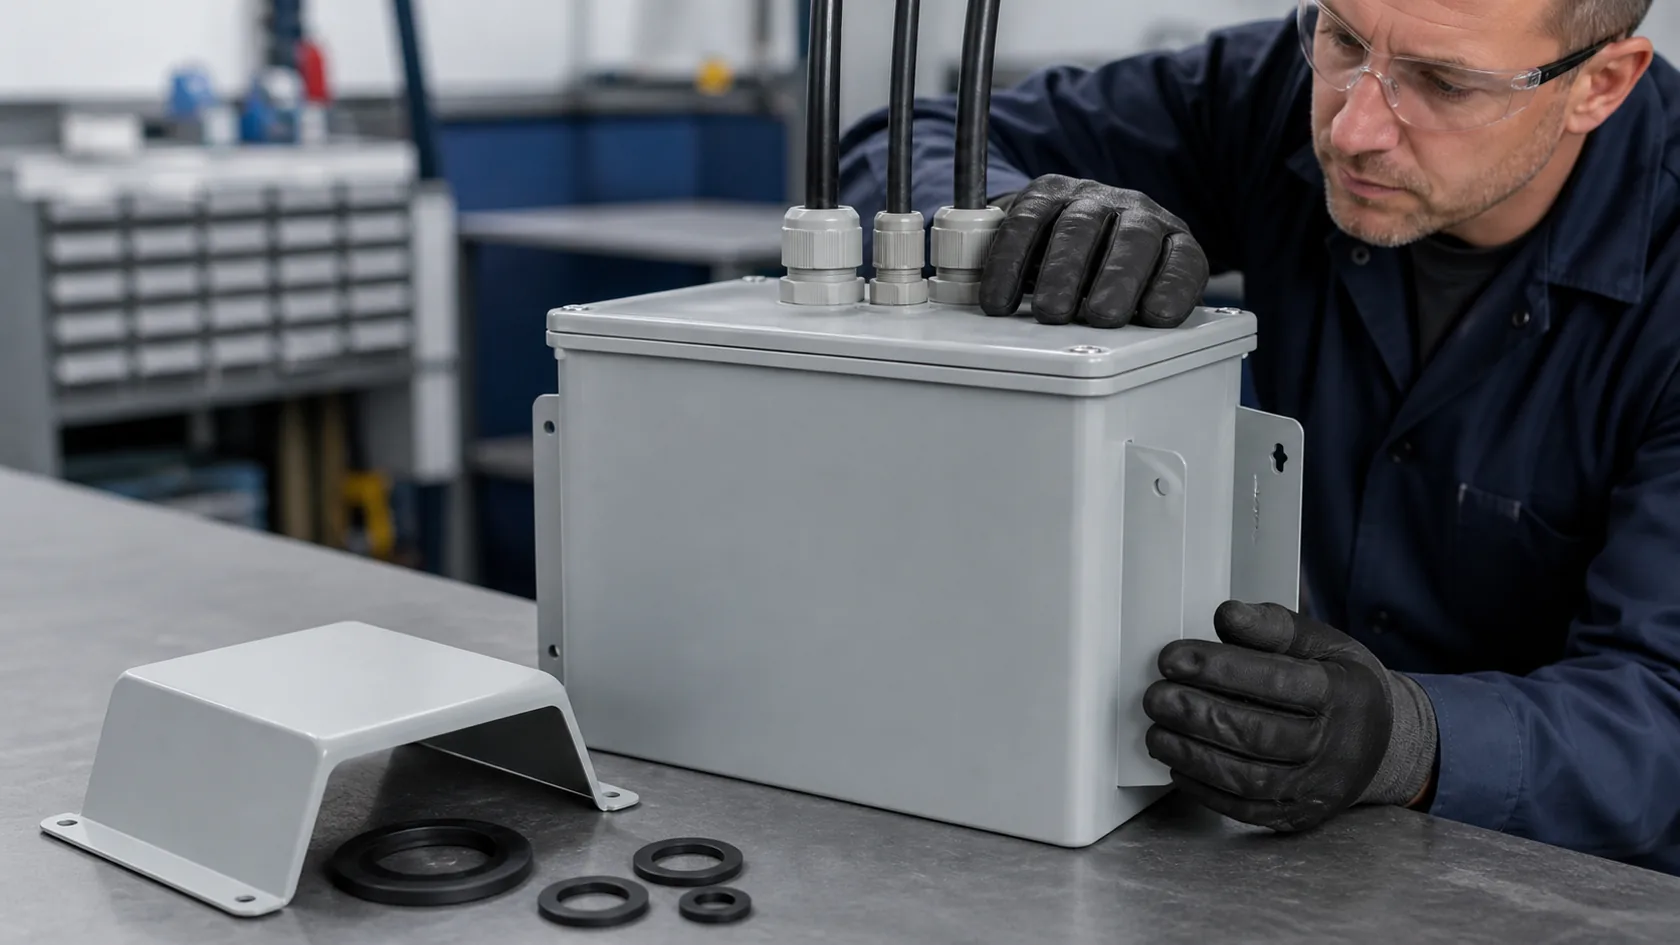
Top cable entry often looks attractive on the first layout.
The cable may come from a ceiling tray, pole, solar panel, antenna mast, or upper machine frame. A top entry can make the cable route short and clean. It may also save space on the side walls. For some compact enclosures, top entry gives more room for terminals and PCB mounting inside.
That convenience is real. I do not ignore it.
But the top of an outdoor enclosure is usually the place where water naturally lands first. If we drill holes there, we ask the cable glands and washers to fight direct rain, dust, UV, and sometimes standing droplets all the time. A gland may be rated well, but the installed interface still needs the right washer, flat surface, correct torque, and cable fit.
Top Entry Risk Checklist
| Top entry condition | Risk |
|---|---|
| Cable drops straight into gland from above | Water can travel along the cable into the entry |
| No rain hood or shield | Gland receives direct rain and UV exposure |
| Upward-facing connector | Connector area can collect water |
| Flat top surface around gland | Water may sit near the washer |
| Installer over-tightens gland | Seal insert or enclosure wall can deform |
| Cable is too small for gland range | Compression cannot seal the jacket correctly |
My practical judgment is simple: I only accept top entry when there is a clear reason and a clear protection plan. If the reason is only "the cable route looks shorter," I usually ask the customer to check whether a longer route is cheaper than a future field repair.
Top entry can work, but it should never be chosen casually. Now let us look at why bottom entry is usually preferred.
Why Bottom Cable Entry Is Usually Safer
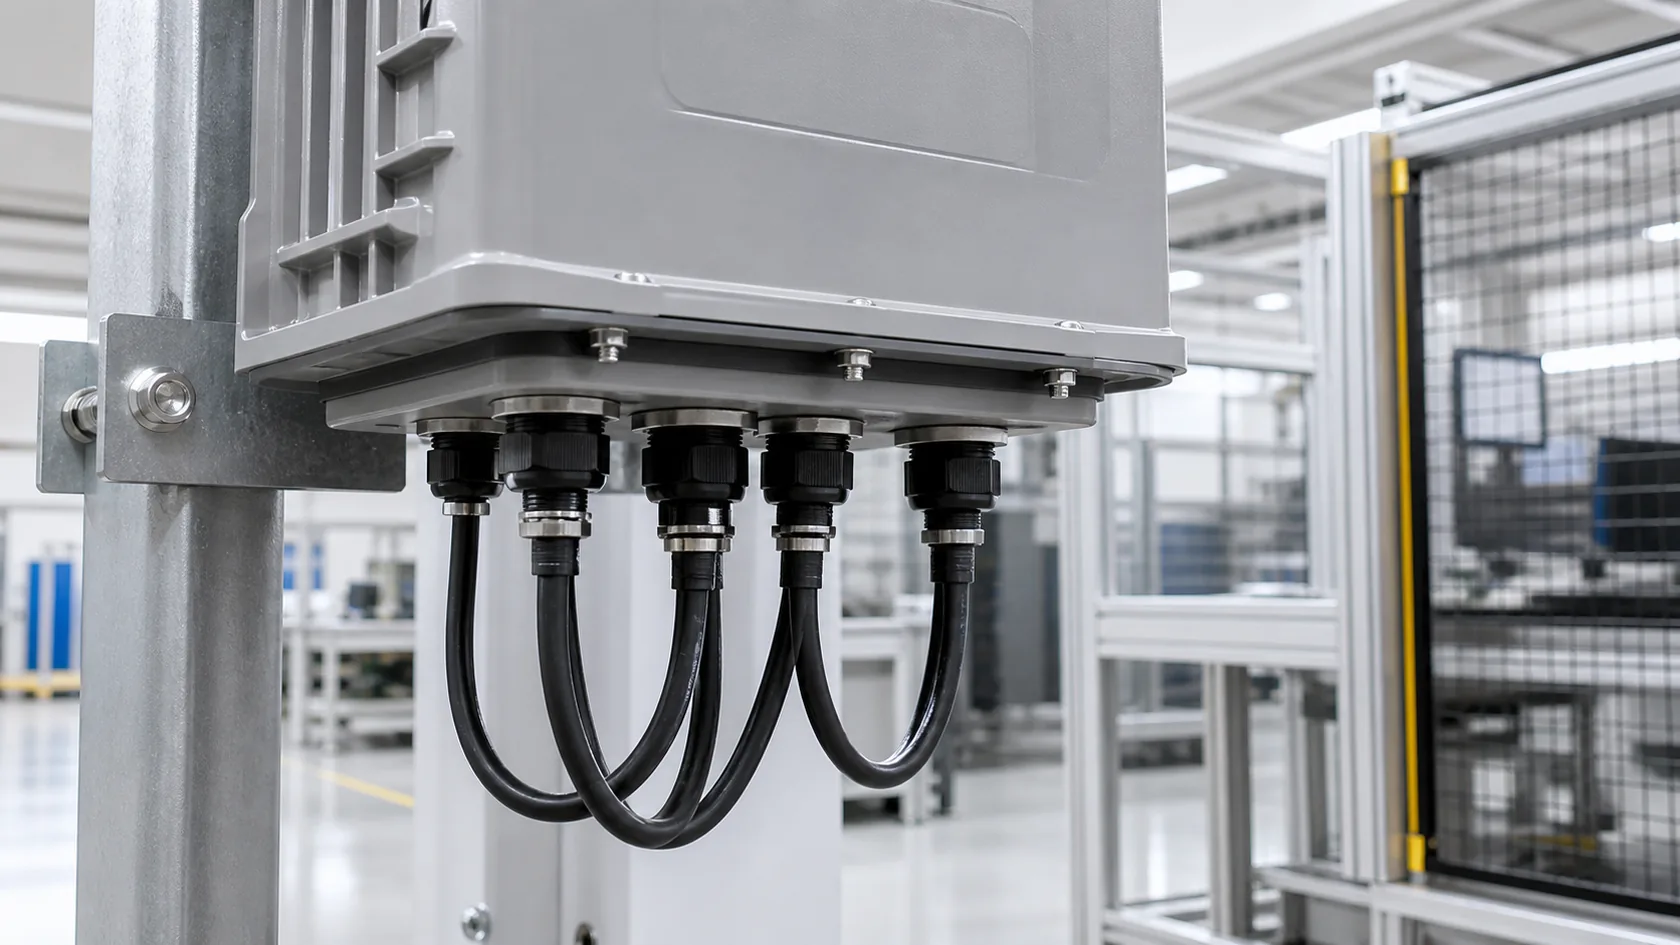
Bottom cable entry is common for outdoor enclosures because it lets gravity help the design.
When cables enter from below, rainwater running down the enclosure or cable is less likely to sit directly on the entry point. A proper drip loop below the enclosure gives water a low point where it can fall away before reaching the gland. The gland still needs to seal well, but it is not fighting direct rain in the same way.
This is why many outdoor cabinets, junction boxes, and control enclosures use a bottom gland plate or bottom cable entry zone.
Good Bottom Entry Design Details
| Detail | Why it helps |
|---|---|
| Drip loop below the gland | Water drops from the lowest point of cable |
| Enough clearance under enclosure | Installer can tighten glands and maintain cables |
| Removable gland plate | Easier machining, service, and future cable changes |
| Flat gasketed plate surface | Better seal between plate and enclosure |
| Correct gland range | Cable jacket is compressed properly |
| Internal strain relief | Cable weight does not pull on terminals |
I like bottom entry when the installation gives us enough space to do it properly. A crowded bottom area can create its own problems. A worker still needs wrench access. The cable still needs bend radius. The base still needs drainage.
Bottom entry reduces many risks, but it does not remove the need for good design. That is the part some people forget.
When Bottom Entry Can Still Fail
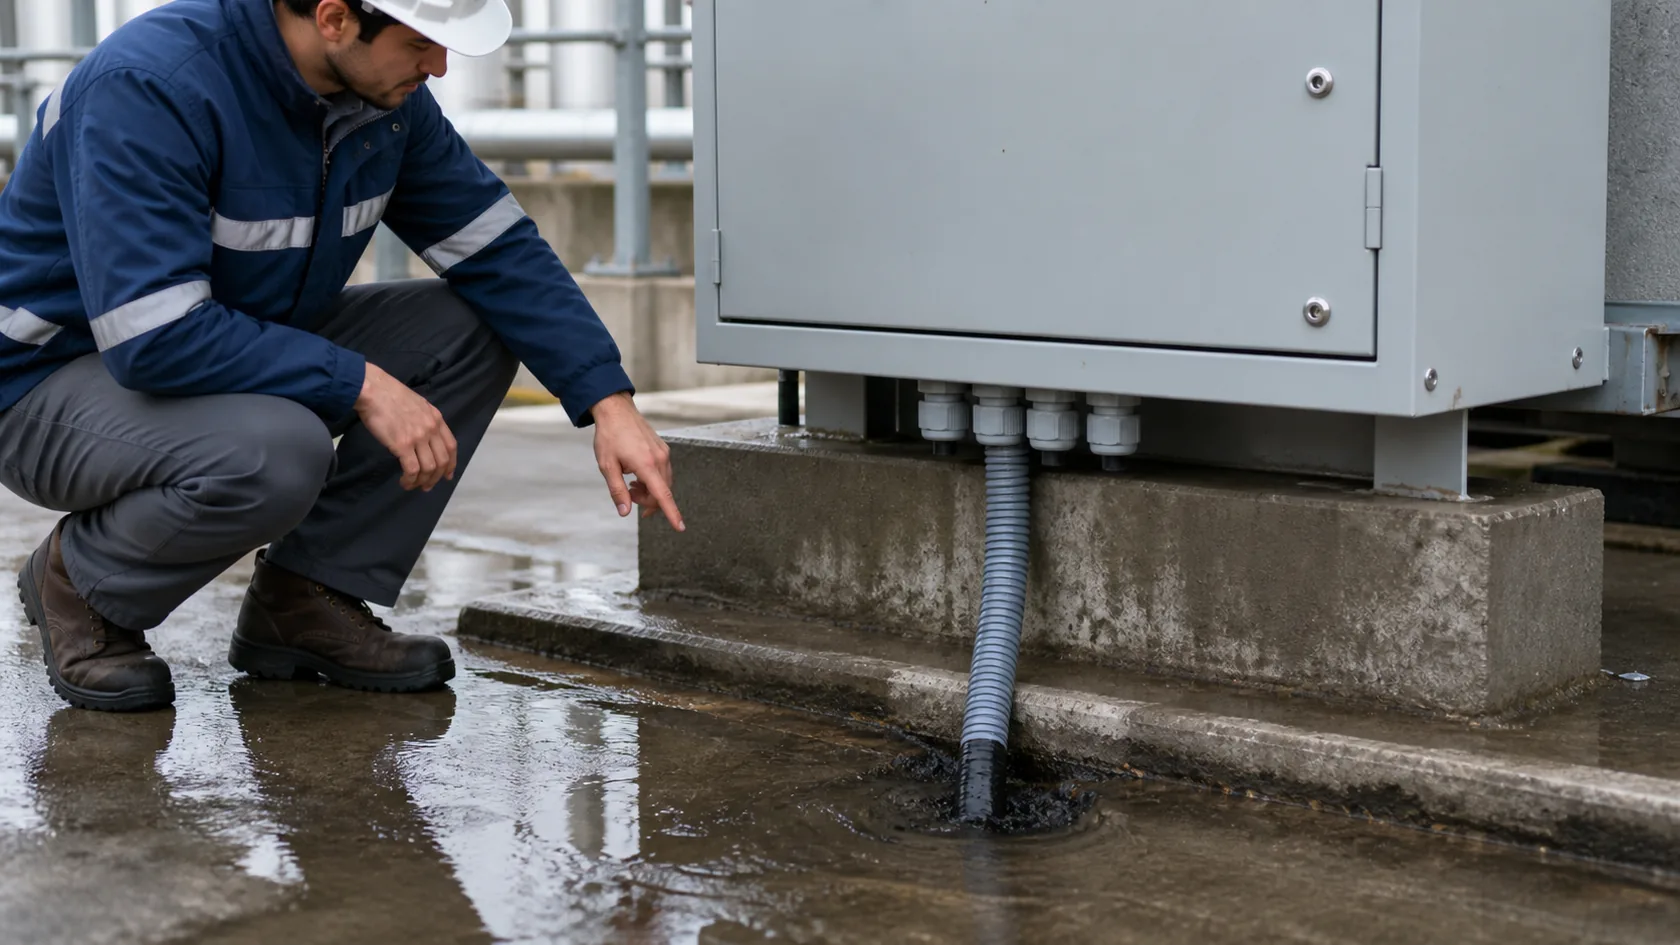
Bottom entry is safer in many outdoor projects, but it is not magic.
If the enclosure is mounted too low, water can splash up from the ground or collect around the base. If cables come from underground conduit, water may travel inside the conduit and reach the enclosure from below. If the gland plate is thin, poorly sealed, or drilled roughly on site, the bottom entry area can become the first leak point.
The old saying in the factory is not very elegant, but it is true: water is patient.
Bottom Entry Failure Points
| Failure point | What happens later |
|---|---|
| Low plinth or poor site drainage | Water collects near the gland area |
| Underground conduit not sealed | Moisture can rise into the enclosure |
| No service clearance | Glands are hard to tighten and inspect |
| Field-drilled gland plate | Burrs and rough holes damage sealing |
| Too many cables in one small area | Locknuts, bends, and terminals become crowded |
| Missing blanking plugs | Spare holes become direct leak paths |
For outdoor projects, I check the installation height and base drainage before I call bottom entry "safe." If the enclosure sits close to a wet floor or a flood-prone pit, bottom entry needs more planning, not less.
This is where buyers sometimes feel confused. The "best" entry position depends on the full environment, not one rule. So what should we do when top or side entry is unavoidable?
When Top or Side Entry Cannot Be Avoided
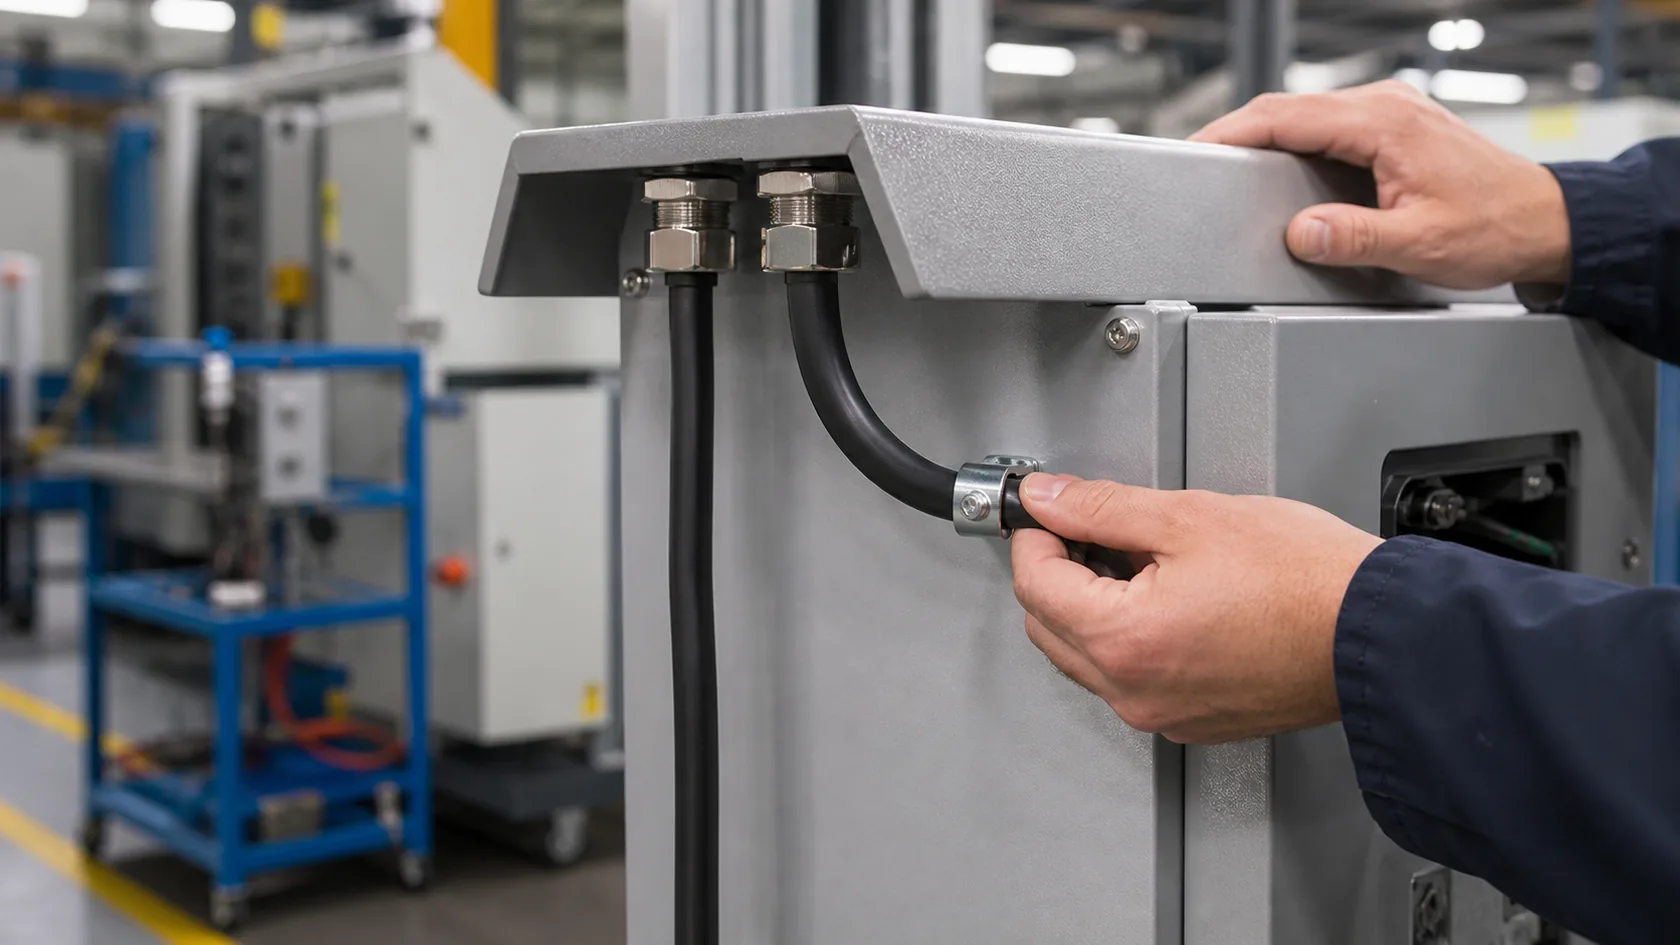
Some projects cannot use bottom entry.
The cable may come from a rooftop antenna. The enclosure may sit on a machine where bottom access is blocked. The internal components may need the lower space. The cable may be pre-terminated and cannot bend sharply from below. In these cases, top or side entry may be necessary.
The goal is not to pretend the risk is gone. The goal is to reduce the direct water path.
Ways to Make Higher Entry Safer
| Protection method | Practical purpose |
|---|---|
| Rain hood or shield | Reduces direct rain on the gland |
| Downward cable bend before entry | Creates a drip point before the gland |
| Side entry on protected face | Keeps entry away from strongest weather exposure |
| Angled gland or elbow fitting | Helps cable approach downward |
| Better sealing washer | Improves wall interface protection |
| Outdoor-rated gland material | Handles UV, temperature, and aging better |
| Clear installation instruction | Prevents workers from routing cable straight down into the gland |
UL also treats mounted accessories and sealing components as part of enclosure environmental performance. Its information on environmental-rated accessories for enclosures is a useful reminder that panel-mounted parts, cable and pipe sealing devices, gaskets, and fittings all matter to the final protection level.
When I approve a higher cable entry, I want to see the cable route, not only the hole. A top gland with a protected hood and drip loop may be more reliable than a careless bottom gland sitting in water. The detail decides.
After position and protection, the next question is inside the enclosure.
Internal Layout Can Decide the Best Entry Position
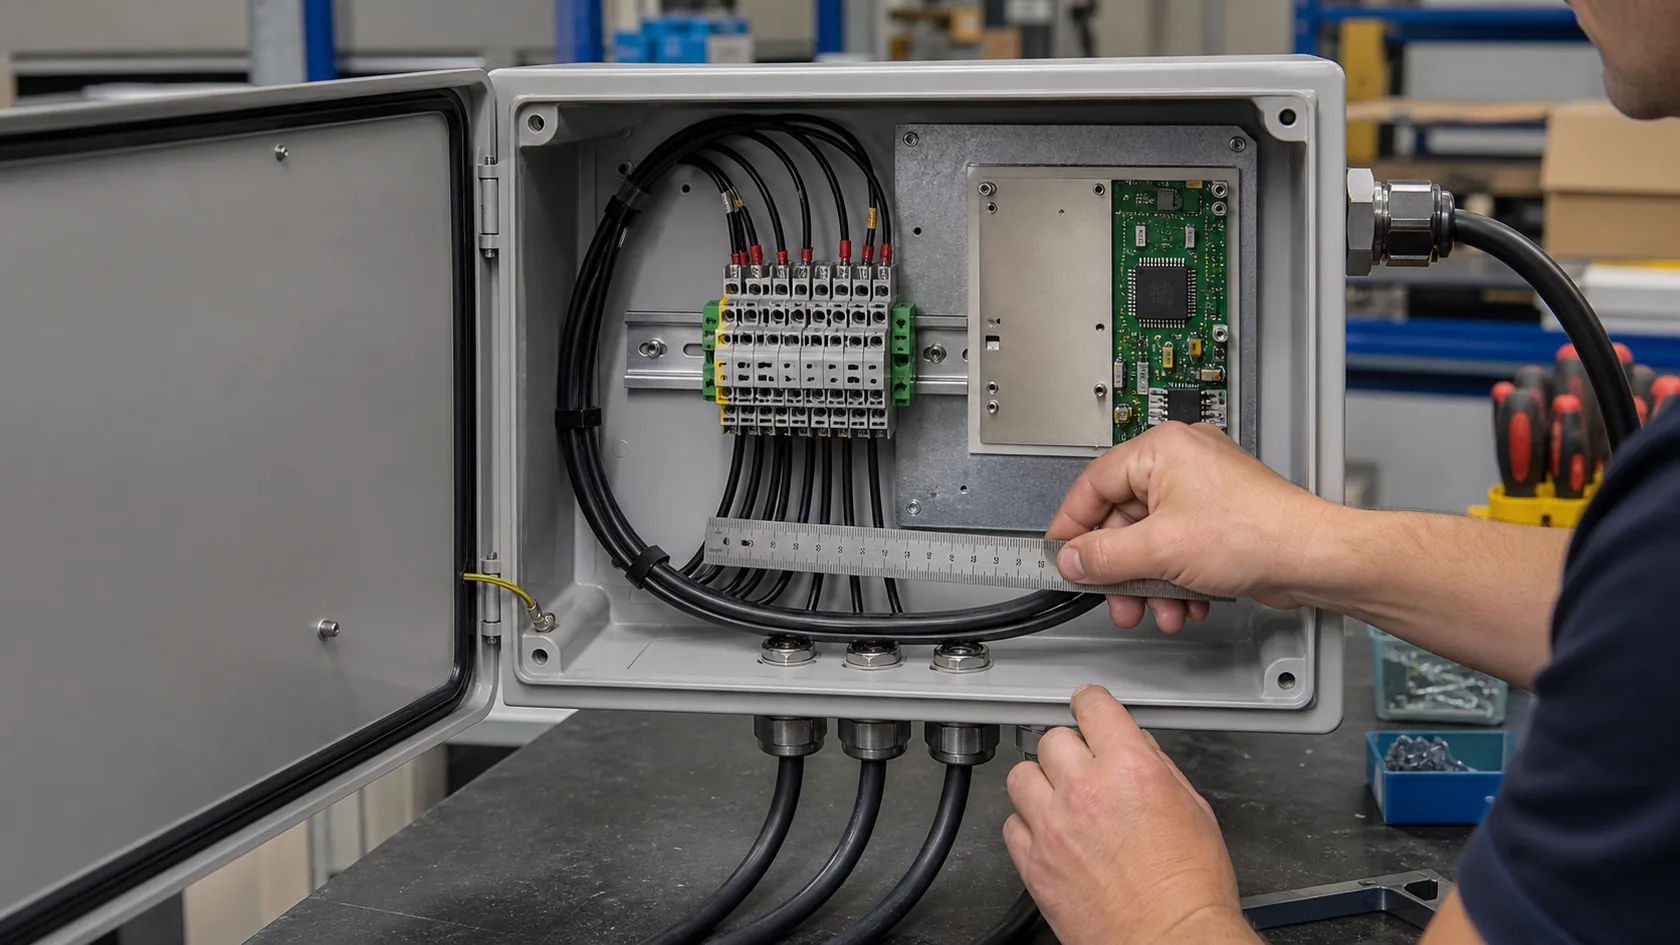
The best cable entry position outside may create a poor layout inside.
This happens more often than buyers expect. A bottom entry may be good for water, but it may force thick cables to bend tightly before reaching terminals. A side entry may be easier for internal wiring, but it may face wind-driven rain. A top entry may keep the inside neat, but it may expose the gland to direct weather.
Custom enclosure design is always a trade-off.
Internal Questions to Ask
| Question | Why it matters |
|---|---|
| Can the cable bend naturally after entry? | Sharp bends stress the cable and gland |
| Is there room for locknuts and tools? | Tight spaces cause poor assembly |
| Will cable weight pull on terminals? | Strain relief may be needed |
| Does the cable block PCB access? | Maintenance becomes slower |
| Are power and signal cables separated? | Noise and safety issues can appear |
| Can the cover close without pressing cables? | Gasket compression can become uneven |
I often ask customers for both the cable OD and the connector or terminal location. These two details help us choose a cable entry position that works outside and inside. If we only check waterproofing, the assembly team may suffer. If we only check wiring convenience, the outdoor seal may suffer.
A good design does not make one side happy and leave the other side to struggle. It balances the outdoor environment with real assembly work.
A Practical Supplier Check Before Production
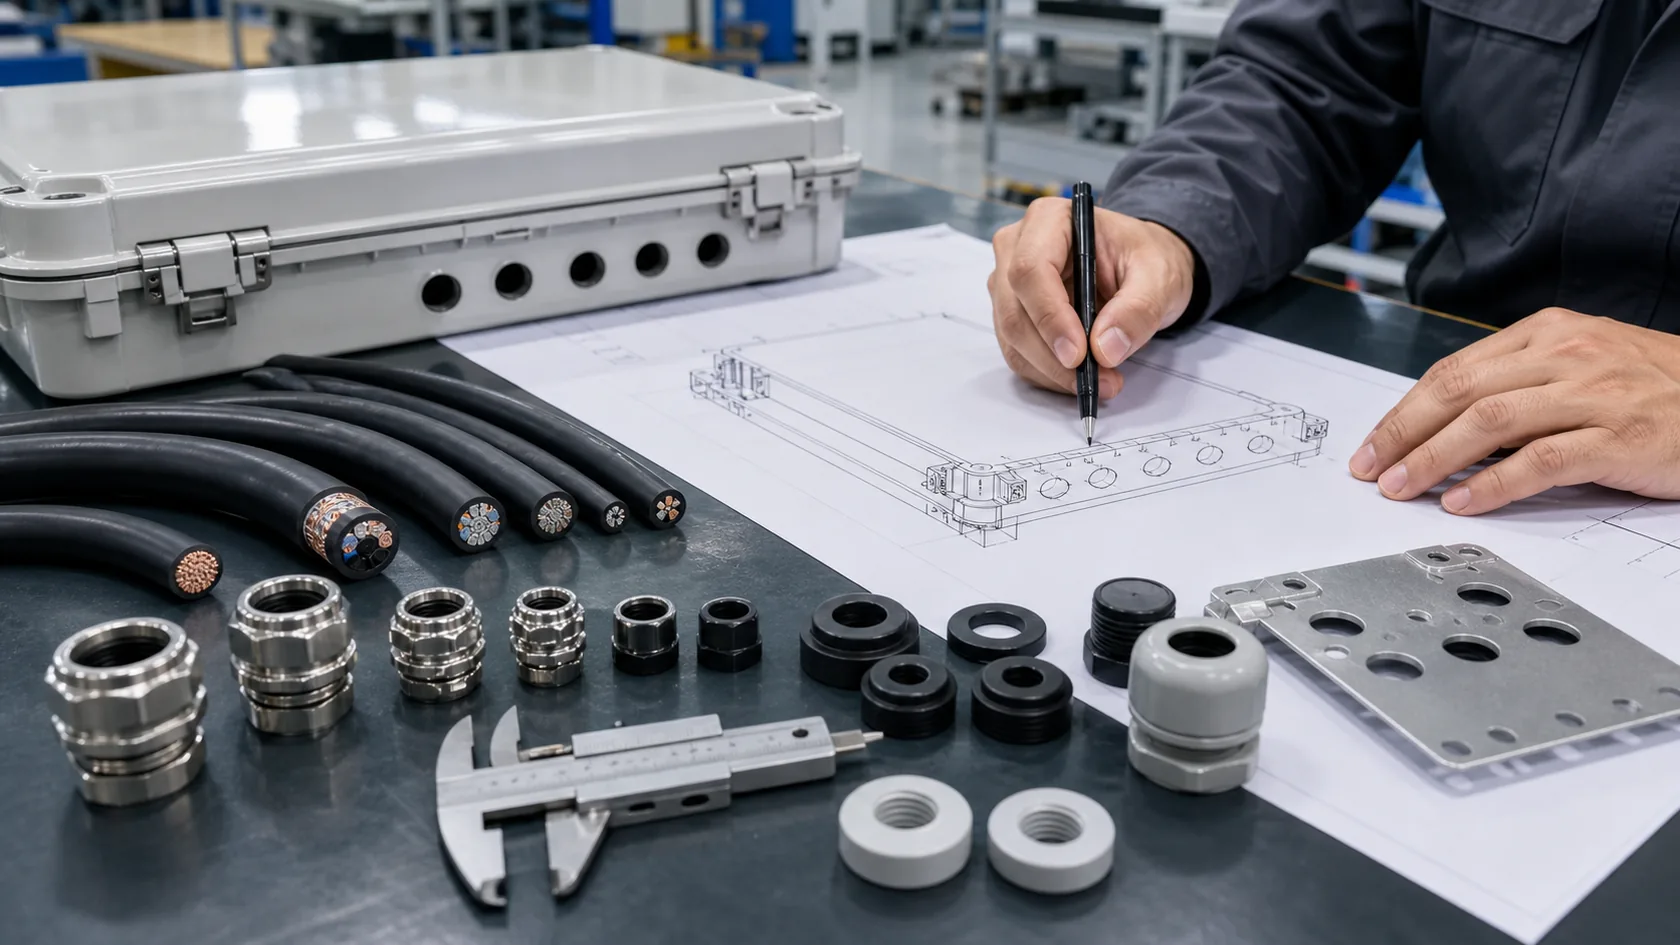
Before machining or tooling starts, I like to slow down and check the cable entry plan. It is much cheaper to move a hole on a drawing than to repair a leaking enclosure after installation.
For OEM orders, this check does not need to be complicated. It needs to be clear.
Cable Entry Information to Confirm
| Item | What the supplier should know |
|---|---|
| Installation direction | Which side faces up, down, wall, or weather |
| Cable route | From above, below, side, conduit, tray, or pole |
| Cable outer diameter range | Minimum and maximum real cable size |
| Cable quantity | Present cables and future spare entries |
| Entry preference | Top, bottom, side, or gland plate |
| Required rating | IP, NEMA Type, or customer test requirement |
| Service access | Room for tools, locknuts, and future replacement |
| Drainage condition | Plinth height, floor slope, conduit moisture, or flood risk |
Cable gland product data, such as a LAPP cable gland technical page, shows why these details matter. Thread size, clamping range, sealing material, temperature rating, UV resistance, and strain relief are not the same thing.
In my factory work, I would rather ask two extra questions before production than explain one leak after delivery. Buyers may feel that cable entry is a small detail, but small details are where outdoor projects quietly become expensive.
Now let us close with the main point.
Conclusion
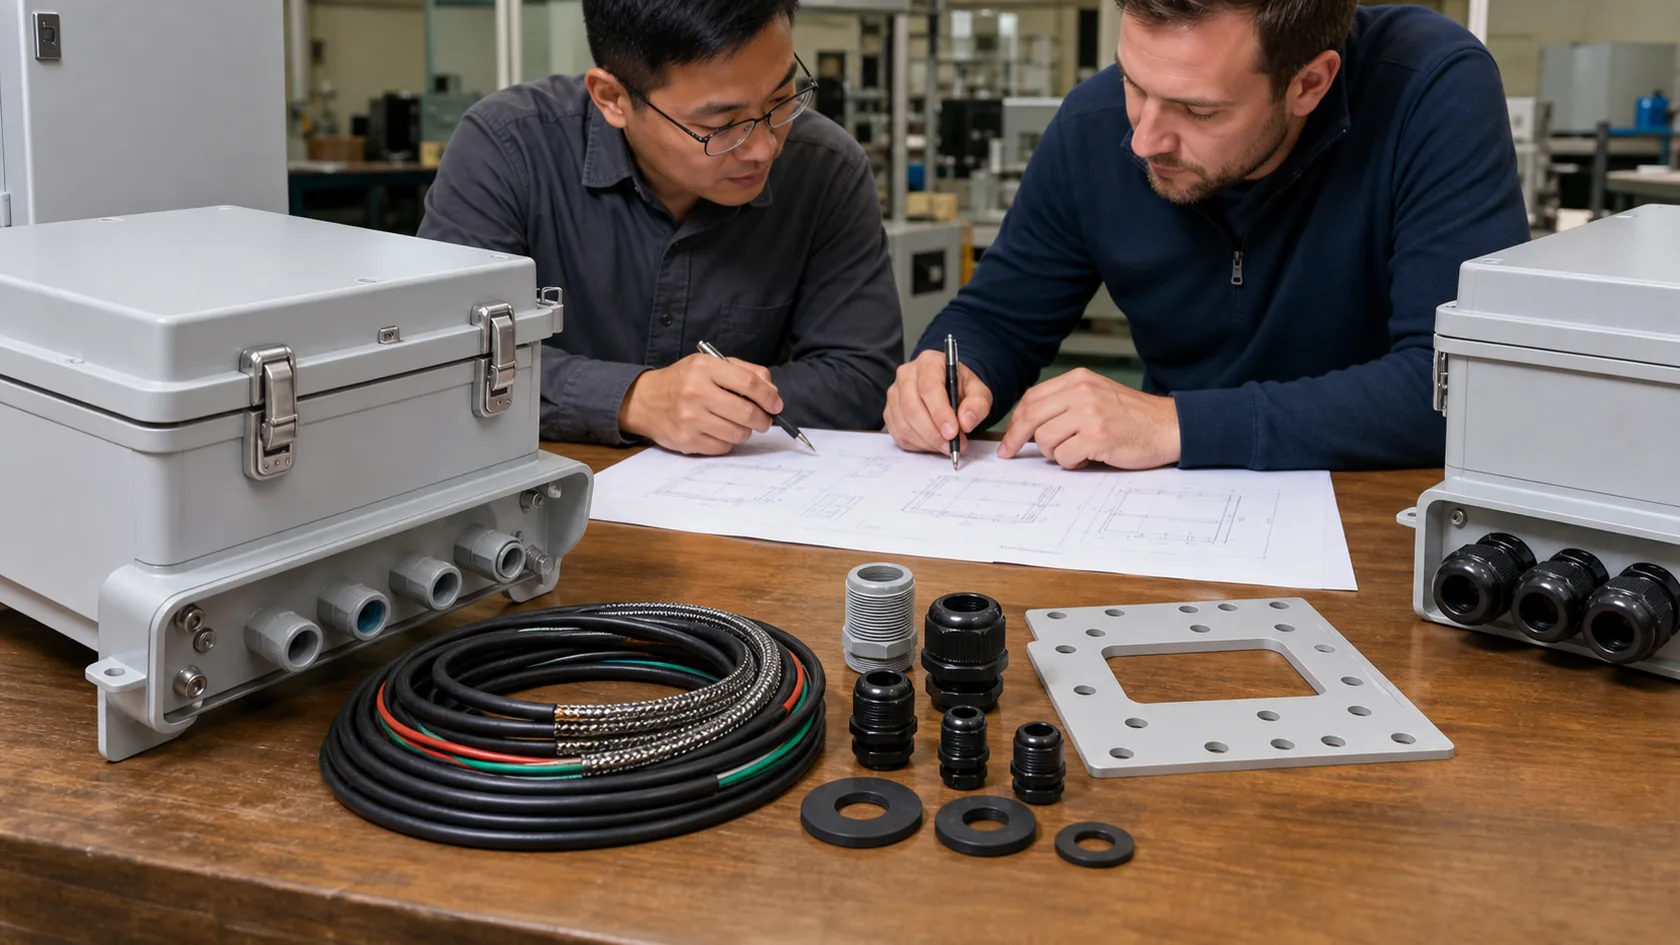
Top vs bottom cable entry is not only a drawing preference.
It is a practical decision about water, cable routing, installation, maintenance, and risk. Top entry can be convenient, but it often puts the gland in the path of rain. Bottom entry is usually safer because gravity helps the design, but it can still fail if drainage, conduit sealing, service clearance, or gland plate quality is poor.
This is why I do not like simple answers such as "always top" or "always bottom." Outdoor enclosure design needs a little more patience than that.
From my experience, the best cable entry position is the one that makes water leave, lets the cable bend naturally, gives workers room to assemble the gland correctly, and keeps future maintenance realistic. If the convenient position creates a direct water path, it is not really convenient. It is only borrowing trouble from the future.
At MaidaTech, we help customers review these details before custom enclosure production. If you are choosing cable entry positions for an outdoor aluminum, plastic, or sheet metal enclosure, send us the drawing, cable route, cable diameter range, and installation direction. We can help you check the risk before the hole is machined.







