Skip to content
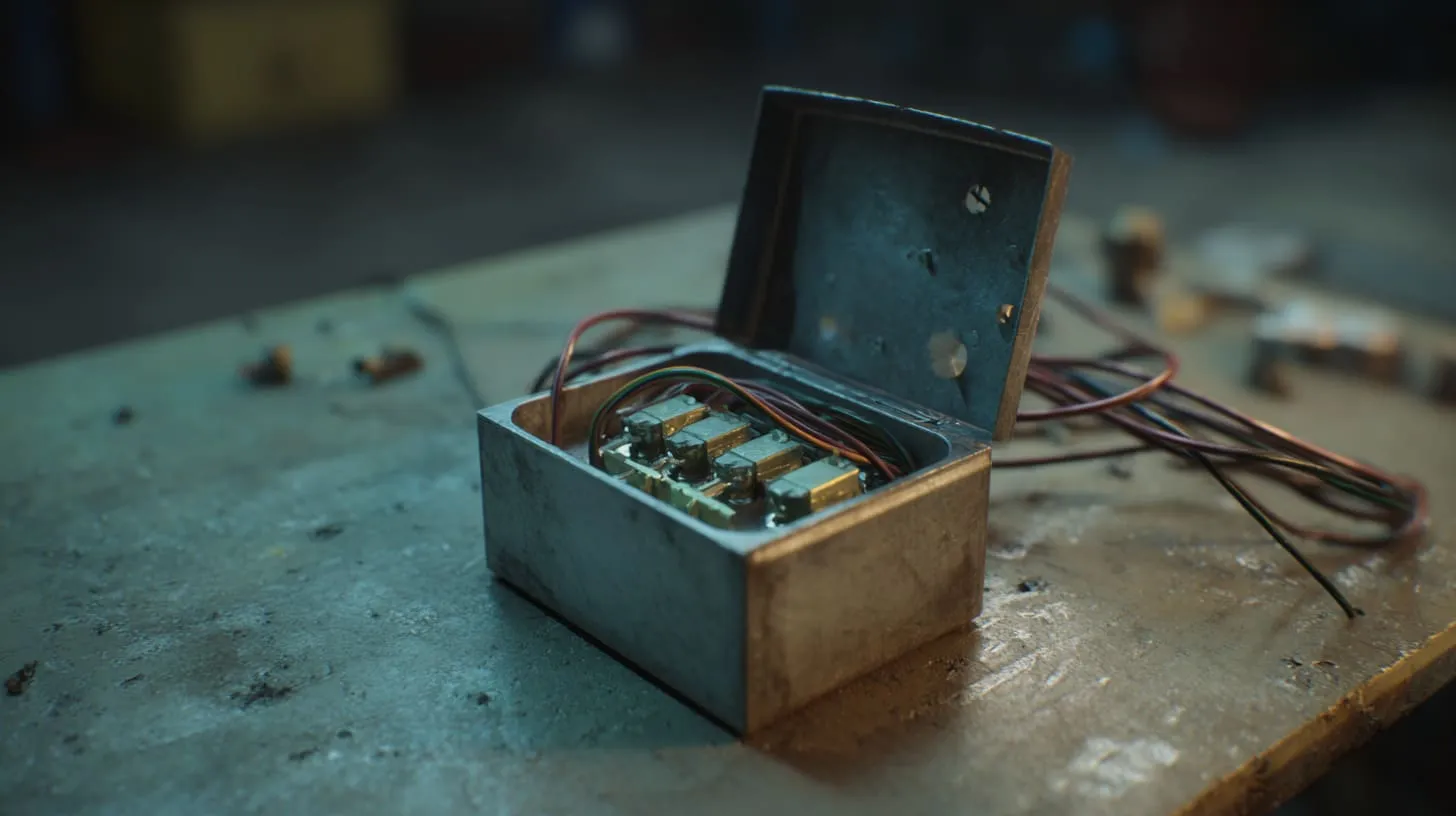
A wiring question usually lands in my inbox in a funny way.
Not dramatic. Not “emergency.” Just a short message with a photo.
A small junction box. A few cables. And one line that always makes me pause:
“Can you tell me the correct way to wire this?”
I get it. A junction box looks simple. It’s just a box.
But inside that box is where heat builds up, where connections loosen, and where small mistakes turn into long troubleshooting nights.
In real projects, junction boxes show up everywhere:
- A factory control panel that needs a clean branch connection
- A retail sign power feed where cables must be protected
- A residential renovation where circuits get extended
- A small machine build where an OEM wants neat wiring and a labeled, serviceable layout
The risks of doing it “almost right” are very real:
- Overheating from overcrowding and poor splices
- Loose connections that arc over time
- Code violations that fail inspection or cause rework
- Water and dust issues outdoors that look fine on day one, then rot the project in month six
This guide is written for people like my customers:
- Product engineers like Davide who need reliable OEM wiring practices
- ODM builders like John who are making a new project and want fewer surprises
- Re-brand buyers like Jackson who care about consistency, service, and fewer returns
One important note before we start: I’m sharing practical wiring guidance and common code concepts, but local rules and licensed work requirements matter. If your location requires a licensed electrician, follow that rule. Safety comes first.
Now let’s slow down and make the box feel less mysterious.
What Is a Junction Box and What Does It Do?

A junction box is a protected space where wires can meet, splice, branch, or terminate.
That sounds plain. But the “protected space” part is the whole point.
Definition and basic function of a junction box
A junction box does three jobs at the same time:
- Protect the connection from touch, impact, and movement
- Control the cable entry so wires are not pulled or cut
- Contain heat and sparks if a fault happens inside
If you’ve ever opened an old box and smelled that “warm plastic” odor, you already know why the box exists. Connections live. Connections age. The box is the seatbelt.
Differences between junction boxes and other electrical enclosures
People mix these terms up, so I keep it simple.
| Item | What it is | What it’s for | Common mistake |
|---|---|---|---|
| Junction box | A small enclosure for wire splices or branch points | Splicing, branching, termination | Treating it like “any box works” |
| Device box | A box for switches, outlets, devices | Holding a device + wiring | Overfilling with splices |
| Pull box | A box to help pull conductors in conduit runs | Pulling, access, bend relief | Using it for uncontrolled splices |
| Control enclosure | A larger cabinet for components | Breakers, relays, PLCs | No cable strain relief, messy routing |
In industrial builds, the line between “junction box” and “small enclosure” can blur.
But the wiring rules do not blur. Heat and vibration do not care about the label.
How junction boxes protect wires, connections, and users
A box protects in a few very practical ways:
- Keeps fingers away from live splices
- Keeps metal edges away from insulation
- Provides a grounding path when the box is metal (and bonded correctly)
- Gives a stable place to clamp or gland the cable
Here’s a thought I share with buyers: a junction box is not only a container. It is a system boundary. If the boundary is weak, the whole system becomes fragile.
I’ve seen the “fragile boundary” problem most often when someone is rushing to meet a schedule. And that brings us to the next question people skip: what kind of box are we dealing with?
Types of Junction Boxes You May Encounter
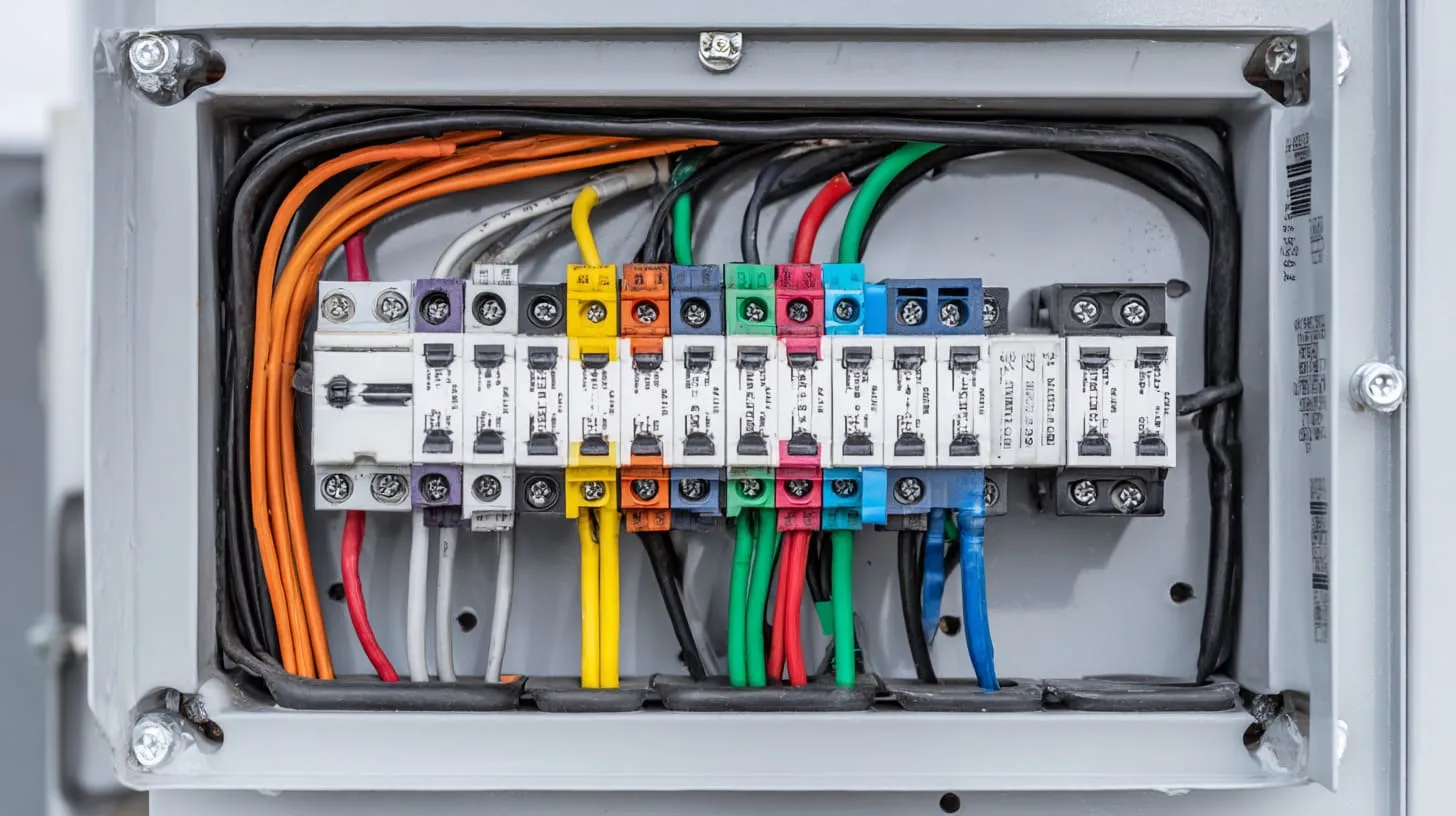
If you wire a box the same way in every environment, you will eventually get burned.
Not because you are careless. Because the environment is different.
Plastic vs. metal junction boxes
Plastic boxes are common and convenient. They resist corrosion and are light.
Metal boxes are strong and can handle impact, and they can provide grounding when done correctly.
But the trade-offs are real:
| Box material | Pros | Cons | Where it usually wins |
|---|---|---|---|
| Plastic | No rust, light, easy to drill | Not a grounding path, can crack in cold, UV aging outdoors | Indoor, light-duty, clean environments |
| Metal (steel/aluminum) | Strong, good heat handling, can be bonded/grounded | Needs bonding, corrosion risk if wrong coating, sharp edges if poorly made | Industrial, high-traffic, better long-term robustness |
I often tell Davide: metal boxes forgive abuse, but they demand correct grounding.
Plastic boxes forgive grounding confusion, but they demand good strain relief.
Indoor vs. outdoor junction boxes
Indoor boxes deal with dust and handling. Outdoor boxes deal with water angle and sun.
I’ve seen outdoor failures that looked “impossible” until you think like rain:
- Water runs along the cable jacket
- Water pools at the lowest point
- Wind pushes rain sideways
- Condensation happens inside sealed boxes too
So outdoor boxes need:
- The right ingress protection (IP or NEMA) for the actual site
- Proper glands or fittings
- Gaskets that match the temperature swing
Surface-mounted vs. flush-mounted boxes
Surface-mounted boxes are easier to access and service.
Flush-mounted boxes look cleaner but can hide problems behind walls.
A simple question helps:
- Do you need frequent service access? Surface mount helps.
- Do you need a clean finish and fixed wiring? Flush mount can work.
Industrial junction boxes vs. residential boxes
Industrial boxes often see:
- Vibration
- Oil mist or chemicals
- Higher cable counts
- More frequent access by technicians
Residential boxes usually see:
- Lower vibration
- More stable environment
- Lighter cable load
If you are an OEM builder, you should design for the harsher case.
Because your customer might install it in the harsher case.
This is where people jump to “how to connect wires,” but I always stop first and ask: what rules do we need to respect?
Electrical Codes and Safety Requirements Before Wiring

I’m not going to pretend one blog can replace your local code book.
But I can help you avoid the common traps that cause rework.
Overview of NEC / IEC / local electrical code considerations
In many regions, NEC (NFPA 70) is the reference. In many others, IEC 60364 is the base standard, and local versions apply. IEC 60364 is widely used and then localized by country rules.
If you are selling globally, here is the practical approach:
- Use NEC-style discipline for box fill, grounding, and workmanship
- Also respect IEC-style installation methods and local safety requirements
- Always confirm the local authority rules for the actual install site
Grounding requirements and why they matter
Grounding is not “extra.” It is how faults clear safely.
For metal boxes, bonding and grounding continuity rules are a big deal in NEC-style practice.
A simple way to think:
- If a hot wire touches the metal box, the box should not become a “silent live surface.”
- The grounding path should be low resistance so protective devices can trip.
Box fill rules and wire capacity limits
This is the quiet killer: overcrowding.
NEC-style box fill rules use conductor “volume allowances” based on wire size (AWG). Table-based allowances are used to prevent overheating and insulation damage.
Even if you are not in a strict NEC region, the physics still applies:
- More conductors = less air space
- Less air space = more heat
- More heat = weaker insulation and looser connections over time
When permits or inspections are required
If your work is in a building system, you may need:
- A permit
- A licensed installer
- A final inspection
For OEM equipment wiring, the rules can shift depending on:
- Where the equipment is installed
- Whether it is “field wiring” or “factory wiring”
- The local inspection body
If you ignore this, you can finish everything and still lose the schedule at the finish line.
Okay. Enough “rules talk.” Let’s get practical. What do you actually need on the bench?
Tools and Materials Needed to Wire a Junction Box
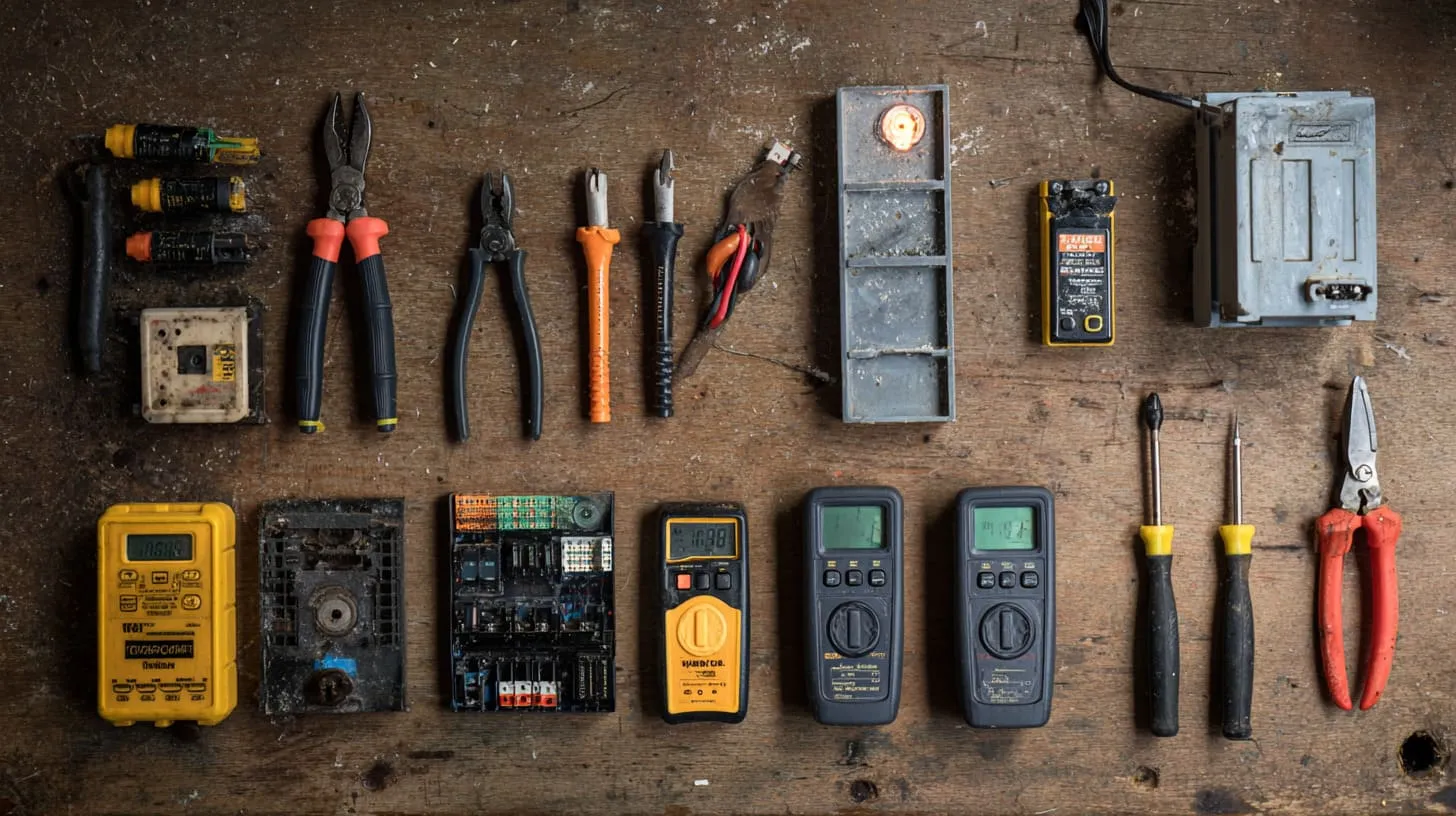
I like simple tool lists.
If you need ten special tools to do a basic splice, something is off.
Essential tools (screwdrivers, wire strippers, testers)
Here’s my core kit:
| Tool | Why I use it | What it prevents |
|---|---|---|
| Insulated screwdrivers | Terminal tightening | Stripped screws, loose clamps |
| Wire stripper (correct gauge) | Clean strip without nicking | Weak conductors, breakage |
| Side cutter | Clean wire ends | Messy twists, poor contact |
| Voltage tester / multimeter | Verify power is off and test after | Shock, miswired circuits |
| Torque driver (when specs exist) | Consistent tightening | “Feels tight” failures |
That last one matters more than people admit.
Loose terminals are a slow-motion failure.
Common materials (wire nuts, terminals, clamps)
Connections depend on your region and your build style.
Common options:
- Wire connectors (like twist-on connectors in some markets)
- Lever connectors
- Crimp terminals
- Terminal blocks (common in industrial boxes)
I like terminal blocks for OEM wiring because they feel like discipline:
- easier inspection
- easier service
- easier labeling
Choosing the right wire type and gauge
I won’t push one wire type here. Local rules differ.
But I will push one principle: match gauge, insulation rating, and temperature rating to the actual load and environment.
A quick decision table helps:
| Question | If “yes” | Then I consider |
|---|---|---|
| Outdoor or wet area? | Water risk | Better sealing, correct glands, IP/NEMA match |
| High temperature nearby? | Heat risk | Higher temp insulation rating, spacing |
| Vibration present? | Loose risk | Better strain relief, terminal blocks, ferrules |
| Frequent service access? | Human risk | Labeling, neat routing, spare length |
Optional accessories for industrial or OEM applications
This is where many OEM builds level up:
- Cable glands or proper fittings (instead of “hole + hope”)
- Strain relief bushings
- DIN rail terminal blocks
- Ferrules for stranded wires
- Labels that survive oil and heat
I’ve watched John do a clean redesign of a small enclosure just by adding terminal blocks and ferrules. The wiring looked calm. The product felt more “real.”
Now, let’s wire the box step by step. Slow and steady.
Step-by-Step: How to Wire a Junction Box
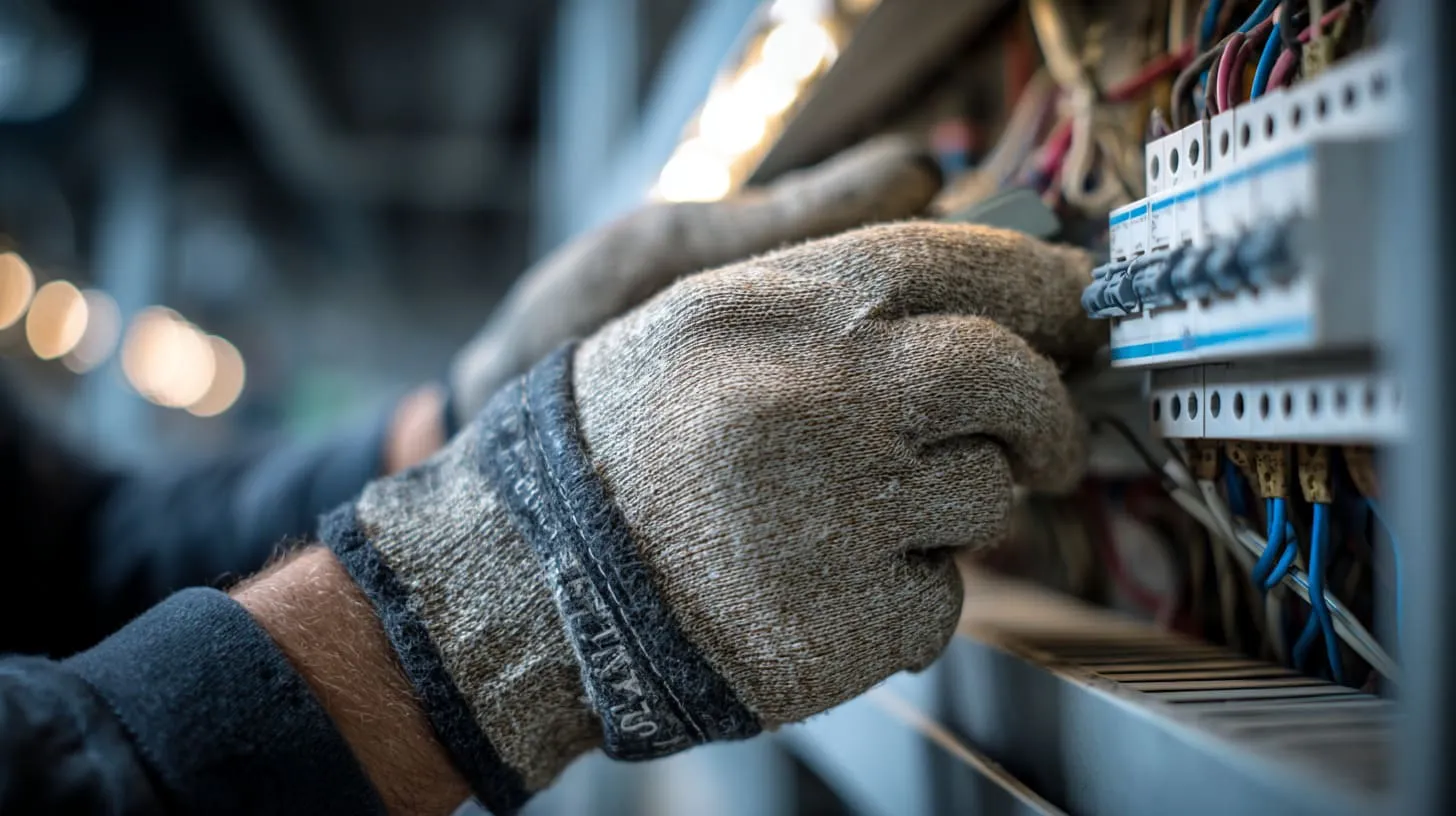
Before I list steps, I want to say this clearly: power safety is not a formality.
I’ve seen experienced people get surprised by backfeed, mislabeled circuits, and shared neutrals.
Step 1: Turn off power and verify safety
Do two actions, not one:
- Turn off the breaker or disconnect
- Test and confirm the circuit is dead with a tester or multimeter
If it is an industrial system, follow lockout/tagout rules.
Step 2: Prepare and strip the wires correctly
This part looks boring, but it decides the quality of the connection.
My simple rules:
- Cut wire ends clean
- Strip insulation to the correct length
- Do not nick copper strands or solid wire
- Keep copper clean (no paint, no glue, no corrosion)
If you damage the conductor, you don’t always see the problem right away.
It shows up later as heat.
Step 3: Feed wires into the junction box properly
Do not pull cables through sharp edges.
Use correct fittings:
- Cable clamp
- Gland
- Bushing
The goal is strain relief.
So the connection inside the box is not carrying pulling force.
Step 4: Connect wires (hot, neutral, and ground)
The labels differ by region, but the idea is stable:
- Connect like-to-like
- Keep grounding continuous
- Keep neutral correct
- Keep hot conductors correct
If you have multiple circuits in one box, mark them clearly.
Mixed circuits are where future technicians get angry.
Step 5: Secure wire connections and manage wire layout
Now make it neat:
- Tug test each connection gently
- Keep bends smooth, not sharp
- Do not crush insulation under the cover
- Keep bare copper minimal and controlled
A messy box can still work today.
But it becomes a future service nightmare.
Step 6: Close and secure the junction box cover
The cover is part of the safety system:
- It keeps fingers out
- It supports ingress protection (if gasketed)
- It keeps dust and debris off connections
Here is a quick “done right” checklist:
| Check item | What I look for |
|---|---|
| Power verified off | Tester confirms no voltage |
| Cable entry secured | Clamp or gland holds cable |
| Correct connections | Like-to-like, labeled if needed |
| Grounding continuous | Bonding done if metal box |
| Box not overcrowded | Enough space, no forced cover |
| Cover closes clean | No pinched insulation |
When you do this well, the box looks boring.
And boring wiring is a compliment.
Now, real life is not always a single cable in and a single cable out. Let’s talk about common box layouts.
How to Wire Different Junction Box Configurations
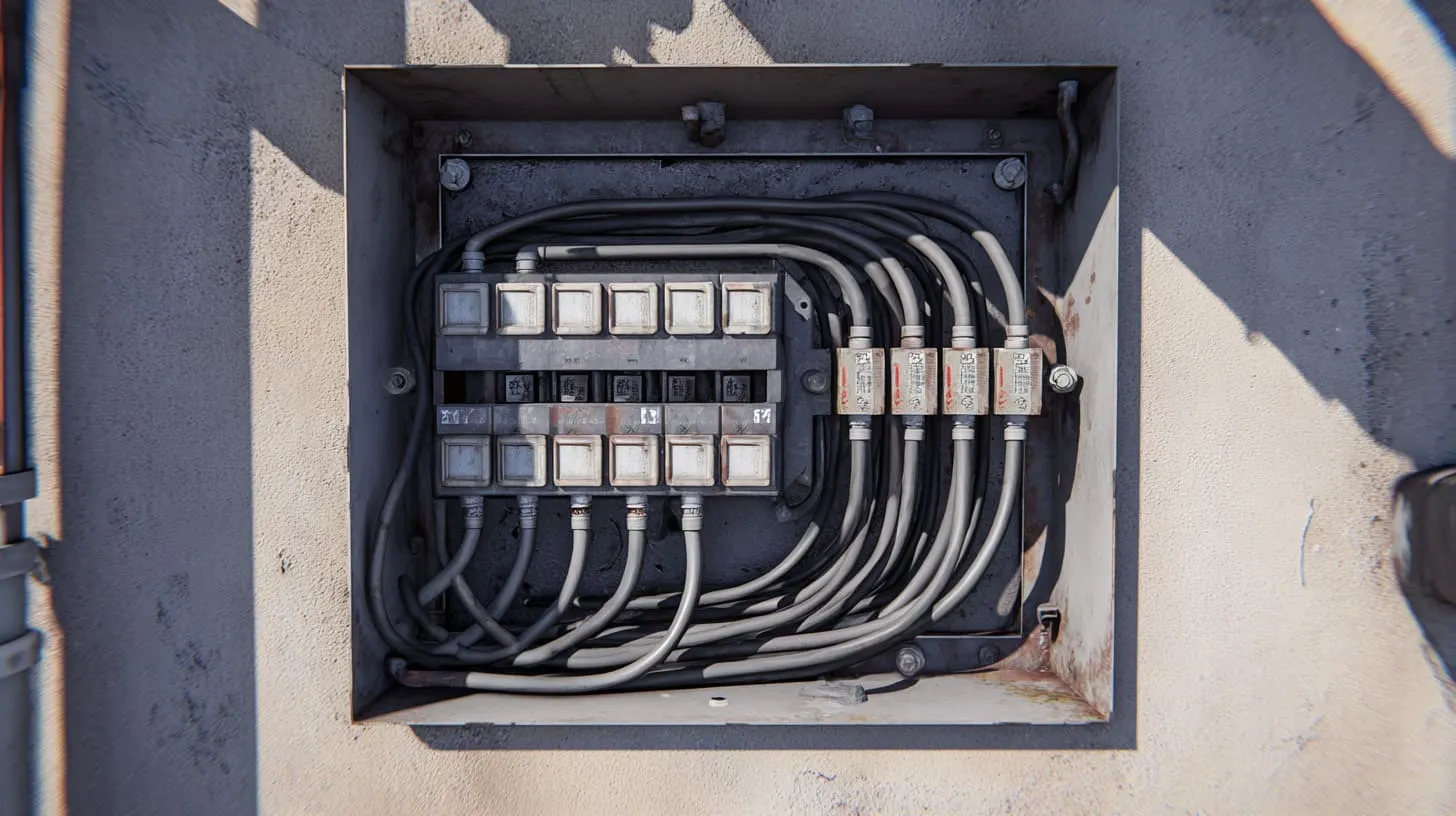
This is where most “quick guides” fail. They show one simple splice.
But your project has three cables, a branch, and one cable that “just passes through.”
So I’ll break it down.
Wiring a junction box with one incoming and one outgoing cable
This is the basic extension:
- Hot to hot
- Neutral to neutral
- Ground to ground (and bond box if metal)
If you are using terminal blocks:
- Incoming lands on one side
- Outgoing lands on the paired terminal
- Ground terminal bonds to the box (for metal)
Wiring multiple cables in a single junction box
This is common in industrial builds and branch points.
Two key risks:
- Overcrowding (heat)
- Confusing which cable belongs to which circuit
What I do:
- Group conductors by circuit
- Use labels or markers
- Use terminal blocks when there are many cables
- Keep a simple wiring diagram in the project file
A small table helps you plan before you cut:
| Cable count | My suggestion |
|---|---|
| 2 cables | Splices are fine if space is OK |
| 3–4 cables | Consider terminal blocks for clarity |
| 5+ cables | Use a larger box or a dedicated terminal box |
Wiring a junction box for branching circuits
Branching means one feed becomes two outputs.
The mistake I see:
- People twist three conductors together with a weak connector, then force the cover closed
A better mindset:
- Branching is a distribution point
- Treat it like a small “mini bus,” not a casual twist
Wiring a junction box with terminal blocks
Terminal blocks are very common in OEM and industrial boxes.
Why I like them:
- Easier inspection
- Easier torque control
- Easier service work
- Cleaner labeling
A simple layout example:
- Left side: incoming conductors
- Right side: outgoing conductors
- Ground bar or ground terminals bonded correctly
When Davide asks for “fewer field complaints,” terminal blocks are often the first upgrade I suggest.
Now we need to face the most misunderstood topic in junction boxes: grounding.
Grounding a Junction Box Correctly
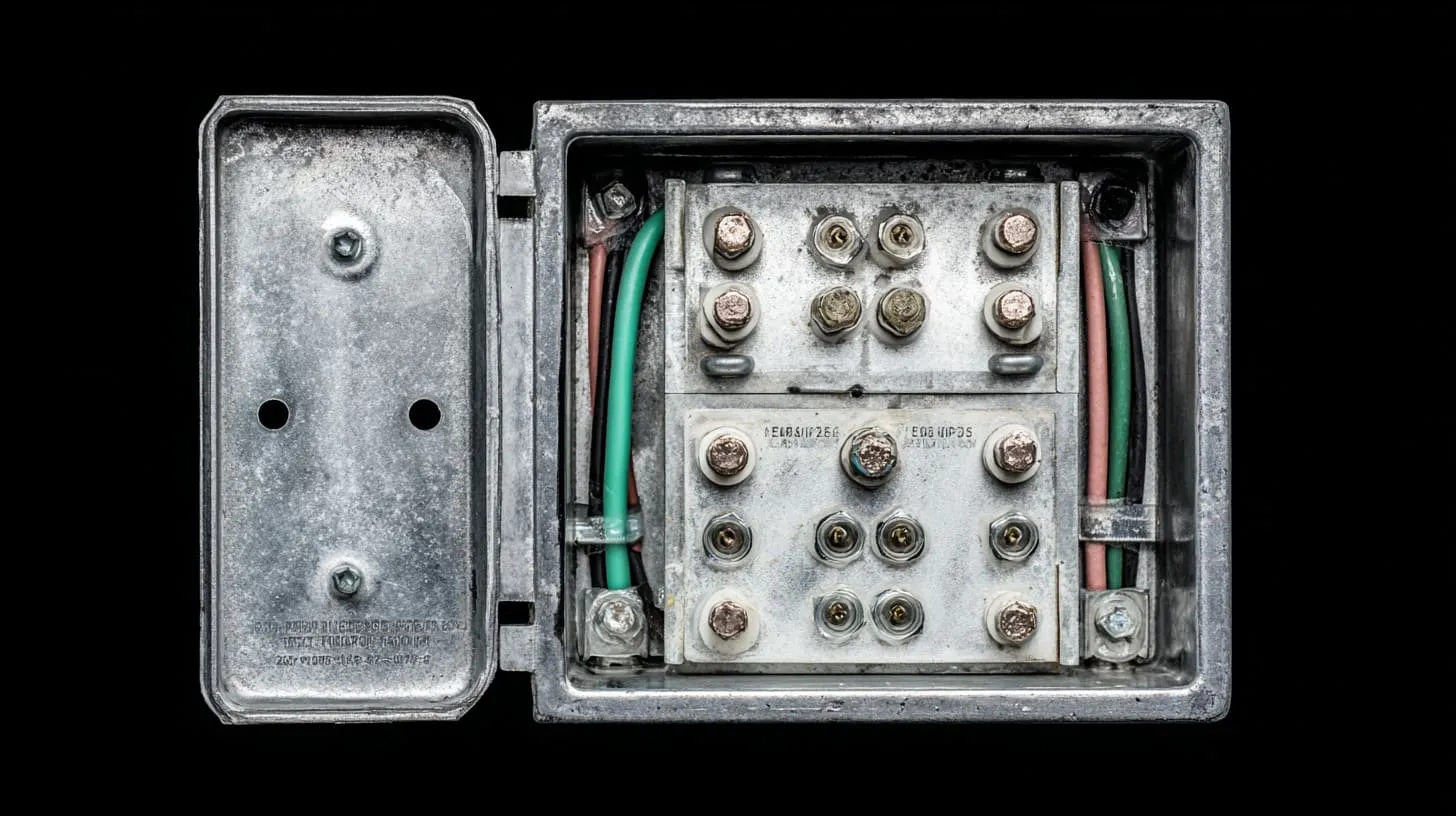
Grounding is the part everyone claims is “obvious,” and then I open the box and see three different ideas inside.
So let’s make it painfully clear.
How grounding works inside a junction box
Grounding inside a box is about continuity:
- All equipment grounding conductors should remain connected
- Metal parts that could become energized should be bonded
- The path should be reliable over time
NEC-style guidance emphasizes maintaining continuity of equipment grounding conductors and bonding metal boxes using suitable methods.
Grounding metal junction boxes
For metal boxes, you typically need:
- A grounding conductor connection
- A bond to the box that is not loose and not “shared” incorrectly
NEC-focused explanations highlight tying the metal box to the equipment grounding conductor with an appropriate connection.
Practical tips I follow:
- Use a proper grounding screw or listed bonding method
- Keep the grounding connection secure and protected
- Do not rely on “accidental contact” as grounding
Grounding plastic junction boxes
Plastic boxes do not need bonding to the box itself (because it is not conductive).
But you still need:
- Ground continuity between cables
- Ground connection to any devices or components that require it
So the grounding conductors still matter.
They still need a reliable connector method.
Common grounding mistakes to avoid
| Mistake | Why it’s risky | What I do instead |
|---|---|---|
| Ground not continuous | Fault current has no clear path | Connect grounds together properly |
| Metal box not bonded | Box can become energized | Bond using proper method |
| Loose ground screw | Vibration loosens it over time | Tighten correctly, use proper hardware |
| Ground used as “spare wire” | Creates confusing, unsafe circuits | Keep grounding for grounding only |
I know this section can feel heavy.
But grounding is the difference between “small fault” and “big accident.”
Next, I want to talk about the mistakes that show up again and again, even with smart teams.
Common Mistakes When Wiring a Junction Box

I don’t like blaming people for mistakes. Most mistakes happen because of speed.
And speed loves shortcuts.
So let’s name the shortcuts.
Overcrowding the box
Overcrowding is the silent problem.
It creates heat. It makes splices weaker. It pinches insulation when the cover closes.
NEC-style box fill guidance exists to keep enough free space and reduce overheating risk.
If you are not sure, one rule helps:
- If you have to force the cover, the box is too small.
Loose or poorly secured wire connections
Loose connections cause:
- Heat
- Arcing
- Random failures that appear “mysterious”
I like to do a gentle tug test on each connection.
Not aggressive. Just honest.
Mixing wire gauges or materials incorrectly
Mixing sizes and materials can create uneven contact pressure.
It can also create corrosion issues in some combinations.
If you must mix, use connectors or terminals that are rated for it.
And document it. Future service depends on your honesty.
Ignoring strain relief and cable clamps
This one hurts because it’s so easy to fix.
No strain relief means the cable movement loads the splice.
A simple table for “what causes movement”:
| Source of movement | Example |
|---|---|
| Human handling | Opening a door, servicing a panel |
| Vibration | Motor, pump, machine frame |
| Temperature change | Expansion and contraction |
| Cable weight | Long drops pulling down |
When Jackson sells on Amazon, returns hurt.
I’ve seen returns caused by nothing more than a cable pulling loose inside a box. That’s painful because it’s preventable.
Now let’s go outdoors, where weather adds a whole new layer of trouble.
Junction Box Wiring for Outdoor and Industrial Use
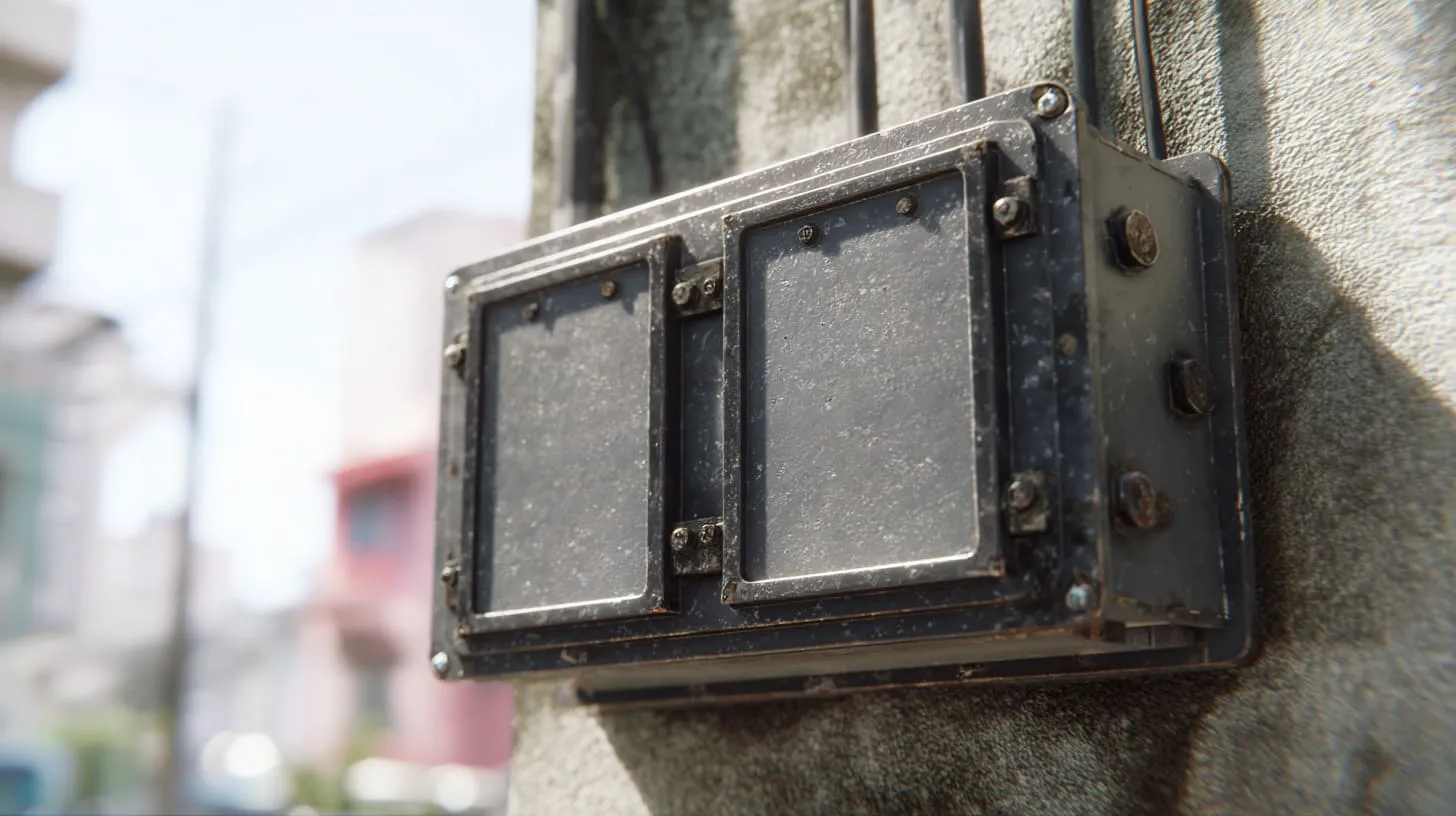
Outdoor wiring is where “good enough” dies fast.
Sun, rain, dust, and condensation are not polite.
Weatherproof and waterproof junction box considerations
First, I separate two ideas:
- Weatherproof: resists rain and splashes
- Waterproof: handles stronger water exposure, sometimes immersion (depending on rating)
Real outdoor problems I see:
- Water enters along the cable jacket
- Gaskets age and compress
- Screws loosen with temperature cycling
So you need:
- Correct rating selection
- Correct glands or conduit fittings
- Good gasket materials
- A clean mating surface (no chips, no dust)
IP and NEMA ratings explained in practical terms
IP ratings are based on IEC ingress protection concepts.
NEMA ratings include broader performance tests and cannot be perfectly “converted” from IP.
A practical note: Many engineers compare them as rough equivalents, but you should treat that as guidance, not a promise.
Here’s a “useful but not absolute” reference table:
| Environment need | Common IP target | Common NEMA target | My warning |
|---|---|---|---|
| Indoor dust, light splash | IP54 | Varies | Confirm real exposure |
| Outdoor rain, basic protection | Varies | NEMA 3 / 3R | Rain is angled, not vertical |
| Water jets, washdown | IP65/IP66 | NEMA 4 / 4X | Corrosion and gasket quality matter |
When I choose for harsh sites, I care about gasket design and hardware quality as much as the label.
Sealing methods and gaskets
Outdoor sealing depends on details:
- Gasket compression
- Flatness of the cover and body
- Screw torque and count
- Cable gland selection
A gasket is not magic.
If the cover warps, the gasket cannot do miracles.
Vibration, heat, and corrosion considerations
Industrial sites add:
- Vibration that loosens screws
- Heat that ages plastics and seals
- Corrosion from salts, chemicals, or coastal air
This is where custom metal enclosures can be a safer choice, if designed right.
But even then, wiring quality inside is still the first line of defense.
Next, we need to talk about the part people skip because they want to “close the box and leave.” Testing.
Testing and Inspecting Your Junction Box Wiring
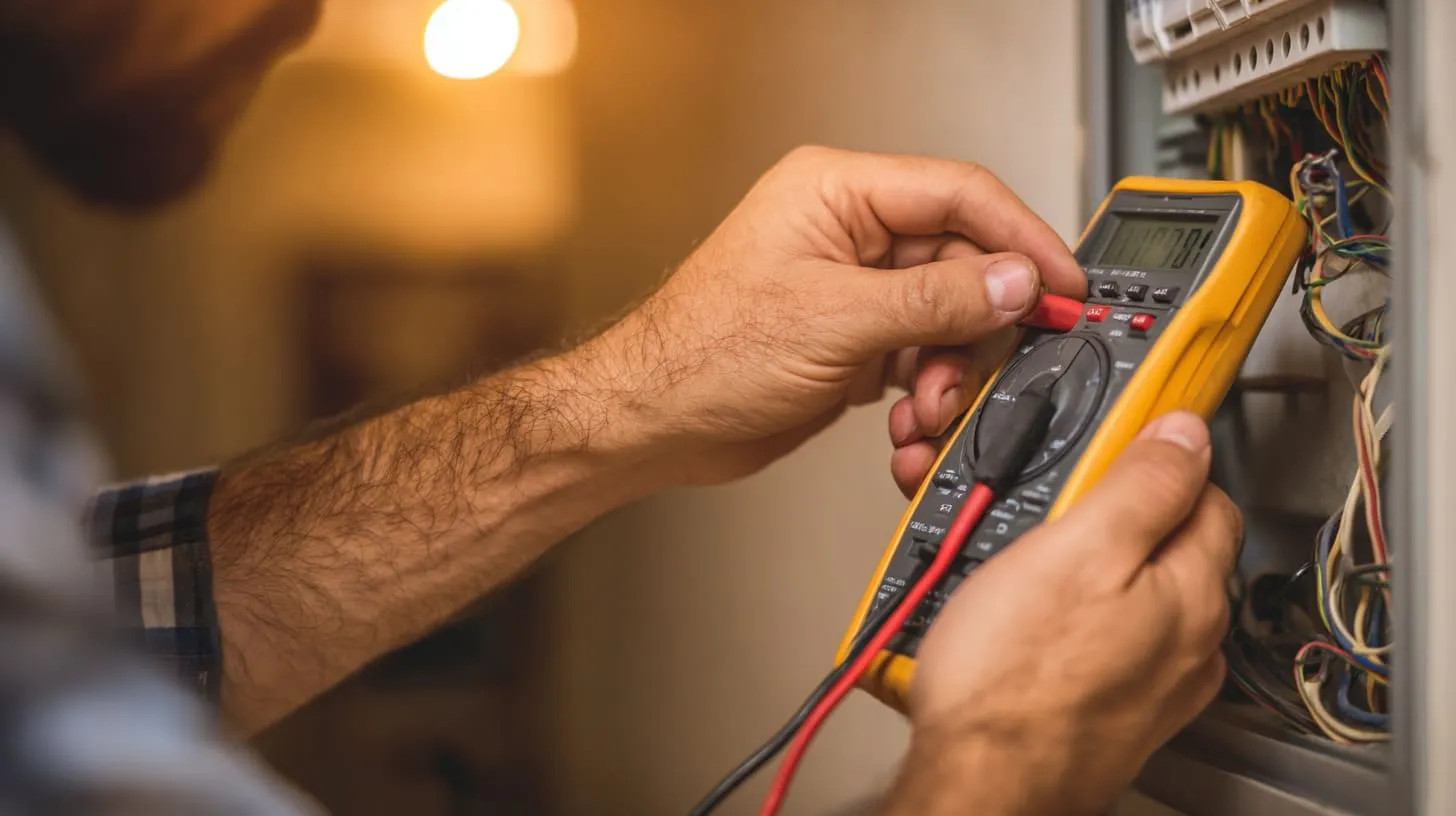
I’ve learned a hard lesson: most wiring mistakes look fine with the cover on.
So I test before I hide the evidence.
Visual inspection checklist
I look for these before any power:
- No bare copper exposed outside connectors
- All connectors fully seated
- Cable entry strain relief in place
- Grounding continuity planned and visible
- No pinched insulation
- Cover closes without force
Using a multimeter or voltage tester
After power is restored (and only if you are qualified to do so safely):
- Confirm expected voltage
- Confirm no unexpected voltage on the enclosure (metal boxes should not be “hot”)
- Confirm continuity where needed (ground path checks)
Signs of improper wiring after installation
If you see any of these, stop and re-check:
- Warm cover plate or warm junction box
- Flickering loads or intermittent failures
- Burning smell
- Tripped breaker without clear cause
These are not “maybe.”
They are warnings.
When to re-open and re-inspect a junction box
Re-open if:
- A circuit trips repeatedly
- The site is high vibration
- The box is outdoors and weather cycles are harsh
- You suspect water ingress
A tiny re-inspection now can save a full replacement later.
And speaking of replacement, I want to discuss a question my OEM buyers ask often: when do I stop using standard boxes and move to custom?
When to Use a Custom or OEM Junction Box
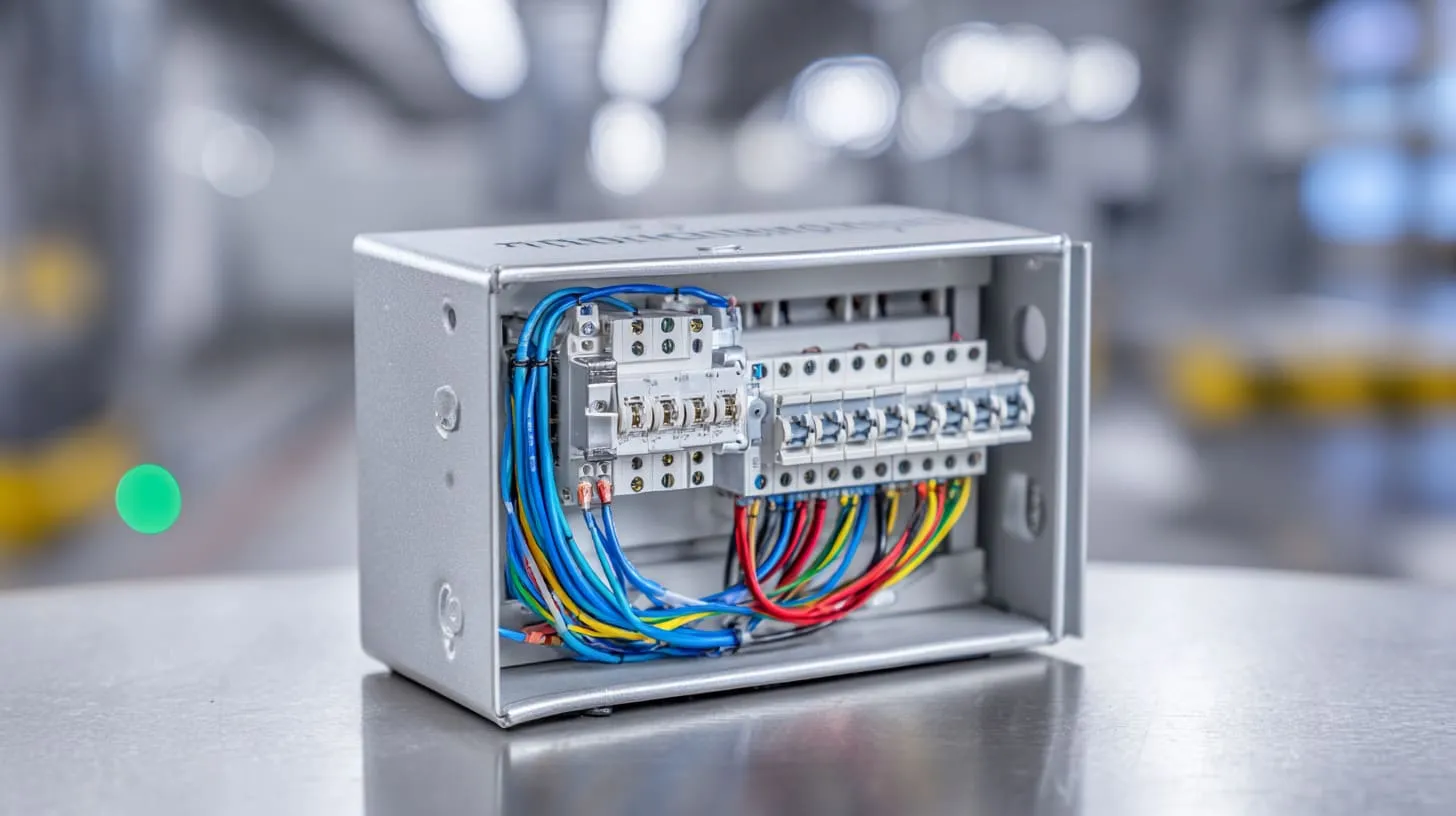
This section is not about “custom is better.”
It’s about fit. And the cost of mismatch.
Limitations of standard off-the-shelf junction boxes
Standard boxes can be perfect.
But they have limits:
- Fixed sizes that may force overcrowding
- Limited cable entry options
- Weak gasket designs in cheap outdoor boxes
- No branding, no labeling, no special mounting features
For Jackson, branding is not vanity. It reduces returns because customers can identify the product and match documentation.
Benefits of custom aluminum or sheet metal junction boxes
For OEM and industrial applications, custom enclosures can help:
- Provide correct space for wiring and heat
- Add proper mounting points
- Add cable entry patterns that match the harness
- Improve durability and service access
A simple comparison:
| Need | Standard box | Custom box |
|---|---|---|
| Exact cable entry layout | Often “close enough” | Can be exact |
| Branding and labeling | Rare | Easy to add |
| Space for terminal blocks | Sometimes tight | Designed-in space |
| Harsh environment durability | Depends on quality | Can be engineered |
Logo branding, engraving, and OEM requirements
In B2B supply chains, branding and traceability matter:
- Logo printing or engraving
- Model code and wiring label
- Batch marking for quality tracking
I’ve seen Davide reduce support emails just by adding a clear inside-cover wiring label.
How custom enclosures support long-term reliability
Reliability is not one thing. It is a stack:
- Correct enclosure material
- Correct sealing
- Correct cable entry
- Correct internal wiring layout
- Correct grounding strategy
- Correct inspection and test habits
Custom can support the stack.
But it cannot replace good workmanship.
Now, let me wrap this into a clean, honest conclusion—and give you a next step if you want less rework.
Conclusion
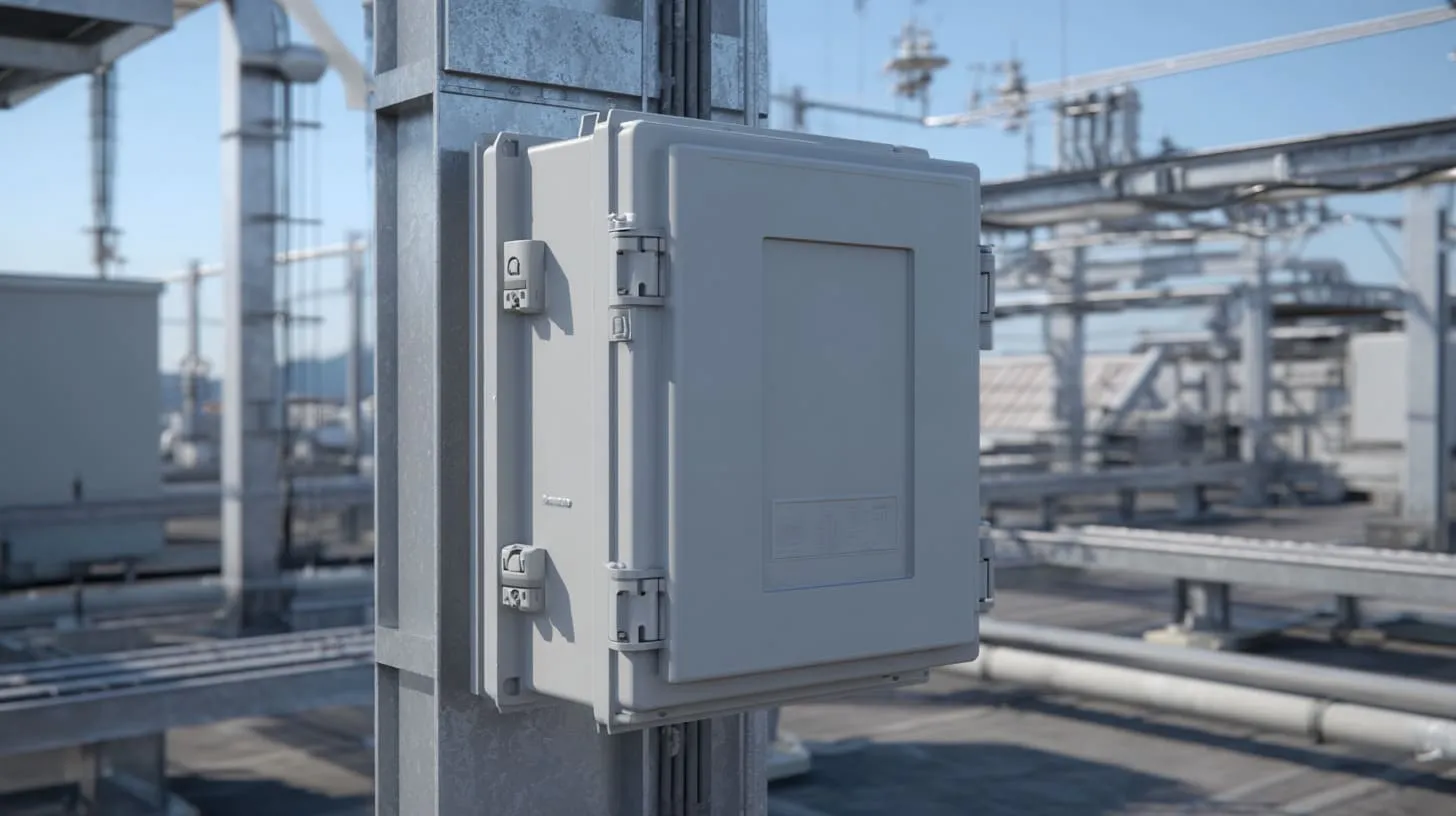
Wiring a junction box is not hard in theory.
But it is easy to get wrong in small ways.
Here’s what I want you to remember:
- A junction box is a protected system boundary, not just a container
- The biggest failures usually come from overcrowding, loose connections, and poor strain relief
- Grounding is not optional thinking, especially with metal boxes and industrial setups
- Outdoor work needs more than a label. It needs the right sealing design and correct cable entries, and IP and NEMA are not perfect “conversions”
- Testing and inspection are where you catch mistakes before the box becomes a hidden problem
If you are an engineer or buyer working on an OEM enclosure project, and you want to reduce field failures, I suggest one practical next move:
Send me your basic use conditions:
- Indoor or outdoor
- Cable count and wire gauge
- Mounting method
- Any vibration, washdown, or corrosion exposure
- Your rough layout or drawing
Then I can help you judge:
- the right box size
- the right cable entry method
- whether a standard box is enough
- or whether a custom aluminum or sheet metal junction box will reduce your risk
If you want, you can reach me at info@maidatech.com or through maidatechenclosure.com with your drawing and requirements. I’d rather spend ten minutes upfront than watch you lose two weeks to rework later.