 Skip to content
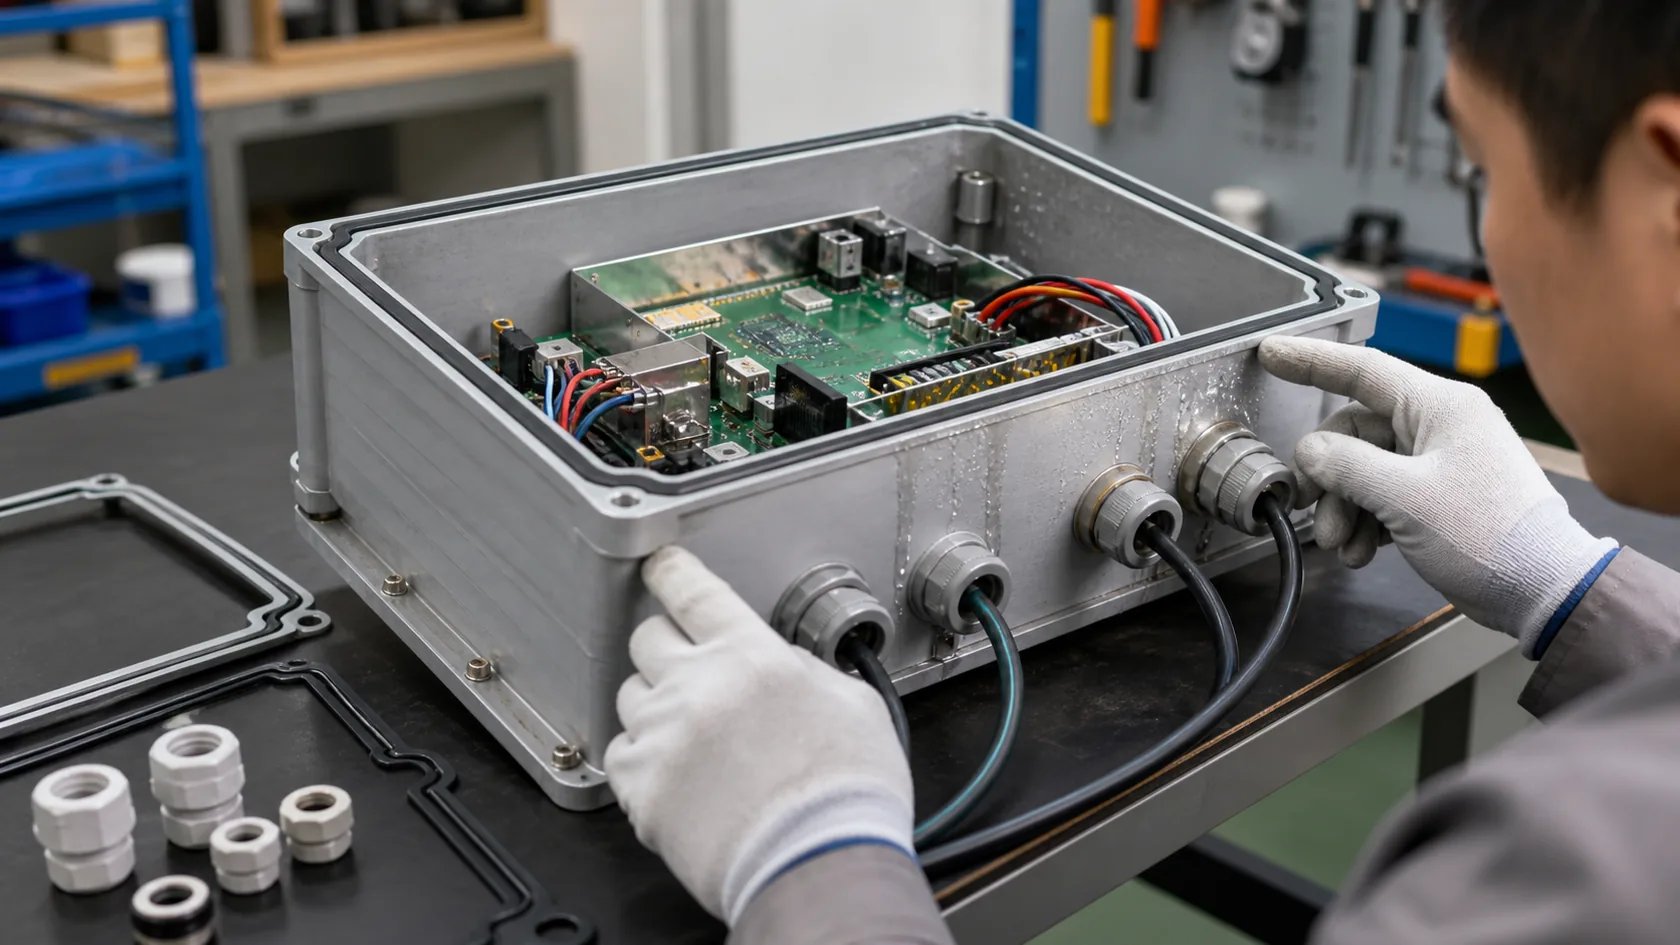
On a QC bench, a failed outdoor enclosure often tells a quiet story before anyone opens the test report.
The material may still look strong. The aluminum body may not be cracked. The powder coating may still have a good surface. The stainless screws may still be bright. But inside the enclosure, there may be a small stain near a cable gland, a flattened gasket corner, a wet terminal, or a white corrosion mark on a PCB bracket.
That is the moment when the buyer's first question usually changes. It is no longer, "Was the material good enough?" It becomes, "How did water get inside an IP66 enclosure?"
This is a fair question. IP66 sounds strong, and in many outdoor applications it is a good target. According to the IEC 60529 IP Code, the IP system gives a common way to describe protection against dust and water. IP66 means dust-tight protection and protection against powerful water jets.
But outdoor reliability is not created by material selection alone. A good material can reduce corrosion, UV damage, cracking, or deformation. It cannot automatically correct a wrong cable gland, a rolled gasket, a poorly rated display window, condensation cycles, or a field installer who tightens everything by feel.
At MaidaTech, I treat IP66 as a system result, not only a label on the enclosure body, because the body is only one part of the outdoor sealing path. If one interface is weak, water will not care that the base material was expensive.
This article looks at the weak points that material selection does not fix. If you are buying or designing outdoor electronic enclosures, these are the details I would check before production starts.
Let us begin with what IP66 really promises, and where that promise stops.
What IP66 Can and Cannot Promise
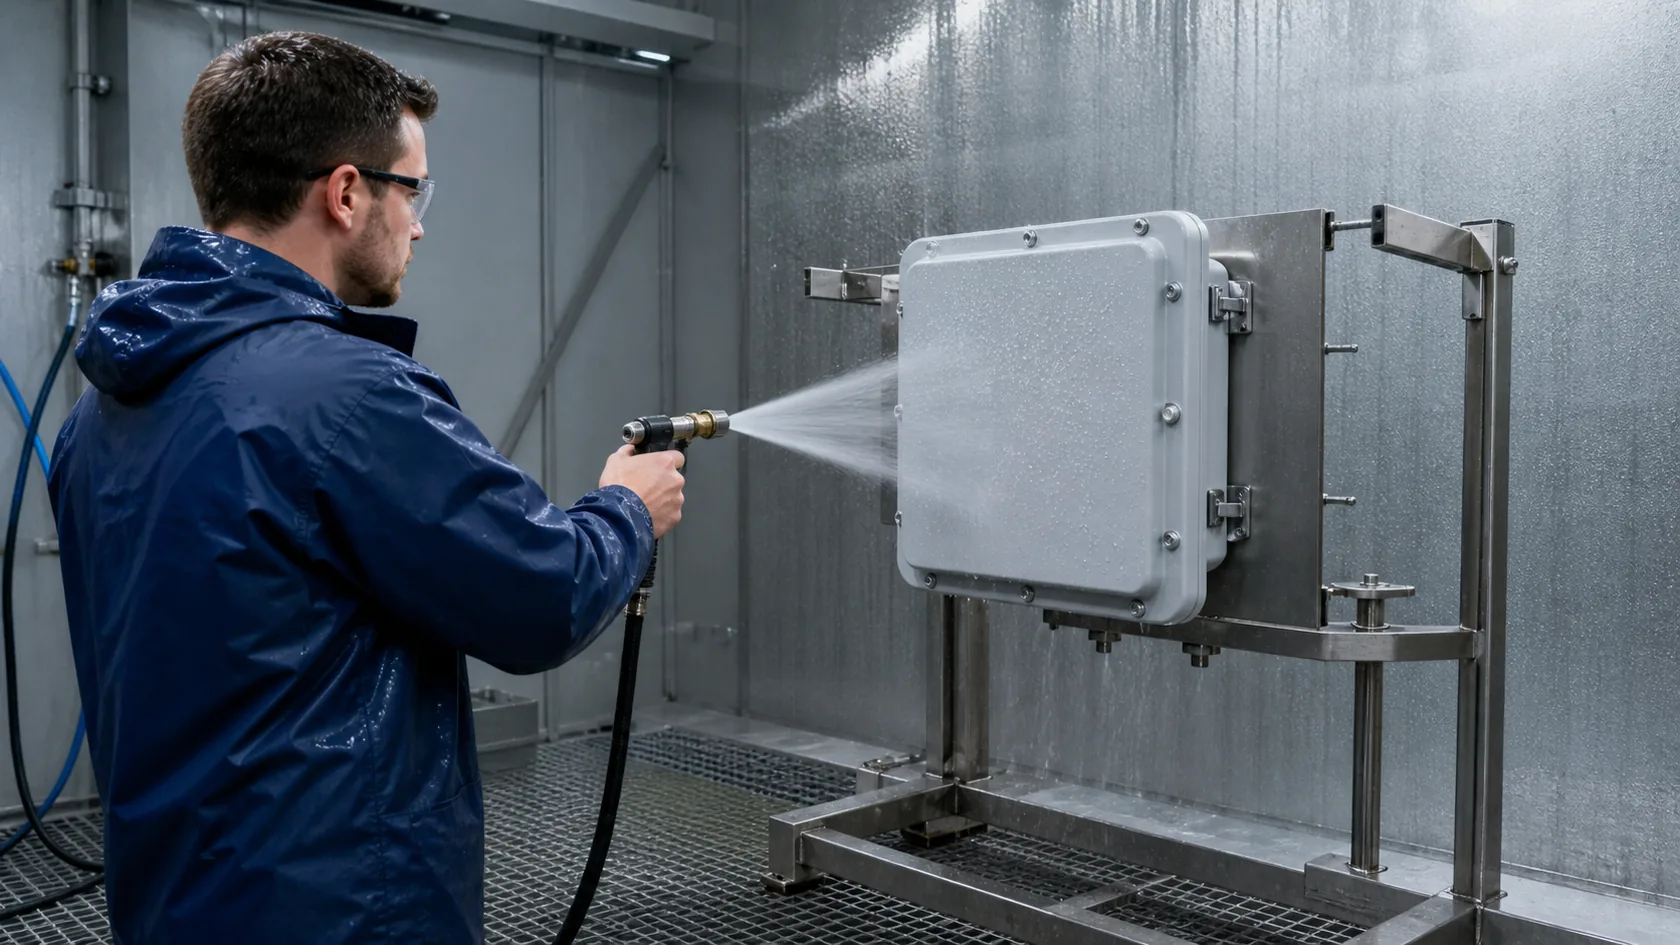
IP66 is useful because it gives buyers, engineers, and suppliers a shared language. Without a rating, "waterproof" can mean almost anything. With IP66, we at least know the enclosure is expected to resist dust and powerful water jets under defined test conditions.
That matters for outdoor electronics, industrial controllers, sensor boxes, telecom equipment, lighting controls, power modules, and many custom OEM devices.
But the rating does not mean the enclosure will survive every outdoor problem for many years. It also does not mean every part added to the enclosure has the same protection level.
The Rating Tests a Condition, Not a Lifetime
An IP test is controlled. The sample is prepared. The gasket is new. The cable openings may not exist yet, or they may be fitted with selected test components. The exposure time is limited.
Outdoor service is different.
An enclosure may face:
- Sun and heat during the day
- Cooling and condensation at night
- Wind-driven rain from different directions
- Cable movement and vibration
- Dust, salt, oil mist, or chemicals
- Repeated door opening for service
- Installer habits that change from site to site
This is why I never like to discuss IP66 without discussing the installation. A rating tells me the enclosure can pass a certain type of water test. It does not tell me whether the final product will stay dry after holes, glands, displays, vents, and mounting hardware are added.
IP66 Is Not a Replacement for Outdoor Design
For many buyers, the mistake is treating IP66 as the final answer. They choose aluminum, stainless steel, or polycarbonate. Then they add "IP66" to the drawing and feel protected.
That is not enough.
| IP66 helps with | IP66 does not automatically solve |
|---|---|
| Dust-tight enclosure design | Wrong cable gland size |
| Powerful water jet resistance | Missing sealing washer |
| A shared technical requirement | Gasket aging over years |
| Supplier quality comparison | Condensation inside the box |
| Basic outdoor confidence | Accessories with lower ratings |
My first check is not whether the buyer asked for a higher number, but whether the real weak points are included in the design review. A clear IP66 requirement is useful. A blind IP66 requirement can make people stop asking the questions that matter.
The first question is usually about cable entry, because most custom outdoor enclosures need at least one hole.
Cable Entries Create the First Leak Path
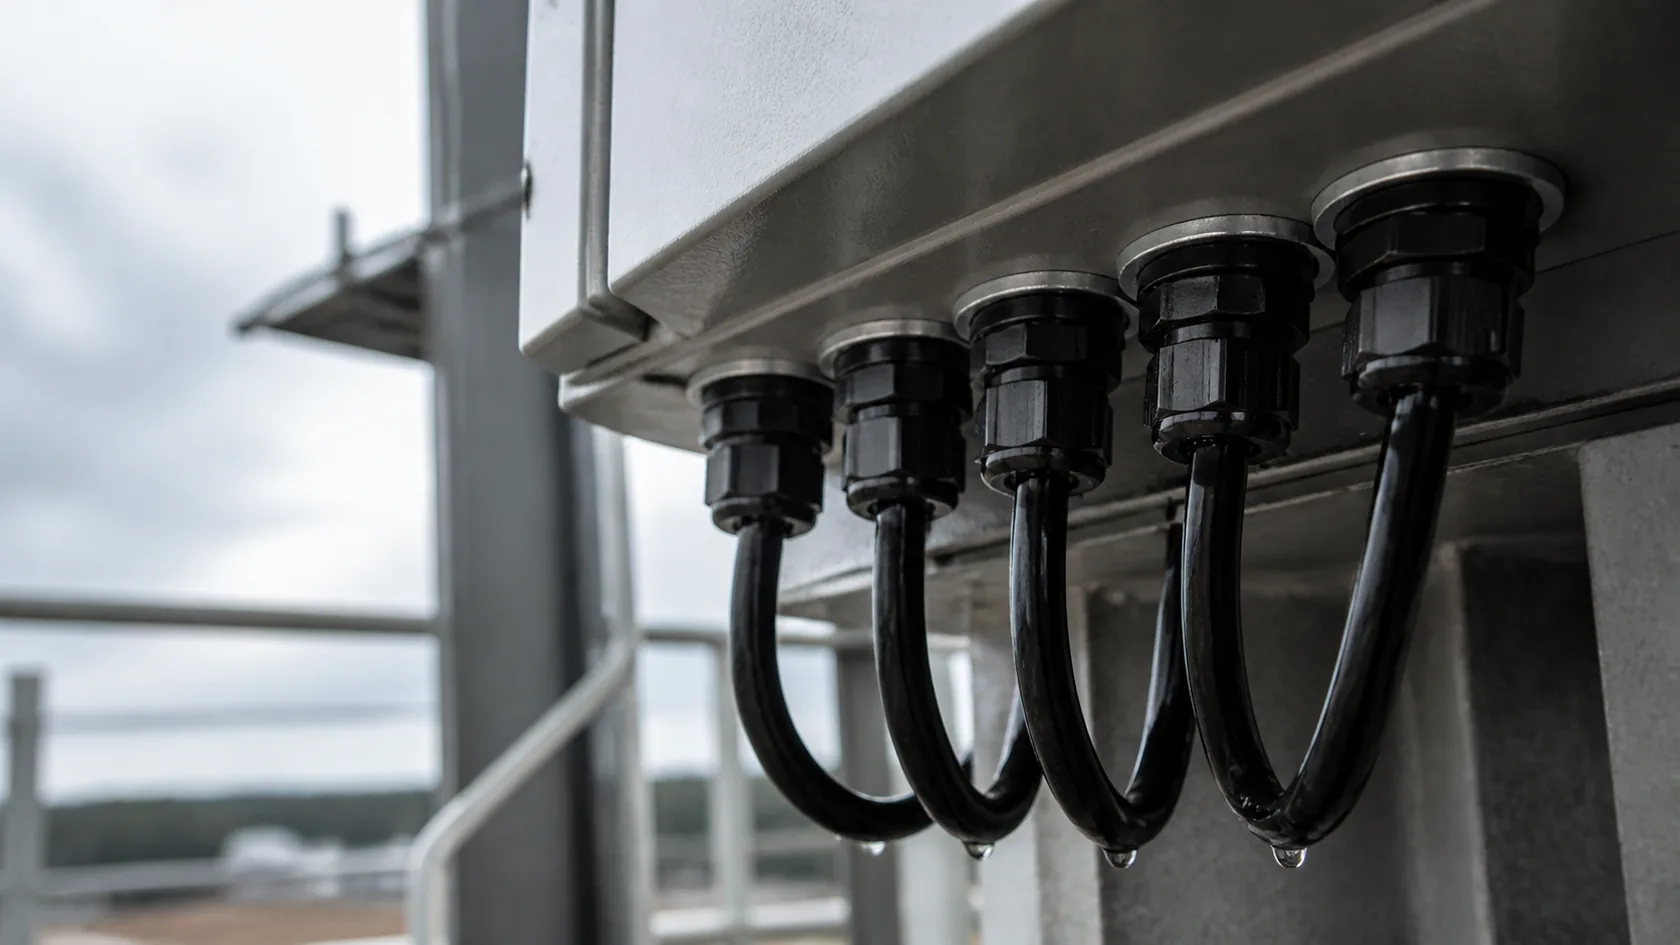
The enclosure body may be strong and well sealed before machining. Then someone adds cable entries.
That is normal. Outdoor electronics need power, signal, antennas, sensors, grounding, or communication cables. The problem is that every hole becomes a new sealing project. If the cable entry is wrong, the best enclosure material cannot save the assembly.
The UL enclosure certification overview is useful here because it treats accessories and cable sealing devices as part of enclosure protection work. That is the right mindset. A cable gland is not a small decoration. It is part of the protection system.
The Gland Must Fit the Cable, Not Only the Hole
Many buyers specify the gland thread size, such as M16, M20, PG11, or NPT. That is only one detail.
The thread size tells us how the gland fits the enclosure wall. It does not tell us whether the gland can seal the actual cable jacket.
For a reliable cable entry, we need to confirm:
- Cable outer diameter, including tolerance
- Gland clamping range
- Cable jacket material
- Gland body material
- Sealing insert material
- Washer or O-ring at the enclosure wall
- Wall thickness and nut clearance
- Cable bend radius and strain relief
If the cable is too small for the gland range, the rubber insert may not compress evenly. If the cable is too large, the insert may deform or damage the sheath. If the washer is missing at the wall, water can enter around the thread even when the cable seal itself looks tight.
Before I approve a cable entry layout, I like to see the real cable OD range, because a 1 mm difference can change the gland choice, and the gland choice can change the machining plan. It is cheaper to correct this before CNC machining than after a field failure.
Location Matters as Much as the Gland
Cable entry position decides how hard the seal must work.
Top entry often looks clean on a drawing. The cable route is short. The layout is neat. But outdoors, top entry puts the gland where rain lands first. Water can sit around the washer, follow the cable jacket, and test the seal for a long time.
Side entry can work, but the cable route must be considered. If the cable comes from above without a drip loop, water can travel straight to the gland.
Bottom entry is often safer, but it still needs clearance, strain relief, and protection from standing water or mechanical impact.
| Entry detail | What can go wrong |
|---|---|
| Top cable entry | Water sits around the gland and washer |
| Cable from above | Water follows the cable jacket |
| No drip loop | Rain reaches the gland directly |
| Oversized gland | Seal cannot grip the cable evenly |
| Missing washer | Water enters around the thread |
| Spare open hole | The whole rating is lost |
Material selection can improve the body. It cannot make a wrong cable path safe. Once the cables are handled, the next weak point is the main enclosure seal.
Gaskets Fail From Compression, Not Material Alone
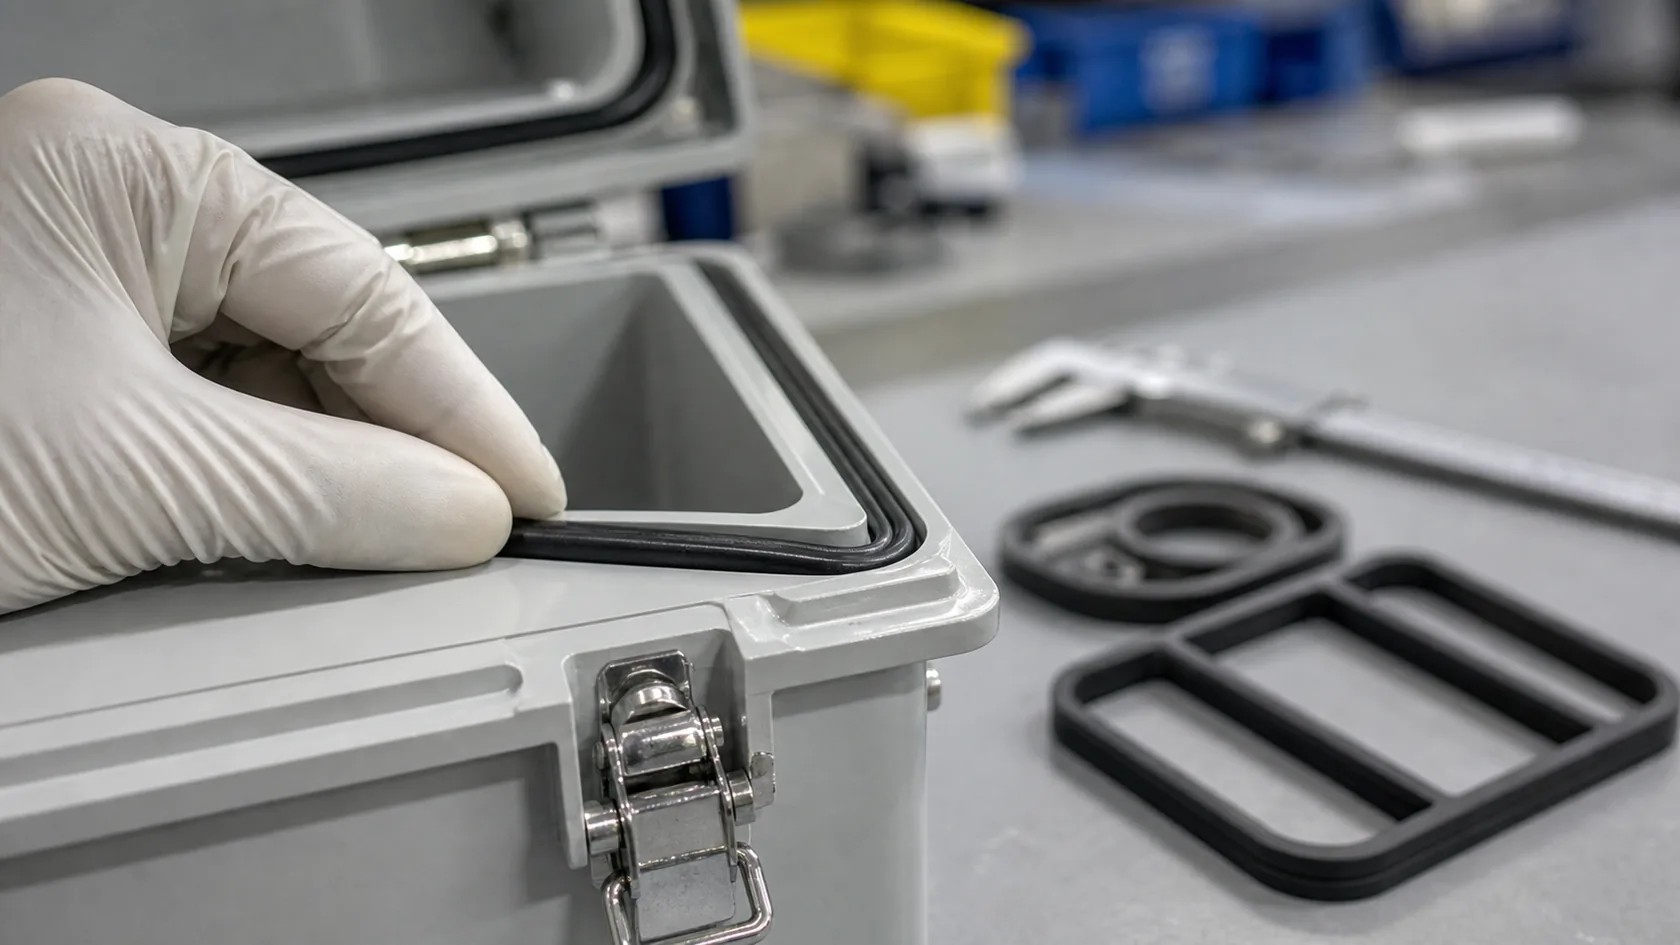
A gasket is simple when it is new. It is flexible, clean, and easy to trust. But outdoor enclosures do not stay new.
Heat, UV exposure, oils, cleaning chemicals, dust, and repeated opening can all change how a gasket behaves. The material matters, of course. EPDM, silicone, neoprene, foam, and molded seals each have different strengths. But the material name alone does not guarantee the final seal.
The gasket must be compressed evenly. That is where many failures begin.
Uneven Compression Creates Local Gaps
Water does not need a large opening. A small uneven area can be enough, especially when wind, spray, vibration, and temperature cycling are involved.
Common gasket problems include:
- Gasket rolling out of the groove during assembly
- Corners not seated correctly
- Screws tightened unevenly
- Latches pulling one side harder than the other
- Door or lid warping
- Hinge sag after long use
- Gasket compression set over time
When I inspect a sealed lid design, I care less about the gasket name on the quotation and more about the full compression path: groove depth, gasket height, screw spacing, latch position, hinge side pressure, corner design, and how the worker will know the lid is seated correctly. A good seal is a geometry problem as much as a material problem.
Repeated Opening Changes the Seal
Many outdoor enclosures are opened after installation. A technician may replace a fuse, reset a controller, check wiring, adjust a switch, or add a cable.
Every opening creates a chance for dirt, paint chips, loose wires, or a pinched gasket to affect the seal. If the gasket is loose, it may pull out. If the screws are small, they may be over-tightened. If the latch is cheap, it may stop giving enough pressure.
What Buyers Should Ask
| Design question | Why it matters |
|---|---|
| Is the gasket captive or loose? | Loose gaskets are easier to disturb during service |
| Is compression controlled? | Too little leaks, too much damages the seal |
| Are corners molded, joined, or cut? | Corners are common leak points |
| Are latches or screws evenly placed? | Uneven pressure creates local gaps |
| Can the gasket be replaced? | Long-term maintenance may require it |
The gasket is the main door between outdoor weather and internal electronics. But even when it works, moisture can still appear inside for another reason.
Condensation Forms Even When Rain Stays Out
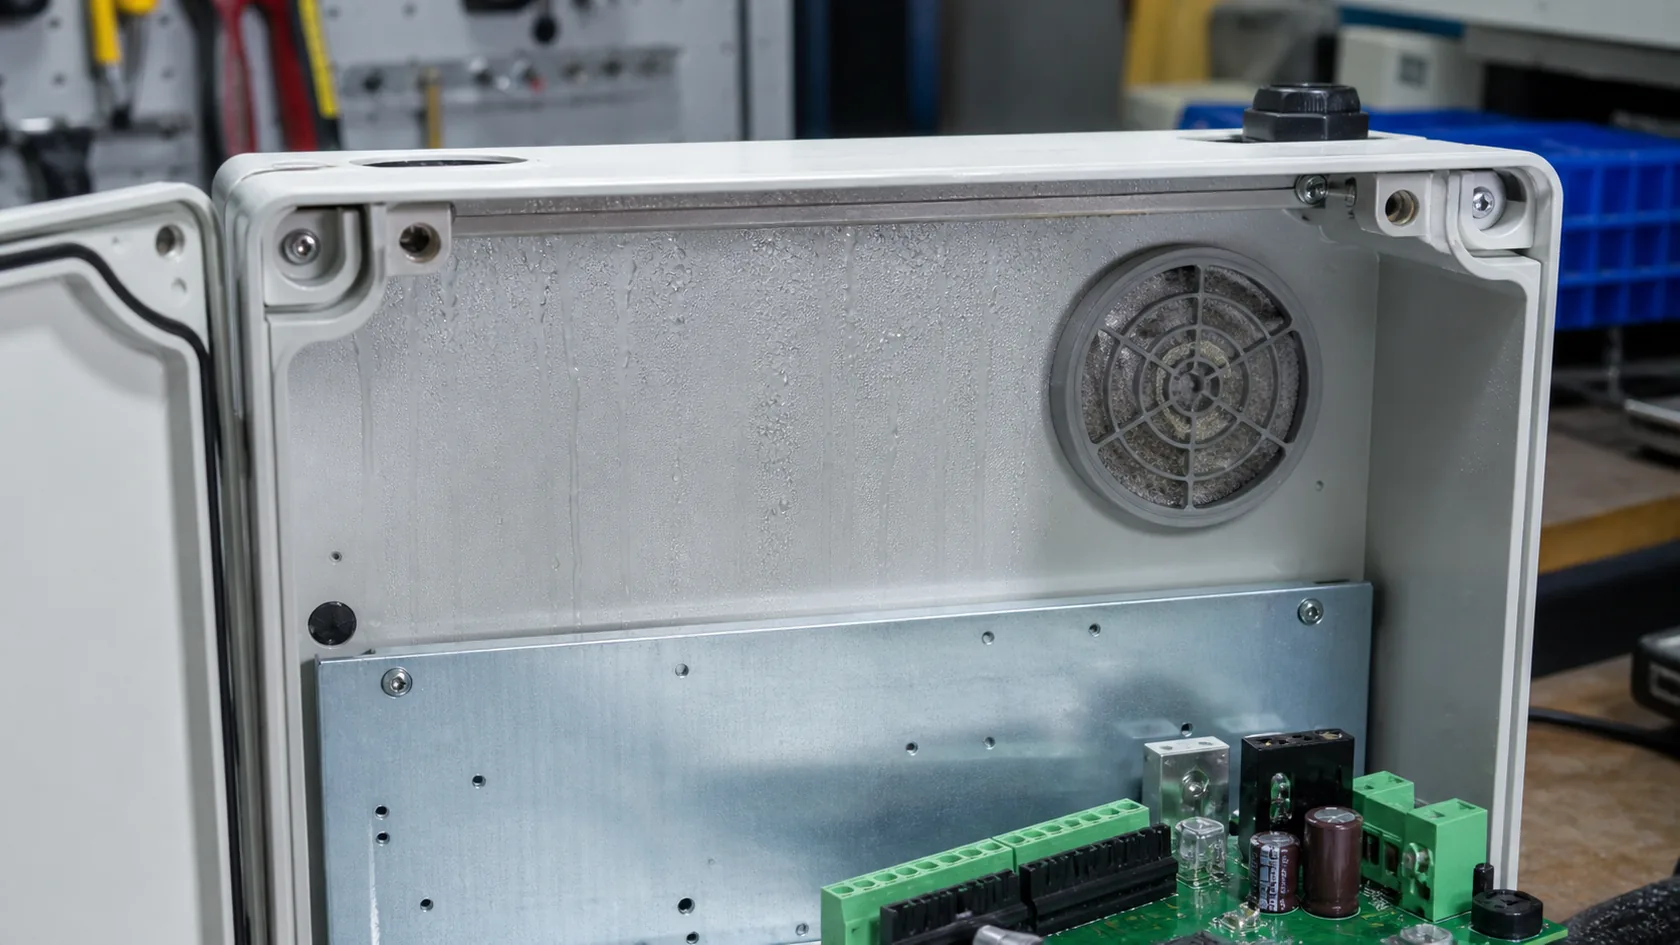
Many people think an enclosure is dry if rain cannot enter. In outdoor electronics, that is not always true.
A sealed enclosure still experiences temperature changes. Air inside the box expands when it warms and contracts when it cools. Small pressure differences can pull humid air through tiny paths around seals, cable entries, or plastic walls. When the internal temperature drops below the dew point, moisture can condense on cold surfaces.
The result can look like a leak, even when no direct rain path is found.
A Sealed Box Can Breathe Poorly
This is the frustrating part. If the enclosure is too open, rain and dust can enter. If it is tightly sealed but exposed to strong temperature swings, pressure stress and condensation can become the problem.
Outdoor electronics often need a moisture control plan, not only a water blocking plan.
Possible solutions include:
- Protective vents for pressure equalization
- Breather drains at the lowest practical point
- Small heaters for cold and humid sites
- Desiccant packs for selected applications
- Internal layout that keeps electronics away from moisture paths
- Drainage planning for unavoidable moisture
Gore explains that protective vents for outdoor electronics can equalize pressure and reduce condensation while blocking liquids and particles. nVent Hoffman also describes breather drains for reducing moisture build-up in enclosures that face temperature fluctuations.
In real projects, I do not add a vent or drain automatically, because every added part is also an opening. I first ask about climate, temperature swing, electronics heat, installation direction, washing, altitude change, and service access. Then we decide whether pressure equalization is safer than a completely closed box.
Condensation Is Often a Slow Failure
Condensation may not destroy a product in one day. It may create corrosion little by little. It can affect connectors, labels, terminals, coatings, screws, and PCB edges. The buyer may only see the problem months later, after intermittent faults begin.
Material selection can reduce corrosion risk. It cannot remove humidity from trapped air. That is why accessories and mounted components also need attention.
Accessories Can Lower the Real Rating

Many outdoor enclosures are not just closed boxes. They include displays, push buttons, indicator lights, membrane keypads, locks, hinges, vents, windows, antennas, USB ports, cable glands, mounting brackets, and spare hole plugs.
Every one of these parts can reduce the real protection level.
NEMA notes that enclosures are rated for protection against specific environmental conditions and maintains NEMA 250 enclosure resources. In North American projects, buyers may also compare NEMA Type 4 or Type 4X with IP ratings. The important practical point is the same: the final assembly is only as strong as its weakest rated and installed component.
The Lowest-Rated Component Becomes the Limit
If an IP66 enclosure body uses an IP54 switch, the installed product is not really IP66 at that switch. If the display window adhesive fails under UV exposure, the material of the enclosure body cannot stop water at the window edge. If a hole plug is temporary or poorly fitted, that spare hole becomes a direct path inside.
Common accessory weak points include:
- Push buttons and switches
- Display windows and touch panels
- Indicator lights
- Locks and hinges
- Vents and drains
- Antenna pass-throughs
- USB or service ports
- Blanking plugs for unused holes
During supplier review, I like to check accessory ratings before the panel drawing is frozen, because changing one button or display can change hole size, gasket area, nut clearance, front-panel flatness, and even the cost of the whole enclosure. A late accessory change is rarely as small as it looks.
Panel Flatness and Surface Finish Matter
Accessories need a good sealing surface. Powder coating thickness, burrs, scratches, warped panels, welding distortion, and corner radius can all affect how an accessory washer sits.
This is one reason material choice alone is not enough. Stainless steel may resist corrosion well, but a distorted panel around a display window can still leak. Aluminum may machine beautifully, but a badly placed threaded insert can still interfere with gasket compression. Plastic may resist some chemicals, but UV and screw boss design still matter.
After accessories are selected, the final reliability depends on how the enclosure is installed and maintained.
Installation and Maintenance Decide Long-Term Protection
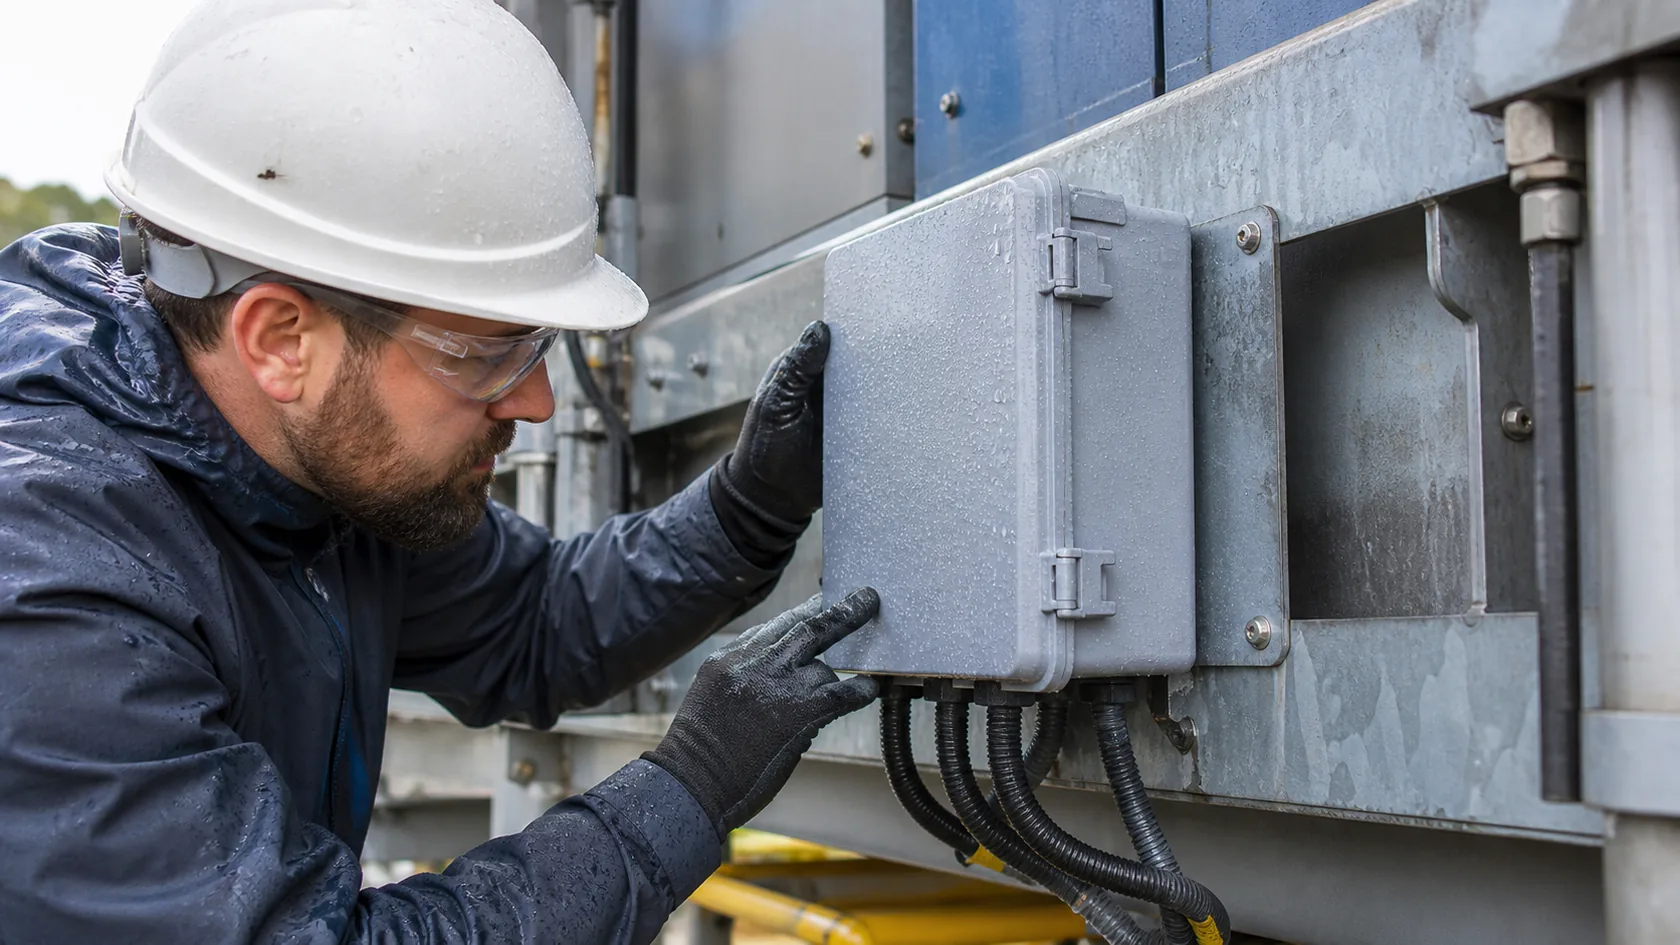
Even a well-designed enclosure can fail if installation is careless.
This is uncomfortable because the factory does not always control the final site. The supplier may ship a good enclosure, but the field team may drill one more hole, forget a washer, mount the box in full sun, pull the cable too tightly, or reuse a damaged gland.
That is why outdoor enclosure design should assume real human behavior.
Installation Mistakes That Defeat IP66
| Field issue | Possible result |
|---|---|
| Over-tightened gland | Cracked body or deformed seal |
| Under-tightened gland | Cable entry leak |
| No sealing washer | Thread path leak |
| Top entry without cover | Long water exposure at gland |
| Cable strain on gland | Seal movement over time |
| Uneven mounting surface | Door or lid distortion |
| Added field hole | Rating no longer controlled |
| Blocked vent or drain | Condensation and moisture build-up |
For outdoor work, I prefer to give the buyer a short installation checklist together with the enclosure, because a correct design still needs correct handling at the final site. The checklist does not need to be complicated. It should focus on the few points that actually prevent expensive failures.
Maintenance Is Part of the Design
Outdoor enclosures age. Gaskets harden. Cables move. Screws loosen. UV affects plastic parts. Dust and salt collect around edges. A site that looked clean in the first month may look very different after two rainy seasons.
For important equipment, buyers should plan periodic checks:
- Inspect gasket condition and seating.
- Check cable glands for looseness, cracks, or cable pull.
- Confirm unused holes are sealed with rated plugs.
- Clean around vents, drains, and latch areas.
- Look for corrosion marks near screws, hinges, and terminals.
- Check whether field modifications were made.
This is not glamorous work. It is just the kind of work that keeps an outdoor product alive. Once buyers see IP66 this way, the purchasing decision becomes clearer.
Conclusion
IP66 is a useful rating. I do not ignore it, and I do not treat it lightly. For many outdoor custom enclosures, it is a good requirement.
But IP66 is not a magic shield.
When an outdoor enclosure fails, the problem often appears at the parts material selection does not fix: cable entries, sealing washers, gasket compression, accessories, condensation control, installation direction, and maintenance habits. The enclosure body may still be strong while the assembled system has one weak path.
This is why I judge outdoor enclosures as complete products, not only as aluminum, stainless steel, plastic, or sheet metal boxes. The right material matters. The right finish matters. But the small interfaces decide whether the enclosure stays dry after real weather, real installers, and real service work touch it.
If you are developing an outdoor electronics enclosure, send the drawing together with cable details, accessory choices, installation direction, and service plan. At MaidaTech, we can review those weak points before production, when fixing them is still simple and inexpensive.







