 Skip to content
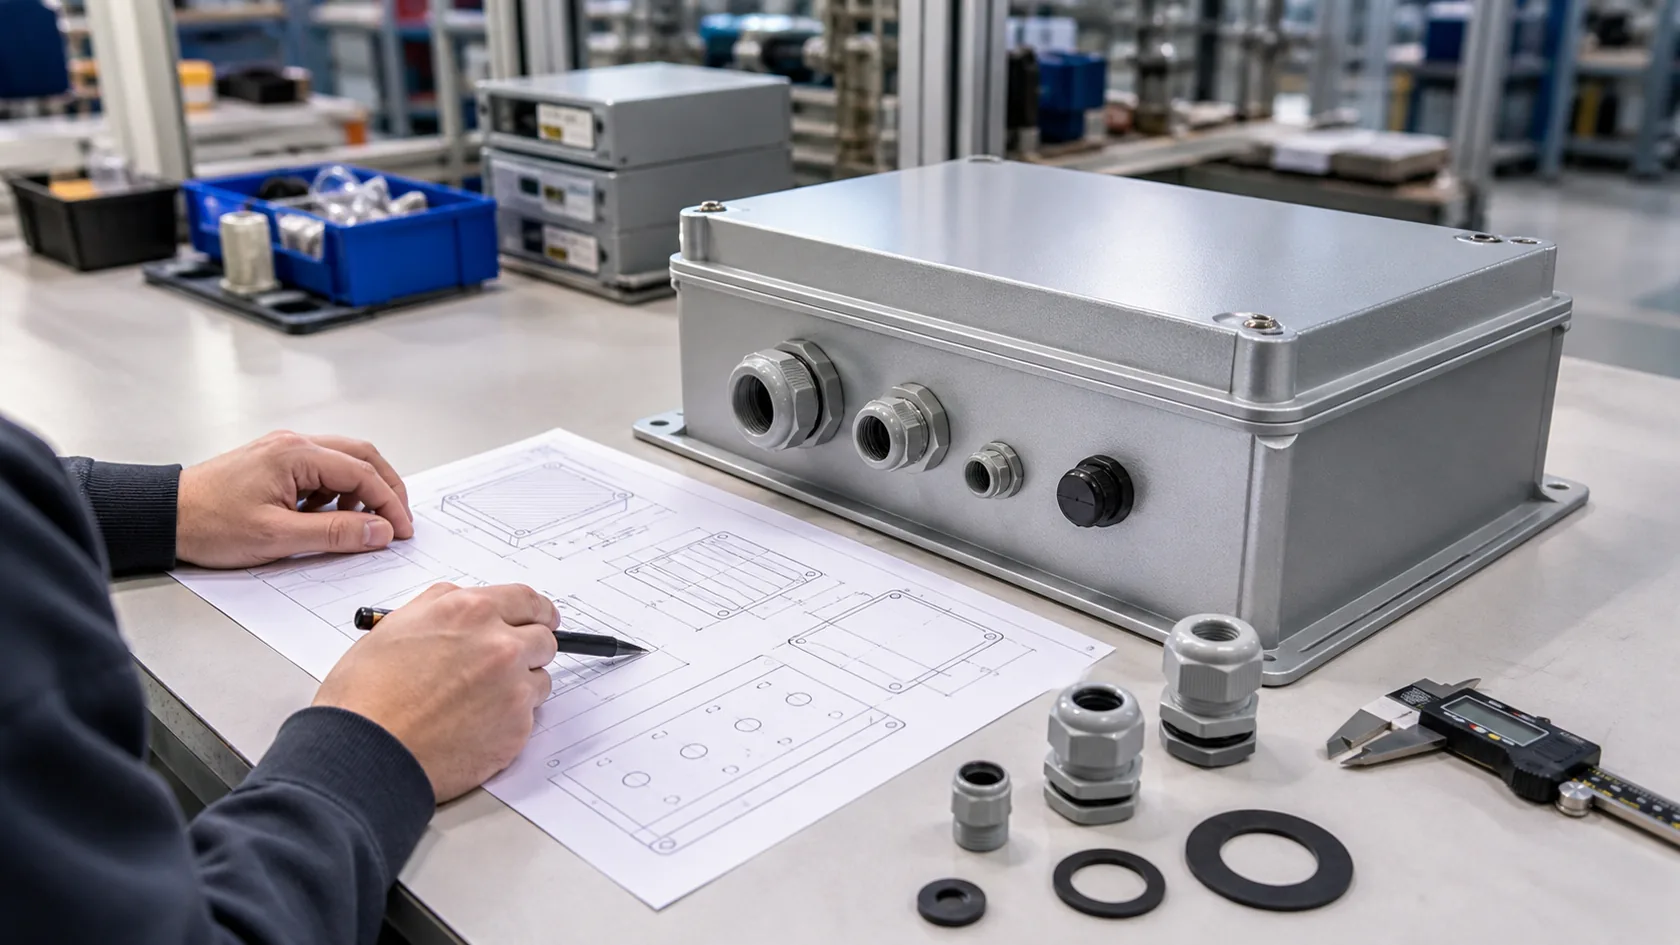
A custom outdoor enclosure can look very strong on the drawing. The wall thickness is good. The gasket groove is clean. The finish is specified. The screws are in the right place.
Then one cable entry is added late.
That small entry can change the whole story.
In OEM projects, cable entry design is often treated as a small mechanical detail. Buyers may say, "Just add three M16 holes on the side." Engineers may leave the exact gland choice to the installer. Sometimes the field team drills one more hole because the cable route changed after the enclosure arrived.
I understand why this happens. Cable entries feel simple. They are small holes, small glands, small washers, and small nuts.
But outdoor enclosures do not fail only because the box is weak. They often fail because water, dust, cable pull, UV exposure, vibration, or human assembly habits find the easiest path. Very often, that path is around a cable entry.
When I review an outdoor enclosure design at MaidaTech, I do not judge the cable entry only by the hole size. I look at the cable direction, cable diameter, gland range, washer, thread interface, bend radius, spare holes, and how a worker will actually assemble it when the schedule is tight.
This article explains the most common cable entry design mistakes I see in OEM outdoor enclosures, and how buyers can avoid them before production starts.
Let us start with the mistake that looks clean on a drawing but ugly in rain.
Mistake 1: Putting Cable Entries Where Water Wants to Go
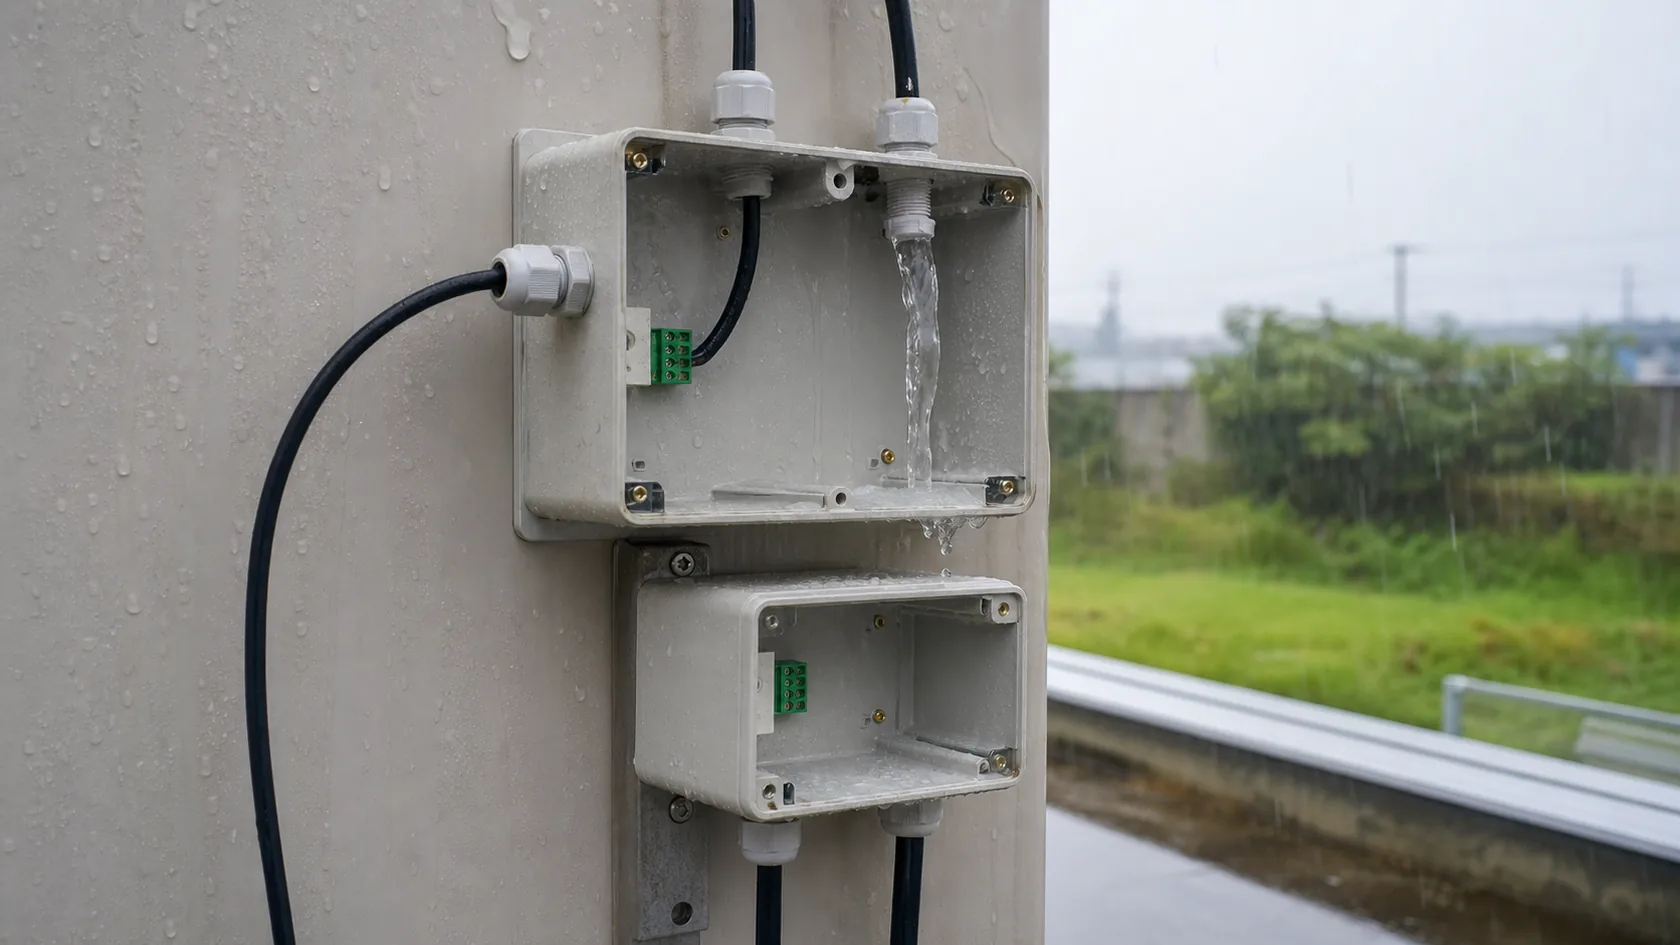
The first mistake is placing cable entries where water naturally collects or runs.
Top entry is the obvious example. A cable that enters from the top may look neat, but rain can run down the cable sheath and sit around the gland. If the connector or gland faces upward, it can become a small cup. Water does not need pressure all the time. It only needs time.
Side entry can also create risk if the cable comes from above without a drip loop. Water may follow the cable and reach the gland directly. Bottom entry is usually safer for outdoor use, but even bottom entry needs enough clearance, proper cable bending space, and protection from standing water or impact.
Better Entry Direction Choices
| Entry position | Risk level | Practical comment |
|---|---|---|
| Bottom entry with drip loop | Low | Usually the safest outdoor choice when space allows |
| Side entry with downward cable route | Medium | Can work well with good sealing and cable support |
| Side entry with cable from above | Medium to high | Needs a drip loop and careful routing |
| Top entry | High | Needs extra cover, hood, or a strong reason |
| Upward-facing connector | High | Can collect water around the sealing point |
A drip loop is not fancy engineering. It is just a small sag in the cable below the entry point so water drops off before reaching the gland. It costs almost nothing, but it can save a lot of field trouble.
In my own design review, I usually ask a simple question before I talk about IP rating: if rain runs along this cable, where will it go? If the answer is "straight to the gland," I know the design still needs work.
The entry location decides how hard the seal must fight. After that, the gland itself must fit the real cable.
Mistake 2: Choosing the Gland by Thread Size Only
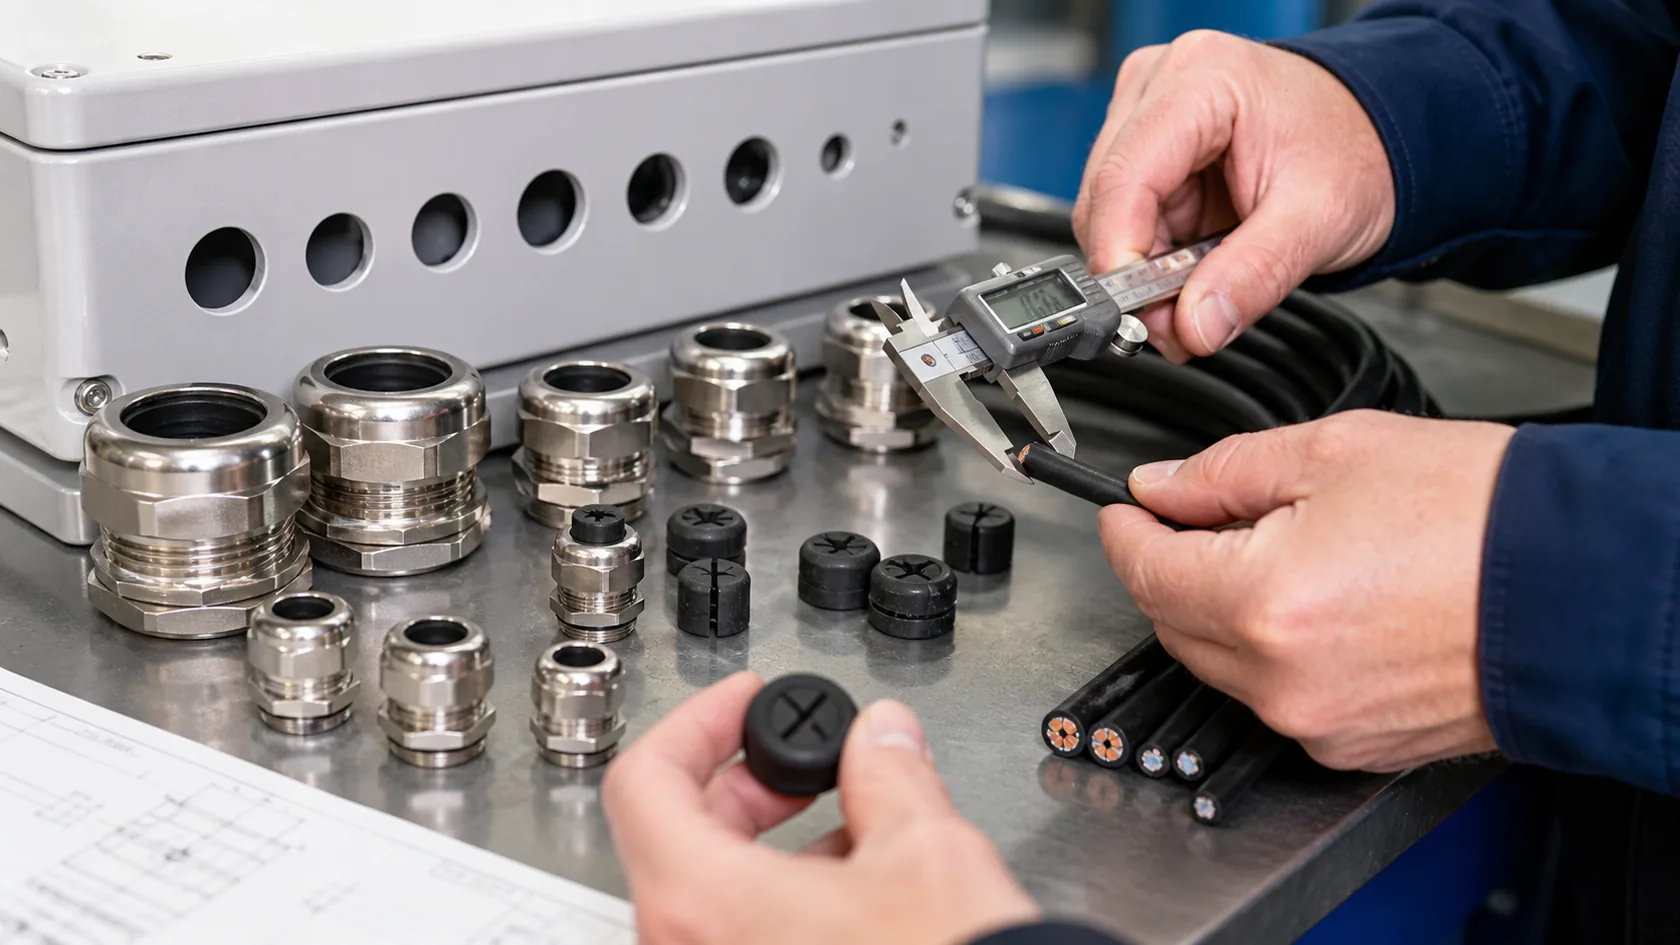
Many buyers specify cable glands by thread size only: M12, M16, M20, PG11, or NPT. That is not enough.
The thread size only tells us how the gland connects to the enclosure wall. It does not tell us whether the rubber insert can grip and seal the actual cable. A gland can have the correct thread and still be wrong for the cable.
The important detail is the cable outer diameter. A cable gland has a clamping range. If the cable is too small, the seal cannot compress enough. If the cable is too large, the insert may deform, the cable sheath may be damaged, or the gland may not tighten correctly.
Official product data from cable gland suppliers, such as a LAPP cable gland clamping range, shows this clearly: thread size, sealing material, IP rating, temperature range, UV resistance, and cable diameter range are separate details.
What to Confirm Before Production
| Detail to confirm | Why it matters |
|---|---|
| Cable outer diameter minimum and maximum | Confirms the sealing insert can grip the cable |
| Cable type and sheath material | Affects compression, aging, and chemical resistance |
| Gland thread type | Must match the enclosure hole and locknut plan |
| Gland body material | Nylon, brass, stainless steel, or other material affects cost and durability |
| Seal material | Affects temperature, UV, oil, and outdoor aging |
| Required IP or Type rating after installation | The installed system matters, not only the loose part |
For OEM work, cable samples are very useful. A drawing may say 8 mm cable, but the actual batch may be 7.4 mm or 8.6 mm. That small difference can matter if the gland range is tight.
I prefer to ask for the real cable OD range before we machine the enclosure, because changing a cable gland after CNC machining may change the hole size, spacing, nut clearance, and even the internal layout. A small unknown at the quotation stage can become a slow argument after assembly.
Once the gland fits the cable, the next weak point is the wall interface.
Mistake 3: Forgetting the Seal at the Enclosure Wall
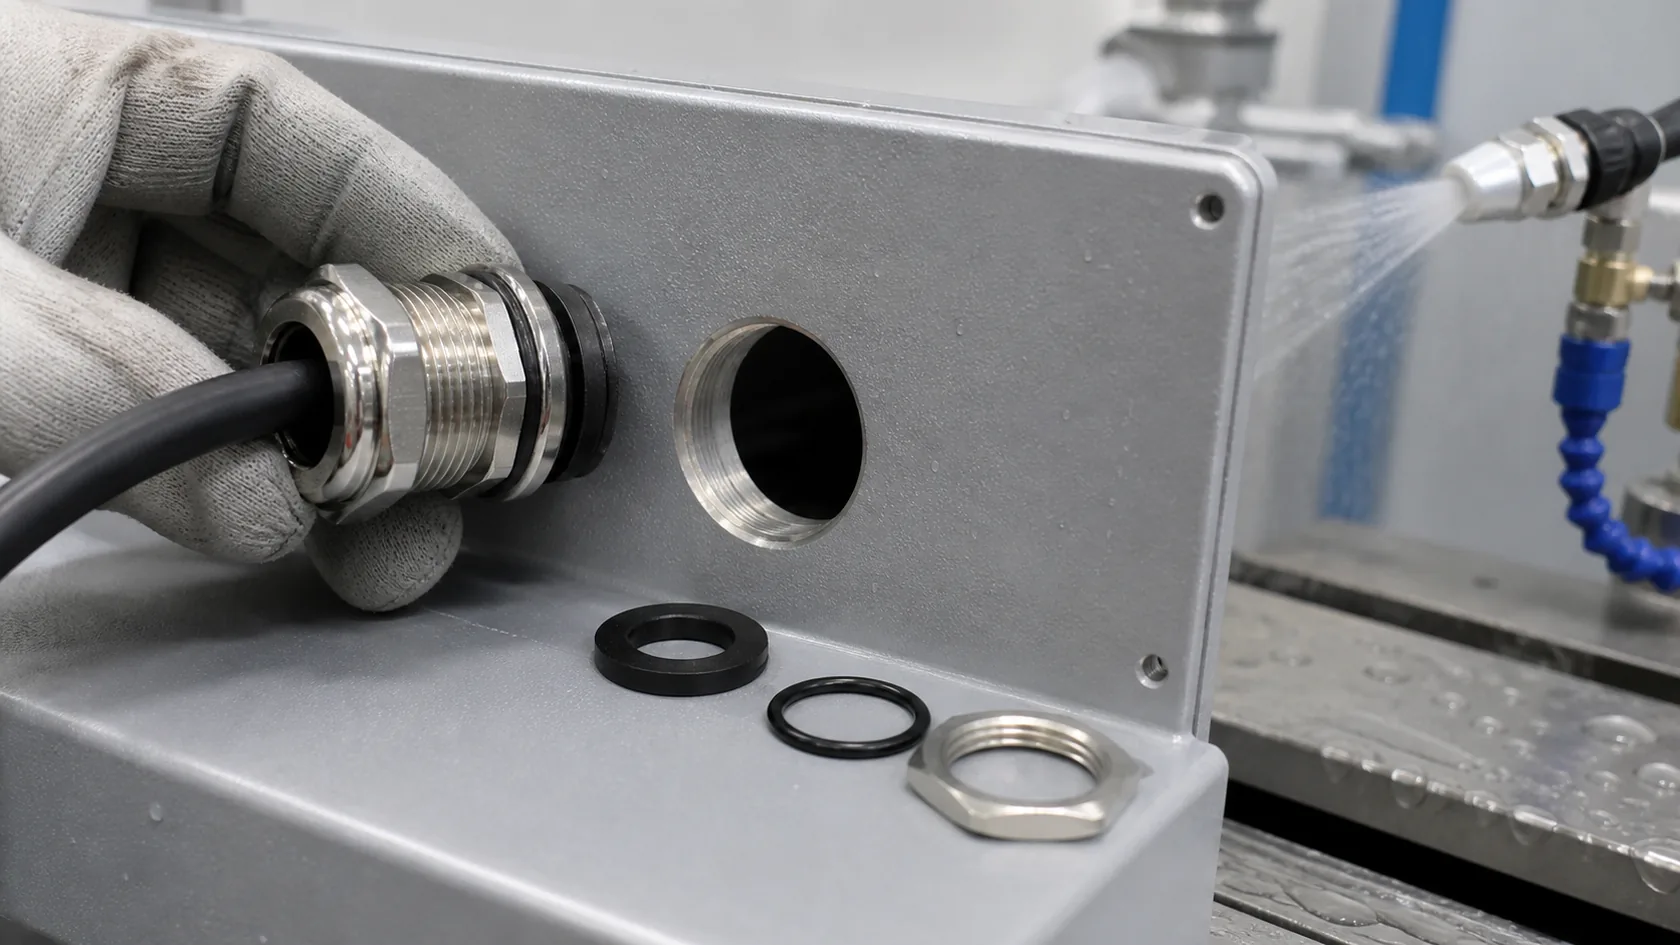
A cable gland may seal around the cable, but that does not automatically mean the gland seals properly against the enclosure wall.
This is a very common misunderstanding.
The gland has at least two sealing jobs. One seal grips the cable sheath. Another seal protects the interface between the gland thread and the enclosure wall. If the washer is missing, damaged, too hard, poorly compressed, or placed on a rough surface, water can enter through the thread path.
The enclosure rating also needs to be understood as part of an installed system. IEC 60529 defines IP degrees of protection for enclosures, while NEMA enclosure Types and standards such as UL 50E address environmental considerations for electrical enclosures. In real projects, the rated box, the mounted accessories, and the installation quality must work together.
Common Wall-Sealing Problems
| Problem | What can happen |
|---|---|
| Missing sealing washer | Water can enter through the thread interface |
| Oversized or rough hole | Washer may not sit flat |
| Burrs around CNC or drilled hole | Seal can be cut or held unevenly |
| Powder coating buildup around hole | Nut may not sit flat or torque may feel wrong |
| Thin wall without support | Gland may loosen or distort the panel |
| Wrong locknut or poor thread engagement | Mechanical strength and sealing both suffer |
The washer is easy to ignore because it is cheap. But cheap does not mean unimportant. A $0.05 washer can protect a much more expensive product.
When I check a cable entry, I look for a flat sealing surface before I look at the gland price. A high-rated gland on a scratched, burred, uneven wall is like a good door installed in a crooked frame.
After sealing, the cable still has to survive movement, pulling, and maintenance.
Mistake 4: Ignoring Strain Relief and Bend Radius
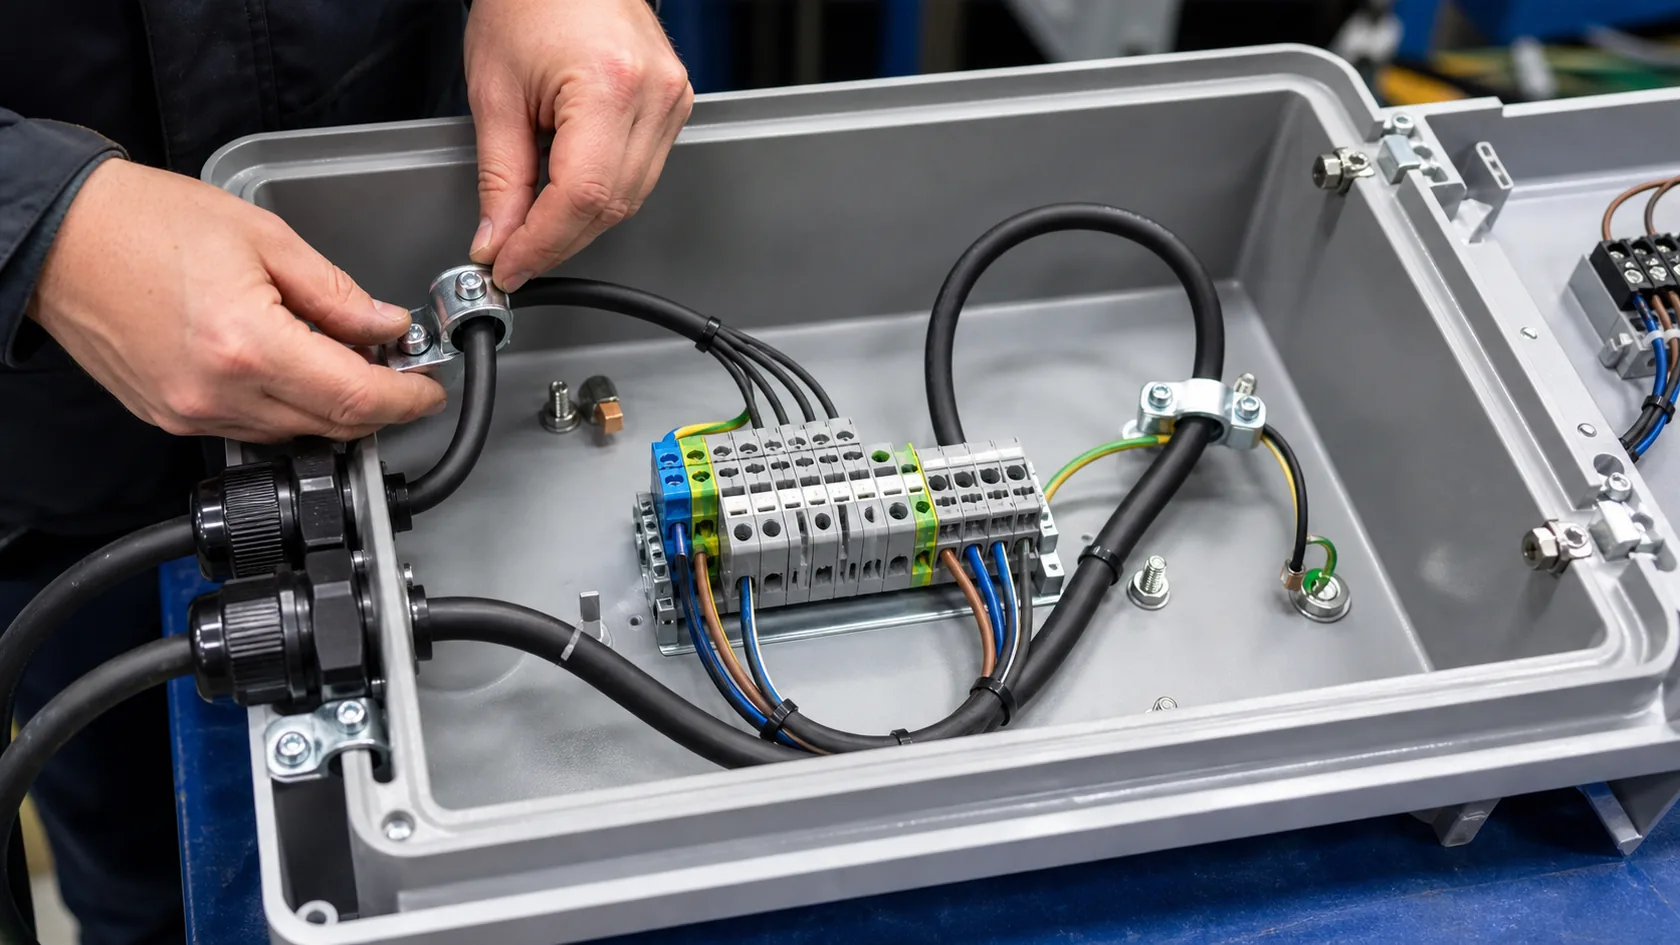
Cable entry design is not only about water. It is also about force.
Outdoor enclosures may face vibration, installer handling, wind movement, maintenance pulling, transportation shock, or cable weight. If the cable gland is asked to do all the mechanical work alone, the seal can weaken over time.
Strain relief keeps cable movement away from terminals and sealing points. It can come from the gland itself, an internal clamp, a routing bracket, or a cable tie mount designed in the right place. The goal is simple: a pull on the outside cable should not become stress on the internal wiring or the seal.
The Bend Radius Problem
A cable may fit through the gland, but it still needs room to bend inside the enclosure. If the gland is too close to a PCB, terminal block, battery, or side wall, the cable may be forced into a sharp bend. That can damage the cable, push against the gland, or make assembly difficult.
| Design detail | Good practice |
|---|---|
| Internal clearance | Leave room for the cable to bend naturally |
| Cable clamp position | Support the cable before it reaches terminals |
| Terminal block distance | Avoid pulling conductors tight |
| Heavy cable entry | Use stronger glands, clamps, or support plates |
| Vibration exposure | Add mechanical retention, not only sealing compression |
This is one reason I do not like to approve cable entry positions only from the outside view. The outside may look perfect, while the inside forces the worker to bend the cable like a fishing rod.
My practical rule is this: if assembly workers need to fight the cable to close the cover or connect the terminal, the design is already telling us something is wrong.
The same thinking applies when an enclosure has many holes.
Mistake 5: Adding Too Many Holes Without a Sealing Plan
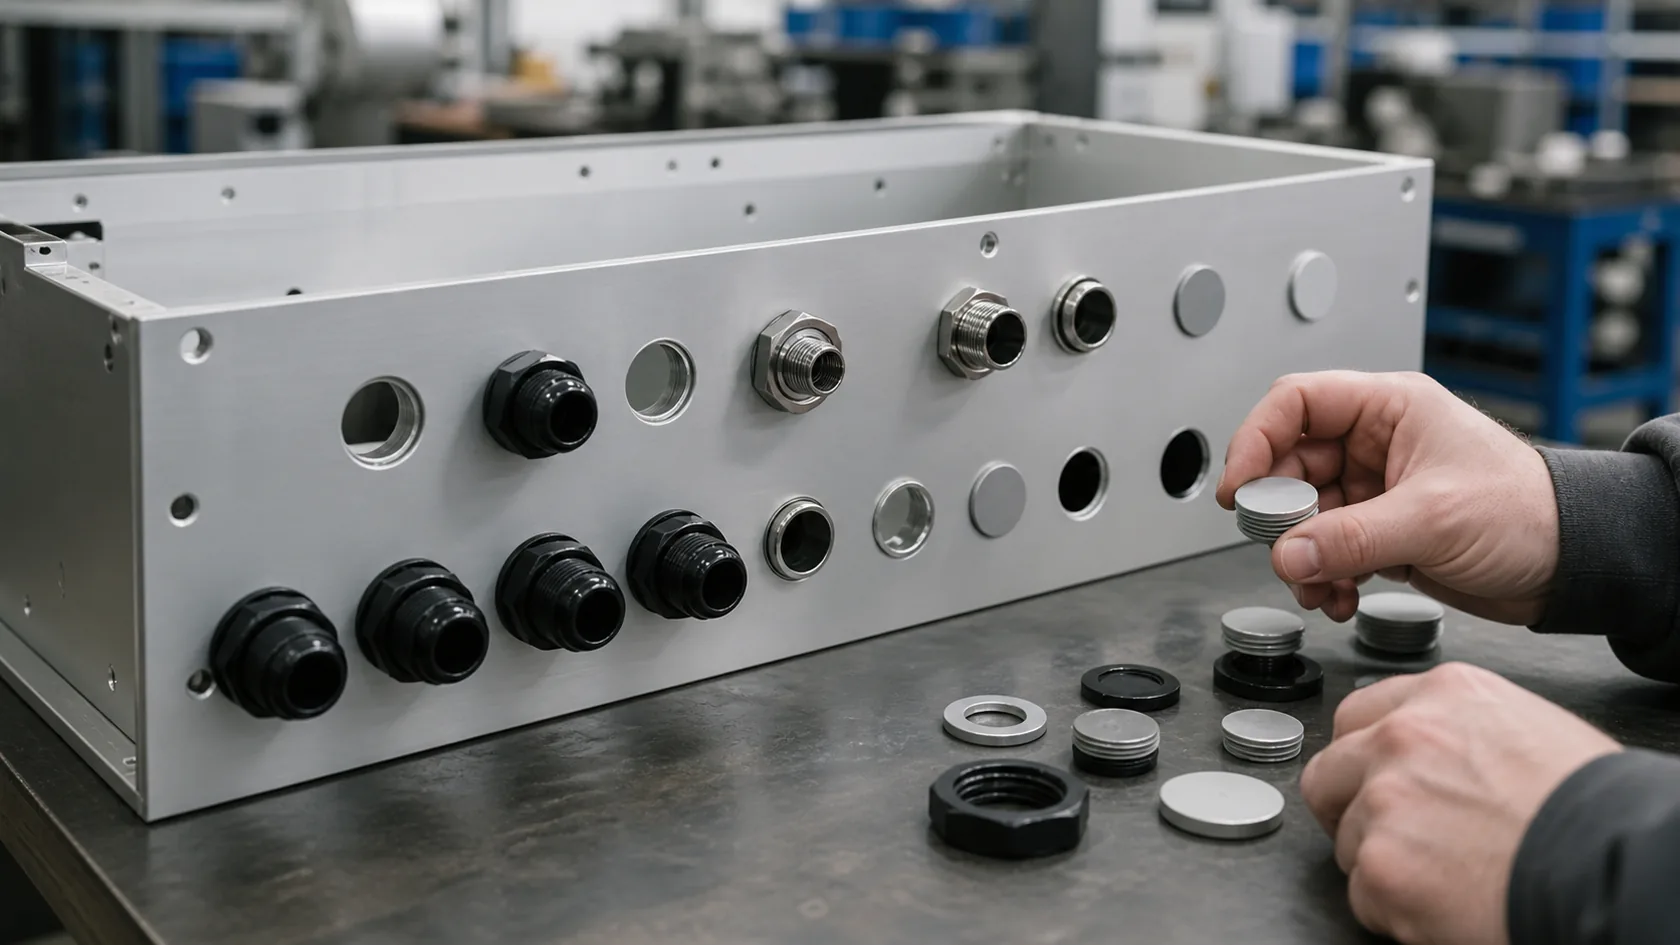
OEM outdoor enclosures often need many openings. Power input, signal cable, antenna, USB, buttons, LED windows, sensors, vents, and future expansion ports can all appear in one design.
Customization is not the problem. Unplanned customization is the problem.
Every hole needs a sealing method. A spare hole also needs a sealing method. A future cable entry cannot be left open "for later." If the enclosure is expected to keep an outdoor rating, unused entries need proper blanking plugs or accessories with a suitable rating for the application.
Hole Planning Checklist
| Opening type | Main risk | What to check |
|---|---|---|
| Cable gland hole | Thread leakage or poor fit | Hole diameter, washer, nut clearance |
| Connector cutout | Gasket or connector rating mismatch | Connector rating and panel thickness |
| Antenna hole | Water around base | Outdoor antenna seal and washer |
| Push button hole | Moving seal aging | Button rating and replacement plan |
| Vent or breather | Wrong position or rating | Water path, airflow, membrane type |
| Spare hole | Forgotten sealing | Matching blanking plug and washer |
Too many entries can also reduce usable space inside the enclosure. Glands and locknuts need wrench room. Cables need bend radius. Workers need access. If all holes are squeezed into one small area, assembly becomes slow and mistakes become easier.
For new OEM projects, I like to group entries by function and service logic. Power cables, signal cables, antenna positions, and maintenance access should not be thrown onto the wall like decoration. The layout should make sense to the person who will install and repair the product later.
That leads to the last mistake: leaving important details for the field team to solve.
Mistake 6: Treating Field Drilling and Assembly as Minor Details
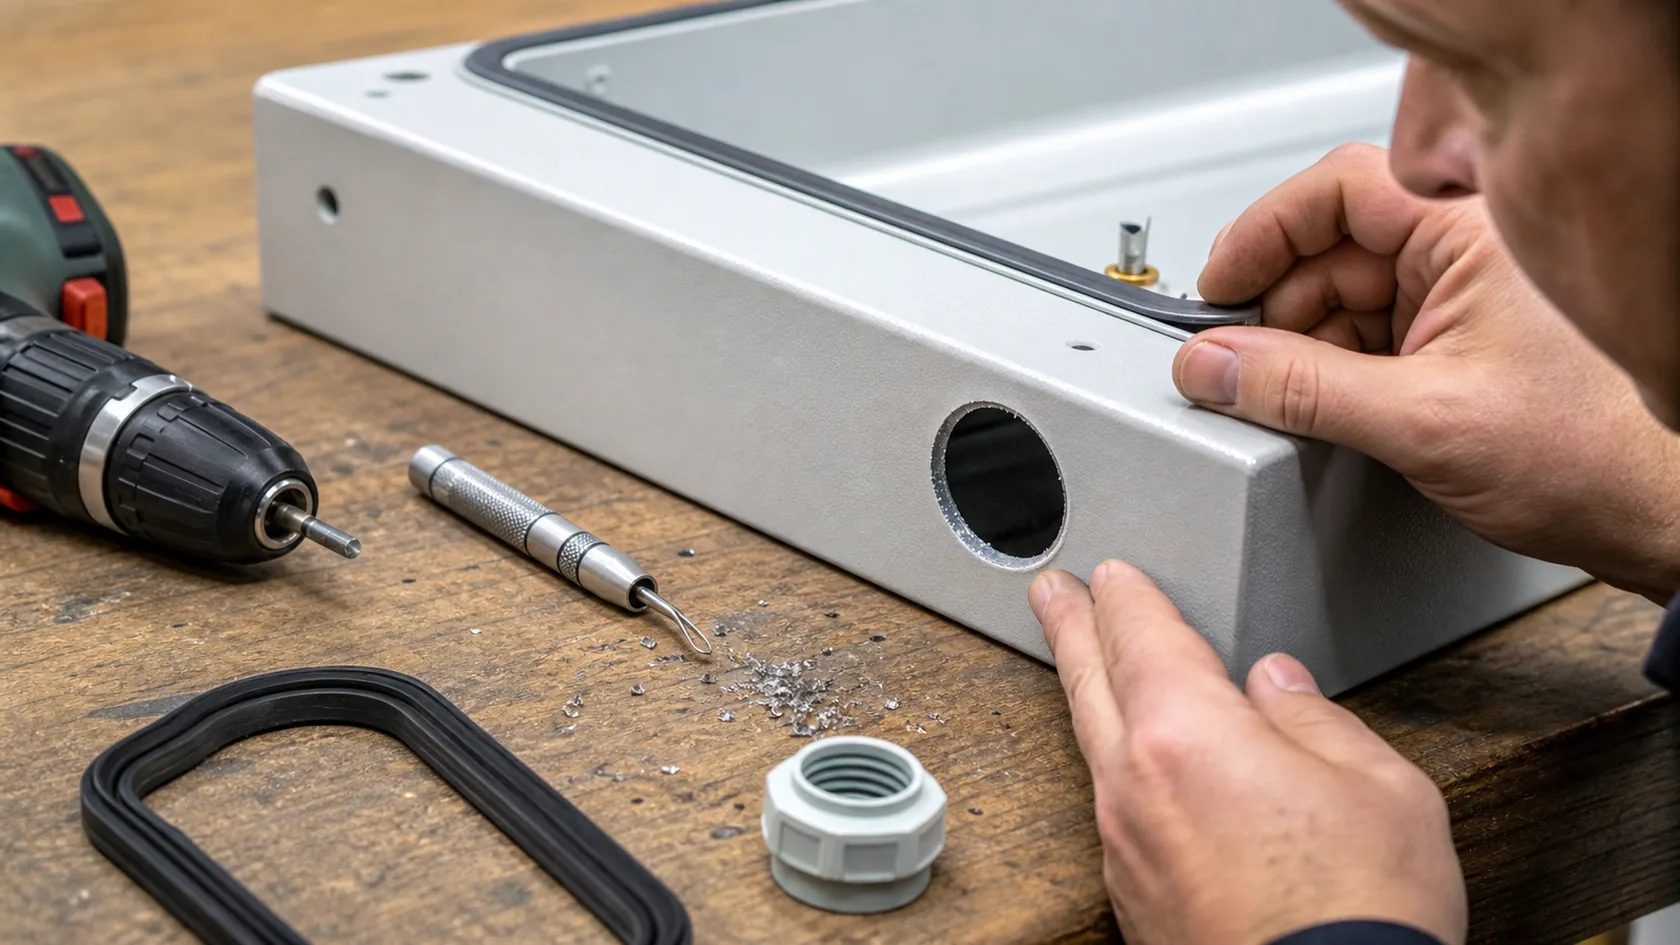
Field drilling is sometimes necessary. But it is rarely as controlled as factory machining.
A factory CNC hole can be controlled for diameter, position, roundness, edge quality, and spacing. A field-drilled hole may have burrs, chipped coating, an uneven edge, metal chips inside the enclosure, or a sealing surface that is not flat. The worker may also choose a different gland because the correct one is not available on site.
None of these mistakes looks big at first. But outdoor reliability is built from small habits.
What Field Work Can Damage
| Field issue | Later result |
|---|---|
| Burrs around hole | Washer may be cut or lifted |
| Damaged coating | Corrosion can start around the entry |
| Metal chips left inside | Electrical short or gasket contamination |
| Wrong gland substitution | Cable seal or thread interface may fail |
| Loose locknut | Gland moves and seal relaxes |
| No torque guidance | Over-tightening or under-tightening becomes random |
Good packaging also matters. A bag of loose washers, plugs, and locknuts can disappear during installation. Assembly instructions matter too. If the worker does not know which washer belongs to which gland, the design depends on luck.
In real production, I do not assume a good part will stay good after three people open it, rework it, pack it, ship it, and install it outside. I try to remove chances for small assembly mistakes before they have a chance to become customer complaints.
The best cable entry design is not complicated. It is clear, controlled, and hard to assemble wrongly.
Conclusion
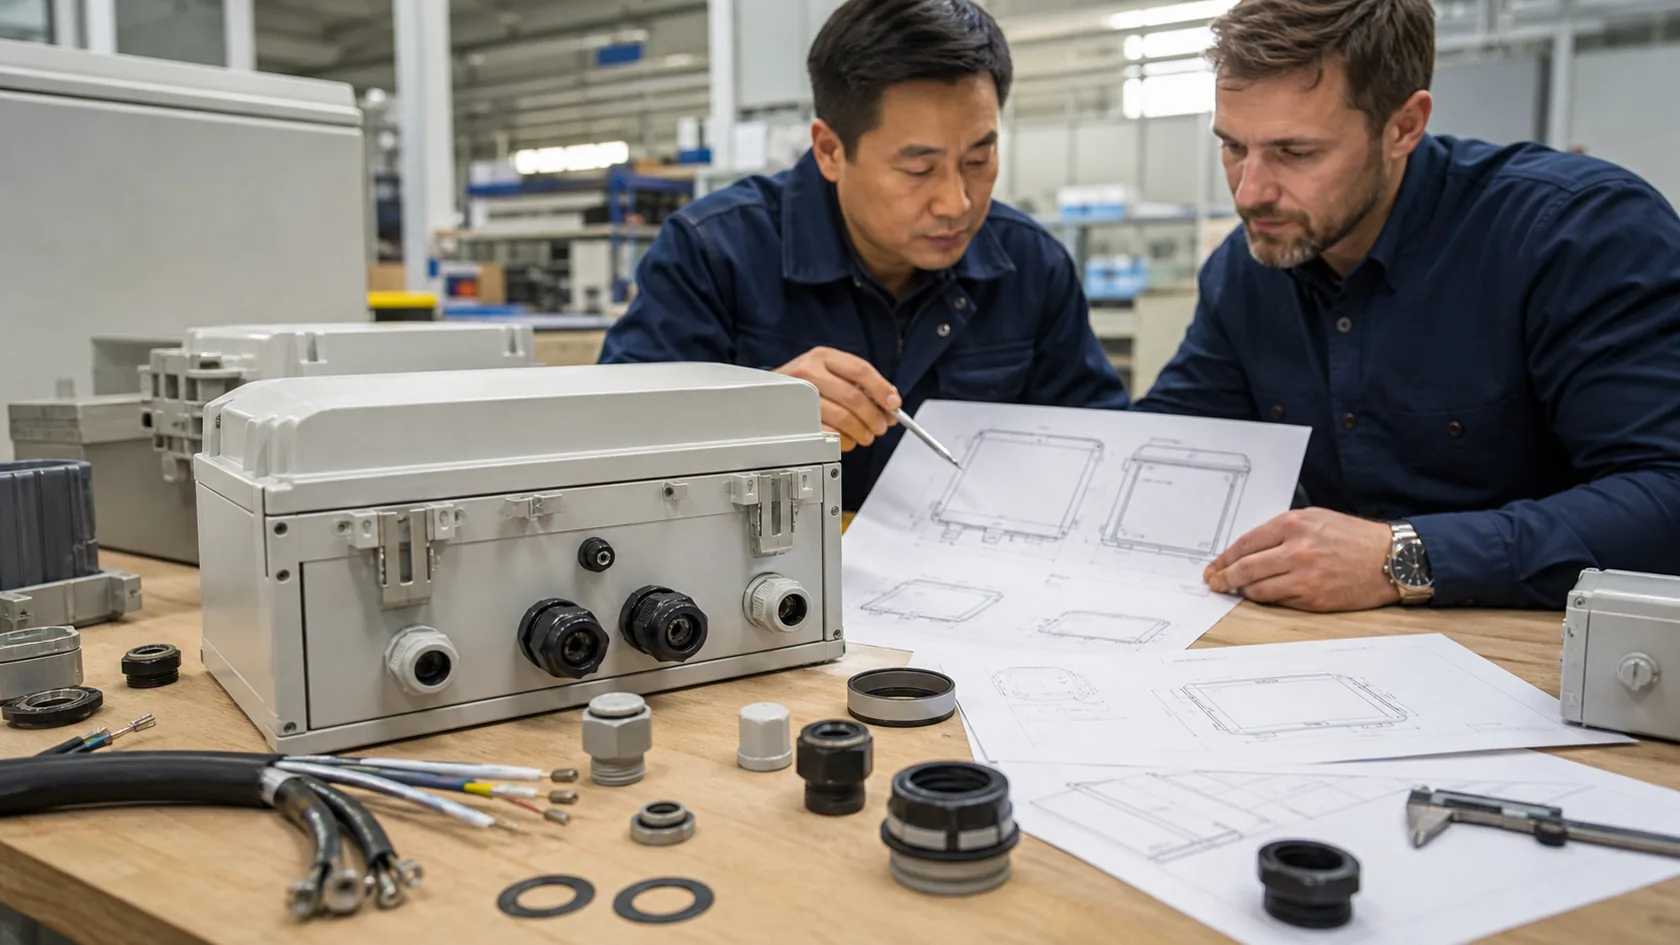
Cable entry design is a small topic only until something leaks.
For OEM outdoor enclosures, I think the safest approach is to treat cable entries as part of the enclosure system, not as accessories added at the end. The box, gasket, gland, washer, cable, routing, internal clamp, blanking plug, and assembly method all need to agree with each other.
The most common mistakes are easy to name:
- Putting entries where water wants to go
- Choosing glands by thread size instead of cable diameter
- Forgetting the wall interface seal
- Ignoring strain relief and bend radius
- Adding holes without a sealing plan
- Leaving drilling and assembly details to the field
None of these mistakes feels dramatic during design. That is why they are dangerous. They hide in normal decisions.
At MaidaTech, I prefer to discuss cable diameter, entry direction, gland material, sealing washers, hole layout, and assembly details before production. This sometimes makes the early conversation a little longer. But it usually makes the project smoother, especially for outdoor products that must survive rain, sun, vibration, and impatient end users.
If you are developing a custom outdoor enclosure and the cable entry area is still not fully decided, send us your drawing, cable information, and installation direction. We can help review the enclosure design before tooling, CNC machining, or batch production starts.







