 Skip to content
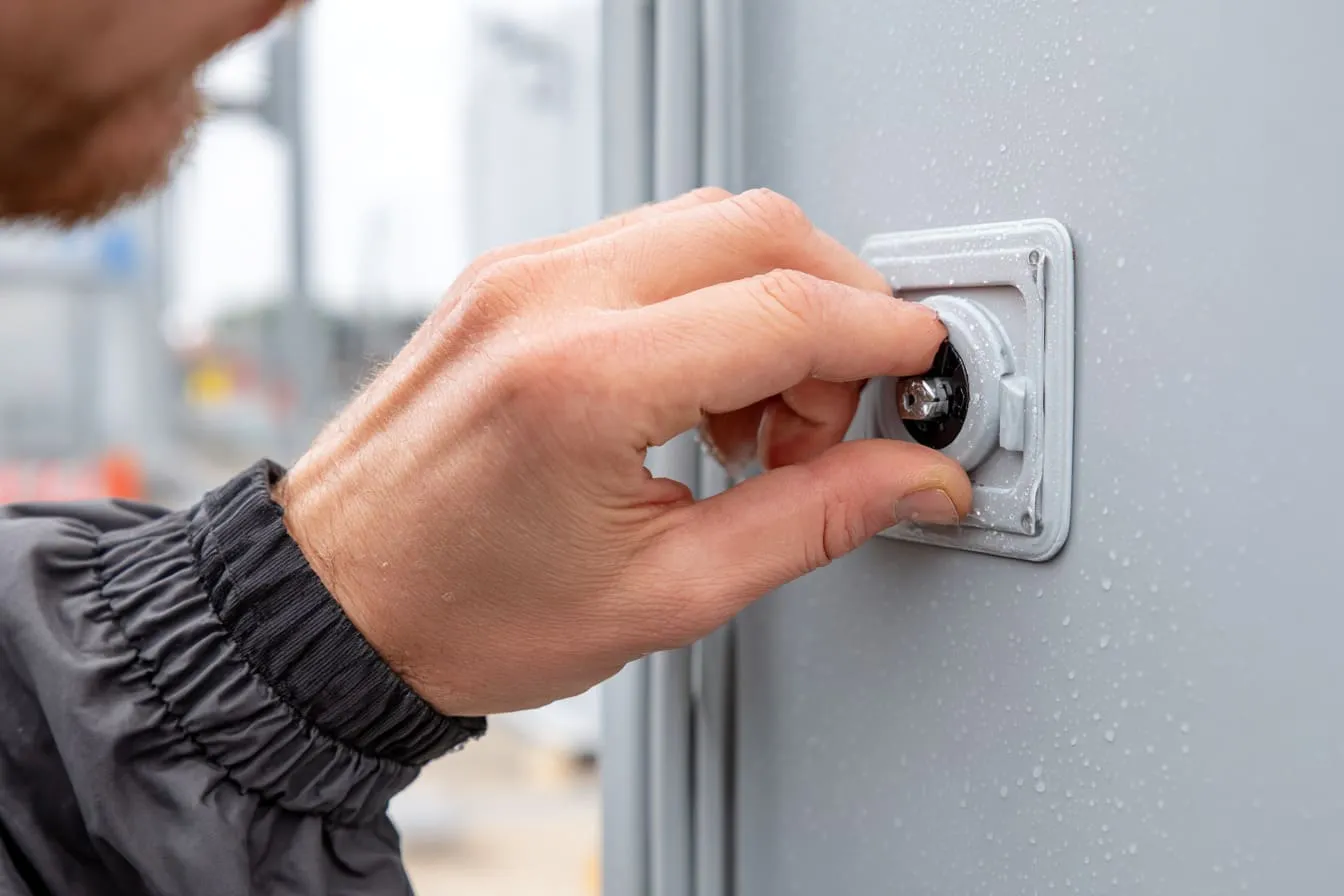
Outdoor enclosure failure often looks dramatic from the outside.
A customer sends photos. Water marks. Rust around screws. Fog inside the clear cover. A circuit board that should have worked for years suddenly stops after one heavy rain.
But when I check the real cause, I often find something very small.
Not the whole enclosure body.
Not the aluminum wall.
Not the powder coating.
It starts at the cable entry point.
That small place where the cable enters the enclosure can become the weakest door for water, dust, vibration, and heat stress. For OEM outdoor enclosures, this detail is easy to underestimate because it looks simple. Just drill a hole. Add a cable gland. Tighten it. Done.
But real outdoor use is not that polite.
Rain comes from strange angles. Cables move. Workers pull them during installation. Sunlight makes rubber parts age. Temperature changes make materials expand and shrink. A seal that looks perfect on the table may behave very differently after six months outside.
For product engineers, custom OEM buyers, and procurement managers, this matters a lot. A failed cable entry does not only damage the enclosure. It can delay a whole project, hurt the end-user experience, and create expensive after-sales problems.
I tend to spend more time checking cable entry design than many buyers expect, because I know this small area can decide whether an outdoor enclosure behaves like a protective shell or a leaking lunch box.
This article is not written from a textbook angle. I want to look at the issue the way I see it in real OEM enclosure projects: practical, direct, and sometimes a little painful.
Because in outdoor enclosure work, the tiny hole is often where the big problem begins.
Why Cable Entry Points Are the Weakest Link in Outdoor Enclosures
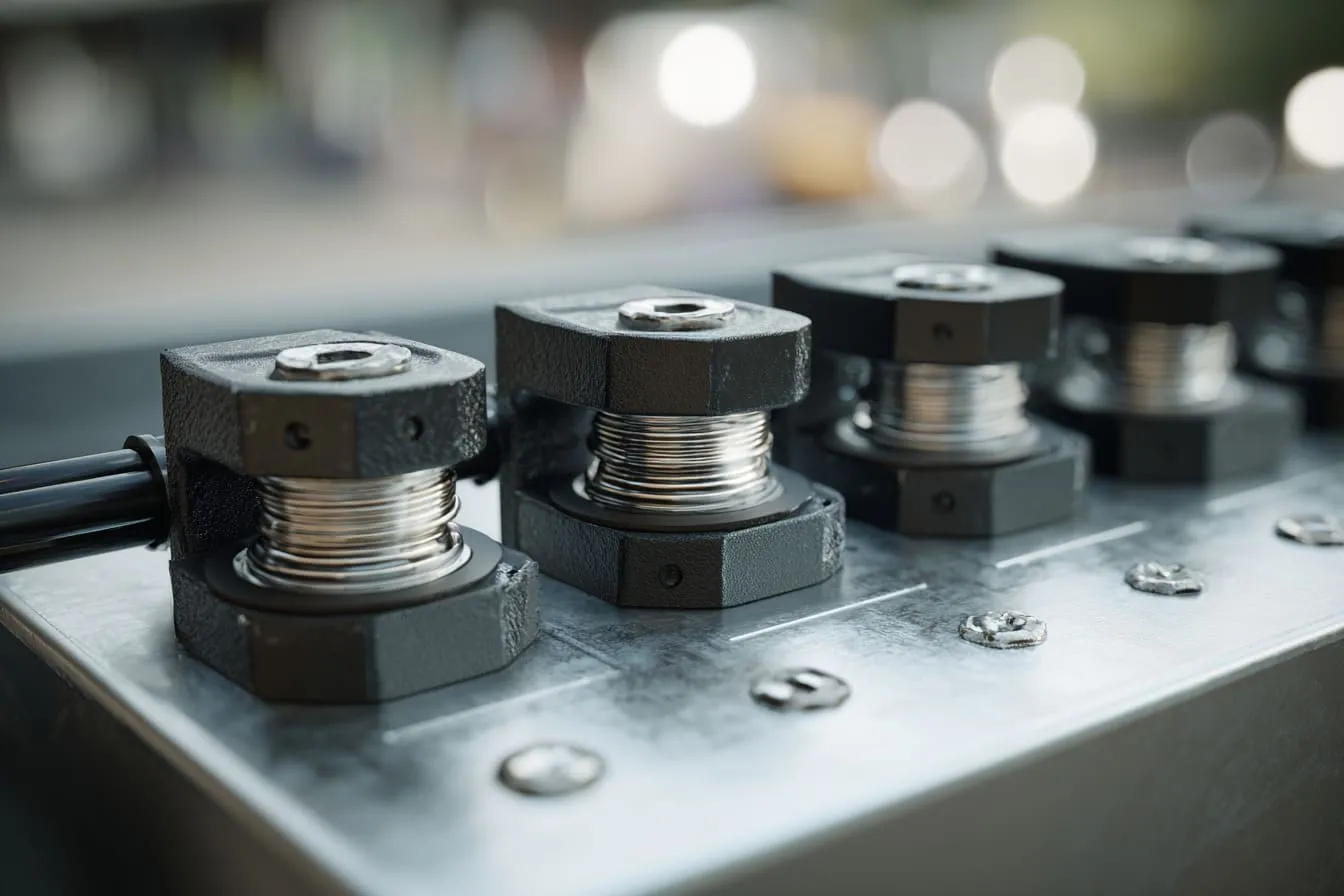
A good outdoor enclosure looks strong from the outside. It may have a thick aluminum body, a nice coating, stainless steel screws, and a clean gasket line.
Then someone opens a hole for the cable.
That is where the story changes.
A sealed box is strong because it is closed. Once we add cable entries, we create paths. Those paths must be controlled very carefully. If we do not control them, rain, dust, and stress will find their way in.
1. The Nature of Outdoor Environmental Stress
Outdoor stress does not attack every part equally.
Flat panels are usually easier to protect. A well-coated aluminum surface can handle rain and sunlight for a long time. A properly designed cover gasket can also work well because the compression is usually even.
Cable entry points are different.
They have several parts working together:
- Enclosure wall
- Hole edge
- Cable gland or connector
- Rubber sealing ring
- Cable jacket
- Locknut
- Installation torque
- Cable direction
- Cable movement
That is a lot of chances for something to go wrong.
| Outdoor Stress | How It Attacks Cable Entry Points | Common Result |
|---|---|---|
| Rain | Runs along cable surface or gland thread | Water ingress |
| Dust | Enters through small gaps | Dirty internal parts |
| UV | Ages plastic and rubber parts | Seal cracking |
| Heat | Softens or expands materials | Loose compression |
| Cold | Hardens rubber parts | Reduced sealing |
| Vibration | Moves cable and gland | Seal fatigue |
| Pulling force | Stresses entry hole | Gland loosening |
A cable is not just a cable. Outside the enclosure, it behaves like a bridge. It connects the safe inside world with the harsh outside world.
That bridge can carry water.
It can carry force.
It can carry trouble.
One detail I pay attention to is the direction of cable entry, because water rarely enters in a straight and polite way; it follows the cable, stops at the gland, waits for one weak gap, and then slowly wins.
2. IP/NEMA Ratings Don’t Guarantee Field Sealing
Many buyers ask for IP65, IP66, IP67, or NEMA-rated outdoor enclosures. That is normal. These ratings are useful. They give us a basic protection target.
But I never treat a rating as the whole answer.
A rating is tested under specific conditions. Real use has more variables. A product may pass a lab-style water test, but it may still fail later if the cable entry is badly installed or poorly matched with the real cable.
For example, an enclosure body can be IP66, and the cable gland can also be IP66. But the final assembly may not perform like IP66 if:
- The cable diameter is too small for the gland range
- The locknut is not tight enough
- The wall thickness is not suitable
- The hole edge has burrs
- The cable is pulled after installation
- The gland seal is compressed unevenly
- The installer uses the wrong washer
That is why I always see the final installed condition as the real test.
| What Buyers Often See | What I Also Check |
|---|---|
| Enclosure IP rating | Full assembly sealing |
| Cable gland rating | Cable size match |
| Material name | Outdoor aging behavior |
| Nice product photo | Actual cable direction |
| Thick wall | Hole quality after drilling |
| Supplier promise | Installation details |
A rating can tell us the design target, but it does not promise that every installation will survive in the field.
This is where many projects get caught. The drawing looks fine. The datasheet looks fine. The sample looks fine.
Then the product meets rain, vibration, and a tired installer on a Friday afternoon.
That is the real exam.
3. Structural Factors That Create Failure Paths
Every hole changes the structure of an enclosure.
This sounds simple, but it is often ignored. When we drill or punch a cable hole, we remove material from the enclosure wall. Around that hole, stress can concentrate. If the hole is too close to a bend, corner, screw post, or gasket line, the risk becomes higher.
I also care about the hole edge. A rough hole edge can damage the washer or rubber seal. A small burr can stop the gland from sitting flat. A slightly oval hole can create uneven pressure.
Small things. Big headache.
| Structural Factor | Why It Matters |
|---|---|
| Hole diameter | It controls gland fit |
| Wall thickness | It affects thread engagement |
| Hole position | It changes stress and service access |
| Surface flatness | It affects washer compression |
| Burrs | They damage seals |
| Coating thickness | It affects seating surface |
| Hole spacing | It affects strength and cable bending |
If multiple cables enter one side of the enclosure, the risk grows again. Too many holes can weaken one panel. Too many glands can also make installation crowded. Workers may tighten one gland well and leave another half-tight because there is no space for tools.
That is not a material problem.
That is a design problem.
A small cable entry decision can quietly create a future failure path, so I prefer to review the entry area together with the whole enclosure layout, not as a small accessory added at the end.
A cable entry point looks small on a 3D drawing. But outdoors, it behaves like a full system. And systems fail when one small part is ignored.
Primary Failure Mechanisms at Cable Entry Points
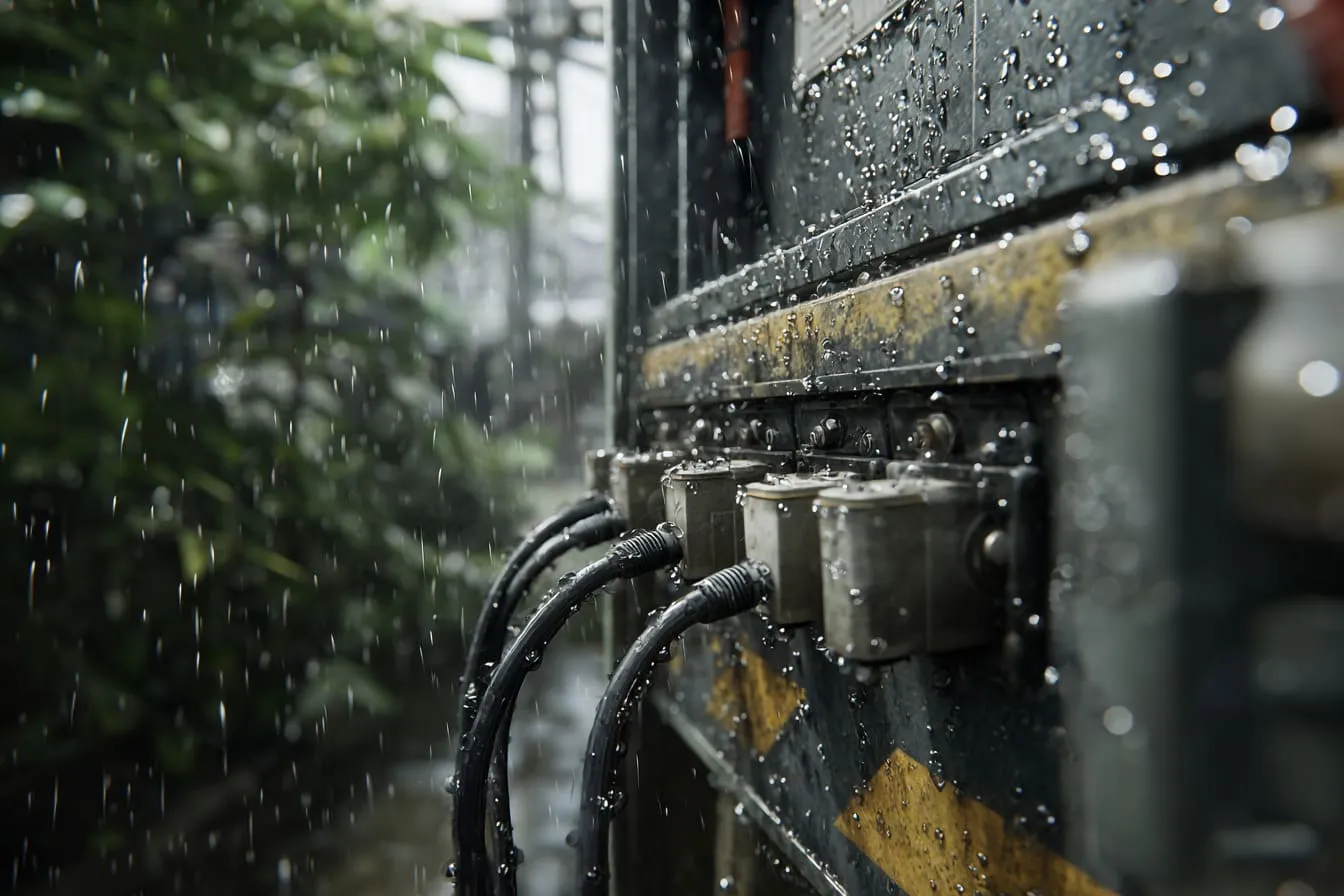
Cable entry failure does not happen in only one way.
Sometimes water gets in.
Sometimes the seal becomes loose.
Sometimes the cable pulls the gland out of shape.
Sometimes the rubber looks fine outside, but inside it has already lost compression.
I like to break the problem into several failure mechanisms. This helps buyers and engineers avoid guessing. Guessing is expensive. A clear diagnosis is cheaper.
1. Water Ingress and Moisture Accumulation
Water is patient.
It does not need a big hole. It only needs a small path.
At the cable entry point, water can enter through:
- The gap between cable jacket and sealing insert
- The thread area of the gland
- The washer area between gland and enclosure wall
- A poor hole edge
- An unused knockout
- A cable that slopes downward into the enclosure
- Capillary action along the cable surface
Some buyers think water only enters during heavy rain. I do not see it that way.
Light rain can be enough if the water sits around the gland for hours. Fog and humidity can also create moisture inside. Daily temperature changes can pull humid air in and out of the enclosure. Then condensation forms.
A small wet mark today can become corrosion next month.
| Moisture Source | What It Can Cause Inside |
|---|---|
| Rain leakage | Short circuits |
| Condensation | PCB corrosion |
| Humid air exchange | Foggy cover |
| Cable surface water | Terminal oxidation |
| Poor drainage | Standing water near entry |
| Seal aging | Slow repeat leakage |
I once checked a small control enclosure where the outside looked almost perfect. No big crack. No broken cover. But inside, the terminals were green and ugly. The cable entered from the top side, and there was no drip loop. Rainwater followed the cable like a small road.
The solution was not magic. We changed the cable entry direction, added a better gland, and adjusted the routing.
Simple. But only after the damage had already happened.
When I review outdoor designs, I do not only ask, “Can water enter?” I ask, “Where will water go when it touches the cable for many hours?”
That question changes the design mindset.
2. Strain and Mechanical Loading
A cable entry point must seal. It must also hold stress.
That is where many people get surprised.
A cable has weight. A long cable has more weight. A thick cable can pull downward. A cable connected to moving equipment can vibrate. A cable installed on a pole, machine, vehicle, or outdoor rack may face wind movement or shaking.
If the cable has no strain relief, the gland becomes both a seal and a mechanical support.
That is too much responsibility for one small part.
| Mechanical Stress | How It Damages the Entry |
|---|---|
| Cable weight | Pulls seal downward |
| Vibration | Loosens gland over time |
| Sharp bending | Creates uneven compression |
| Installation pulling | Damages rubber insert |
| No internal clamp | Transfers force to gland |
| Heavy conduit | Stresses enclosure wall |
A gland should not be treated like a strong handle. It is not designed to carry all cable force forever.
This is especially important for OEM projects. A buyer may send a clean 3D design, but the real field cable can be heavier or stiffer than expected. If the supplier does not ask about cable type, the final enclosure may look correct but behave badly.
For heavy cables, I usually prefer adding internal clamps, routing support, or a gland plate with enough strength, because I do not want the sealing part to fight against cable weight every single day.
3. Thermal Expansion and Seal Aging
Outdoor enclosures live through hot days and cold nights.
Metal expands. Plastic expands. Rubber changes hardness. The cable jacket also changes. These parts do not move at the same rate.
This can slowly reduce sealing force.
At first, the gland feels tight. After many temperature cycles, the rubber insert may relax. The washer may lose pressure. The cable jacket may become harder or smaller. Then the seal is no longer the same as day one.
This is the kind of failure that does not shout.
It whispers.
Then one day, the enclosure leaks.
| Material | Outdoor Behavior |
|---|---|
| Aluminum | Expands and contracts with temperature |
| Nylon gland | Can age under UV and heat |
| Brass gland | More stable and strong |
| Stainless steel gland | Good for harsh areas |
| Rubber seal | Can harden or lose compression |
| Cable jacket | Can shrink, harden, or deform |
| Powder coating | Can affect seating if too thick or uneven |
This is why material selection matters. A low-cost nylon gland may be fine for some mild outdoor use. But in hot sun, strong UV, or industrial areas, it may not be the right choice.
There is always a cost decision here.
A better gland costs more. A failed field unit costs much more.
For projects exposed to heat, sunlight, or long outdoor service, I would rather increase gland quality than save a few cents and hope the seal behaves forever.
4. Improper Cable/Gland Matching and Installation Errors
This is one of the most common causes I see.
The gland may be good.
The enclosure may be good.
But the cable does not match the gland.
A gland has a cable diameter range. If the cable is too small, the seal cannot grip properly. If the cable is too large, the installer may force it. The rubber insert may deform. Both cases create risk.
| Mistake | Why It Fails |
|---|---|
| Cable too small | Seal cannot compress enough |
| Cable too large | Rubber deforms or cracks |
| Wrong thread type | Poor wall connection |
| Over-tightening | Damages seal |
| Under-tightening | Leaves micro-gaps |
| Mixed cable sizes | Uneven sealing |
| No torque control | Inconsistent assembly |
| Rough cable jacket | Poor surface contact |
Installation also matters.
Some workers tighten glands by feel. But “by feel” changes from person to person. One worker may tighten too much. Another may not tighten enough.
For small batches, this may not show quickly. For OEM production, it becomes a quality risk.
A detail I like to confirm before production is the real cable outer diameter, not only the cable type, because cable names can look similar while the jacket size is different enough to change the sealing result.
Once we understand these failure mechanisms, the next question becomes more direct: what mistakes create them in the first place?
Common Cable Entry Design and Installation Mistakes
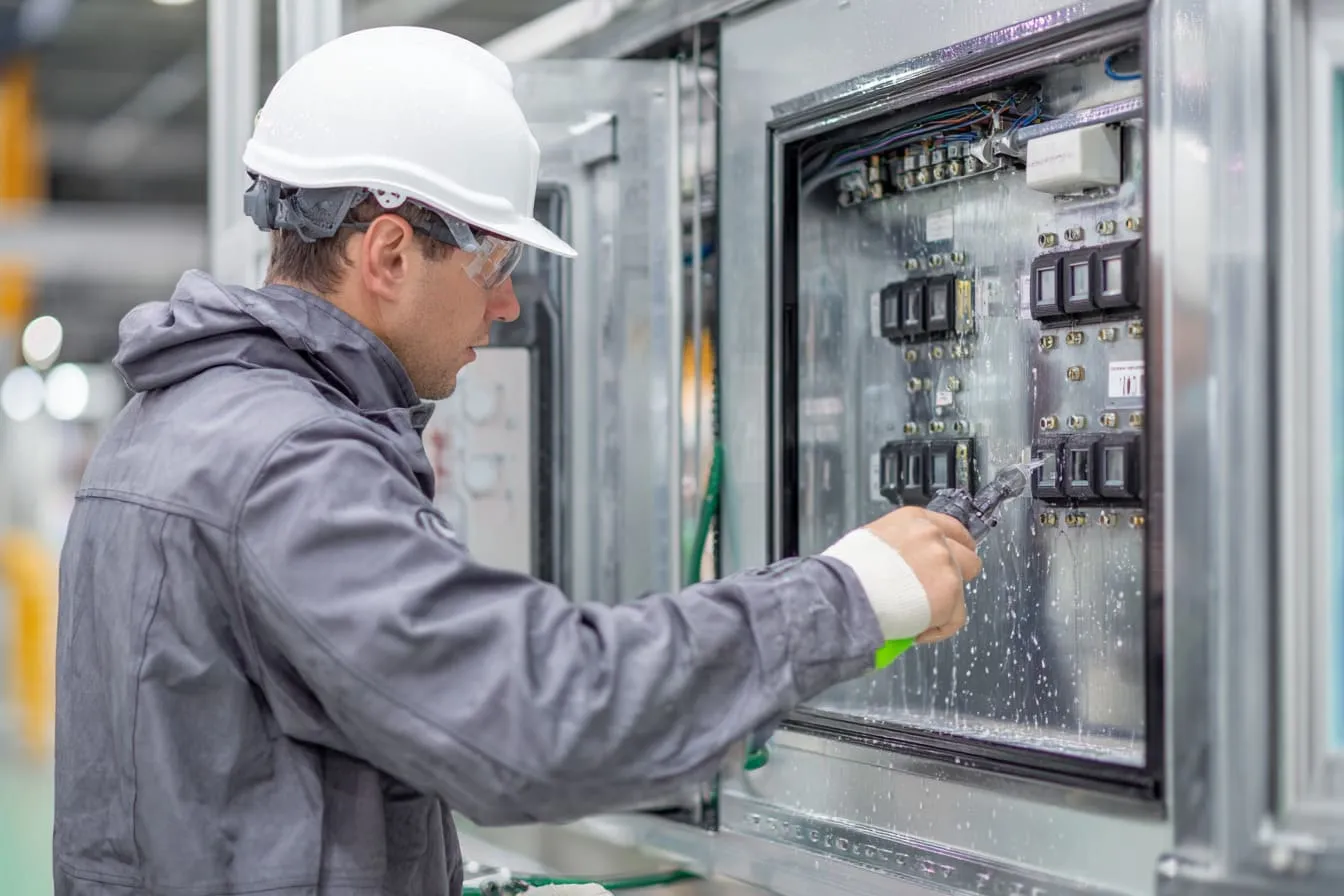
Most cable entry failures do not come from one big stupid mistake.
They come from several small decisions that looked harmless at the time.
A slightly wrong gland.
A hole placed too high.
A cable bent too sharply.
An unused hole sealed with weak material.
A missing clamp.
None of these details look dramatic in the drawing. But outside, they add up.
1. Incorrect Gland Selection
Many buyers ask for “waterproof cable glands.”
That phrase is too broad.
A cable gland must match the cable, enclosure material, wall thickness, outdoor environment, and service requirement. If one of these points is wrong, the gland can fail even if it looks nice.
| Selection Point | What I Check |
|---|---|
| Cable diameter | Real outer diameter, not just cable name |
| Protection rating | IP level after assembly |
| Material | Nylon, brass, stainless steel |
| Thread size | Match with enclosure hole |
| Wall thickness | Enough thread engagement |
| Seal material | UV and temperature resistance |
| Outdoor exposure | Sun, rain, salt, dust, chemical |
| Service need | Easy replacement or permanent seal |
For example, nylon glands can be useful in many projects. They are light and cost-friendly. But I would not use them blindly in every harsh outdoor project. If the enclosure is used near the sea, in high sunlight, or in an industrial area, brass or stainless steel may be safer.
A buyer may see only the unit price. I must look at the total risk.
The gland is cheap compared with the electronics inside the enclosure.
Choosing a weak gland to protect expensive equipment feels like buying a strong lock and installing it on a paper door.
2. Poor Entry Layout and Knockout Practices
Cable entry location is not only about where the cable fits.
It affects sealing, assembly, drainage, and future service.
A poor layout can create constant stress even when the gland is good. For example, if the cable enters from the side and bends sharply downward, the cable may pull the gland at an angle. If the entry is too close to a corner, tools may not fit well. If holes are too close together, the wall becomes weak.
| Layout Problem | Possible Result |
|---|---|
| Entry too high | Water can sit around the gland |
| Entry from top | Higher leakage risk if not protected |
| Hole near corner | Hard to seal and tighten |
| Hole near gasket | Weakens sealing area |
| Too many holes in one panel | Reduces wall strength |
| No drip loop | Water follows cable inward |
| Wrong cable angle | Constant stress on seal |
| Unused knockout not sealed | Direct leak path |
Unused holes are another quiet problem.
Sometimes a customer wants several options, so extra knockouts are added. That can be useful. But if unused holes are not sealed with proper plugs, they become leak paths.
A hole does not care whether it was planned or forgotten.
It just lets water in.
Before I approve a cable entry layout, I like to imagine the installer working with gloves, limited space, and pressure from the project deadline, because a design that only works on a clean desk may fail during real installation.
3. Lack of Strain Relief or Internal Anchoring
Cable strain relief is not a luxury detail.
It protects the seal.
If a cable moves, the gland moves. If the gland moves, the seal gets tired. If the seal gets tired, water starts looking for a path.
For outdoor OEM enclosures, I usually think about two layers of protection:
- The gland seals the cable entry.
- The internal clamp or support controls cable movement.
| Cable Situation | Suggested Support |
|---|---|
| Light signal cable | Normal gland may be enough |
| Medium power cable | Gland plus internal clamp |
| Heavy cable | Reinforced gland plate and clamp |
| Moving equipment cable | Strain relief and flexible routing |
| Pole-mounted enclosure | Bottom entry and cable support |
| Vehicle or machine use | Vibration-resistant support |
Internal anchoring also helps during service.
A technician may open the enclosure and move wires around. If the cable is not anchored, the force goes back to the gland. Over time, this weakens the entry.
This is not always easy to see in product photos. A buyer may approve the outside appearance and miss the inside cable support.
That is why I often ask for internal photos or assembly drawings before mass production.
Cable entry failure is usually not one bad part. It is a chain. Bad selection, poor layout, and weak support all pull in the same direction.
Now let’s talk about how I prefer to prevent these problems before they become complaints.
Best Practices for Robust Cable Entry Sealing
A strong cable entry design is not about using the most expensive part every time.
It is about matching the solution to the real use.
A small sensor enclosure on a wall does not need the same cable entry design as a power control box near heavy equipment. A Raspberry Pi-style outdoor case for a light project does not need the same solution as an industrial junction box in a wet area.
Good design means balance.
1. Selecting the Right Cable Entry Solutions
There are several common ways to handle cable entry.
Each one has a place. Each one also has limits.
| Cable Entry Solution | Best For | Main Risk |
|---|---|---|
| Standard cable gland | Simple single cable entry | Wrong cable size match |
| Brass cable gland | Strong outdoor or industrial use | Higher cost |
| Stainless steel gland | Harsh, marine, or corrosive areas | Higher cost and weight |
| Nylon cable gland | Cost-sensitive mild outdoor use | UV and aging risk |
| Liquid-tight conduit | Strong protection and routing | More space needed |
| Multi-port gland plate | Several cables in one area | Must match cable layout |
| Connector interface | Plug-and-play service | More design planning |
| Rubber grommet | Low-cost light-duty use | Weak sealing for harsh outdoor use |
For OEM orders, I usually like to know the full cable plan before choosing the entry method.
I ask questions such as:
- How many cables enter the enclosure?
- What is the outer diameter of each cable?
- Will the cable move during use?
- Will users need to unplug or service it?
- Is the enclosure exposed to direct rain?
- Is there UV exposure?
- Is there dust, oil, salt, or chemical vapor?
- How long should the enclosure last outdoors?
Without these answers, choosing a cable gland is just guessing with a catalog.
For complex projects, I often prefer a planned gland plate, because it keeps cable entries organized and makes it easier to control sealing, service, and production quality.
2. Correct Installation Techniques
A good part can fail with bad installation.
This is not exciting to say, but it is true.
Cable glands need proper installation. The hole should be clean. The washer should sit flat. The torque should be controlled. The cable should not be pulled hard after tightening.
| Installation Step | Why It Matters |
|---|---|
| Clean hole edge | Prevents seal damage |
| Remove burrs | Helps washer sit flat |
| Check wall thickness | Ensures proper thread grip |
| Use correct washer | Controls sealing surface |
| Match cable diameter | Allows proper compression |
| Tighten to proper torque | Avoids under or over-tightening |
| Add drip loop | Reduces water path |
| Support cable | Reduces seal stress |
| Inspect after assembly | Finds early mistakes |
Bottom entry is often safer for outdoor use because gravity helps. But bottom entry is not always possible. If side or top entry is needed, the design should add extra protection, such as hoods, drip loops, stronger sealing, or better routing.
A drip loop is simple. It gives water a place to fall before it reaches the gland.
Simple ideas often save projects.
One thing I do not like is leaving gland tightening completely to “worker feeling,” because feeling is not a quality standard when the order becomes 500 or 5,000 pieces.
3. Material Selection for Outdoor Durability
Outdoor materials must survive more than the first shipment.
They must survive sun, rain, and time.
For cable entries, the key materials include the gland body, sealing rubber, washer, cable jacket, and enclosure wall surface.
| Material Choice | Suitable Situation | Caution |
|---|---|---|
| Nylon gland | Mild outdoor, cost-sensitive projects | Check UV resistance |
| Brass gland | Industrial outdoor use | Check plating quality |
| Stainless steel gland | Marine or corrosive area | Higher cost |
| EPDM seal | Outdoor and weather exposure | Check temperature range |
| Silicone seal | High or low temperature areas | May need special design |
| NBR seal | Oil-resistant environments | UV may be weaker |
| Aluminum wall | Light and strong | Hole edge must be clean |
| Powder-coated surface | Good protection | Coating thickness affects fit |
I do not believe one material is always best.
A stainless steel gland is strong, but it may be too expensive for simple projects. A nylon gland can work, but not in every harsh environment. Brass is often a good balance, but it still needs proper sealing parts.
That is why I prefer to match the material with the real environment instead of blindly chasing the highest specification.
A product engineer may care about performance. A buyer may care about cost. A brand owner may care about after-sales risk. The correct material choice must respect all three.
4. Maintenance and Field Inspection
Even a good cable entry should be checked if the enclosure works outdoors for a long time.
Outdoor parts age. That is normal.
The goal is not to pretend seals last forever. The goal is to catch aging before failure becomes expensive.
| Inspection Item | What to Look For |
|---|---|
| Gland tightness | Loose nut or rotation |
| Rubber seal | Cracks, hardening, flattening |
| Cable jacket | Shrinkage, damage, cuts |
| Washer area | Water marks or dust trail |
| Inside bottom area | Condensation or rust |
| Cable angle | Pulling or bending stress |
| Unused holes | Loose plugs or weak seal |
| Coating around hole | Cracking or corrosion |
For critical outdoor equipment, I suggest planned inspection. The timing depends on the use case. A mild outdoor box may need less inspection. A harsh industrial installation may need more.
Maintenance is not a sign of bad design. It is part of real outdoor use.
For long-life OEM products, I think it is better to design the cable entry so a technician can inspect and replace sealing parts without destroying the enclosure.
That small service-friendly detail can save the end user a lot of frustration.
A strong cable entry is not one part. It is a design habit. And for OEM buyers, that habit should start before the sample is made.
Design Considerations for OEM Buyers and Engineers
OEM buyers and engineers often focus on the visible parts first.
Size.
Color.
Surface finish.
Logo.
Mounting holes.
Internal posts.
These are important. But for outdoor enclosures, cable entry planning should happen early. If it is added late, the design often becomes messy.
I have seen this happen many times. A customer sends a finished 3D drawing and then says, “Please add three cable holes here.”
That sounds easy.
But sometimes “here” is near a bend. Or near a screw boss. Or too close to the gasket. Or facing the wrong direction for outdoor rain.
Then the small request becomes a design risk.
1. Engineering Cable Entry into Early Design Stages
Cable entry should be part of the first design discussion.
Not after the mold.
Not after the CNC program.
Not after the first sample is almost done.
For custom aluminum enclosures, sheet metal enclosures, plastic enclosures, and Raspberry Pi-style project boxes, cable entry affects structure, sealing, and assembly.
| Early Design Question | Why It Helps |
|---|---|
| Where will the enclosure be mounted? | Decides water direction |
| What cables enter the box? | Decides gland size |
| How many cables are needed? | Decides spacing |
| Will cables move? | Decides strain relief |
| Is service needed? | Decides connector or gland |
| Is the area exposed to sun? | Decides material |
| Is there vibration? | Decides support method |
| What IP/NEMA target is needed? | Decides sealing plan |
A simple drawing with cable paths can prevent many future changes.
For ODM projects, this matters even more. A creative customer may have a new board or device idea, but the enclosure needs to protect that idea in the real world. If the cable entry is not planned, the product may look good but fail in use.
At the early design stage, I prefer to check cable entry together with board position, mounting points, and user access, because moving one hole later can disturb the whole internal structure.
2. Specifying Clear OEM Requirements
Clear requirements are boring.
But they save money.
If a buyer only says “outdoor waterproof enclosure,” the supplier has to guess too much. Different factories may understand this request differently. One may use nylon glands. Another may use brass. One may place holes at the bottom. Another may place them on the side.
The quotation may look similar, but the final product may not be the same.
For OEM projects, I like to make requirements visible in a table.
| Requirement Item | Example Specification |
|---|---|
| Application | Outdoor sensor control box |
| Mounting position | Wall-mounted, vertical |
| Protection target | IP65 or above |
| Cable quantity | 2 power cables, 1 data cable |
| Cable diameter | Power 10mm, data 6mm |
| Cable entry direction | Bottom preferred |
| Gland material | Brass or UV-resistant nylon |
| Seal material | Outdoor-rated rubber |
| Cable support | Internal clamp required |
| Service need | Cable may be replaced in field |
| Surface finish | Powder-coated aluminum |
| Branding | Logo printing or engraving |
This table does not need to be fancy. It just needs to be clear.
A product engineer like David may already know these details. But a younger ODM buyer like John may only have the product idea and board size. In that case, the factory should help ask the right questions.
Good cooperation is not only taking orders.
Good cooperation means finding hidden risks before they become field failures.
I get cautious when a supplier never asks about cable diameter, because it usually means they are treating the gland as a small accessory instead of a sealing system.
3. Collaboration with Factory on Custom Entry Solutions
A custom enclosure should not be a blind copy of a standard box.
OEM and ODM projects often need special cable entry solutions because the device, board, and end-use condition are different.
Possible solutions include:
- Custom gland plates
- Pre-drilled entry zones
- Reinforced cable entry walls
- Modular connector openings
- Internal cable clamps
- Bottom-entry layouts
- Sealed unused knockouts
- CNC-machined precise holes
- Brackets for conduit support
- Service-friendly connector panels
| Project Type | Cable Entry Suggestion |
|---|---|
| Outdoor IoT device | Bottom gland entry with drip loop |
| Industrial control box | Brass glands and internal clamps |
| Marine-area enclosure | Stainless gland and corrosion-resistant sealing |
| Raspberry Pi outdoor project box | Compact gland layout and thermal planning |
| Rebrand OEM enclosure | Clean entry design plus logo area |
| Sheet metal cabinet | Reinforced gland plate |
| Plastic electronic enclosure | Molded boss or flat sealing area |
| High-service product | Connector panel for easier replacement |
A mock-up can help a lot.
The buyer can check cable routing. The engineer can check tool access. The factory can check production difficulty. Everyone can see problems before mass production.
This is much cheaper than discovering a leak after the goods arrive in Europe or North America.
Factory collaboration is not about saying yes to everything. I think a good supplier should sometimes say, “This design may leak,” or “This cable angle may create stress,” or “This hole is too close to the edge.”
That kind of honesty may slow down the first discussion, but it speeds up the whole project.
For outdoor OEM enclosure work, the best results usually come from this triangle:
| Buyer Provides | Factory Supports | Final Result |
|---|---|---|
| Product idea | Design review | Practical enclosure |
| Board layout | Structure advice | Better internal fit |
| Cable details | Gland selection | Stronger sealing |
| Logo file | Branding process | Clean appearance |
| Quantity plan | Production method | Stable cost |
| Deadline | Lead time planning | Fewer delays |
This is how I like to work with serious OEM buyers. The goal is not only to make a box. The goal is to make a product that survives real use.
Conclusion
Cable entry failures are not mysterious to me.
They usually follow a clear path.
A cable hole is added too late. A gland is selected too quickly. The cable size is not confirmed. The installer tightens by feel. The cable has no strain relief. The enclosure passes a quick check. Then it goes outdoors and starts fighting rain, heat, dust, vibration, and time.
Sooner or later, the weak point shows itself.
I care about cable entry design because I have seen how small mistakes create big after-sales problems. A strong aluminum enclosure body means little if water enters through one poor cable gland. A nice powder coating means little if the hole edge damages the washer. A clean logo means little if the customer opens the product and sees moisture inside.
That is why I judge outdoor enclosures from the cable entry point first. It tells me whether the design is only beautiful on paper or truly ready for field use.
For custom OEM and ODM projects, I believe cable entry planning should start early. Buyers should provide real cable details. Factories should ask practical questions. Engineers should think about sealing, stress, service, and outdoor aging together.
At MaidaTech, this is the kind of detail I like to discuss before production, not after a problem happens. If you are developing a custom outdoor aluminum enclosure, plastic enclosure, sheet metal enclosure, or Raspberry Pi-style project case, do not leave the cable entry point as a last-minute hole.
Send your cable size, board layout, mounting direction, outdoor use condition, and branding needs to us.
We can help you review the enclosure structure, choose a suitable cable entry method, and build a more reliable custom enclosure for your project.







