 Skip to content

A customer once sent me two aluminum panels that were supposed to be identical. Both panels had the same black anodizing specification. Both came from the same drawing.
However, they did not look the same.
One panel had a smooth, deep black surface. The other looked slightly gray, with visible machining marks under the finish. The anodizing supplier had followed the requested color. The real difference came from the material batch, CNC tool marks, and surface preparation before anodizing.
This is why I never treat surface finishing as a simple final step.
I see surface finishing as a complete production process. It starts with the base material and part design. It continues through cleaning, pretreatment, coating, curing, inspection, handling, and packaging.
A good finish can improve:
- Product appearance
- Corrosion resistance
- Wear resistance
- Electrical insulation
- Electrical conductivity
- Heat transfer
- Product identification
- Service life
A poor finish can create problems that are not only cosmetic. It can block threads, reduce grounding performance, damage sealing surfaces, change assembly tolerances, or begin peeling after the product reaches the customer.
For me, a surface finish is only successful when the part still looks good, assembles correctly, and performs its real function after shipping and use.
The complete workflow normally looks like this:
| Process Stage | What I Check | Main Risk |
|---|---|---|
| Material review | Alloy, surface condition, manufacturing marks | Inconsistent final appearance |
| Part preparation | Burrs, scratches, welds, sharp edges | Defects remain visible after finishing |
| Cleaning | Oil, dust, fingerprints, polishing compound | Peeling, stains, pinholes |
| Pretreatment | Etching, pickling, conversion coating | Poor adhesion or corrosion resistance |
| Finishing | Anodizing, powder coating, painting, plating | Wrong color, thickness, or function |
| Curing or sealing | Time and temperature | Weak coating or discoloration |
| Inspection | Appearance, thickness, adhesion, fit | Defective parts reach assembly |
| Handling | Gloves, trays, separators | Scratches and fingerprints |
| Packaging | Film, foam, cartons, labels | Shipping damage and batch confusion |
Many buyers focus first on a color code. I understand why. Color is easy to see. Yet the invisible steps before and after coating usually decide whether that color will remain attractive.
That is where the real process begins.
Why Surface Finishing Starts Before the Coating Process
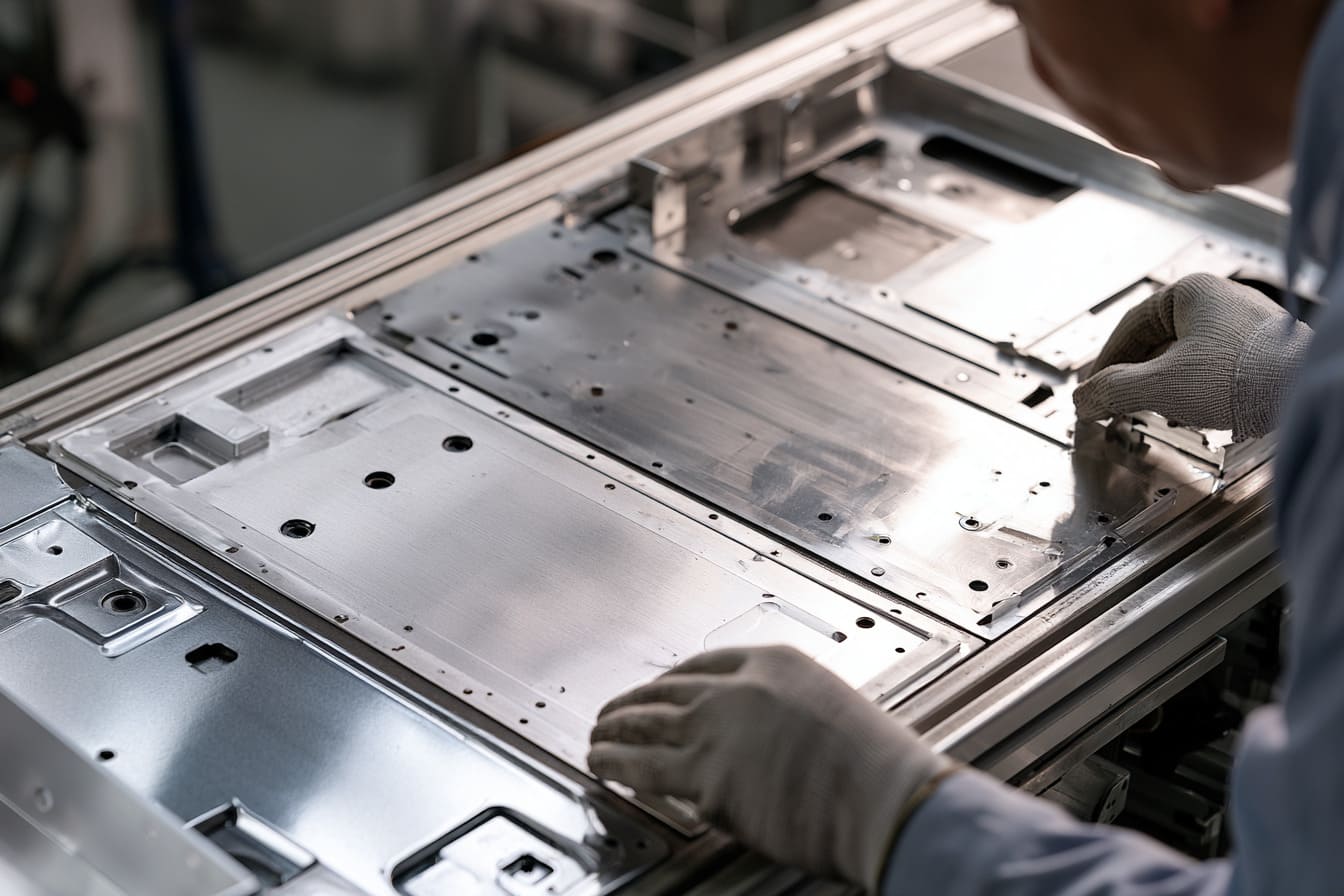
Many people use the words “surface finish” to describe anodizing, powder coating, or paint. I use the term more widely.
For me, the finish begins when I review the raw material and manufacturing method.
A coating cannot hide every defect. In some cases, it makes defects more visible. A glossy powder-coated surface may show waves in thin sheet metal. Clear anodizing may highlight extrusion lines. Brushing may create different shades when panels are brushed in different directions.
The finish is not a separate decoration placed on top of the part. It becomes part of the product.
The Base Material Determines the Final Result
Different materials react in different ways.
I can apply black finishes to aluminum, stainless steel, carbon steel, and plastic. However, I cannot expect the same process, texture, durability, or color depth from all four materials.
| Base Material | Finishes I Commonly Consider | Main Advantage | Common Concern |
|---|---|---|---|
| Aluminum | Anodizing, powder coating, painting, conversion coating | Lightweight and corrosion resistant | Alloy variation can affect anodized color |
| Stainless steel | Brushing, polishing, passivation, painting | Strong corrosion resistance | Scratches and welding discoloration can remain visible |
| Carbon steel | Zinc plating, powder coating, painting, electrophoretic coating | Strong and cost-effective | Rust can form quickly without proper pretreatment |
| Plastic | Painting, UV printing, pad printing, laser marking | Flexible shape and electrical insulation | Solvent and temperature compatibility must be checked |
Even within aluminum, alloy selection matters.
A 6063 extruded aluminum enclosure often gives a more consistent decorative anodized appearance than a mixed assembly that includes 6061 CNC parts, cast aluminum parts, and different filler materials.
The customer may request one black color, but the parts may still show slight shade differences because their chemical composition and surface structure are different.
I usually ask several questions before I approve a finishing plan:
- Are all visible aluminum parts made from the same alloy?
- Did all parts come from the same material batch?
- Are some parts extruded while others are CNC-machined?
- Are there welding areas?
- Are there casting pores?
- Will the customer accept a small color difference between different materials?
A customer may see “aluminum” as one material. I see a family of materials that can behave differently in the same chemical tank.
Material Defects Do Not Disappear Automatically
Surface finishing is not magic.
A deep scratch will not disappear under anodizing. A dent will not become flat after powder coating. A welding pit may remain visible through paint. A die-cast pore may release gas during curing and create a pinhole.
Some finishes can hide small defects better than others.
| Existing Surface Condition | Anodizing | Powder Coating | Wet Painting | Brushing or Polishing |
|---|---|---|---|---|
| Fine machining marks | Often remain visible | May be partly hidden | May be partly hidden | Can be blended if controlled |
| Deep scratches | Remain visible | May still show | May require filling | Requires material removal |
| Casting pores | May become more visible | Can cause outgassing | Can cause bubbles | Cannot fully remove deep pores |
| Welding marks | Color may differ | Can be covered after preparation | Can be covered after preparation | Requires grinding and blending |
| Extrusion lines | May remain visible | Often less visible | Often less visible | Direction must be controlled |
When I inspect a raw part, I do not only ask whether the part meets dimensions. I ask whether its current surface can realistically reach the requested cosmetic standard.
That small difference in thinking prevents many later disputes.
Surface Requirements Must Be Defined Early
Words such as “black,” “smooth,” or “high quality” are not enough for production.
I need clearer requirements.
I normally confirm:
- Finish type
- Color code
- Gloss level
- Texture
- Coating thickness
- Cosmetic surface grade
- Corrosion requirement
- UV resistance
- Chemical resistance
- Conductive areas
- Masking areas
- Logo method
- Testing method
- Packaging protection
A black outdoor enclosure may need UV-resistant polyester powder. A black indoor control box may not need the same outdoor performance.
A smooth decorative front panel may need tighter visual control than an internal mounting bracket. Both parts can belong to the same product, but they should not always use the same appearance standard.
I often divide surfaces into categories:
| Surface Class | Typical Location | My Inspection Approach |
|---|---|---|
| Class A | Front panel and customer-facing surfaces | I use the strictest appearance control |
| Class B | Side and top surfaces | I allow very small defects based on distance and lighting |
| Class C | Back or bottom surfaces | I focus more on function than perfect appearance |
| Hidden surface | Internal areas | I check coating coverage, grounding, and corrosion protection |
The customer and I should agree on these levels before mass production. Without this agreement, one person may reject a mark that another person considers normal.
When Should Surface Finishing Be Considered During Design?
I prefer to discuss finishing during the drawing review, not after the metal parts are finished.
The coating adds thickness. That thickness can affect:
- Holes
- Slots
- Threads
- Mating parts
- Press-fit parts
- Hinges
- Sliding rails
- Gasket grooves
- Grounding points
- Heat-transfer surfaces
Powder coating may add a noticeable layer to both sides of a slot. Hard anodizing can also affect a close-tolerance bore.
The designer should not expect a finished hole to remain exactly the same as its raw-machined size unless the process includes masking or a post-finishing operation.
I also look for shapes that may trap liquid or powder.
Deep blind holes, folded channels, narrow gaps, and closed cavities can hold cleaning chemicals. Those chemicals may leak out later and create stains. Powder can build up in corners. Paint can bridge small gaps.
The costliest finishing mistake is often not the wrong color. It is a small uncoated or overcoated area that stops the enclosure from assembling.
Once I understand the material, drawing, and real use of the part, I can move to the first physical step: preparing the raw enclosure.
Step 1: Initial Inspection and Part Preparation
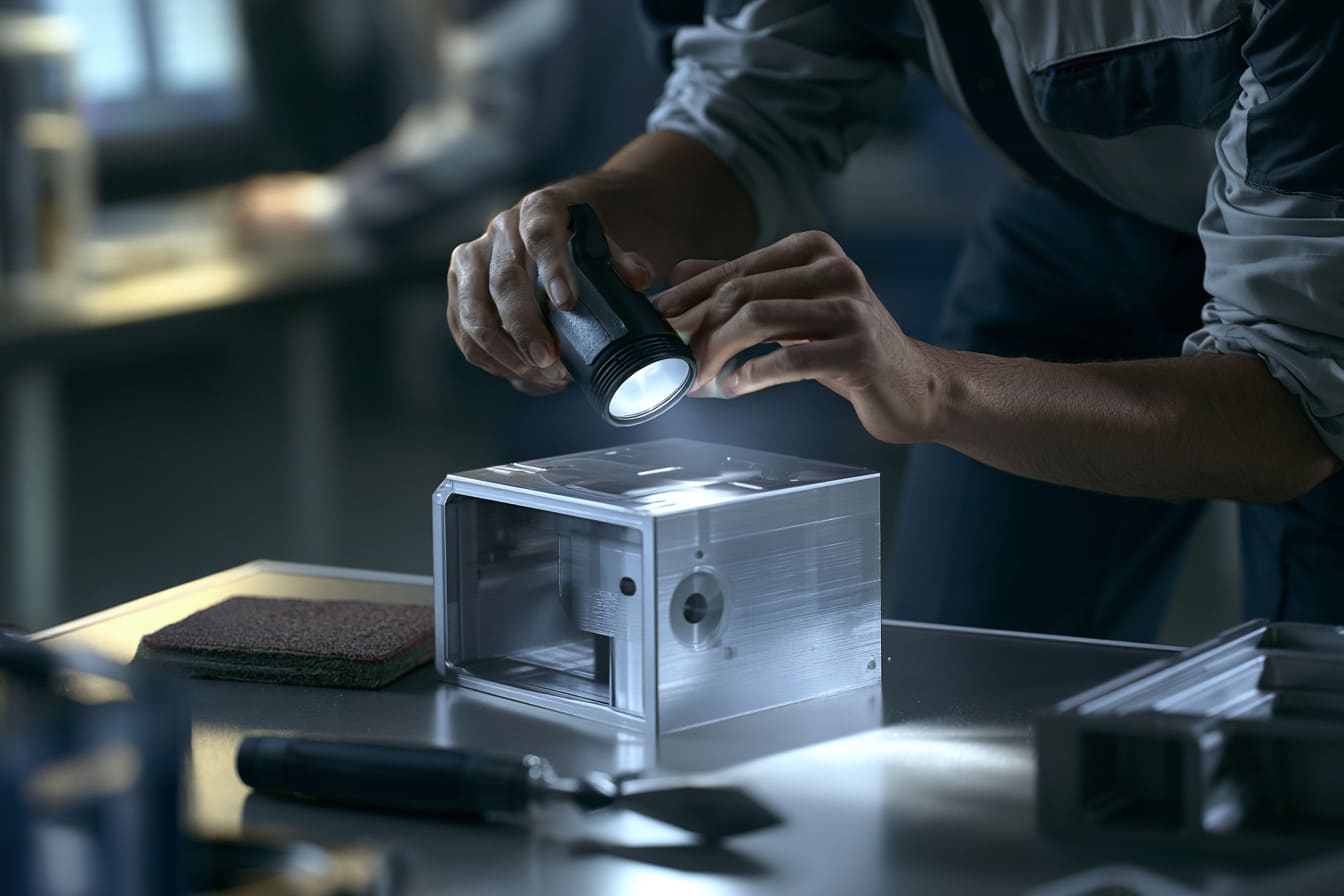
Before I send any part to a finishing line, I want to know what condition it is in.
I cannot rely on the coating supplier to repair every machining or fabrication defect. Their job is to finish the surface. My job is to make sure the part is ready for that finish.
Checking the Raw Parts Before Finishing
I inspect raw parts under good lighting.
I look for:
- Scratches
- Dents
- Tool marks
- Extrusion lines
- Welding marks
- Grinding marks
- Casting pores
- Oil stains
- Oxidation
- Sharp edges
- Burrs
- Fixture marks
- Uneven surfaces
The acceptable level depends on the final finish.
A small line on an internal bracket may not matter. The same line on a brushed aluminum front panel may become the first thing the customer sees.
I also check whether a defect can be repaired without changing the part.
| Defect | Possible Action | Risk I Consider |
|---|---|---|
| Light scratch | Fine sanding or brushing | The repaired area may have a different texture |
| Deep scratch | Rework or reject | Removing too much material can change dimensions |
| Welding mark | Grind and blend | The welded area may still show a color difference |
| Small dent | Mechanical repair or reject | Repair may create a wave on thin metal |
| Casting pore | Fill, coat, or reject | Gas may escape during curing |
| Heavy tool mark | Re-machine or polish | Extra processing may affect flatness |
I do not approve repair only because the defect can be hidden. I first check whether the repair will create a new problem, such as a low spot, uneven grain, or thin wall.
Deburring and Edge Treatment
Burrs look small, but they create several risks.
A burr can:
- Cut a worker’s hand
- Damage a cable
- Tear a gasket
- Stop a panel from fitting
- Create a thin coating edge
- Break off and contaminate electronics
- Make the product feel poorly made
I remove burrs from holes, slots, cut edges, and CNC features.
I also review edge sharpness. A very sharp edge may not hold powder coating well because the coating pulls away from the corner. A small radius or controlled edge break often improves coverage.
However, I do not round every edge without checking the drawing. A visible front-panel edge may require a specific profile. A sealing edge may need to remain flat and accurate.
Mechanical Surface Preparation
Mechanical preparation changes the surface before chemical treatment.
I may use:
- Grinding
- Sanding
- Polishing
- Brushing
- Bead blasting
- Sandblasting
- Vibratory finishing
- Tumbling
Each method creates a different result.
| Method | Surface Result | Where I Often Use It | Main Risk |
|---|---|---|---|
| Grinding | Removes welds and larger defects | Sheet metal weld areas | Visible grinding waves |
| Sanding | Reduces scratches and tool marks | Cosmetic panels | Uneven local texture |
| Brushing | Creates a directional grain | Front panels and covers | Grain direction mismatch |
| Polishing | Creates a smooth or reflective surface | Decorative metal parts | Fingerprints and high labor cost |
| Bead blasting | Creates a soft matte texture | Aluminum housings | Shade variation between batches |
| Sandblasting | Creates a rougher profile | Heavy industrial parts | Excessive roughness or distortion |
| Tumbling | Softens edges and small marks | Small metal components | Dimension changes on fine features |
The process must match the final goal.
For example, bead blasting before anodizing can create a clean matte appearance. Yet aggressive blasting can expose material variation, round small edges, or damage thin walls.
Brushing also needs control. The grain direction should remain the same across all visible parts. If one front plate is brushed from left to right and another is brushed vertically, the difference will be obvious after assembly.
At this stage, I care more about consistency than making one sample look perfect. A finish that cannot be repeated is not a reliable production finish.
After mechanical preparation, the part may look clean to the eye. It is still not chemically clean, and that invisible contamination is where many coating failures begin.
Step 2: Cleaning and Chemical Pretreatment
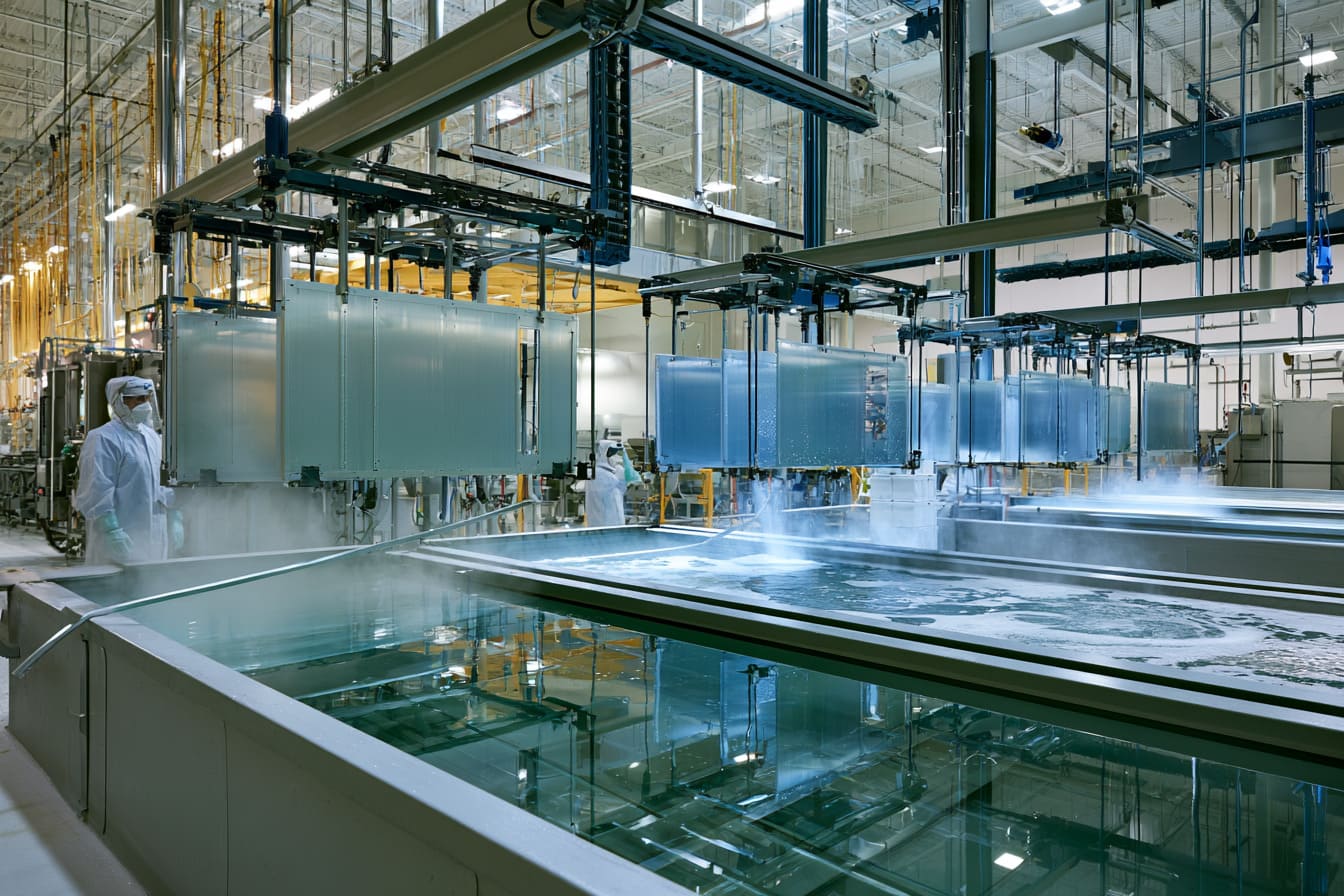
A metal part can look clean while still carrying oil, oxide, silicone, polishing compound, or fingerprints.
These contaminants can sit in tiny surface pores. They can also remain around holes, corners, and threads.
Once the finish begins peeling, the customer rarely cares that the part looked clean before coating. The customer only sees a failed product.
Degreasing and Contaminant Removal
Machining and fabrication create contamination.
Common sources include:
- CNC cutting oil
- Stamping lubricant
- Fingerprints
- Dust
- Polishing compound
- Adhesive residue
- Silicone
- Welding residue
- Protective oil
- Dirty gloves
- Packaging residue
I choose the cleaning method based on the material, contamination, part shape, and final finish.
| Cleaning Method | What It Removes Well | Where I May Use It | Main Concern |
|---|---|---|---|
| Alkaline cleaning | Oil and general dirt | Aluminum and steel | Strong chemistry may attack some materials |
| Acid cleaning | Oxides and mineral residue | Steel and aluminum with controlled chemistry | Excess exposure may etch the part |
| Solvent cleaning | Grease, adhesive, and some oils | Local cleaning or special parts | Solvent compatibility and worker safety |
| Ultrasonic cleaning | Dirt in holes and small features | Precision components | Tank cleanliness and drying |
| Spray washing | General production cleaning | Larger batches | Shadow areas may receive less cleaning |
| Immersion cleaning | Complex shapes and full coverage | Parts with deep features | Trapped liquid must be removed |
Silicone is especially troublesome. A small amount can cause paint or powder coating to pull away and create small craters.
I also pay attention to polishing compound. It may remain inside threaded holes or narrow grooves. A clean outer face does not prove that the whole part is clean.
When a coating defect appears in the same location on many parts, I first suspect the process. When the defect appears randomly on only a few parts, I often suspect handling or local contamination.
Etching, Pickling, and Desmutting
Cleaning removes oil. It does not always remove oxide or create a uniform surface.
For aluminum anodizing, etching can remove a thin surface layer and help create a more even appearance. However, etching also changes the surface.
Longer etching can:
- Increase the matte effect
- Reduce fine machining marks
- Change dimensions slightly
- Expose alloy differences
- Round sharp details
After etching, some alloying elements may remain as a dark residue called smut. Desmutting removes this residue before anodizing.
For steel, pickling may remove rust, scale, and oxide. The chemistry and exposure time must be controlled.
| Pretreatment Step | Main Purpose | What Can Go Wrong |
|---|---|---|
| Etching | Creates a more uniform aluminum surface | Over-etching changes dimensions and texture |
| Pickling | Removes rust and scale | Excess acid can attack the base metal |
| Desmutting | Removes alloy residue after etching | Poor removal causes uneven finishing |
| Deoxidizing | Removes oxide before later treatment | Delay after treatment may allow oxide to return |
I do not use a stronger chemical process just because it cleans faster. I compare cleaning power with material loss, appearance, and dimensional risk.
Rinsing and Water Quality Control
Rinsing looks simple. It is not.
Each chemical stage can carry residue into the next tank. This is called carryover. Too much carryover can change the next bath and contaminate the part.
A good rinsing system may include several stages:
- Initial rinse
- Secondary rinse
- Clean-water rinse
- Final deionized-water rinse
Water quality affects the result.
Hard water can leave mineral marks. Dirty rinse water can return contamination to the part. Poor drainage can leave chemicals inside holes.
I check:
- Water cleanliness
- Water conductivity when required
- Rinse time
- Water temperature
- Tank replacement frequency
- Part orientation
- Drainage holes
- Trapped liquid areas
A part with a deep pocket may need a different hanging angle so the water can drain.
I have seen parts pass visual inspection and then develop stains several hours later. The cause was not the coating itself. Chemical liquid had remained inside a narrow feature and slowly leaked out.
Conversion Coating and Adhesion Preparation
Conversion coatings create a thin chemical layer on the metal surface.
I often consider them when I need:
- Better paint or powder adhesion
- Additional corrosion resistance
- Electrical conductivity
- Temporary protection before assembly
- A base layer before another finish
Traditional chromate coatings offer good corrosion protection and conductivity. However, environmental requirements may limit certain hexavalent chromium processes.
Chromate-free options are now common. Their performance depends on the exact chemistry, process control, and final application.
| Pretreatment Option | Main Benefit | Typical Use | What I Confirm |
|---|---|---|---|
| Chromate conversion coating | Corrosion resistance and conductivity | Aluminum electronic enclosures | Regulatory and customer requirements |
| Chromate-free conversion coating | Lower environmental concern | General aluminum products | Compatibility with coating and corrosion target |
| Phosphate treatment | Paint adhesion and corrosion protection | Carbon steel parts | Coating system and indoor or outdoor use |
| Passivation | Improves stainless steel corrosion resistance | Stainless enclosures and hardware | Cleaning quality before treatment |
This is where I often choose reliability over appearance alone. A slightly less decorative pretreatment may be the better choice when adhesion, grounding, or corrosion performance matters more.
With the surface now prepared, I can finally choose and apply the visible finish. That choice should come from the product’s real job, not from a color chart alone.
Step 3: Choosing the Right Surface Finishing Process
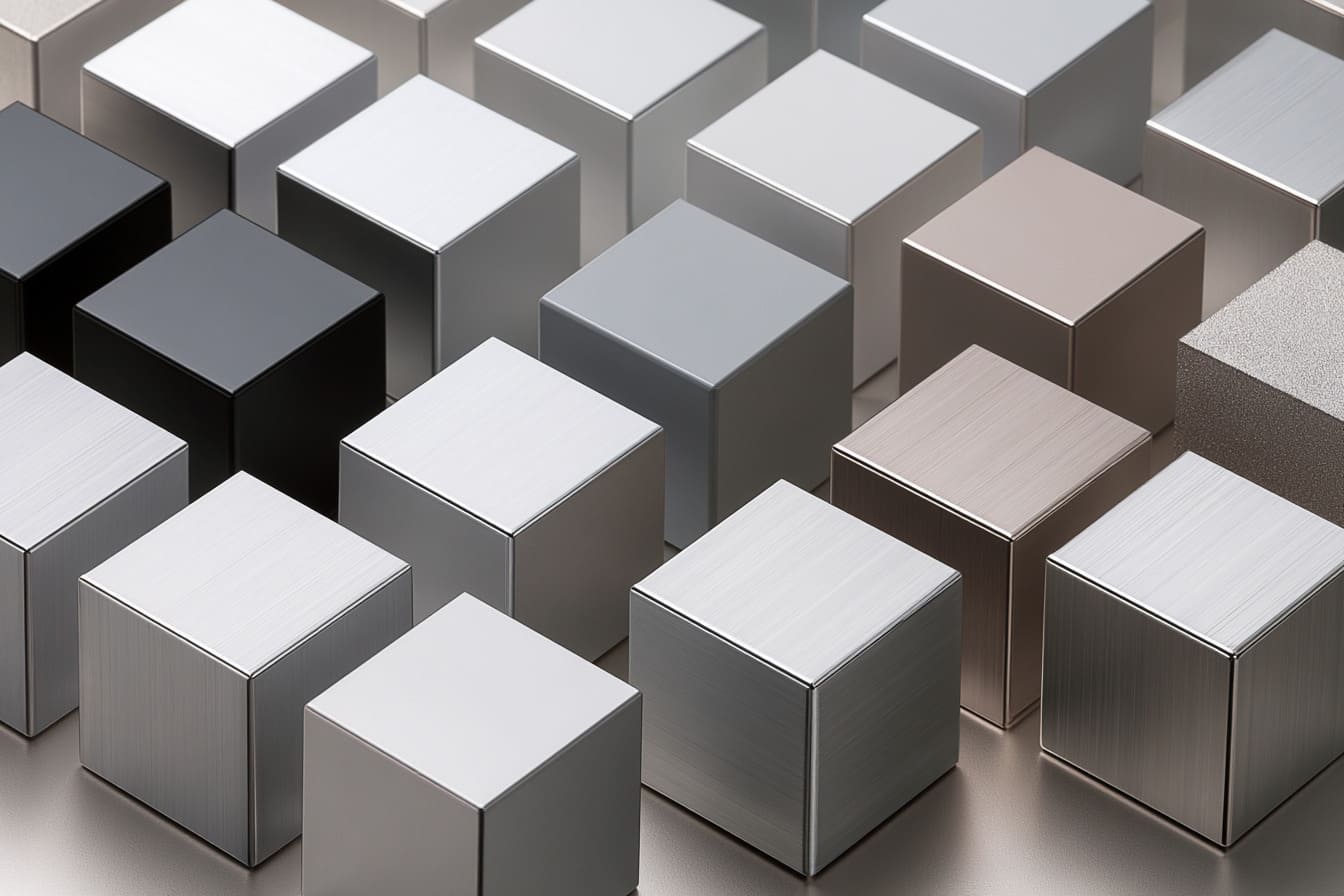
Customers often ask me, “Which finish is best?”
I cannot answer that with one process name.
The best finish for an indoor control panel may be a poor choice for a marine enclosure. The best finish for a decorative front cover may interfere with grounding. The toughest finish may also be the most expensive or difficult to repair.
I choose a finish by balancing function, appearance, cost, quantity, lead time, and later assembly.
Anodizing for Aluminum Parts
Anodizing changes the aluminum surface through an electrochemical process.
The anodized layer becomes part of the aluminum surface. It is not simply a paint film sitting on top.
I commonly work with:
- Clear anodizing
- Black anodizing
- Color anodizing
- Hard anodizing
- Matte anodizing
- Bright anodizing
Standard decorative anodizing is often suitable for:
- Aluminum front panels
- Extruded aluminum enclosures
- Heat sinks
- Instrument housings
- Consumer electronics
- Industrial electronic products
Hard anodizing creates a thicker and harder surface. I consider it for wear resistance, sliding contact, or demanding industrial use.
| Anodizing Type | Main Strength | Main Limitation | Typical Enclosure Use |
|---|---|---|---|
| Clear anodizing | Natural metallic appearance | Shows material and machining variation | General aluminum covers |
| Black anodizing | Professional appearance and corrosion protection | Shade may vary by alloy and batch | Electronic enclosures |
| Color anodizing | Branding and visual differentiation | Color matching can be difficult | Premium product housings |
| Hard anodizing | Better wear resistance | Darker appearance and greater dimensional impact | Industrial and mechanical components |
Anodizing can affect dimensions because the oxide layer grows partly into and partly above the aluminum surface.
For normal enclosure tolerances, the effect may be small. For precision bores, sliding fits, or threads, I still check it.
Anodizing also does not completely hide machining marks. A customer who requests a uniform cosmetic finish may need bead blasting, brushing, or controlled polishing before anodizing.
Powder Coating for Durable Color Protection
Powder coating uses electrically charged powder that is sprayed onto a grounded metal part. The part then enters an oven, where the powder melts and cures into a solid coating.
I like powder coating for:
- Wide color selection
- Good impact resistance
- Strong surface coverage
- Outdoor-grade coating options
- Sheet metal enclosures
- Aluminum housings
- Industrial cabinets
Powder coating is normally thicker than anodizing.
That thickness helps hide small surface variations, but it can also block fine details.
| Powder Coating Feature | Benefit | Risk I Check |
|---|---|---|
| Thicker coating | Better coverage and impact resistance | Tight holes and slots may become smaller |
| Wide color range | Easier brand matching | Different gloss and texture can change color appearance |
| Textured options | Hide fingerprints and minor marks | Fine printing may become less clear |
| Outdoor polyester powder | Better UV resistance | Outdoor grade must be confirmed, not assumed |
| Strong edge protection | Good general corrosion resistance | Very sharp edges may still have thin coverage |
I often recommend fine-texture powder for industrial enclosures because it hides fingerprints and small surface variation.
However, texture is not always better. A textured front panel may make small silk-screen text look less sharp. A heavy texture may also trap dirt in a medical or laboratory environment.
Wet Painting for Flexible Appearance Requirements
Wet painting still has an important place.
I may choose it when the project requires:
- A special color
- A thinner coating
- A very smooth finish
- Local touch-up
- Mixed materials
- Lower curing temperatures
- Small production runs
- Multi-layer decorative effects
Paint can work on metal and plastic, provided the primer and paint system are compatible with the base material.
| Point of Comparison | Wet Painting | Powder Coating |
|---|---|---|
| Coating thickness | Usually thinner | Usually thicker |
| Color flexibility | Very high | High |
| Touch-up | Easier | More difficult |
| Solvent use | Often required | Usually lower |
| Curing temperature | Can be lower | Usually requires oven curing |
| Impact resistance | Depends on paint system | Often strong |
| Small-batch flexibility | Often good | Setup and powder recovery may affect cost |
I do not select wet paint only because the color is available. I also check adhesion, curing, solvent resistance, scratch resistance, and long-term color stability.
Brushing, Polishing, and Bead Blasting
Mechanical finishes may be the final surface or a preparation stage.
Brushing creates a directional pattern. It works well on front panels, stainless-steel covers, and decorative aluminum.
Polishing creates a smoother and sometimes reflective surface. It looks attractive, but it can show fingerprints and scratches easily.
Bead blasting creates a soft matte texture. It can reduce the visibility of small machining lines and improve visual consistency before anodizing.
| Mechanical Finish | Visual Style | Practical Benefit | Main Control Point |
|---|---|---|---|
| Brushing | Directional grain | Professional metal appearance | Grain direction must match |
| Polishing | Smooth or reflective | Premium decorative look | Fingerprints and scratches are visible |
| Bead blasting | Soft matte | Reduces glare and tool-mark visibility | Media condition and pressure affect texture |
| Sandblasting | Rough matte | Improves coating grip | Thin parts may deform |
I treat mechanical finishing as a controlled production process, not a manual art step. Pressure, media size, direction, distance, and operator method can all change the result.
Plating and Chemical Finishes
Some projects need surface functions that anodizing or painting cannot provide.
I may consider:
- Zinc plating
- Nickel plating
- Tin plating
- Electroless nickel plating
- Stainless-steel passivation
- Chemical conversion coating
- Electrophoretic coating
These finishes can improve:
- Corrosion resistance
- Electrical conductivity
- Solderability
- Wear resistance
- Appearance
- Paint adhesion
Zinc plating is common for steel hardware and brackets. Nickel plating can provide wear resistance and a decorative appearance. Tin plating may support solderability. Passivation helps stainless steel maintain corrosion resistance after fabrication.
I always check material compatibility. A coating that works well on carbon steel may not suit aluminum. The process may also involve environmental controls and customer-specific restrictions.
Printing, Laser Marking, and Engraving
The surface finish is often only the background. The enclosure may also need:
- Logos
- Product names
- Connector labels
- Warning text
- Serial numbers
- Scales
- QR codes
- Certification marks
I choose the marking process based on the surface, quantity, durability, color, and design.
| Marking Method | Best Feature | Main Limitation | Typical Use |
|---|---|---|---|
| Silk-screen printing | Good color and cost for batches | Setup is needed for each color | Logos and connector labels |
| Pad printing | Works on curved or uneven areas | Print area is limited | Small plastic or metal parts |
| UV printing | Supports detailed multi-color graphics | Adhesion must be tested | Product branding and small batches |
| Laser marking | Durable and precise | Color options are limited | Serial numbers and permanent labels |
| Engraving | Deep and long-lasting | Higher machining time | Scales, labels, and premium logos |
A beautiful logo is useless if it rubs off during assembly. I test the marking on the actual finished surface whenever durability matters.
The right finish now exists on paper. The next challenge is keeping it away from the areas where it can cause trouble.
Step 4: Masking Critical Areas
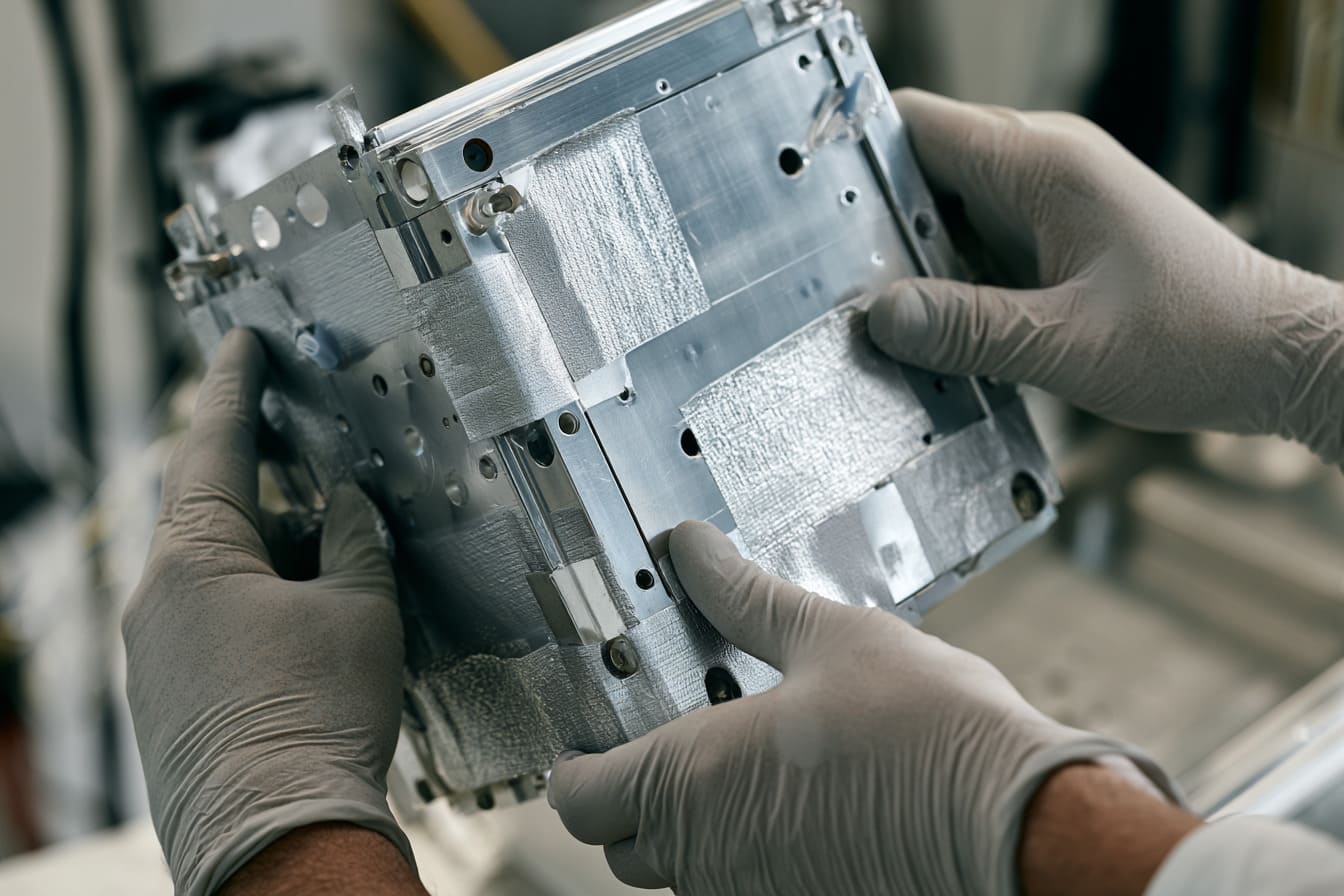
Masking is easy to overlook because the masked areas are often small.
Yet a five-millimeter grounding point can matter more than the entire visible cover. A blocked M3 thread can stop the assembly line. Powder inside a gasket groove can reduce sealing performance.
I treat masking as part of the product design.
Which Areas Usually Need Masking?
I normally review these areas:
- Threads
- Threaded inserts
- Electrical contact points
- Grounding locations
- Gasket grooves
- Sealing surfaces
- Precision holes
- Press-fit areas
- Bearing seats
- Heat-transfer surfaces
- Mating surfaces
- Welding locations for later assembly
- Areas for adhesive bonding
Not every thread needs masking. Some threads can be cleaned after coating. However, post-cleaning adds work and can damage the surrounding finish.
I decide based on:
| Area | Why I May Mask It | What Happens Without Masking |
|---|---|---|
| Thread | Keeps screw fit stable | Screw may bind or damage coating |
| Grounding point | Maintains metal-to-metal contact | EMC or safety grounding may fail |
| Gasket groove | Preserves groove size and flatness | Gasket compression may change |
| Heat-transfer pad | Maintains direct thermal contact | Thermal resistance may increase |
| Precision bore | Protects tolerance | Shaft or insert may not fit |
| Adhesive area | Supports predictable bonding | Coating may weaken adhesion |
Common Masking Methods
I use different masking tools for different processes.
Common methods include:
- Silicone plugs
- Rubber caps
- High-temperature tape
- Custom metal fixtures
- Threaded masking screws
- Reusable stoppers
- Protective films
- Liquid masking materials
The masking material must survive the process.
Powder coating tape must withstand oven temperature. Anodizing plugs must resist chemical exposure. A soft cap must not fall off during handling.
I also check whether the masking edge should be sharp or blended. A rough masking line may be acceptable inside an enclosure, but not on a visible front surface.
For repeat orders, custom fixtures can improve consistency. They cost more at the beginning, but they reduce manual error.
What Happens When Masking Is Poorly Controlled?
Poor masking creates both visible and hidden defects.
Typical problems include:
- Coating enters the thread
- Masking leaves adhesive residue
- The masking position shifts
- The exposed area is too large
- The exposed area is too small
- The edge looks rough
- Chemical liquid leaks under the tape
- A grounding point remains partly coated
- A seal surface becomes uneven
I once reviewed a powder-coated enclosure that looked excellent. The color and texture were both consistent. However, the internal grounding studs were fully coated.
The enclosure passed cosmetic inspection but failed the customer’s assembly test.
That example changed how I review masking drawings. I now mark critical functional areas separately from normal cosmetic masking.
The most dangerous masking errors are the ones that look harmless until the customer begins assembly.
Once every protected area is clear, I can focus on the finishing process itself, where time, temperature, equipment, and handling all begin to interact.
Step 5: Applying and Curing the Finish
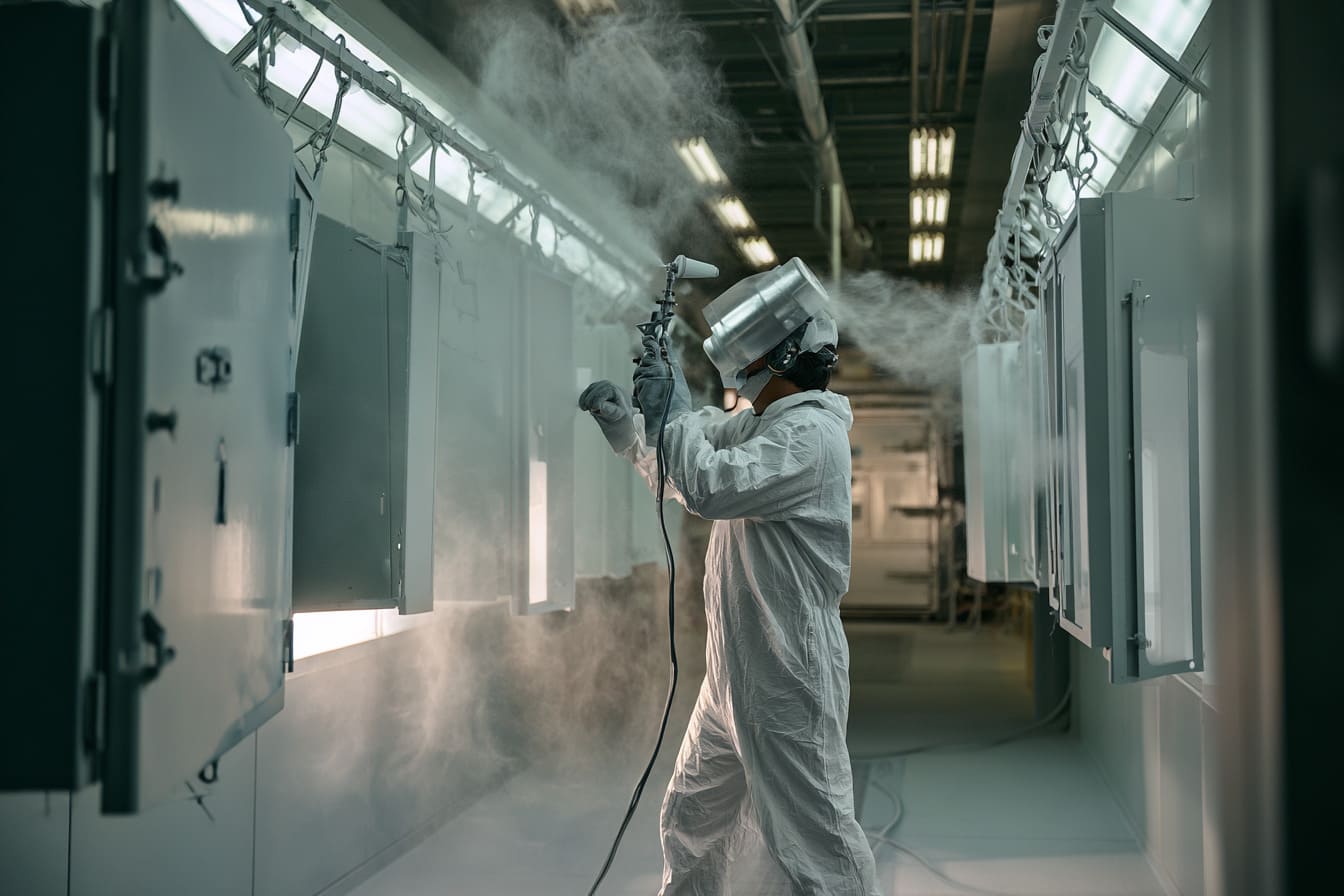
A correct specification does not guarantee a correct finish.
The actual process must stay stable across every part and every batch.
A sample may look perfect when an experienced operator gives it extra attention. Mass production is different. The line must produce the same result hundreds or thousands of times.
Controlling the Application Process
Each finishing process has its own key parameters.
For powder coating, I may review:
- Spray distance
- Powder flow
- Electrical voltage
- Grounding
- Gun angle
- Part position
- Line speed
- Booth cleanliness
- Powder recovery
- Coating thickness
For anodizing, I may review:
- Bath chemistry
- Current density
- Voltage
- Temperature
- Treatment time
- Part contact
- Loading density
- Dye condition
- Sealing process
For painting, I may review:
- Paint mixing ratio
- Viscosity
- Spray pressure
- Spray distance
- Flash-off time
- Number of coats
- Primer condition
- Booth cleanliness
- Drying conditions
| Process | Main Variable | Possible Defect |
|---|---|---|
| Powder coating | Spray and electrical settings | Thin coverage or heavy buildup |
| Anodizing | Bath chemistry and electrical contact | Uneven thickness or color |
| Wet painting | Mixing and spraying | Runs, dry spray, or color variation |
| Plating | Bath chemistry and current distribution | Thin or burnt areas |
| Mechanical finishing | Pressure and direction | Uneven grain or texture |
Fixtures also matter.
A poor fixture may leave large contact marks. It may create shadow areas that receive less coating. It may allow parts to touch each other.
I often ask where the fixture mark will appear. A mark on an internal hidden surface may be acceptable. The same mark on the front face is not.
Temperature and Time Control
Curing is not simply “putting the part in an oven.”
The metal part must reach the required temperature for the required time. The oven air temperature alone does not prove that the part has cured correctly.
A thick aluminum enclosure heats more slowly than a thin sheet metal panel. A heavily loaded rack may also heat differently from a small sample batch.
Under-curing may cause:
- Soft coating
- Poor adhesion
- Low chemical resistance
- Easy scratching
- Reduced durability
Over-curing may cause:
- Color change
- Loss of gloss
- Brittleness
- Yellowing
- Part deformation
- Damage to inserts or attached components
For anodizing and chemical finishing, bath temperature and treatment time also affect thickness, color, and performance.
I prefer to control the actual part condition, not only the machine setting shown on a screen.
Handling Parts Between Process Stages
A finished part is vulnerable before it reaches packaging.
A worker may touch the surface with oily gloves. Two panels may rub together. A rack may scratch the edge. Dust may settle on wet paint.
I use:
- Clean gloves
- Dedicated trays
- Soft separators
- Protected racks
- Clean worktables
- Batch labels
- Controlled stacking
- Limited hand contact
I also keep batches separate.
If two black powder batches use slightly different powder lots or curing conditions, mixing them in one shipment may create visible variation when the customer assembles the product.
Traceability helps me identify:
- Material batch
- Production date
- Finishing batch
- Operator
- Inspection result
- Rework history
At this point, the surface may look complete. I still do not call the part finished until inspection confirms both appearance and function.
Step 6: Surface Finish Quality Inspection
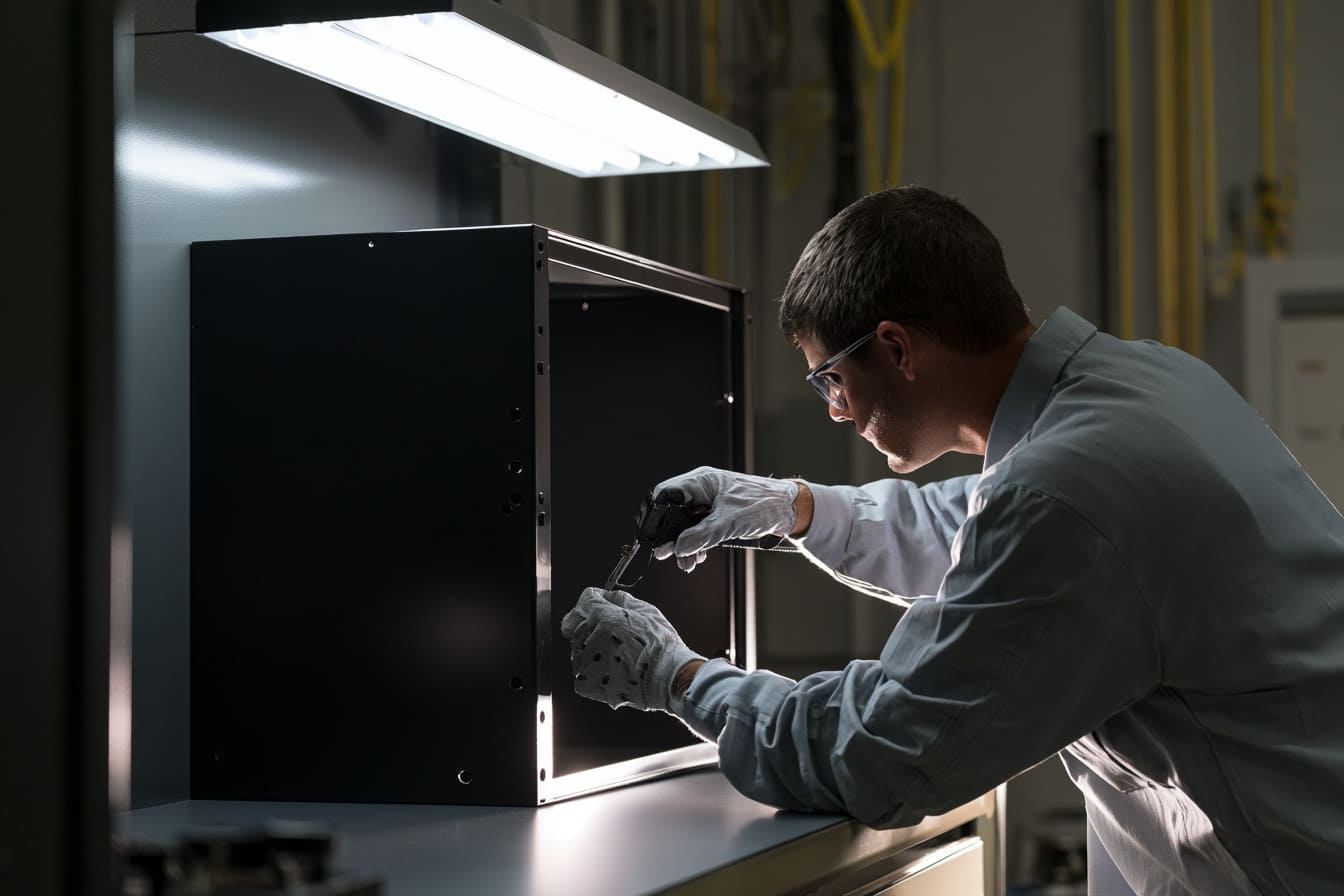
Surface inspection can become subjective very quickly.
One inspector may accept a small mark. Another inspector may reject it. Lighting, viewing distance, angle, and expectation can change the decision.
I try to turn appearance requirements into clear, repeatable checks.
Visual Appearance Inspection
I normally inspect:
- Color
- Gloss
- Texture
- Scratches
- Dents
- Stains
- Pinholes
- Bubbles
- Orange peel
- Exposed metal
- Masking edges
- Fixture marks
- Printing position
- Logo clarity
- Part-to-part consistency
The inspection conditions should be defined.
| Inspection Factor | Why It Matters |
|---|---|
| Lighting | Different light sources can change the visible color |
| Viewing distance | Tiny defects may disappear at normal use distance |
| Viewing angle | Gloss and texture change with angle |
| Inspection time | Very long inspection can create unrealistic standards |
| Surface class | Front surfaces need tighter control than hidden areas |
| Reference sample | A physical sample reduces personal interpretation |
I compare production parts with an approved sample when appearance is important.
Color codes help, but a RAL or Pantone number does not fully define the result. Gloss, texture, material, and lighting also affect what the eye sees.
Coating Thickness Measurement
Thickness affects protection, fit, appearance, and cost.
A coating that is too thin may fail corrosion or wear requirements. A coating that is too thick may block holes, soften details, or crack near edges.
I measure thickness on:
- Flat surfaces
- Corners
- Recessed areas
- Edge areas
- Critical fitting locations
- Multiple parts from the batch
| Finish Type | Why I Measure Thickness | Main Functional Concern |
|---|---|---|
| Anodizing | Confirms oxide layer requirement | Wear, corrosion, and fit |
| Powder coating | Confirms coverage and process stability | Fit, edge protection, and appearance |
| Wet paint | Confirms film build | Adhesion and protection |
| Plating | Confirms deposited metal thickness | Conductivity, corrosion, and wear |
One reading is not enough. Coating distribution can vary across the part.
Adhesion and Durability Testing
A finish may look good and still have weak adhesion.
Depending on the project, I may use:
- Cross-cut adhesion test
- Tape test
- Impact test
- Pencil hardness test
- Abrasion test
- Scratch test
- Bend test
- Solvent-rub test
The test should match the product’s use.
An enclosure mounted inside a cabinet may not need the same impact test as a portable outdoor controller. A frequently touched front panel may need stronger wear resistance than an internal cover.
I do not add every possible test to every project. More testing increases cost and lead time. I choose tests that relate to a real failure risk.
Corrosion and Environmental Testing
Environmental tests can include:
- Salt spray
- Humidity
- UV exposure
- Thermal cycling
- Chemical resistance
- Water exposure
- Outdoor exposure
- Temperature resistance
Salt spray testing is useful for comparing coating systems under controlled conditions. However, I do not treat one salt spray number as a guaranteed product lifetime.
Real service conditions include sunlight, temperature changes, scratches, chemicals, drainage, maintenance, and installation position.
A coating may survive a laboratory test but fail early if water remains trapped around a screw or cut edge.
I use environmental tests as evidence, not as a substitute for understanding the application.
Dimensional and Functional Inspection
The finish must not stop the part from working.
I recheck:
- Threads
- Hole sizes
- Slot sizes
- Mating surfaces
- Press-fit areas
- Hinges
- Grounding points
- Gasket fit
- Connector openings
- Assembly clearance
- Heat-transfer areas
- Printing orientation
A customer once approved the color of a sample immediately. During assembly, the PCB connector did not pass through the powder-coated opening.
The coating had reduced the opening just enough to cause a problem.
That is why my final inspection always includes assembly-related dimensions, not only surface appearance.
I judge a finished enclosure by the first real assembly, because that is where cosmetic success either becomes a usable product or an expensive rework.
Even with strong process control, defects can still happen. The next step is understanding what caused them and deciding what can be repaired safely.
Common Surface Finishing Defects and Their Causes
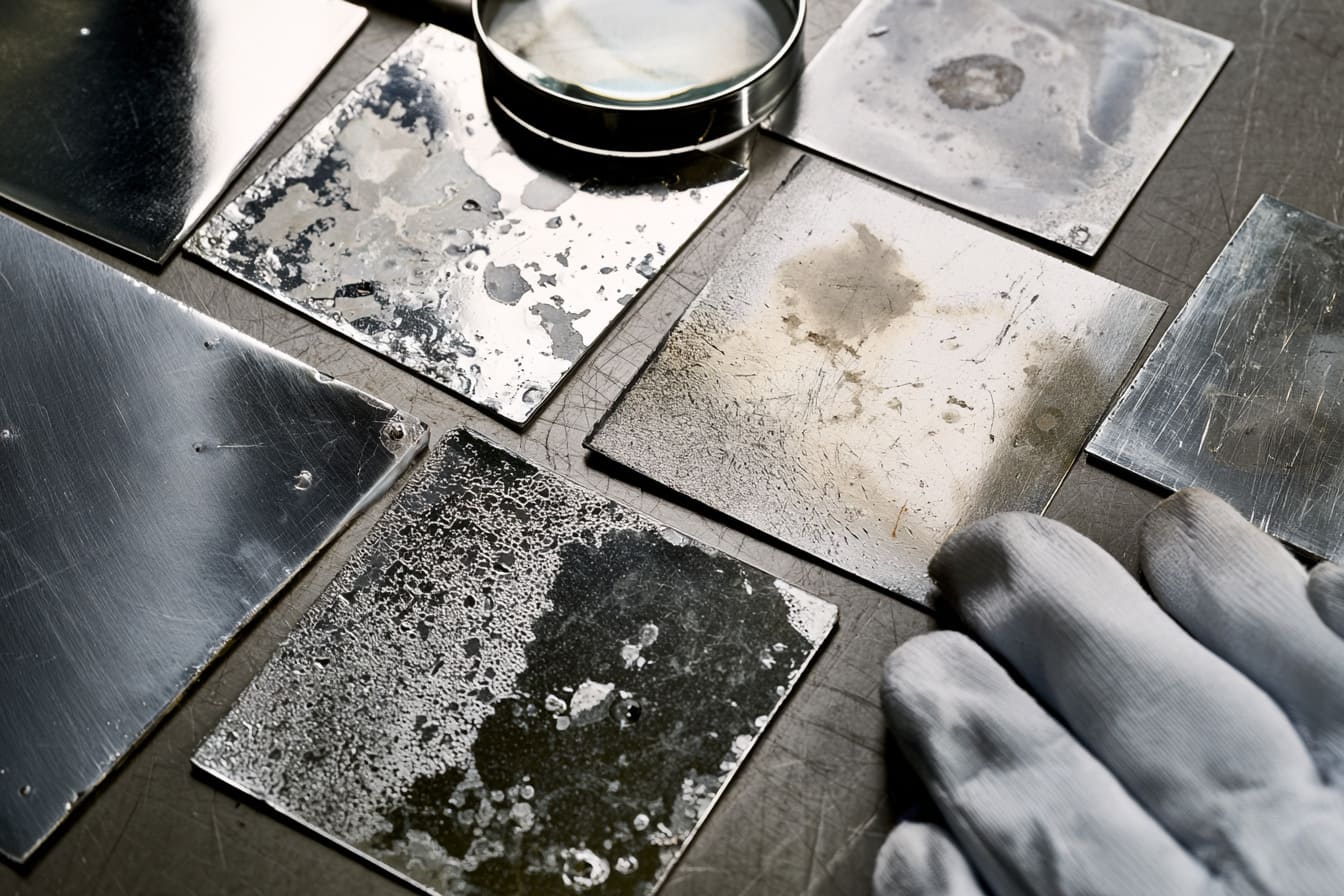
A defect is often the final result of several small problems.
Uneven color may come from the alloy, pretreatment, coating thickness, temperature, or handling. Peeling may begin with oil contamination but only become visible after assembly.
I avoid guessing from appearance alone. I look at the defect location, pattern, batch history, and process records.
Uneven Color or Gloss
Uneven color can come from:
- Different material alloys
- Different material batches
- Inconsistent brushing or blasting
- Uneven etching
- Different coating thickness
- Uneven curing temperature
- Dye-bath variation
- Poor part positioning
- Mixed production batches
The defect pattern gives useful clues.
| Defect Pattern | What I Suspect First |
|---|---|
| Whole batch is lighter | Color formula, bath, or curing condition |
| Only one side is different | Spray angle, electrical contact, or oven airflow |
| Different parts have different shades | Alloy or material-batch variation |
| Color changes near a weld | Heat-affected material or filler metal |
| Gloss changes in patches | Uneven coating or curing |
I compare the defect with raw-material records before blaming the finishing supplier.
Peeling or Poor Adhesion
Peeling usually points to a weak bond between the substrate and finish.
Possible causes include:
- Oil
- Dust
- Oxide
- Silicone
- Poor pretreatment
- Dirty rinse water
- Incorrect primer
- Under-curing
- Incompatible coating
- Moisture
- Long delay between pretreatment and coating
The location matters.
Peeling around holes may suggest cutting oil remained inside the features. Peeling near edges may suggest poor cleaning or thin coating coverage. Random small areas may suggest local contamination.
I also check whether the part was bent, pressed, or assembled after coating. Mechanical stress can expose weak adhesion.
Scratches, Dents, and Handling Marks
Not every surface defect comes from the finishing line.
Damage may happen during:
- Unloading
- Inspection
- Assembly
- Stacking
- Internal transport
- Packaging
- Shipping
Fresh coatings may need time to reach full hardness. If parts are stacked too soon, separators can leave marks.
A clean inspection table can still scratch parts if metal chips remain on it.
I trace the damage pattern:
| Damage Type | Likely Source |
|---|---|
| Repeating mark in the same place | Fixture or tray |
| Random fine scratches | Handling or dirty work surface |
| Edge dents | Part-to-part contact or weak packaging |
| Parallel rub marks | Sliding during transport |
| Fingerprints | Poor glove control |
Bubbles, Pinholes, and Orange Peel
Bubbles and pinholes can come from trapped gas, contamination, moisture, or incorrect application.
Cast aluminum and zinc parts can release gas during powder curing. This outgassing creates small holes in the coating.
Possible solutions include:
- Preheating the part
- Using outgassing-resistant powder
- Improving cleaning
- Changing curing conditions
- Sealing porous areas
- Selecting a different finish
- Rejecting highly porous castings
Orange peel describes an uneven texture that looks similar to orange skin.
A small amount may be normal for some powder coatings. A heavy texture may come from coating thickness, powder condition, spray settings, curing, or substrate roughness.
How Should Defective Parts Be Evaluated?
I first separate cosmetic defects from functional defects.
A small mark on a hidden surface may be accepted. Coating inside a critical thread may need rework. A defect on a sealing surface may require rejection.
My decision normally falls into one of five options:
- Accept the part
- Repair the local area
- Strip and refinish the whole part
- Use the part for a lower cosmetic grade
- Reject and remake the part
| Decision | When I May Use It | Main Risk |
|---|---|---|
| Accept | The defect is minor and within the agreed standard | Customer expectation must be aligned |
| Local repair | The area is small and repair will not remain visible | Color and texture may not match |
| Strip and refinish | The part value is high and the material can tolerate stripping | Dimensions and material surface may change |
| Downgrade | The part can be used in a hidden position | Traceability must remain clear |
| Reject | Function or appearance cannot be recovered reliably | Cost and lead time increase |
I do not automatically refinish every defective part. Stripping can attack aluminum, change dimensions, weaken sharp details, or leave a different final appearance.
A repaired part is only acceptable when I trust the repaired result, not simply because rework is cheaper than remaking it.
Once the finish passes inspection, the risk does not disappear. Clean parts can still be damaged by the final hands that touch them.
Step 7: Final Cleaning and Protective Handling
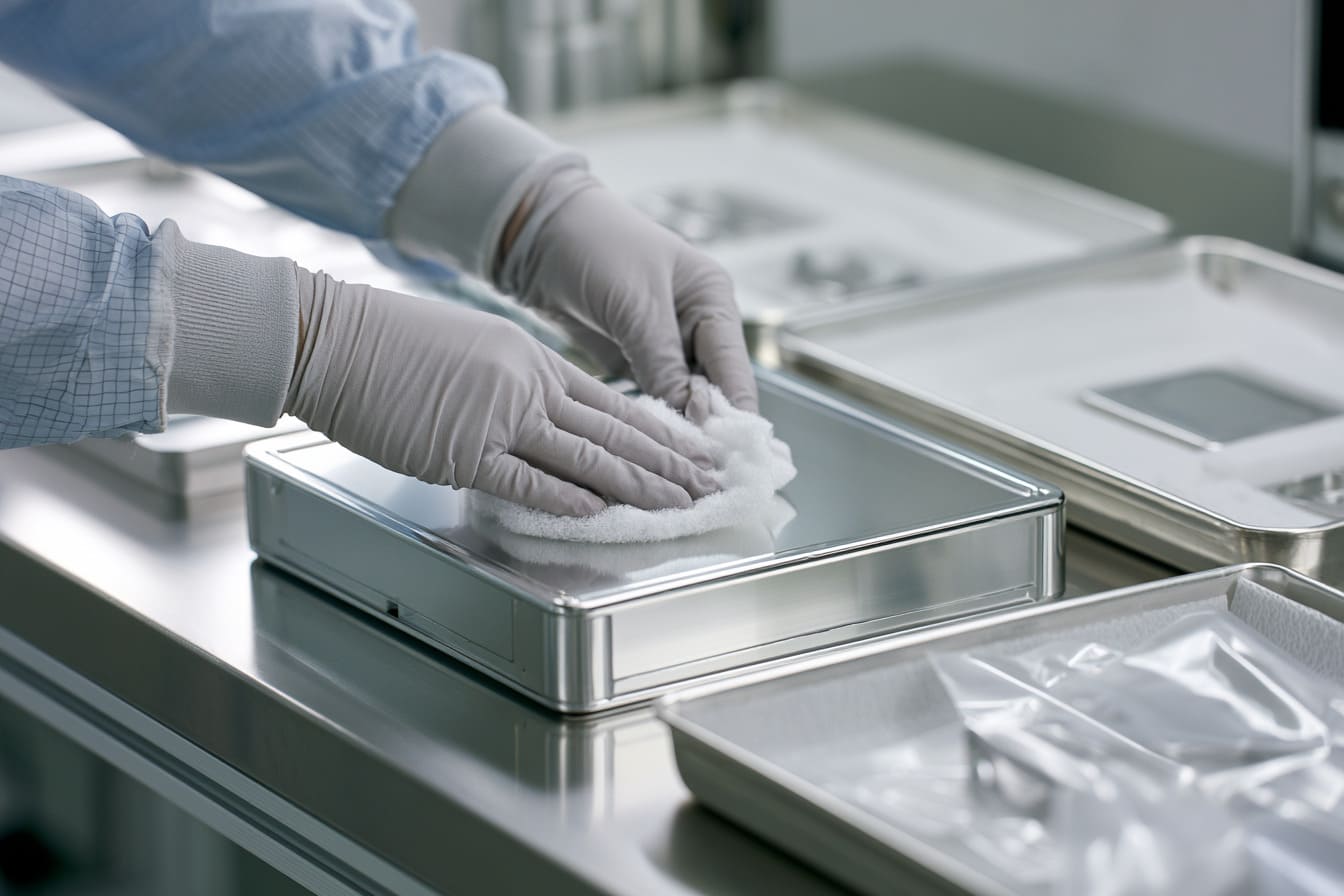
The period between final inspection and packaging looks harmless.
In reality, this is when fingerprints, dust, scratches, adhesive marks, and mixed parts often appear.
The finish has already absorbed most of the production cost. A simple handling mistake can waste that work in seconds.
Cleaning After Inspection
I remove:
- Dust
- Fingerprints
- Inspection marks
- Loose powder
- Polishing residue
- Label adhesive
- Small particles
- Protective-paper dust
The cleaning material must suit the finish.
A strong solvent may damage paint or printed logos. A rough cloth may scratch polished metal. Water left inside a hole may cause staining or corrosion.
I often test the cleaning method on a sample first.
| Surface | Cleaning Approach I Prefer | What I Avoid |
|---|---|---|
| Anodized aluminum | Soft lint-free cloth and suitable cleaner | Abrasive pads |
| Powder coating | Mild cleaner and clean cloth | Strong solvent without testing |
| Polished stainless steel | Clean along the surface direction | Dirty cloth and circular rubbing |
| Printed surface | Light cleaning after adhesion is fully developed | Aggressive rubbing |
| Bare conversion-coated area | Minimal clean handling | Finger contact and moisture |
I make sure the part is fully dry before packaging.
Temporary Surface Protection
Protective film works well on many flat cosmetic surfaces.
However, film is not suitable for every finish.
The adhesive can:
- Leave residue
- React with the coating
- Become difficult to remove after heat exposure
- Pull off weak paint
- Mark soft finishes
I confirm:
- Film adhesive type
- Storage time
- Shipping temperature
- Surface texture
- Removal method
- Whether printing sits under the film
Foam, paper, sleeves, and separators can also protect parts.
The material must remain clean and should not rub against the finish.
Special Handling for Cosmetic Parts
I define visible surfaces clearly.
A worker should not need to guess which side matters most.
For Class A parts, I may use:
- Clean gloves
- Individual trays
- Soft cloth separators
- Dedicated inspection tables
- No direct stacking
- Limited handling
- Protective film
- Separate storage areas
A perfect surface can be ruined by a worker who places one part on top of another for only a few seconds. I design the handling method so that good results do not depend only on constant attention.
The part is now clean and protected. Yet it still needs to survive cartons, warehouses, sea freight, air freight, customs checks, and the customer’s receiving area.
Step 8: Packaging Finished Parts
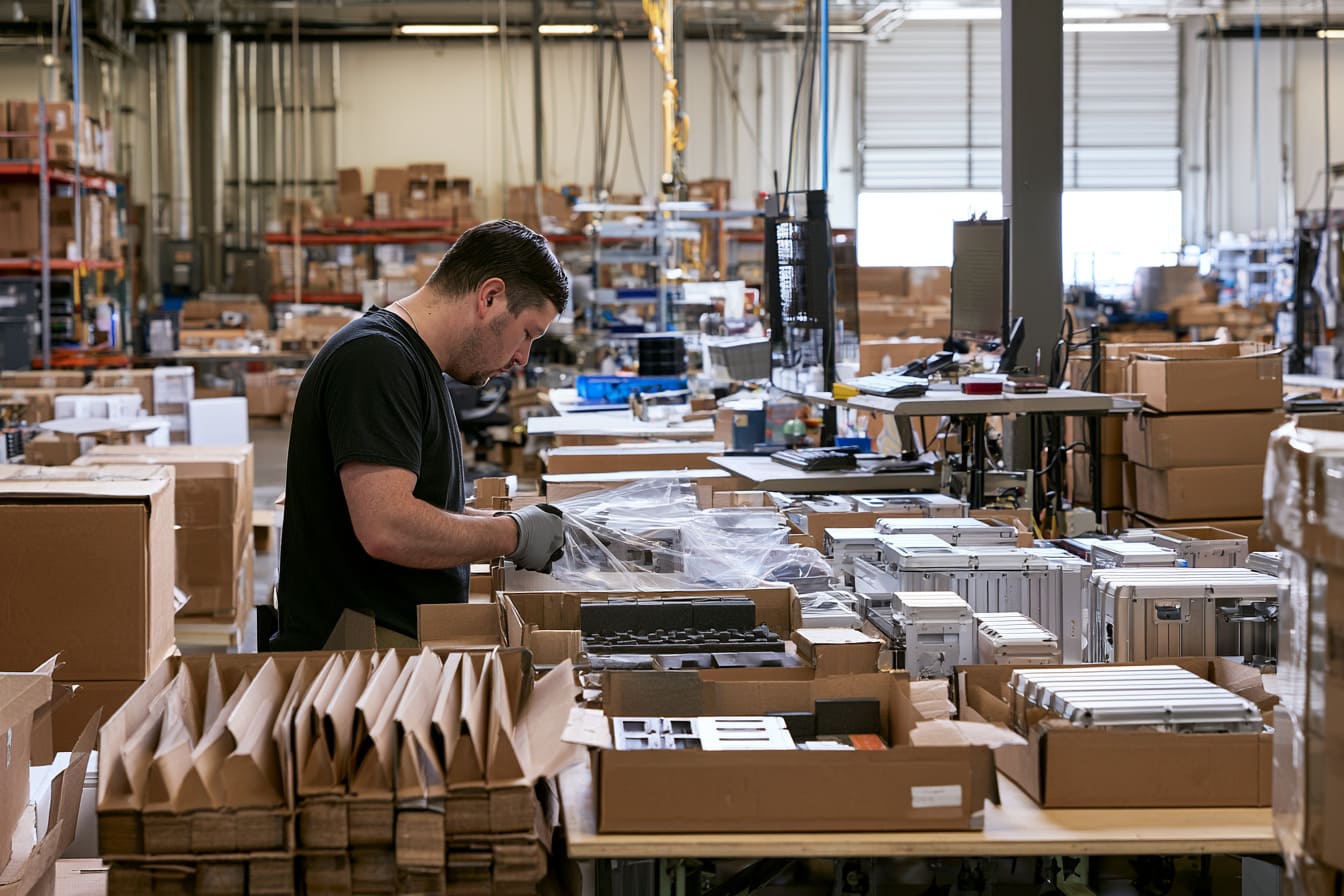
Packaging is part of surface finishing because the customer judges the finish after opening the box, not before shipping.
A scratch caused during transport looks exactly like a production defect to the customer.
I therefore design packaging around the finished surface, part shape, shipment method, and storage period.
Individual Part Protection
Each part should be protected from:
- Scratching
- Rubbing
- Impact
- Dust
- Moisture
- Fingerprints
- Metal-to-metal contact
- Logo damage
- Edge damage
I may use:
- PE bags
- Foam bags
- Protective film
- Tissue paper
- EPE foam
- Cardboard sleeves
- Molded trays
- Corner protectors
- Dividers
| Part Type | Protection I Often Use | Main Reason |
|---|---|---|
| Flat front panel | Protective film and individual sleeve | Protects the visible face |
| Powder-coated enclosure | Bag and foam separator | Prevents rubbing and edge damage |
| Brushed aluminum part | Film with grain-direction protection | Reduces visible scratches |
| Small plated hardware | Sealed bag and batch label | Prevents mixing and contamination |
| Large cabinet | Foam corners and reinforced carton | Protects edges and panels |
I avoid direct contact between finished parts.
Even a soft finish can scratch another part when vibration continues for several days during transport.
Inner and Outer Packaging Design
The inner packaging holds and separates the products.
The outer packaging protects the full shipment.
I consider:
- Product weight
- Center of gravity
- Sharp corners
- Stacking strength
- Carton size
- Pallet use
- Shipping distance
- Air or sea transport
- Warehouse humidity
- Manual handling
- Customer unpacking method
A carton should not allow parts to move freely.
I sometimes perform a simple shake test. If I can hear or feel parts moving, I review the internal packaging.
For heavier enclosures, I may use:
- Double-wall cartons
- Custom foam
- Honeycomb board
- Wooden crates
- Pallets
- Strapping
- Corner boards
I also think about unpacking. Packaging that protects the part but forces the customer to use a knife close to the finished surface creates another risk.
Moisture and Corrosion Protection
Long sea shipments can expose products to humidity and temperature changes.
Moisture can form inside a sealed package when warm air cools.
I may use:
- Desiccants
- Sealed bags
- Vapor-corrosion protection
- Moisture-barrier bags
- Humidity indicator cards
- Rust-preventive paper
- Dry packaging conditions
I do not add desiccant without considering the package volume and storage period. One small packet inside a large poorly sealed carton may provide little real protection.
I also avoid packaging wet or warm parts. Trapped moisture can create stains even on coated surfaces.
Labeling and Traceability
Clear labels reduce confusion at receiving and assembly.
I normally include:
- Customer part number
- Our internal part number
- Product description
- Quantity
- Finish type
- Color
- Batch number
- Inspection status
- Packing date
- Carton number
- Handling notes
Different colors and batches should remain separated.
If the customer receives black and gray covers in the same shipment, the outer label should make identification easy without opening every box.
Packaging labels may seem like paperwork, but I see them as a low-cost way to prevent expensive warehouse mistakes.
A well-packed part can still disappoint the customer when the original finish requirement was unclear. Good communication must begin long before production.
How to Specify Surface Finishing Requirements to a Manufacturer
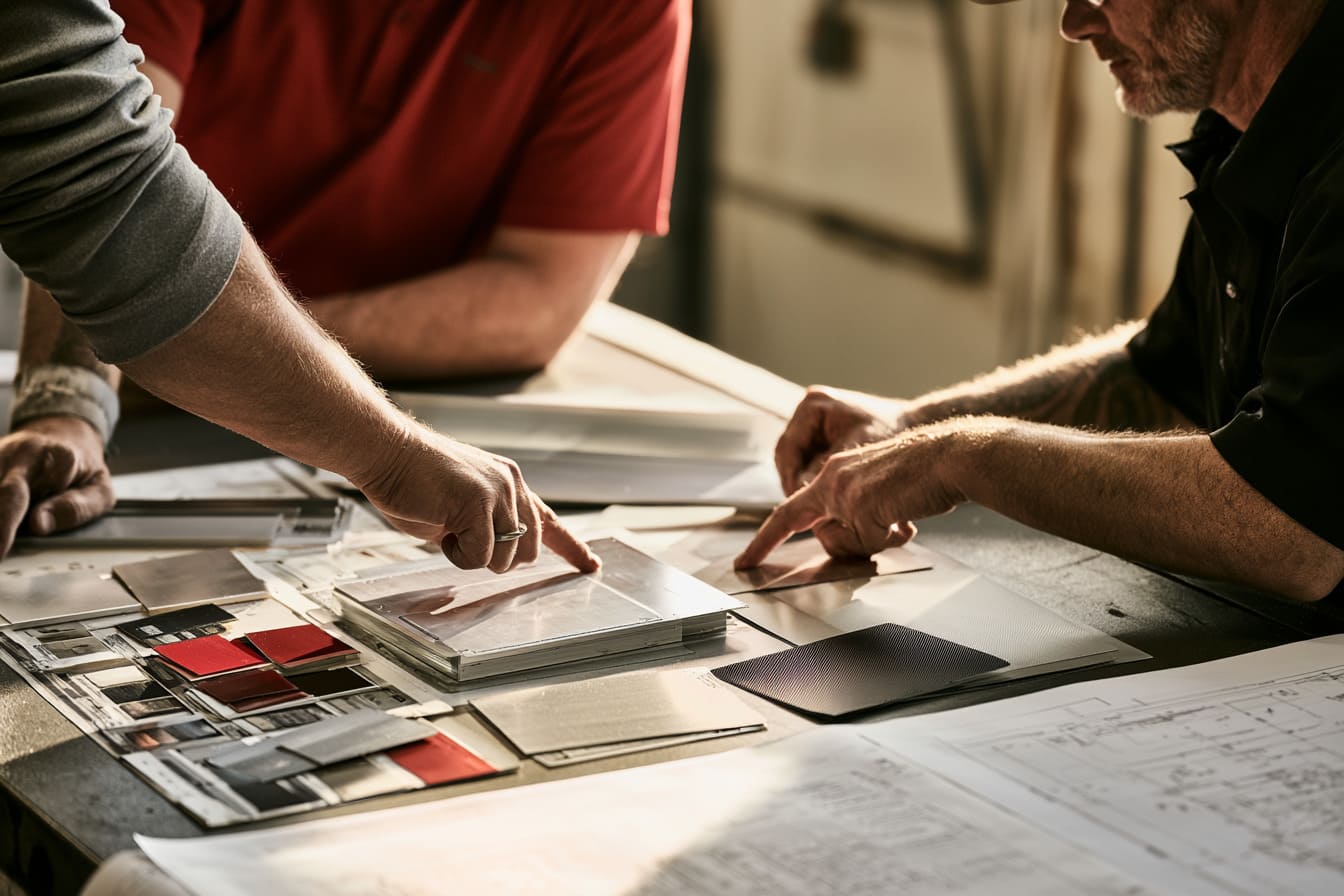
Many surface problems begin with vague specifications.
A drawing may say only “black anodized” or “powder coat white.” The supplier then fills in the missing details based on its normal process.
The result may be technically reasonable but different from what the buyer expected.
I prefer to make the expectation visible and measurable.
Information Buyers Should Provide
I ask buyers to provide as much of the following information as possible:
- Base material
- Alloy grade
- Finish process
- Color code
- Gloss level
- Texture
- Coating thickness
- Cosmetic surface class
- Visible surfaces
- Masking areas
- Conductive areas
- Grounding points
- Corrosion requirement
- UV requirement
- Chemical exposure
- Adhesion requirement
- Marking method
- Logo file
- Packaging method
- Labeling requirement
- Inspection standard
A practical specification may look like this:
| Requirement | Example |
|---|---|
| Material | Aluminum 6063-T5 |
| Finish | Bead blasting and black anodizing |
| Appearance | Matte black |
| Visible surfaces | Front, top, and both sides |
| Masking | Internal grounding pad and M4 threads |
| Marking | White silk-screen logo and connector labels |
| Inspection | Match approved sample under normal indoor lighting |
| Packaging | Individual bag with foam separator |
The specification should also explain the product environment.
I need to know whether the enclosure will be used:
- Indoors
- Outdoors
- Near the sea
- In a factory
- Around oil or chemicals
- In direct sunlight
- In a clean room
- In a vehicle
- In a high-wear location
Should Buyers Use Samples or Color Codes?
Color codes are useful. They are not complete.
RAL and Pantone references help communication, but the final appearance also depends on:
- Gloss
- Texture
- Base material
- Coating thickness
- Lighting
- Viewing angle
- Surface preparation
The same RAL color can look different in smooth gloss powder and fine-texture matte powder.
For critical cosmetic projects, I prefer a physical approved sample.
The buyer may provide an existing product, color chip, or sample panel. I can then compare the production part with something real.
Digital photos are less reliable because screens, cameras, lighting, and image settings change color.
Why a Golden Sample Is Important
A golden sample is the approved reference for future production.
It can define:
- Color
- Texture
- Gloss
- Surface grain
- Logo position
- Printing quality
- Acceptable fixture marks
- Masking edges
- Cosmetic limits
I normally keep one approved sample, and I recommend that the customer keeps another.
| Without a Golden Sample | With a Golden Sample |
|---|---|
| Each person may judge color differently | Both sides compare with the same reference |
| Repeat orders may slowly change | The reference remains stable |
| Photo approval may cause disputes | Physical comparison is easier |
| New inspectors may use different standards | The sample supports consistent training |
| Supplier changes are harder to control | New batches can be checked against the original |
The reference sample should be stored carefully. Sunlight, heat, chemicals, and scratching can change it over time.
When a project has strict appearance requirements, I trust an approved physical part more than a long email chain filled with descriptive words.
Once the requirements are clear, the buyer and manufacturer can make a sensible choice instead of simply choosing the most familiar finish.
How to Select the Best Finish for an Enclosure Project
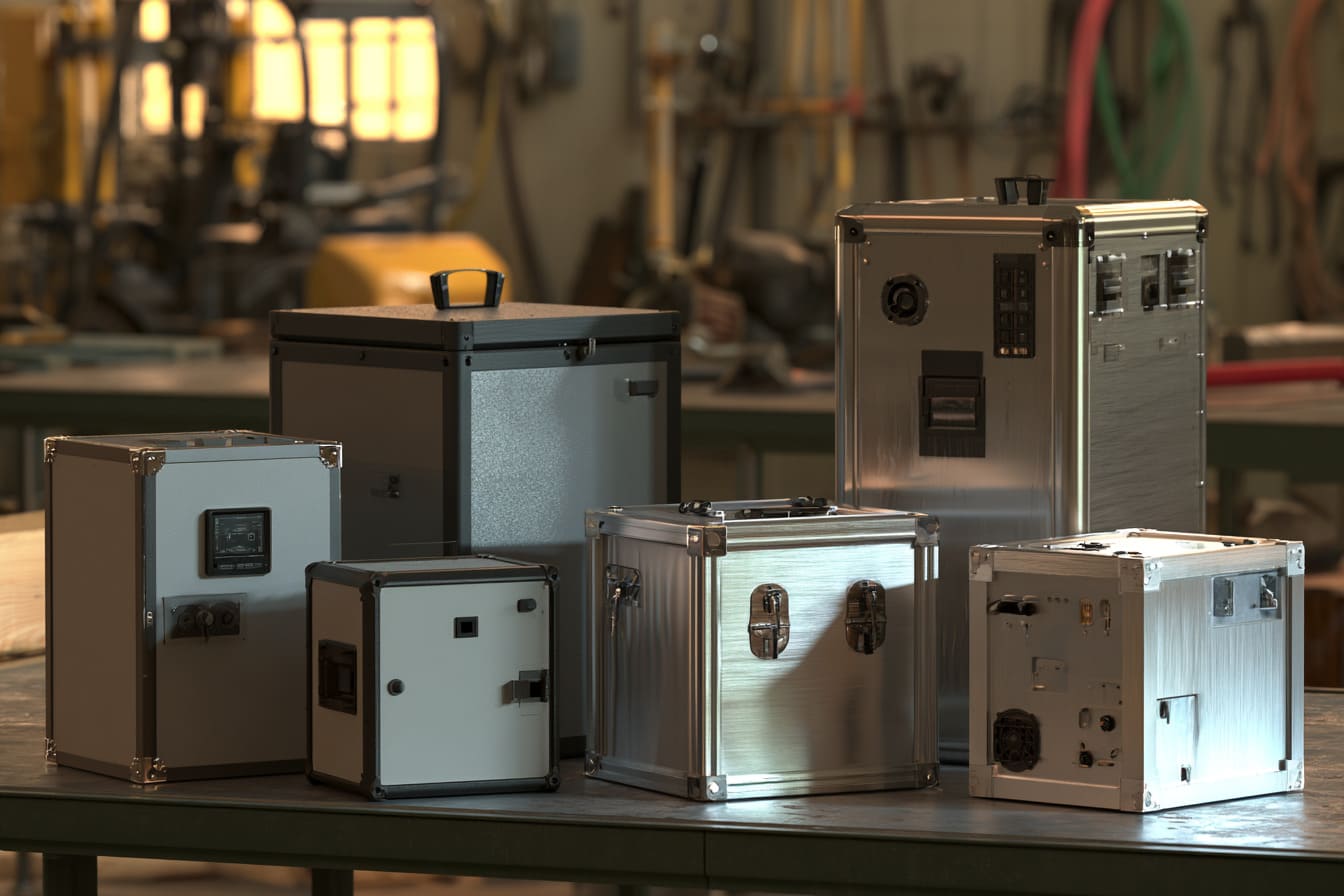
I do not start finish selection by asking which process looks best.
I start with the product environment and function.
Appearance matters, but an enclosure still has to protect electronics, manage heat, support grounding, survive handling, and fit the project budget.
Choose Based on the Operating Environment
Different environments create different risks.
| Environment | Main Risks | Finishes I May Consider |
|---|---|---|
| Indoor electronics | Fingerprints, light scratches, normal humidity | Anodizing, powder coating, painting |
| Outdoor equipment | UV, rain, temperature change | Outdoor powder coating, suitable anodizing |
| Industrial automation | Oil, dust, impact, cleaning chemicals | Powder coating, hard anodizing, chemical-resistant paint |
| Marine area | Salt and high humidity | Strong pretreatment, suitable coating system, stainless passivation |
| High-wear use | Abrasion and repeated contact | Hard anodizing, wear-resistant plating |
| Decorative equipment | Color and visual consistency | Controlled anodizing, smooth paint, powder coating |
I also review the installation.
An enclosure under a roof faces different conditions from one mounted in direct rain. A product near the sea faces different corrosion risk from one used in a dry warehouse.
Choose Based on Product Function
The finish can affect more than corrosion.
Electrical Grounding and EMC
Powder coating and paint are normally not electrically conductive.
If the enclosure needs chassis grounding or EMC contact, I may mask specific areas or use conductive treatments.
Anodizing is also electrically insulating in normal conditions. The design may need bare-metal contact areas, conductive gaskets, or special surface treatment.
Heat Dissipation
A surface finish can affect thermal radiation and contact resistance.
Black anodized heat sinks are common. However, I still focus first on the full heat path:
- Heat source
- Thermal pad
- Metal contact
- Enclosure wall
- Fins
- Airflow
- Ambient temperature
A beautiful black surface cannot compensate for poor mechanical contact between the heat source and enclosure.
Wear Resistance
Hard anodizing or suitable plating may help surfaces exposed to repeated movement or contact.
For a normal stationary electronics enclosure, a decorative finish may be enough. For sliding parts, hinges, or field-use equipment, I pay more attention to abrasion.
Branding and Appearance
The finish should support the product’s position.
A premium instrument may need a fine matte anodized face. A factory control box may benefit more from a practical textured powder that hides fingerprints.
I match appearance to how the user will actually handle and see the product.
Balance Performance, Appearance, Cost, and Lead Time
Every finish involves trade-offs.
| Priority | Possible Choice | Trade-Off |
|---|---|---|
| Lowest cost | Standard powder or simple anodizing | Fewer special appearance options |
| Strong cosmetic control | Brushing, blasting, sample approval | More labor and tighter inspection |
| High corrosion resistance | Full pretreatment and tested coating system | Higher cost and longer lead time |
| Tight dimensions | Masking or post-finishing machining | Extra fixtures and operations |
| Fast prototype | Standard available finish | Exact production color may come later |
| Multi-color branding | UV printing or several screen-print colors | More setup and adhesion control |
A premium finish is not automatically the best finish.
If the enclosure sits inside a closed cabinet, spending heavily on a perfect decorative surface may add little value. If the product sits on a customer’s desk, the appearance may directly affect brand trust.
My decision changes when the finish influences buying behavior, not only technical performance.
The best finish is the one that solves the project’s real problems without creating unnecessary cost, delay, or assembly risk.
Before I release mass production, I use a final checklist to make sure the small details have not disappeared between drawings, samples, suppliers, and production teams.
Surface Finishing Checklist Before Mass Production
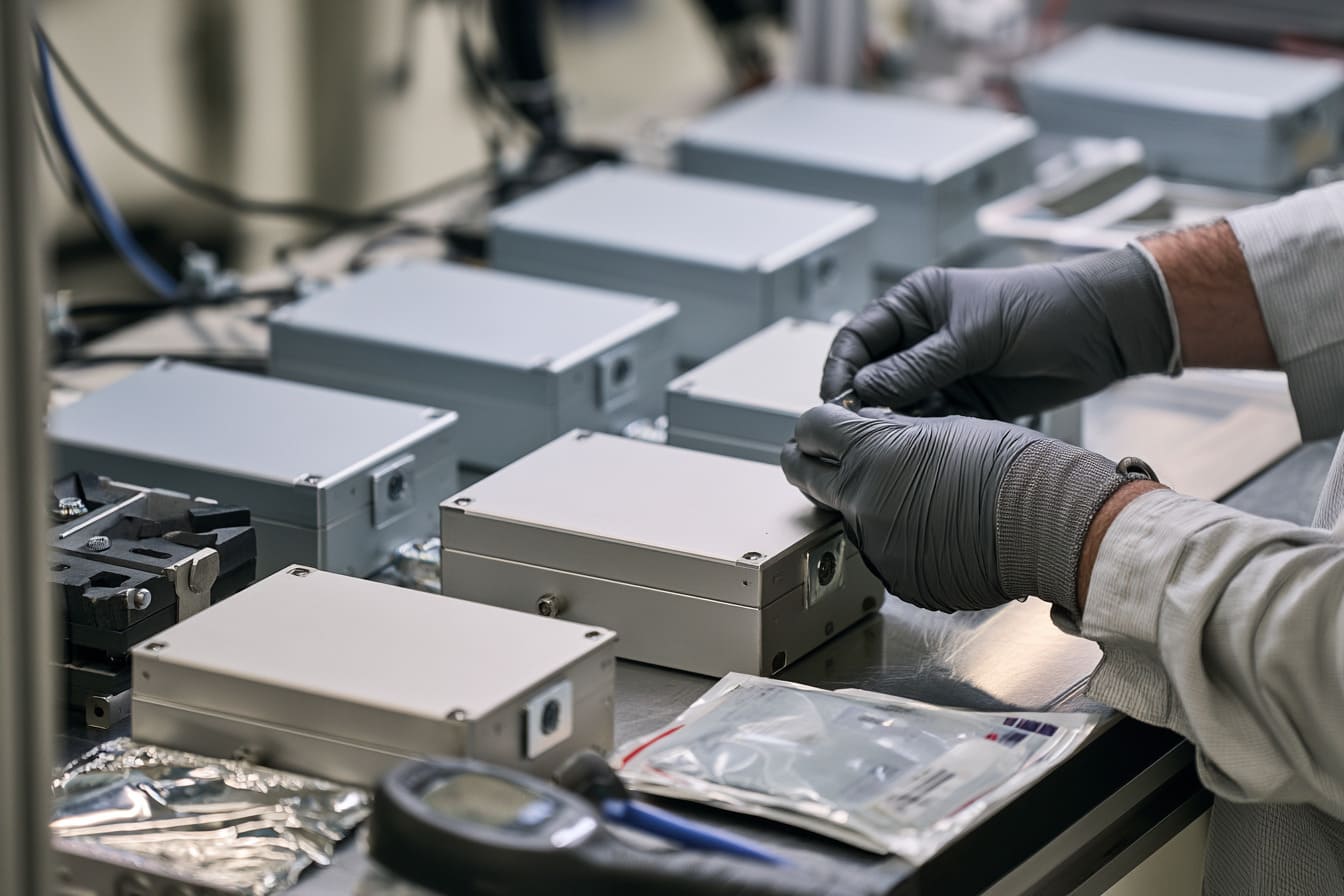
A checklist cannot replace experience, but it can stop a busy team from missing a known risk.
Surface finishing involves design, machining, fabrication, chemical treatment, inspection, printing, assembly, and packaging. Information can easily get lost between these stages.
I use the checklist as a shared project tool.
Design and Specification Checklist
| Check Item | Questions I Ask | Status |
|---|---|---|
| Material | Is the material and alloy confirmed? | Confirmed / Open |
| Manufacturing method | Are the parts extruded, CNC-machined, cast, or fabricated? | Confirmed / Open |
| Finish type | Is the exact finishing process defined? | Confirmed / Open |
| Color | Is there a code or approved sample? | Confirmed / Open |
| Gloss and texture | Are these visual requirements clear? | Confirmed / Open |
| Visible surfaces | Are Class A, B, and hidden surfaces identified? | Confirmed / Open |
| Masking | Are threads, grounding points, and sealing areas marked? | Confirmed / Open |
| Thickness | Is the coating thickness range defined where needed? | Confirmed / Open |
| Tolerances | Has finishing thickness been included in fit calculations? | Confirmed / Open |
| Logo | Is the marking method and artwork approved? | Confirmed / Open |
| Testing | Are adhesion, corrosion, and appearance tests agreed? | Confirmed / Open |
| Packaging | Is the protection method approved? | Confirmed / Open |
I also check the drawing revision. A correct masking plan attached to an old drawing can still produce the wrong part.
Production and Quality Checklist
Before mass production, I confirm:
- The raw material matches the approved sample
- The pretreatment method is validated
- The surface preparation direction is controlled
- The finishing parameters are recorded
- The masking fixture is approved
- The color and texture sample is approved
- The coating thickness method is defined
- The inspection lighting is agreed
- The functional fit has been tested
- The logo position and adhesion are confirmed
- The packaging test is complete
- Batch traceability is ready
- Rework rules are defined
I prefer to discover a disagreement on ten samples instead of ten thousand production parts.
The most useful checklist item is often the one that feels too obvious to mention, because obvious details are exactly what experienced teams tend to assume someone else has checked.
When all of these points are controlled, the finishing process becomes far more predictable. That brings me to why I treat finishing as a full manufacturing system rather than a decorative service.
Conclusion
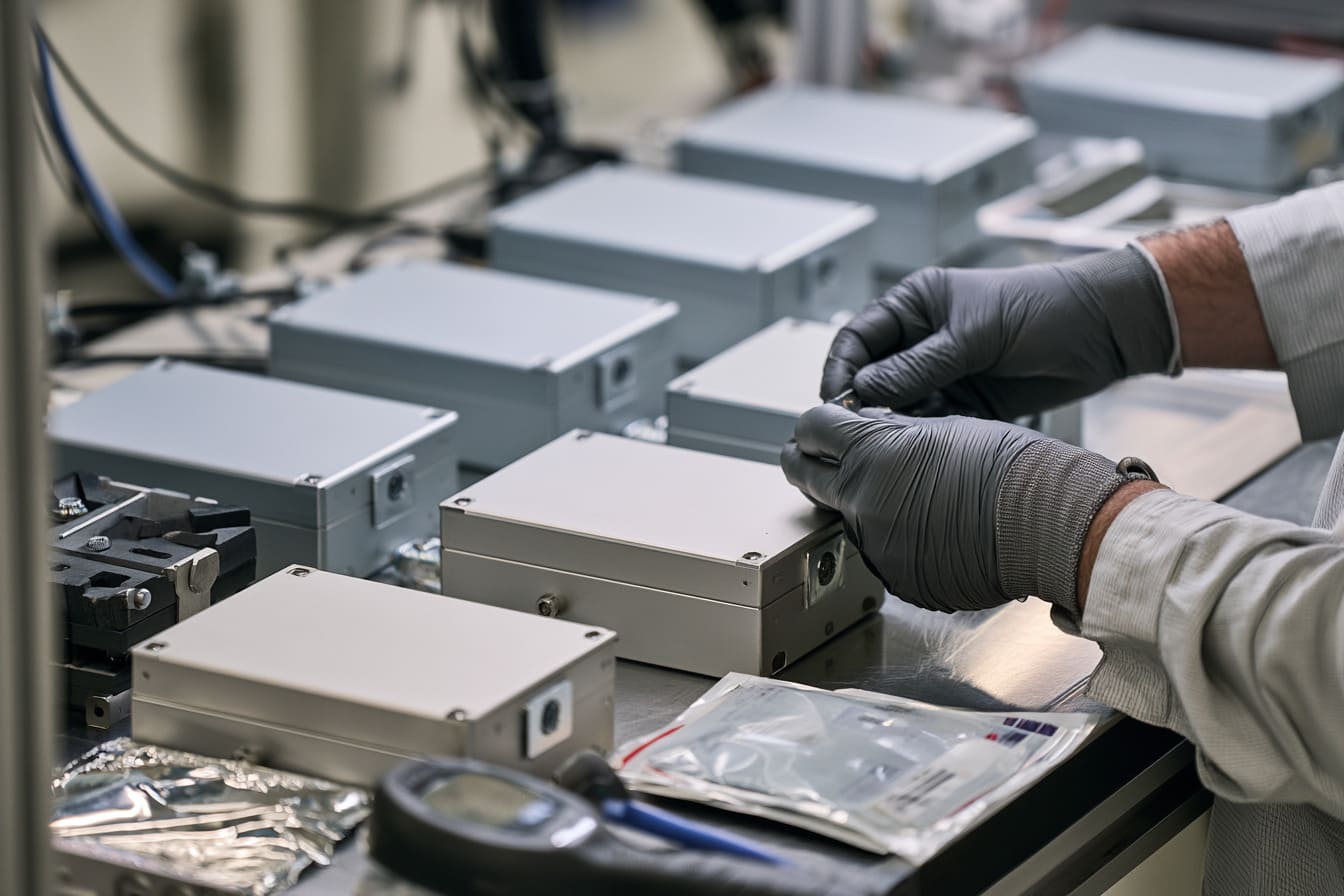
I treat surface finishing as a complete process because I have seen how easily a good enclosure can be damaged by one weak step.
A strong coating cannot repair the wrong alloy. A perfect color cannot fix an oversized coating inside a precision hole. Good inspection cannot protect parts that rub together inside a carton.
This is why I start with the material and drawing.
I check the raw surface before cleaning. I define visible and functional areas before masking. I match the finish to the operating environment. I inspect dimensions after coating. I also treat handling and packaging as part of the finishing process.
I follow this approach because the customer does not buy anodizing, powder coating, or paint as separate services. The customer buys a finished enclosure that must look right, assemble smoothly, and perform reliably.
That difference shapes every decision I make.
For a custom enclosure project, I recommend confirming these points before mass production:
- The material and alloy
- The required appearance
- The product environment
- The masking areas
- The coating thickness
- The inspection method
- The approved sample
- The packaging method
I also recommend working with a manufacturer that can coordinate machining, finishing, printing, inspection, assembly, and packaging as one connected process.
At MaidaTech, I work with customers on custom aluminum enclosures, sheet metal enclosures, plastic housings, printing, engraving, and complete surface-finishing requirements.
If you are developing a new enclosure and you are not sure which finish fits the material, environment, appearance, or budget, you can send me your drawing or project details.
You can contact me at info@maidatech.com or visit maidatechenclosure.com.
I will review the project from the raw material to the final package, because that is the only way I know to judge whether a surface finish is truly finished.







