 Skip to content

On many projects, the meter box is not the star of the show. People talk about the machine, the control system, the software. Then one small detail goes wrong at the meter box, and the whole schedule slips. I have seen that more than once.
An electric meter box looks simple from the outside. It is just a box on a wall. But the way it is installed affects safety, compliance, maintenance, and even how fast you can get utility approval. A sloppy installation can create small problems that stay hidden for years. Sometimes they only show up when something overheats, leaks, or fails an inspection.
This guide is for people who live in that “detail zone” every day:
- Homeowners who want to understand what their electricians are doing
- Contractors who need a clear structure for training junior staff
- Product engineers and OEM enclosure buyers like my customers Davide or John
- Re-branders and distributors who specify custom meter or service boxes in their projects
I will walk through the process step by step: from codes, tools, and site preparation, to mounting, wiring, sealing, and inspection. I will not replace local electrical codes or your licensed electrician. Instead, I want to give you a practical way to think about the work so you can make better decisions and ask better questions.
When I review drawings for meter-related enclosures, the first thing I judge is not the box size but the installation environment, because a perfect design on paper still fails if the real wall, weather, and utility rules do not match the plan.
When we understand what the box actually does, the next steps—codes, tools, and installation—start to make a lot more sense.
What Is an Electric Meter Box and What Does It Do?
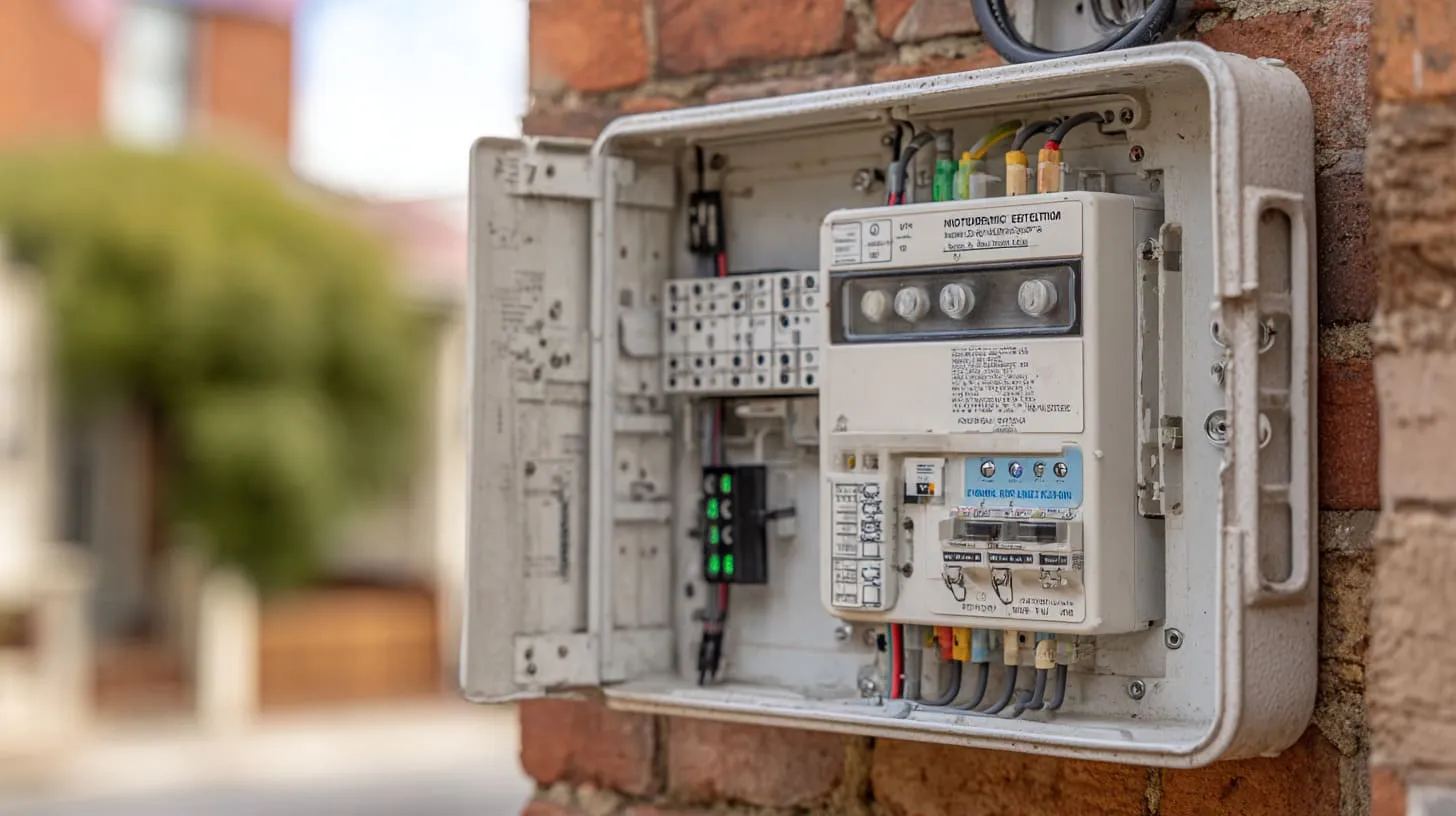
Before I talk about drilling holes or tightening bolts, I want to be very clear about the job of the meter box. If we misunderstand this part, every later decision becomes a guess.
Definition and basic function
An electric meter box is a protective enclosure that houses:
- The electricity meter
- Terminals or connectors for incoming and outgoing cables
- Sometimes main fuses or breaker components, depending on local practice
The meter inside the box records how much energy the building uses. The utility company uses this reading for billing. The box protects that equipment from weather, impact, and tampering, and it gives inspectors a clean, controlled place to work.
It is also important not to mix up two common terms:
| Item | Main Purpose | Typical Location |
|---|---|---|
| Meter box | Protects meter and service connection area | Outside or near service entry |
| Distribution panel | Distributes power to circuits inside | Inside building |
The meter box is like the “gate” where power first arrives. The distribution panel is more like the “junction” where power is shared out to different circuits.
Common types of electric meter boxes
On real projects, I see different combinations of meter box designs. They fall into a few basic groups.
Residential vs commercial meter boxes
Residential boxes:
- Usually smaller
- Often serve one unit or one family
- Focus more on cost and simple maintenance
Commercial boxes:
- Larger, sometimes with multiple meter positions
- Need more space for thicker conductors and extra hardware
- Often require higher mechanical strength and better corrosion resistance
From a design point of view, residential and commercial boxes may use similar materials and shapes, but the internal clearances and mounting structures can be very different.
Surface-mounted vs flush-mounted
- Surface-mounted: Box sits on top of the wall surface. Easier to install. Good for retrofit.
- Flush-mounted: Box is built into the wall so the front is nearly level with the wall finish. Clean look but more work and more coordination with builders.
| Type | Pros | Cons |
|---|---|---|
| Surface-mounted | Simple to install, easy to replace | Sticks out, more exposed to impact |
| Flush-mounted | Cleaner look, less visual impact | Harder to install, harder to modify later |
Plastic vs metal meter enclosures
I work a lot with aluminum and steel enclosures, but plastic (often polycarbonate) is also common for meter boxes.
- Plastic: Good for corrosion resistance and lighter weight.
- Aluminum: Light, strong, and corrosion-resistant when treated properly.
- Steel: Very strong but needs good coating to resist rust.
Each material brings different trade-offs in cost, durability, and how easy it is to customize.
Indoor vs outdoor meter boxes
Meter boxes can be installed indoors or outdoors, but outdoor ones need special care.
Key questions:
- Will the box face sun, rain, snow, salt, or pollution?
- Is there risk of impact from vehicles or equipment?
- Is there dust, steam, or chemical vapour nearby?
Outdoor boxes usually need better weatherproof ratings, such as IP or NEMA levels, depending on the region. Indoor boxes may have lower ratings but still need to be safely enclosed and accessible.
Whenever I evaluate a meter box type for a customer, I always weigh the environment first, because choosing the wrong indoor/outdoor performance usually causes more trouble than any small difference in price or material thickness.
Once we understand what the meter box is and what it protects, the next natural step is to see how codes and rules shape every installation decision.
What Codes and Regulations Should You Check Before Installation?
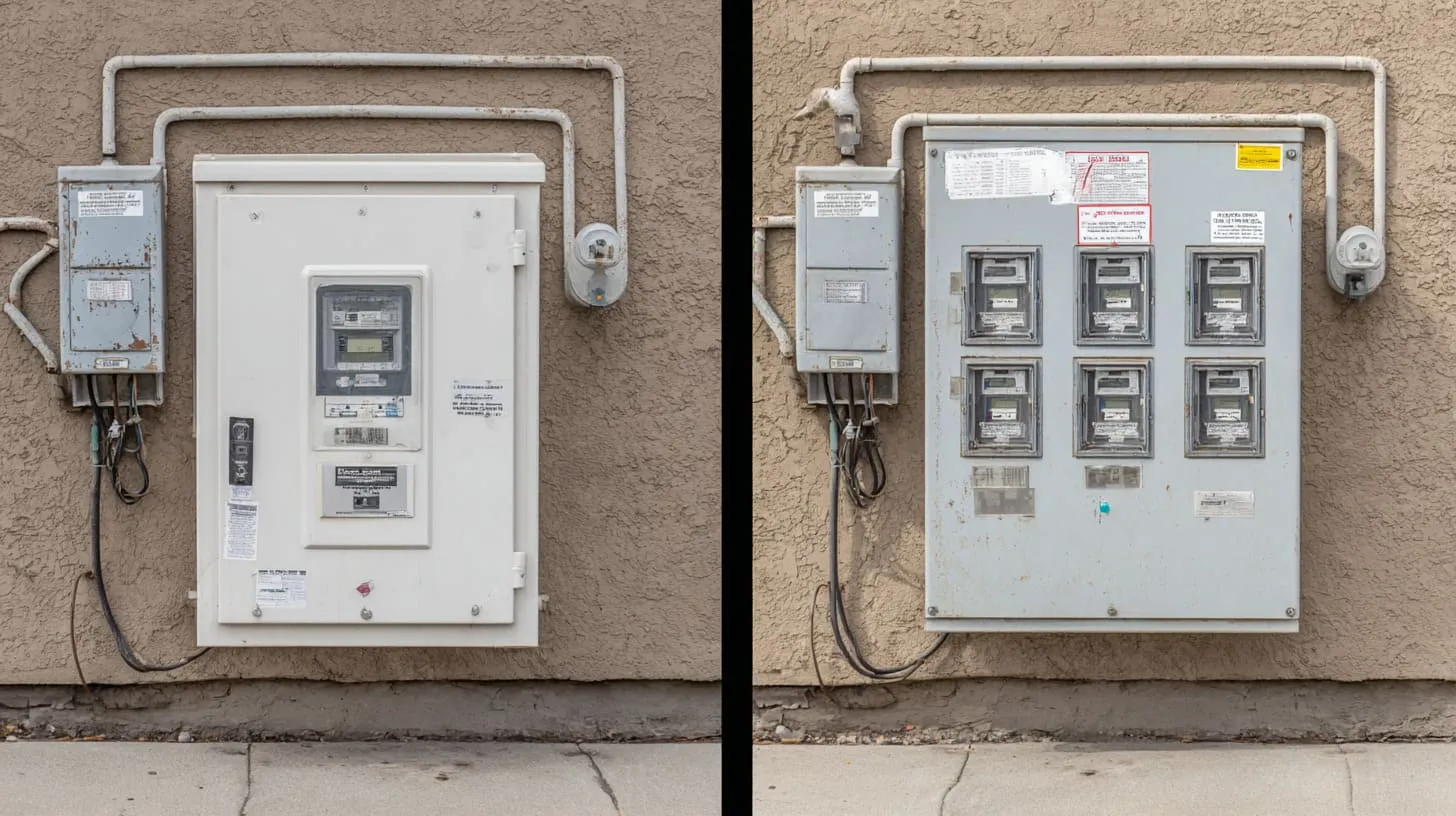
Every good installation starts long before the first hole is drilled. It starts with rules. Sometimes people feel annoyed by codes, but in my experience, codes are like guardrails on a mountain road: not exciting, but very useful when things go wrong.
National and local electrical codes
Most countries follow a mix of:
- A national or international standard (like NEC, IEC, or similar)
- Local amendments or additional rules from city, state, or region
- Utility-specific installation manuals
These documents cover topics such as:
- Minimum clearances
- Cable sizes and bending radius
- Grounding and bonding methods
- Protection against shock, fire, and mechanical damage
Even when you follow a high-level standard, the local authority usually has the final word.
Utility company requirements
For meter boxes, the utility’s requirements often matter more than anything else. The utility decides:
- Which meter box models or designs are approved
- How the meter must be mounted and sealed
- Where service cables must enter and exit
- How and where they can attach their locks or seals
A simple way to think about it:
| Item | Who Controls It |
|---|---|
| Meter type and wiring | Utility + local code |
| Enclosure design and brand | Utility + installer |
| Sealing / locking method | Utility |
If you are an OEM or project engineer, it is smart to get the utility’s installation guide early in the design phase. That avoids redesigns later.
Clearance and accessibility rules
Codes and utilities also set rules about:
- Height from the ground to meter center
- Side and front clearances so a person can work safely
- Visibility and access from public or authorised walkways
If the box is too high, too low, or blocked by obstacles, it may fail inspection even if the wiring inside is perfect.
When I check a new meter box proposal, I focus first on utility and inspector expectations, because arguing about a failed inspection later costs more time and money than spending one hour reading their technical guide at the beginning.
Once the code picture is clear, it becomes much easier to choose tools, materials, and enclosure types with confidence.
What Tools and Materials Do You Need Before Installation?
I like to think of installation like cooking in a professional kitchen: if you prepare well, the work feels calm; if you prepare badly, even simple tasks feel stressful. Meter box installation is the same.
Essential tools
Typical tools include:
- Drill and bits for the wall type
- Screwdrivers (including for terminal screws)
- Level and measuring tape
- Torque wrench or torque screwdriver, if specified
- Hole saws or step bits (for conduit entries, if allowed)
Safety equipment:
- Insulated gloves
- Safety glasses
- Hearing protection if drilling into hard surfaces
A clear checklist helps:
| Tool / Item | Purpose |
|---|---|
| Level | Check horizontal and vertical alignment |
| Torque screwdriver | Tighten terminals to spec |
| Hole saw / step bit | Create clean conduit entry holes |
| PPE (gloves, glasses) | Protect hands and eyes |
Required materials
At a minimum, you will need:
- Meter box enclosure (approved type)
- Conduit (PVC, metal, or others as permitted)
- Fittings, adapters, elbows, and couplings
- Anchors and fasteners suited to the wall material
- Grounding components (ground bar, clamps, wire, lugs)
The exact list changes by region, but the logic is always the same: hold the box firmly, route the cables safely, and provide a reliable earth path.
Choosing the right enclosure
This is the part where my work at MaidaTech often comes in. Many customers come to us when standard boxes do not fit their project.
Key factors when choosing:
- Material: plastic, aluminum, or steel
- Environment: indoor, outdoor, corrosive, coastal, industrial
- Size and layout: enough space for cables and bending radius
- Mounting method: wall, pole, frame, or cabinet integration
Example comparison:
| Material | Strength | Corrosion Resistance | Customization Ease | Typical Use |
|---|---|---|---|---|
| Plastic | Medium | Very good | Medium | Light outdoor, residential |
| Aluminum | High vs weight | Very good | Very good | OEM, commercial, custom |
| Steel | Very high | Needs coating | Good | Heavy duty, industrial |
When we design custom enclosures for customers like Davide or John, we also look at:
- Logo or brand printing
- Custom cutouts for special meters or breakers
- Custom mounting plates for local equipment
On the tool and material side, I tend to favour slightly over-spec’d hardware and fasteners, because a few extra dollars in anchors and enclosure quality are cheaper than sending a team back to fix a loose or corroded meter box later.
Once tools and materials are ready, the next decision is simple but critical: where exactly should this box live on the wall.
Where Should an Electric Meter Box Be Installed?
Placement looks like a small decision on paper, but outside on site, it affects safety, user comfort, cable routing, and inspection access. I have seen beautiful enclosures installed in terrible locations.
Selecting the correct location
Important points:
- Choose a stable wall or structure, not something that moves or vibrates.
- Avoid areas with standing water, heavy splashing, or direct heat sources.
- Think about future access for reading, maintenance, and replacement.
If the box is in a place where people constantly bump into it, or where forklifts or trucks pass by, the risk of damage goes up.
Mounting height and orientation
Meter box height should follow local rules and human comfort. The meter should be easy to read and reach without ladders in most typical cases.
- Check the allowed height range in local code or utility documents.
- Make sure the front of the box faces a safe, stable standing position.
- Keep the box level so seals and doors work properly.
Wall type considerations
Different walls need different fixing methods:
| Wall Type | Common Anchors or Fasteners | Notes |
|---|---|---|
| Concrete | Expansion anchors, wedge anchors | Drill deep enough, clean holes |
| Brick | Sleeve anchors, special masonry anchors | Avoid weak joints |
| Drywall | Use backing board or structure behind | Do not rely on drywall alone |
| Metal | Self-tapping screws or bolts | Check sheet thickness and framing |
For heavy boxes or boxes with large cables, it is often wise to add extra support, such as a backing plate or frame.
When I look at a proposed meter location, my mind always jumps ahead ten years, because if I can imagine someone still reading and servicing it comfortably then, the current placement is probably good enough.
Once the location feels right, the next logical step is to prepare that space so the installation goes smoothly and safely.
How to Prepare the Installation Site
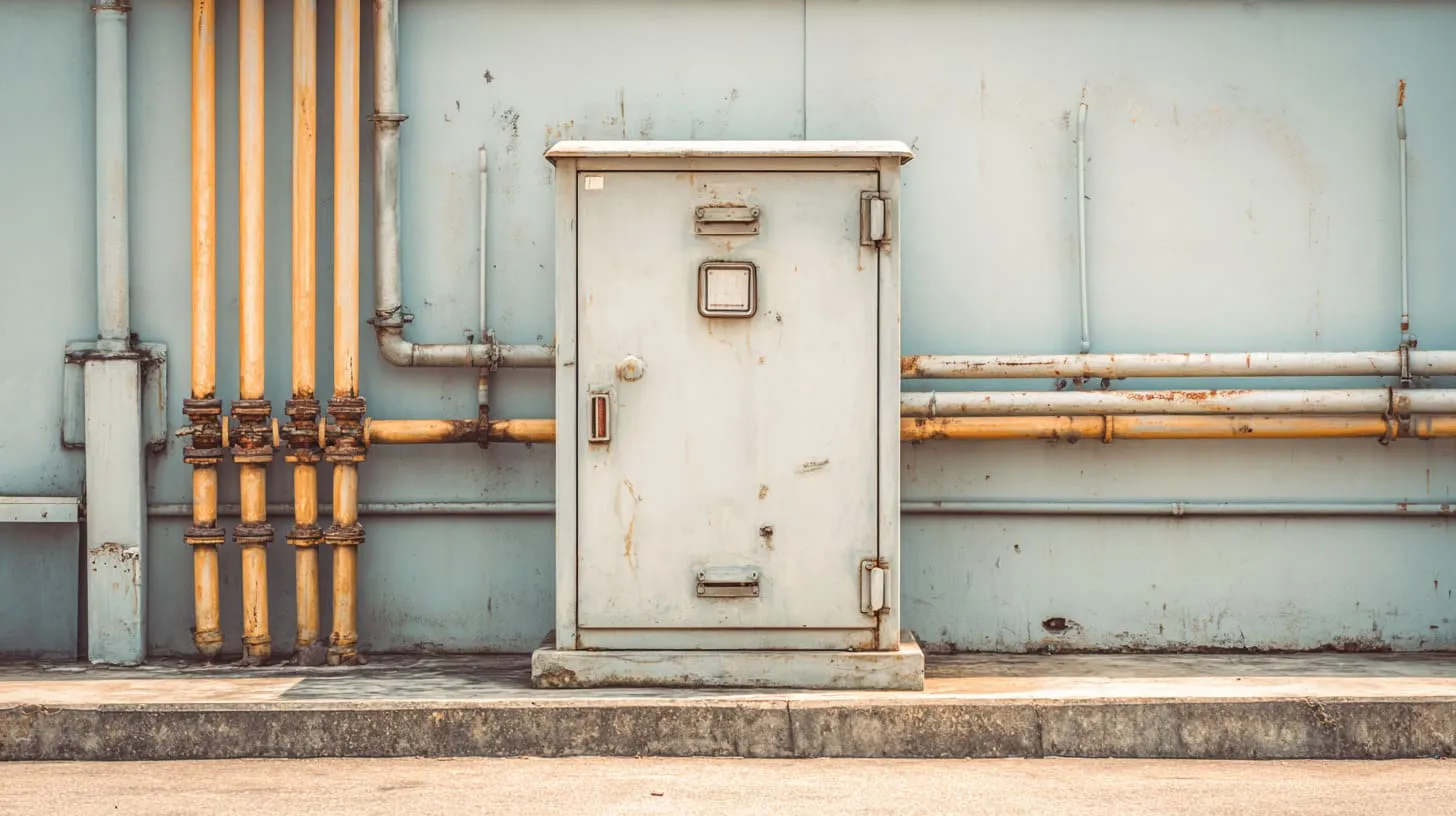
Good site preparation makes the actual mounting feel almost easy. Poor preparation turns simple tasks into messy improvisations. I have watched both versions on job sites.
Shutting off power and safety checks
Before any work begins:
- Coordinate with the utility or authorised person for power shutoff.
- Use lockout and tagout methods when required.
- Verify that circuits are de-energised using proper test equipment.
Even when the main service is off, treat all exposed conductors with respect. Some systems have multiple feeds.
Marking and measuring
Careful marking saves a lot of re-drilling:
- Mark the centerline of the box on the wall.
- Mark the height to the meter center according to local rules.
- Hold the box (or a template) against the wall.
- Mark anchor points and conduit entry locations.
A small tip: use a pencil or removable marker first. Confirm alignment with a level before drilling anything.
Surface preparation
The wall surface should be:
- Flat enough for the back of the box to sit without rocking
- Clean of loose dust, dirt, oils, or flaky paint
- Dry, especially when you will apply sealant or gaskets
If the wall is uneven, you may need spacers, shims, or a mounting plate to create a stable interface.
During site preparation, I pay special attention to surface flatness and moisture, because even a high-quality enclosure can leak or twist if the wall behind it is uneven or still damp when you seal it.
Once the site is marked, cleaned, and safe, the actual mounting of the meter box becomes a much more controlled process.
How to Mount the Electric Meter Box
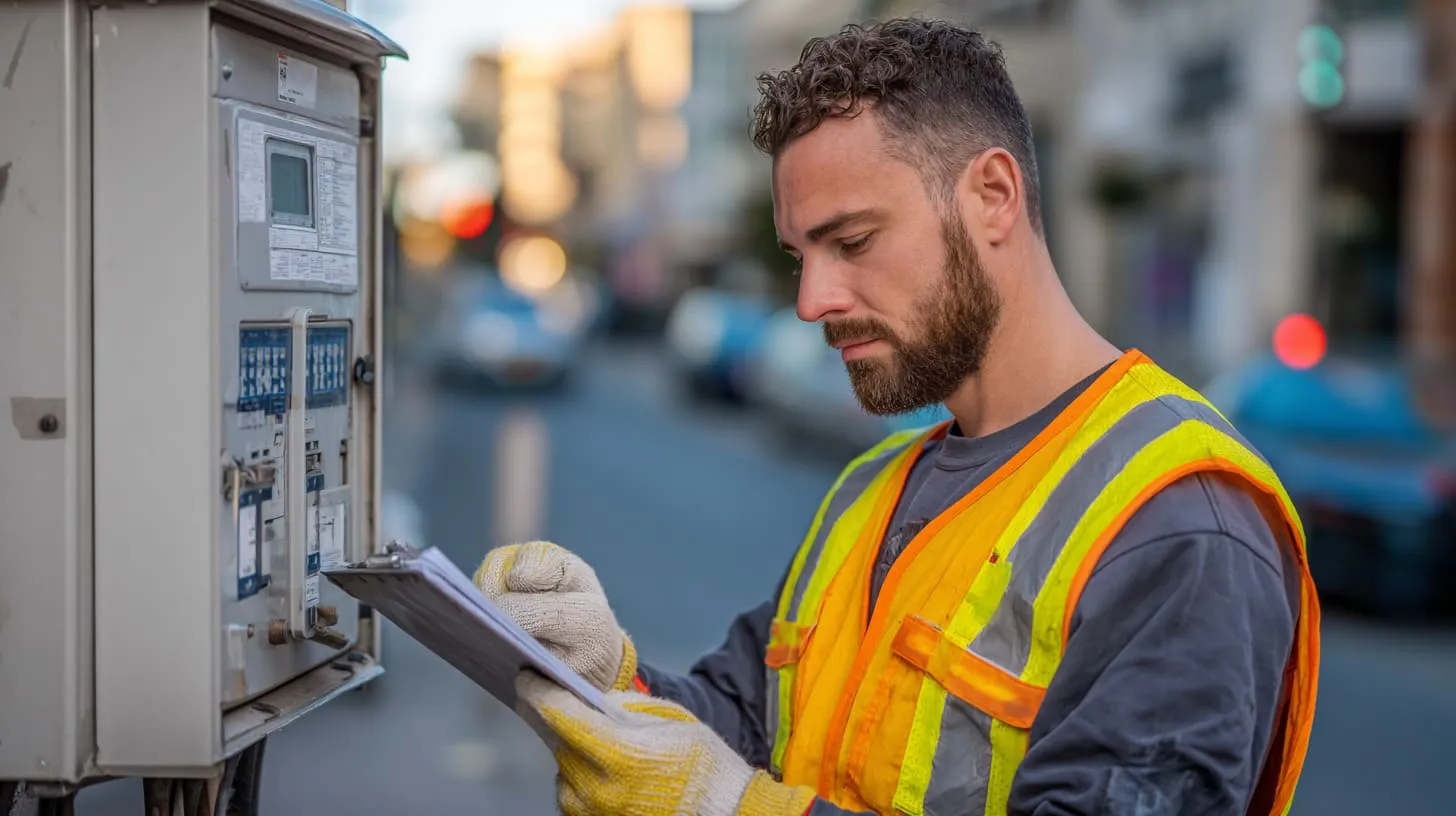
This is the part everyone sees: the box on the wall. But the quality of mounting is more than just whether it “looks straight” from a distance.
Step-by-step mounting process
A typical sequence:
- Drill holes at the marked anchor positions.
- Insert anchors or plugs as required for the wall type.
- Place the box in position and loosely install fasteners.
- Adjust to ensure level and plumb.
- Tighten fasteners gradually in a cross pattern, not all on one side first.
If the box has a back gasket, make sure it is seated correctly and not twisted.
Ensuring proper alignment
Use a level on both:
- The top edge
- The side edge
Check that the door opens and closes freely and that there is no rubbing or distortion. The door should sit evenly on the seal or gasket.
Common mounting mistakes to avoid
Some mistakes I see again and again:
- Anchors too close to the edge of weak brick
- Bolts over-tightened, bending the box or cracking plastic
- Uneven tightening causing the box to twist
- Forgetting to re-check level after tightening
Simple check table:
| Check Item | Good Result | Problem Sign |
|---|---|---|
| Level and plumb | Bubble centered | Door looks tilted |
| Door operation | Opens and closes smoothly | Sticks, scrapes, or misaligns |
| Fastener tightness | Firm but not deforming enclosure | Plastic crush marks, metal bending |
On the mounting step, I tend to recheck the door operation more than once, because a door that already feels “a bit tight” on day one usually becomes a problem after a few seasons of temperature and humidity changes.
Once the box sits firmly and cleanly on the wall, you can move on to the more delicate part: bringing the cables in and making the electrical connections.
How to Install Conduit and Wiring to the Meter Box
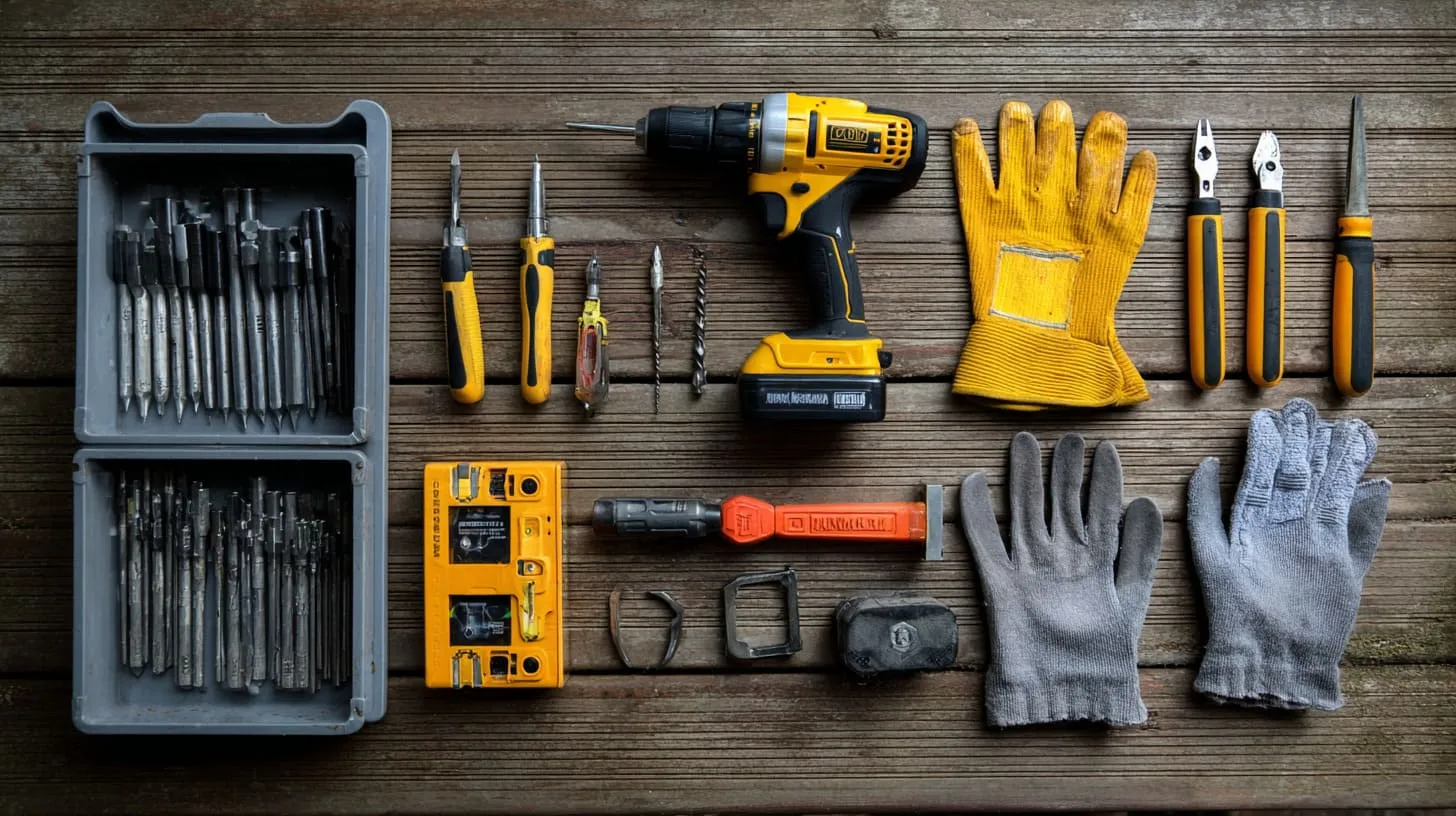
Cables and conduits are like the veins of the system. If we bend them too hard or route them badly, problems appear later in the form of heat, stress, or even insulation damage.
Conduit routing basics
Good conduit routing respects:
- Entry and exit locations recommended by the meter box design
- Minimum bend radius for the cable types
- A neat and logical path that avoids unnecessary bends
Try to avoid sharp angles or forcing conduit into misaligned holes. Each bend adds pulling force and stress.
Connecting service entrance cables
When bringing in service cables:
- Use bushings and fittings to protect cable jackets at entry points.
- Avoid tight bends close to terminations.
- Leave enough slack for future re-termination, but not so much that it is messy.
Cables should be supported according to code, not hanging from terminations.
Grounding and bonding
Grounding and bonding are not nice-to-have features; they are central to safety.
- Attach the ground conductor to the designated terminal or bar.
- Ensure metal parts of the enclosure are bonded according to local rules.
- Use proper lugs and tighten them to specified torque.
Table for a quick view:
| Task | Purpose |
|---|---|
| Ground connection | Provide fault current path |
| Bonding | Keep metal parts at same potential |
| Proper torque | Prevent loose, overheated joints |
When I look inside a wired meter box, I judge the quality first by cable stress and bend radius, because even if all screws are tight, cables that are forced or kinked usually tell me that someone was rushing or not planning carefully.
After the conduits and cables are properly placed, the next focus is to protect the entire assembly against weather and tampering.
How to Secure and Seal the Meter Box

A meter box that is not sealed or locked correctly becomes an open invitation for water, dust, insects, and sometimes curious hands. I have seen all of these inside boxes during inspections.
Installing the electric meter
The meter itself is usually installed by the utility provider or an authorised person, but from the enclosure side:
- Make sure the mounting hardware or rails are ready and clean.
- Check that there is no debris on contacts or seats.
- Confirm there is enough space for the meter body and conductors.
Once the meter is in place, the utility may add their own seals and locks.
Sealing for weather and tamper resistance
Key elements:
- Door gasket or seal must be continuous and undamaged.
- Cable and conduit entries must be sealed or fitted correctly.
- Any unused openings should be properly closed with approved plugs.
If sealant is used:
- Apply it to clean, dry surfaces.
- Use the right type for the material (metal, plastic, masonry).
Final enclosure checks
Before calling the job done, walk through a quick checklist:
- Door closes smoothly and latches securely.
- No visible gaps where rain or insects can enter.
- Locks or seal points are accessible for the utility.
A small detail that often gets missed is the alignment of the latch and strike; misalignment can stress the door and gasket.
On the sealing step, I pay close attention to small gaps around conduits, because in real outdoor installations it is usually insects and fine dust—not heavy rain—that quietly destroy terminals over time.
Once the box is sealed and closed, the next logical step is inspection and testing, which is where many installations prove whether they were planned well or not.
How to Inspect and Test After Installation
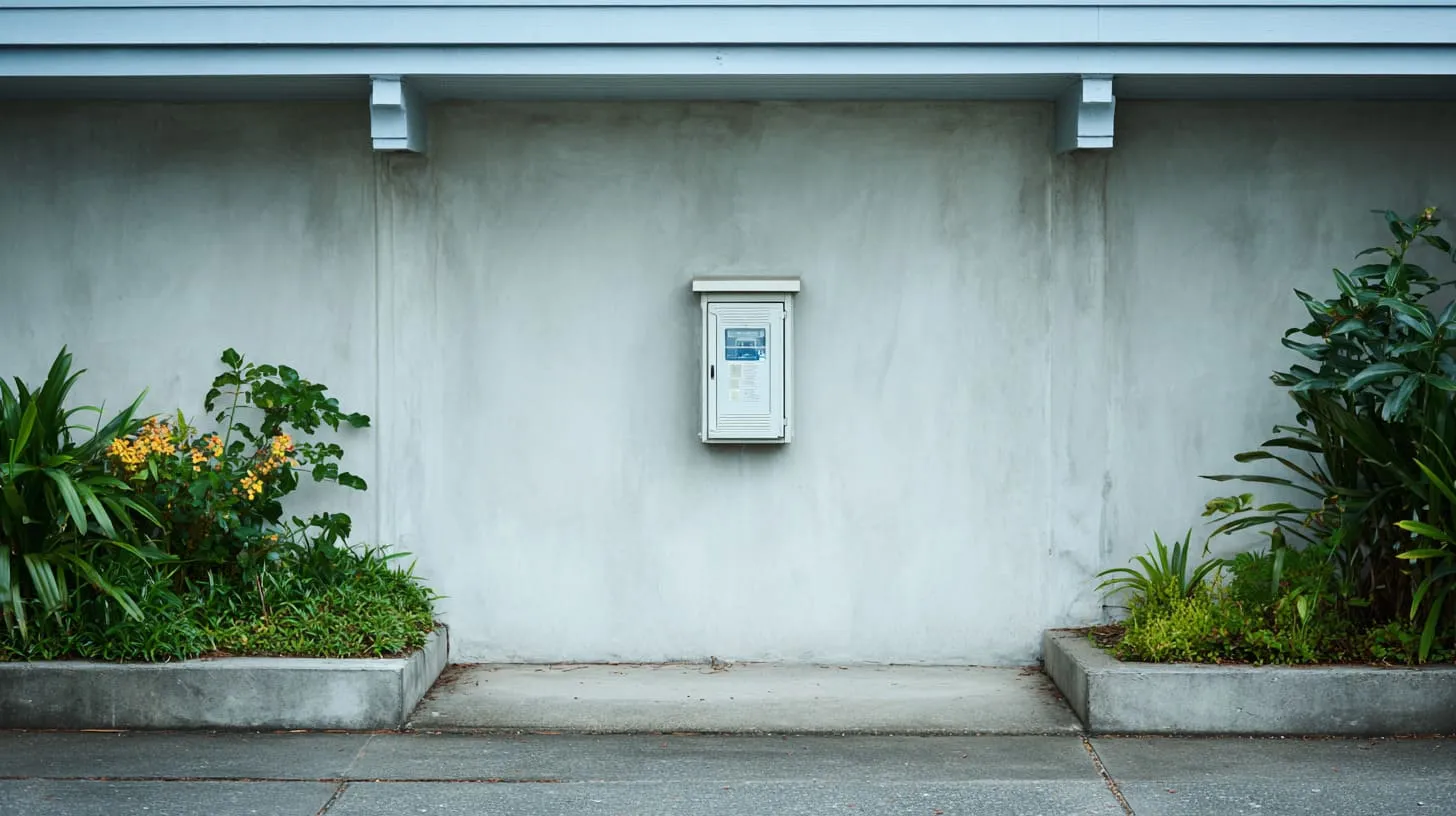
An installation that looks neat from three meters away can still hide many issues. Inspection is where we slow down and check those details.
Visual inspection checklist
I like to go from outside to inside:
- Check anchors, fasteners, and the overall stability of the box.
- Look for cracks, chips, or damaged coatings.
- Confirm that labels and markings are present and readable.
- Open the door and look at cable routing, terminations, and clearances.
A simple visual table:
| Area | What to Look For |
|---|---|
| Exterior | Rust, cracks, loose hardware |
| Door | Smooth movement, seal condition |
| Interior | Neat wiring, no exposed copper |
| Labels | Clear ratings and identification |
Electrical safety checks
Depending on local practice and equipment, checks can include:
- Ground continuity tests
- Insulation resistance tests
- Voltage verification after energising
These tests confirm that protective paths are intact and that the system behaves as expected when powered.
Utility inspection and approval
The utility inspector will often focus on:
- Placement, height, and access
- Matching of box and meter to approved types
- Sealing and tamper resistance
- General workmanship and safety
If something does not match their rules, they may require changes before connecting or leaving the meter in service.
When I mentally walk through an inspection, I focus on what would make an inspector uncomfortable, because anything that raises a small doubt in their mind can easily become a request for rework or extra documentation.
After we understand how installations are checked, it becomes easier to see patterns in common mistakes and learn how to avoid them from the start.
Common Installation Mistakes and How to Avoid Them
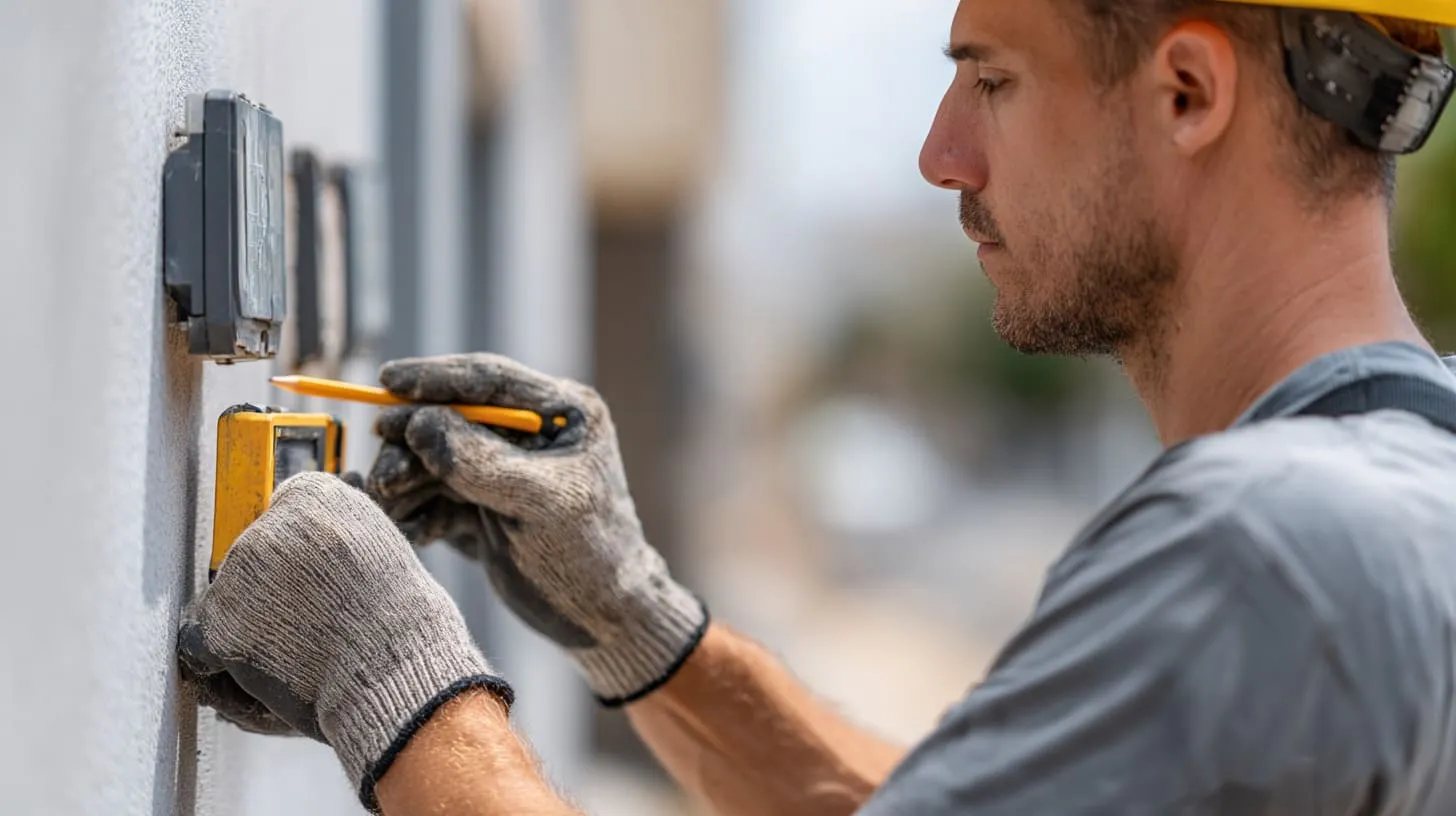
Over the years, I have seen similar mistakes appear in different countries, with different teams, and different brands of enclosures. Human habits are surprisingly consistent.
Code compliance errors
Some frequent issues:
- Meter center too high or too low compared to local rules
- Not enough clearance in front of the meter for safe working space
- Wrong type of enclosure for the environment or rating required
These are often not “technical” skill problems, but planning and communication problems.
Material and enclosure selection issues
Common problems:
- Indoor-rated boxes used outdoors without extra protection
- Steel boxes installed in coastal or chemical environments with poor coating
- Plastic boxes placed where heavy impact from equipment is likely
Short comparison of typical risk:
| Wrong Choice Example | Likely Result |
|---|---|
| Indoor box used outdoors | Water ingress, UV damage |
| Thin steel near salty coastline | Rust, weakened structure |
| Plastic box in forklift traffic zone | Impact damage, cracks |
Communication gaps with utilities or suppliers
As a factory owner, I see many issues that start with unclear communication:
- Utility requirements not shared with the enclosure supplier
- Drawings that lack dimension or rating details
- Late changes in project scope that do not reach all parties
These gaps lead to mismatched specifications, delays, and sometimes redesign costs.
When I analyse a failed or problematic installation, I usually trace the root cause back to an early decision that nobody challenged, because quiet assumptions about codes, materials, or responsibilities tend to create louder problems later.
Once we recognise these patterns, it becomes easier to decide when a standard meter box is enough and when a custom solution may actually save effort and cost.
When Should You Use a Custom Electric Meter Box?
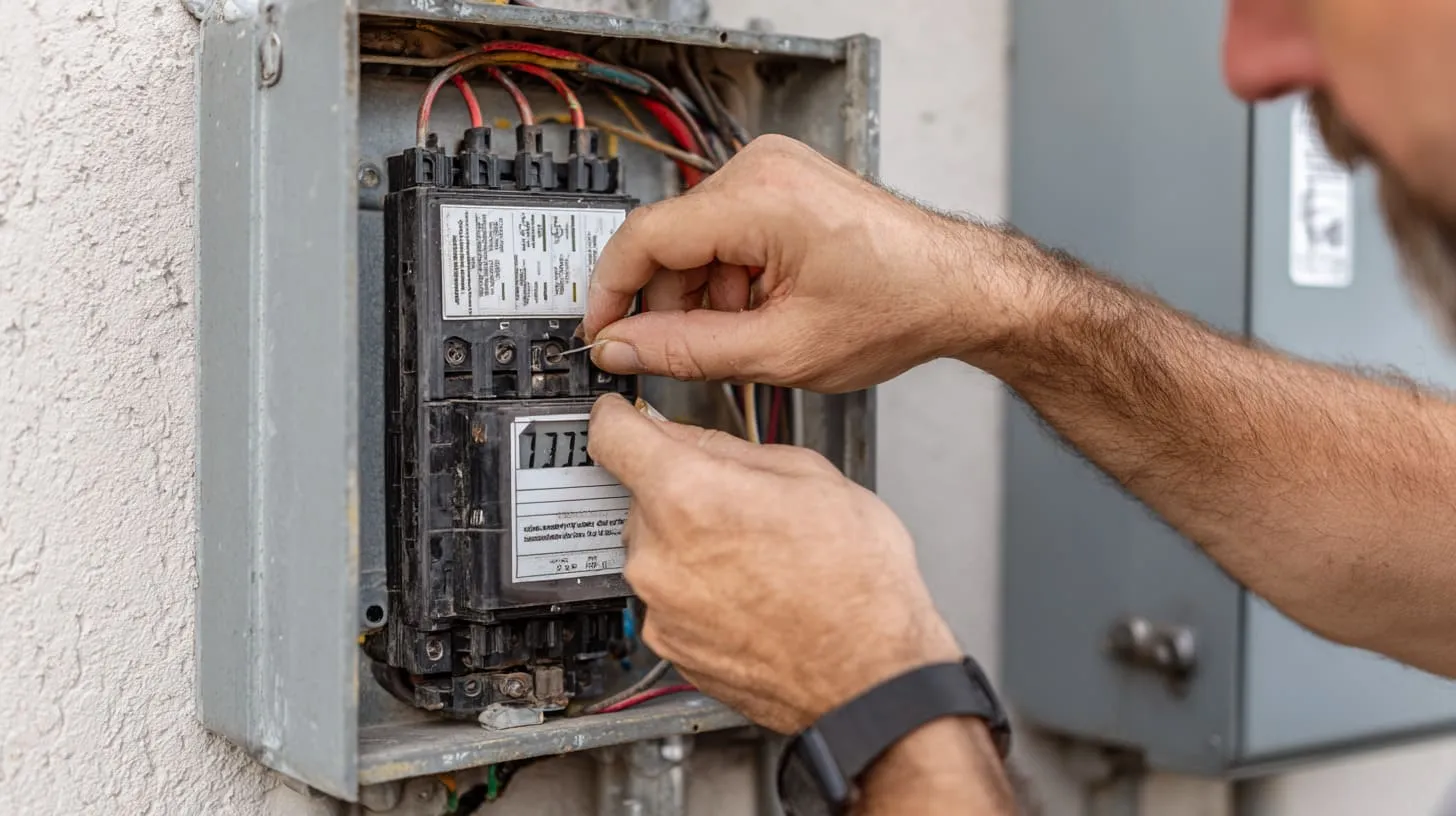
Not every project needs a custom meter box. Standard products exist for a reason. But in many OEM and industrial projects, my customers come to MaidaTech because standard boxes cannot solve a very specific problem.
Standard vs custom meter enclosures
Standard boxes work well when:
- The meter model is common and fixed
- The wall type and location are typical
- The environment is not extreme
Custom boxes make sense when:
- You need extra space for added components or special cabling
- You have unusual mounting conditions (for example, special frames or machinery)
- Branding and appearance matter for end users
Benefits of OEM and ODM solutions
From my side as a manufacturer, I see three strong reasons why customers choose custom:
Custom dimensions and cutouts
- Fit special meters, breakers, or communication modules
- Reduce on-site drilling and modification
Branding and labeling
- Company logo engraved or printed
- Clear, permanent labels for connections and warnings
Better integration with the whole system
- Internal mounting plates designed around the project’s layout
- Matching style with other enclosures or devices
Simple table:
| Benefit | Impact on Project |
|---|---|
| Custom size | Easier wiring, cleaner layout |
| Custom cutouts | Less on-site modification |
| Branding | Stronger product identity |
| Integrated design | Faster installation, fewer mistakes |
Working with a custom enclosure manufacturer
When customers like Davide or John come to us, we usually go through:
- Sharing 2D or 3D drawings (or even rough sketches at the beginning)
- Clarifying meter type, cable sizes, and mounting locations
- Agreeing on material (aluminum, steel, plastic) and finish
- Confirming IP/NEMA rating needs
- Discussing MOQ, delivery time, and packaging
The more clear the early discussion, the smoother the production and the installation later.
When I consider whether a project truly needs a custom meter box, I balance the cost of custom tooling against the hidden cost of field modifications, because paying the factory once is usually cheaper than paying installers to “fix” standard boxes on every job site.
Once you know when custom makes sense, it becomes much easier to decide where standard products are enough and where a tailored solution is worth the extra step.
Conclusion

Installing an electric meter box looks simple from the outside, but each step hides many decisions: codes, materials, location, mounting, wiring, sealing, and inspection. Over time, I learned that most problems do not come from complex technical rules. They come from small details that people skip because they seem boring or “standard.”
In my own work with MaidaTech, I pay close attention to three things:
Context before hardware
I start with where the box will live, who will read it, and which rules control it. I do this because a perfect enclosure drawing does not help if the inspector rejects the height, the location, or the type.Real-world durability, not just catalog ratings
I look at sun, rain, salt, dust, insects, and how people move around the box. I have seen beautiful metal work fail early because someone ignored a coastal environment or a dusty workshop. That is why I push for slightly stronger materials and better sealing where the risk is real.Communication as part of engineering
I see how quickly things go wrong when the utility, the installer, and the enclosure supplier do not share full information. I believe a simple call or a clear drawing early in the project saves more time than any “smart fix” on site.
So why do I write and think this way about meter boxes? Because I sit between two worlds: the factory that cuts, bends, and finishes metal and plastic, and the engineers and buyers who must deliver safe, on-time projects to their own customers. I have seen what works and what breaks under pressure, and I want my customers to avoid the “cheap now, expensive later” path.
If you are planning a project—whether you are a product engineer, an OEM buyer, or someone coordinating a new building—I invite you to treat the meter box as part of the system, not just a checkbox. And if you reach the point where standard enclosures cannot match your design or environment, you are welcome to talk with me and my team at MaidaTech. We can look at your drawings, discuss your meter and cable layout, and see whether a custom or semi-custom enclosure will make your installation safer, cleaner, and easier to maintain.
You do not have to solve all of this alone. Send me your design, your sketch, or even just your problem description, and we can think it through together—step by step, just like this guide.







