 Skip to content
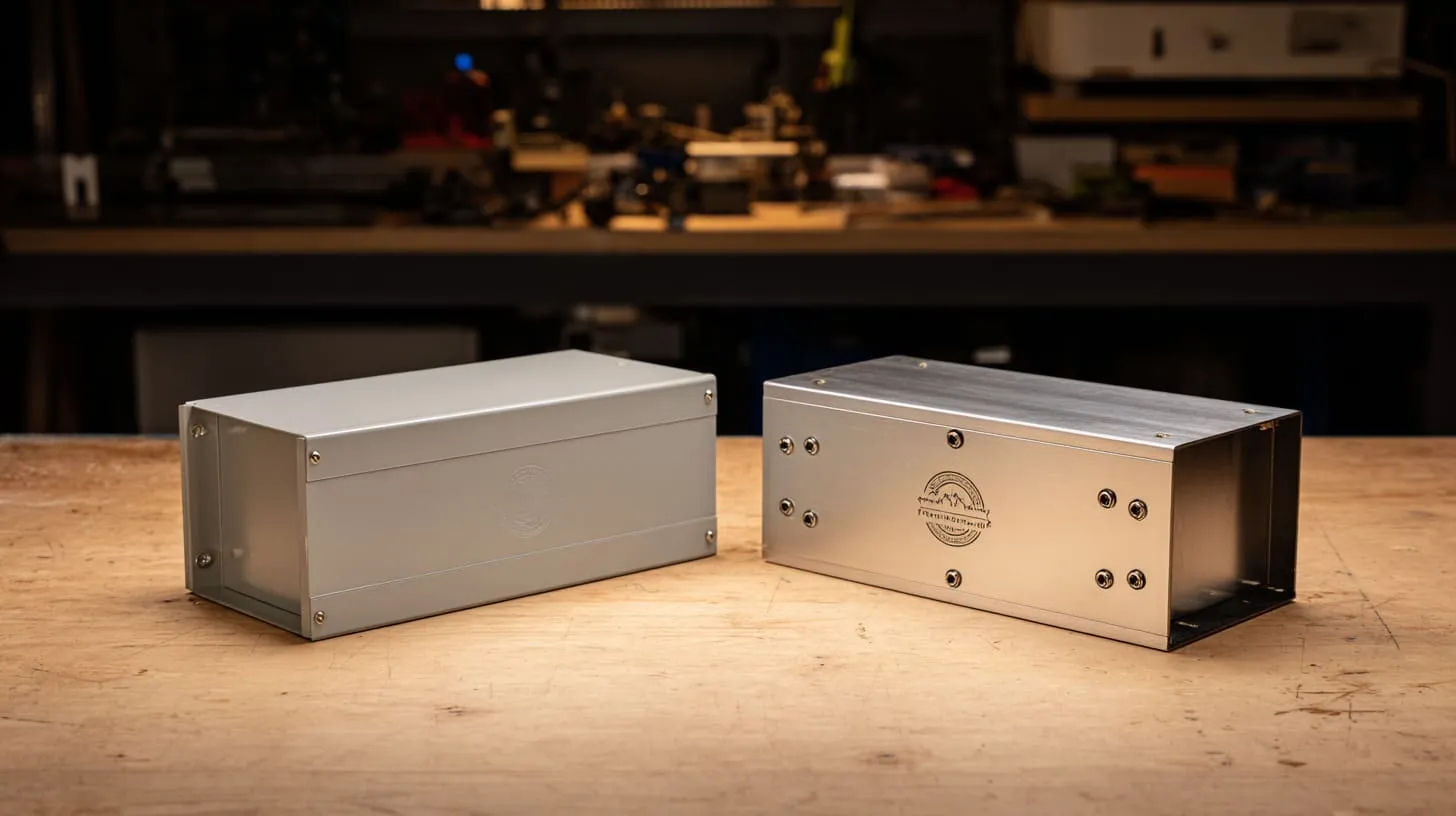
A client once showed up with a sleek, high‑tech device wrapped inside a plain, grey box. It worked flawlessly—but looked like something from the 90s. His question was simple: “Can you make the box look like us?”
That’s when it hit me. The enclosure isn’t just protection—it’s identity. It’s what people see before they ever know what your product does.
In today’s B2B world, design doesn’t stop at the circuit board. Whether you sell on Amazon, showcase at trade fairs, or pitch to industrial clients, your enclosure can shape how customers perceive your brand. It’s silent branding—working 24/7 without saying a word.
This guide walks through the same process I use at MaidaTech to help companies move from anonymous shells to customized enclosures that feel like an extension of their brand.
1. Understanding your brand & product requirements
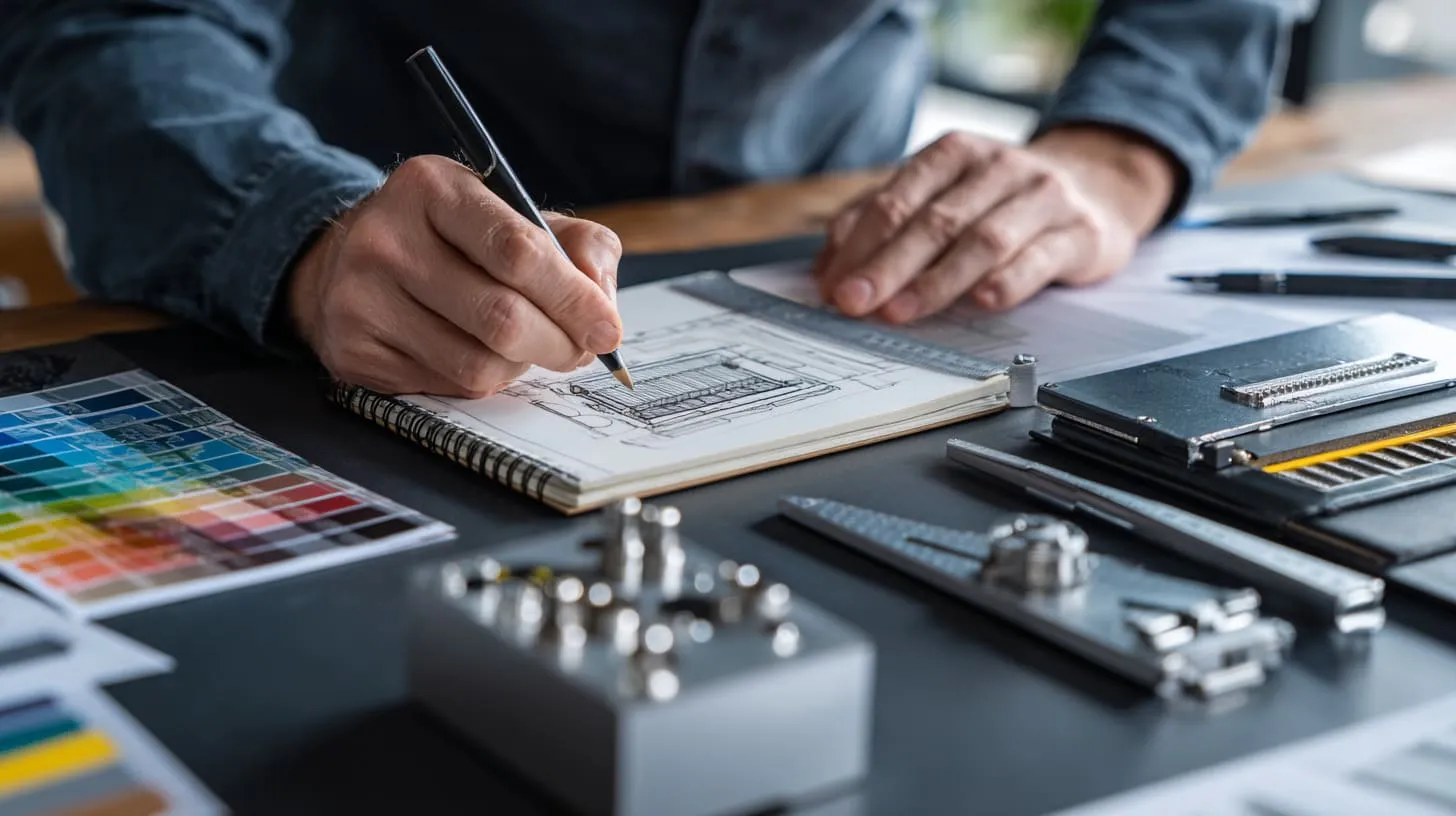
Before grabbing materials or opening CAD, start with clarity.
1.1 What does your brand identity demand from the enclosure?
Think beyond logos. If your brand is minimal, maybe a clean matte finish makes more sense than flashy chrome. If your brand is rugged, should the box feel rugged too?
I once worked with a client who made solar charge controllers for remote areas. They didn’t need sleek. They needed strong. Their logo? Just laser-etched. But the casing? Tough as a hiking boot.
Your enclosure is your brand’s first handshake.
1.2 What functional and environmental requirements does your product impose?
Is your product going outdoors? Near heat? Water? Dust?
Let’s break it down:
| Environment | Needs |
|---|---|
| Outdoor | Waterproof (IP65+), UV‑resistant |
| Industrial factories | Impact resistance, EMI shielding |
| Desktop electronics | Aesthetics, compact form |
These aren’t just technical checkboxes. They shape everything—from vent placement to thickness.
1.3 How to balance aesthetics vs. protection vs. cost?
This is the triangle every engineer wrestles with.
- Want it pretty? You might compromise on robustness.
- Want it super strong? It may not look as sleek.
- Want it cheap? You need to pick your battles.
The best projects I’ve worked on were the ones where clients clearly prioritized. Not everything has to be premium—but everything has to make sense.
When your client says, “This looks exactly how I imagined it,” that’s your sweet spot.
So what happens after you define your needs? You get technical.
2. Defining technical specifications
This is where your idea starts turning into dimensions, tolerances, and design files.
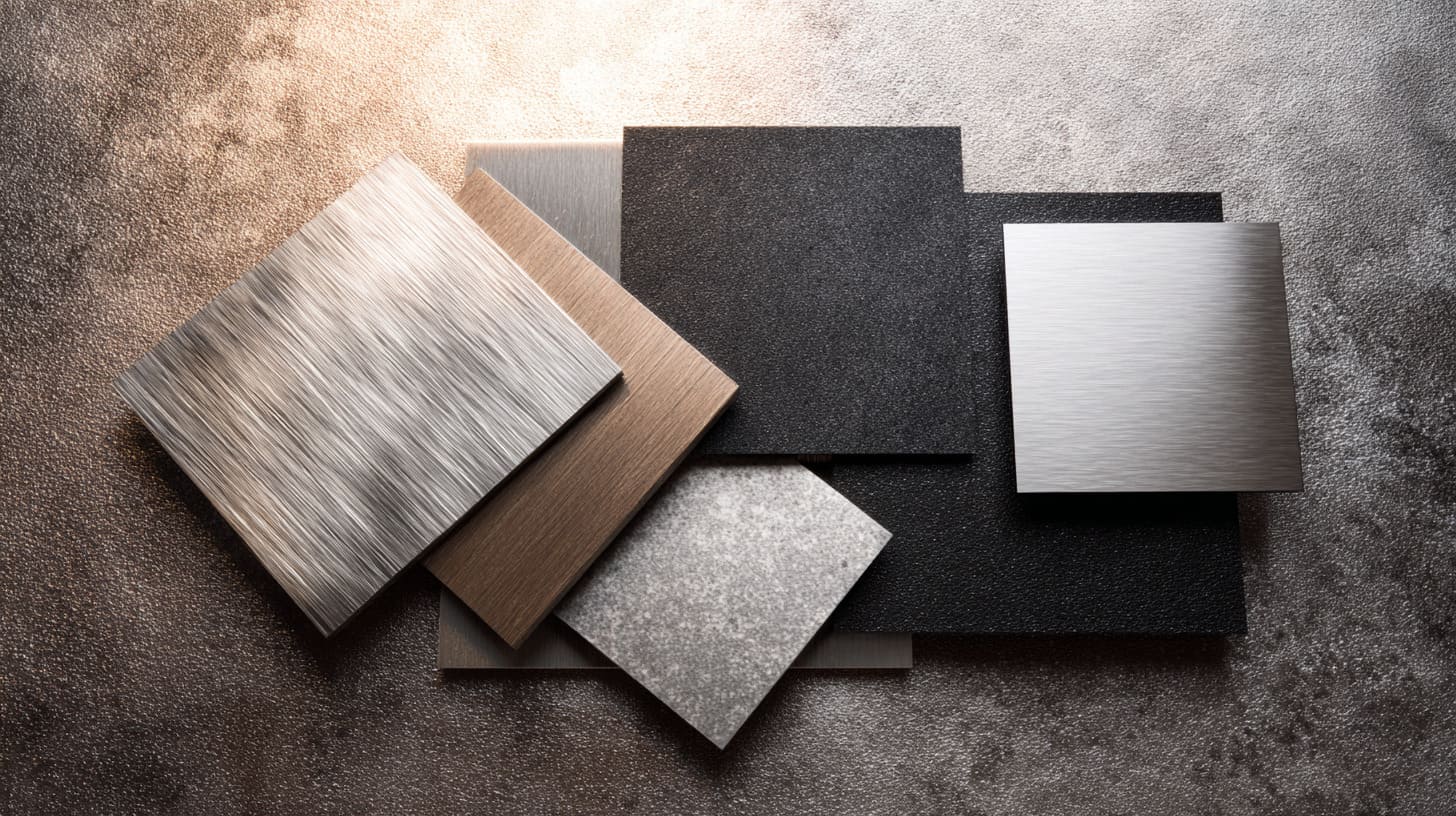
2.1 Choosing the right material (aluminum vs plastic vs steel)
Here’s a simple table I share with most clients:
| Material | Pros | Cons |
|---|---|---|
| Aluminum | Lightweight, corrosion-resistant, easy to machine | Higher cost than plastic |
| Plastic | Lightweight, cheaper, flexible shapes | Lower impact resistance |
| Steel | Strong, durable, good EMI shielding | Heavy, prone to rust |
Aluminum’s usually the go-to for most tech startups I work with. But don’t overlook plastic—especially for indoor, low‑heat products.
2.2 Determining size, mounting, cut‑outs and internal layout
Even 1mm off can ruin your assembly line.
Ask yourself:
- Where will the board mount?
- Do cables exit top, side, or bottom?
- Are the ports aligned with standard connectors?
Don’t leave this to guesswork—prototype it or 3D print a mock-up.
2.3 Ratings & certifications (e.g., NEMA, IP, UL) and what they mean
Some countries or buyers won’t even touch your product without seeing these.
| Rating | Meaning |
|---|---|
| IP67 | Dust‑tight, can handle immersion in water |
| NEMA 4 | Weatherproof, resists corrosion |
| UL | North American safety standard |
I once had a client lose a government contract just because the enclosure lacked a UL label. Learn from that.
2.4 Surface finish, colour, logo placement and brand‑marking options
Want anodized matte black? Or glossy white with a gold logo?
Options include:
- Anodizing (for aluminum): durable, colorfast
- Powder coating: good for steel
- Silk screen: cost-effective for branding
- Laser engraving: long-lasting, professional
Think of your product sitting next to a competitor’s on a trade show table. What makes yours stand out?
Now you’ve got your specs. Let’s talk about who’s making it.
3. Working with your manufacturer / factory
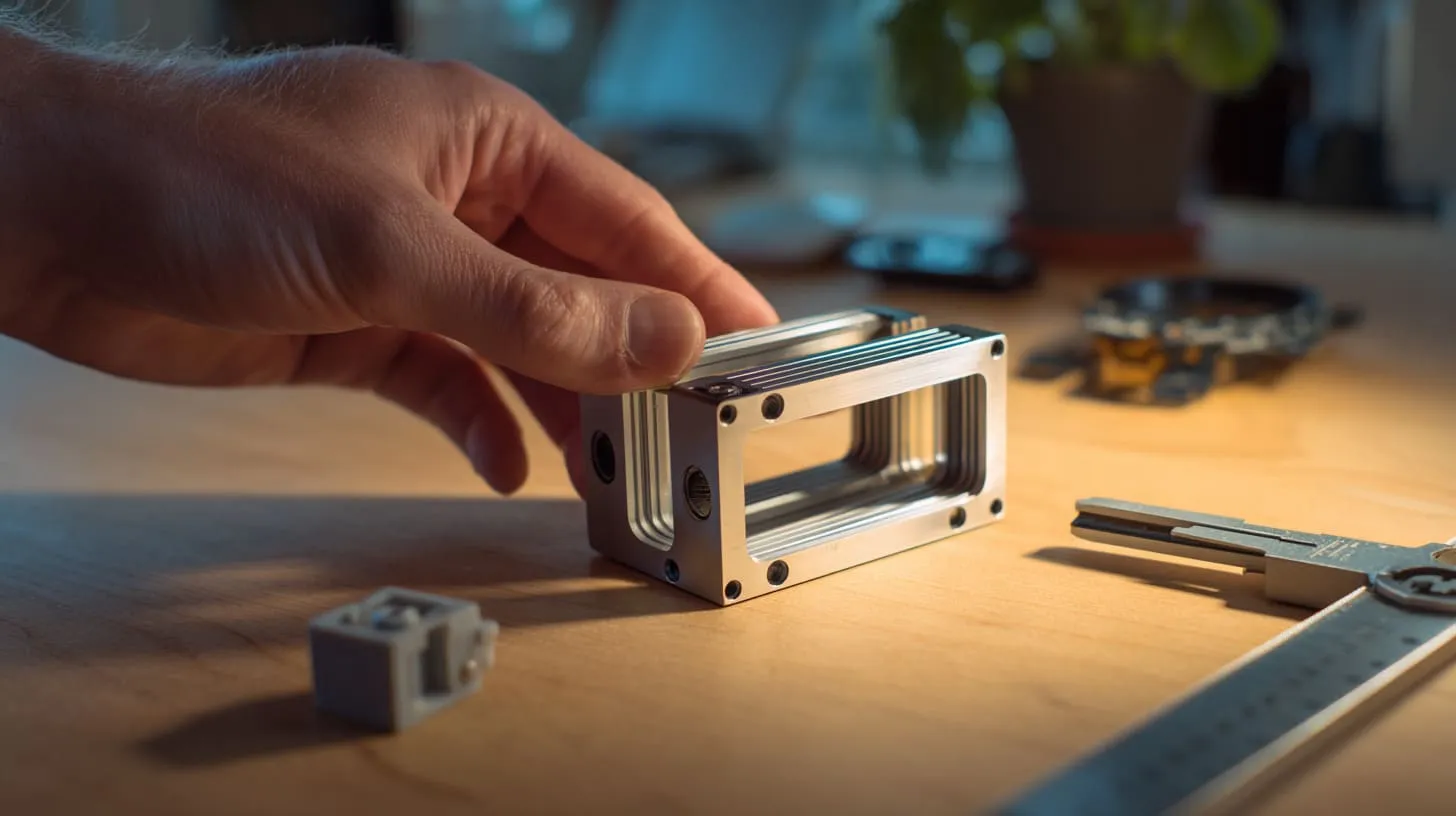
This part makes or breaks everything.
3.1 Preparing and sharing design files (drawings, CAD, samples)
If you’re working with us, here’s what helps:
- STEP or DWG files
- 2D drawing with dimensions
- Reference photos (if any)
- Logo in AI or SVG
Even a hand sketch helps more than nothing. Don’t wait to “perfect” your files.
3.2 How to evaluate and choose a factory (like MaidaTech) – what you should ask
Ask:
- Can they show you previous custom work?
- Do they support low MOQ for prototyping?
- Do they respond quickly?
- Can they adjust based on your feedback?
Don’t fall for just glossy websites. Real factories reply fast, ask smart questions, and guide you like a partner.
3.3 Communication, timelines, MOQ, tooling, prototypes
Here’s a snapshot of what’s typical:
| Item | Range / Standard |
|---|---|
| Prototype lead time | 5–10 working days |
| MOQ | 100–200 pcs (50 pcs if oversized) |
| Tooling (if needed) | $100–300 for simple changes |
| File confirmation | 1–2 days (if smooth communication) |
Factories like ours thrive on details. But we need your feedback to avoid mistakes.
So how do we start testing?
4. Prototype and iteration
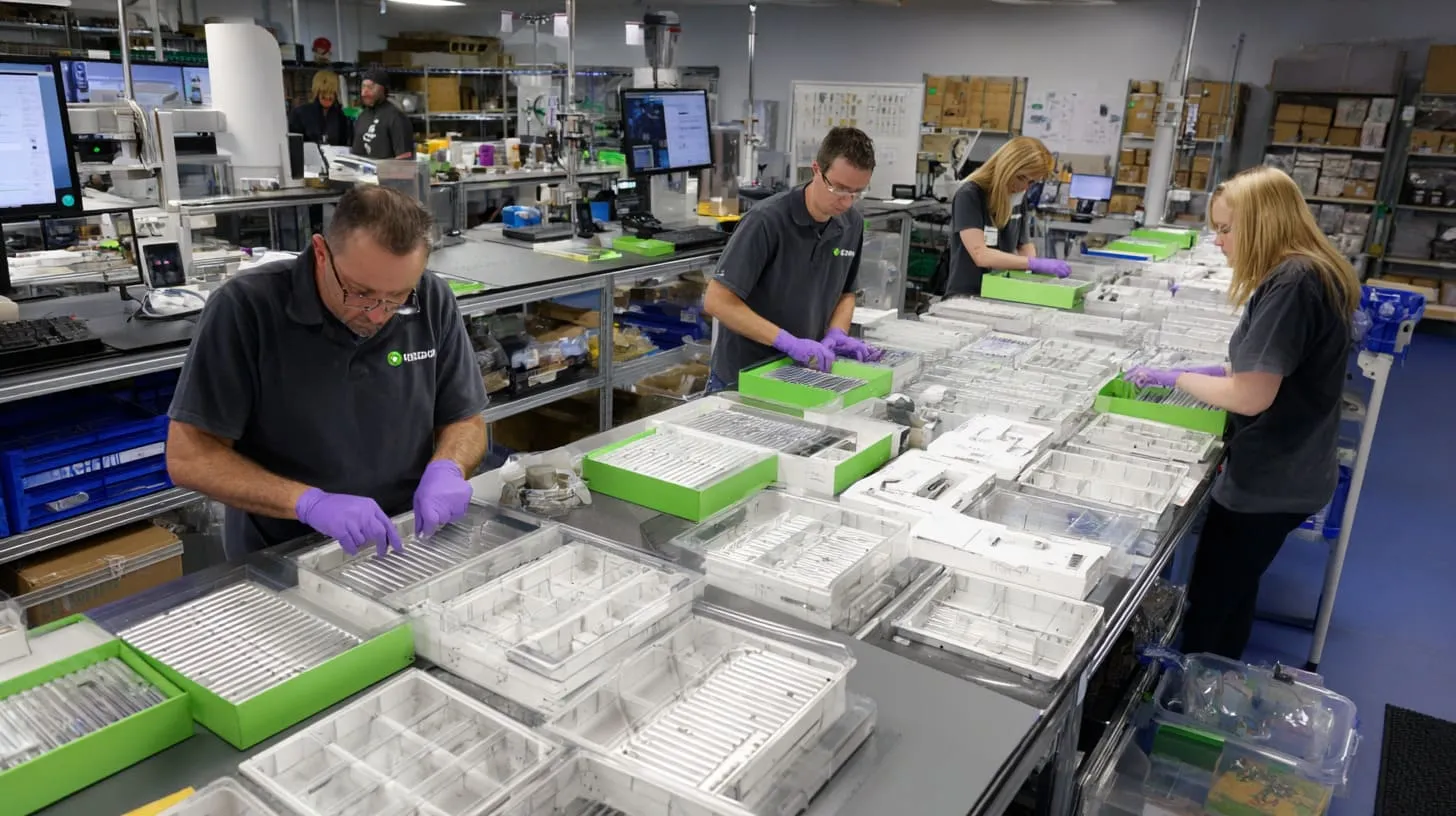
This is the “see it, touch it, test it” moment.
4.1 Why a prototype matters – checking fit, function, brand look
One time, a client’s logo was too small to engrave clearly. We caught it only during the prototype. Imagine if we went straight to bulk.
Hold it in your hand. Mount the board. Plug the cable. See how it feels.
4.2 How to review the prototype – what to inspect (fit, finish, branding, tolerances)
Use this checklist:
- ✅ Fit and alignment
- ✅ Branding placement
- ✅ Color accuracy
- ✅ Surface quality
- ✅ Screw holes line up
- ✅ Ports are accessible
If something’s off, don’t sugarcoat. Your final version depends on honest feedback.
4.3 Iteration cycle: feedback → adjustment → sign‑off
Most clients I’ve worked with need 1–2 rounds.
Just make sure:
- You’re clear in your comments.
- You approve via email.
- You confirm small details (logo thickness, font size, etc.)
From here, it’s go time.
5. Production and customization options
5.1 Bulk production vs small runs – what works for your business model?
Davide runs 5 product lines. He orders in batches of 300. John, who’s more project-based, only needs 50 at a time.
Both work. But your factory must adapt.
Talk to us early if you want mixed SKUs, different colors, or alternate ports.
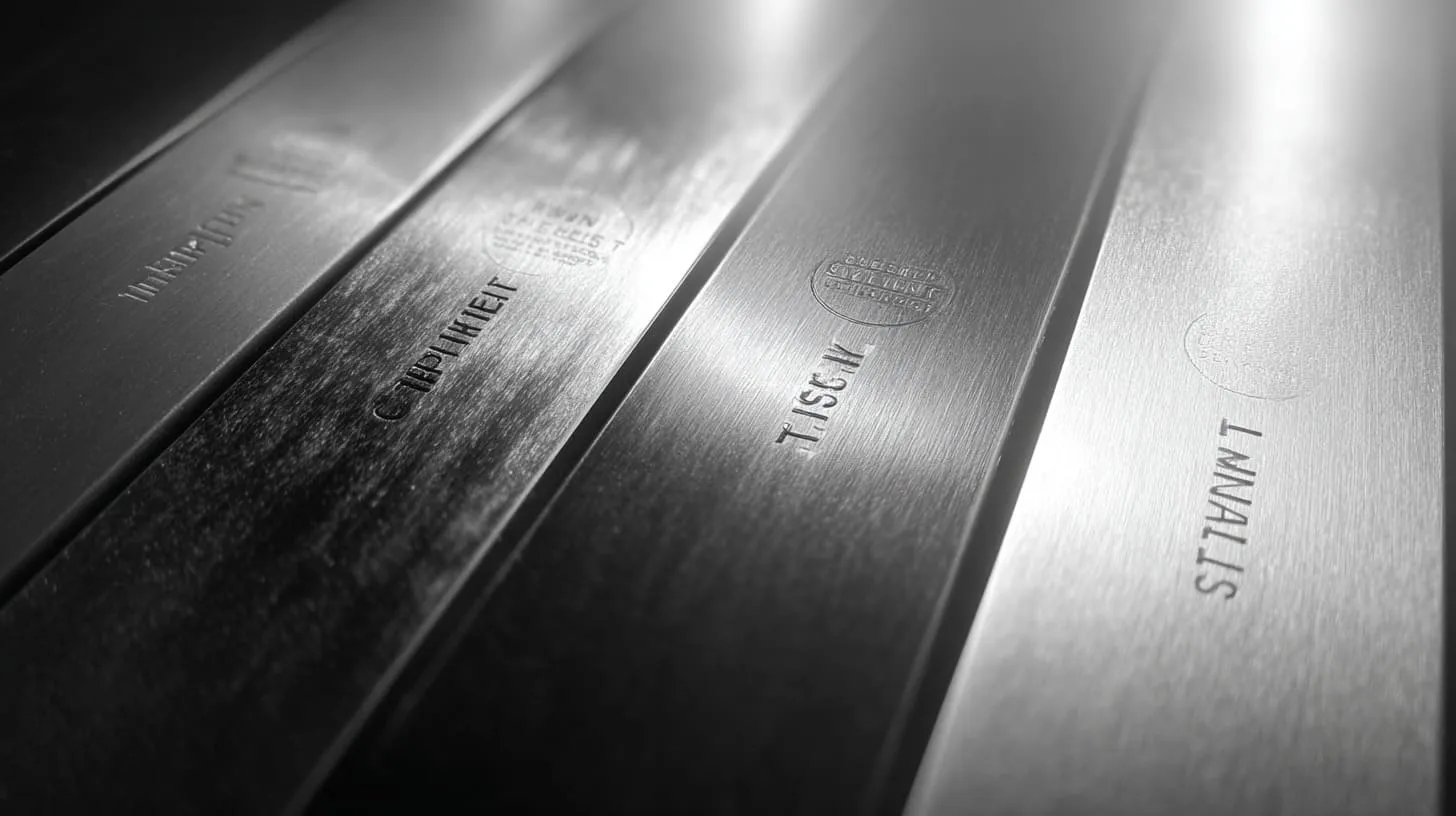
5.2 Logo/brand printing or engraving – methods, costs, durability
| Method | Durability | Cost | Notes |
|---|---|---|---|
| Laser Engrave | ★★★★☆ | 0.5$$ | Clean and sharp |
| Silk Screen | ★★★☆☆ | 0.3$~1$ | Colors may fade over time |
| UV Print | ★★★★☆ | 0.5$$$ | High-res, full color |
Choose what fits your brand. Rugged device? Go for engrave. Need visual pop? Try UV.
5.3 Custom packaging, re‑design options, accessories and value‑adds
You’d be surprised how many buyers choose based on unboxing.
We offer:
- Custom foam inserts
- White-label boxes
- Rebranding service (logo, barcode, label)
- Matching screws, gaskets, stickers
It’s not just packaging—it’s part of your brand.
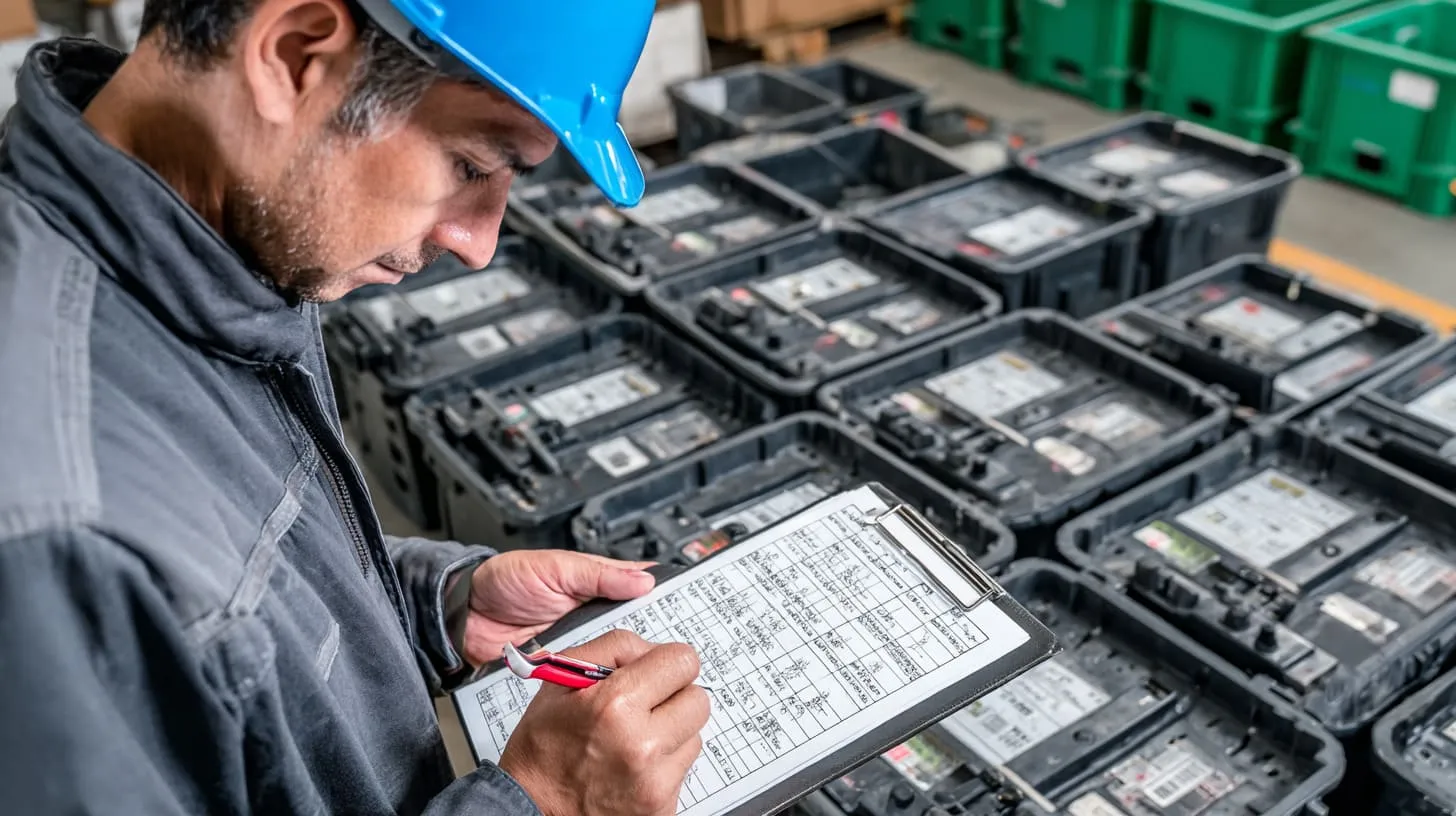
5.4 Quality control, factory inspection, shipping & delivery considerations
Ask your factory how they:
- Test dimensions (with calipers or QC jigs)
- Handle rejected parts
- Package each unit
- Plan for express vs ocean shipping
We once saved a client’s deadline by spotting a threading issue during pre-shipment QC.
After all this, what’s next?
6. Deployment and after‑sales considerations
6.1 How the custom enclosure enhances your product marketing and sales
It’s not just a case. It’s a silent salesperson.
- Make your booth look premium
- Match your product brochures
- Build trust on first glance
I’ve seen customers come back just because “that box looked serious.”
6.2 Managing spare parts, revisions, and version control of your enclosure
Store your design files.
Track:
- Version codes
- Last order quantity
- Any updates
This saves you when a team member changes or a client asks for a reorder 9 months later.
6.3 Handling customer feedback and continuous improvement
Every version teaches you something.
Maybe next batch:
- You add a locking tab.
- You round off that sharp edge.
- You reduce weight for shipping.
We love when clients treat us like long-term partners—not one-off vendors.
Conclusion
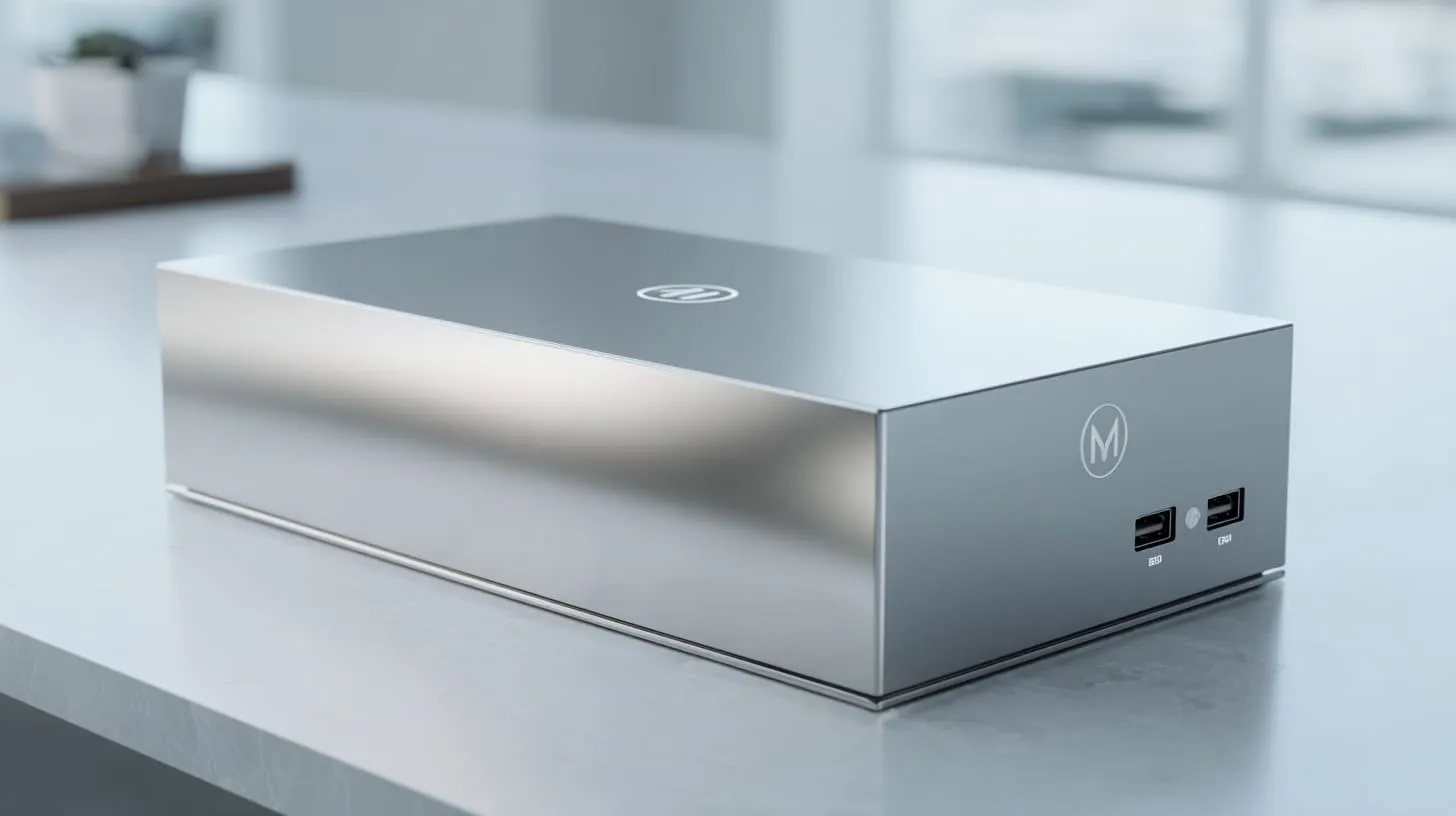
It all starts with a box. But a custom enclosure? That’s not just metal or plastic. It’s a vessel for your brand.
I’ve walked with clients from napkin sketch to shelf-ready product. The journey takes patience, details, and a bit of creativity—but it’s worth it.
So if you're tired of generic and ready to build something that feels like yours, let’s chat.
📧 info@maidatech.com
🌐 maidatechenclosure.com
Your brand deserves more than a blank box.







