 Skip to content
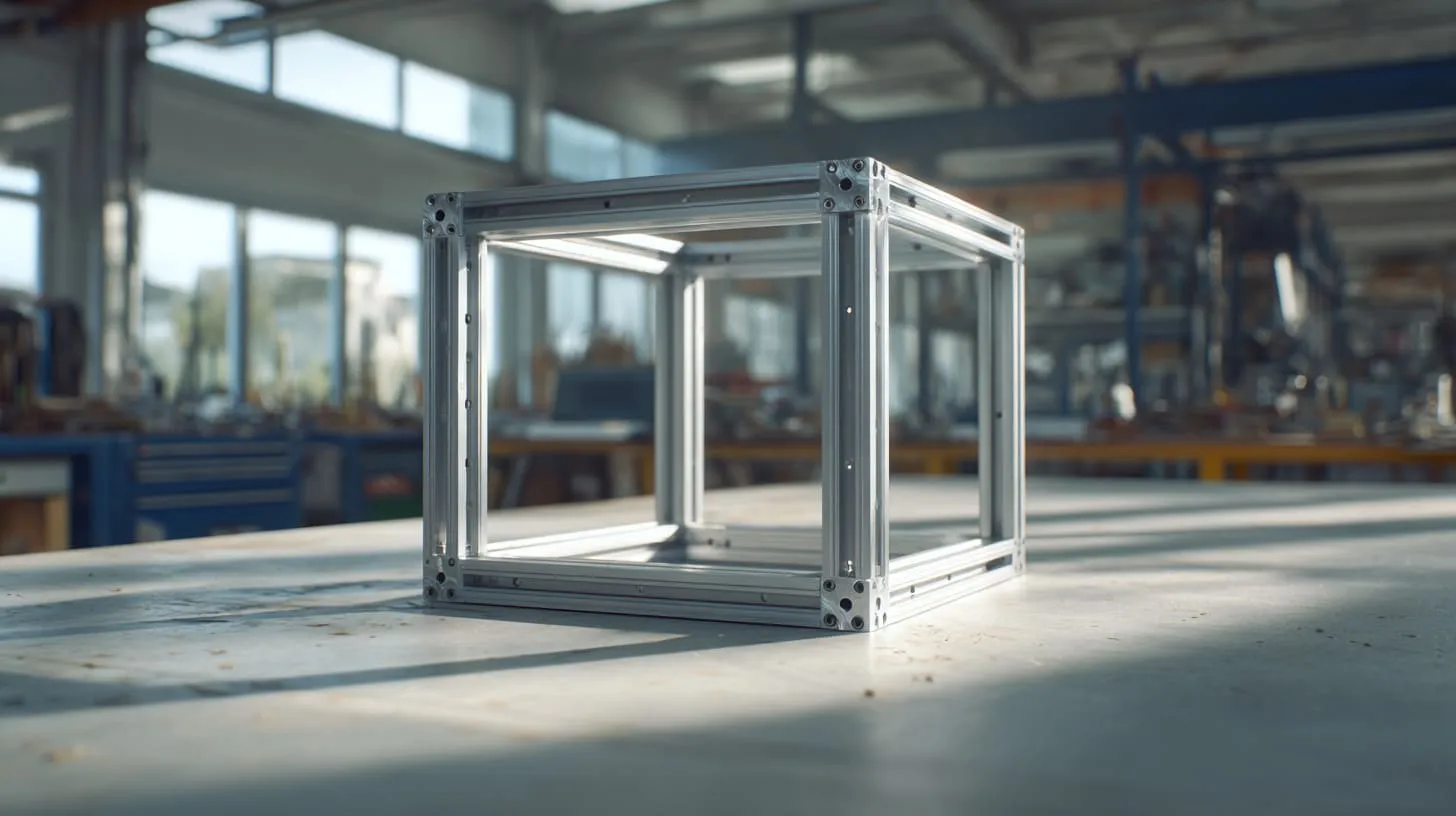
Sometimes, what looks like a simple metal frame on the table ends up solving problems far beyond its shape.
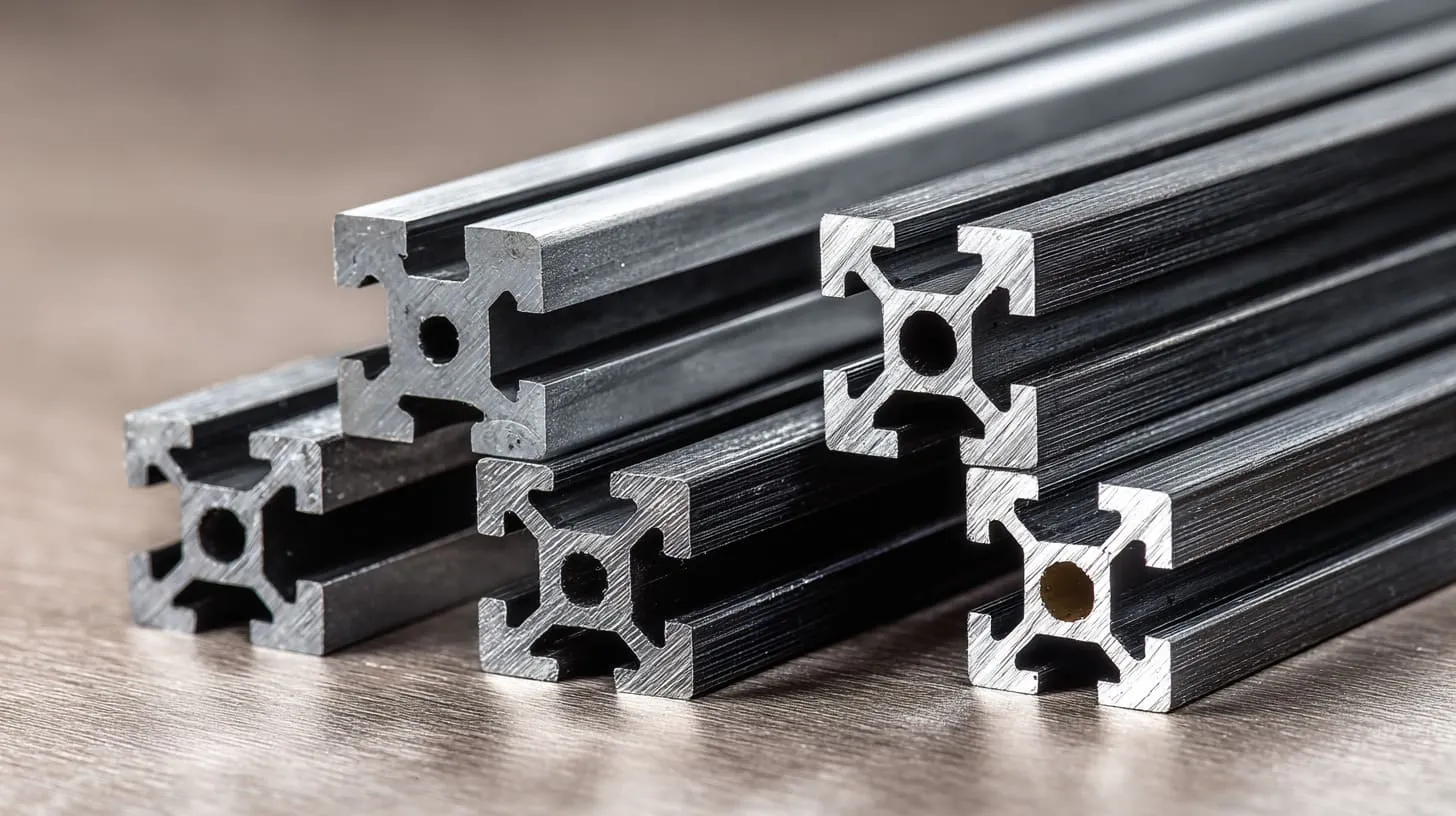
That’s what makes extruded aluminum frame enclosures so powerful. They're built using T-slot profiles—those neat, grooved aluminum bars that snap together like a grown-up version of LEGO. But the real magic isn’t just in the metal. It’s in what these structures allow you to do.
Whether you’re prototyping electronics, building modular cabinets, or enclosing machinery on a production line, this approach gives you something precious—control and flexibility. And when you're dealing with evolving product designs or tight timelines, that flexibility can save your project.
Here’s why I keep using aluminum frames:
- They’re strong, but not bulky
- Easy to cut, shape, and reassemble
- Clean and professional looking—clients like that
I’ve seen these frames used everywhere:
- Electronics and IoT boxes
- 3D printer enclosures
- Testing rigs and lab stations
- Control panels and kiosks
If you’re an engineer refining your prototype, a buyer sourcing better materials, or someone building for customers—this guide is written with you in mind.
Let me walk you through how to design, build, and improve these enclosures—based on real builds, not just theory.
Designing the Enclosure
Every enclosure problem starts the same way.
Someone sends me a drawing and says, “Can you just make a box?”
I always pause there. Because a box is never just a box.
Understanding Your Requirements
Before I touch aluminum profiles, I ask basic questions. Simple ones.
- What goes inside?
- Where will it live?
- What can go wrong?
A sealed enclosure is very different from one that needs airflow. Dust, heat, water, and noise all change the design.
I often sketch this table first:
| Requirement | Question to Ask | Design Impact |
|---|---|---|
| Environment | Indoor or outdoor? | Panel material, sealing |
| Heat | Passive or fan cooling? | Vents, fan mounts |
| Access | How often opened? | Doors vs removable panels |
| Weight | Wall mounted or floor standing? | Profile size |
Size also matters more than people expect.
Leave space. Always. Cables grow. Boards change. Future you will thank present you.
Once the needs are clear, profile selection becomes logical instead of emotional.
Choosing the Right Aluminum Extrusion Profiles
I see many beginners overbuild. Thick profiles. Heavy frames. High cost.
Profile size should match the job.
| Profile Size | Typical Use | My Take |
|---|---|---|
| 20×20 | Small electronics | Light and clean |
| 30×30 | Control boxes | Best balance |
| 40×40 | Machines, racks | Strong but bulky |
Finish also plays a role.
Anodized profiles look clean and resist scratches. Powder‑coated ones hide wear but cost more.
There is no perfect choice. Only trade‑offs.
Planning with CAD and Design Software
I never skip CAD. Even for small builds.
Software like Fusion 360 helps me catch problems early:
- Panel thickness conflicts
- Door swing issues
- Fan placement mistakes
A rough digital layout saves real money later.
And it makes supplier communication much easier.
Once the design feels right on screen, I move to the physical world.
Materials and Tools Needed
This is where theory meets fingerprints.
I’ve learned that missing one small part can stop an entire build.
Extruded Aluminum Profiles and Components
At minimum, you’ll need:
- Aluminum profiles cut to length
- Corner brackets or internal connectors
- T‑nuts and matching bolts
I prefer internal connectors when looks matter.
Corner brackets are faster and easier when time is tight.
Here’s how I usually decide:
| Connector Type | Speed | Strength | Appearance |
|---|---|---|---|
| Corner bracket | Fast | Medium | Industrial |
| Internal | Slower | High | Clean |
Panels and Wall Materials
Panels define how the enclosure feels.
| Material | Pros | Cons |
|---|---|---|
| Acrylic | Clear, light | Scratches easily |
| MDF | Cheap, easy | Not for moisture |
| Sheet metal | Strong | Heavy, needs tools |
| Polycarbonate | Tough | Higher cost |
I often mix materials. Clear front. Metal back. It works well.
Tools for Fabrication and Assembly
You don’t need a factory. But you do need basics:
- Tape measure and square
- Saw or cutting service
- Drill and tapping tools
- Allen keys
Good alignment tools save time. Bad tools create bad moods.
With parts ready, it’s time to build.
Step‑by‑Step Build Process
This is my favorite stage. Things finally stand up.
Preparing the Frame Members
I always check cuts first.
Even factory‑cut profiles can be slightly off.
- Confirm lengths
- Square the ends
- Clean the slots
If tapping is needed, go slow. Aluminum forgives mistakes, but threads do not.
Assembling the Frame
I start flat on the table.
- Build the base rectangle
- Add vertical uprights
- Close the top frame
I don’t fully tighten bolts at first.
I square everything, then lock it down.
This small habit prevents twisted frames later.
Installing Walls and Panels
Panels usually slide into T‑slots.
It feels easy. Until it doesn’t.
Tips I learned the hard way:
- Install panels before the last side closes
- Use rubber strips for vibration
- Check panel thickness twice
Small gaps are normal. Big gaps mean design issues.
Adding Doors and Access Points
Doors deserve respect.
A bad door ruins a good enclosure.
I choose:
- Hinged doors for daily access
- Removable panels for service only
Alignment matters. Test open and close before final tightening.
Cable and Ventilation Features
Cables always multiply.
I plan:
- Entry holes with grommets
- Fan airflow direction
- Basic IP needs
Here is a simple airflow check I use:
| Setup | Risk | Fix |
|---|---|---|
| No vent | Heat build‑up | Add fan |
| Fan only | Dust | Filter |
| Open slots | Water | Cover plate |
Once built, I step back and check strength.
Tips for Structural Integrity
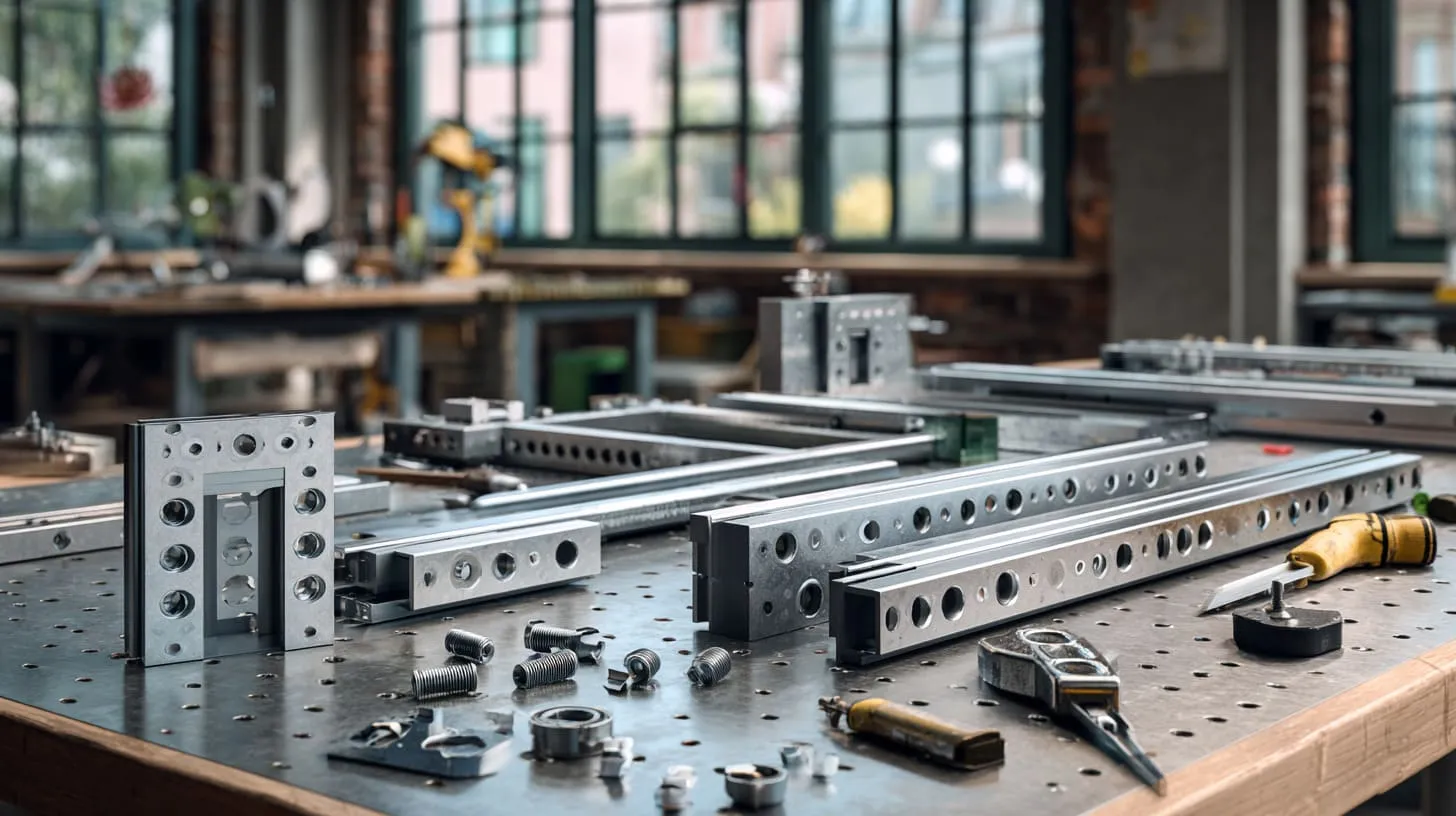
A frame can look solid and still fail.
Choosing the Right Profile Size
Long spans bend.
Heavy panels pull.
If the enclosure feels soft when pushed, it’s wrong.
Add:
- Thicker profiles
- Shorter spans
- Support beams
Ensuring Square and Rigid Frame
I measure diagonals. Every time.
If diagonals match, the frame is square.
If not, loosen and reset.
Leveling feet help more than people think.
Once structure is solid, function comes next.
Enhancing Functionality
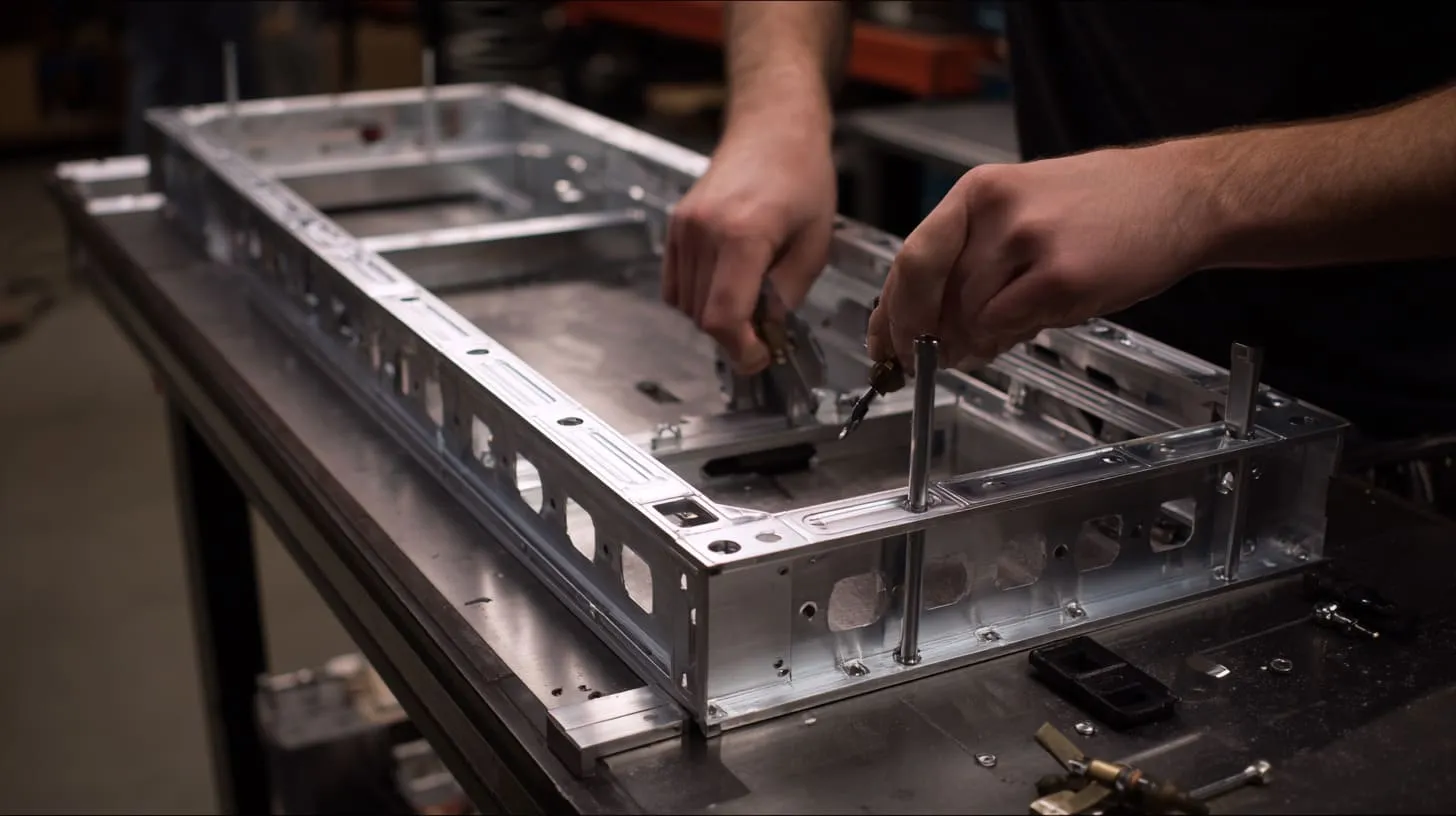
A good enclosure works.
A great one feels thoughtful.
Cable Management and Internal Mounts
Messy cables cause service pain.
I use:
- Cable clips
- DIN rails
- Mounting plates
Clean layouts save hours later.
Custom Accessories
Small parts improve user experience.
| Accessory | Benefit |
|---|---|
| Casters | Easy movement |
| Handles | Safe lifting |
| Locks | Security |
Finish and Aesthetics
End caps hide sharp edges.
Labels prevent mistakes.
These details don’t show in CAD.
But users feel them.
And then come the problems no one warns you about.
Troubleshooting Common Issues
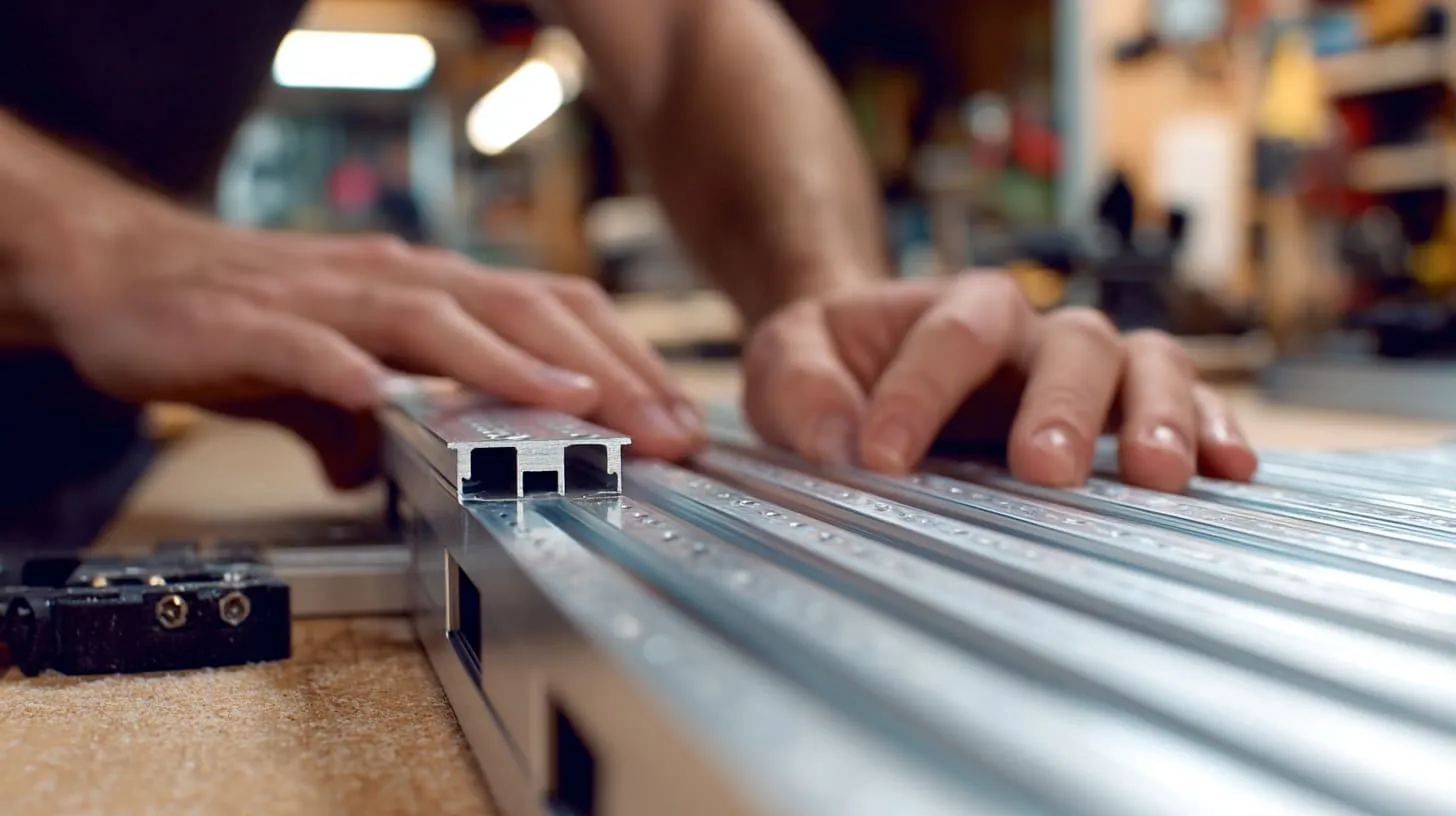
I’ve seen all of these.
- Frame not square
- Bolts loosening over time
- Panel rattling
Most fixes are simple:
- Retighten
- Add washers
- Improve alignment
The trick is patience.
Safety matters too.
Safety Considerations
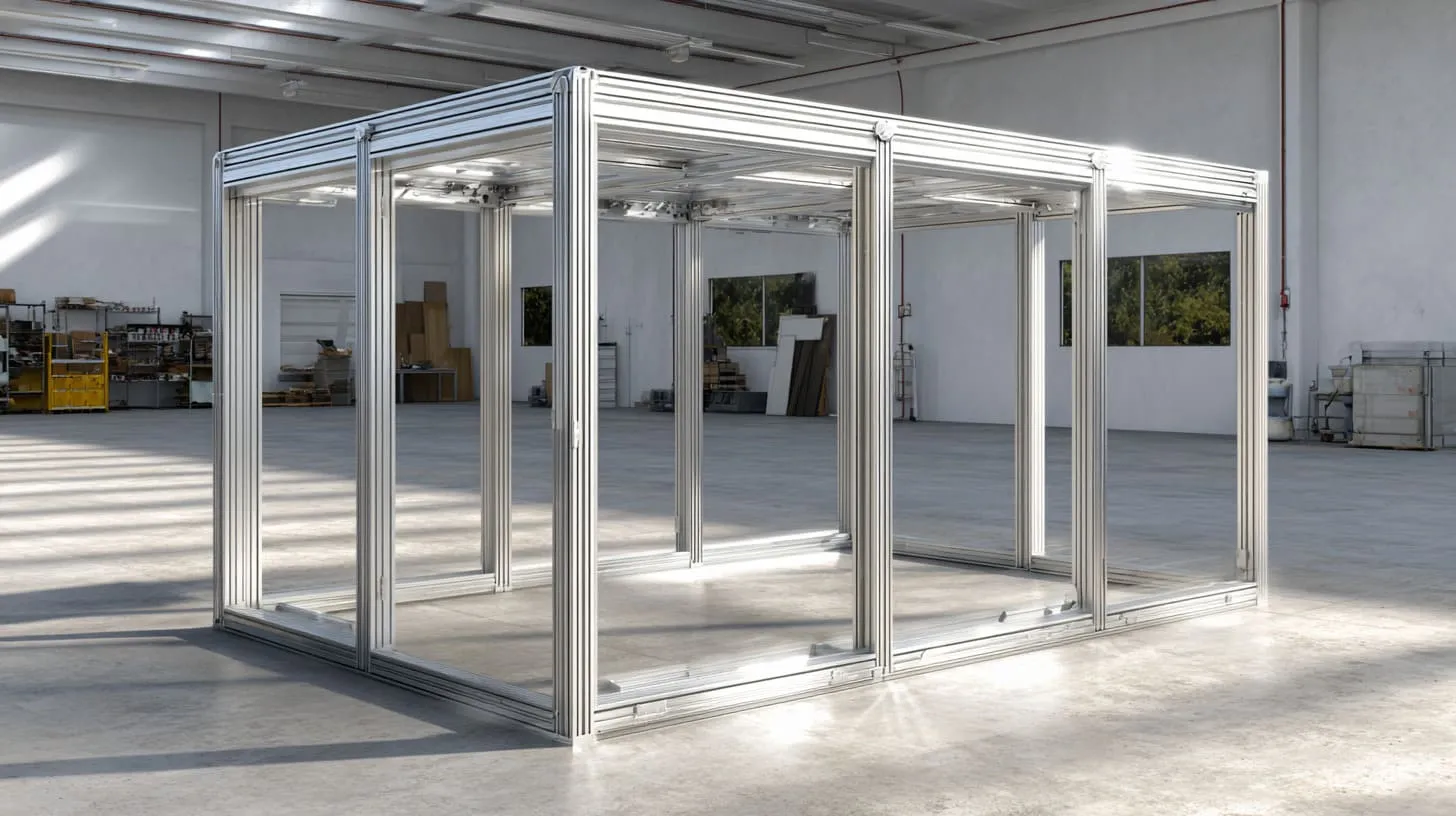
I’ve cut myself enough to respect this.
Always:
- Wear eye protection
- Use gloves when cutting
- Secure workpieces
Aluminum edges are sharp.
They don’t care about deadlines.
Finally, the question everyone asks.
Cost and Time Estimates
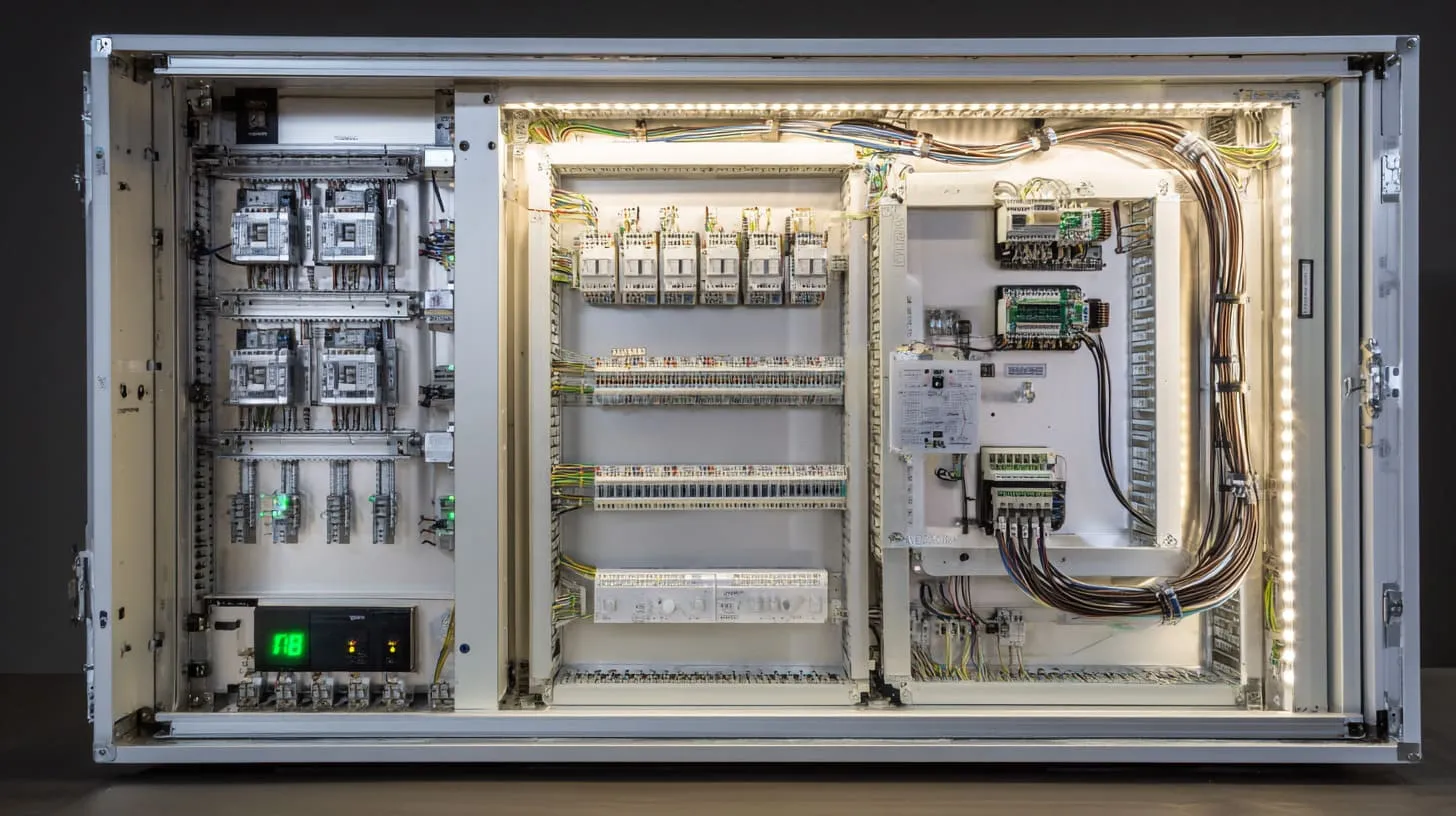
Costs vary fast.
| Item | Small Enclosure |
|---|---|
| Profiles | Medium |
| Panels | Low to medium |
| Hardware | Low |
| Time | 1–2 days |
Custom work costs more.
But it also fits better.
And that brings me to the end.
Conclusion
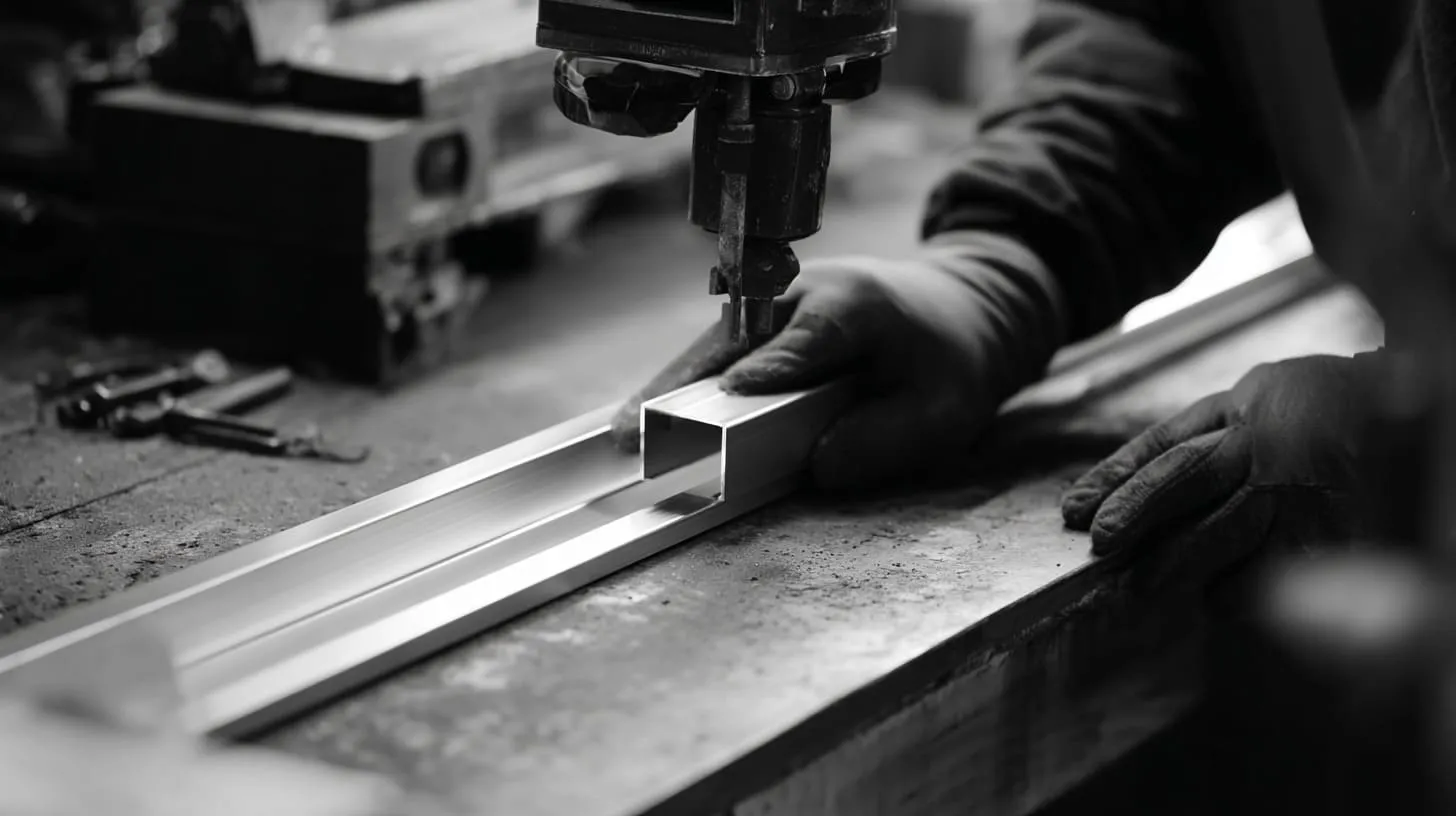
Building an enclosure with an extruded aluminum frame is not about metal.
It’s about thinking ahead.
Design first.
Choose profiles with reason.
Build slowly.
Adjust when needed.
I’ve used this method for years.
From prototypes to production.
If you take one thing from this guide, let it be this:
A flexible structure gives you freedom.
And in product design, freedom is everything.







