 Skip to content
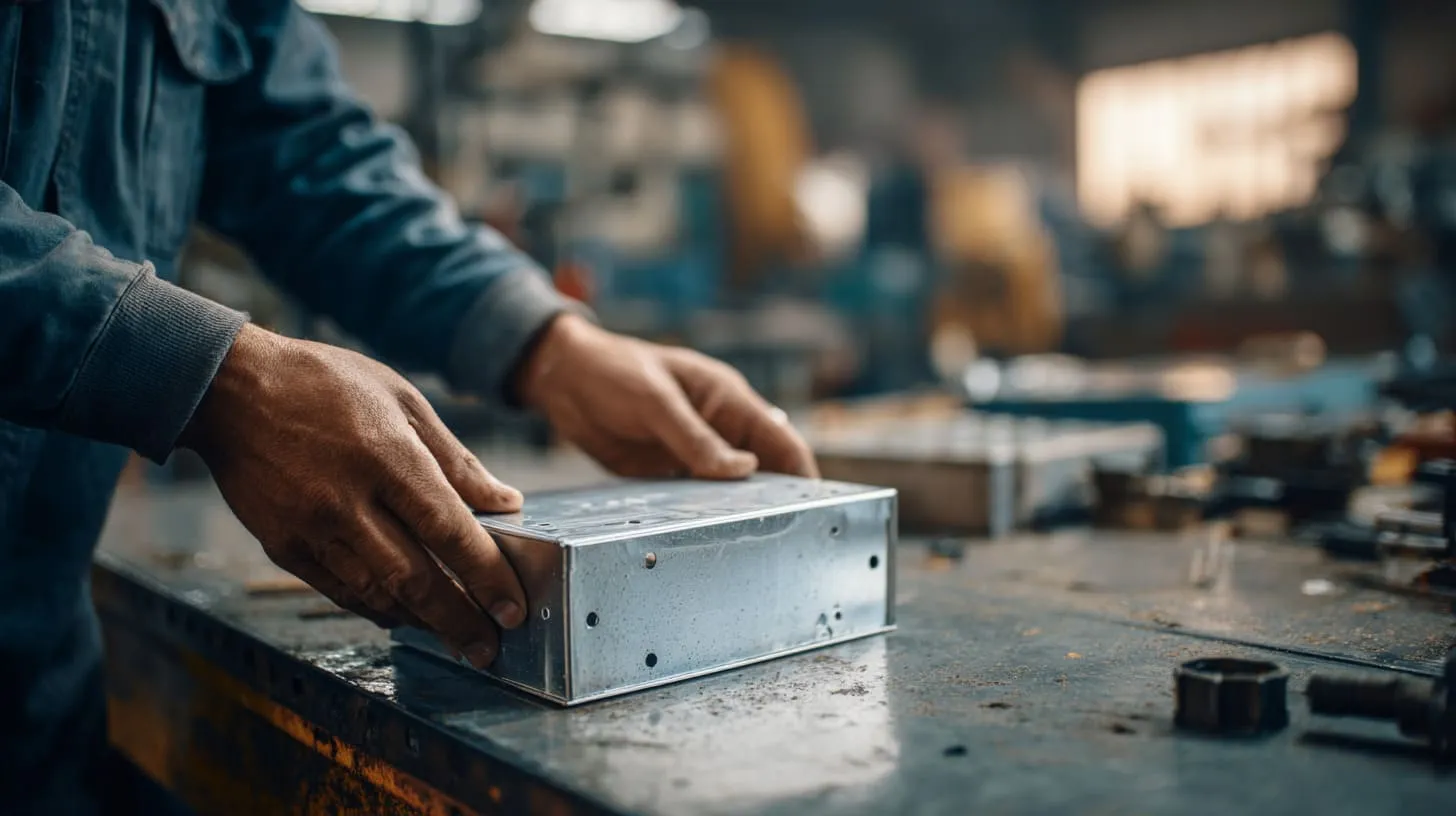
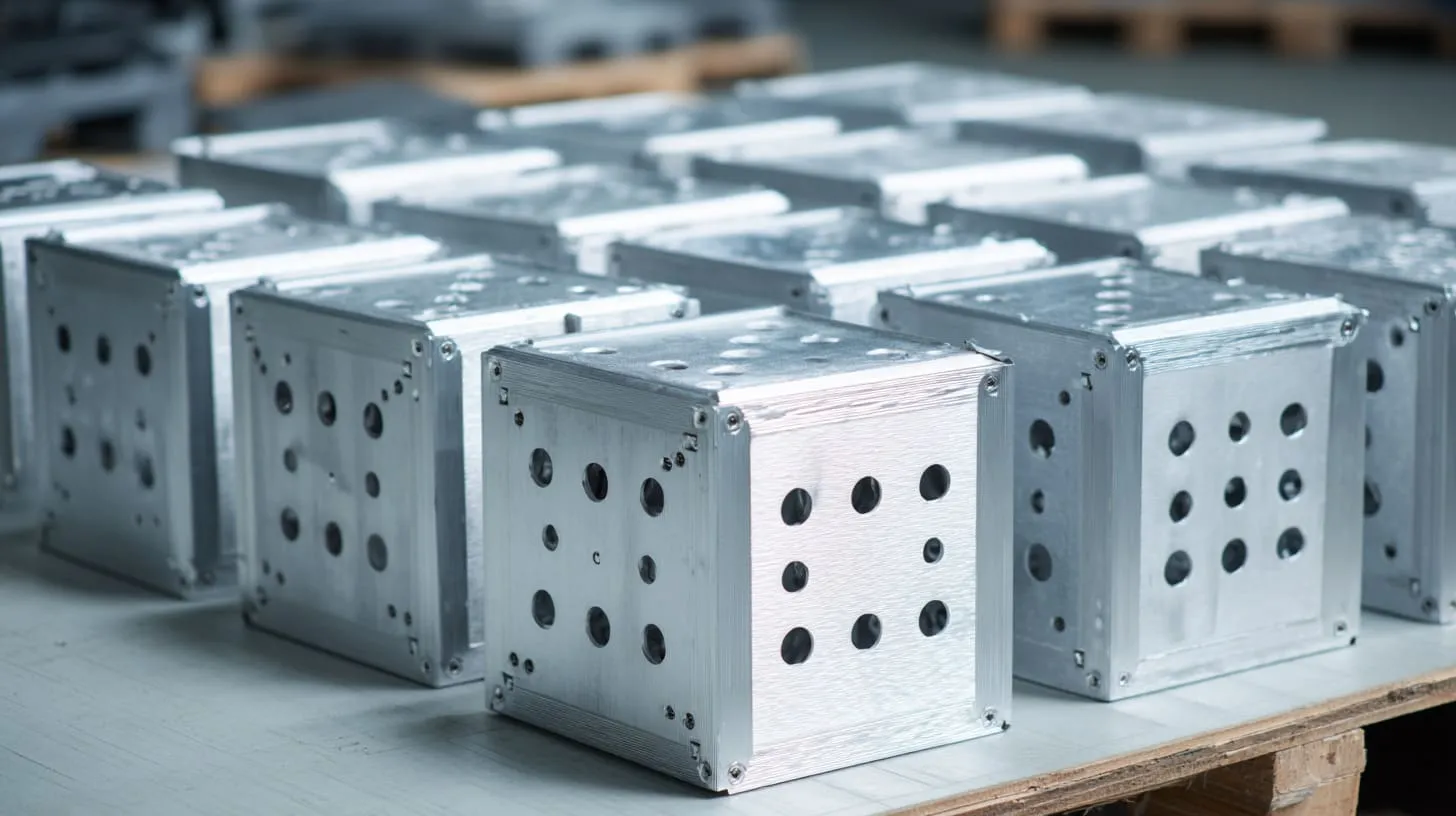
Every factory has its quiet troublemakers — things that seem small but end up stealing hours. For us, knockout removal used to be one of them. I was checking a batch of custom aluminum enclosures for a long-time client when one of the units caught my eye. The knockout looked rough around the edge, like someone had rushed through the job. No cracks, no obvious dents — but enough to make it fail their inspection.
That single flaw meant we had to redo part of the batch, delay the shipping, and make some uncomfortable calls. The customer wasn’t angry — not yet. But trust had been chipped, just like that aluminum rim.
It reminded me how a tiny operation like removing a knockout — something most people barely notice — can turn into a bottleneck if it’s done without care. It’s not just about punching a hole. It’s about control, precision, and understanding how that one move fits into the bigger system of your enclosure workflow.
In this post, I’ll walk you through what knockouts are, how to remove them properly, which tools actually help, and how we integrate knockout processing into our OEM and custom production lines to make things smoother — for you, and your clients.
What exactly is a knockout and its purpose
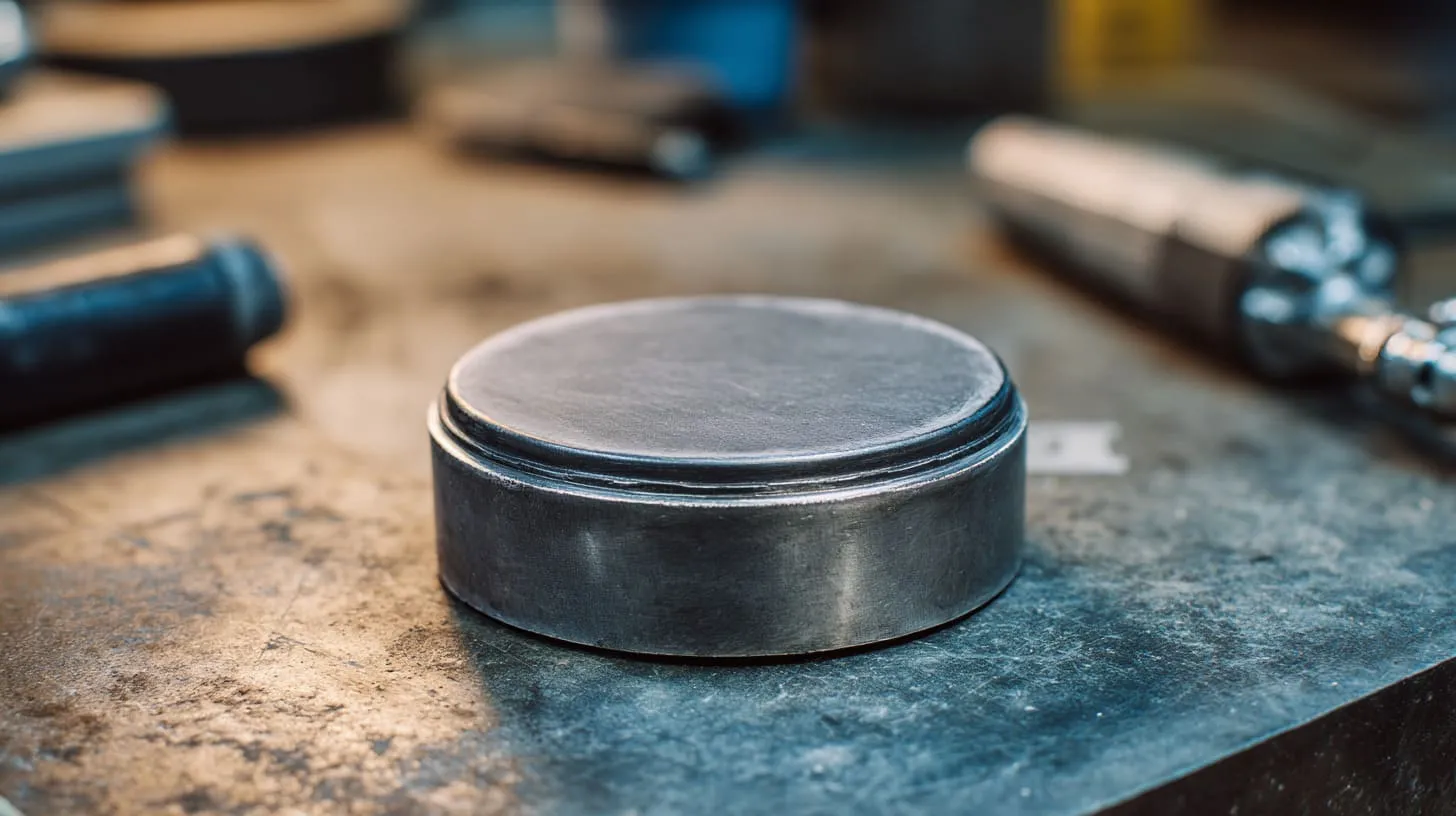
What is a knockout in an electrical enclosure?
A knockout is a small circular or shaped section on an enclosure wall. It looks solid at first, but it has thin scoring around it so you can pop it out. Think of it as a “breakaway door” for cables or conduit.
From the outside, it seems simple. But behind that simplicity are questions engineers like Jackson often ask me:
Will the knockout size match my conduit? Will removing it damage the surface? Will it break clean?
These questions matter because knockouts affect the structure and usability of the enclosure.
Why manufacturers include knockouts
Manufacturers add knockouts to give flexibility. An enclosure can be used in multiple ways without redesigning the mold or tooling. Installers choose when and where to open the cable entry.
It helps in these scenarios:
- Different cable sizes
- Different mounting orientations
- Multi-use enclosures
- Installers who need fast on-site adjustments
Typical materials and configurations of enclosures
Knockouts behave differently depending on the enclosure material. Here’s a simple table to show the difference:
| Material Type | Knockout Behavior | Notes |
|---|---|---|
| Metal (aluminum, steel) | Strong, may need tools to remove | Clean removal depends on scoring quality |
| Plastic (ABS, PC, PVC) | Breaks easier, risk of cracking if forced | Works best with steady pressure |
| Sheet metal | Can deform if hit too hard | Best removed with punch tools |
When I design knockouts for custom OEM enclosures at MaidaTech, I always consider the material because the customer’s use case decides how strong the scoring should be.
When you understand the material, the next thing you notice is how messy removal can affect the entire enclosure.
Let’s get into that.
Why proper knockout removal is critical for custom enclosures
Impact on enclosure integrity
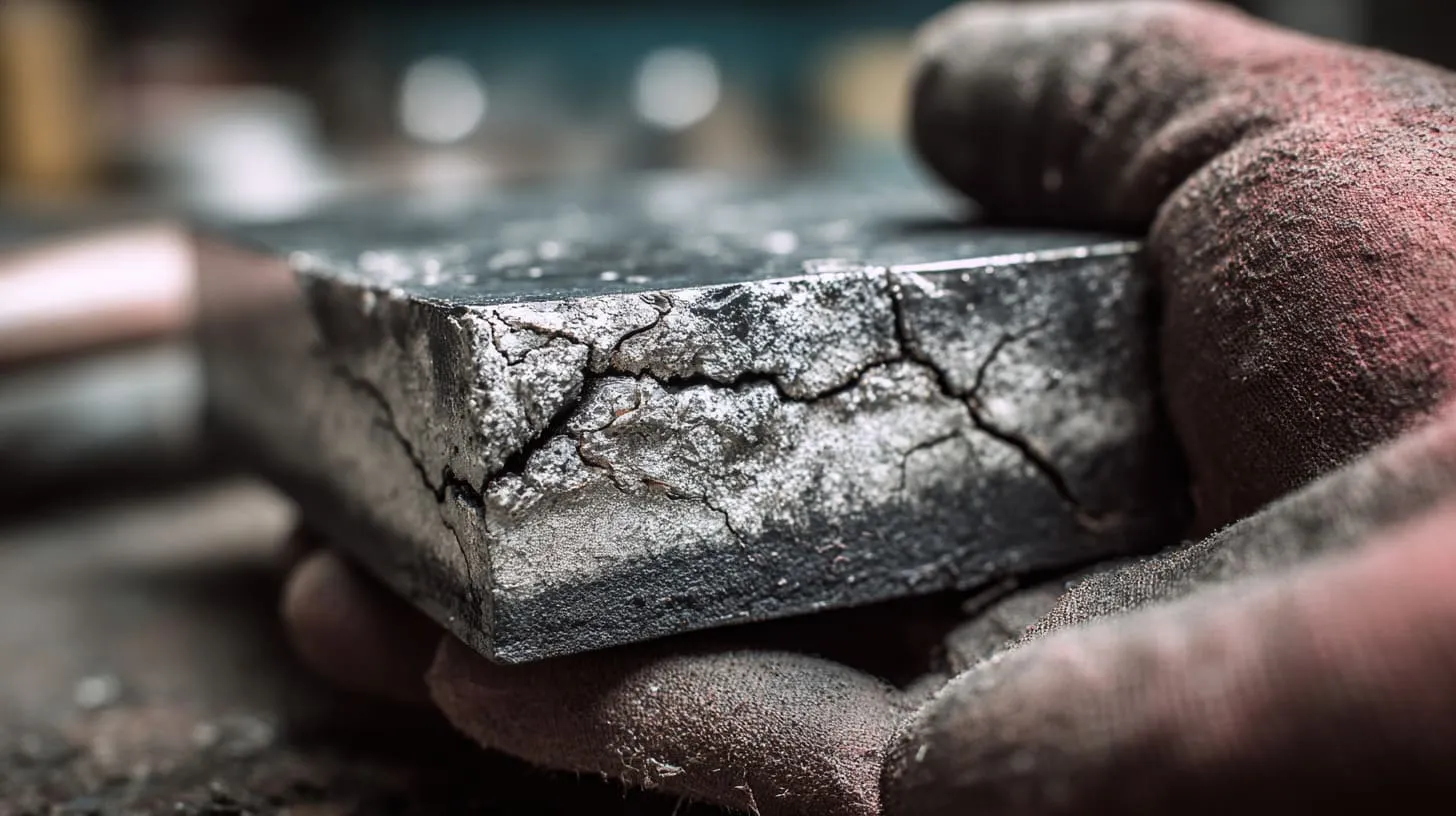
A knockout removed poorly can bend metal, break plastic, or create small fractures. I’ve seen installers accidentally crack low‑temperature ABS enclosures because they pressed too hard. Even in aluminum, too much hammer force can distort the wall around the hole.
Impact on project timelines and costs
If you’re like many of my OEM clients, you’re working with tight timelines. A single bad knockout can cause:
- Rework
- Delays in assembly
- Delays in shipping
- Increased scrap rate
When a buyer like John from Hungary orders a batch for his new project, he depends on consistency. Every bad knockout slows him down.
Quality and brand perception
Let me tell you — nothing destroys trust faster than a sharp, ugly conduit hole. Buyers notice. Retail customers notice. And yes, your engineering team notices.
Clean finish = professional.
Messy knockout = careless work.
Before we get our hands dirty removing anything, we need the right tools.
Tools & equipment you’ll need
Basic manual tools
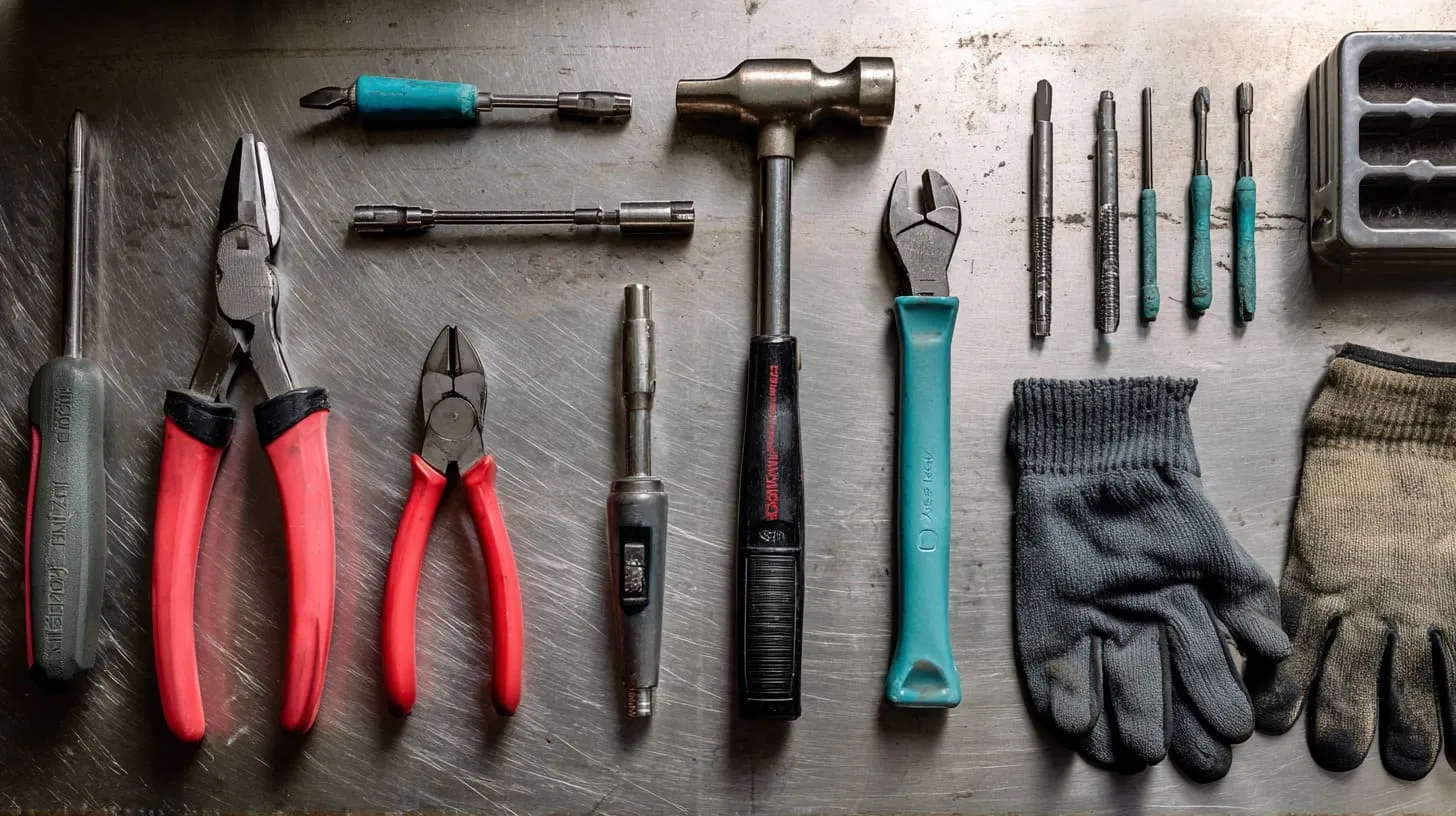
Sometimes the simplest tools get the job done:
- Screwdriver
- Pliers
- Hammer
These work well for pre‑scored knockouts on thin metal or sturdy plastic.
Specialized tools
For thicker or high-strength materials, I reach for:
- Knockout punch kit
- Hole saw
- Deburring tool
- Step drill bit
A knockout punch gives a clean, round finish that looks like it came straight from CNC.
Safety equipment
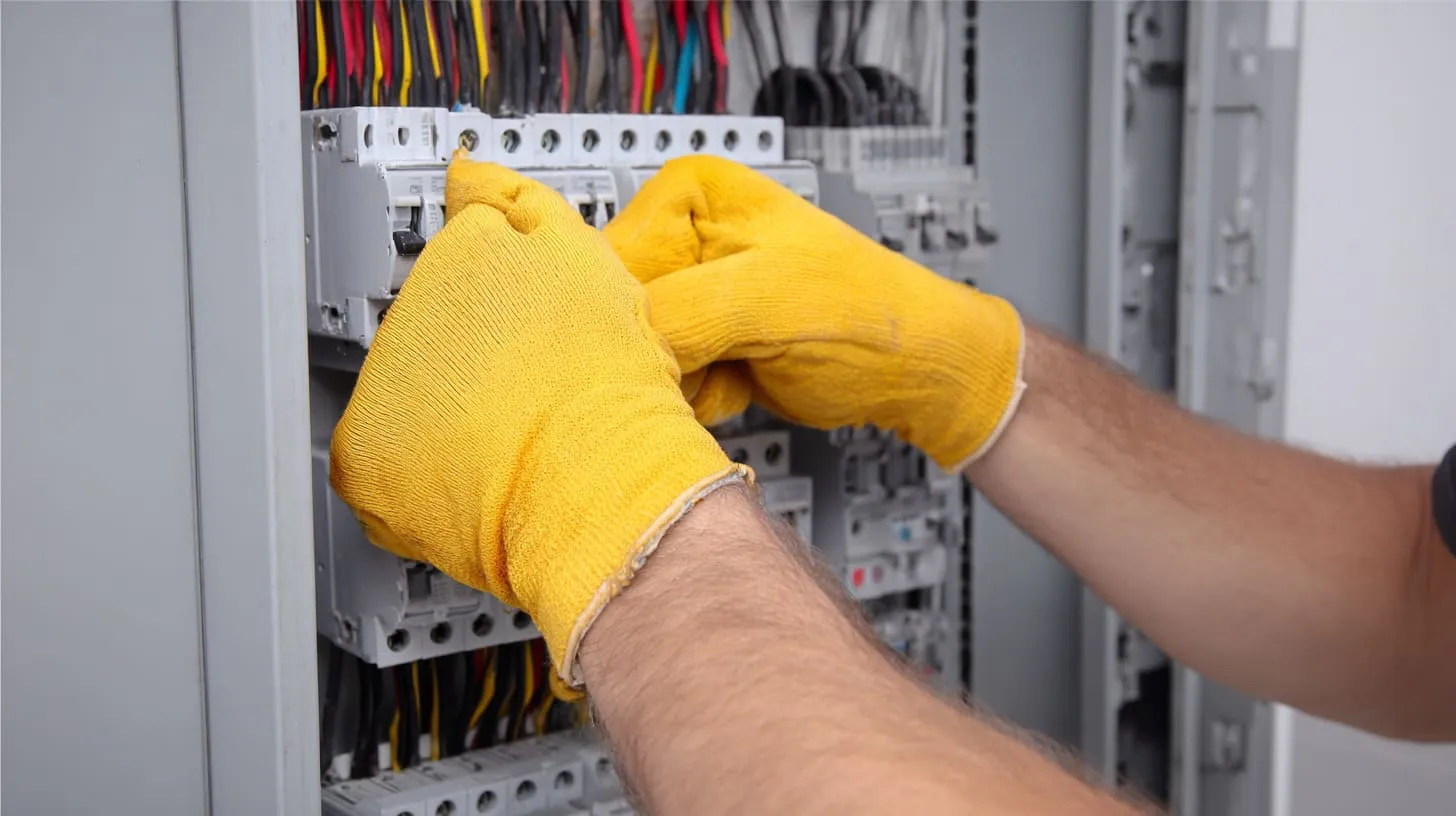
Removing knockouts creates sharp edges and metal shavings. Safety gear helps keep things smooth and safe:
- Gloves
- Eye protection
- Swarf brush or guard
Before you start, set up your tools so everything is within reach. It saves you time — and your fingers.
Now let’s walk through the actual removal methods.
Step‑by‑step methods for removing knockouts
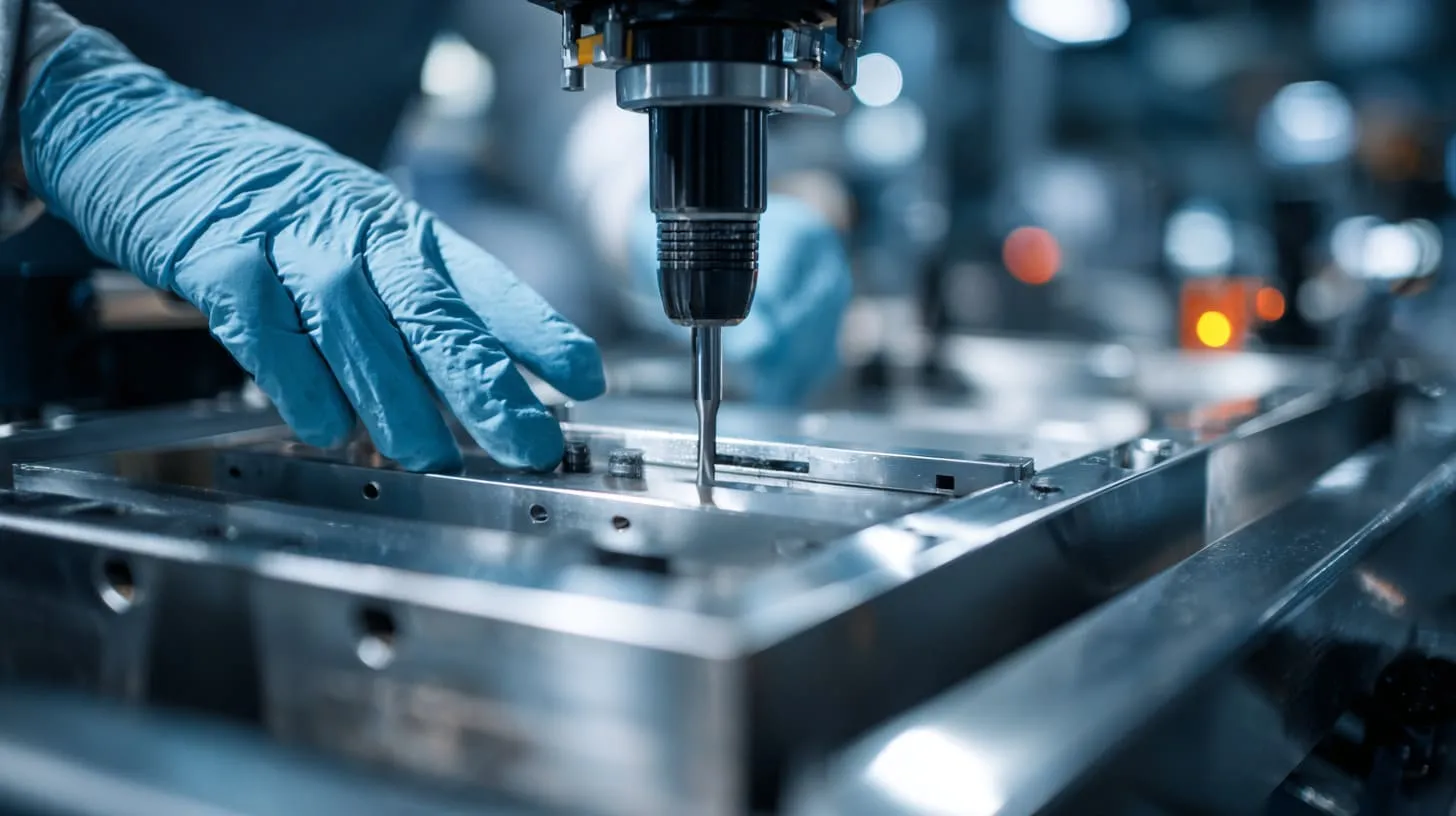
Method A: Manual removal with screwdriver & hammer
I use this when the knockout is lightly scored.
- Place the screwdriver at the knockout edge.
- Tap lightly until it separates.
- Wiggle with pliers.
This works, but you need control. Too much force risks bending the enclosure.
Method B: Drill or hole saw for stubborn knockouts
Sometimes scoring is too strong or the enclosure is thicker than expected.
Here’s what I do:
- Drill a small pilot hole.
- Use a hole saw sized to the knockout.
- Cut slowly to avoid heat marks or melting.
It’s clean and predictable.
Method C: Knockout punch kit
This is my favorite for metal enclosures.
- Insert draw bolt.
- Attach die and punch.
- Tighten until the knockout pops out.
It creates a perfect, smooth hole. Great for OEM products.
How to deburr and clean up
Clean edges are essential, especially for cable safety.
- Use a deburring knife
- File sharp spots
- Remove metal swarf
- Test with your finger (gently!)
A clean hole protects your cable insulation and gives your project a professional look.
Once you know how to remove knockouts, the next big question is: does the technique change depending on the enclosure material?
Materials & enclosure type considerations
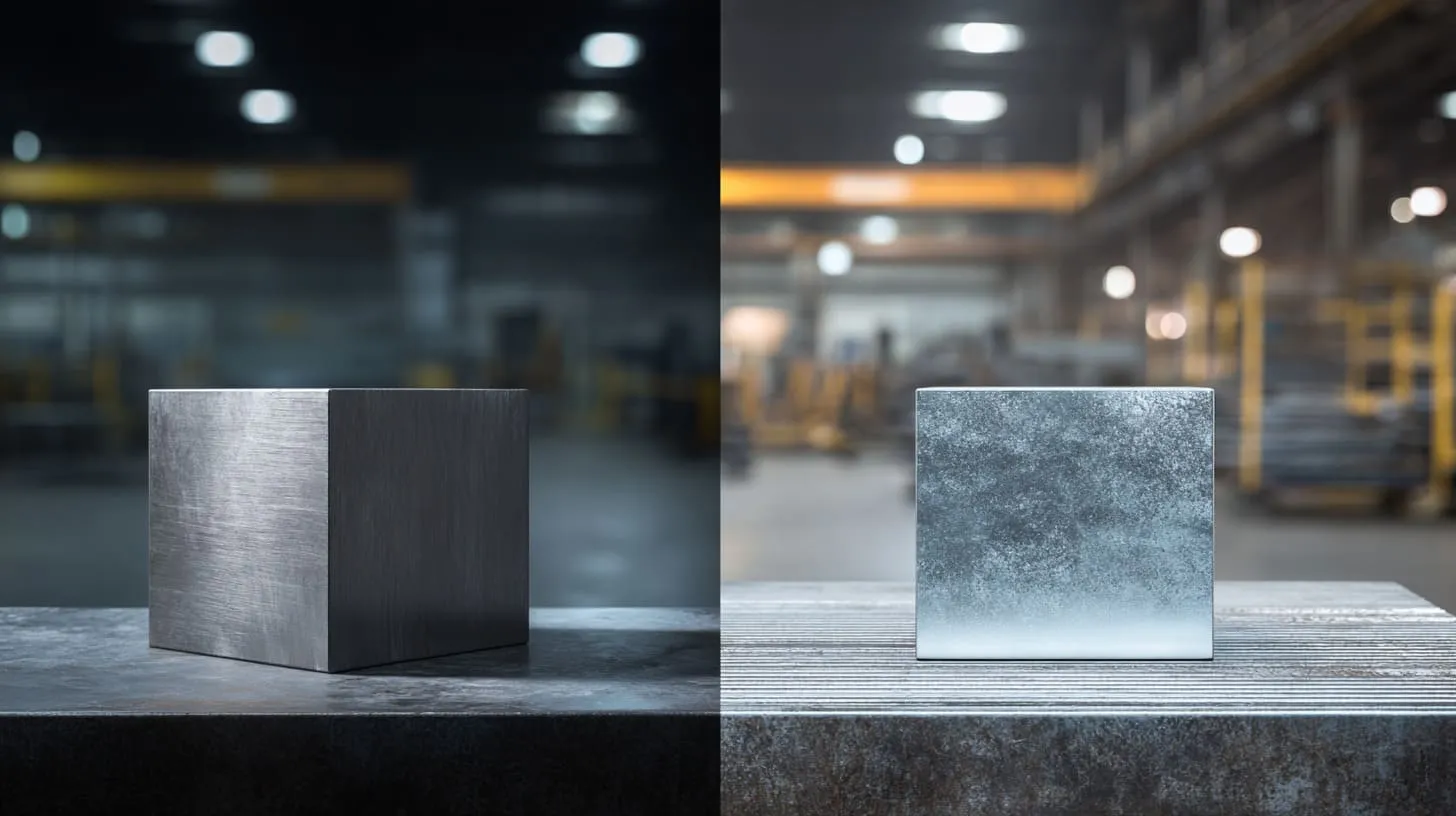
Removing knockouts in plastic vs metal
Plastic
- Easier to remove
- But brittle if forced
- Best to apply slow, steady pressure
Metal
- Stronger, needs tools
- Risk of bending if hit hard
- Best for punch kits
Thickness, finish, plating
Here’s a quick comparison that I often use internally when training new staff in my factory:
| Enclosure Type | Difficulty | Notes |
|---|---|---|
| Thin steel | Easy | But finish scratches easily |
| Thick aluminum | Medium | Needs punch kit |
| Powder-coated metal | Medium | Must avoid cracking the coating |
| ABS plastic | Easy | Avoid sudden force |
Factory pre‑processing vs on‑site removal
Some buyers prefer removing knockouts themselves. Others ask us to handle it in-house.
Here’s when I recommend factory processing:
- Large batches
- Repeated hole position
- Need perfect finish
- Need strict IP/NEMA rating
Here’s when on-site removal is okay:
- One-off installations
- Flexible cable positions
- Repair work
Once material and technique are sorted, quality checks decide whether the job is truly complete.
Quality control & finishing after knockout removal
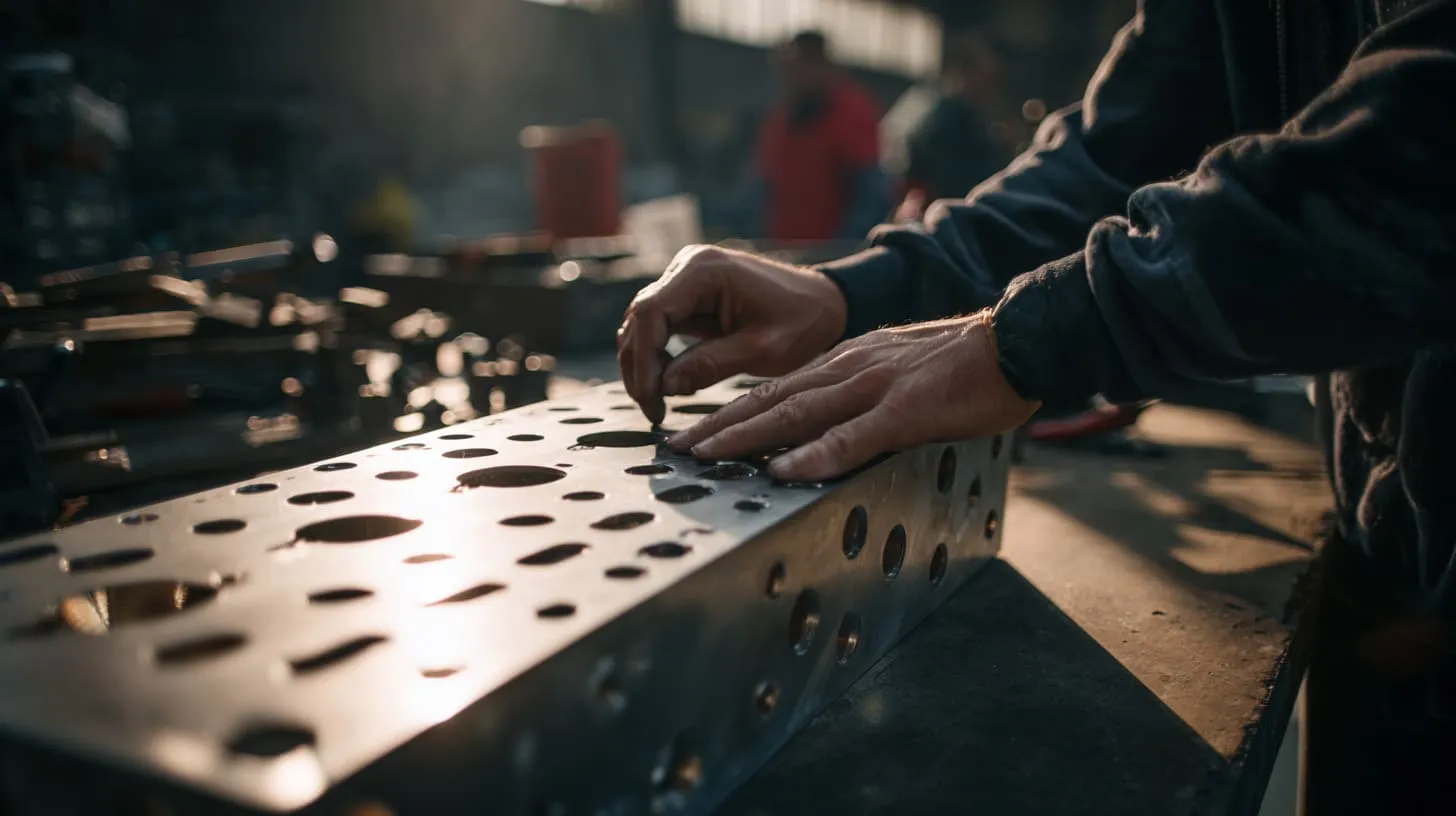
Inspecting the hole
I usually check:
- Roundness
- Clean scoring line
- No deformation around the area
- Smooth inner edge
Checking paint finish and corrosion protection
If the enclosure has powder coating, anodizing, or plating, the removal should not chip or peel the finish.
This matters especially when buyers sell their products on Amazon or retail platforms. Customers notice defects right away.
Tying into OEM workflow
For custom orders, we build knockout removal into the production flow:
- Remove knockout
- Machine finish
- Deburr
- Clean
- Inspect
- Pack
By doing this, we reduce customer rework and improve consistency. That’s something that helped me build long-term partnerships with clients like Davide and John.
But knockout work is not only about technique — it’s also about safety.
Safety & compliance issues
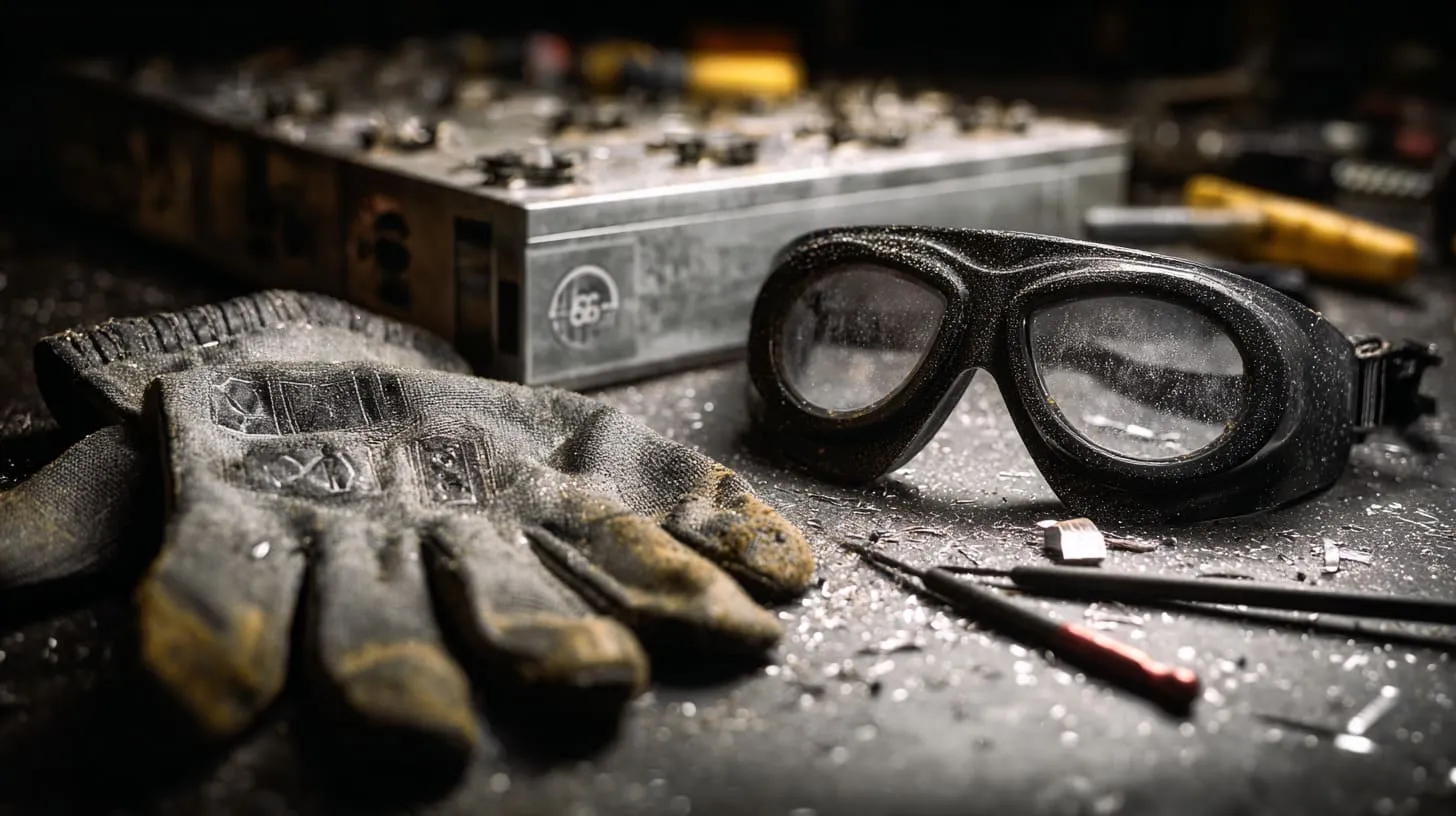
Safe handling of edges and swarf
Metal edges act like tiny knives. I always guide my new technicians to clean the edges before anyone handles wiring.
Ensuring IP or NEMA rating remains intact
Removing a knockout can affect sealing.
If the enclosure needs an IP65 or IP67 rating, the cable gland must fit tightly and be installed correctly.
Code or regulatory reminders
In industrial environments, regulations matter:
- Ensure conduit fittings match approved standards
- Protect wiring from abrasion
- Maintain grounding continuity (for metal enclosures)
Now let’s talk about mistakes — because I’ve seen plenty.
Common mistakes & how to avoid them
Removing too much material
Over‑cutting creates gaps that no gland can fix. Once material is gone, it’s gone.
Damaging the finish
A hammer slip can leave dents. A drill slip can scratch the powder coat.
I’ve seen installers cover scratches with paint pens — but it never looks the same.
Leaving sharp burrs
This is the most common mistake.
Sharp edges can cut cables or technician hands.
Not verifying the fit
Before you remove a knockout, always check the conduit or gland size.
Mixing up metric and inch sizes is more common than you think.
Now if you’re the one buying enclosures, there are things you should ask your factory.
For buyers: what to ask your enclosure supplier/factory
Does the enclosure ship with knockouts removed?
Some customers want them intact, others want them pre‑removed.
Are knockout sizes correct for your cables or conduit?
A mismatch causes:
- Loose fit
- Water entry
- Cable strain
Is deburring included?
This one is important. If the factory doesn’t deburr, you will end up doing it.
What are the lead‑time and cost differences?
Pre‑processing usually saves time overall, especially for big batches.
With that, we’re ready to wrap things up.
Conclusion
If there’s one thing I learned over the years, it’s this: removing a knockout is small work, but small work done wrong causes big problems. The right tool, the right pressure, and the right finish decide whether your project feels easy or stressful.
After we improved our knockout workflow in my factory, our error rate dropped and our customers — especially Davide and John — noticed the difference. Their projects moved faster. Their installations looked cleaner. And communication became smoother.
If you ever need custom enclosures with clean knockout removal, smooth deburring, or pre‑installed cable glands, feel free to reach out.
I’m always happy to help — info@maidatech.com.







