Skip to content
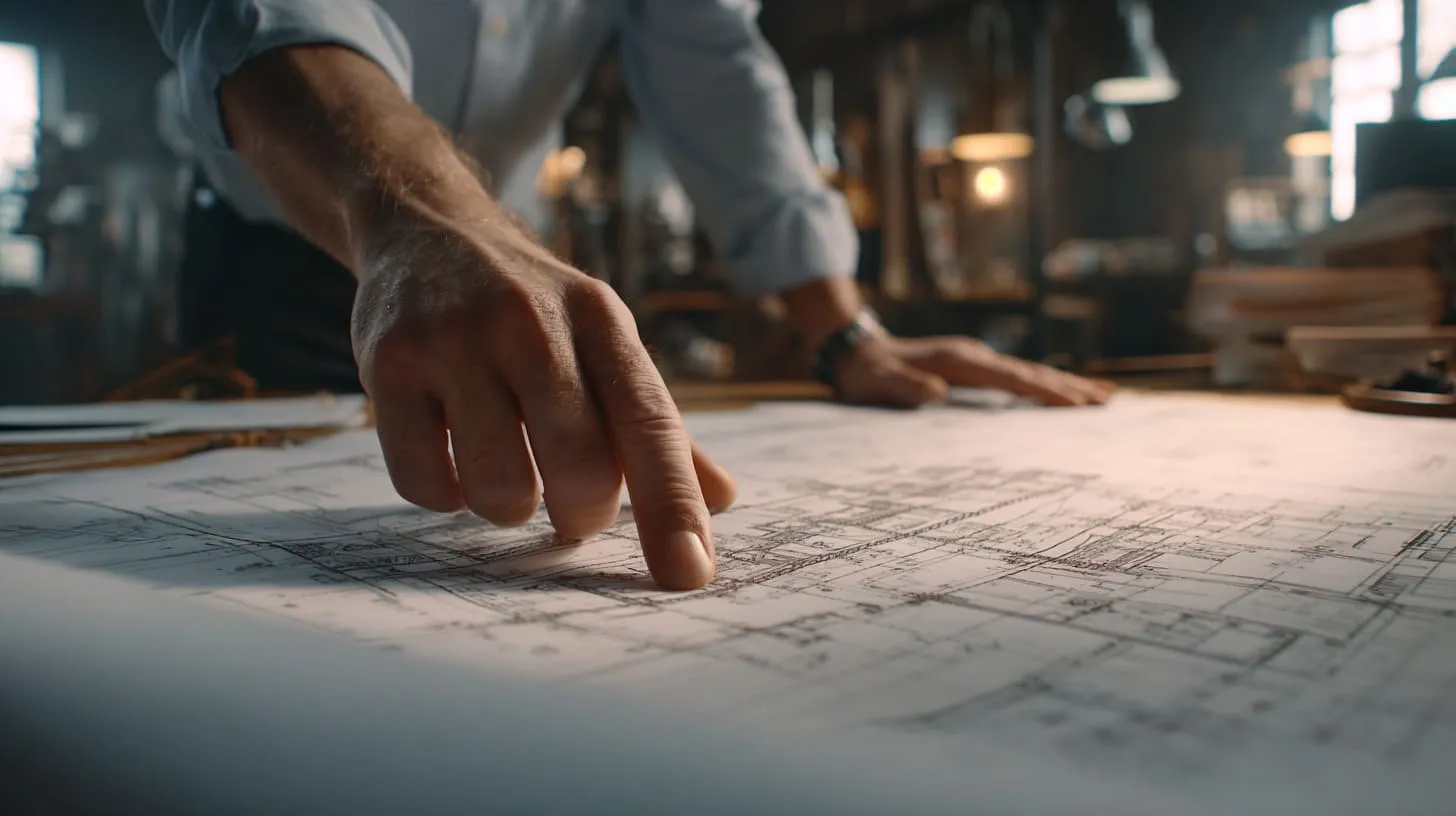
A building drawing was open on my screen, and the layout looked almost finished. Service cable route—clear. Distribution panel location—reasonable. Wall penetration—already marked.
Then my eyes stopped on a small square near the edge of the wall.
“Meter box location.”
That tiny label often carries more risk than people expect.
The meter box looks simple. It is only a metal enclosure mounted on the outside of a building. But that enclosure is where the public power grid meets the private electrical system. If something goes wrong at that exact point, the entire project slows down very quickly.
Inspectors may reject the installation. Utilities may delay power connection. Contractors sometimes need to reopen finished walls just to fix the service entry.
I have seen projects run smoothly for months and then suddenly stall because the meter box was placed 30 centimeters too low or the wrong socket model was selected.
And the frustrating part is that most of these problems do not come from bad workmanship. They come from small assumptions early in the design stage.
One thing I often ask myself before approving a meter box layout is simple: If a utility technician arrives at this wall five years from now, will everything about this installation still make sense to them in thirty seconds?
That simple question usually reveals problems faster than any checklist.
What Is an Electric Meter Box and What Does It Do?
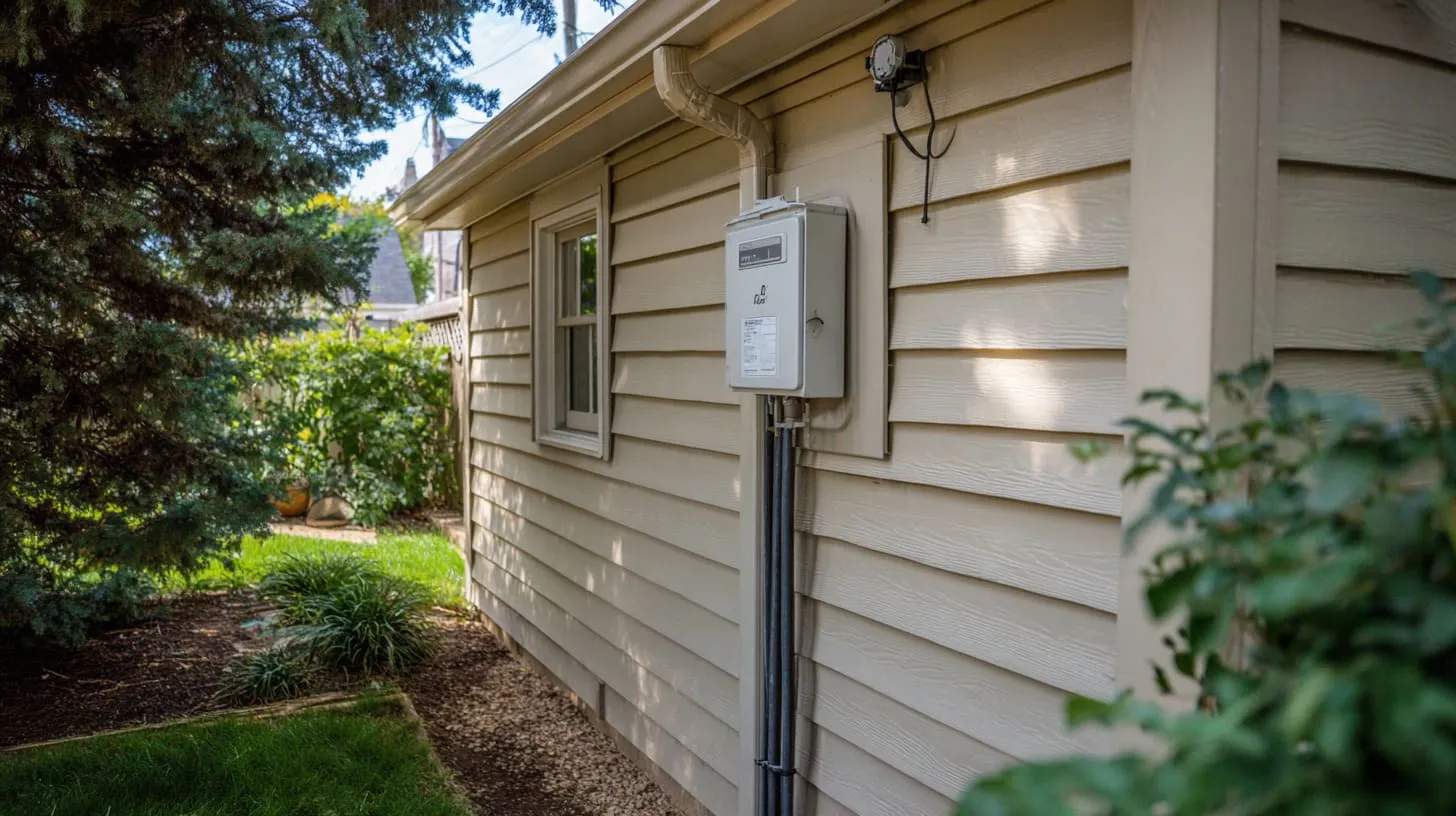
An electric meter box (often called a meter enclosure or meter socket) is the enclosure that holds the meter socket and supports the utility meter that measures energy use. It sits between the utility service and your building’s main distribution.
Here is the part people miss: the meter box is not only for you. It is also a working interface for the utility. They need to open it, seal it, and sometimes service it.
One personal rule I use is this: if the utility worker cannot access the meter quickly and safely, the installation is not “done,” even if it looks perfect on the wall.
Definition and role of an electric meter box in the power distribution system
The meter box is the “bridge point” where power enters your property and the meter measures usage. Power comes in on the line side and leaves on the load side toward your main panel or distribution panel.
What I judge in real projects is not the wording in a catalog, but the path: Where does the utility power enter, where does it exit, and who will touch it first when something goes wrong?
Key components inside a typical meter enclosure
A typical meter setup includes these parts:
- Meter socket: the receptacle the meter plugs into
- Line and load terminals: connection points for incoming and outgoing conductors
- Neutral and grounding connections: neutral bar and bonding/grounding points (design depends on region and utility rules)
I tend to look at the inside layout before I buy, because a “legal” socket can still be a pain if the wiring space is tight and the lugs are positioned in a way that forces ugly bends.
Here is a simple table that helps buyers and engineers stop mixing terms:
| Item | What it does | Who needs access | Why it matters |
|---|---|---|---|
| Meter box / meter socket | Holds the meter and termination points | Utility + electrician | Utility approval and sealing |
| Main breaker panel | Disconnect + branch circuit protection | Electrician + owner | Safety shutoff and protection |
| Distribution panel | Splits power to circuits | Electrician | Space, heat, and circuit planning |
Differences between meter box, breaker panel, and distribution panel
People often say “breaker box” when they mean “meter box,” and that small language slip can create a big spec mistake.
I usually catch this by asking one blunt question: “Where is the meter physically located in your plan?” If someone answers with a breaker panel location, we pause and re-check the whole layout.
Why meter boxes must meet utility company standards
Utilities often publish approved lists and rules because they want consistent equipment that their crews can service safely. A box that is great for one region can be rejected in another.
The hard truth I have learned is this: the cheapest meter box is the one that never gets rejected. Paying a bit more up front can be far cheaper than waiting two extra weeks for reconnection.
If that sounded basic, good—because the next section is where most “basic projects” fall apart: utility requirements.
What Are the Utility Requirements Before Installing a Meter Box?
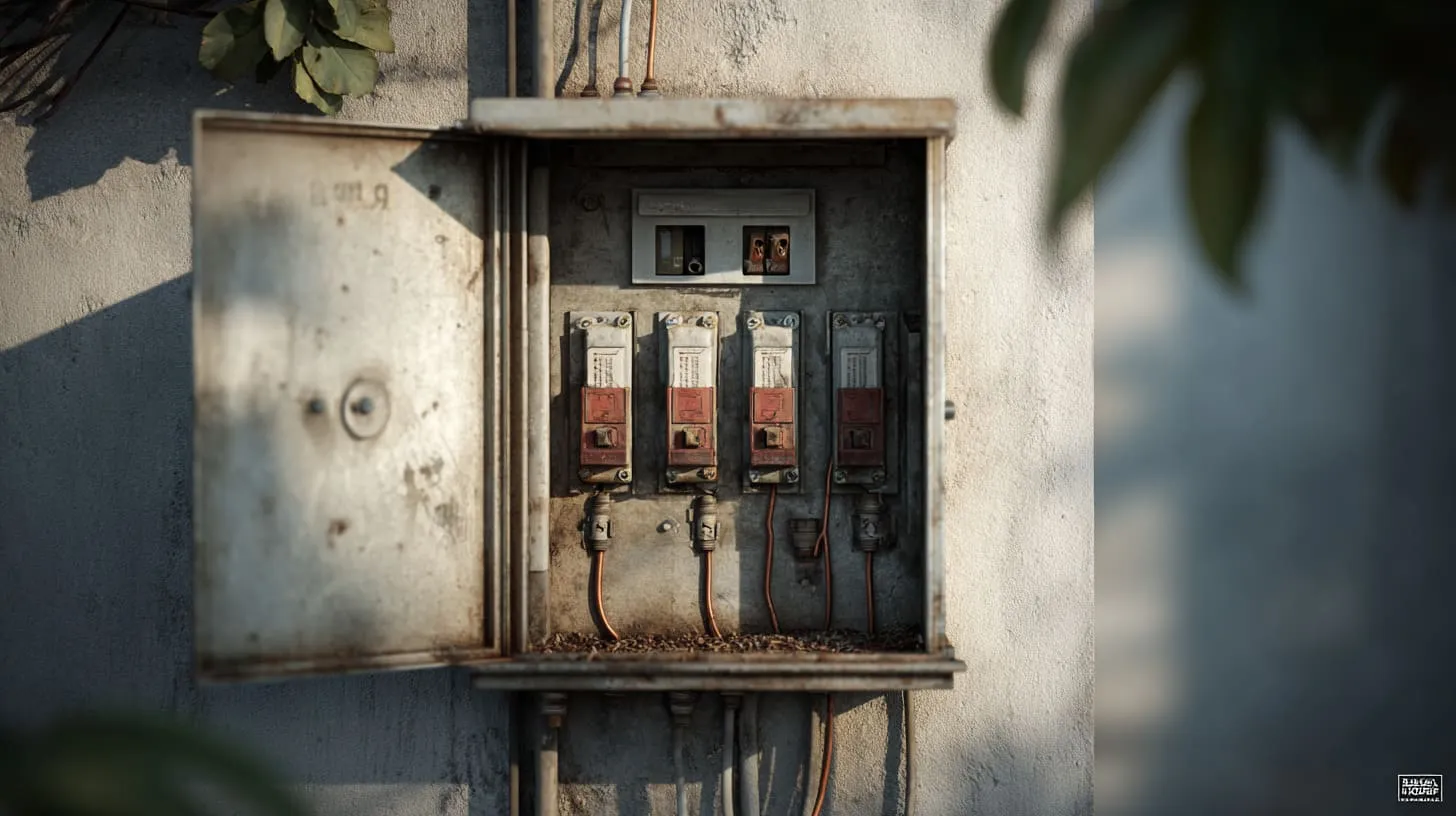
If you only remember one thing from this article, remember this: utility rules come first. They are not “nice to have.” They decide whether you get connected.
My personal decision point is simple: I do not approve a meter box purchase until I see the utility’s approved socket type (and any special notes) in writing. A phone call is nice, but paper wins on inspection day.
Why utility company approval is required before installation
The utility owns the service connection side and often the meter itself. They also seal the meter. If they do not approve your socket or location, they can refuse installation or require changes.
I’ve watched smart engineers lose time here because they assumed “standard is standard.” It is not.
How local electrical codes and utility rules affect installation
Codes (like NEC in many places) set safety rules. Utility rules set service rules. Sometimes they overlap. Sometimes they conflict slightly. In conflicts, the utility rule often controls the meter setup.
When I see a conflict risk, I do not argue theory—I ask: “Which rule will the inspector enforce on this address?” That keeps the discussion real.
Common requirements utilities specify
Utilities often specify:
- Approved meter socket models
- Mounting height range
- Clearance distances
- Service conductor entry points
- Sealing and ring/ringless preference
- Location rules (front wall, side wall, not behind a fence, etc.)
A practical way to keep this clean is to use a simple checklist table:
| Requirement | Where to confirm | What can go wrong if missed |
|---|---|---|
| Approved socket type | Utility list / service manual | Utility rejects installation |
| Mounting height | Utility rule + code | Fail inspection or poor access |
| Clearances | Utility + inspector | Rework, relocation |
| Conductor entry | Utility spec | Water ingress, bad bends |
| Location access | Utility service rules | Utility refuses service |
Why skipping utility approval can delay power connection
This is where real money leaks out. If the box is mounted and then rejected, you may pay twice: once to install, once to remove and reinstall. You also lose schedule.
I’ve learned to treat utility approval like a “gate.” If the gate is not open, I do not move to the next step.
Now that we know the rules matter, the next question becomes very physical: where does this thing go on the building without causing a future headache?
Where Should an Electric Meter Box Be Installed on a Building?
A meter box location is not only about “what looks neat.” It is about access, safety, and service speed. If the utility crew cannot reach it, they do not care how clean your conduit looks.
One thing I personally weigh is future behavior: I imagine a winter night service call and ask if someone can stand there safely with tools without fighting ice, clutter, or tight corners.
Typical installation locations on residential and commercial buildings
Common choices include:
- Exterior wall near the service entry point
- Side wall with clear walkway access
- Meter pedestal (when wall mounting is not practical)
- Meter room (in some commercial setups, depending on local rules)
I rarely “fall in love” with the prettiest wall. I choose the wall that stays accessible after landscaping, fences, and storage habits show up.
Height requirements for meter box installation
Utilities often define a height range so the meter is readable and serviceable. The exact numbers vary, so the “correct” height is the one your local utility and inspector accept.
My real-world test is this: if a shorter technician and a taller technician can both work comfortably without stretching or crouching hard, you are usually in the safe zone.
Clearance requirements around the meter box
Clearances are about safe working space. Common clearance ideas include:
- Space in front for a person to stand
- Space to the sides so the cover can open
- Space above so conduit does not block access
I always check clearances after imagining the open door swing, because a box can meet “distance rules” and still be annoying if the cover hits a wall corner or a downspout.
Outdoor vs indoor meter installation considerations
Outdoor meter boxes need weather protection and corrosion resistance. Indoor meter locations need ventilation and safe routing.
My quick judgment is this: if indoor placement creates long conduit runs through finished spaces, the risk of later damage goes up, and outdoor often becomes the calmer choice.
Accessibility requirements for utility technicians
Utilities want predictable access. That often means:
- Not behind locked gates (or special arrangements)
- Not blocked by furniture or storage
- Not inside a room that is rarely accessible
I have seen good installations become “bad” later because the owner added a cabinet in front of it. So I like to choose a spot that stays obvious and stays empty.
Location is half the battle. The other half is choosing the right box, because the wrong enclosure can fail even if the height is perfect.
What Type of Meter Box Should You Choose?

Choosing a meter box is like choosing shoes for a long trip. If you pick the wrong type, you suffer later. Also, the utility may simply say “no.”
A decision I make early is this: I match the enclosure type to the utility’s service method first, and only then I think about price or “nice features.”
Types of electric meter boxes
Common types include:
- Ring-type meter sockets
- Ringless meter sockets
- Surface-mounted meter boxes
- Flush-mounted meter enclosures
A small detail can matter a lot here. For example, ring vs ringless is sometimes a utility preference tied to sealing methods.
What I do is not guess—I confirm which type the utility seals and services in that area, because a socket that cannot be sealed the way they want is basically a future argument.
Single-phase vs three-phase meter enclosures
Residential is often single-phase. Commercial may be three-phase. The enclosure design, lug layout, and space needs can change.
My practical filter is this: I do not rely on “looks similar.” I check the service spec, because mixing these up can create dangerous wiring confusion.
Weatherproof and outdoor-rated meter boxes
Outdoor-rated boxes should resist rain and dust. In many regions, you will see ratings like NEMA 3R for rain exposure.
My judgment here comes from failure stories: if the site sees wind-driven rain, I avoid “just barely” rated boxes and choose something that forgives real weather, not brochure weather.
Material choices: steel, aluminum, or plastic enclosures
- Steel: strong, common, often coated
- Aluminum: corrosion resistant, lighter, often costs more
- Plastic: can resist corrosion, but needs UV and impact consideration
Here is a simple comparison:
| Material | Strength feel | Corrosion risk | Best fit |
|---|---|---|---|
| Steel | High | Medium (depends on coating) | General outdoor/indoor |
| Aluminum | Medium-high | Low | Coastal, wet areas |
| Plastic | Medium | Low | Corrosion-heavy zones, some indoor |
When I choose material, I think about where the box will live. If it is near salt air or chemical washdown, I treat corrosion as a “when,” not an “if.”
Choosing the correct enclosure rating (NEMA / IP rating)
Ratings help you match the environment. The key is not memorizing the rating chart. The key is matching it to real exposure: rain, dust, spray, sun, impact.
My check is blunt: I write down the worst exposure (rain direction, sun hours, nearby sprinklers), then I choose a rating that can survive that, not just “pass” it.
Once the right box is chosen, people relax. That is when small tool and hardware choices start quietly deciding whether the install feels smooth or painful.
What Tools and Materials Are Needed to Install an Electric Meter Box?
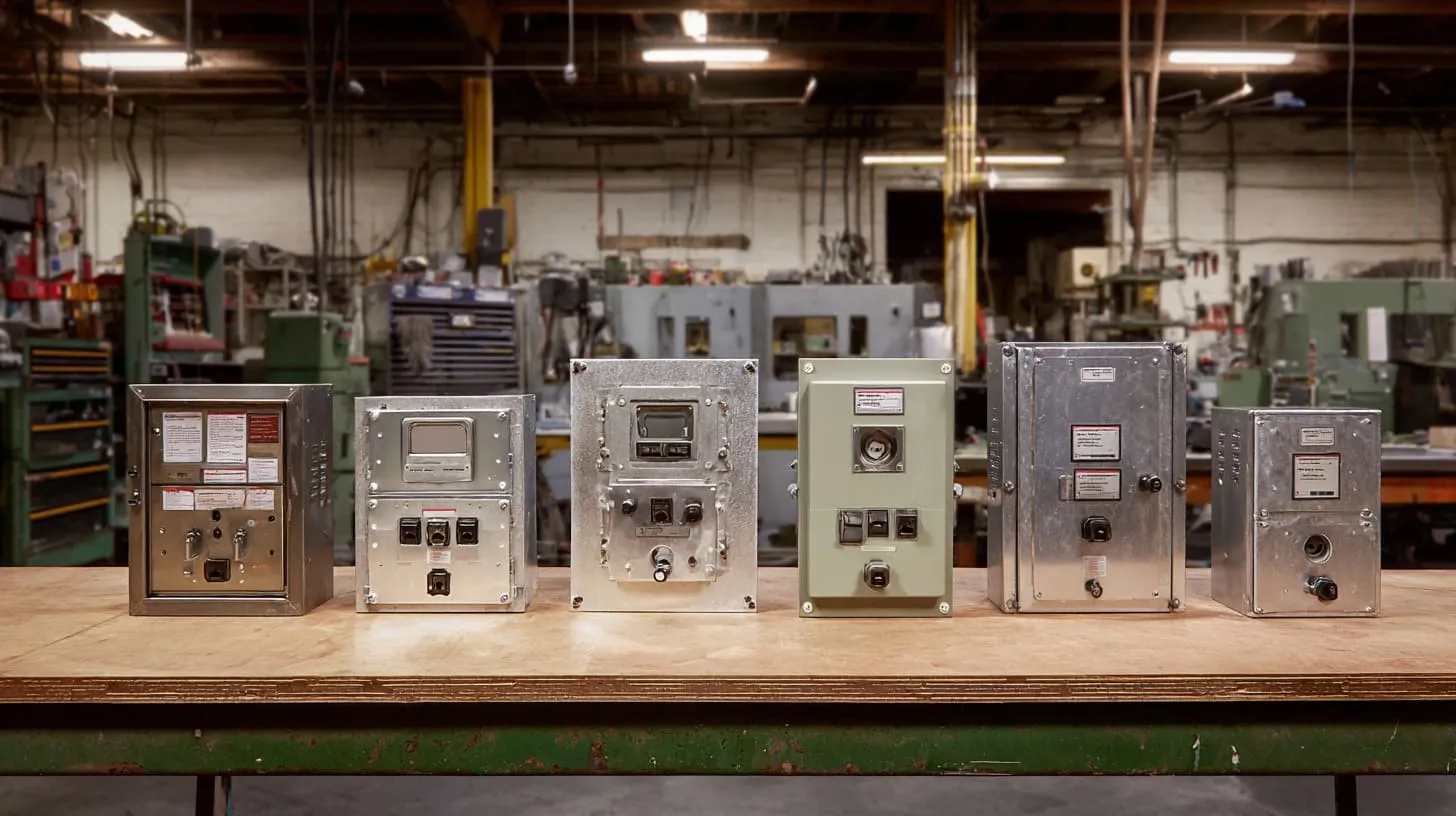
This section is simple, but it saves time. Missing one small part can stop an install day fast.
One thing I personally do is build the material list as if I will not be allowed to “run to the store.” That mindset prevents half-finished work.
Essential tools for installation
Common tools include:
- Drill and appropriate anchors
- Level
- Screwdrivers and wrenches
- Conduit tools (bender/cutter, depending on conduit type)
- Tape measure and marker
My real test is not “do we have tools,” but “do we have the right anchors for this wall material?” A concrete wall and a wood wall are different worlds.
Required materials
You usually need:
- Meter box enclosure (approved type)
- Conduit and fittings
- Mounting hardware/brackets
- Grounding components (as required by code/utility)
- Weather seals or hubs (for outdoor entries)
Here is a quick planning table I like:
| Item | Why it matters | Common mistake |
|---|---|---|
| Correct anchors | Holds weight and cable force | Using wood screws in masonry |
| Weather hubs | Prevents leaks at entry | Open holes with no seal |
| Conduit fittings | Clean routing and protection | Wrong size, poor alignment |
| Mounting bracket | Keeps box stable | Box twists after pull |
Safety equipment installers should use
Safety should be normal, not dramatic:
- Gloves
- Eye protection
- Non-contact voltage tester (for checking nearby energized areas)
- Proper ladder and stable footing
My quiet judgment is this: if the area has any chance of being energized, I treat it as energized until a licensed person proves otherwise.
Okay—tools are ready. Now we talk about steps. I will keep it practical, but I will also be honest about what should stay with licensed electricians and the utility.
What Are the Basic Steps to Install an Electric Meter Box?

I’m going to outline the steps in a clear way, but I will not pretend every region allows the same work. Many places require licensed electricians for parts of this process, especially anything involving service conductors and terminations.
A judgment I make on every job is this: I separate “mounting and routing” work from “service connection” work, because mixing them is where safety and legal problems start.
Step 1: Confirm utility company specifications
Confirm approved socket type, ring/ringless preference, height, and location rules.
My rule: if the utility spec is missing or unclear, I stop the plan and ask before ordering.
Step 2: Mark the mounting location and required height
Mark the centerline and confirm clearance space. Check door swing. Check future obstacles.
I often do a “future clutter check” by looking around and thinking: Will someone later park a trash bin, fence, or AC unit right here? If yes, move the location.
Step 3: Secure the meter box to the wall or mounting structure
Use proper anchors for the wall type. Make sure it is level and stable.
My practical check is to push and twist the box after mounting, because if it moves now, it will move more after conduit and cable forces show up.
Step 4: Install conduit for service entrance cables
Install conduit paths based on utility and code rules. Use correct fittings and weather hubs for outdoor work.
I always choose conduit routes that stay simple, because every extra bend is extra stress, and stress shows up later as heat, loose fittings, or water paths.
Step 5: Prepare grounding and bonding connections
Grounding and bonding rules depend on local code and service design. This part should follow local requirements.
My judgment is to treat grounding as a system, not a wire, because a “connected” ground can still be a bad ground if the path is unreliable or corroded.
Step 6: Leave line connections for the utility or licensed electrician
In many regions, the utility controls the line side and the meter. A licensed electrician usually handles legal connections on the customer side.
I draw a hard line here: if someone is not licensed for service work, I do not let them “just tighten the lugs.” That is how accidents happen.
Step 7: Schedule inspection before meter installation
In many cases, an inspection is required before the utility sets the meter and energizes service.
My experience is that inspections go smoother when everything is tidy, labeled where required, and accessible, because inspectors are humans too—and messy work signals hidden problems.
Here is a clean workflow table that fits most projects:
| Phase | Who usually does it | Typical risk |
|---|---|---|
| Utility approval | Owner/engineer | Wrong approved model |
| Mounting & conduit | Installer/electrician | Bad anchors, leaks |
| Terminations | Licensed electrician/utility | Safety and legal risk |
| Inspection | Authority having jurisdiction | Clearance, rating issues |
| Meter set | Utility | Refusal if spec is wrong |
If you’re still reading, good—because the next part is where people get curious and sometimes overconfident: wiring. Let’s talk about it carefully.
How Is Wiring Connected to an Electric Meter Box?
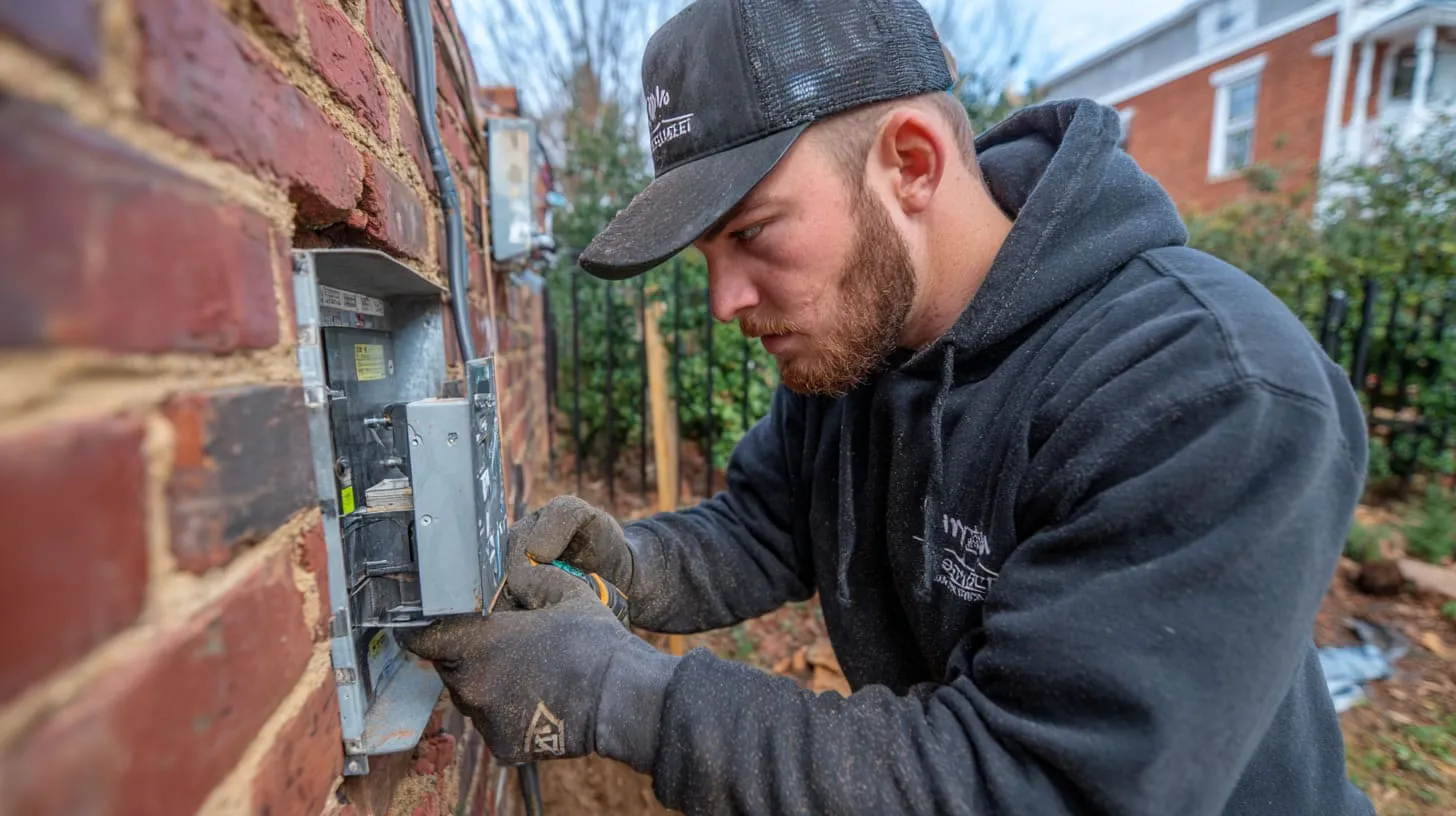
This topic pulls people in, because it feels like the “real work.” But it is also where the risk is highest. I can explain the concept clearly without turning this into a dangerous DIY guide.
A personal boundary I keep is this: I discuss wiring in terms of roles and concepts, and I leave service termination to licensed electricians and the utility. That protects people and projects.
Understanding line side vs load side wiring
- Line side: incoming service from the utility
- Load side: outgoing conductors feeding your main panel/distribution
My decision lens is simple: the moment you touch the line side without authority, you are not “saving time,” you are gambling with life and legal trouble.
Why service entrance wiring must follow strict safety rules
Service entrance wiring carries high fault energy. Mistakes can cause heat damage, arc faults, or serious injury.
I’ve learned to respect this even when the job looks calm, because danger does not announce itself. It waits for the wrong moment.
Grounding and bonding requirements
Grounding and bonding make sure faults have a safe path and metal parts do not become energized.
When I review designs, I look for the weak link: the one connection that will corrode or loosen first. That connection is often where future failures begin.
Why homeowners should not connect utility service conductors themselves
In many places it is not legal. Also, it is risky. Also, the utility may refuse service if seals or connections are improper.
My honest thought is this: the cost of a licensed electrician is usually smaller than the cost of one mistake—especially when rework and delays stack up.
The role of licensed electricians and utility technicians
- Electricians handle correct terminations, grounding, and code compliance
- Utility techs handle meter set, sealing, and sometimes line-side work
I like clear responsibility lines because confused responsibility creates finger-pointing, and finger-pointing creates delays.
Now, when wiring conversations get heated, people often say “but code says…”—so let’s talk about codes and standards in a simple, useful way.
What Electrical Codes and Safety Standards Apply to Meter Box Installation?
Codes can feel like a wall of text. I get it. I do not “romanticize” code books. I use them as a tool to prevent failure.
A judgment I make in real work is this: I treat the local inspector’s interpretation as part of the spec, because the best code argument in the world still loses to a failed inspection.
Overview of common electrical codes (NEC and local codes)
In many regions, NEC is a base reference. Local rules may add or modify requirements. Other countries use different standards entirely.
My approach is simple: I don’t assume the internet’s “standard height” applies—I confirm local rules for that address.
Utility service entrance requirements
Utility requirements may include specific socket models, sealing needs, and location rules.
I’ve learned that utility rules are often stricter than general code in meter areas, so I always read the utility service manual like it is part of the contract.
Grounding and bonding safety rules
Grounding and bonding rules are meant to keep people safe during faults.
My real check is not only “is there a ground wire,” but “is the path strong, protected, and likely to stay good for years?”
Weatherproofing and enclosure rating requirements
Outdoor meter equipment must match exposure. Ratings like NEMA/IP help define suitability.
I tend to select ratings based on worst days, because systems fail during storms, not during nice weather.
Inspection procedures before power activation
Inspections often look at:
- Approved equipment
- Correct mounting height
- Clearance space
- Proper conduit and entries
- Grounding/bonding compliance
- Neat, safe workmanship
I’ve noticed inspectors trust clean work more, because clean work suggests the installer cared enough to do the hidden parts right too.
After standards, the next thing that helps readers the most is mistakes—because the fastest way to learn is to see where other people got burned.
What Common Installation Mistakes Should Be Avoided?
Mistakes are rarely dramatic. Most are quiet. They show up as “please fix this and call us again.”
A personal filter I use is this: if a mistake forces a second visit by the utility or inspector, it is not a small mistake anymore—it is a schedule risk.
Installing the meter box at the wrong height
Even if the box works, the wrong height can fail inspection or create unsafe access.
My judgment is to check height with a tape measure and with common sense, because numbers can be right while the physical situation is still awkward.
Poor mounting surface or weak structural support
Mounting to weak siding or crumbling masonry causes movement. Movement causes seal gaps and stress.
I test stability early because if the box wiggles, water and corrosion will eventually follow.
Insufficient clearance around the enclosure
Clearances are not “extra space.” They are working space.
I always think about service day: if the door cannot open fully or a person cannot stand squarely, someone will complain later.
Incorrect conduit entry points
Wrong entry points can cause sharp bends, water paths, or blocked access.
My real decision is to route conduit like water is always trying to get inside, because water does not need permission—it only needs a path.
Using non-approved meter sockets
Even a high-quality socket can be rejected if it’s not on the approved list.
I do not argue quality here; I follow the list, because approval is a gate, not a debate.
Failing inspection due to code violations
Common causes include missing labels, wrong ratings, poor grounding, or access issues.
My mindset is to make inspection easy, because a hard inspection is often a sign that the installation is hard to trust.
Here is a quick “mistake-to-impact” table:
| Mistake | What happens | What it costs |
|---|---|---|
| Wrong approved model | Utility refuses meter set | Days/weeks delay |
| Wrong height | Fail inspection | Re-mount labor |
| Poor sealing | Water ingress | Corrosion + rework |
| Tight wiring space | Ugly bends, heat risk | More labor, risk |
| Bad location | Access complaint | Relocation |
If mistakes are the “visible” pain, weather is the “slow” pain. Let’s talk about how outdoor protection really works, without pretending every job site is gentle.
How Do Weatherproofing and Outdoor Protection Work for Meter Boxes?

Outdoor installs fail slowly. Rain, sun, dust, and corrosion do not show up in week one. They show up when everyone already forgot who chose what.
One judgment I make is this: I assume the box will face the worst wind-driven rain at least once a year, and I design for that day.
Why outdoor meter boxes must resist rain and moisture
Moisture leads to corrosion and poor connections. It can also create unsafe conditions.
I treat moisture control like a long game, because the damage usually starts small and becomes expensive later.
Importance of gasket seals and enclosure ratings
Gaskets, hubs, and correct entries matter. Ratings like NEMA/IP help you choose the right enclosure.
My decision is to check the whole “seal chain,” because a good-rated box can still leak if the entry fittings are cheap or installed badly.
NEMA and IP ratings for outdoor electrical enclosures
These ratings describe protection against water and dust, but they do not replace good installation.
I never rely on a rating alone, because ratings assume correct assembly, and real jobs often include shortcuts unless someone watches details.
Corrosion resistance for coastal or industrial environments
Salt air, chemical spray, and pollution speed up corrosion. Material choice and coatings matter.
My practical take: if the site is coastal, I pay extra attention to material and fasteners, because corrosion loves mixed metals and weak coatings.
Choosing durable enclosure materials for long-term reliability
Durability is not only the enclosure body. It includes:
- Fasteners
- Conduit entries
- Coatings
- Drain/weep considerations (where allowed)
- UV resistance for plastic parts
I like to choose parts that forgive small mistakes, because perfect installation is rare, but rain is reliable.
A small table I use for outdoor selection thinking:
| Site condition | Risk | What I prioritize |
|---|---|---|
| Heavy rain | Water ingress | Rated enclosure + sealed hubs |
| Strong sun | UV aging | UV-stable parts, coatings |
| Coastal air | Corrosion | Aluminum/stainless choices |
| Dusty area | Dust buildup | Tight seals, clean entries |
At this point, many readers ask the same thing: “How much can I do myself, and when should I bring in a licensed electrician?” That is a smart question.
When Should You Hire a Licensed Electrician for Meter Box Installation?
I understand the urge to do more yourself. Time is tight. Budgets are real. Still, service work is not the place to “learn by trying.”
My personal line is clear: if the task involves service terminations, meter sealing, or legal responsibility for energized parts, I bring in a licensed electrician and I sleep better.
Which parts of installation homeowners can prepare
In many regions, homeowners can help with:
- Planning the location (with utility rules in hand)
- Clearing space and preparing a solid mounting surface
- Coordinating schedules for inspection and utility work
I like homeowners involved in planning because a well-chosen location often prevents future access battles and makes everyone’s work easier.
Which work must legally be performed by licensed electricians
This varies by region, but often includes:
- Service conductor terminations
- Grounding/bonding setup
- Panel connections and compliance checks
- Any work on energized systems
My judgment is to avoid “gray zone” work, because if something goes wrong, the legal and safety fallout will not care about good intentions.
Utility company responsibilities during final meter installation
Utilities often handle:
- Meter installation and sealing
- Line-side connection rules (varies)
- Final service activation
I always plan schedule around the utility, because they are the bottleneck you cannot “push” with hustle.
Inspection and connection procedures
Typical flow:
- Utility approval
- Install mounting and conduit
- Licensed electrician completes required work
- Inspection
- Utility sets meter and energizes service
I like this flow because it reduces surprises and keeps each party responsible for their own part.
Why professional installation reduces safety risks
A licensed electrician brings skill, tools, and legal compliance. They also reduce the chance of hidden errors that cause heat or failure later.
My honest conclusion from years of enclosure work is this: professional work costs money once; rework costs money twice—and it also costs your calendar.
Now let me wrap this up in a clean way, so you can act on it without feeling overwhelmed.
Conclusion
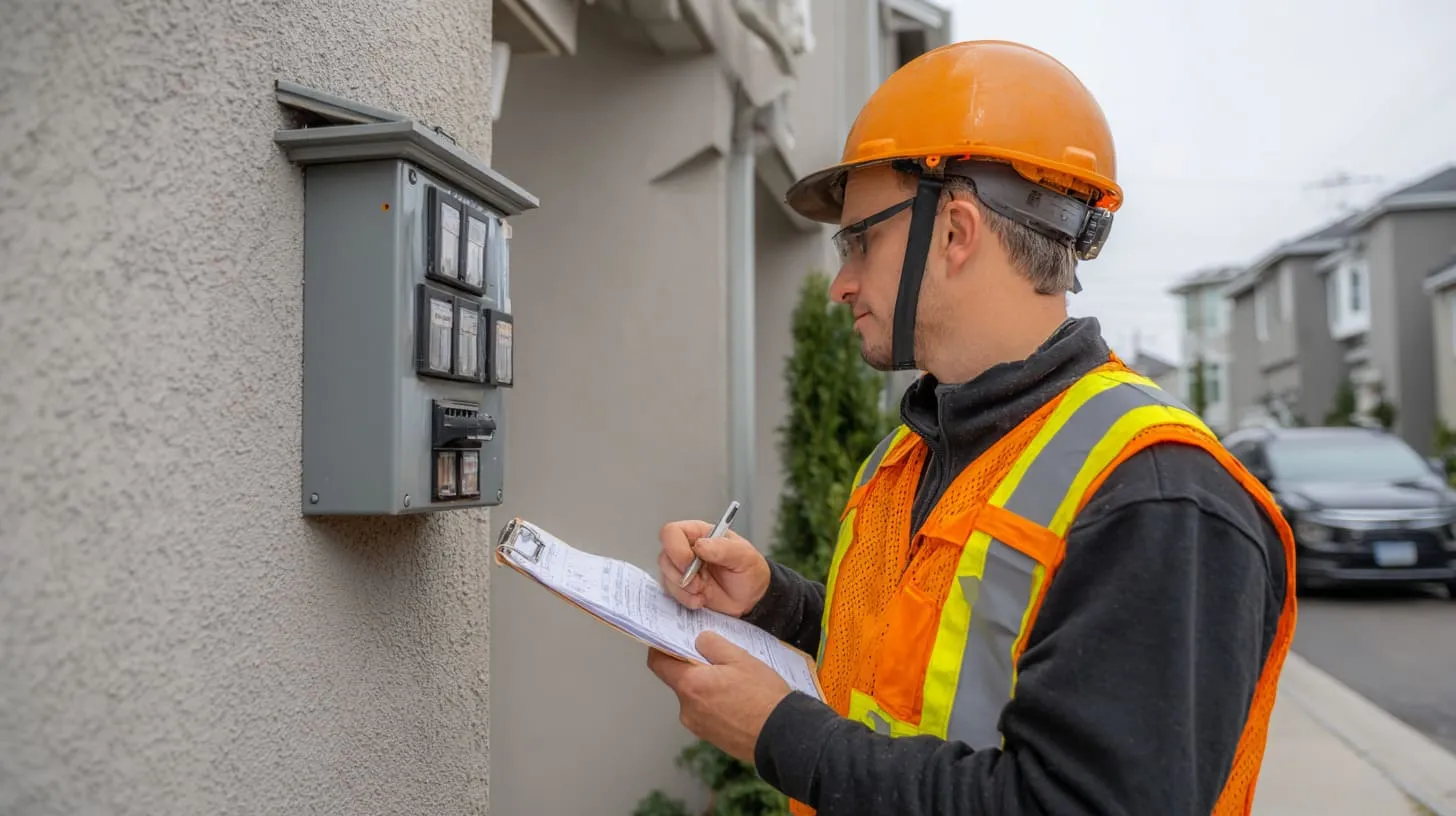
Installing an electric meter box is not hard because it is complicated. It is hard because it sits at the intersection of utility rules, code rules, real weather, and real human access. If you follow only one of those and ignore the others, the project can still fail.
Here is what the full picture looks like, based on what I see in real work:
- Start with the utility’s approved requirements, not what “seems standard.”
- Choose a box type that fits the service method, environment, and access needs.
- Mount it on a solid structure, at the correct height, with proper clearances.
- Treat weatherproofing like a system: enclosure + entries + fittings + real exposure.
- Keep service terminations and legal wiring work with a licensed electrician and the utility where required.
- Aim for an install that is not only correct today, but still safe and accessible five years later.
If you are planning a project and you want to reduce delays, my suggestion is simple: collect your utility requirements, your site photos, and your target enclosure type early. Then check the location, rating, and hardware as one package.
If you want, you can send me your basic project info (indoor/outdoor, wall material, environment like coastal or not, and your preferred enclosure material). I can help you think through the enclosure choice and the layout details that usually trigger rework.