 Skip to content
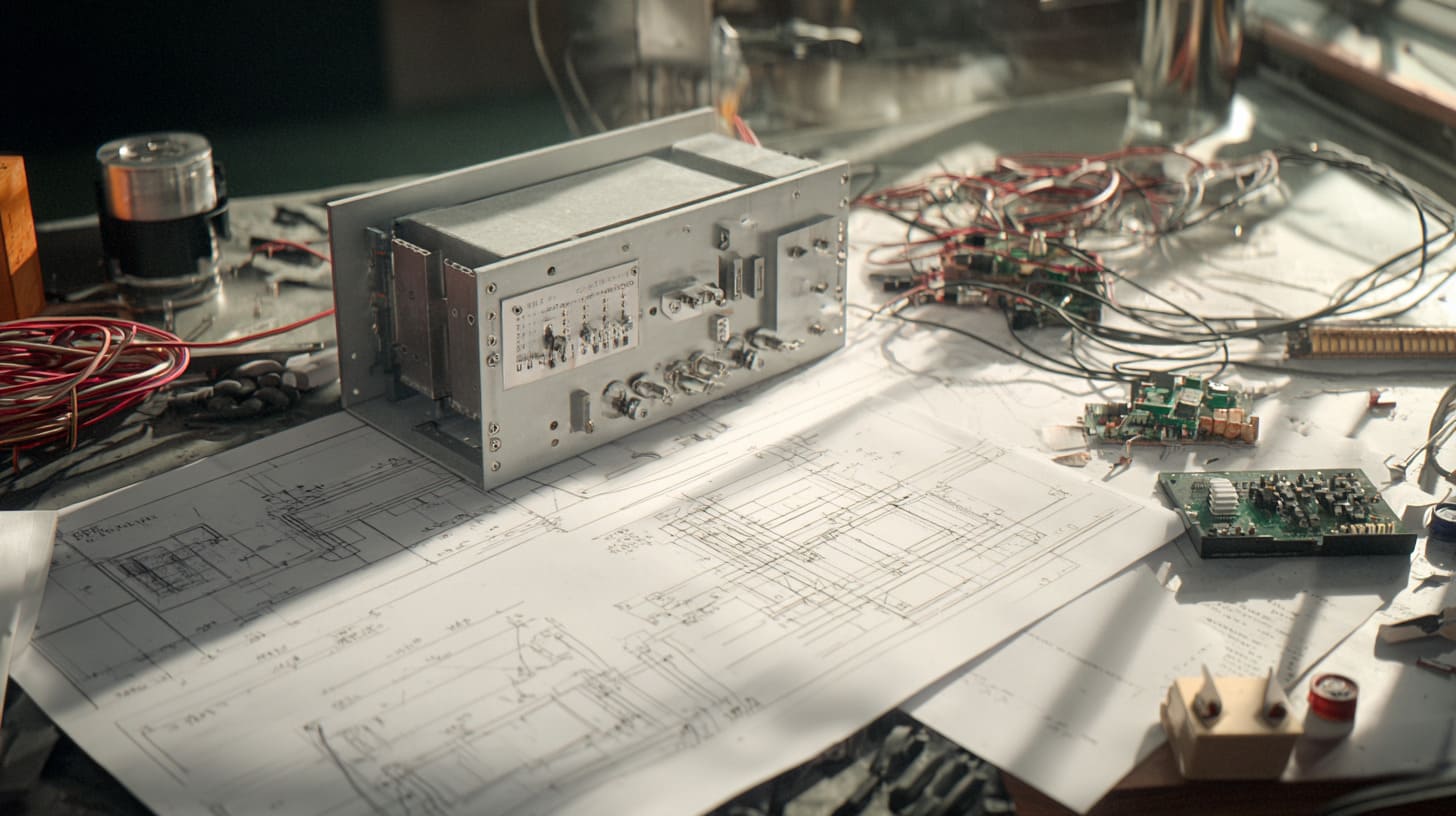
The inspection table was already crowded. A half-assembled enclosure sat in the middle, a PCB on one side, and a bundle of cables on the other. Someone had taped a small note on the drawing: “Check connector clearance.”
I lifted the lid and tried to plug the harness in the way the installer would. The connector almost went in. Almost. My thumb hit the wall, the cable bent too sharp, and I could feel that familiar tension in my shoulders—the kind that shows up when a project is about to lose a week over a detail that looked “fine” on a screen.
That moment is why I don’t treat sheet metal enclosures like a product you pick from a list.
Choosing the right sheet metal enclosure is more than picking a “box.” It is choosing part of your system. If the enclosure is wrong, the problems don’t stay “mechanical.” Heat builds up. EMI leaks. Gaskets fail. Holes land 2 mm off. Certification turns into rework. And the timeline starts sliding in slow motion.
I see the same scenario again and again. The PCB is finished. The budget is half locked. The team is ready to move. Then someone asks, “Can we just find a sheet metal enclosure?” That question sounds small. It never is.
This guide is for:
- product engineers who own the design choices
- OEM buyers who need stable quality and fast delivery
- B2B purchasers who must balance cost, risk, and lead time
And here is what I will share: a practical buying framework I use in real projects—one that keeps decisions simple and prevents avoidable surprises.
requirements → material → thickness → rating → thermal → quality → supplier → cost
If you’ve ever had an enclosure that looked perfect, but made the whole product feel unstable, you’ll understand why the next section matters.
What Is a Sheet Metal Enclosure and Why Does It Matter?
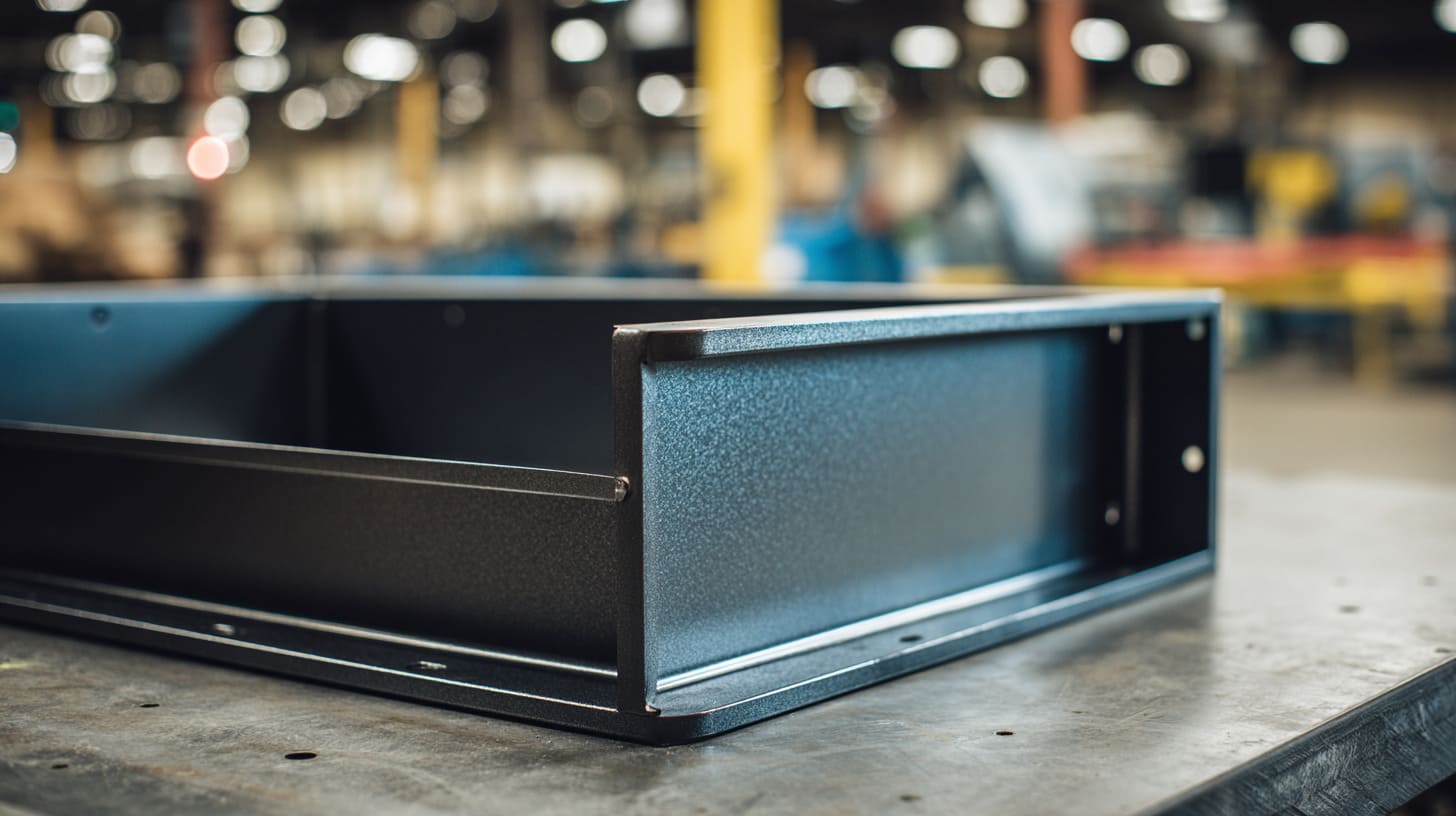
A sheet metal enclosure is a quiet piece of hardware. It does not blink. It does not run software. It just sits there and takes hits from the real world.
But that is the point. When it fails, everything around it starts to feel unreliable.
What Defines a Sheet Metal Enclosure?
A sheet metal enclosure is usually made from steel, stainless steel, or aluminum sheet. Then we shape it using a few core processes:
- Laser cutting for outlines, holes, slots
- Punching for faster repeating cutouts in volume
- Bending to form walls, flanges, stiffness
- Welding or riveting for structure
- Surface finishing like powder coating, plating, or anodizing
Here is the simplest way I explain it to buyers:
| Enclosure Type | How it’s made | Best for | Common trade-off |
|---|---|---|---|
| Sheet metal | Cut + bend + weld | Custom layouts, bigger boxes | Needs careful sealing + tolerance planning |
| Die-cast | Molded metal | Strong, compact, good EMI | Tooling cost, less flexible changes |
| Plastic | Injection or molded | Low cost, light weight | EMI, heat, and UV limitations |
This table is not to “rank” them. It is to show a key idea: sheet metal wins when you need flexibility and custom integration.
Common Applications in Industrial and Commercial Projects
Most sheet metal enclosures I see go into places where nobody will baby them:
- control panels and PLC cabinets
- power supplies and industrial automation
- telecom and networking equipment
- custom OEM devices for factories, labs, and field sites
If your product lives in a warehouse, a factory, a machine room, or an outdoor cabinet, sheet metal becomes the “adult choice” fast.
Why Enclosure Selection Impacts System Reliability
This is where people underestimate the enclosure. They think it only protects from “touch.” I look at it like a multi-tool:
- Mechanical protection: impact, vibration, handling damage
- Thermal management: airflow, conduction, heat soak
- EMI shielding: ground paths, seams, apertures
- Environmental resistance: dust, water, corrosion
And here is the critical thinking part: a sheet metal enclosure can pass a drawing review and still fail in the field. Because the field does not care about drawings. The field cares about heat, moisture, cleaning chemicals, cable pulls, and careless installation.
If you want fewer surprises, you start with requirements first, not with a catalog.
How Do I Define My Project Requirements Before Buying?

I’ve watched smart engineers lose days because they skipped a simple step: writing down the real requirements in plain language.
A drawing is not always a requirement. A drawing is a guess about the future.
Internal Component Layout and Mounting
I start inside the box. Always.
I ask for:
- PCB outline and height limits
- connector locations and mating space
- cable entry direction and bend radius
- mounting method (standoffs, studs, rails, DIN, brackets)
Then I build a “clearance budget.” This sounds boring, but it prevents pain.
| Item | Typical “forgotten” space | What happens if ignored |
|---|---|---|
| Connector mating | 10–25 mm | plug can’t fully seat |
| Cable bend radius | 20–60 mm | cables stressed, breaks later |
| Screwdriver access | 15–30 mm | assembly becomes slow and messy |
| Air gap above hot parts | 5–20 mm | heat builds, parts age faster |
I have a rule: If assembly is annoying, quality will drop. People rush. They force things. Then the enclosure becomes a hidden failure point.
Environmental Conditions
This is the question that separates “okay” enclosures from durable ones.
I ask: where will it live?
- indoor office? indoor factory? outdoors?
- dust? oil mist? washdown? salt air?
- will it sit near heat sources?
- will people clean it with chemicals?
A simple checklist helps:
- Dust: fine powder, woodworking dust, cement dust
- Moisture: dripping water, rain, condensation
- Corrosion: coastal, chemical plants, food processing
- Impact: forklifts, hand tools, transport vibration
The critical thinking angle: most failures come from “almost matching” the environment.
Not totally wrong. Just slightly wrong. Like using mild steel with poor coating in a humid plant. It survives three months, then rust shows up at seams. The customer thinks the supplier lied. The supplier thinks the customer used it wrong. Both are unhappy.
Certification and Compliance Requirements
If your product needs IP or NEMA ratings, you must treat sealing and grounding as design features, not afterthoughts.
I also ask about:
- CE requirements in Europe
- UL needs in North America
- grounding and safety expectations
Even when a buyer says “we don’t need certification,” I still push one question:
Will your customer ask later?
Because the answer is often “yes,” and changing the enclosure later is expensive.
Volume and Customization Level
Volume changes everything. It changes the best process, the best cost structure, and the best supplier.
- prototype: speed matters more than perfect unit cost
- low volume: flexibility and CNC-friendly design matter
- mid/high volume: repeatability and tooling strategy matter
I like to frame it like this:
| Project stage | Best enclosure approach | Why |
|---|---|---|
| Prototype | fast custom sheet metal | changes are frequent |
| Pilot (small batch) | standard + modifications | stable but still flexible |
| Mass production | optimized custom design | unit cost and consistency win |
One more thing: branding. A logo on the enclosure is not “cosmetic.” It changes how customers trust the product. But it also adds process steps, so it should be planned early.
Now that requirements are clear, the next big decision is material. This is where many teams oversimplify.
Which Material Should I Choose: Steel, Stainless Steel, or Aluminum?
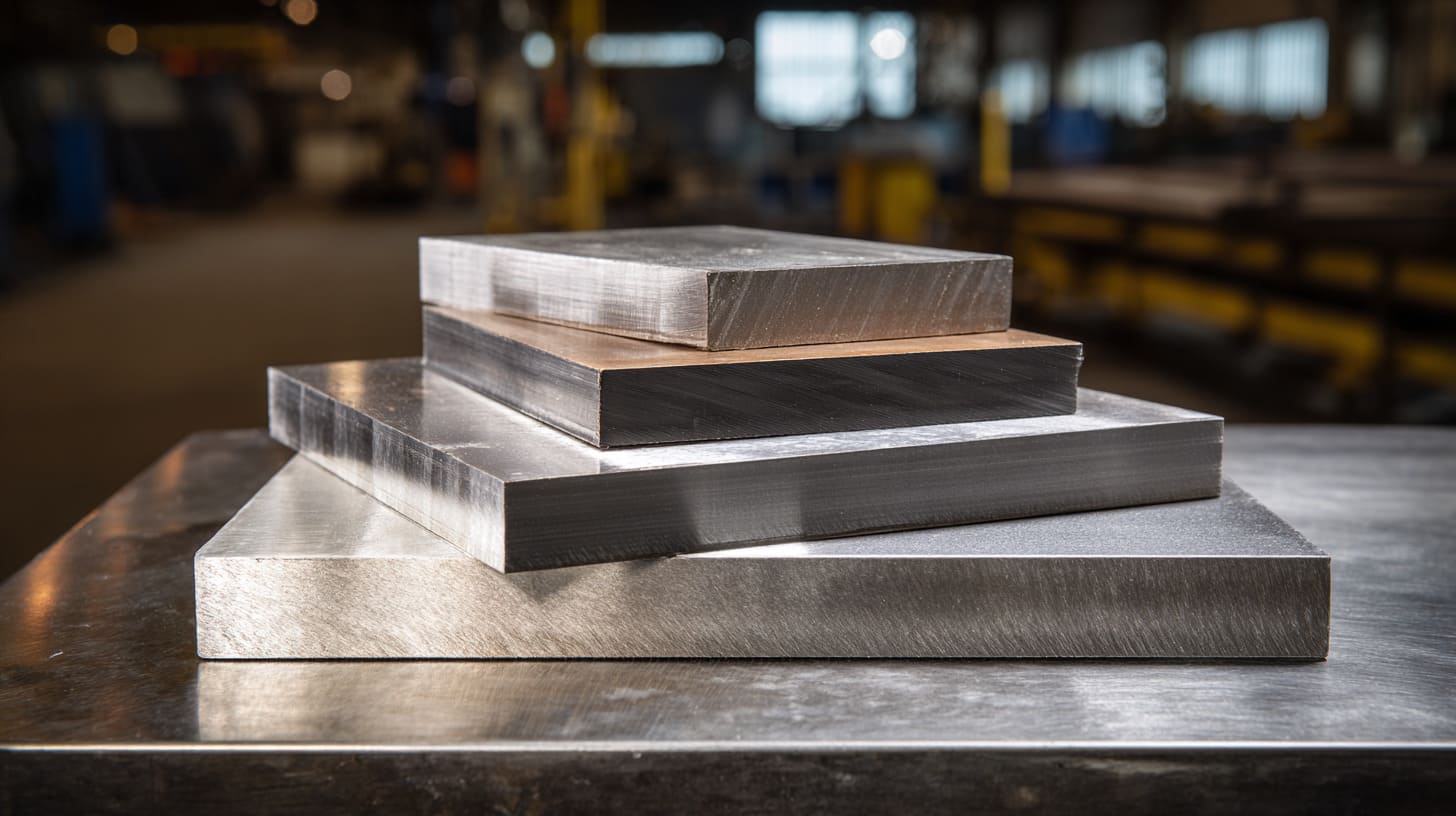
I have seen engineers argue about material like it is a religion. Steel people. Aluminum people. Stainless people.
I’m not loyal to one. I’m loyal to the job.
Carbon Steel (Cold Rolled Steel)
Carbon steel is the workhorse. It is strong, easy to form, and usually the most cost-friendly.
What I like:
- good stiffness for large panels
- good structure for doors and frames
- great for powder coating
What I watch closely:
- corrosion risk if coating is damaged
- edge rust at seams if design traps moisture
I often tell buyers: steel is great, but only if the finish is treated like part of the design. Powder coat quality matters. Pretreatment matters. Thickness matters.
Stainless Steel
Stainless is for places where steel becomes a maintenance problem.
Two common grades:
- 304: good general corrosion resistance
- 316: better against chlorides (coastal, chemical, salty)
Where stainless makes sense:
- food processing
- marine environments
- chemical plants
- outdoor coastal cabinets
The trade-off is cost and fabrication time. Stainless is harder to work with. It can also show fingerprints and scratches more, depending on finish.
Critical thought: stainless is not “rust-proof.”
It is “rust-resistant.” Bad design still causes problems. Crevice corrosion is real. Poor cleaning practices can still damage surfaces. Material is not magic.
Aluminum
Aluminum is my favorite when weight and heat matter.
What aluminum does well:
- light weight for shipping and installation
- good heat conduction (helps in some thermal designs)
- CNC machining is clean for cutouts and details
What aluminum does not do as well:
- can dent easier than steel at the same thickness
- needs surface treatment if corrosion or appearance matters
- EMI performance depends on seams and grounding strategy
A common trap: people assume aluminum always runs cooler. Not always. If the design is sealed and airflow is bad, aluminum can still trap heat. Material helps, but layout and ventilation matter more.
Material Comparison Table (Engineer View)
Here is the “decision table” I use with Davide-type engineers who want a clear trade-off view:
| Factor | Carbon Steel | Stainless Steel | Aluminum |
|---|---|---|---|
| Strength & stiffness | ⭐⭐⭐⭐ | ⭐⭐⭐⭐ | ⭐⭐⭐ |
| Weight | ⭐⭐ (heavy) | ⭐⭐ (heavy) | ⭐⭐⭐⭐ (light) |
| Corrosion resistance | ⭐⭐ (needs coating) | ⭐⭐⭐⭐ | ⭐⭐⭐ |
| Cost level | $ | $$$ | $$ |
| Fabrication speed | ⭐⭐⭐⭐ | ⭐⭐⭐ | ⭐⭐⭐⭐ |
| CNC cutout friendliness | ⭐⭐⭐ | ⭐⭐⭐ | ⭐⭐⭐⭐ |
| Outdoor harsh use | ⭐⭐⭐ (with good coat) | ⭐⭐⭐⭐ | ⭐⭐⭐ (needs finish) |
If you feel stuck, I suggest a simple question:
What is your biggest real-world risk: corrosion, heat, weight, or cost?
Pick the material that reduces that risk first. Not the one that sounds “premium.”
Once material is chosen, thickness becomes the next place people overspend or under-build.
What Thickness Is Right for My Sheet Metal Enclosure?

Thickness sounds simple. Many buyers ask me, “What thickness do you recommend?” like there is one correct number.
There isn’t. Thickness is tied to size, mounting, handling, and vibration.
How Thickness Affects Strength and Vibration
A thin panel can look fine on a bench and still fail in shipping.
What thickness influences:
- panel deflection (big flat walls flex)
- door stability (hinges and latches need support)
- vibration resistance (transport, factory vibration)
- thread engagement (if tapping holes)
One thing I do: I tap the enclosure wall lightly. Not as a “scientific test,” but as a quick clue. If it sounds like a drum, I start worrying about vibration and resonance.
Cost vs Over-Engineering
Here is the part many teams ignore: every thickness increase has a hidden cost chain.
- more material cost
- more weight → higher shipping cost
- harder bending and forming
- sometimes slower production
But going too thin creates different costs:
- dents and damage
- warped doors
- misalignment at assembly
- customer complaints
So I aim for “strong enough, not heroic.”
Typical Thickness Ranges by Application
These are common ranges I see in practical projects. Not rules. Just useful anchors.
| Application | Typical thickness range | Why |
|---|---|---|
| Small electronics box | 0.8–1.5 mm | balance weight and stiffness |
| Wall-mounted cabinet | 1.2–2.0 mm | doors and mounting stress |
| Floor-standing cabinet | 1.5–2.5 mm | large panels need rigidity |
| Heavy industrial use | 2.0–3.0 mm | abuse, vibration, long life |
Critical thinking note: thickness cannot fix a bad design.
If a large panel is unsupported, even thick material can flex. Sometimes adding a flange, rib, or fold is smarter than adding thickness.
After thickness, we reach the topic everyone loves to argue about: IP and NEMA ratings. This is where “buying a box” becomes “engineering a seal.”
How Important Are Protection Ratings (IP and NEMA)?
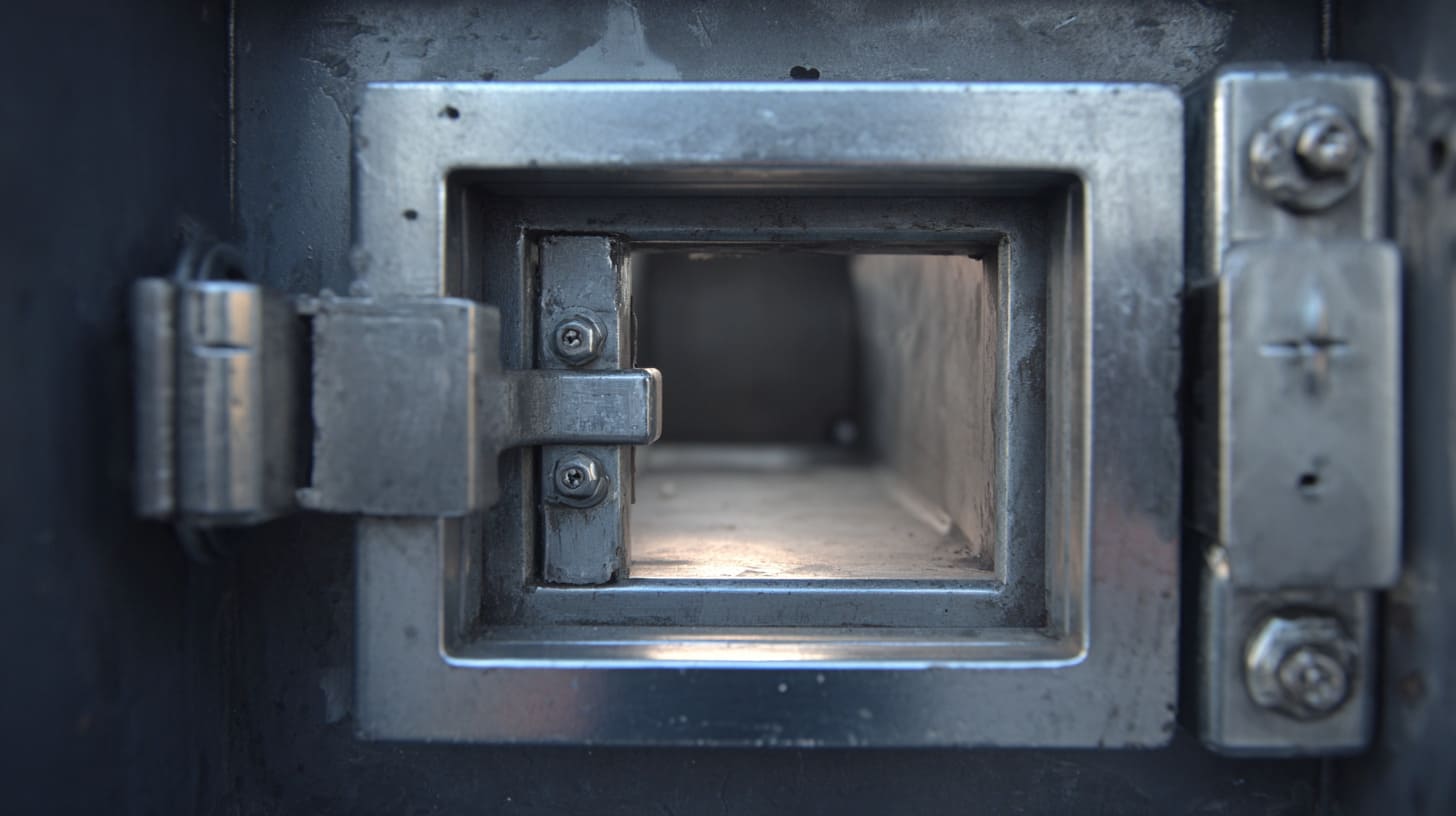
Ratings are like promises with fine print. People read the label and feel safe. Then water finds a seam.
I’ve seen it happen many times. The buyer says, “It’s rated.” The field says, “Still leaking.”
Understanding IP Ratings
IP ratings focus on dust and water protection.
A few common ones:
- IP54: limited dust ingress + splash protection
- IP65: dust-tight + water jets
- IP66: dust-tight + powerful water jets
Here is a simple view:
| IP rating | Dust protection | Water protection | Typical use |
|---|---|---|---|
| IP54 | some dust okay | splashes | indoor industrial |
| IP65 | dust-tight | water jets | outdoor light duty |
| IP66 | dust-tight | strong water jets | washdown zones |
A key point: IP rating depends on your exact construction.
A good gasket helps, but seams, screws, door compression, and cutouts matter just as much.
Understanding NEMA Ratings
NEMA is common in North America and often maps to real-world use scenarios.
Common ones:
- NEMA 1: indoor, basic protection
- NEMA 3R: outdoor, rain protection
- NEMA 4: watertight, washdown style
- NEMA 4X: corrosion resistant, harsh environments
A simple table helps buyers decide faster:
| NEMA | Typical location | Main protection idea |
|---|---|---|
| 1 | indoor | basic safety |
| 3R | outdoor | rain and sleet |
| 4 | indoor/outdoor | water spray and washdown |
| 4X | harsh | washdown + corrosion resistance |
Common Mistakes in Rating Selection
I see three big mistakes:
1) Over-specifying
- “Let’s do the highest rating just to be safe.”
- Result: cost jumps, lead time grows, design becomes harder, and sometimes heat problems get worse.
2) Under-specifying
- “It’s indoors, so it’s fine.”
- Then the “indoor” site has humidity, cleaning, and dust. The enclosure ages fast.
3) Ignoring gasket and sealing design
- gasket material not matched to chemicals
- door compression uneven
- cutouts too close to edges
- poor seam design
If you want to think like an engineer, ask this:
Is your rating requirement real, or is it fear?
Fear costs money. Real requirements also cost money, but at least they prevent failure.
Once we talk sealing, we must talk heat. Sealed enclosures and heat often fight each other.
How Do I Evaluate Thermal Management in a Sheet Metal Enclosure?

Heat is sneaky. Your device can pass a lab test and still overheat in a closed cabinet on a hot day.
I’ve had Davide-type engineers message me, “The board is fine in open air, but inside the enclosure it resets.” That is a classic story.
Passive Cooling Strategies
Passive cooling is where I start, because it is simple and reliable.
Options:
- vent holes and louvers
- natural convection design
- heat spreading through aluminum panels
- placing hot components near airflow paths
But I also challenge a common myth: adding vents is not always a win.
If the environment has dust, oil mist, or moisture, vents can invite trouble. Then you add filters. Then filters clog. Then heat rises again.
Here is a quick decision helper:
| Passive method | Works well when | Risk |
|---|---|---|
| Louvers | clean indoor air | dust ingress |
| Natural convection gaps | moderate heat load | may be too weak |
| Aluminum body as spreader | localized heat | still needs airflow |
| Heat sinking to enclosure | good contact design | needs careful insulation planning |
Active Cooling Options
When heat is high, active cooling is often the honest answer.
Common options:
- fans with filters
- sealed heat exchangers
- thermal pads + heat sinks
- planned airflow paths (intake → hot zone → exhaust)
I always look at airflow like a road map. Air needs a path. Without a path, a fan just stirs hot air like soup.
When to Use Heat Simulation or Testing
I suggest simulation or real testing when:
- power density is high
- enclosure is sealed (IP65+)
- device runs 24/7
- environment is hot or poorly ventilated
A practical tip: measure temperature where it matters.
Not just “inside the box.” Measure on the hottest component, near the power supply, near the CPU, and near the cable entry if it brings in heat.
Critical thinking angle: thermal failure is often a system problem, not a component problem.
People replace boards. They swap parts. The real fix is airflow, layout, and enclosure design.
After heat, the next thing that decides success is build quality. This is where a “cheap-looking box” can quietly destroy trust.
What Should I Check in Manufacturing Quality?

I can tell a lot about a supplier by how their first sample feels in my hands.
Not the brochure. Not the factory photos. The sample.
Fabrication Accuracy
Accuracy is not just about dimensions. It is about how parts come together.
I check:
- hole positions and cutout alignment
- bending angles and repeatability
- door gaps and seam consistency
- hinge alignment and latch closure
Here is a quick “sample inspection list” I use:
| Check item | What I look for | Why it matters |
|---|---|---|
| Cutout edges | clean, no heavy burrs | cable damage risk |
| Bend lines | consistent angle, no warping | assembly fit |
| Door gap | even around | sealing and appearance |
| Screw hole alignment | no forced assembly | saves time, reduces defects |
Surface Finishing
Finish is not only about looks. It protects the enclosure.
Common finishes:
- powder coating for steel
- anodizing for aluminum
- plating for certain steel parts
- brushed finishes for stainless
I ask suppliers for:
- coating thickness target
- adhesion test approach
- salt spray expectations (if needed)
- surface scratch handling in packaging
Critical thinking note: good coating can hide bad metalwork.
A glossy surface can make people ignore alignment issues. I always open and close the door repeatedly. I look for rubbing marks. Those small marks predict bigger problems later.
Welding and Structural Integrity
Welding quality matters more than people think.
I check:
- clean weld seams
- minimal distortion
- doors staying square
- hinge mounting stability
A common failure point is door alignment. If the door sits slightly twisted, gaskets compress unevenly. Then water finds the weak spot.
After quality checks, buyers often ask me the big question: standard enclosure or full custom? The answer depends on risk, time, and how much you hate surprises.
Should I Choose Standard Enclosures or Full Custom Design?
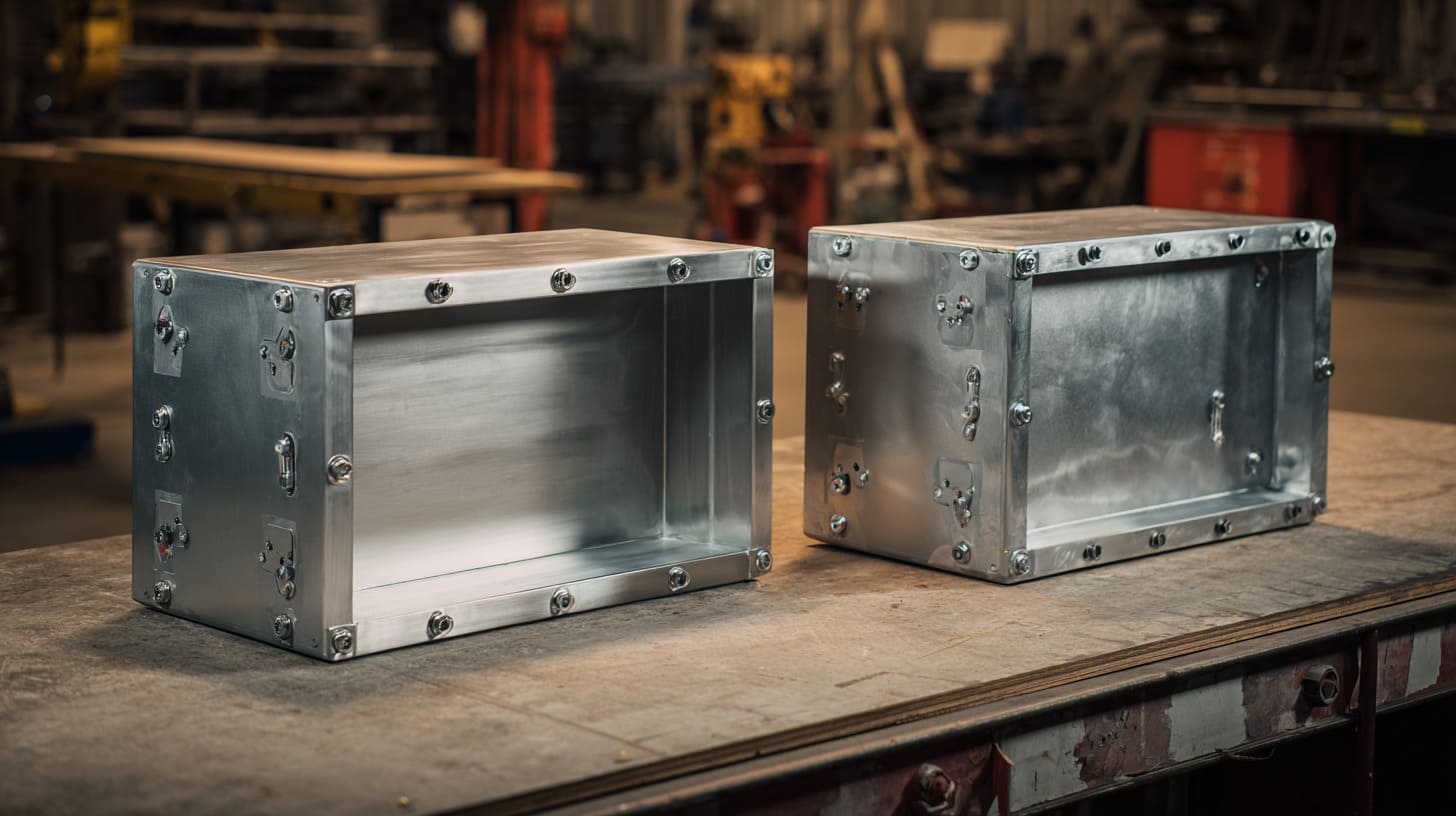
This is one of my favorite decision points, because there is no “always right” choice. It depends on what you value more: speed, cost, fit, or control.
Benefits of Standard Stock Enclosures
Standard enclosures are great when:
- you need fast delivery
- you can accept “close enough” fit
- you only need minor modifications
Benefits:
- lower tooling cost
- shorter lead time
- stable repeatability
But here is the honest truth: standard boxes often force awkward compromises.
Cables fight space. Connectors sit too close. Cooling becomes harder. Assembly becomes slower.
Benefits of Full Custom OEM Enclosures
Custom OEM enclosures win when:
- your PCB layout is unique
- you need perfect connector placement
- your brand appearance matters
- you want better thermal and EMI planning
Benefits:
- clean fit for your system
- better packaging and branding options
- less assembly pain over time
Trade-offs:
- more engineering work up front
- sample iteration cycles
- sometimes higher initial cost
Hybrid Approach
A hybrid approach is common in real projects:
- choose a standard housing
- add CNC cutouts
- add custom brackets, studs, or internal plates
- private label with engraving or printing
This can be the “smart middle,” especially for small-to-mid volume projects.
I like to summarize the decision like this:
| Approach | Best for | Main risk |
|---|---|---|
| Standard | fast projects | compromises pile up |
| Full custom | stable products | longer setup time |
| Hybrid | balanced projects | limits of base box |
If you are still unsure, I use one question:
Will a compromise today become a customer complaint tomorrow?
If yes, go more custom.
Now, even the best design fails if the supplier cannot execute. Supplier evaluation is where B2B buyers protect their timeline.
How Do I Evaluate a Supplier Before Placing a Large Order?

I’ve worked with buyers who were burned by the same problem: the supplier could make a nice sample, but could not repeat it in mass production.
So I look beyond the sample.
Communication and Engineering Support
Communication is not “soft.” It is a cost control tool.
I look for:
- response speed
- clear confirmation of details
- DFM suggestions that actually help
- ability to review drawings and catch risks
If a supplier avoids details, I get nervous. Good suppliers are not afraid to ask annoying questions. Those questions prevent defects.
Production Capacity and Equipment
I ask what equipment they actually use:
- laser cutting machines
- bending machines
- welding fixtures
- CNC machining capability
- powder coating line
I also ask: how many production lines and how stable is the workflow?
Capacity is not just “big machines.” It is consistency. It is skilled workers. It is quality checkpoints.
Lead Time and Logistics
I ask for two timelines:
- sample lead time
- mass production lead time
Then I ask about shipping options and packaging.
A box can be perfect in the factory and damaged in shipping. Packaging is part of quality.
Quality Control System
I want to see:
- inspection standards
- dimensional reports if needed
- surface defect standards
- packaging standards for export
A simple supplier scorecard helps:
| Category | What “good” looks like |
|---|---|
| Drawing review | points out risks and confirms details |
| Sample consistency | matches drawing and function |
| Mass production plan | clear steps, clear checks |
| Packaging | protects corners, avoids rubbing |
| Response speed | fast and clear, not vague |
Critical thinking: price is easy to compare. Process is harder to compare.
But process is what decides whether your project stays calm.
Once supplier selection is clear, the last piece is cost. Real cost, not just unit price.
What Are the Real Cost Factors Behind a Sheet Metal Enclosure?

Buyers often ask me, “Why is this enclosure quote higher than that one?” I get it. It is frustrating. But price is not one number. Price is a stack of decisions.
Material and Thickness
Material choice affects:
- raw material cost
- weight and shipping
- fabrication difficulty
Thickness affects:
- bending difficulty
- weld time
- shipping weight
Also, raw material prices can change. Steel and aluminum markets move. That is normal. A good supplier will explain it, not hide it.
Tooling and Setup Cost
Tooling is a cost that spreads across volume.
Common cost drivers:
- punch molds for repeating cutouts
- bending tooling setup
- welding fixtures
- jigs for repeat alignment
A small project may look “expensive” because setup cost is spread across fewer units. That is not unfair. It is math.
Surface Finishing and Branding
Finishing adds real cost:
- powder coating color changes
- masking for grounding points
- anodizing type and thickness
- printing or engraving
- custom packaging
Here is a quick view:
| Add-on | Why it costs more | Why it can be worth it |
|---|---|---|
| Custom color | setup and batch control | brand consistency |
| Laser engraving | time per unit | permanent, clean look |
| Silk screen | fixture and alignment | high visibility branding |
| Custom packaging | material + labor | fewer shipping damages |
Shipping and Volume Considerations
Shipping is often the hidden killer.
Factors:
- weight-based freight
- carton size (dimensional weight)
- assembled vs flat-pack shipping
- protective foam and corner guards
- MOQ and batch planning
I often tell buyers: a cheaper enclosure that arrives damaged is not cheaper.
It is just delayed cost.
At this point, the whole guide should feel like one idea: the enclosure is not a box. It is a system decision. So let me close it out in a calm, practical way.
Conclusion

When I choose a sheet metal enclosure, I do not start with a catalog page. I start with the system.
I look at requirements first. I check layout and mounting. I ask where the product will live. I think about certification early. Then I choose material based on real risk, not habit. After that, I set thickness with structure in mind, not guesswork. I treat IP and NEMA ratings like real design work, not labels. I take thermal management seriously because heat does not negotiate. I inspect manufacturing quality because small misalignments become big field failures. I decide standard vs custom based on how painful compromise will be later. I evaluate suppliers by process and communication, not only by price. Then I review cost drivers so the quote makes sense.
If you are building an OEM product, this approach does one thing that matters most: it reduces surprise. And surprise is what kills timelines, budgets, and trust.
If you want, you can send me your basic requirements (PCB size, connector positions, environment, target rating, quantity). I can help you sanity-check the enclosure direction before you spend money on the wrong “box.” And if you already have a drawing, even better. That is where the real problem-solving starts.







