 Skip to content
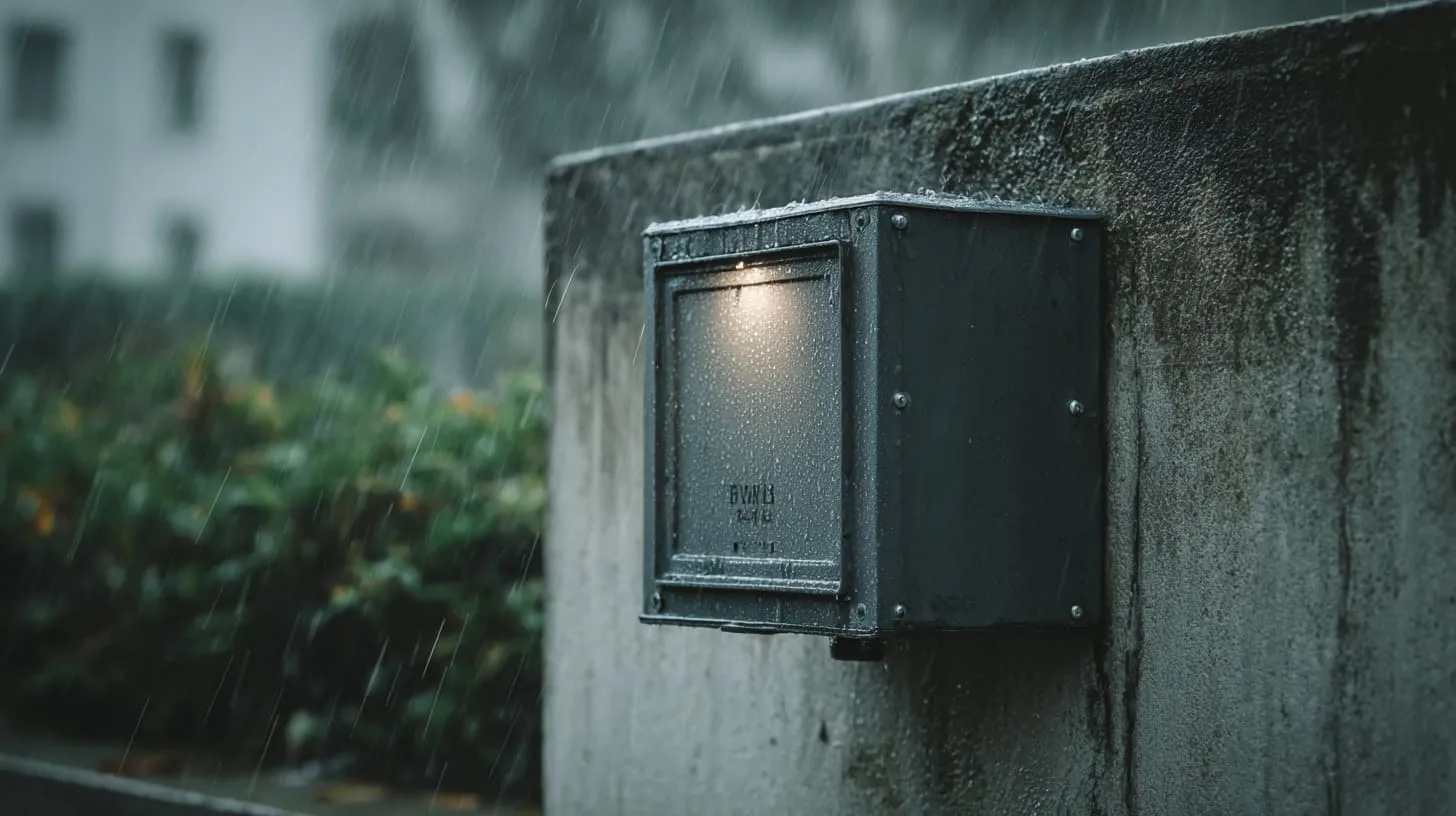
It starts with something small.
A low humming noise in the system. A random reboot. Maybe a client calls in saying their control panel shut down after heavy rain.
By the time you open the outdoor electrical box, it’s too late—moisture has crept in, rusted a few terminals, and quietly ruined your weekend.
This guide exists to prevent that exact moment.
Over the years, I’ve worked with engineers, procurement teams, and OEM project leads across dozens of industries. No matter where they’re from—Finland, Canada, Germany—the story is always similar: They didn’t think water would be a problem. Until it was.
Waterproofing isn’t just a checkbox on a spec sheet. It’s your silent partner in system reliability, product longevity, and staying compliant with safety standards.
And the good news? You don’t need magic.
Just the right materials, a thoughtful install, and the discipline to seal what needs sealing.
Let’s walk through it all, step by step.
1. Understanding Outdoor Electrical Boxes
Before talking about sealing and silicone, I always start with one question:
What exactly are we trying to protect?
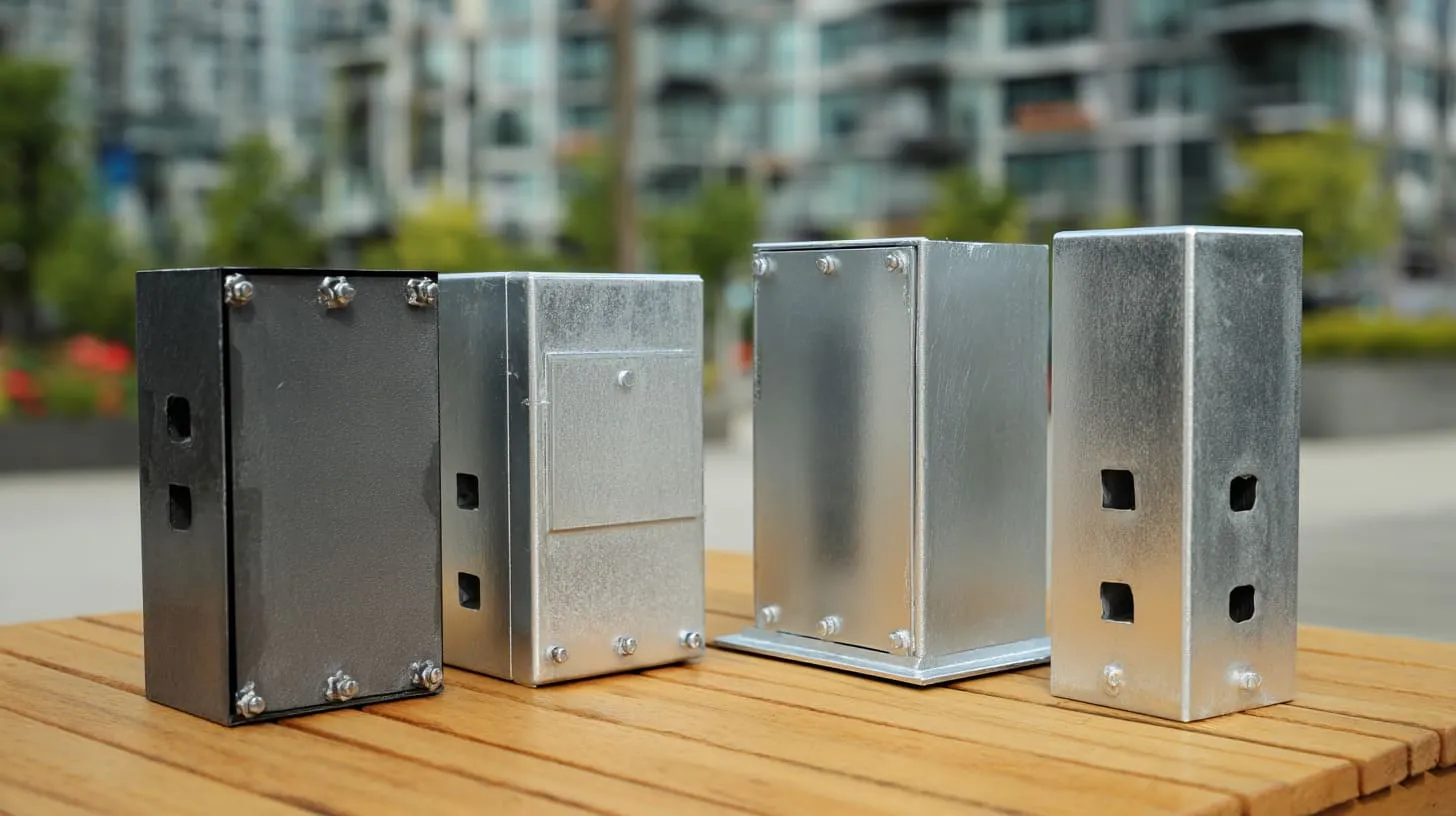
What is an outdoor electrical box?
An outdoor electrical box is a protective enclosure.
Its job is simple on paper:
- Hold electrical connections
- Protect wires and terminals
- Keep out water, dust, and insects
But in the real world, it also faces sun, heat, cold, vibration, and bad installation habits.
I often tell clients that an outdoor box is like a rain jacket.
A cheap one works once. A good one works for years.
Key risks from water ingress and weather exposure
Water damage rarely shows up fast.
It shows up later, when nobody is looking.
Common risks I see include:
- Corrosion on terminals
- Short circuits during rain
- Mold or moisture buildup
- Cracked housings from UV exposure
Here is a simple table I use with clients:
| Risk | Short-term effect | Long-term effect |
|---|---|---|
| Rain ingress | Temporary failure | Rust and corrosion |
| Condensation | Signal instability | Board damage |
| UV exposure | Color fade | Material cracking |
| Temperature change | Seal shrink | Seal failure |
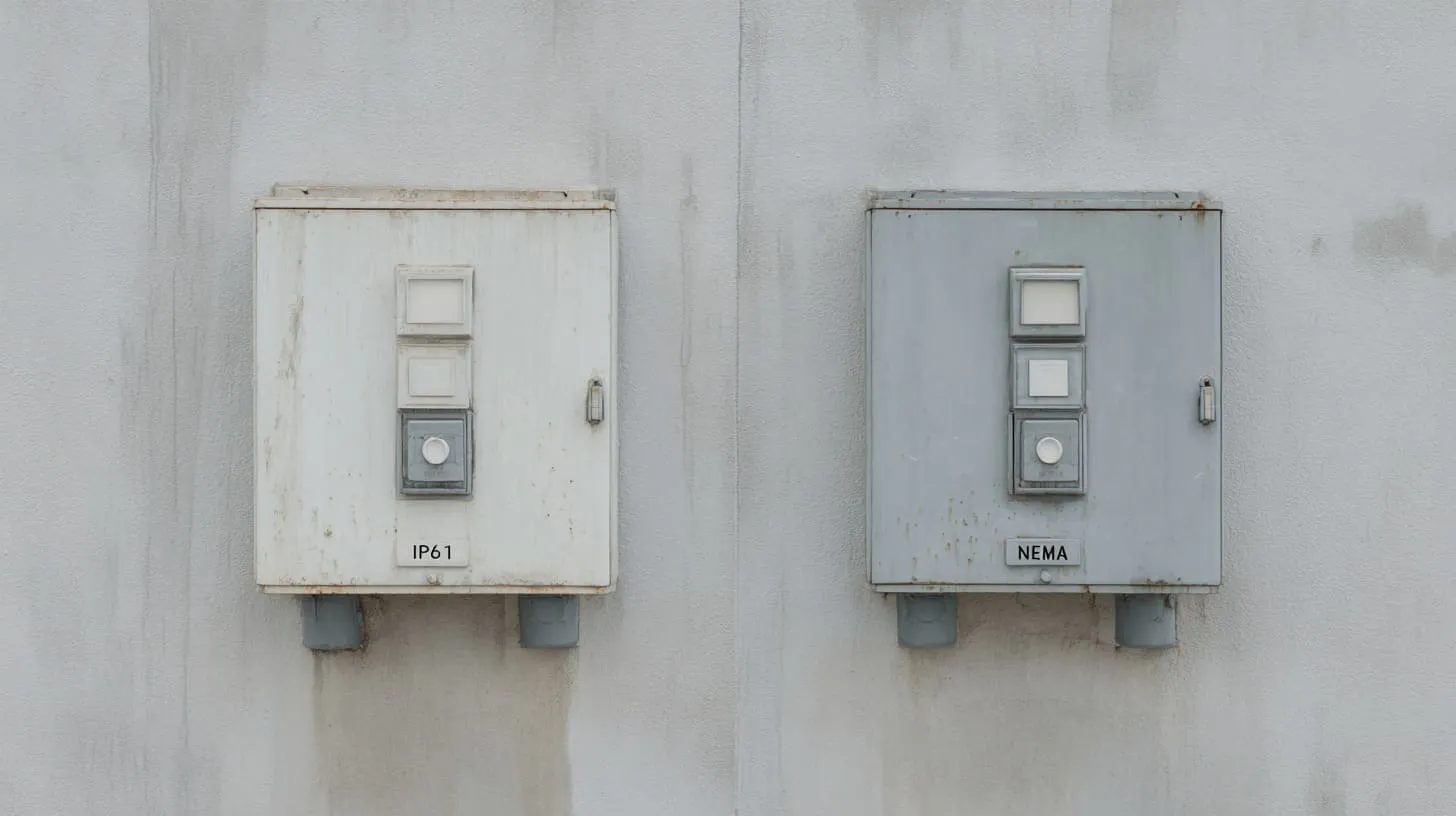
IP & NEMA ratings explained
This is where many buyers feel confused.
IP and NEMA ratings are not marketing words.
They are rules.
| Rating system | What it focuses on |
|---|---|
| IP rating | Dust and water protection |
| NEMA rating | Environment and safety |
For outdoor boxes, I usually see these targets:
- IP65 / IP66 for rain and hose water
- NEMA 3R for basic outdoor use
- NEMA 4 / 4X for heavy rain and washdown
If a supplier avoids these terms, I pause.
That pause has saved many projects.
And once you understand the box itself, the next step feels natural: choosing the right one.
2. Choosing the Right Waterproof Outdoor Electrical Box
I have seen good installations fail because the box choice was wrong from day one.
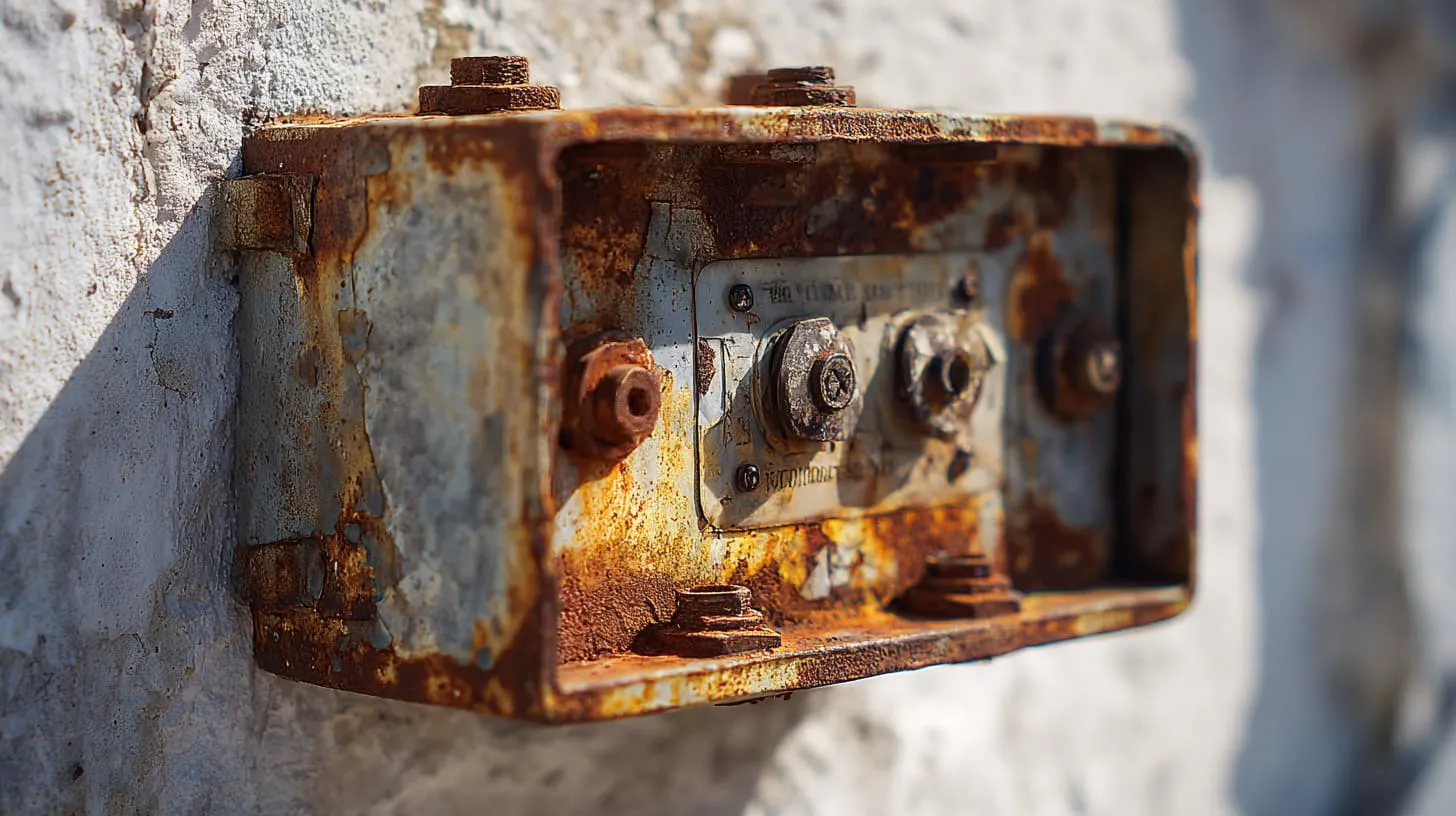
Material selection: plastic, aluminum, steel
Each material tells a different story.
| Material | What it does well | What to watch |
|---|---|---|
| ABS | Low cost, light | UV aging |
| Polycarbonate | Strong, clear | Higher cost |
| Aluminum | Heat dissipation | Needs good sealing |
| Steel | Strength | Corrosion risk |
For ODM clients like John, aluminum often wins because it balances strength and heat.
For re-brand buyers like Jackson, polycarbonate gives safety and appearance.
There is no “best.”
Only “best for this job.”
Importance of certified weatherproof enclosures
I always push for tested ratings.
Why?
Because water does not care about promises.
Certified enclosures mean:
- Tested gaskets
- Controlled tolerances
- Repeatable quality
That consistency matters when you scale from 50 units to 5,000.
Size, space, and application considerations
Crowded boxes fail faster.
I suggest:
- 20–30% extra internal space
- Clean wire routing
- Room for air movement
A tight box traps heat and moisture.
Both are silent killers.
Accessories & features that matter
Small parts cause big leaks.
Key features I check:
- Silicone or EPDM gaskets
- IP-rated cable glands
- Closed knockouts
- Stainless screws
And once the box is right, the focus moves to how you prepare the site.
3. Preparing for Installation
Most waterproof failures happen before the first screw goes in.
Safety first: power off, tools ready
This sounds basic.
Yet I still hear stories of rushed installs.
My rule is simple:
- Power off
- Dry hands
- Clean tools
Waterproofing means nothing if safety is ignored.
Choosing the right location
Location decides lifespan.
Good locations share these traits:
- Elevated from ground
- Away from direct spray
- Protected from roof runoff
Bad locations invite water.
No sealant can fix bad placement.
Planning wire routing and conduit paths
Wires are water highways if planned wrong.
I always sketch:
- Entry points
- Drip loops
- Conduit angles
A five-minute sketch saves months of trouble.
And then comes the part most people rush: actual installation.
4. Step‑by‑Step Waterproof Installation Techniques
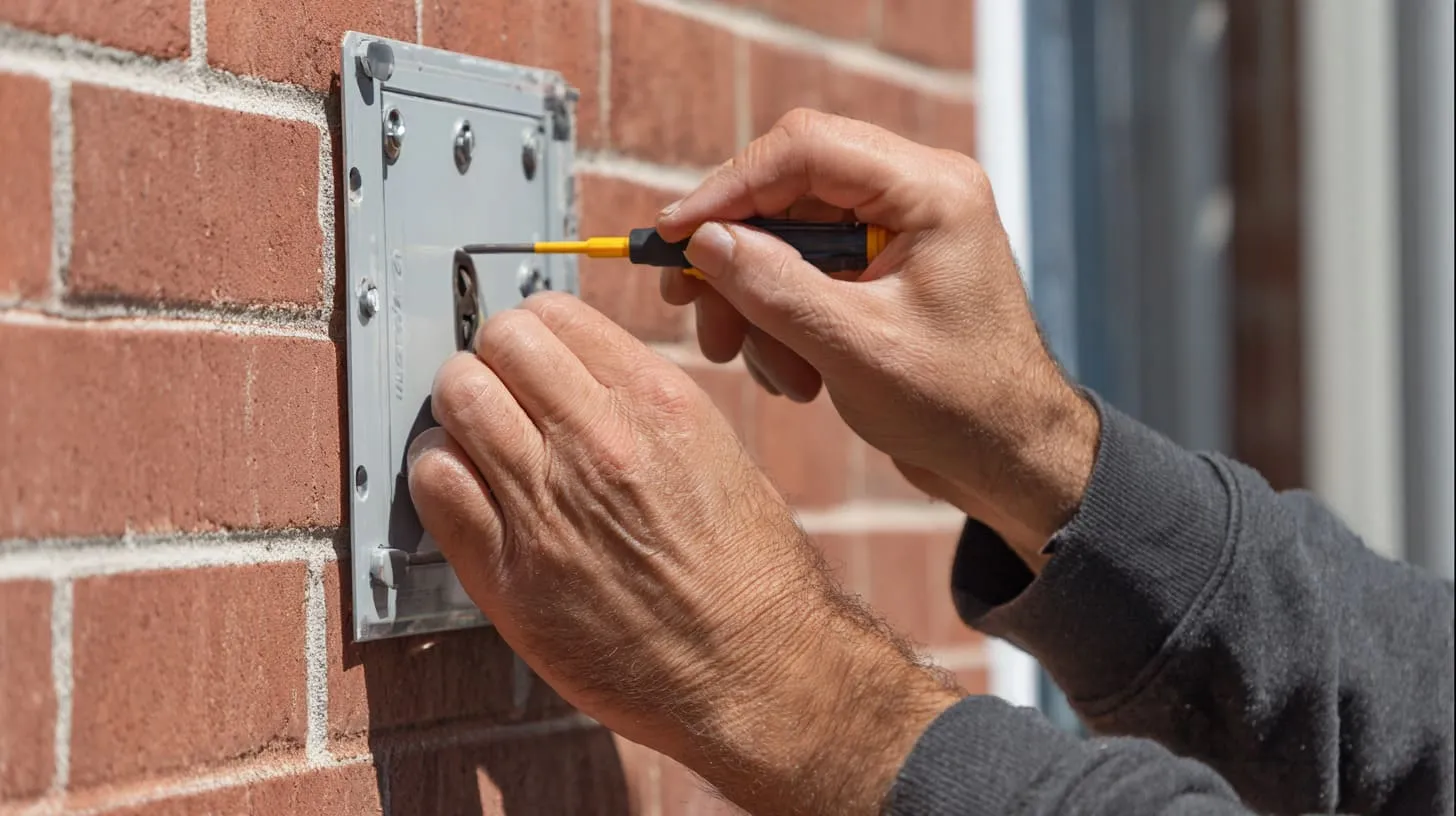
This is where theory meets hands and screws.
Mounting the outdoor electrical box
Mounting surfaces matter.
| Surface | Tip |
|---|---|
| Concrete | Use anchors |
| Brick | Avoid mortar gaps |
| Metal | Add isolation layer |
Flat mounting reduces gasket stress.
Installing cable glands and entry seals
Cable glands are not optional.
Rules I follow:
- One cable, one gland
- Correct gland size
- Tight, but not crushed
Loose glands leak.
Over-tight ones crack.
Sealing internal wiring & connections
Inside matters too.
I often recommend:
- Heat shrink on joints
- Dielectric grease where needed
- Clean wire bends
Water loves exposed copper.
Closing and compressing the gasket correctly
This step decides success.
Even torque matters.
| Mistake | Result |
|---|---|
| Uneven screws | Gasket gaps |
| Over-tight | Gasket damage |
| Under-tight | Water entry |
Testing water resistance before finalizing
Before shipping or closing walls, I test.
- Light spray
- Visual check
- Moisture paper
Testing feels boring.
Fixing water damage is worse.
Once installed, attention turns to weak points.
5. Waterproofing Specific Components and Penetrations
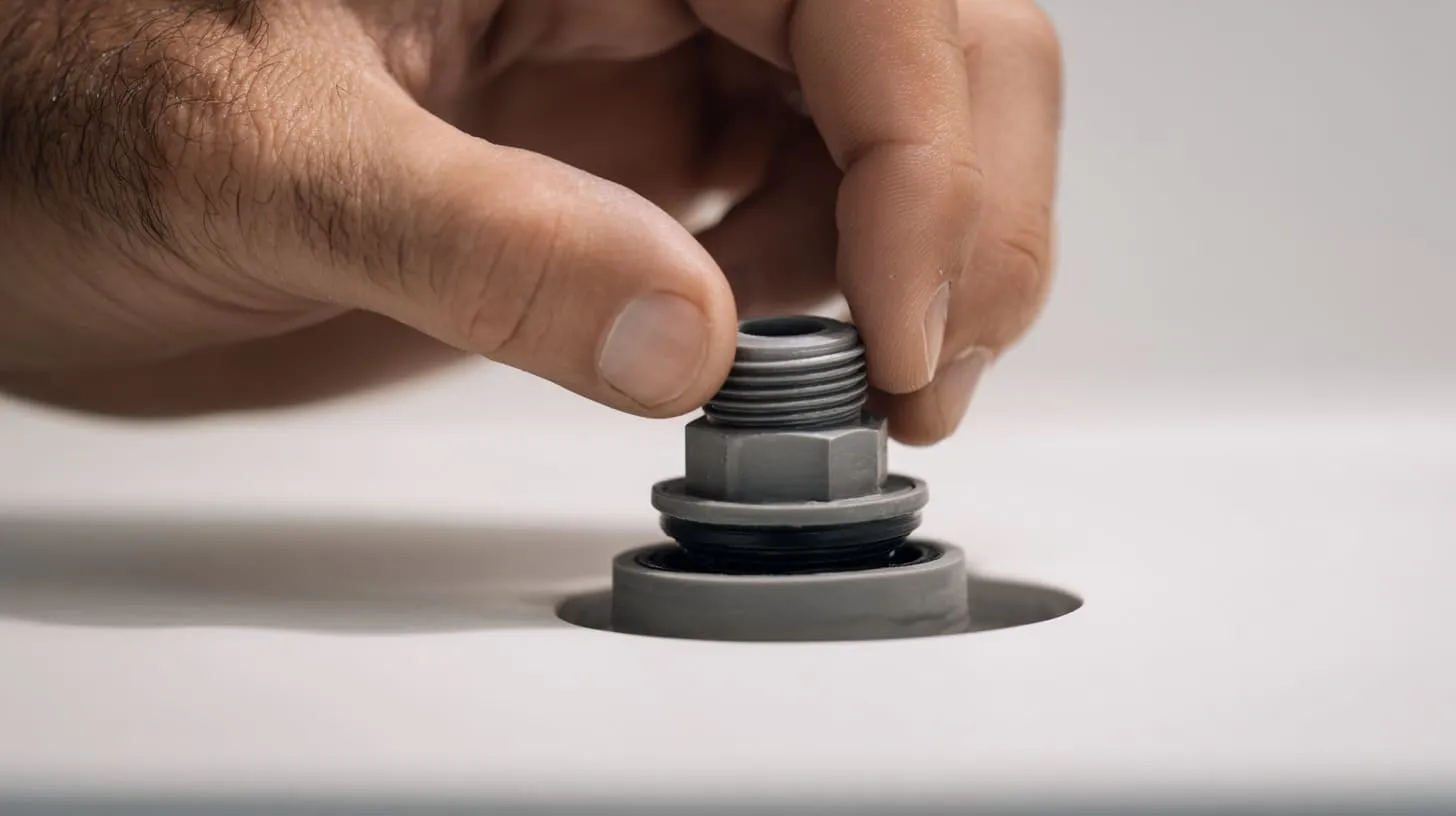
Water never enters where you expect.
Waterproof sealants for gaps & edges
Sealant is support, not a fix.
I use it for:
- Edge gaps
- Surface imperfections
Not as a replacement for gaskets.
Heat shrink tubing and cable protection
Heat shrink is cheap insurance.
It:
- Blocks moisture
- Supports strain relief
- Improves appearance
I use it even when clients say “not needed.”
Creating drip loops to prevent water entry
This trick feels old-school.
It works.
A drip loop lets water fall before it reaches the box.
Gravity is free. Use it.
And with cables handled, conduit takes the stage.
6. Using Conduit and Weatherproof Wire Routing
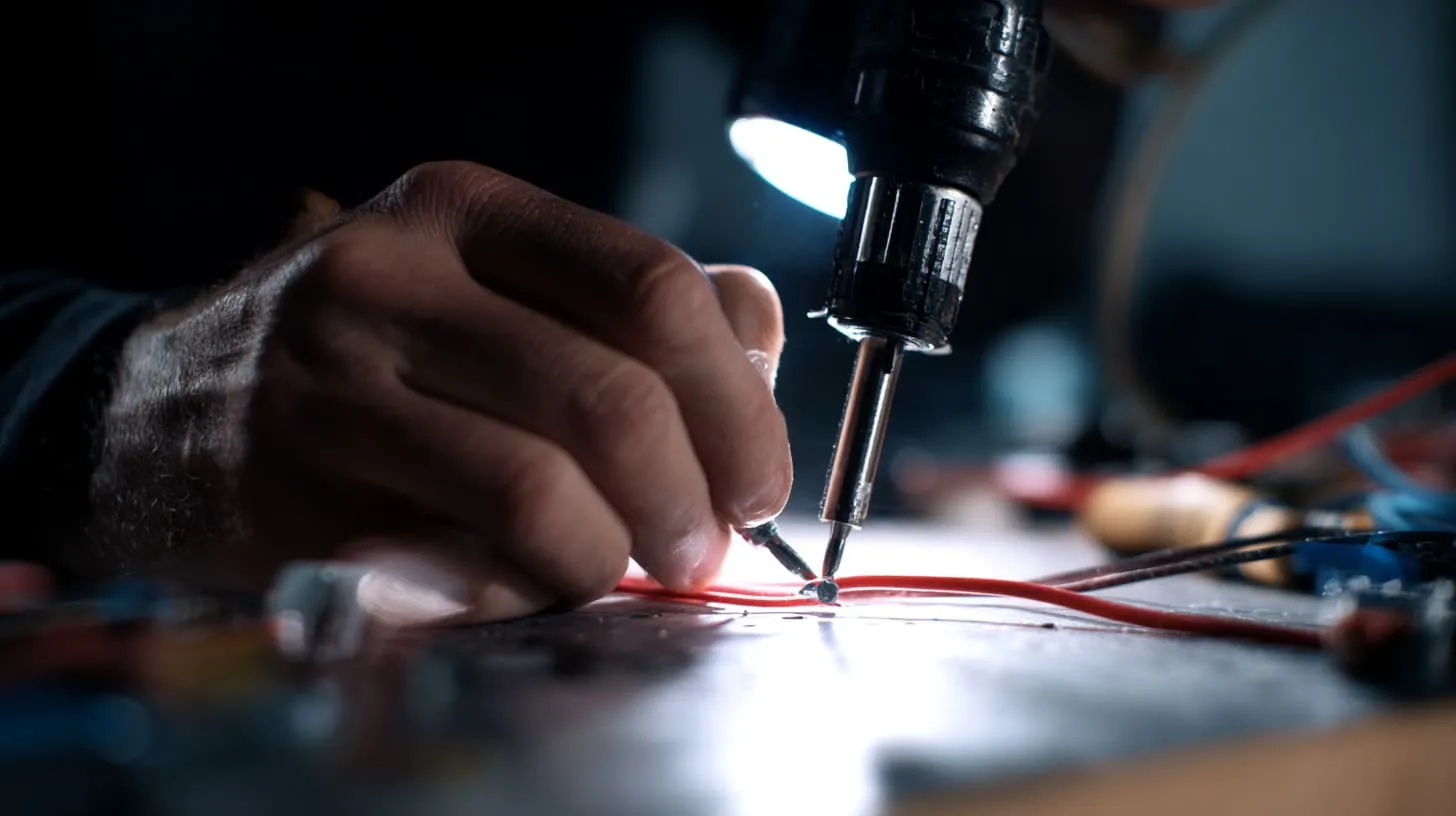
Conduit is not decoration.
Benefits of conduit systems
Good conduit:
- Protects cables
- Guides water away
- Improves service life
It also makes inspections easier.
Sealing conduit fittings and connectors
Unsealed conduit becomes a funnel.
I always seal:
- Threaded joints
- Entry fittings
- Expansion points
Choosing suitable outdoor‑rated wiring
Outdoor wire costs more.
It also saves projects.
UV-rated jackets resist cracking.
That alone is worth it.
And even the best setup needs care.
7. Regular Maintenance for Long‑Term Durability

Waterproofing is not “install and forget.”
Checking gaskets, seals, and cables
I suggest yearly checks.
Look for:
- Hard gaskets
- Cracks
- Loose glands
Cleaning debris and moisture
Leaves and dust trap water.
Clean boxes breathe better.
Inspecting after storms or severe weather
Storms reveal truth.
If water got in, fix it early.
Re‑sealing weaknesses proactively
Small fixes cost little.
Big failures cost trust.
And after years of seeing problems, patterns appear.
8. Common Mistakes & How to Avoid Them
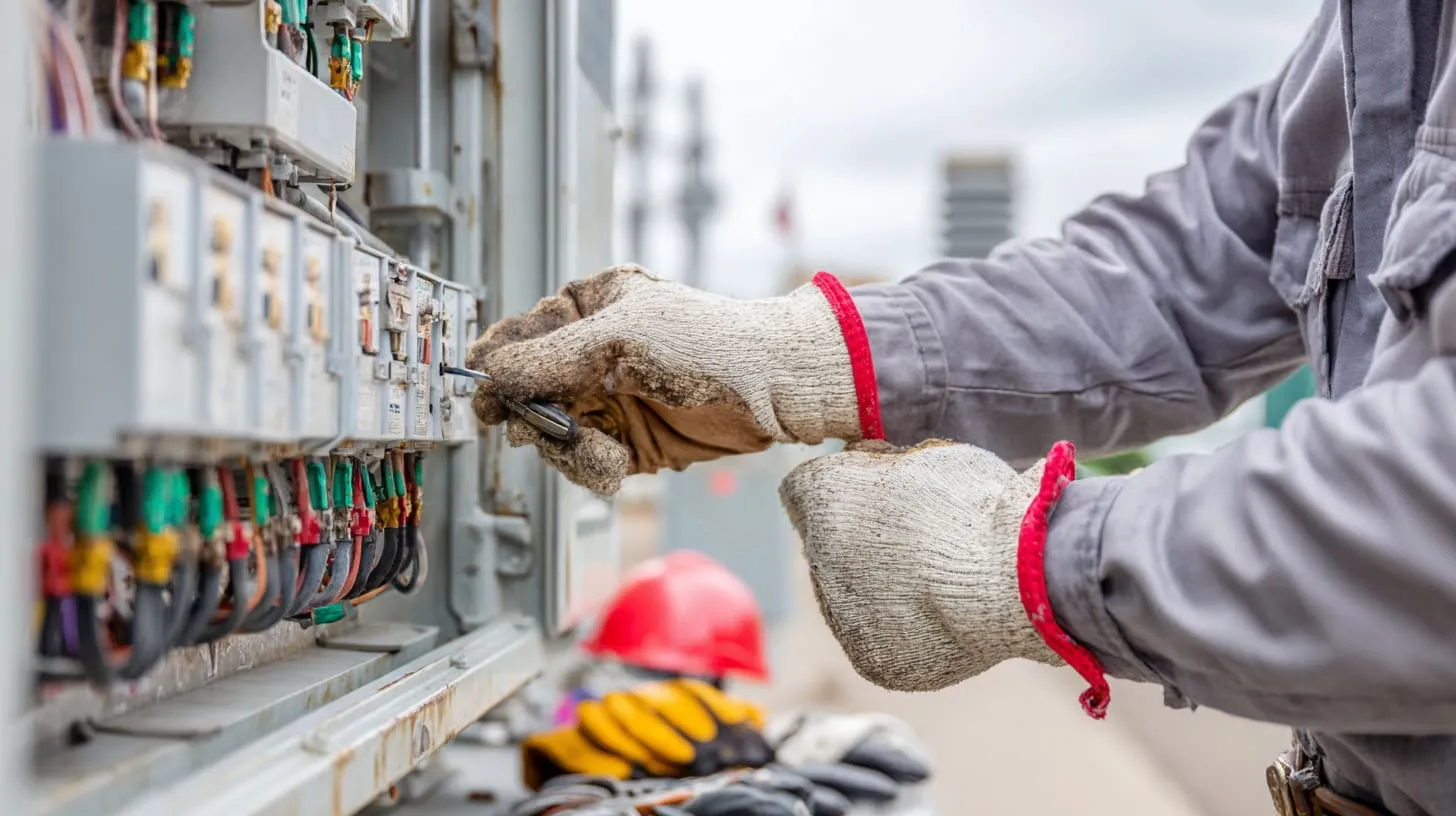
These mistakes repeat across countries.
Using indoor boxes outdoors
This is the fastest failure path.
Indoor plastic ages fast under sun and rain.
Improper sealing of cable entries
One loose hole ruins everything.
Over‑tightening screws and crushing gaskets
More force is not more safety.
Poor mounting and low placement
Water flows down.
Boxes should not sit in its path.
With mistakes avoided, safety becomes the final layer.
9. Best Practices for Outdoor Electrical Safety
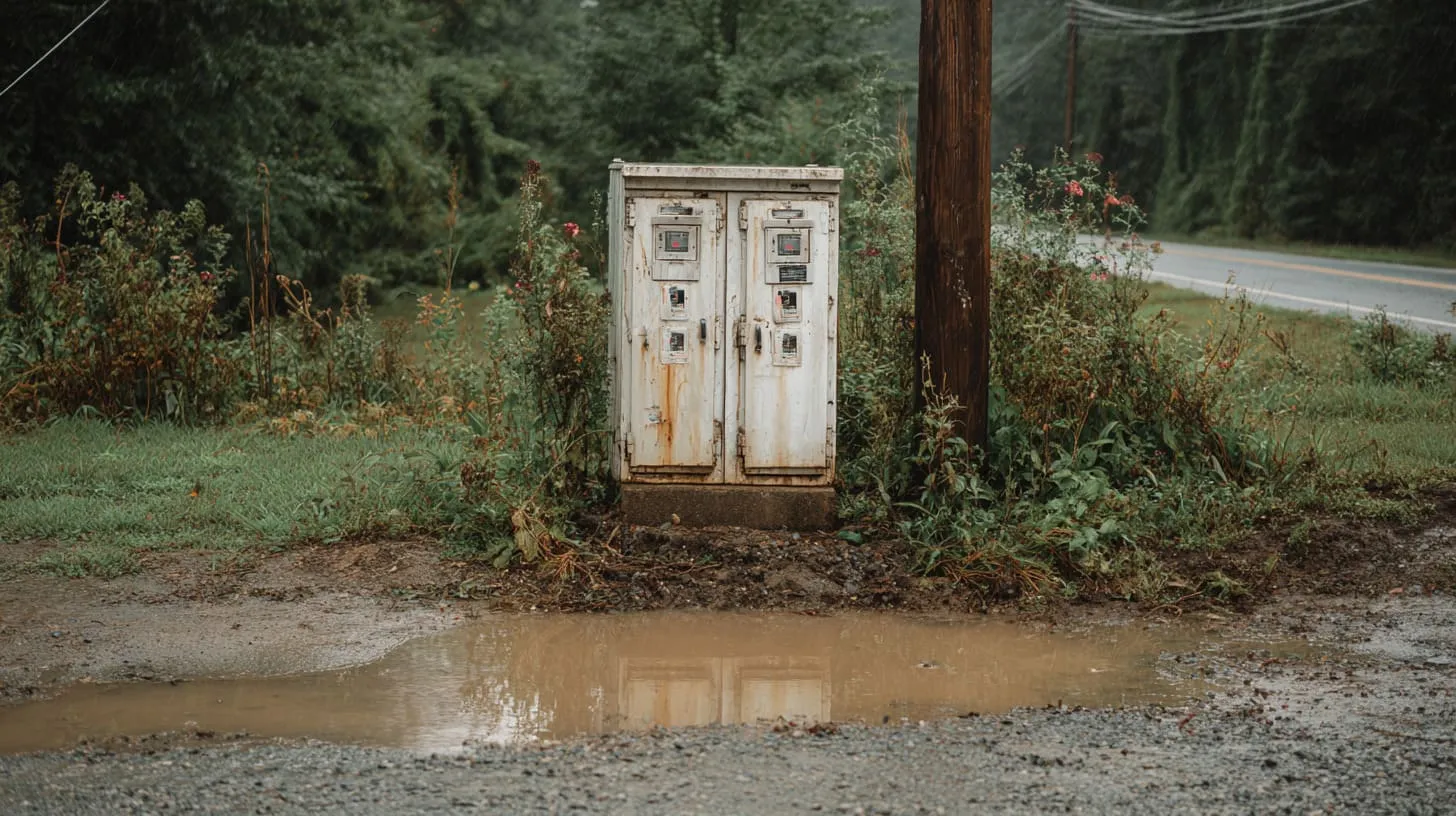
Safety keeps projects alive.
Turning power off before service
Simple rule.
No shortcuts.
Using GFCI outlets in wet locations
GFCI saves lives.
There is no debate here.
Professional electrician involvement
Some jobs need licensed hands.
Knowing when to call matters.
Compliance with code and standards
Codes protect everyone.
Passing inspection once is not enough.
Passing every time is the goal.
And when all is said and done, perspective helps.
Conclusion
Waterproofing outdoor electrical boxes is not one trick.
It is a system.
The right enclosure.
Careful installation.
Smart routing.
And regular checks.
I have seen projects fail slowly and quietly because one step was skipped.
I have also seen simple setups last for years because someone cared early.
If you treat waterproofing as part of design, not an afterthought, your boxes will do their job.
And when in doubt, ask, test, and check again.







