 Skip to content
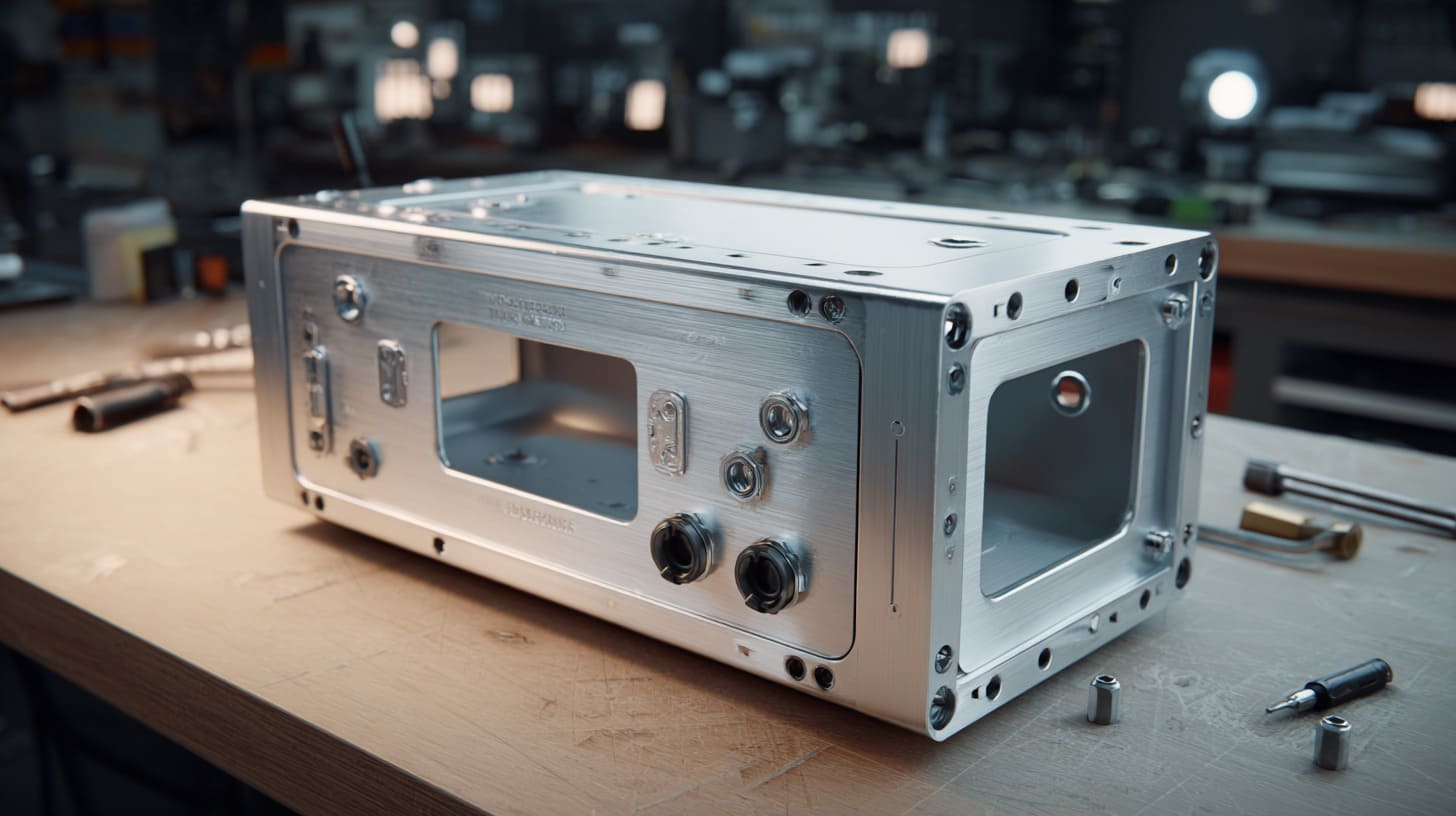
A NEMA 5 enclosure can look safe when it is still a clean drawing.
The box is closed. The lid has screws. The gasket line looks clear. The buyer sends the file and says, “We only need a few small cutouts here, here, and here.”
That sounds simple.
One cable hole. One USB port. Maybe one small display window. Maybe a few slots for heat.
Then the problem starts to hide in those “small” changes.
A NEMA 5 enclosure is designed to protect electrical equipment from falling dirt, airborne dust, lint, fibers, and dripping or light splashing water in indoor use. But when we cut new openings into the enclosure, we are no longer dealing with the original enclosure only. We are changing the protection path.
I have seen this many times in custom enclosure projects. A customer sends a drawing that looks clean and smart. The product engineer focuses on the board, the connector, the cable, and the user experience. That is normal. But the enclosure rating depends on the weak points, not the strongest wall.
The small hole is often the real boss.
When I review a NEMA 5 custom enclosure project, I do not only ask, “Can we cut this shape?” I ask, “After we cut this shape, can the enclosure still behave like a protected enclosure?”
That question changes everything.
Because custom cutouts are not bad by themselves. They are often necessary. The real issue is whether the cutout is planned, sealed, positioned, and tested in a way that still supports the rating.
A cutout can make the product easier to use.
It can also quietly break the NEMA 5 protection.
So let’s talk about where the risk comes from, how to avoid it, and how I normally think about this kind of project before production starts.
What Does a NEMA 5 Enclosure Rating Actually Require?
Before I talk about custom cutouts, I need to slow down and talk about the rating itself.
Many buyers hear “NEMA 5” and think it means “sealed.” That is not always the right way to think about it.
NEMA 5 is mainly an indoor protection rating. It is used when equipment needs protection from dust, dirt, lint, fibers, and dripping or light splashing water. It is stronger than a basic indoor box, but it is not the same as an outdoor waterproof enclosure.
That small difference matters a lot.
I usually treat NEMA ratings like a promise. If we change the enclosure after that promise is made, we need to check whether the promise is still true.
What protection does NEMA 5 provide?
A NEMA 5 enclosure is usually expected to protect equipment from common indoor contaminants.
These can include:
- Falling dirt
- Settling airborne dust
- Lint
- Fibers
- Light debris
- Dripping water
- Light splashing water in indoor conditions
This sounds basic, but in real factories, warehouses, workshops, and commercial spaces, these are not small things.
Dust can sit on circuit boards.
Lint can collect around warm components.
Small water drips can follow a cable and enter the housing.
One drop in the wrong place can create a big service problem later.
| Protection Need | What It Means in Real Use | Why It Matters |
|---|---|---|
| Falling dirt | Dirt may fall from above or nearby equipment | It can build up inside the enclosure |
| Airborne dust | Fine dust can float and settle | It can affect electronics over time |
| Lint and fibers | Common in factories, textile areas, and workshops | It can collect near vents and cable holes |
| Dripping water | Water may drip from pipes, cleaning, or condensation | It can follow gravity into weak openings |
| Light splashing | Small indoor splash risk | It tests seals around lids and openings |
A normal flat enclosure wall does this job well because it is continuous.
But once we add a hole, the protection depends on the part installed in that hole.
That is where many projects become risky.
What NEMA 5 does NOT cover
NEMA 5 is not a magic shield.
It does not mean the enclosure can handle every environment. It does not mean the box can be sprayed with a hose. It does not mean it can sit outside in rain and sunlight. It also does not mean every later custom change is still protected.
This is where buyers sometimes get trapped.
They choose a rated enclosure first. Then they add many openings later. Then they assume the rating stays the same.
But protection ratings do not work like a sticker. A sticker can stay on the box. The real protection may not.
| Mistaken Assumption | More Practical View |
|---|---|
| “NEMA 5 means waterproof.” | It is for indoor dirt, dust, and dripping or light splashing water. |
| “A small hole does not matter.” | A small unsealed hole can become the main entry point. |
| “The original enclosure was rated, so the final product is rated.” | Custom changes can affect the final protection level. |
| “Cutouts are only mechanical details.” | Cutouts are also sealing and protection details. |
I have had customers ask for top-surface cutouts for cables because the internal layout looked easier that way. From a wiring angle, it made sense. From a protection angle, it was risky.
Water does not care about the wiring plan.
It follows gravity.
Why enclosure integrity matters
A NEMA 5 enclosure depends on a controlled barrier.
The body, lid, gasket, screws, cable entries, panels, and added accessories all need to work together. If one part fails, the whole enclosure can fail in real use.
This is why I pay close attention to the full path around every opening.
Dust does not need a large door.
Water does not need an invitation.
When a customer sends me a design, I look at the enclosure like air and water would look at it. I ask myself, “Where can dust settle? Where can water drip? Where can a cable guide water inside?”
That sounds simple, but it saves many problems.
The rating is not only about material thickness or box strength. It is about the full design.
And once we understand that, custom cutouts start to look less like simple holes and more like small engineering decisions.
That leads to the next question: if cutouts bring risk, why do we need them so often?
Why Custom Cutouts Are Common in Enclosure Design
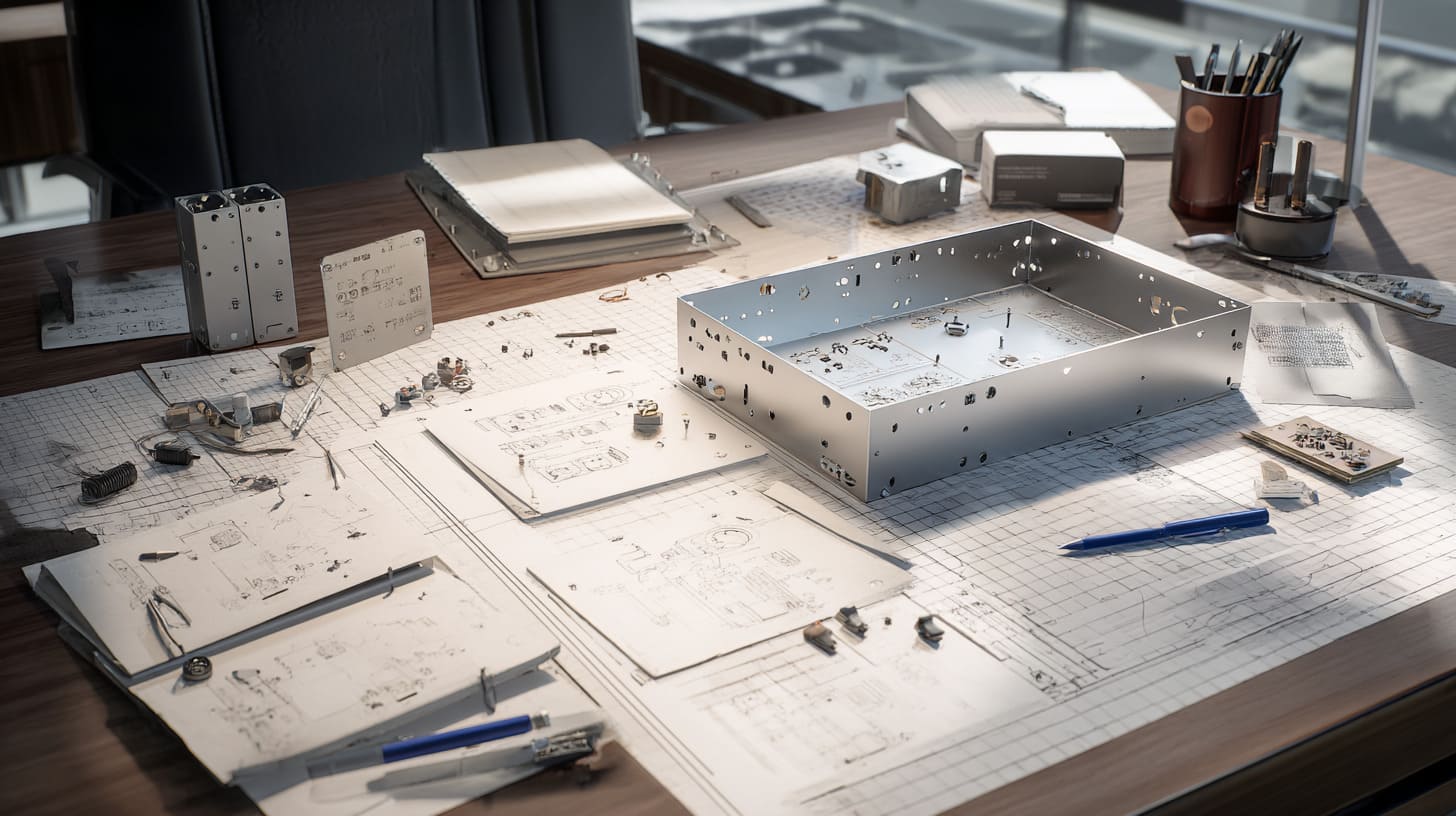
I rarely see a custom enclosure project with no cutouts.
A plain box is easy to protect. But most real products are not plain boxes. They need power. They need cables. They need switches. They need displays. They need access. They need heat control.
So the conflict begins.
The enclosure must protect the electronics.
But the electronics must also connect with the outside world.
That is why custom cutouts are so common.
The tricky part is not whether we should make cutouts. The tricky part is how many, where they go, and how they are sealed after cutting.
Functional requirements for cutouts
Most custom cutouts start from a very practical need.
The customer has a board inside the enclosure. The board has ports. The product needs to connect to other equipment. The user needs to press a button or read a display.
So we make openings.
Common cutouts include:
- Cable entry and exit holes
- Power connector ports
- USB ports
- Ethernet ports
- Display windows
- Push-button openings
- Switch holes
- LED indicator holes
- Ventilation slots
- Mounting slots
- Sensor openings
Each cutout has a job.
But each cutout also creates a possible leak path.
| Cutout Type | Main Purpose | Main Risk |
|---|---|---|
| Cable hole | Let cable enter or exit | Water can follow cable into enclosure |
| USB or RJ45 port | Allow data connection | Small gaps around connector edge |
| Display window | Let user see screen | Poor gasket or uneven compression |
| Button hole | Allow manual control | Dust and moisture around moving part |
| Ventilation slot | Release heat | Direct path for dust and droplets |
| LED hole | Show status light | Small gap around lens or holder |
A customer may see ten small cutouts.
I see ten possible sealing decisions.
That does not mean we reject the design. It means we need to make the design smarter.
OEM and ODM customization needs
For OEM and ODM projects, cutouts are not only about function. They are also about product identity.
A customer may need:
- A logo area
- A custom front panel
- Special mounting holes
- A branded label position
- A different connector layout
- A redesigned case for a project board
- Internal studs or support columns
- A custom package style
For example, a customer may want a Raspberry Pi-style aluminum case, but the board is not exactly a Raspberry Pi board. The ports are in different places. The cooling need is different. The mounting holes are different.
So the enclosure must change.
This is where custom manufacturing becomes valuable. A standard enclosure may be cheaper at first, but it may not fit the product well. A custom enclosure can make the product look complete and professional.
But every custom change needs a protection check.
A logo engraving may not affect NEMA 5 much.
A display window might.
A top cable opening can.
A large ventilation slot definitely can.
| Custom Need | Usually Low Risk? | Usually Higher Risk? |
|---|---|---|
| Logo printing | Yes | No |
| Laser engraving on surface | Usually | Low if not too deep |
| Mounting holes outside sealed area | Usually | Depends on location |
| Cable entry hole | No | Yes |
| Display opening | No | Yes |
| Vent slots | No | Yes |
| Connector cutouts | No | Yes |
I do not like to tell customers “no” too quickly. That kills good ideas. But I also do not like saying “yes” before the sealing plan is clear.
That is where experience matters.
The trade-off between functionality and protection
A custom enclosure is always a trade-off.
More cutouts can make the product easier to use. But more cutouts also make the enclosure harder to protect.
Fewer cutouts improve sealing. But fewer cutouts may make the product inconvenient, hard to assemble, or hard to maintain.
So I usually think about three questions:
- Does this opening need to be here?
- Can we move it to a safer location?
- Can we seal it with a standard and reliable part?
This is not a textbook exercise. It is a real project decision.
For one customer, a front USB port may be necessary because users plug in devices every day. For another customer, the same USB port may only be used during setup. In that case, we may use a covered access point or move it inside the enclosure.
Same hole.
Different use case.
Different decision.
| Project Situation | Better Thinking |
|---|---|
| User needs daily access | Make the port easy to reach, but seal it properly |
| Port is only for setup | Use internal access or covered access |
| Cable is permanent | Use a cable gland or sealed fitting |
| Heat is a concern | Use protected ventilation or redesign internal heat path |
| Dust is heavy | Avoid direct slots and use filters or barriers |
A good cutout design is not about making the drawing look busy.
It is about giving the product what it needs without opening the door to future failure.
And once that door is opened badly, the NEMA 5 protection can break faster than many people expect.
How Custom Cutouts Can Break NEMA 5 Protection
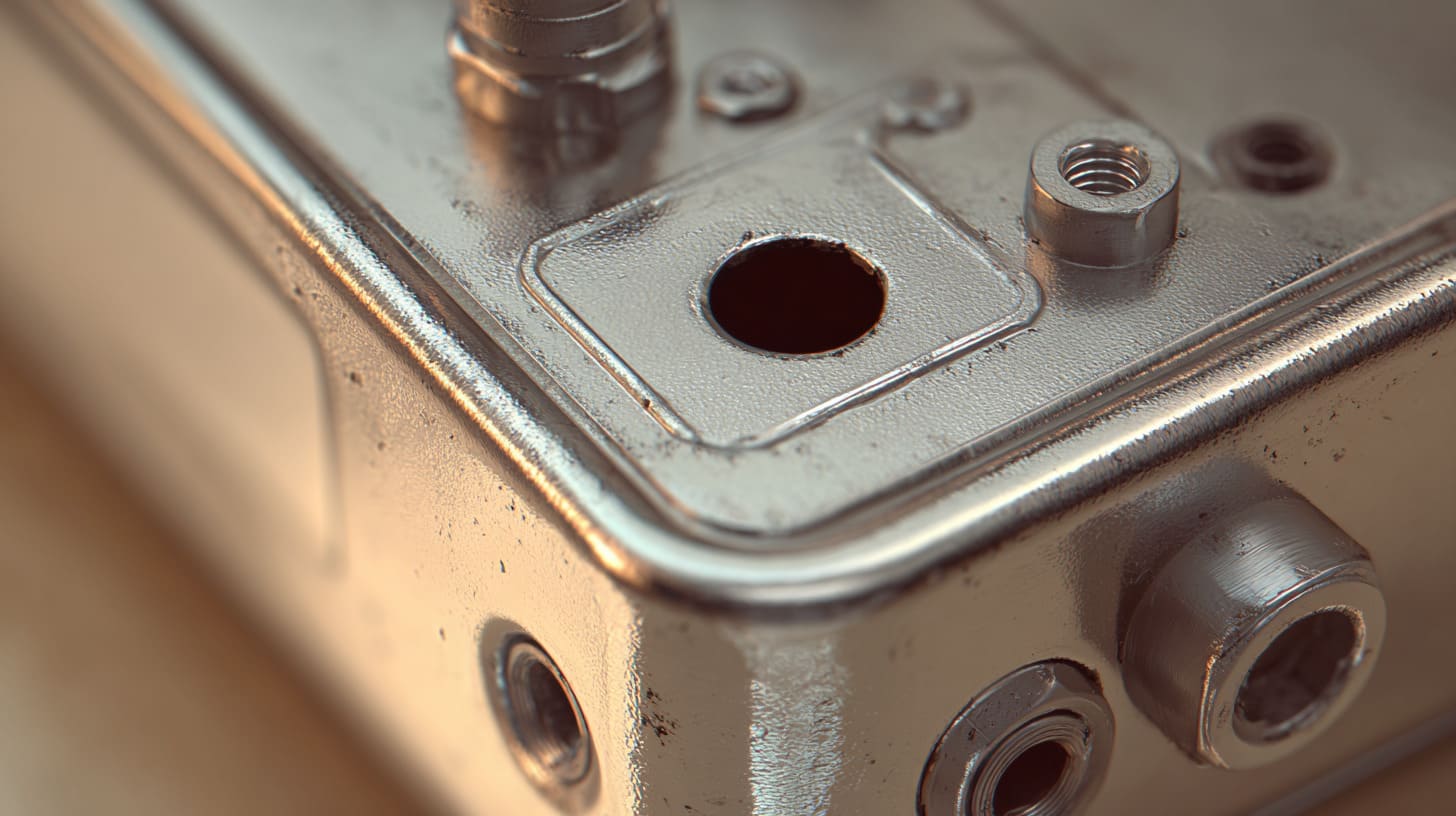
A custom cutout usually looks harmless at first.
It is just a hole.
Just a slot.
Just a rectangle.
But to dust and water, that small shape can become a shortcut.
I have seen projects where the enclosure body was strong, the surface finish was beautiful, and the lid gasket was correct. But the problem came from a small opening that nobody respected enough during design.
That is the painful part.
The enclosure did not fail because the whole box was bad.
It failed because one small part was not controlled.
The first place I look after a new cutout is not the outside shape. I look at the edge, the installed part, and the sealing surface around it, because that is where a nice drawing can become a weak product.
Loss of sealing continuity
A rated enclosure depends on continuous protection.
When we cut into the enclosure wall, we break that continuity.
The wall used to be one full barrier. After cutting, the barrier depends on the accessory, gasket, or cover that fills the opening.
If the opening is left open, the rating is clearly damaged.
If the opening has a part installed, the question becomes more detailed:
- Does the part fit tightly?
- Does it have a gasket?
- Is the gasket compressed evenly?
- Is the cut edge flat enough?
- Is the mounting surface smooth?
- Are screws placed correctly?
- Does the part move during use?
A small mistake can create a leak path.
| Cutout Issue | What Can Happen |
|---|---|
| No gasket | Dust and moisture can enter around the part |
| Uneven surface | Gasket may not seal well |
| Oversized opening | Part may sit loose |
| Sharp burrs | Gasket may be damaged |
| Weak mounting | Part may move and break the seal |
| Poor screw spacing | Compression may be uneven |
A gasket is not a decoration.
It needs pressure.
It needs a flat surface.
It needs the right material.
It needs the right size.
If we ignore those things, the gasket becomes a soft piece of hope. And hope is not a sealing method.
Increased exposure to contaminants
Dust and water do not always enter directly.
Sometimes they take a small path.
Dust can settle around a port. Then vibration or airflow can pull it inside. Water can drip onto a cable. Then the cable can guide water through the opening. This is especially common when the cable entry is placed on the top or on an exposed side.
I once reviewed a design where the cable hole looked fine on the drawing. The cable entered from the upper side of the enclosure. The customer cared about clean cable routing. That part made sense.
But the cable created a small “water road.”
If water dripped onto the cable, it could move along the cable and reach the opening. Without a proper cable gland, the enclosure had a weak point.
That is why I often ask about the real installation direction.
A drawing on a screen does not always show gravity.
| Contaminant | How It Enters Through Cutouts | Design Risk |
|---|---|---|
| Fine dust | Through small gaps around connectors | Long-term buildup |
| Lint | Through ventilation slots | Blocking airflow or collecting inside |
| Fibers | Around cable entries | Can sit near electronics |
| Water droplets | Along cables or through top openings | Short circuit or corrosion risk |
| Light splash | Around panels and buttons | Seal failure over time |
The danger is not always dramatic.
It can be slow.
A little dust today. A little moisture next month. A little corrosion after long use.
Then one day, the customer calls and says, “The product failed in the field.”
That is the kind of call nobody wants.
Structural weakening around openings
A cutout does not only affect sealing. It can also affect strength.
When we remove material from the enclosure wall, the wall may become weaker around that area. This is more serious when the opening is large, close to an edge, or placed near screws, bends, or load points.
A thin panel with a large display window can flex.
A side wall with many connector holes can lose stiffness.
A vented surface can warp if the material is too thin or if heat builds up nearby.
Once the surface bends, the seal may no longer compress evenly.
So a mechanical issue becomes a sealing issue.
| Cutout Design | Possible Structural Problem |
|---|---|
| Large rectangular window | Panel may flex around the opening |
| Many holes close together | Weak area between holes |
| Cutout near corner | Corner strength may reduce |
| Cutout near gasket line | Seal pressure may become uneven |
| Thin material with slots | Surface may deform during assembly |
This is why I do not only check the hole size.
I also check the surrounding material.
A cutout needs “meat” around it. It needs enough distance from edges. It needs enough support. It needs enough screw pressure if a plate or window is mounted.
If the enclosure wall becomes too weak, the seal may look good during assembly but fail later during shipping, vibration, or use.
Poor tolerance control
Tolerance sounds boring until the part does not fit.
Then it becomes very exciting, in the worst way.
A cutout that is too large can leave gaps. A cutout that is too small can force workers to file or push the part into place. A cutout that is slightly off-center can create uneven sealing.
In custom production, this is one of the most common risks.
The CAD file may look perfect. But real material has thickness. Tools have tolerance. Bending has variation. Coatings add thickness. Accessories also have their own tolerance.
If nobody checks these things together, the opening may not match the part.
| Tolerance Problem | Result |
|---|---|
| Opening too large | Loose fit and possible leakage |
| Opening too small | Forced assembly or damaged part |
| Hole position shifted | Connector does not align |
| Coating not considered | Part may not fit after finishing |
| Burrs not removed | Gasket may tear or sit unevenly |
This is one reason I like prototype testing before mass production.
A prototype shows what the drawing cannot fully show.
It shows whether the connector really fits.
It shows whether the gasket sits flat.
It shows whether workers can assemble the product without fighting it.
And if a worker has to fight the product during assembly, the product will usually fight back later in the field.
Common Types of Problematic Cutouts
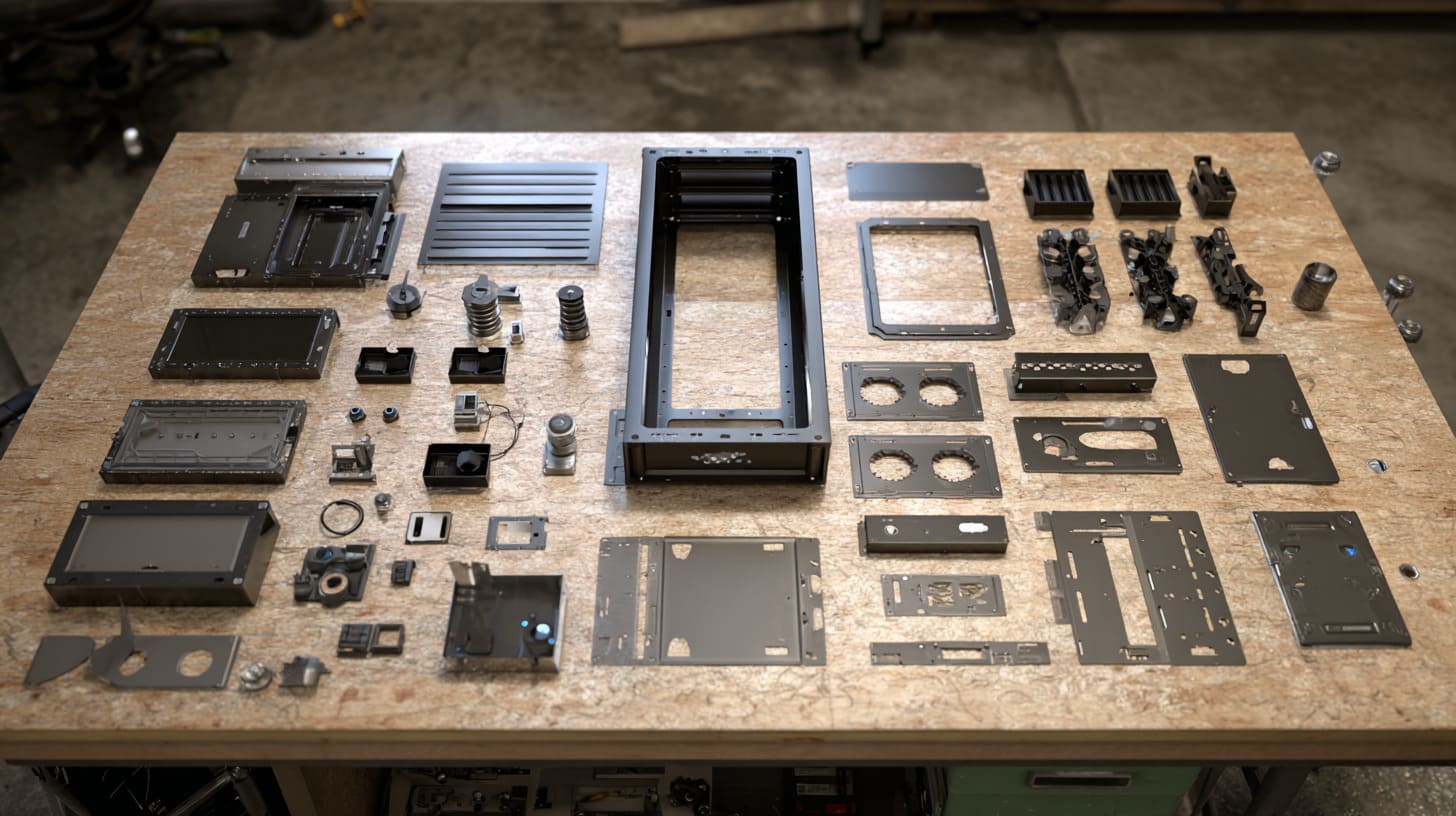
Not all cutouts create the same level of risk.
Some are easy to control. Some need more attention. Some look simple but cause problems again and again.
I like to group problematic cutouts by how they fail. This helps customers understand the risk faster.
Because the question is not only “What shape do you want?”
The better question is, “How can this shape fail after the product is used?”
One detail I often check is whether the cutout is touched by the user, exposed to water direction, or connected to a cable, because those three things usually turn a normal opening into a trouble point.
Cable entry holes without sealing
Cable holes are one of the most common cutouts.
They are also one of the easiest ways to break protection.
A plain hole for a cable may work in a dry and clean office. But in a workshop, cabinet room, warehouse, or production area, it can become a direct path for dust and moisture.
The cable itself can also move.
If the cable is pulled, bent, or vibrated, the gap around the cable can grow. If the cable comes from above, water can follow the cable into the enclosure.
This is why cable glands are so important.
| Cable Entry Method | Risk Level | Better Option |
|---|---|---|
| Open hole only | High | Avoid for NEMA 5 protection |
| Rubber grommet only | Medium | Better for abrasion, not always enough for sealing |
| Proper cable gland | Lower | Good choice when matched to cable size |
| Sealed connector | Lower | Good for controlled cable systems |
| Strain relief with sealing | Lower | Helpful when cable may move |
A rubber grommet can protect the cable from sharp metal edges.
But a grommet is not always the same as a sealed gland.
This small misunderstanding causes many problems.
A grommet says, “I protect the cable.”
A gland says, “I help seal the entry.”
Those are different jobs.
Ventilation slots and perforations
Ventilation is always a difficult topic.
Electronics generate heat. Buyers often ask for slots, holes, or perforations because they worry about temperature. That concern is reasonable.
But ventilation creates a direct path for dust.
It can also create a path for droplets if the slot direction and location are not planned well.
A top vent is especially risky for dripping water. A side vent may be better, but it still needs protection from dust and splash direction.
Sometimes, the better solution is not simply adding more slots. The better solution may be:
- Increase enclosure size
- Use aluminum as a heat-spreading body
- Add internal heat sinks
- Use thermal pads
- Create protected airflow paths
- Add filters
- Use a labyrinth-style vent path
- Move heat-generating parts away from sealed areas
| Heat Problem | Simple but Risky Fix | Better Thinking |
|---|---|---|
| Board gets warm | Add large vent slots | First check heat source and airflow need |
| User wants dust protection | Add small perforations | Use filters or protected vent design |
| Water may drip from above | Add top holes | Move vent to protected side |
| Space is tight | Add more openings | Consider material, heat sink, or layout change |
Ventilation is like opening a window.
It helps air move.
But it also lets other things come in.
So I never treat vent slots as only a thermal decision. They are also a protection decision.
Display and control panel openings
Display windows, buttons, switches, and touch panels often sit on the front face of the enclosure. They are important because users interact with them.
But they also create cutouts in a visible and sensitive area.
A display window may look clean in the sample photo. But if the gasket is too thin, the adhesive is weak, or the panel is not flat, dust can enter around the edge.
Buttons are another common issue.
A moving part is harder to seal than a fixed part.
A push button may have its own seal rating. But the full assembly still depends on the cutout size, washer, nut, panel thickness, and compression.
| Control Area | Common Risk | Better Control |
|---|---|---|
| Display window | Gaps around window edge | Use gasket or sealed bonding |
| Push button | Poor washer compression | Match button to panel thickness |
| Toggle switch | Opening may be hard to seal | Use sealed switch type |
| Touch panel | Adhesive may fail over time | Use correct bonding and surface prep |
| Indicator light | Loose lens or holder | Use proper panel-mount part |
A front panel is often where customers want the product to look beautiful.
I understand that.
But beauty cannot replace sealing.
A clean front panel that leaks is not a good front panel. It is only a good photo.
Connector cutouts
Connector cutouts can be small, but they can be very difficult.
USB, RJ45, HDMI, DC jack, aviation connectors, terminal blocks—each one needs the right opening and the right installation method.
The connector itself may not seal the enclosure unless it is designed for panel sealing.
This is a common mistake.
A customer may say, “The connector fills the hole.”
But filling the hole is not the same as sealing the hole.
A connector can look tight and still have small gaps at the edge.
| Connector Type | Common Problem | Better Design Step |
|---|---|---|
| USB port | Small edge gaps | Use sealed USB connector or cover |
| RJ45 port | Dust path around port | Use sealed panel-mount RJ45 |
| DC jack | Loose fit after use | Use washer and correct mounting |
| Terminal block | Large exposed opening | Use cover or internal barrier |
| Circular connector | Wrong hole diameter | Match datasheet and sealing washer |
Misalignment is another issue.
If the internal board connector does not line up with the enclosure cutout, assembly becomes stressful. Workers may force the board or the connector. That can damage parts or create long-term reliability issues.
So I always like to check the enclosure design together with the internal board layout.
The enclosure is not separate from the electronics.
They are one product.
And if they do not respect each other, the customer pays for it later.
Engineering Solutions to Maintain NEMA 5 Rating
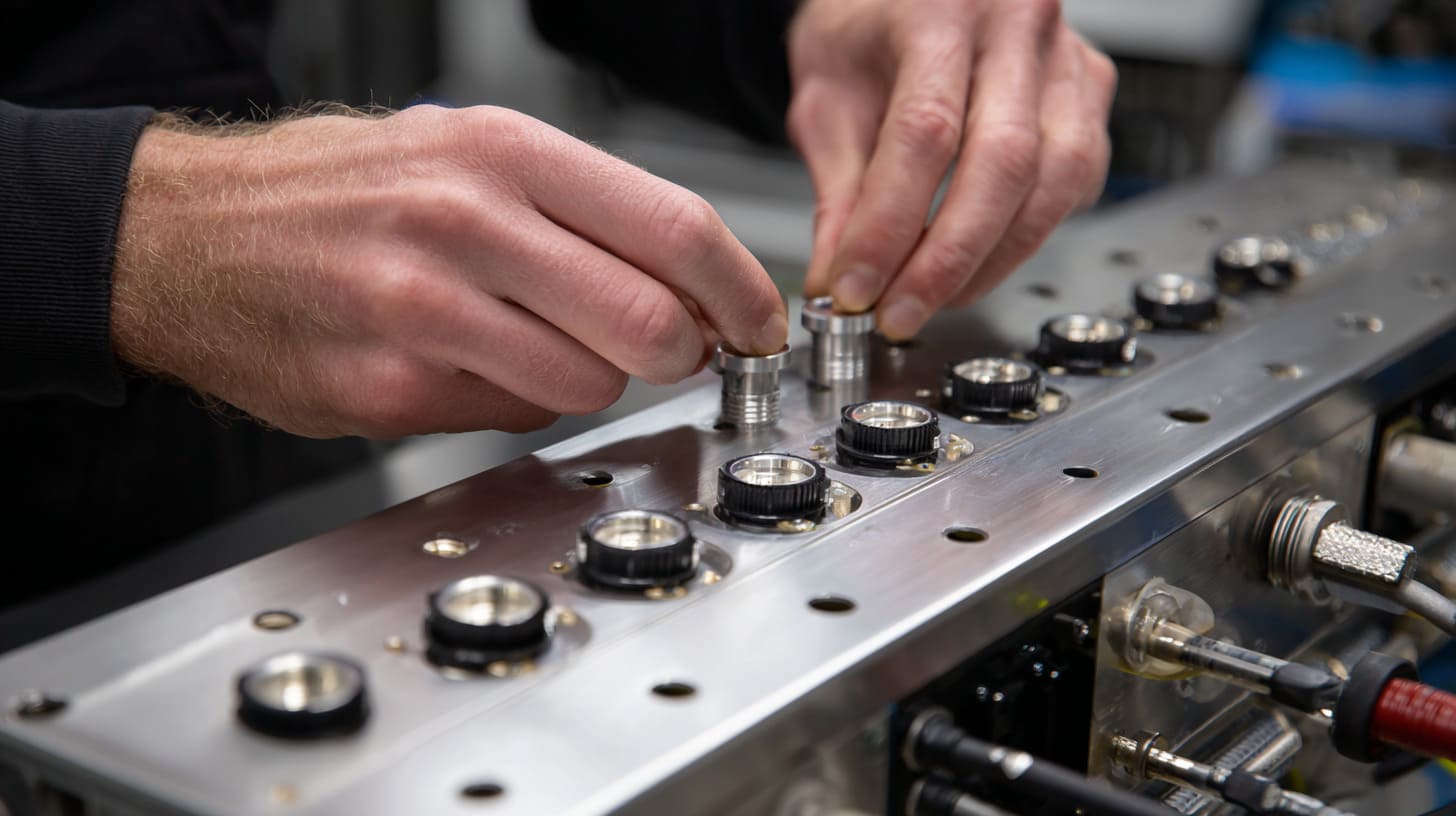
The good news is simple.
Custom cutouts do not automatically destroy a NEMA 5 design.
Bad cutouts do.
A cutout can be safe if it is controlled with the right part, the right sealing method, and the right testing.
This is where engineering becomes practical. We are not trying to make the enclosure complicated. We are trying to make every opening behave responsibly.
I usually judge a sealing solution by asking one rough question: if a tired worker assembles this part during mass production, will the seal still be reliable, or does it depend too much on perfect hands?
That question keeps me honest.
Use of cable glands and sealed fittings
Cable glands are one of the most useful parts for custom enclosure protection.
They help seal the gap between the cable and enclosure wall. They also help reduce cable movement at the entry point.
But they must be selected correctly.
The cable gland needs to match:
- Cable diameter
- Panel thickness
- Hole diameter
- Material
- Environment
- Required protection level
- Assembly method
| Selection Point | Why It Matters |
|---|---|
| Cable diameter | The gland must compress around the cable properly |
| Hole size | The gland must fit the panel opening |
| Panel thickness | Threads and nut must clamp correctly |
| Material | Plastic or metal glands suit different projects |
| Seal type | The sealing ring must match the application |
| Cable movement | Strain relief helps protect the seal |
A cable gland that is too large will not seal well.
A cable gland that is too small may damage the cable.
A cheap gland may look similar but perform badly after installation.
This is why I prefer to check the real cable size before confirming the hole. Not the “maybe” cable size. The actual cable.
One millimeter can matter here.
Gaskets and sealing materials
Gaskets are used around covers, panels, windows, and other cutout-mounted parts.
A gasket works by compression.
That sounds simple, but many gasket problems come from poor compression.
Too little compression, and the seal is weak.
Too much compression, and the gasket may deform, crack, or lose recovery.
The gasket material also matters.
| Gasket Material | Common Use | Practical Notes |
|---|---|---|
| Silicone | Heat resistance and flexible sealing | Good for many industrial uses |
| Foam gasket | Light sealing and compression | Easy to use, but needs correct density |
| EPDM | Water and weather resistance | Often used for stronger sealing needs |
| Neoprene | General sealing and durability | Useful in many enclosure projects |
| Adhesive gasket | Easy mounting | Surface preparation is very important |
The gasket shape matters too.
A flat gasket may work for a flat window.
A custom gasket may be needed around a special panel.
A round O-ring may work better for circular parts.
The best gasket is not always the thickest one.
Sometimes a thick gasket creates uneven pressure. Sometimes a softer gasket is better. Sometimes we need stronger screw support.
This is why I like to check gasket, screw spacing, and panel stiffness together.
They are a team.
If one member is weak, the team loses.
Protective covers and membranes
Some cutouts need access, but not all the time.
For these openings, protective covers can help.
Examples include:
- USB dust covers
- RJ45 protective caps
- Hinged port covers
- Rubber plug covers
- Screw-on connector caps
- Protective display overlays
These parts can reduce dust and moisture risk when the port is not in use.
But they also depend on user behavior.
If the user forgets to close the cover, the protection is gone.
That means a cover is useful, but it is not always enough for a high-risk environment.
| Solution | Good For | Watch Out For |
|---|---|---|
| Dust cap | Ports used sometimes | User may forget to install it |
| Hinged cover | Repeated access | Hinge may wear over time |
| Rubber plug | Simple holes or ports | Plug can be lost |
| Breathable membrane | Pressure balance and airflow | Needs correct placement |
| Filter | Dust control for vents | Needs maintenance |
Breathable membranes are useful when an enclosure needs pressure balance or limited airflow while reducing water and dust entry. But they must be chosen carefully.
A membrane is not a random sticker.
It needs correct material, correct size, and correct bonding area.
Internal shielding and barriers
Sometimes we cannot fully avoid openings.
In that case, internal barriers can reduce direct entry.
For example, we can add a secondary plate behind a vent. We can use a bent internal shield. We can design a labyrinth path so dust and droplets do not have a straight path into the electronics.
This kind of design can be very useful when heat and protection fight each other.
| Barrier Type | How It Helps |
|---|---|
| Internal plate | Blocks direct splash path |
| Labyrinth path | Allows air movement but reduces direct entry |
| Offset vent design | Prevents straight-line contamination |
| Filter layer | Catches dust before it reaches electronics |
| Raised internal platform | Keeps PCB away from possible moisture path |
A straight opening is easy for contamination.
A protected path is harder.
This is like designing a small hallway instead of leaving the front door open.
Air can still move.
Dust and droplets have a harder time.
This small design change can make a big difference in real use.
Design Best Practices for Custom Enclosures

Good custom enclosure design starts before cutting.
That may sound obvious, but many problems start because sealing is treated as an afterthought.
The customer designs the board first. Then the case shape. Then the ports. Then the logo. Then the mounting. Then, near the end, someone asks, “Can this still meet NEMA 5?”
By then, the design may already be hard to fix.
The better way is to think about protection from the first layout.
When I receive a drawing, I try to catch the “cheap mistake” early, because fixing a cutout on a screen costs almost nothing, but fixing thousands of finished parts can hurt everyone.
Minimize the number of cutouts
Every cutout should earn its place.
I do not mean we should make the enclosure hard to use. I mean we should avoid lazy openings.
Sometimes a design has three separate cable holes where one sealed cable entry could work. Sometimes a front panel has too many indicators. Sometimes a service port is placed outside when it could stay inside.
Each opening adds:
- Machining cost
- Sealing risk
- Assembly time
- Inspection work
- Possible failure points
| Design Choice | Risk Level | Better Question |
|---|---|---|
| Many small holes | Medium to high | Can we combine functions? |
| One larger sealed interface | Lower if well designed | Can one gasketed panel serve several parts? |
| External service port | Depends | Does the user need daily access? |
| Internal setup port | Often lower | Can access be limited to technicians? |
I like to ask, “Who uses this opening, and how often?”
If the answer is “almost never,” maybe the opening does not need to sit outside.
That question can reduce risk quickly.
Position cutouts strategically
Location can be just as important as size.
A top cutout faces dripping water risk.
A side cutout may be safer.
A bottom cutout may reduce water entry risk in some situations, but it may increase dust collection or make cable routing harder.
There is no one perfect position.
The right position depends on how the enclosure is installed.
| Cutout Position | Common Benefit | Common Risk |
|---|---|---|
| Top surface | Easy cable direction in some layouts | High dripping water risk |
| Front surface | Easy user access | Exposure during operation |
| Side surface | Good for connectors | Depends on splash direction |
| Bottom surface | Better for water shedding in some designs | Harder access, dust buildup possible |
| Rear surface | Cleaner front appearance | Installation space may be limited |
I always want to know the mounting direction.
Wall-mounted?
Desktop?
Inside a cabinet?
Near a machine?
Under a pipe?
In a dusty workshop?
These details change the answer.
A good cutout location on one project may be a bad location on another.
Maintain tight tolerances
Custom cutouts need controlled tolerance.
This is especially true for connector openings, display windows, and gasketed panels.
A small tolerance problem can create assembly problems or sealing gaps.
Good tolerance control depends on:
- Correct CAD files
- Accurate drawings
- Clear tolerance notes
- Stable machining process
- Proper finishing control
- Real accessory samples
- Inspection tools
| Manufacturing Step | Why It Matters |
|---|---|
| CNC cutting | Good accuracy for complex shapes |
| Laser cutting | Fast and accurate for sheet metal |
| Deburring | Protects gaskets and workers |
| Bending control | Keeps panel shape stable |
| Surface finishing | Coating thickness can affect fit |
| Inspection | Confirms cutouts match design |
I like to check accessory datasheets before cutting.
If the connector supplier recommends a panel cutout size, we should respect it. If the gasket needs a certain surface area, we should not squeeze it into a weak edge.
The drawing should not guess.
It should match the real part.
Plan sealing during design stage
Sealing should be part of the design, not a rescue plan.
If we know a display window needs sealing, we should design the window area with enough flat surface. If a cable gland is needed, we should select it before finalizing the hole. If a vent needs protection, we should design the barrier before production.
Late sealing often looks ugly.
It also costs more.
It may require extra parts, extra labor, or redesign.
| Early Design Question | Why It Helps |
|---|---|
| What must pass through the enclosure wall? | Identifies all openings early |
| Which openings need user access? | Helps choose covers or sealed parts |
| Where can water or dust come from? | Improves placement decisions |
| What gasket space is needed? | Prevents weak sealing surfaces |
| How will workers assemble it? | Reduces production errors |
A good enclosure design does not only look clean.
It thinks ahead.
It respects the user, the factory worker, the installer, and the environment.
That is the kind of design that has a better chance in real production.
Testing and Validation After Customization
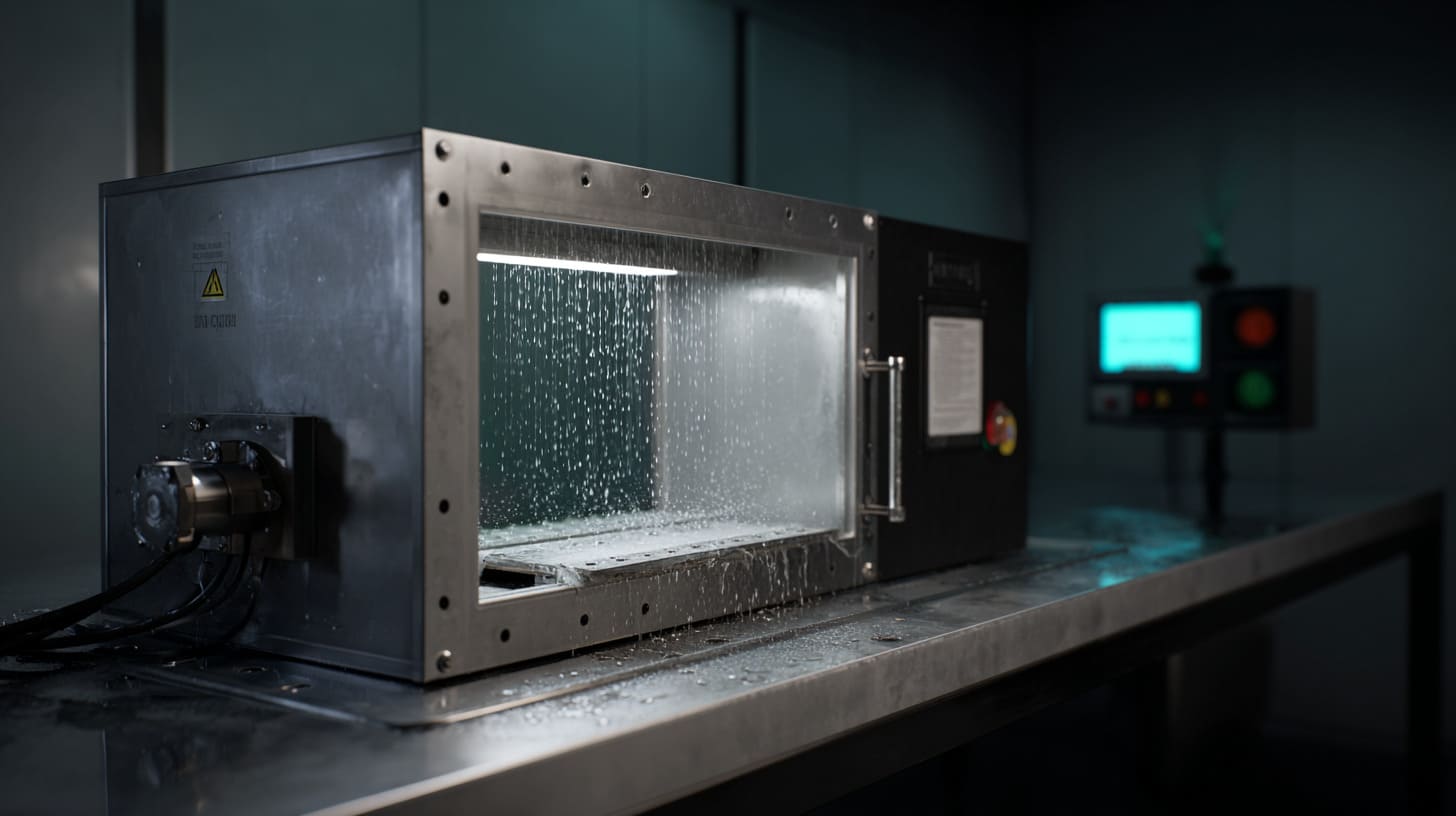
A sample can look perfect and still fail.
That sentence may sound harsh, but it is true.
A visual inspection can catch scratches, wrong hole positions, poor finish, bad logo printing, and obvious gaps. But it cannot fully prove protection.
NEMA 5 protection is about performance.
So after customization, we need validation.
The part of testing I care about most is not only whether the sample passes once, but whether the design still looks reliable after normal assembly, handling, and small real-world variation.
Visual inspection vs functional testing
Visual inspection is still useful.
I do it all the time.
I check:
- Cutout shape
- Burrs
- Edge quality
- Gasket placement
- Screw tightness
- Panel flatness
- Connector fit
- Cable gland installation
- Finish around openings
But visual inspection has limits.
A gasket can look good but have weak compression.
A connector can look tight but leak dust.
A cable gland can be installed but not matched to the cable.
So visual checks should be the first step, not the only step.
| Check Type | What It Catches | What It May Miss |
|---|---|---|
| Visual inspection | Obvious defects and poor assembly | Small leak paths |
| Fit check | Part alignment and assembly issues | Long-term sealing risk |
| Dust test | Particle entry risk | Water behavior |
| Water drip test | Leakage around openings | Dust buildup |
| Prototype use test | Real handling problems | Extreme conditions |
I trust my eyes.
But I do not trust only my eyes.
That is the difference.
Dust ingress testing
Dust testing helps show whether fine particles can enter through openings, gaps, vents, or poorly sealed parts.
For NEMA 5-style applications, dust is a serious concern because many indoor environments are not as clean as an office.
Dust can come from:
- Woodworking
- Packaging
- Textiles
- Metalworking
- Warehouses
- Food processing
- General factory air
- Construction areas
The test plan depends on the customer’s real use case. But the main goal is simple: check whether the customized enclosure still blocks unwanted particles.
| Dust Risk Area | What I Check |
|---|---|
| Cable glands | Is the cable sealed tightly? |
| Vents | Is there a filter or barrier? |
| Display edge | Is the gasket continuous? |
| Connector area | Are there gaps around the port? |
| Lid gasket | Is the lid still sealing after modification? |
Dust failure is not always immediate.
That is why it can be dangerous.
A product may work after installation. Then dust builds up slowly. Then heat increases. Then a connector becomes unstable. Then the customer gets a problem months later.
Slow failure is still failure.
Water drip testing
Water testing for this kind of enclosure should match the expected indoor risk.
We are not talking about pressure washing. We are talking about dripping or light splash conditions, depending on the project requirements.
The most important part is to test the weak points.
That means testing:
- Around cable entries
- Around top or side cutouts
- Around display windows
- Around buttons
- Around connector covers
- Around lid gasket areas near cutouts
| Water Path | Common Cause |
|---|---|
| Along cable | Cable enters from upper direction |
| Around gasket | Poor compression or uneven panel |
| Through vent slot | Direct opening with no barrier |
| Around connector | No sealing washer or cover |
| Under panel | Surface is not flat or adhesive is weak |
Water is clever.
It finds the lowest path.
It follows surfaces.
It enters places that look closed.
That is why test orientation matters. The enclosure should be tested in a way that matches how it will be installed.
A desktop test may not match a wall-mounted product.
A flat test may not match a tilted installation.
The real use condition should guide the test.
Importance of prototype validation
Prototype validation is one of the best ways to prevent mass production problems.
A prototype helps us check:
- Fit
- Assembly
- Sealing
- Cable routing
- User access
- Heat
- Strength
- Appearance
- Packaging
- Installation
It also helps both sides talk clearly.
A drawing can create misunderstanding. A sample creates real feedback.
| Prototype Finding | Possible Improvement |
|---|---|
| Cable gland too tight | Change gland size or cable spec |
| Display gasket uneven | Increase flat sealing surface |
| Vent too exposed | Add internal barrier |
| Connector misaligned | Adjust cutout or PCB position |
| Assembly too slow | Improve mounting method |
| Panel flexes | Add thickness or support |
I like prototypes because they tell the truth early.
Sometimes the truth is uncomfortable.
But early discomfort is cheaper than late failure.
A prototype is not only a sample.
It is a conversation between design and reality.
Cost and Risk Considerations for Buyers
Many buyers ask about unit price first.
I understand that. Price matters. A project has a budget. A buyer has pressure. A distributor needs margin. An engineer needs the design to pass, but the boss still looks at cost.
So yes, price matters.
But poor cutout design can create hidden costs that are much larger than the small savings.
A cheaper opening can become an expensive problem.
When I compare two design options, I do not only compare the machining cost; I also think about failure cost, rework cost, shipping delay, and how angry the final customer may be if the enclosure leaks.
Hidden costs of poor cutout design
A bad cutout may save a few dollars during production.
Then it may cost much more later.
The cost may appear as:
- Failed testing
- Redesign
- New samples
- Rework
- Replacement parts
- Warranty claims
- Lost customer trust
- Delayed launch
- Extra shipping
- Urgent production changes
| Problem | Visible Cost | Hidden Cost |
|---|---|---|
| Poor cable hole sealing | Rework parts | Field failure risk |
| Wrong connector cutout | New front panel | Delayed project schedule |
| Bad vent design | Add filter later | Heat and dust conflict |
| Weak display seal | Replace gasket | Customer complaints |
| Oversized cutout | Scrap parts | Lost time and trust |
The painful part is that hidden costs often appear late.
By then, everyone is tired.
The buyer is unhappy.
The supplier is under pressure.
The project manager wants fast answers.
This is why I prefer to spend more time before production.
It feels slower at first.
But it is faster in the end.
Impact on project timelines
Custom enclosure projects often follow a tight schedule.
The customer may need samples for testing. The product may need to launch. The internal board may already be finished. Marketing may already be waiting for photos. A distributor may already have orders.
Then a cutout problem appears.
Suddenly, the schedule changes.
A failed test can lead to:
- Drawing revision
- New tooling or fixture changes
- New accessories
- New sample production
- More testing
- Delayed mass production
- Delayed shipping
| Timeline Stage | Cutout Risk |
|---|---|
| Design stage | Wrong position or missing sealing plan |
| Sample stage | Fit and gasket problems show up |
| Testing stage | Dust or water entry is found |
| Production stage | Assembly variation creates failures |
| Delivery stage | Rework delays shipment |
| Field use | Customer reports failure |
A slow confirmation at the beginning may feel annoying.
But a failed sample near the deadline feels much worse.
This is why clear communication matters so much in custom enclosure work.
A small question today can prevent a large delay later.
Balancing cost vs reliability
Not every project needs the most expensive solution.
That would be lazy advice.
A simple indoor control box may not need a very complex sealing system. A high-risk industrial enclosure may need stronger protection. A product used in a clean office may have different needs from one used in a dusty workshop.
The smart choice depends on risk.
| Project Risk Level | Practical Design Direction |
|---|---|
| Low dust, dry indoor use | Simple sealing may be enough |
| Moderate dust or lint | Better gasket and controlled openings |
| Dripping risk | Avoid top openings and use sealed entries |
| Frequent user access | Use durable covers and sealed controls |
| Harsh indoor area | Consider higher rating or stronger design |
I usually tell customers that good design is not always the most expensive design.
Good design is the design that matches the real use.
If we overbuild everything, the cost becomes heavy.
If we underbuild the weak points, the product becomes risky.
The balance sits in the middle.
That middle is where good supplier support becomes valuable.
How MaidaTech Supports Custom Enclosure Projects
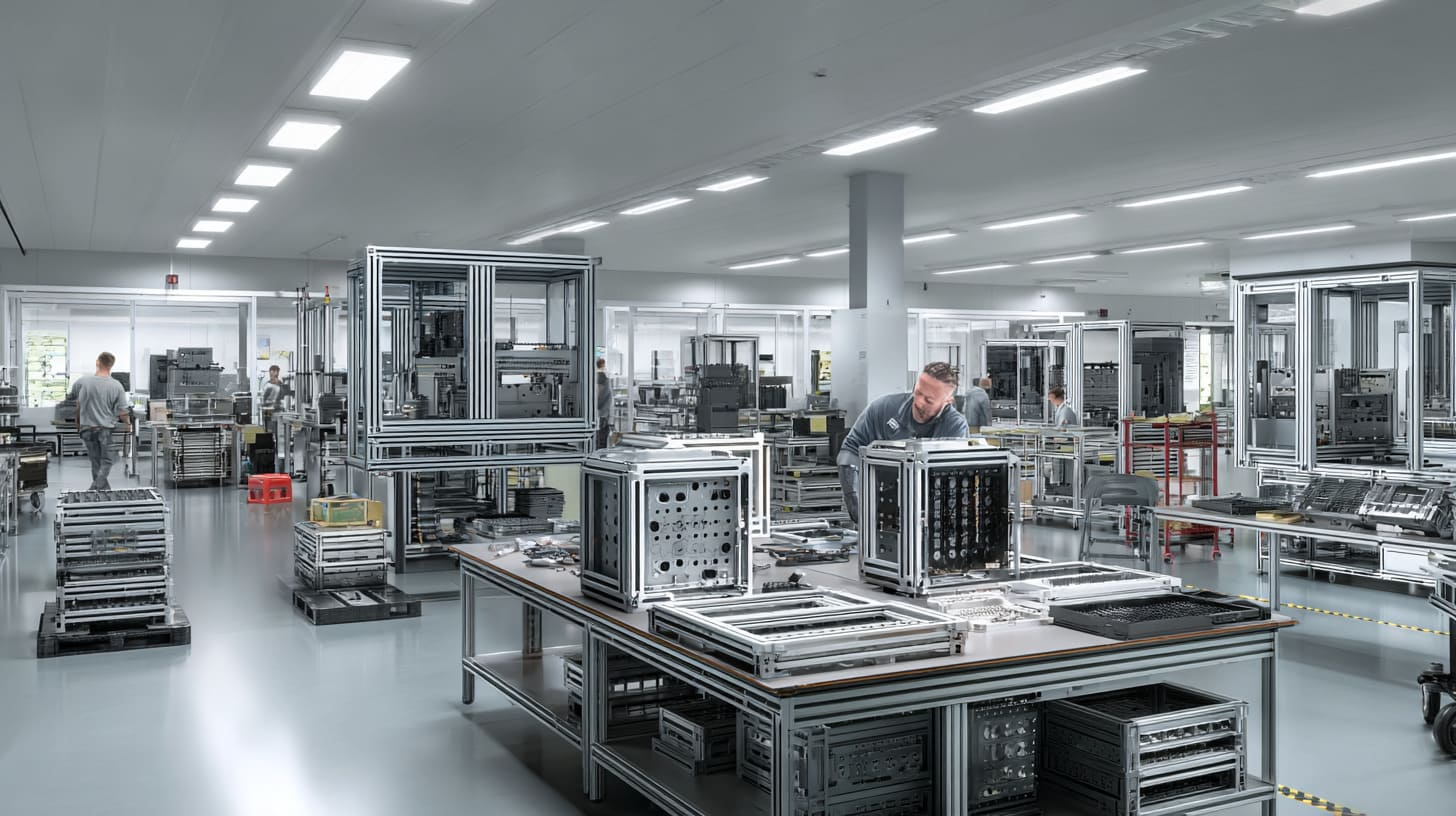
At MaidaTech, we work with custom aluminum enclosures, plastic enclosures, sheet metal enclosures, Raspberry Pi-style enclosures, and OEM/ODM enclosure projects.
Many of our customers already have drawings. Some have only a product idea. Some know exactly where every connector should go. Some need help to redesign the enclosure around a new board.
I enjoy these projects because they are not only about cutting metal or plastic.
They are about solving small problems before they become expensive ones.
The thing I care about in a custom project is not showing that we can say “yes” to every drawing; I care more about whether the final enclosure can be assembled, used, shipped, and trusted without giving the customer a headache.
Engineering support for cutout design
When customers send drawings, we do more than quote the shape.
We check the design from a production and use angle.
For NEMA 5-style projects, we may review:
- Cutout location
- Cable entry direction
- Gasket space
- Connector fit
- Panel thickness
- Screw position
- Edge distance
- Vent protection
- Assembly method
- Possible sealing accessories
| Customer Input | What We Can Help Check |
|---|---|
| 2D drawing | Hole size, position, tolerance |
| 3D file | Fit, assembly, structure |
| Board layout | Port alignment and internal space |
| Logo file | Printing or engraving position |
| Application details | Sealing risk and material choice |
| Sample photo | Similar structure and improvement points |
Sometimes we suggest a small change.
Move the hole lower.
Use a cable gland.
Add more sealing surface.
Change the vent direction.
Increase the distance from the edge.
These changes may look small, but they can protect the project.
Precision manufacturing capabilities
A good design still needs accurate production.
We support custom manufacturing with processes such as CNC machining, laser cutting, bending, drilling, surface finishing, logo printing, engraving, and custom assembly support.
Precision matters because cutouts must match real parts.
A connector cannot “almost” fit.
A gasket cannot “almost” seal.
A cable gland cannot “almost” clamp.
| Manufacturing Need | Why It Matters |
|---|---|
| CNC machining | Accurate cutouts and complex shapes |
| Laser cutting | Clean sheet metal openings |
| Bending control | Stable enclosure structure |
| Deburring | Protects cables, gaskets, and hands |
| Surface finishing | Improves appearance and durability |
| Logo printing/engraving | Supports OEM and branding needs |
| Batch inspection | Keeps quality stable in production |
For OEM and re-brand customers, consistency is very important.
One good sample is not enough.
The production batch must also stay stable.
That is why drawing control, inspection, and communication are part of the real product.
Integrated sealing solutions
For cutout-related protection, the enclosure body is only one part of the answer.
We may also help with:
- Cable glands
- Gaskets
- Rubber seals
- Foam seals
- Dust covers
- Connector covers
- Custom panels
- Mounting hardware
- Internal brackets
- Protective barriers
| Opening Type | Possible Support |
|---|---|
| Cable entry | Cable gland or strain relief |
| Display window | Gasket, adhesive, or mounting frame |
| Connector port | Sealed connector or protective cover |
| Vent area | Filter, barrier, or redesigned opening |
| Button hole | Sealed button selection support |
| Access panel | Gasket and screw layout support |
This kind of support is especially helpful for customers who want a one-stop solution.
They may not want to buy every small part from different suppliers.
They may not want to spend weeks checking small accessories.
They want the enclosure to work as a complete product.
That is reasonable.
Fast communication and project support
Communication is one of the most underrated parts of custom enclosure work.
A slow reply can delay a sample.
An unclear drawing can cause a wrong cutout.
A missing cable size can make the gland wrong.
A small misunderstanding can become a production issue.
So we try to keep communication clear and direct.
For custom projects, I usually prefer to confirm:
- Application environment
- Installation direction
- Board size
- Connector position
- Cable size
- Cutout dimensions
- Surface finish
- Logo method
- Packaging need
- Sample and batch schedule
| Project Detail | Why I Ask |
|---|---|
| Where will the enclosure be used? | Helps judge dust and water risk |
| How will it be mounted? | Helps place cutouts safely |
| What cable diameter is used? | Helps choose cable gland |
| Does the user need daily access? | Helps choose port cover or external access |
| What is the timeline? | Helps plan sample and production steps |
I know many overseas customers have dealt with slow replies, unclear confirmation, and time zone trouble.
That can be frustrating.
So for custom enclosure projects, clear early questions are not a waste of time.
They are part of quality control.
Conclusion
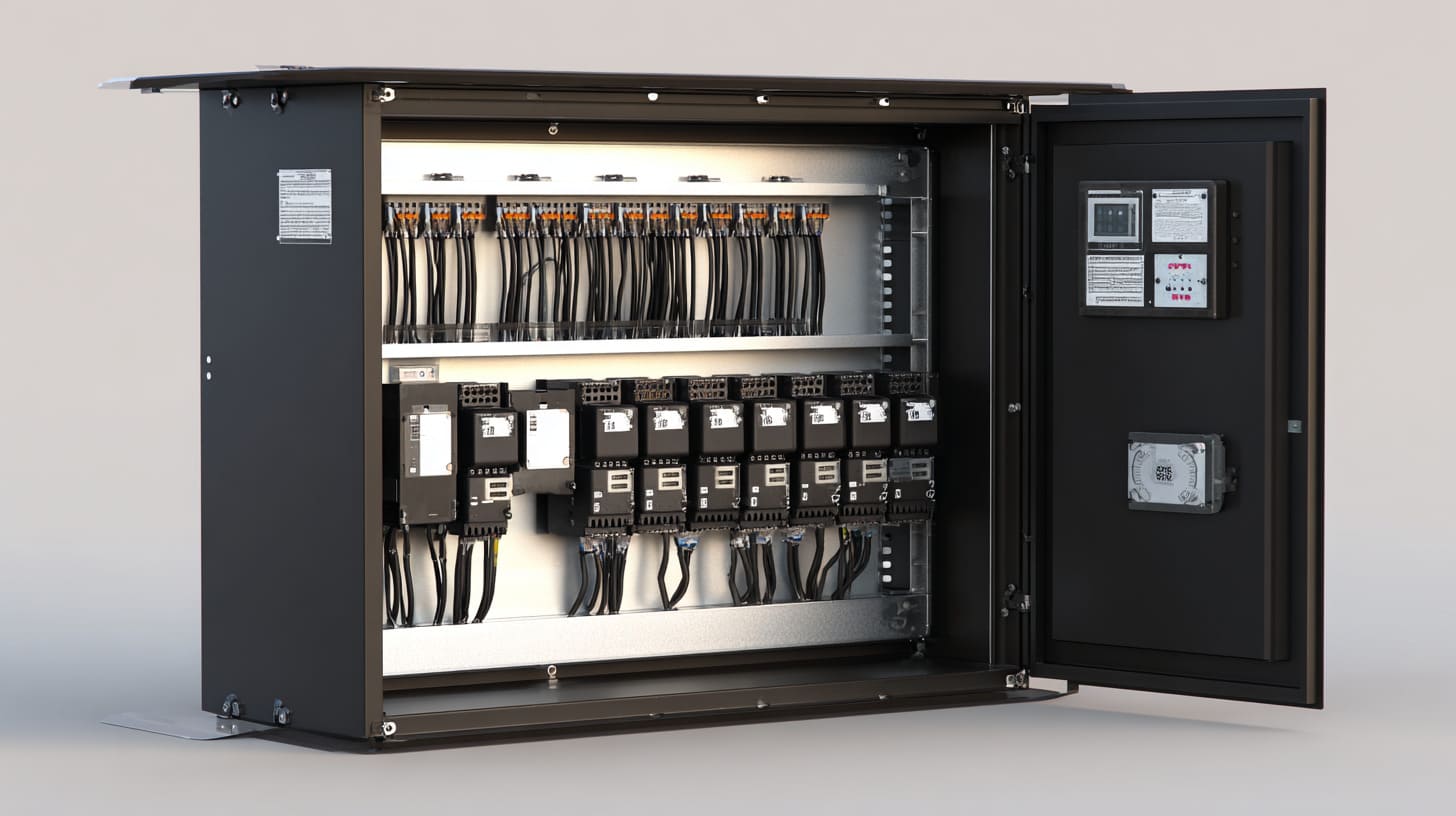
Custom cutouts are necessary in many NEMA 5 enclosure projects.
A product needs cables. It needs connectors. It may need a display, buttons, vents, mounting holes, or branding details. A fully closed box may protect well, but it may not serve the product.
So the goal is not to avoid every cutout.
The goal is to control every cutout.
A NEMA 5 enclosure can lose protection when cutouts are placed badly, left unsealed, oversized, poorly supported, or treated as simple mechanical holes. Dust and dripping water do not need a large opening. They only need one weak point.
I usually make the final decision by looking at the full path of risk: where the enclosure is installed, where the openings face, how the parts are sealed, how workers assemble them, and how the product will behave after months of real use.
That is the kind of thinking that keeps a custom enclosure from becoming a pretty box with a hidden problem.
If you are designing a custom NEMA 5-style enclosure, I suggest checking the cutouts early. Do not wait until the sample is already made. Review the cable entries, connector ports, display openings, vents, and sealing method before production.
At MaidaTech, we help customers make custom aluminum enclosures, plastic enclosures, sheet metal enclosures, and OEM/ODM enclosure solutions with practical engineering support. If you have a drawing, a board layout, or only a product idea, you can send it to us for review.
A small opening can create a big problem.
But with the right design, that same opening can become a smart, reliable part of the product.







