 Skip to content
The strange thing about anodizing is how often it gets pushed into the “looks” category, as if color sits on the surface and stays there. I have seen that happen with buyers, engineers, and even experienced sourcing teams. They spend hours on cutouts, wall thickness, mounting points, branding, and packaging. Then the anodizing color gets picked almost like choosing a shirt. Black looks safe. Silver looks clean. Blue looks a bit more lively. Done. At least that is what people hope.
I do not see it that way anymore.
I work with custom aluminum enclosures all the time, and I have learned that anodizing color is never just about appearance. It touches wear. It touches corrosion resistance. It touches how premium a product feels in the hand. It even touches whether the final batch still looks like the approved sample. That last part hurts the most, because a sample can look beautiful on the table and still turn into a headache when mass production begins.
A buyer once sent us a neat enclosure design for an electronics project. The sample was black anodized. It looked sharp. The logo stood out well. The edges felt clean. Everyone liked it. Then the production batch came back with a slight tone shift. Not a disaster. Not a total failure. But enough that the customer noticed it right away under office lighting. That was the moment the conversation changed. The question was no longer “Does it look good?” The question became “Why is it different?”
That is why I always treat anodizing color as both a visual choice and a technical decision. One affects the other. A color that looks simple on paper can become tricky when alloy, finish, thickness, and process control start interacting in real life.
In this guide, I will walk through the common anodizing colors people usually see in the market, the finish styles that change how those colors look, and the small but important details that help me choose the right combination for a real aluminum part.
What is anodizing and how does it affect color?
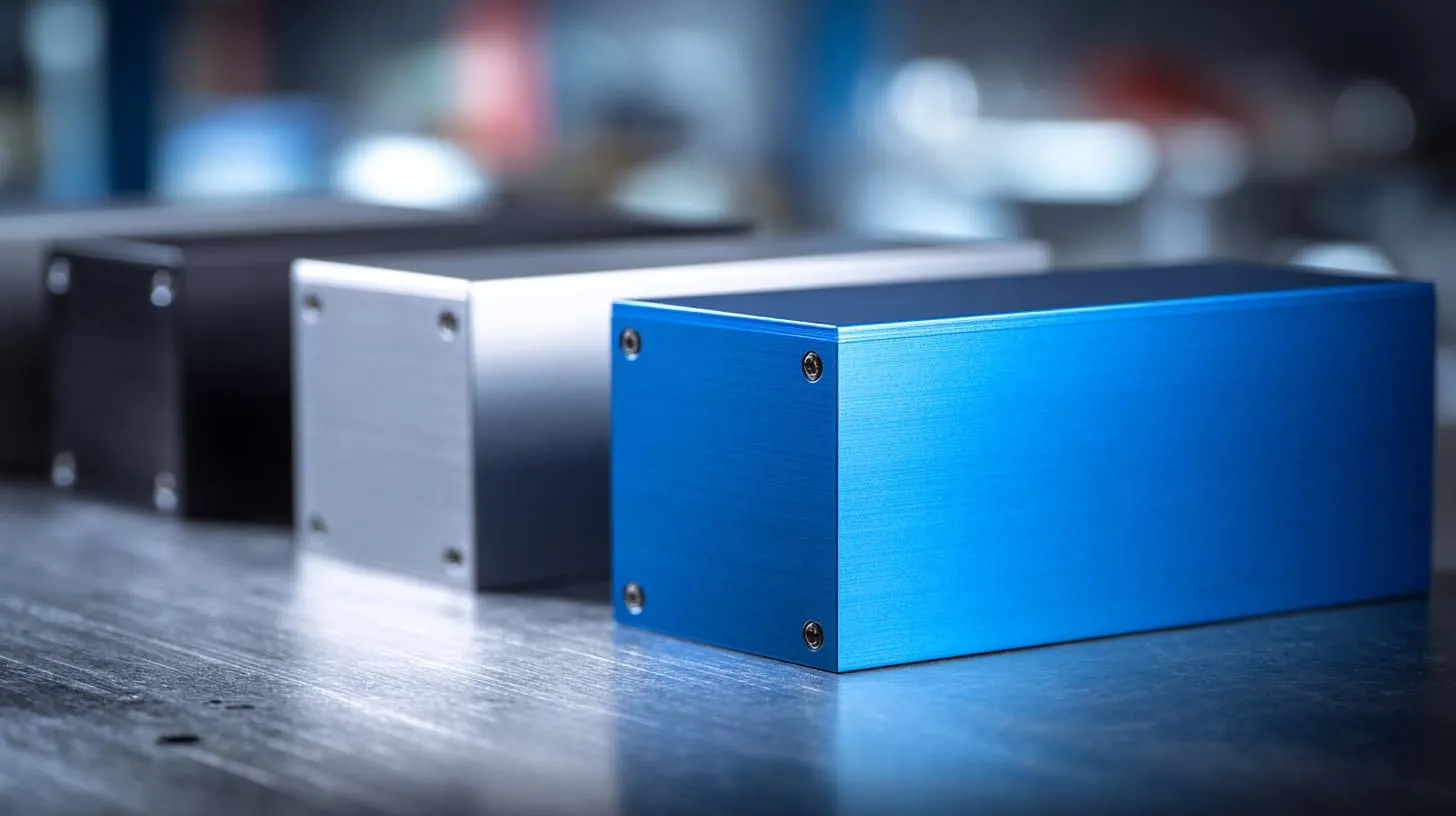
Anodizing is an electrochemical process that builds an oxide layer on the aluminum surface. That sounds technical, and it is, but the practical meaning is simple: the aluminum surface changes in a controlled way so it can gain better corrosion resistance, better wear performance, and a different visual effect.
I usually explain it like this to buyers: anodizing does not paint aluminum. It changes the surface of the aluminum itself.
Basic anodizing process overview
The process starts by cleaning the aluminum part. After that, the part goes into an electrolyte bath and an electrical current is applied. This grows an oxide layer on the surface. That oxide layer has tiny pores. Those pores matter a lot, because they are what make color possible in many anodizing jobs.
Then, if color is needed, dye gets absorbed into those pores. After that, sealing closes the pores and helps lock the color in.
Here is a simple process view:
| Step | What happens | Why it matters |
|---|---|---|
| Cleaning | Oil, dirt, and residue are removed | Bad prep leads to bad finish |
| Surface prep | Brushing, polishing, or blasting may be done | Changes the final look |
| Anodizing | Oxide layer grows on the aluminum | Creates protective and porous surface |
| Coloring | Dye enters the pores | Gives the part its visible color |
| Sealing | Pores are closed | Helps color stay stable |
What makes this process interesting is that the final color does not come only from the dye. It comes from the whole chain. Surface condition, oxide thickness, alloy, and sealing all shape the result.
Why anodized aluminum can be colored
The porous structure is the key. Those microscopic pores work almost like tiny storage spaces for dye. Once the dye sits inside and the pores are sealed, the color becomes part of the finished surface in a much deeper way than ordinary coating logic would suggest.
This is why anodized parts can look rich and clean without feeling like they have a thick painted skin on top. The color feels more integrated. It often feels more refined too.
Still, that does not mean every color behaves the same way. Some shades are easier to control. Some are much harder. Black is widely used because it is practical and relatively stable. Brighter colors can be more sensitive.
What often matters more than buyers expect is not “Can this part be dyed?” but “Can this exact shade be repeated well at scale?”
Key factors that influence final color
This is where the simple idea starts to become less simple.
The final color depends on several factors:
- Aluminum alloy
- Surface preparation
- Anodizing thickness
- Process control
- Sealing quality
A 6061 aluminum part and a 5052 aluminum part may not anodize to the exact same visual tone, even if the same dye is used. A brushed surface and a blasted surface will reflect light differently. A thicker anodized layer may absorb or present color differently from a thinner one.
I do not judge a color request only by the color name. I judge it by the whole build path behind that color, because that is where surprises usually hide.
Here is a quick view:
| Factor | Effect on color |
|---|---|
| Alloy type | Can shift brightness, tone, and uniformity |
| Surface texture | Changes reflection and visible depth |
| Thickness | Can affect shade, darkness, and consistency |
| Dye process | Influences saturation and repeatability |
| Sealing | Affects long-term appearance and stability |
That is the part many people skip. Then the batch arrives, and the “same black” does not look quite the same.
Once buyers understand that, the next question becomes much more practical: what colors are actually common, and what do they usually look like in real work?
What are the most common anodizing colors?
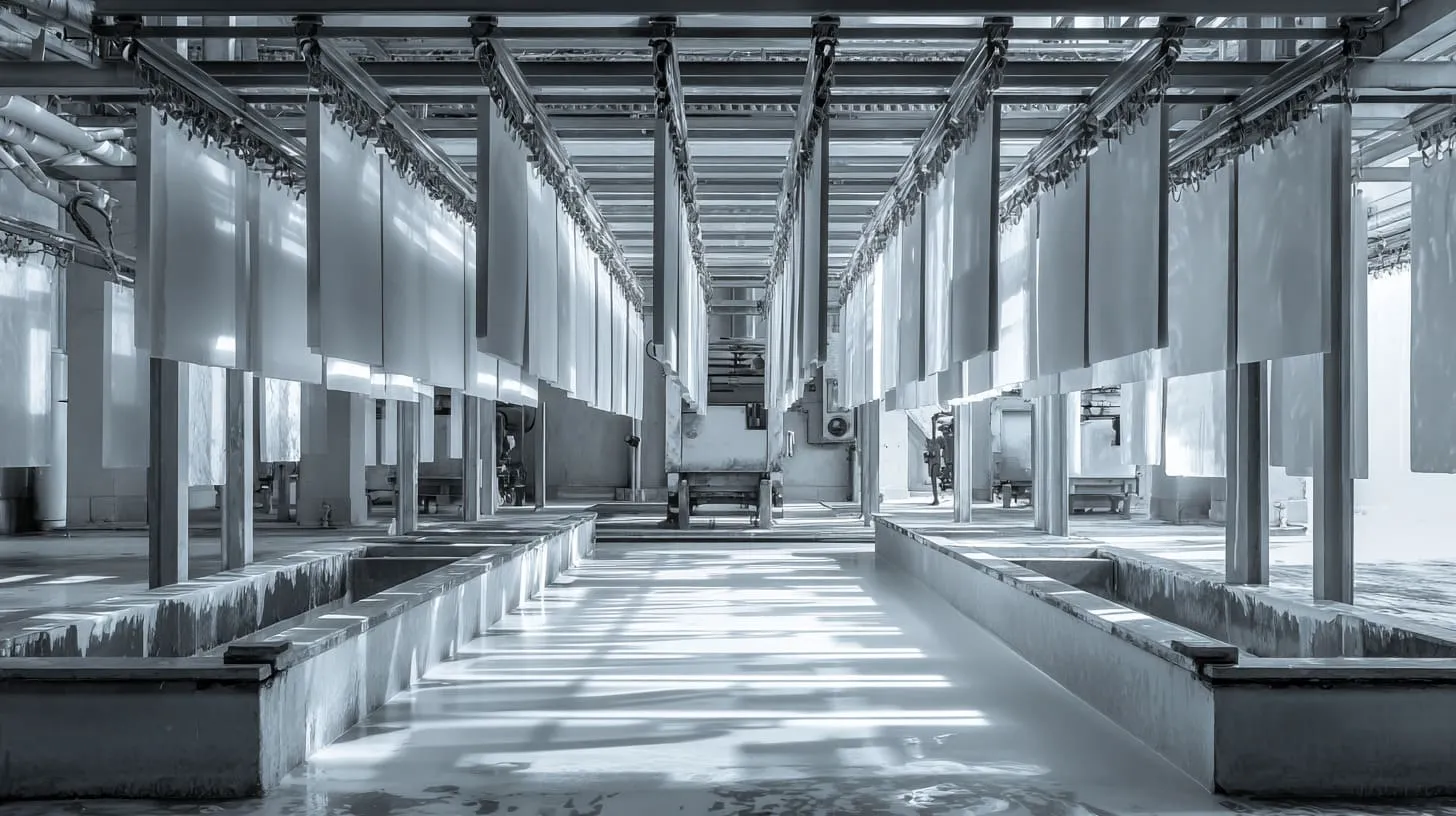
Most buyers ask about color in a very normal way. They ask, “What options do I have?” That sounds like a short question. It is not. The market has common colors, rare colors, and custom-looking colors that are technically possible but not always smart for cost, repeatability, or lead time.
When I talk to customers about anodizing, I usually start with the colors that show up again and again in commercial work.
Natural (clear or silver anodizing)
Natural anodizing is one of the most common finishes. It keeps the metallic feel of aluminum and gives a clean, understated look. People often call it silver, but in practice it is not exactly like painted silver. It feels more honest. More industrial. More direct.
I like natural anodizing for industrial housings, control boxes, and parts where the customer wants a clean finish without drawing too much attention to the enclosure itself.
The tricky part is that natural anodizing can still vary a bit by alloy and prep method. Some pieces look brighter. Some look softer. Some feel cooler in tone.
| Color | Typical feeling | Common uses |
|---|---|---|
| Natural / Clear | Clean, technical, understated | Industrial housings, electronics enclosures, panels |
Black anodizing
Black is probably the most requested anodizing color I see. I understand why. It looks stable. It feels premium. It works with many product styles. It also hides visual noise better than many brighter colors.
Black is especially common for:
- Electronics housings
- Raspberry Pi enclosures
- Front panels
- Consumer device shells
- Branded metal accessories
I tend to recommend black when the customer wants a modern and safe look. Still, black is not magic. Some blacks lean warmer. Some look deeper. Some appear more charcoal than true black depending on process and lighting.
The small mistake many buyers make is assuming all black anodizing looks the same. It does not.
Blue anodizing
Blue anodizing has a more decorative feel. It can look energetic, tech-focused, or playful depending on the shade. I see it more often in branded components, consumer accessories, and parts that want to stand out visually.
Blue can work very well, but I look at it carefully when brand matching matters. Some blue shades are harder to repeat tightly across batches.
Red anodizing
Red gets attention fast. That can be useful or risky depending on the product. In tools, hobby products, and some automotive-related parts, red can look bold and intentional. In more conservative industrial settings, it may feel too loud.
I do not reject red. I just ask a more direct question: does the product need visibility, emotion, or brand drama? If the answer is no, red may not be the best choice.
Gold or champagne anodizing
Gold anodizing can look elegant when handled well. Champagne tones often feel more mature and easier to use than bright gold. I have seen this work nicely on premium electronics parts and decorative hardware.
Still, this is a color family where taste matters. Some buyers want premium. Some accidentally drift into flashy. That line is thinner than people think.
Green, purple, and custom colors
These colors exist, and sometimes they are the right move. They can support branding, make limited-run products stand out, or help a niche product look different from generic competitors.
But I always slow the conversation down here. Less common colors can mean more uncertainty in consistency, higher cost, and more effort in approval.
Here is a simple comparison table:
| Color | Strength | Risk |
|---|---|---|
| Natural | Clean and stable | Can still vary by alloy |
| Black | Popular and versatile | Shade differences still happen |
| Blue | Distinct and lively | Repeatability may be harder |
| Red | Strong visual impact | Can feel too aggressive |
| Gold / Champagne | Premium feel | Easy to overdo visually |
| Green / Purple / Custom | Unique branding | More production control needed |
The color choice often feels emotional at first. That is normal. But once the color is chosen, the surface finish starts shaping how that color will actually be seen.
What types of anodizing finishes are available?
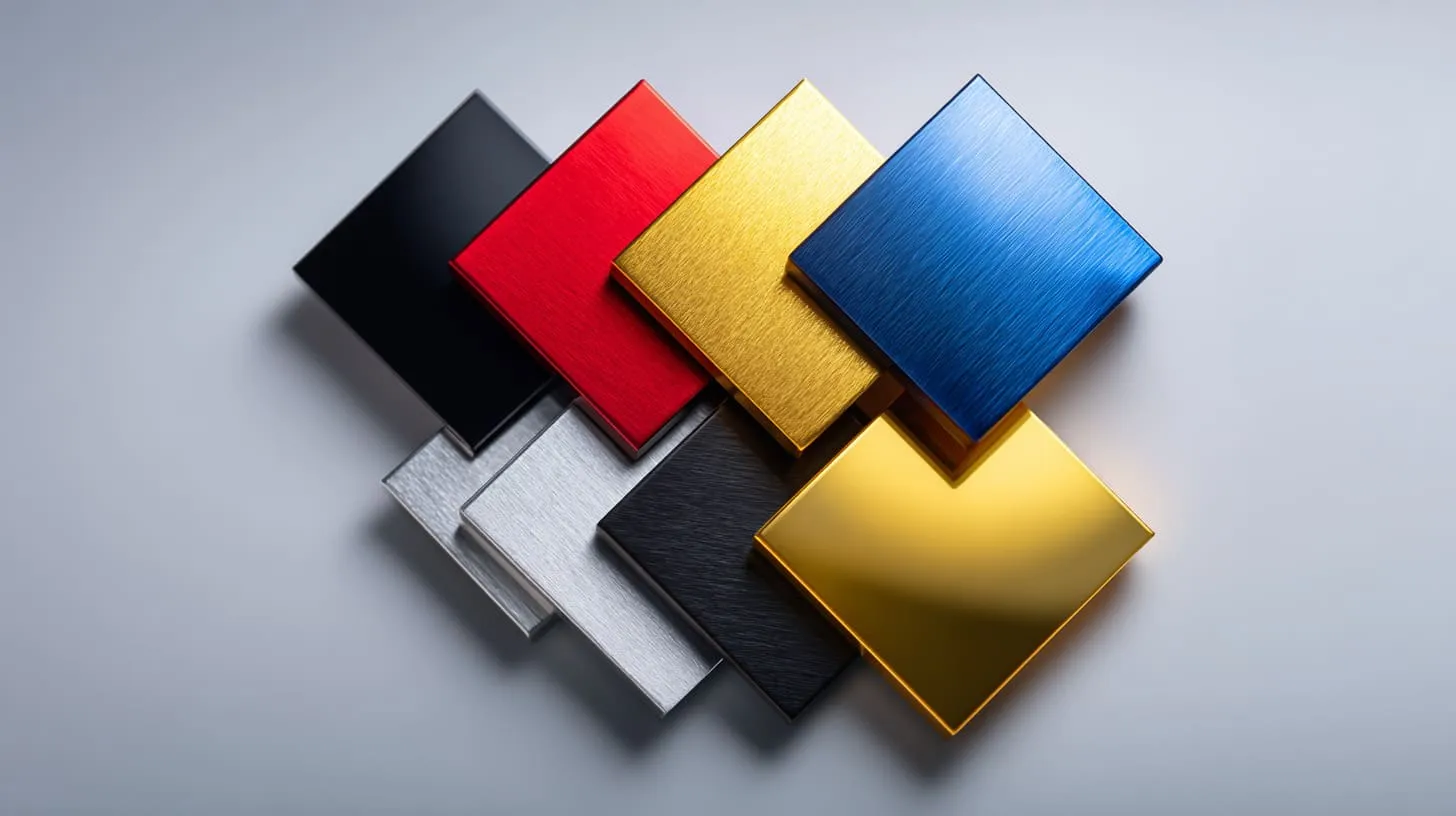
A color on paper is only half the story. The finish under that color changes the mood of the part. I have seen the same black anodizing look elegant on one part and ordinary on another, just because the surface finish was different.
That is why I do not ask only, “What color do you want?” I also ask, “How do you want that color to feel?”
Matte finish
Matte anodizing is soft, low-reflection, and practical. It is often created with chemical etching or bead blasting before anodizing. This gives the surface a more even, non-glossy look.
I like matte finishes for enclosures because they usually hide fingerprints better and make small scratches less obvious. They also feel calm. Less flashy. More controlled.
This is one of the safest finish choices for many industrial and commercial projects.
Glossy finish
Glossy anodizing starts with a polished surface. That polished look carries into the final appearance, giving the part a bright and reflective effect.
A glossy part can look impressive. It can also expose every flaw.
That is the trade-off. Gloss adds visual drama, but it demands cleaner material, better prep, and tighter cosmetic standards.
I get more careful when buyers want gloss on large visible surfaces, because the finish can highlight small scratches, waviness, and handling marks that a matte finish would hide much more easily.
Brushed finish
Brushed anodizing has a directional grain. It often looks premium in a quiet way. I see it a lot on visible front panels, control surfaces, and parts where the customer wants an industrial but polished character.
Brushed finishes can look excellent, but the brush direction has to be controlled. If the grain is inconsistent, the part looks messy fast.
Sandblasted finish
Sandblasted or bead-blasted finishes create a fine, textured matte surface. These are common for enclosures and housings because they give a uniform and modern look.
This finish also helps hide some minor visual irregularities. That makes it practical, not just attractive.
Here is a finish comparison table:
| Finish | Visual effect | Strength | Weak point |
|---|---|---|---|
| Matte | Soft, non-reflective | Hides fingerprints and light wear | Less dramatic visually |
| Glossy | Bright, reflective | Premium visual impact | Shows flaws easily |
| Brushed | Linear, technical | Strong premium industrial look | Grain control matters |
| Sandblasted | Fine textured matte | Uniform and practical | Needs stable prep quality |
I often decide finish before final color approval, because the same dye can look very different on a polished part and a blasted part. That is where many “same color” arguments really begin.
And once finish enters the conversation, the next issue becomes unavoidable: surface preparation.
How does surface preparation affect anodized appearance?
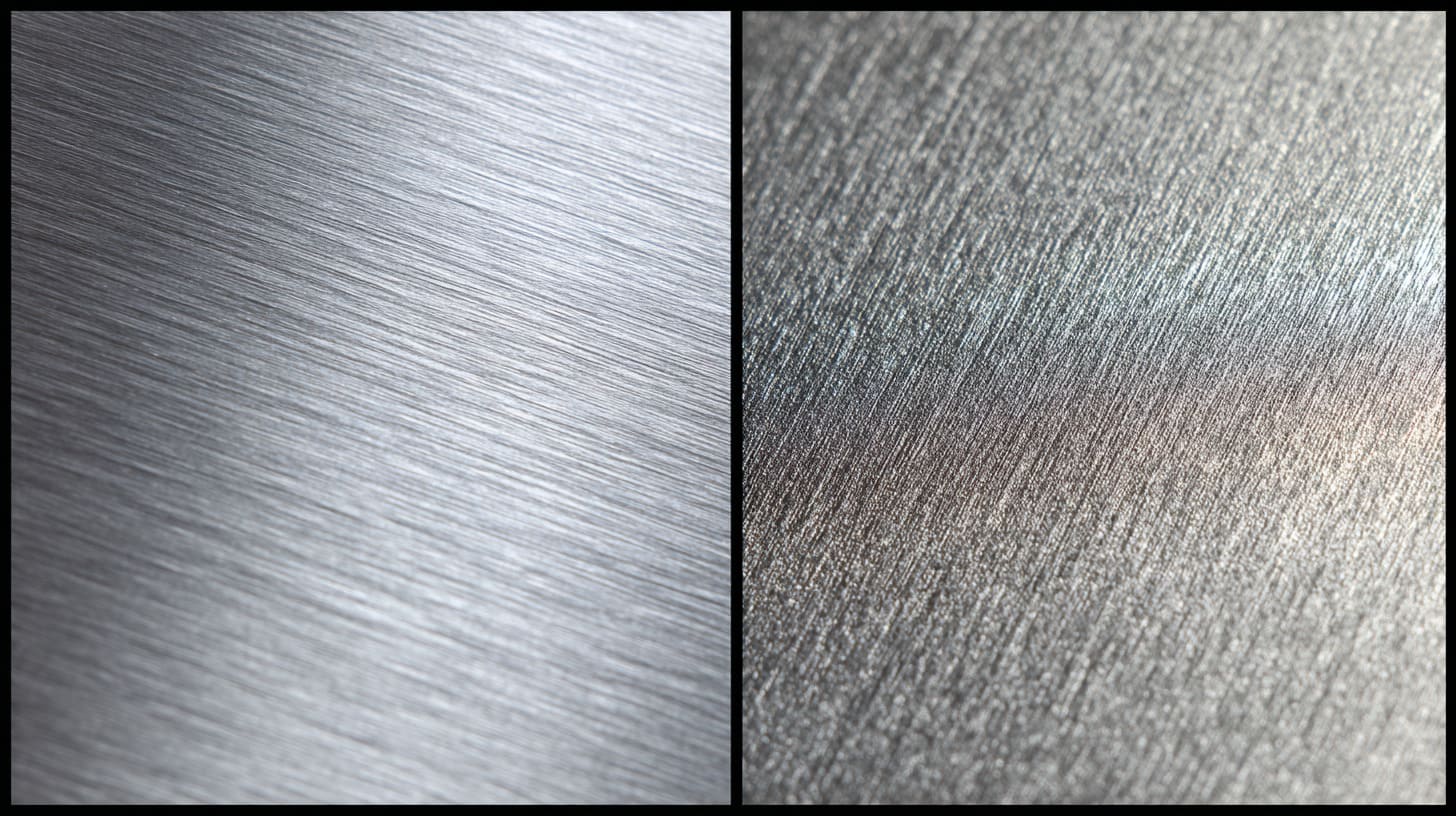
Surface preparation is one of those subjects that sounds boring until a batch looks wrong. Then suddenly everyone cares.
I have learned that anodizing is brutally honest. It rarely hides poor prep. Most of the time, it reveals it.
Pre-treatment methods
Before anodizing, the surface can be prepared in different ways:
- Mechanical polishing
- Brushing
- Bead blasting
- Chemical etching
Each method creates a different foundation. That foundation changes how light hits the part, how dye appears, and how defects show up.
| Prep method | Surface character | Typical result after anodizing |
|---|---|---|
| Polishing | Smooth and reflective | Brighter, shinier look |
| Brushing | Linear texture | Premium directional finish |
| Bead blasting | Fine texture | Soft matte and more uniform feel |
| Chemical etching | Reduced shine | Satin-like appearance |
Why surface defects become visible after anodizing
This is where many buyers get surprised. They think anodizing will cover scratches or machining marks. Usually, it does not. In many cases, it makes them easier to see.
A faint scratch on raw aluminum may look minor. After anodizing, it can become part of the visible story of the part.
That is why I care so much about raw surface quality before finishing. A finish shop cannot fully rescue weak prep.
Consistency challenges in mass production
Small process differences matter more in mass production than in samples. Different operators may prep parts with slightly different pressure, direction, or timing. Tools wear over time. Material lots shift. Racks hold parts a little differently.
I have seen sample approval go smoothly, then production drift because the surface prep discipline was not held tightly enough. That is why I pay attention to consistency systems, not just sample beauty.
Here is what usually creates trouble:
- Mixed prep methods in one batch
- Inconsistent brush direction
- Uneven blasting pressure
- Raw material surface variation
- Loose cosmetic inspection standards
My real concern is not whether one sample looks good under soft light. My concern is whether the fiftieth carton still looks controlled after production pressure starts pushing people to move faster.
That thought leads directly into another decision buyers often misunderstand: Type II versus Type III.
What are the differences between Type II and Type III anodizing colors?
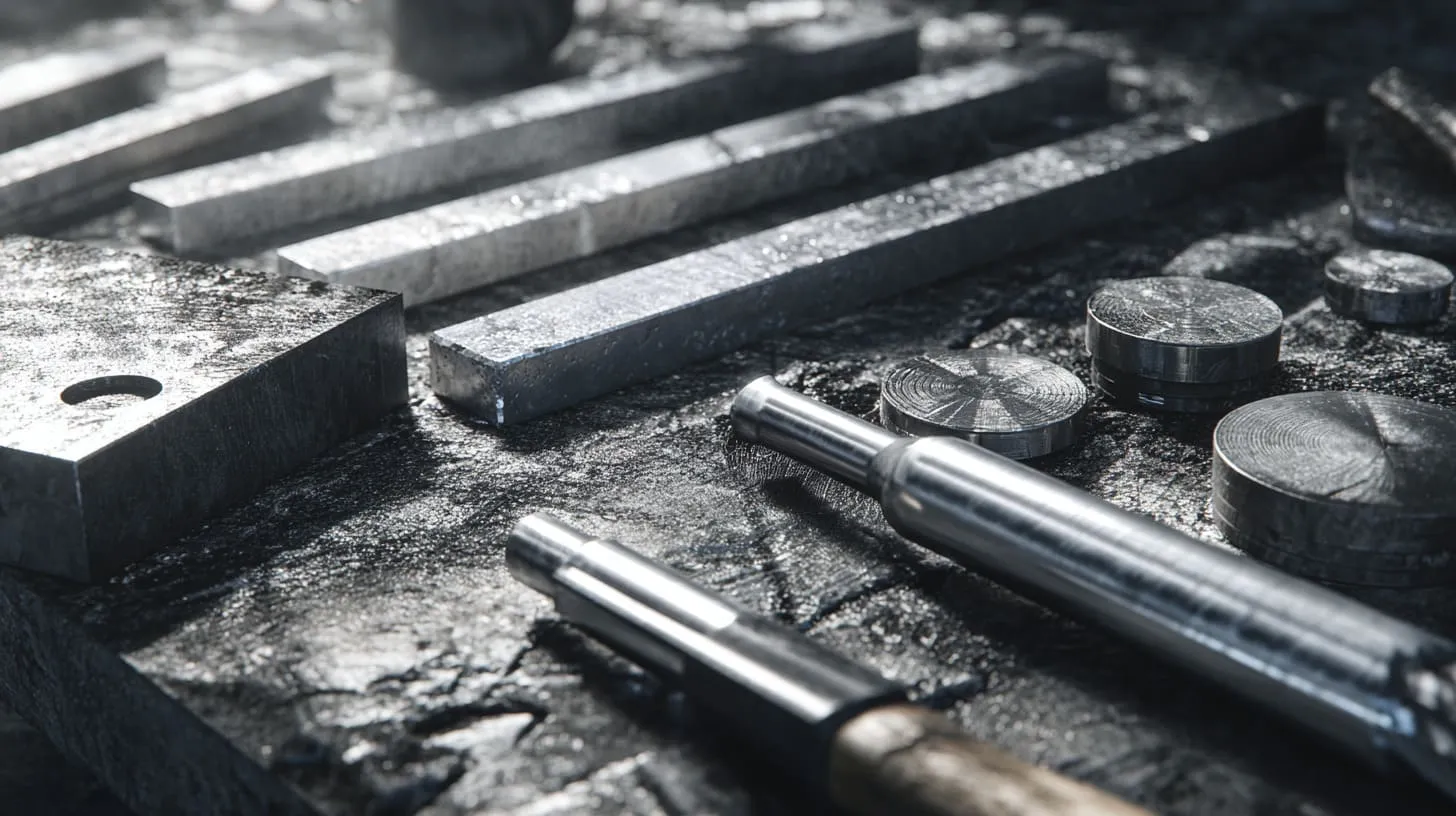
This is one of the most important distinctions in anodizing, and it gets oversimplified all the time.
People sometimes assume Type II and Type III are just different levels of the same finish. That is too shallow. They behave differently in both function and appearance.
Type II anodizing
Type II anodizing is usually the decorative choice. The coating is thinner, often around 5 to 25 microns. It is widely used when color range and appearance matter.
Because the oxide layer is thinner and more color-friendly, Type II often gives brighter and more flexible color results. This makes it common for consumer products, branded housings, panels, and visible enclosure parts.
If a customer wants stronger color expression, Type II is often the easier path.
Type III anodizing
Type III is hard anodizing. The coating is thicker, often around 25 microns and above. It focuses more on wear resistance, hardness, and durability than on decorative flexibility.
Hard anodized parts often come out in darker and more limited tones. Even when color is added, the look is usually more restrained. Dark gray, dark bronze, and black are common directions.
This makes Type III useful for parts that face abrasion, harsh use, or stronger functional demands.
Why hard anodizing colors are usually darker
The oxide layer is denser and thicker. That changes how dye interacts with the surface. It also changes how light behaves on the part. So the result often looks darker, heavier, and less bright than Type II.
Here is a simple comparison:
| Type | Typical thickness | Color range | Main purpose |
|---|---|---|---|
| Type II | 5–25 μm | Wider and brighter | Decorative + moderate protection |
| Type III | 25–50+ μm | Narrower and darker | Wear resistance + durability |
I do not pick Type III just because it sounds stronger. I ask whether the part truly needs that extra hardness, because the visual trade-off can disappoint buyers who were expecting a bright decorative finish.
That question matters even more when the customer wants tight color matching across multiple batches.
What color consistency issues should buyers expect?
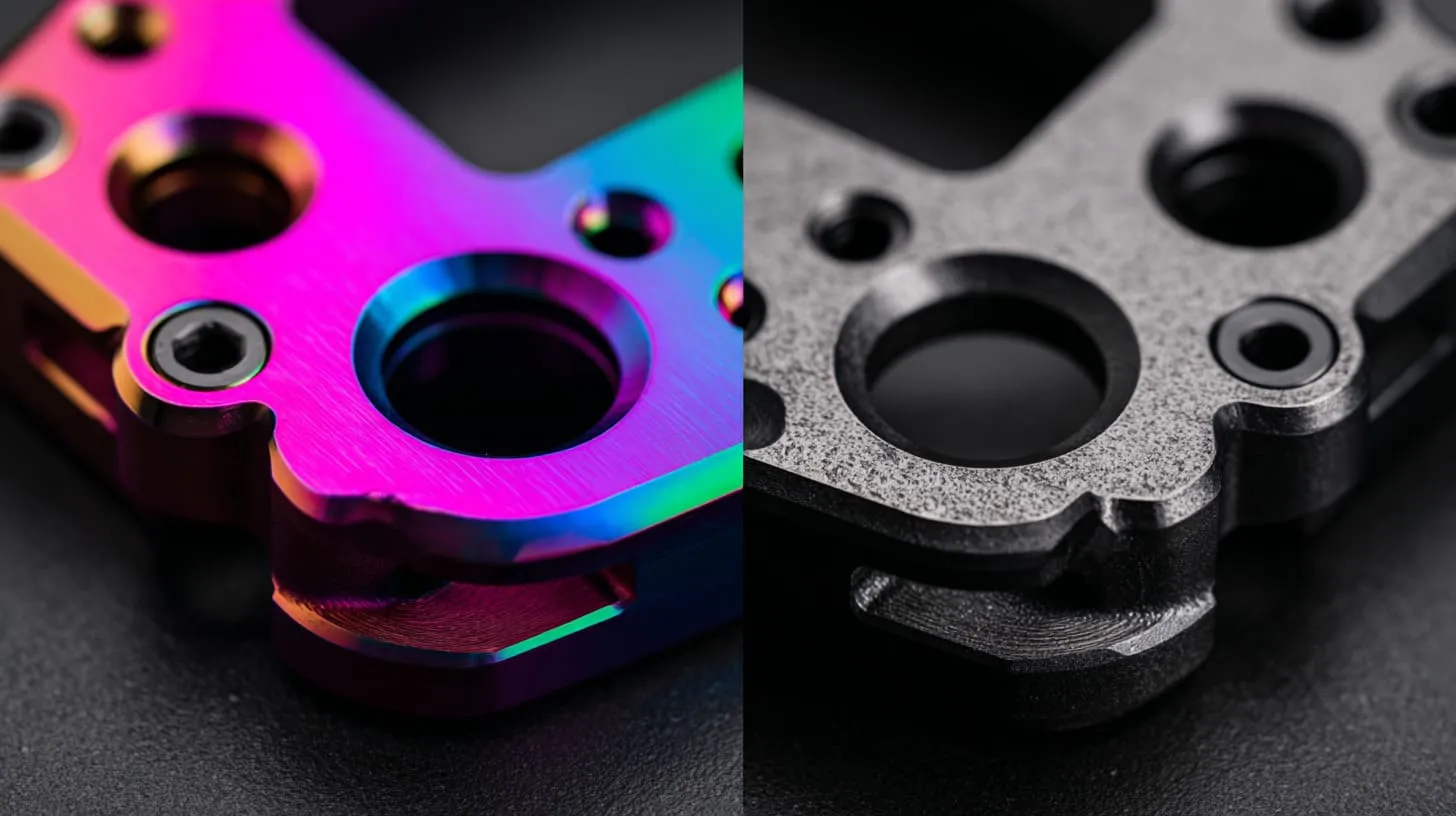
Color consistency is where anodizing gets very real. It is also where expectations often become more polished than the process itself.
I always tell buyers the same thing in plain words: anodizing can be controlled well, but it is not as perfectly repeatable as many people imagine from a screen or catalog photo.
Color variation between batches
Batch-to-batch variation happens for many reasons:
- Alloy differences
- Dye concentration changes
- Temperature variation
- Load size and rack position
- Sealing conditions
Even good suppliers deal with these realities. The goal is not fantasy-level perfection. The goal is controlled, acceptable consistency.
Challenges in matching samples
A sample is one moment. Production is a system.
That difference matters.
A prototype may be made with extra care, a smaller load, and ideal timing. Full production has more variables. That is why a production batch may look slightly different from the sample, even when the process is still acceptable.
Lighting also plays tricks. A black anodized panel may look deep black under warm indoor light and slightly softer under daylight. A champagne finish may look elegant in one room and more yellow in another.
How to control and minimize variation
You cannot remove all variation, but you can reduce it.
Here are the steps I rely on most:
| Control step | Why it helps |
|---|---|
| Lock the alloy | Reduces shade drift |
| Lock the surface prep | Keeps reflection and texture stable |
| Approve a real sample | Gives a visual standard |
| Use one experienced finishing source | Improves process repeatability |
| Define acceptable tolerance | Prevents vague disputes later |
I get nervous when a buyer asks for “exactly the same color” but gives no alloy restriction, no approved sample, and no discussion of acceptable variation. That is how unrealistic expectations get built before production even starts.
Once consistency is understood honestly, the next step becomes easier: choosing the right anodizing color for the actual project, not just for a nice-looking sample.
How to choose the right anodizing color for your project?
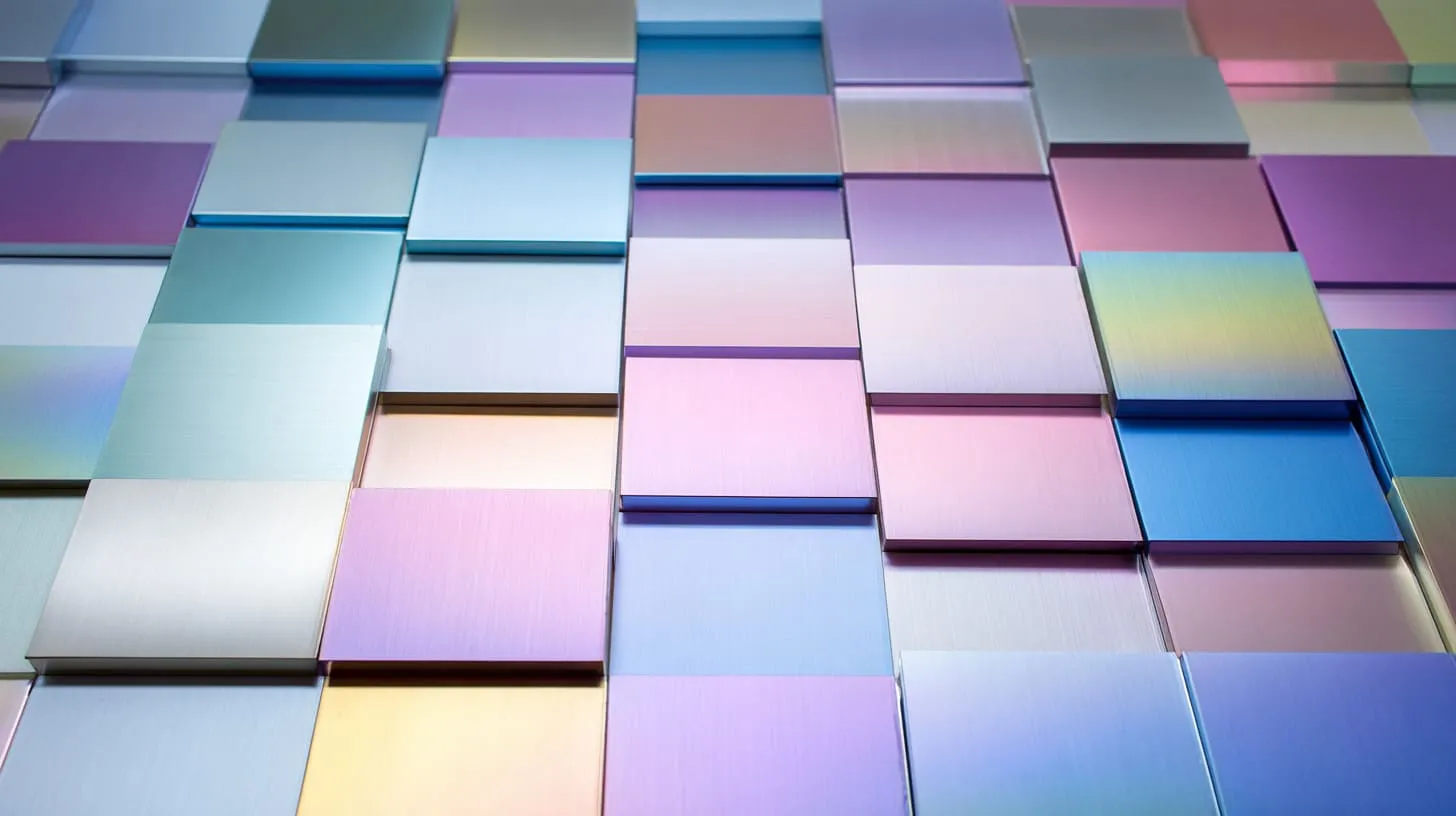
Choosing the right anodizing color is not about asking which color looks best in isolation. It is about asking which color makes sense for the part, the user, the brand, and the production reality.
I have seen buyers choose well by slowing down early. I have also seen buyers create weeks of delay by chasing an attractive idea that did not fit the product.
Based on product function
The first thing I look at is use condition.
Is the part indoors or outdoors? Does it face wear? Will it be touched often? Is heat a concern? Is UV exposure part of the environment?
A clean silver enclosure may work beautifully indoors. A black hard-anodized part may make more sense when wear is higher. A bright decorative color may look fun, but it may not be the right fit for a rough-use industrial product.
Based on brand and market positioning
Brand matters. A premium product and a rugged industrial product do not need the same color logic.
A few simple examples:
- Black often feels premium, modern, and safe
- Natural silver feels technical and honest
- Blue can feel fresh and energetic
- Red can feel bold, urgent, or sporty
- Champagne can feel more refined when done carefully
Still, I never judge brand fit only by trend. I ask how the customer wants the product to be remembered after first touch, not just after first glance.
Based on manufacturing constraints
This part gets overlooked too often.
Color choice is tied to:
- MOQ
- supplier capability
- batch repeatability
- lead time
- cost control
Some colors are easy to repeat. Some are not. Some finishes fit standard flow. Some require more careful management.
Here is a useful selection table:
| Project factor | Better choice direction |
|---|---|
| High-volume stable production | Natural or black, proven finish route |
| Premium visible product | Brushed black, champagne, or controlled matte finish |
| Tough-use part | Type III darker tones |
| Brand differentiation | Blue, red, or custom color with careful approval |
| Fast lead time need | Common standard colors |
I usually trust a slightly less exciting color that can be produced well over a more exciting color that creates approval pain, delay, and argument later.
That is not me being conservative. That is me trying to protect the whole project.
And to do that well, I also need to know what mistakes buyers fall into most often.
What are common mistakes when selecting anodizing colors?
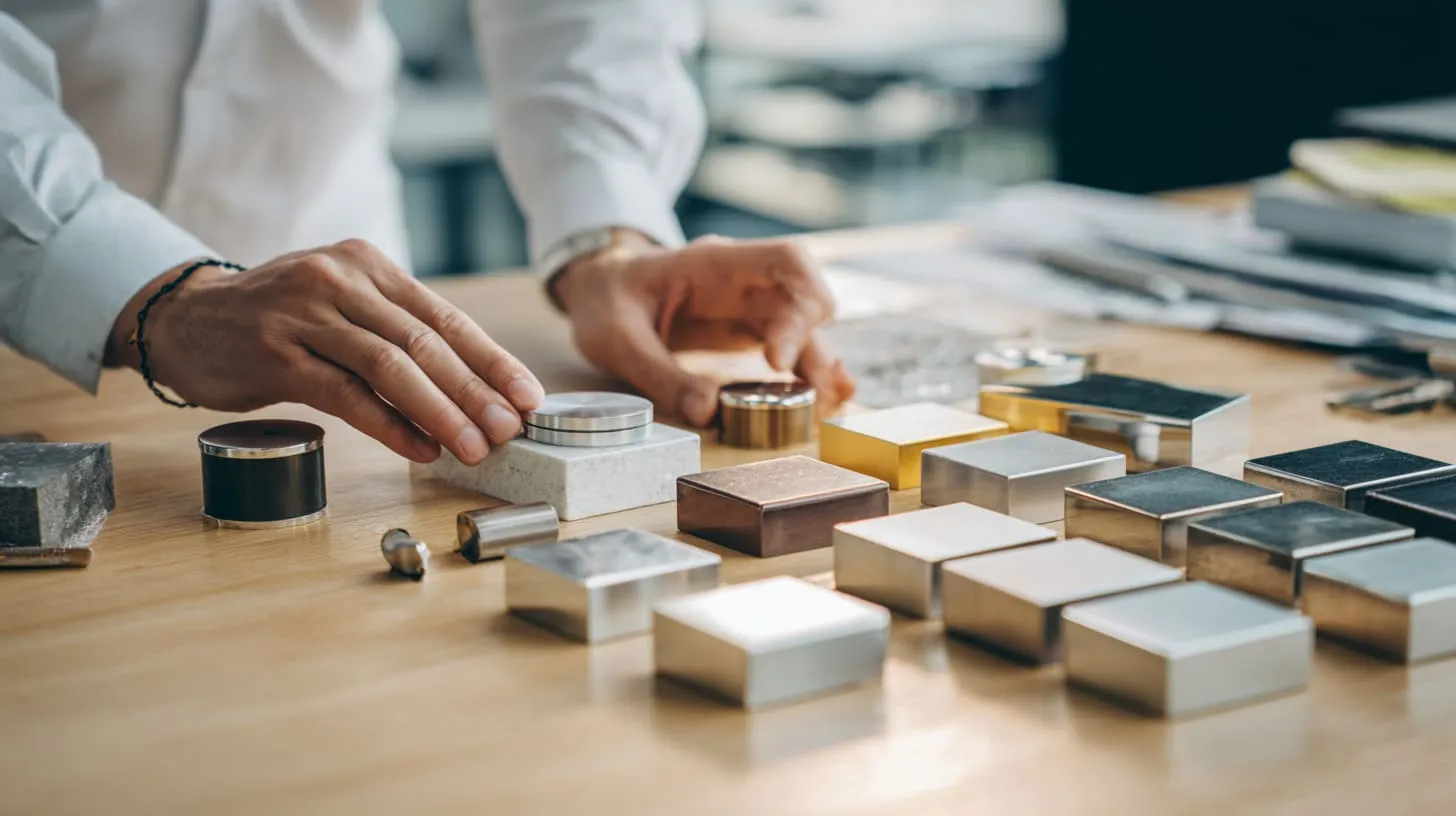
Most anodizing color mistakes are not dramatic at the start. They feel small. Reasonable. Harmless. Then they stack up.
I have seen this happen many times. A buyer picks a color from a screen, assumes one alloy is like another, ignores finish details, and expects every supplier to deliver the same result. Each step looks minor. The final problem does not.
Choosing color only from photos
This is one of the biggest traps.
Screens distort color. Lighting changes color. Camera settings change color. Image editing changes color. A product photo is useful, but it is not final truth.
I treat photos as a conversation starter, not a production standard.
Ignoring alloy compatibility
Different aluminum alloys do not always anodize to the same shade. That is a real issue, especially with visible decorative parts.
A customer may approve one sample in 6061 and then expect the same look from a different alloy later. That is risky.
Overlooking tolerance impact
This is where appearance and engineering collide.
Anodizing adds thickness. That can affect fit, thread performance, assembly feel, and mating surfaces. Buyers who focus only on visual finish can miss mechanical problems until assembly begins.
Assuming all suppliers produce identical results
They do not.
Different suppliers have different tanks, controls, operators, standards, and quality culture. A color that is easy for one anodizing partner may be unstable for another.
Here is a quick mistake map:
| Mistake | What it causes |
|---|---|
| Choosing from photos only | Approval mismatch |
| Changing alloy casually | Shade drift |
| Ignoring thickness | Fit and assembly issues |
| Switching finishers too freely | Consistency problems |
| No approved sample standard | Endless color arguments |
One thing that often tells me a project may go wrong is when the buyer spends more time discussing the name of the color than the conditions needed to reproduce it.
That is why I like to end the process with something much more concrete: proper specification.
How to specify anodizing color and finish correctly?
A lot of production pain can be prevented by a better drawing note and a clearer approval process. This part is not glamorous, but it saves projects.
When I review anodizing requirements, I want the color and finish to be described in a way that supports real manufacturing, not vague preference.
Key specifications to include in drawings
I like the drawing or finish spec to include at least these points:
- Color required
- Finish style
- Type II or Type III
- Thickness requirement
- Critical cosmetic areas
- Any no-mark or no-rack-mark concerns
- Sample approval reference if available
Here is a useful spec table:
| Spec item | Why it matters |
|---|---|
| Color name or approved sample | Gives visual direction |
| Finish type | Changes the look of the color |
| Anodizing type | Affects performance and color behavior |
| Thickness | Impacts durability and fit |
| Alloy callout | Supports consistency |
| Cosmetic standard | Defines what is acceptable |
Sample approval process
I strongly prefer a real pre-production sample before mass production. Not just a photo. Not just a verbal description.
A golden sample can save a lot of arguing later. It gives both sides something physical to compare against. It also makes acceptance more objective.
Communication tips with suppliers
Good communication on anodizing should be visual and technical at the same time.
I try to provide:
- Reference images
- Real samples if possible
- Intended alloy
- Required finish
- Critical surfaces
- Functional risks
- Acceptable color variation range
I become much more cautious when a color request is written as one vague word on the drawing, because the supplier may fill in the blanks differently from what the buyer imagined.
That is not a communication problem only. It is a decision problem. Clearer thinking early creates calmer production later.
Conclusion
Anodizing color looks simple from a distance. Up close, it is not simple at all. It sits at the meeting point of design, material, finish, thickness, function, and process control. That is why I do not treat it like a late-stage cosmetic decision anymore.
I have seen natural anodizing work beautifully when a project needed a clean and honest industrial feel. I have seen black anodizing carry a product into a more premium space. I have seen bright colors help a brand stand out. I have also seen all of those choices go wrong when alloy, finish, or production consistency was not considered early enough.
For me, the real lesson is straightforward. Surface preparation matters just as much as the dye. Type II and Type III are not just technical labels. They shape both appearance and performance. And color approval means very little if it is not tied to a stable material and process path.
If I had to give one practical recommendation, it would be this: always test real samples before mass production, and never discuss anodizing color without also discussing alloy, finish, and thickness in the same conversation.
If you are working on a custom aluminum enclosure, a Raspberry Pi case, or another OEM metal housing and want to reduce color risk before production, you can reach out to me at info@maidatech.com or visit maidatechenclosure.com. I am always happy to look at the drawing, review the finish choice, and help you think through the small details before they turn into expensive problems.







