 Skip to content

A buyer once sent me a drawing for an aluminum enclosure and marked the anodizing note in a tiny corner. The wall thickness had been discussed. The screw holes had been discussed. The logo size had been discussed. The packaging had even been discussed. But the anodizing thickness? It sat there like a quiet little detail, almost invisible. I looked at it and thought, this small number is going to decide whether this project feels smooth or painful later.
That happens more often than many people think.
I work with custom aluminum enclosures all the time. I have learned that coating thickness is never just a finishing number. It changes fit. It changes wear life. It changes color. It changes cost. It can even change the mood of a project. A sample can look great on the table and still become a headache in assembly, testing, or field use because the anodizing thickness was chosen too casually.
That is why I do not treat this question lightly.
When people ask me, “What thickness is typical for Type II and Type III anodizing?” I do not rush to give one neat number and move on. I stop first. I think about the part. I think about how it will be used. I think about where the real risk sits. That is the heart of this whole article. Type II and Type III do not live under one fixed thickness rule in real business. The “typical” number changes with function, appearance, tolerance, and end-use risk.
I have seen buyers ask for the same anodizing thickness on two very different parts, almost like they were ordering the same coffee twice. But anodizing does not work like that. A cosmetic front panel and a hard-used machine housing do not want the same answer. A re-brand enclosure for a customer-facing product does not want the same answer as a box that will be mounted near dust, heat, friction, and rough handling.
The part may look simple. The decision is not.
One thing I have learned from doing enclosure work is this: a lot of manufacturing mistakes do not begin with a big error. They begin with a small assumption that nobody stopped to question. This is one of those topics.
So in this article, I want to answer the question in a practical way. I want to show what buyers should really think of as “typical.” I also want to show when that word becomes a trap.
A small note on a drawing can stay small. Or it can quietly control the whole result. That is exactly why this topic deserves a closer look.
What does “typical thickness” mean in anodizing?
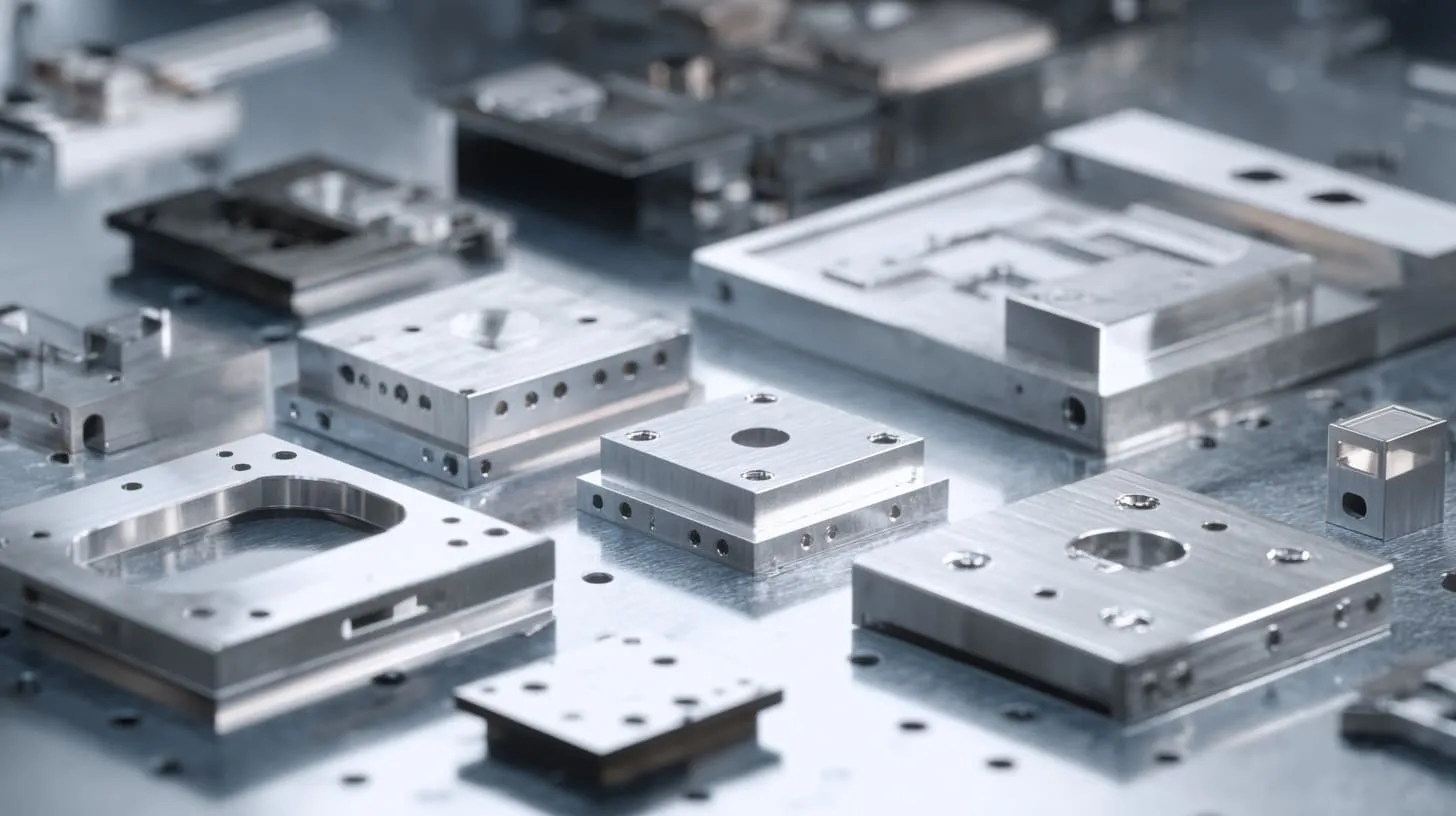
The word typical sounds safe. It sounds stable. It sounds like the kind of word that should save time. But in anodizing, I have found that it often creates confusion instead.
Typical does not mean fixed
A lot of people hear “typical thickness” and assume it means there is one normal number the whole industry follows. I do not see it that way. In real work, typical can mean at least three different things.
It can mean:
- the minimum thickness a spec allows
- the thickness a shop can produce well
- the thickness most buyers actually choose for common projects
Those are not the same thing.
I have seen engineers use typical to mean “what should work well in theory.” I have seen buyers use it to mean “what most suppliers quote.” I have seen finishers use it to mean “what we can control well without extra trouble.” That difference matters more than people think.
Here is a simple way I look at it:
| Meaning of “Typical” | What it really refers to | Why it can mislead buyers |
|---|---|---|
| Spec typical | What a standard or drawing range allows | It may not reflect the most practical production choice |
| Shop typical | What a finisher can do consistently | It may vary by supplier and process control |
| Commercial typical | What is often chosen in real projects | It may reflect habit, not best fit for the job |
When I review a drawing, I do not just ask, “Is this thickness common?” I ask, “Is this thickness a good match for this exact part?” That is a very different question.
A part can sit comfortably inside a spec and still be a bad choice for the real project. That is where many people get trapped. They think a valid range means a smart range. Sometimes it does. Sometimes it absolutely does not.
Why buyers often misunderstand the number
I think buyers misunderstand thickness for a few very human reasons.
First, many drawings are copied from older drawings. One note becomes another note. One old project quietly becomes the template for a new one. I have watched this happen many times. Nobody wants to reopen old decisions if the project already feels busy.
Second, appearance can overpower judgment. A buyer sees a nice anodized sample and assumes the coating choice is already proven. But a sample that looks clean in the hand is not always telling the truth about assembly fit, thread feel, or wear life.
Third, people love simple rules. “Thicker is better” sounds simple. It also sounds safe. But it is only half true, and half true is dangerous in manufacturing.
This misunderstanding shows up in predictable ways:
| Common assumption | What usually happens in real work |
|---|---|
| Thicker coating is always safer | Tolerance issues can appear fast |
| One thickness fits all parts | Cosmetic and functional parts need different logic |
| If the sample looks good, the thickness is fine | Assembly and field use may say something else |
| Any supplier can hit the same result | Process stability varies by shop, alloy, and geometry |
The part that bothers me most is how innocent the mistake looks in the beginning. Nobody feels like they are making a risky choice. They feel like they are choosing a common number.
That is exactly why I distrust the word typical when it is used too casually.
I once had a project where the buyer kept asking for the “usual thickness.” I asked him one more question: “Usual for what?” That small pause changed the whole discussion. The enclosure had one cosmetic face, several tight screw areas, and one contact area that needed attention. The answer was no longer “usual.” It became specific. It became smarter.
And once a topic gets that specific, Type II naturally enters the conversation.
What thickness is typical for Type II anodizing?
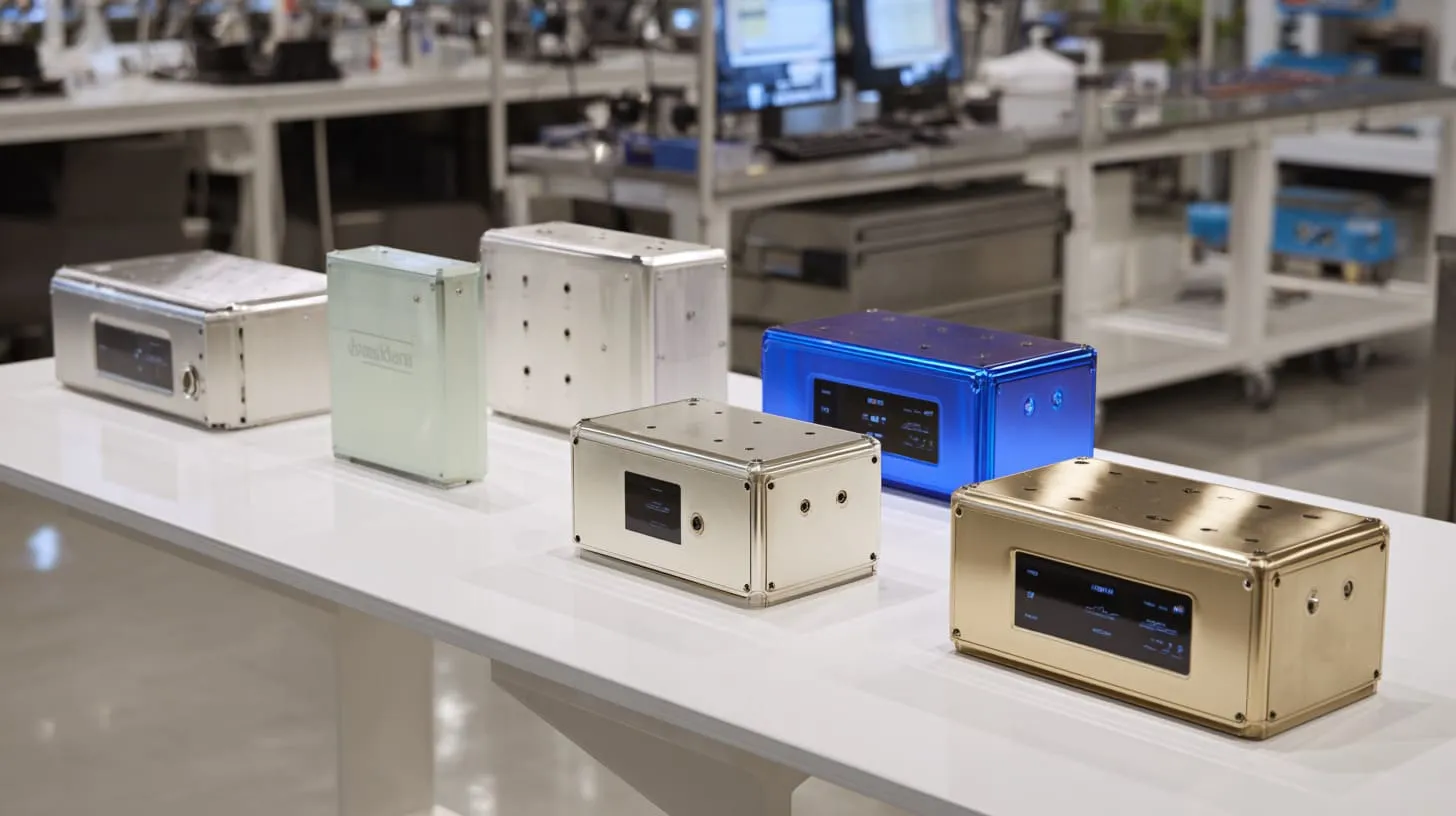
Type II is the anodizing choice many buyers meet first. That makes sense. It is common. It is familiar. It covers a lot of real business cases. But even here, “typical” needs context.
The common working range for Type II
Type II anodizing is usually the more standard sulfuric anodizing process for decorative use and general protection. When buyers ask me about a branded aluminum enclosure, a control box, or a customer-facing housing, Type II often enters the discussion early.
In many real quoting and production situations, Type II sits in a lighter working range than Type III. Most everyday parts do not need the upper end of what the process can theoretically reach. They live in the middle, where appearance, corrosion resistance, and manageable dimensional change can balance each other.
I usually think about Type II this way:
| Type II use case | Usual thinking on thickness |
|---|---|
| Decorative housings | Keep it moderate and controlled |
| Dyed cosmetic parts | Avoid going too heavy if color consistency matters |
| General protective enclosure work | Mid-range thickness is often enough |
| Tight-fit parts | Stay cautious with added buildup |
The big point is simple: many commercial Type II parts are not pushed to extremes. They stay in the light-to-mid zone because that is where the process often works best for appearance-focused or general-purpose enclosure projects.
The mistake some buyers make is assuming that if Type II can go thicker, then they should request thicker. I rarely agree with that by default. I look at how the part will be handled, assembled, and seen. That tells me much more than the fact that the process has room to go higher.
One detail I pay close attention to is whether the part is mostly visual, mostly functional, or caught awkwardly in the middle. That middle zone causes the most debate.
When thinner Type II makes sense
There are many cases where a thinner or lighter Type II choice makes very good sense.
Cosmetic parts are the obvious example. If the buyer cares a lot about surface look, clean dye result, or smooth branded presentation, I do not like forcing extra thickness unless there is a real performance reason behind it.
Thinner Type II can also help when the design has:
- smaller holes
- tighter lid fits
- more delicate cosmetic surfaces
- cleaner visual expectations
- less need for heavy wear resistance
Here is where I often lean toward a lighter Type II approach:
| Part condition | Why lighter Type II can help |
|---|---|
| Dyed front-facing enclosure | Better visual consistency |
| Small precision holes | Less risk of unwanted tightening |
| Tight cosmetic lid fit | Better assembly feel |
| Customer-facing product shell | Good protection without overloading the finish |
| Logo-focused branded housing | Keeps attention on appearance and consistency |
I have worked on enclosure projects where the buyer cared more about the hand feel than the abrasion number. That is not shallow. That is business reality. A customer may judge the product in three seconds. If the housing looks uneven, fits too tightly, or feels rough because the finish was overspecified, the product has already lost something.
That does not mean thinner is always better. It means thinner can be smarter when appearance and manageable dimensional change matter most.
When thicker Type II may be requested
There are also times when a buyer asks for thicker Type II, and I understand why.
This usually happens when the part needs a bit more corrosion margin, a bit more wear resistance, or more confidence in a tougher-use setting, but the project still does not justify a full move into Type III hardcoat logic.
Typical examples include:
- outdoor housings with moderate exposure
- general industrial enclosures
- products that see more handling than normal
- parts that need more surface protection but still want a cleaner decorative finish
I treat this as a balancing act, not a bragging contest.
| Reason for thicker Type II | What I think about before agreeing |
|---|---|
| Extra corrosion margin | Is the environment truly demanding? |
| Better wear resistance | Is contact or rubbing frequent enough to matter? |
| Outdoor use | Will sealing, design, and drainage matter more than extra coating alone? |
| “More protection” request | Is this based on real need or simple comfort? |
This is where things often go wrong in conversation. A buyer says, “I want stronger anodizing.” That sounds reasonable. But stronger in what way? Better wear? Better corrosion? Better color stability? Better marketing confidence? Those are not the same question.
I have seen thicker Type II requested because the buyer did not want to pay for hardcoat but still wanted to feel like they had upgraded something. I understand that instinct. Still, I do not like finish choices made for emotional comfort alone. That is how projects drift into vague specifications and awkward results.
And once buyers start asking for more wear, more density, and more surface toughness, the discussion naturally moves toward Type III.
What thickness is typical for Type III anodizing?
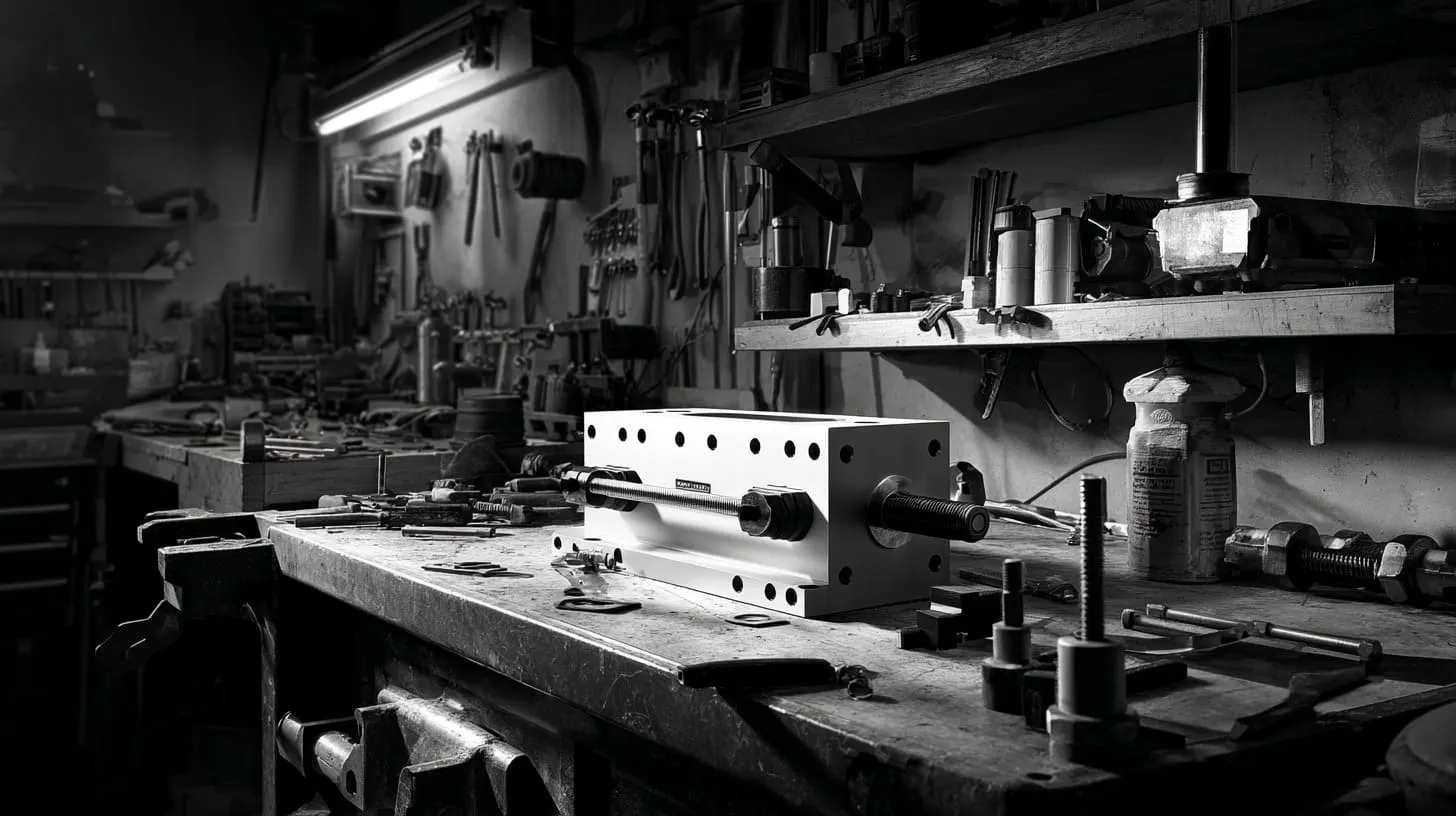
Type III changes the tone of the conversation. When this process enters the project, I can usually tell the buyer is no longer thinking only about appearance. They are thinking about survival.
The normal hardcoat range buyers should expect
Type III anodizing is thicker, denser, and more wear-focused than Type II. That difference is not just technical language. You can feel it in how the project is discussed. The questions become more functional. People start asking about abrasion, repeated contact, tougher service, and longer-term surface durability.
For most engineering readers, I see Type III as the place where Type II stops being the easy answer.
That does not mean Type III is always the better choice. It means the logic changes. Hardcoat is usually chosen because the part is expected to do more, endure more, or resist more.
I usually connect Type III with parts like these:
| Type III style project | Why it comes up |
|---|---|
| Rugged field enclosure | Better wear and surface durability |
| Industrial equipment housing | More serious service conditions |
| Parts with repeated contact or movement | Better abrasion resistance |
| Functional machine-side enclosure | Performance matters more than decorative finish |
In real business, “typical Type III” is not just “thicker anodizing.” It is usually tied to parts that have a hard-use job. That is the difference buyers need to see clearly. When someone chooses Type III only because it sounds more premium, I slow the conversation down. Premium for what? For appearance? Maybe not. For durability? Often yes.
A strong finish still has to fit the actual job.
Why 0.002 inch hardcoat gets mentioned so often
There is a reason 0.002 inch comes up again and again in Type III discussions. It has become a kind of reference point in engineering talk because it gives a practical middle ground. It is thick enough to feel serious. It is thick enough to improve wear resistance in a meaningful way. And it is thick enough to create real dimensional effects that designers cannot ignore.
That last part matters a lot.
I have noticed that many buyers remember the wear advantage and forget the dimensional consequence. But that consequence is part of the deal. Hardcoat is not magic. It brings value, and it brings limits.
Here is why that thickness gets repeated so often:
| Reason | Why it matters |
|---|---|
| Recognized benchmark | Easy for engineers and suppliers to discuss |
| Good wear balance | Strong enough for many practical jobs |
| Real production familiarity | Many finishers know how to work around it |
| Dimensional impact becomes visible | Forces smarter design review |
I do not treat 0.002 inch as a universal answer. I treat it as a warning sign that the project now needs more careful dimensional thinking. Once that number is on the table, I want to check holes, lids, threads, contact points, and any sliding or mating features.
The finish is no longer just a surface choice. It has become part of the geometry story.
When Type III is pushed thinner or thicker
Type III is not always specified at the same thickness. Some projects push it thinner to reduce dimensional penalty. Others push it thicker to chase more wear resistance. Both choices can make sense. Both can also become problematic if they are chosen without enough design review.
A thinner Type III request can happen when the buyer wants hardcoat properties but is afraid of too much buildup. That can be reasonable on tighter-feature parts.
A thicker Type III request usually appears when the part will face:
- repeated rubbing
- harsher use
- longer wear exposure
- more aggressive field conditions
But there are limits. Alloy matters. Geometry matters. Sharp edges matter. Deep recesses matter. Thin walls matter. The thicker the demand becomes, the more process difficulty can show up.
| Type III direction | Common reason | Risk to watch |
|---|---|---|
| Thinner | Reduce dimensional change | May not deliver the wear expectation the buyer imagined |
| Mid-range | Balanced performance | Usually the safest starting point |
| Thicker | Push wear resistance higher | More fit risk, more process difficulty, more cost |
I have learned not to admire “thicker” by itself. A hardcoat spec can look impressive on paper and still be the wrong answer for the actual shape of the enclosure. A part with mixed cosmetic surfaces and tight fits can punish a careless hardcoat decision very quickly.
And that brings us to one of the biggest practical issues in this whole topic: dimensions.
How do Type II and Type III thicknesses affect part dimensions?

This is the section many people skip too quickly. I understand why. Dimensions feel less exciting than finish color or corrosion resistance. Still, this is where a lot of costly trouble starts.
Why anodizing changes fit, not just color
Anodizing does not simply sit on top like paint. It grows through a mix of buildup and penetration. I try to explain this in plain language when buyers are new to the topic: the coating takes space. Some of that space grows outward. Some of it grows inward into the surface.
That means the coating can affect fit in very real ways.
A bore can get smaller. An outside size can get larger. A thread can tighten up. A lid that felt smooth before finishing can become annoyingly snug after finishing.
Here is the simple picture:
| Feature | What can happen after anodizing |
|---|---|
| Outside dimensions | Can grow larger |
| Holes and bores | Can become smaller |
| Threads | Can feel tighter or rougher |
| Mating surfaces | Can lose the original fit feel |
| Contact areas | Can behave differently if conductivity matters |
I do not wait until the anodizing stage to think about this. I prefer to think about it while the enclosure is still being designed or reviewed for machining. That is much cheaper. It is also much calmer.
A drawing can look perfect in raw aluminum and become awkward after finishing if the anodizing thickness was treated like an afterthought. I have seen this happen with lid grooves, port openings, threaded fastener areas, and even basic visual alignment.
The coating number is small. The effect is not.
Why Type III creates more tolerance risk
Type III creates more dimensional risk because it is thicker. That sounds obvious, but its consequences are easy to underestimate.
The moment the coating gets heavier, tight assemblies become more sensitive. So do sliding parts, small holes, threaded sections, screw seats, and mating lid edges.
I always get more careful when a project combines hardcoat with any of the following:
- close-fitting covers
- threaded assembly points
- tight panel-to-body relationships
- conductive contact requirements
- repeated install and removal
Here is how I compare the risk in a simple way:
| Factor | Type II | Type III |
|---|---|---|
| Dimensional shift | Lower | Higher |
| Cosmetic friendliness | Higher | Lower in many visible-use cases |
| Tolerance stress | More manageable | More dangerous if ignored |
| Assembly surprise risk | Moderate | High if design review is weak |
The most painful part is that these problems often show up late. A part may machine well. It may even inspect well before finishing. Then the anodizing happens, and the assembly feel changes. Now people are asking whether the machining was wrong, the finishing was wrong, or the drawing was wrong.
Sometimes the answer is uncomfortable. Nothing was “wrong” in a dramatic way. The team just failed to respect the thickness effect early enough.
That is why I never call hardcoat a plug-and-play decision on tighter enclosures.
What enclosure buyers should check on drawings
When I review a drawing before anodizing is finalized, I do not read the finish note alone. I scan the whole part with finish behavior in mind.
These are the areas I pay the most attention to:
| Drawing area | Why I check it |
|---|---|
| Critical fits | Small changes can create assembly trouble |
| Hole sizes | Holes can close up more than buyers expect |
| Threaded areas | Thread feel can change fast |
| Mating lid edges | The finished enclosure may feel too tight |
| Contact surfaces | Conductivity or grounding needs may require masking |
| Sliding features | Friction and fit can worsen after coating |
I also like asking a few blunt questions early:
- Which dimensions are truly critical after finishing?
- Are any threads functional after anodizing?
- Does any contact area need masking?
- Will the part be opened and closed often?
- Is cosmetic appearance more important than maximum wear?
A buyer once sent me a clean-looking enclosure drawing with no masking notes and a hardcoat request. The design also included a contact point that mattered to the product’s function. That is exactly the kind of silent conflict that can hurt a project. The drawing looked normal. The risk was hidden in the interaction between finish and function.
Once you see coating thickness through that lens, the usual Type II versus Type III debate becomes much more practical.
Why Type II is often chosen for appearance and Type III for function
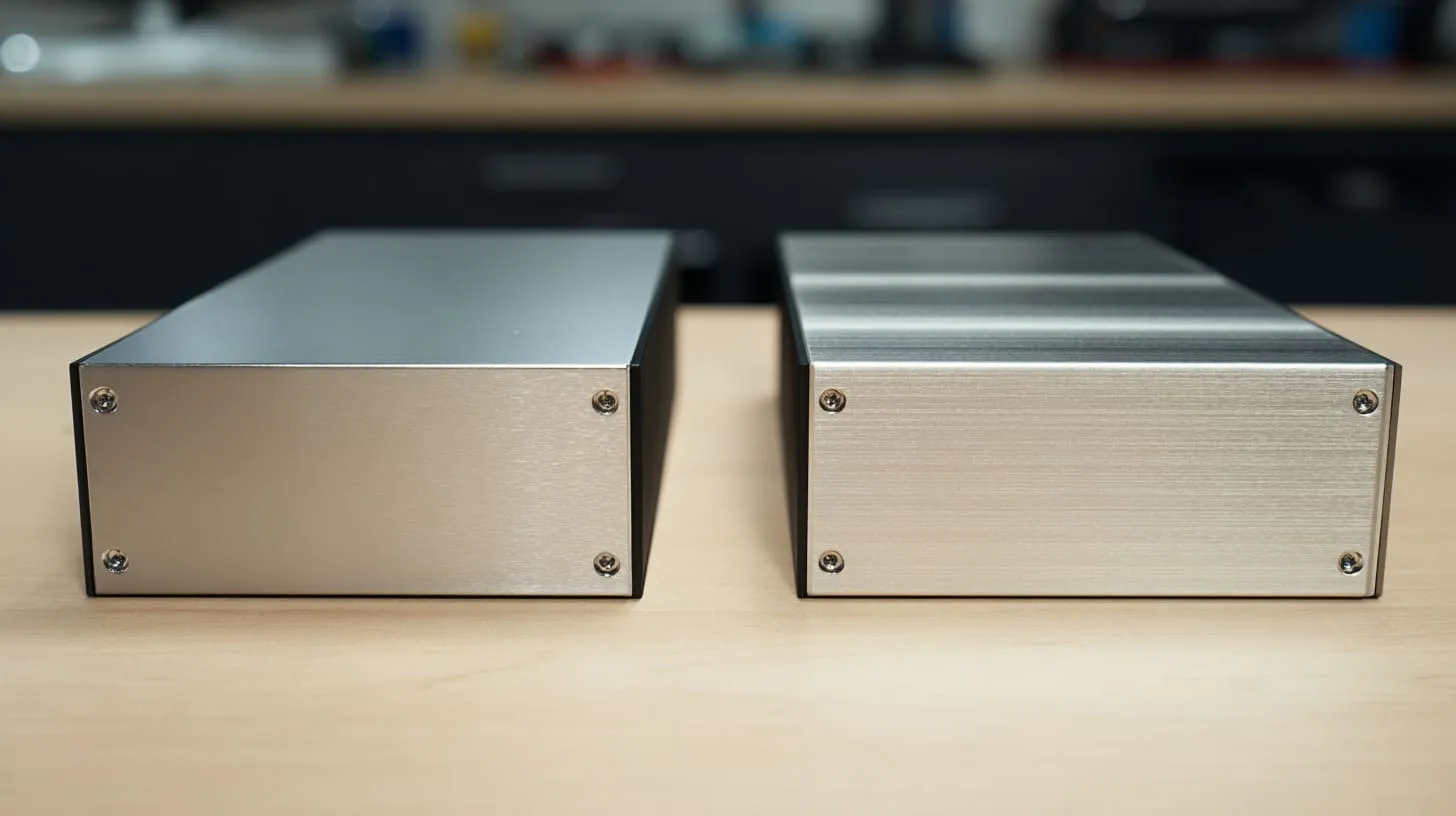
This distinction is not perfect in every case. Still, it is one of the most useful ways to think about the decision.
Type II as the more appearance-friendly choice
Type II is often the easier answer when the part needs to look clean, present a branded image, and stay easier to manage dimensionally.
That is why I see it often on:
- branded housings
- consumer-facing electronics
- OEM enclosures
- visible front or top surfaces
- parts where dyed color matters
Type II usually gives buyers a more appearance-friendly path, especially when the product will be seen and touched early in the customer experience.
| Why buyers like Type II for appearance | What I see in real work |
|---|---|
| Clear or dyed finish options | Better visual storytelling for the brand |
| Lower dimensional burden | Less assembly stress |
| Cleaner customer-facing image | Good for housings sold by feel and look |
| Easier fit management | Helpful on custom enclosure projects |
I have had many customers who wanted their enclosure to feel premium the moment it came out of the box. That is not vanity. In many markets, the enclosure is the first physical proof of quality. If the finish feels rough, uneven, or too industrial for the product category, the brand takes the hit.
That is why I do not dismiss appearance concerns as superficial. They are commercial realities.
Type III as the more engineering-driven choice
Type III usually enters when the question shifts from “How will it look?” to “How will it survive?”
That change matters.
Type III is usually better suited to parts that face more abrasion, more contact, harsher use, or a more demanding environment. I tend to see this logic in field equipment, machine-side housings, rugged project enclosures, and functional hardware where service life matters more than a bright, decorative finish.
| Why buyers choose Type III for function | What it tells me |
|---|---|
| Better wear resistance | The part will likely work harder |
| More demanding environment | Field or industrial use is probably involved |
| Surface durability priority | Appearance is not the only driver |
| Longer-term functional confidence | The buyer is thinking beyond first impression |
I do not call Type III “better” in a lazy way. I call it more function-driven. That is a big difference. Better for one job can be worse for another.
A beautiful branded enclosure for a retail-facing product may not benefit from a hard-use logic that belongs on another type of equipment.
The real judgment call between them
This is where I stop speaking in general rules and start thinking like a project manager.
If the part will be seen first, touched first, judged by hand feel, and used in a more customer-facing way, Type II often wins.
If the part will be rubbed, loaded, handled roughly, or used in harsher conditions, Type III becomes much more attractive.
Still, the smartest answer is often not “best process.” It is “best trade-off.”
Here is the comparison I use most often:
| Question | Lean toward Type II | Lean toward Type III |
|---|---|---|
| Does appearance matter a lot? | Yes | Less so |
| Is color or dye important? | Yes | Usually less important |
| Is wear resistance the big concern? | Not usually | Yes |
| Is dimensional control easier to manage? | Usually yes | More difficult |
| Is the product customer-facing? | Often yes | Sometimes no |
| Is the product used hard in the field? | Sometimes | Often yes |
One quiet clue I use is this: I ask myself what the buyer will complain about first if the decision goes wrong. If the answer is color mismatch, rough cosmetic feel, or awkward hand impression, I start leaning toward Type II. If the answer is rubbing damage, wear marks, or early surface failure, I start leaning toward Type III.
That sort of thinking has saved me from many wrong finish choices.
And it also leads into another question buyers ask all the time: does thicker always mean better?
Does thicker anodizing always mean better performance?
I understand why people want the answer to be yes. “More” feels protective. “More” feels safe. “More” feels like a smart upgrade. But in anodizing, that idea can get expensive very fast.
The simple answer is no
More thickness can improve wear resistance and protective performance in the right case. That part is true. But more thickness can also bring new problems. Fit can get worse. Threads can become annoying. Color result can shift. Brittleness concerns can rise in certain situations. Cost can move upward. Process difficulty can increase.
So no, thicker does not automatically mean better.
I think this is one of the most common mental traps in finish selection. People see thickness as a one-way value scale. But it is really a trade-off scale.
| More thickness can help with | More thickness can hurt with |
|---|---|
| Wear resistance | Tight fit control |
| Surface durability | Hole and thread behavior |
| Corrosion margin in some cases | Color consistency |
| Tougher-use confidence | Cost and process stability |
I have seen parts overspecified because the buyer wanted peace of mind, not because the product truly needed that coating level. Peace of mind is not useless. Still, I do not like paying for it with hidden tolerance risk.
A stronger-looking spec is not always a stronger project.
Where buyers make the wrong assumption
The wrong assumption usually starts in one of three places.
First, buyers choose thickness without considering the alloy. They assume the coating behaves the same on every substrate. It does not.
Second, they forget assembly impact. They think about the coating in isolation. But the enclosure has holes, screws, lids, inserts, contact areas, and real people assembling it.
Third, they over-spec the finish for emotional or marketing reasons. I say that gently, because I understand it. Buyers want confidence. They want to avoid complaints. They want the product to feel “high quality.” But that emotional goal can push them into a finish choice that creates new problems.
| Wrong assumption | Better question to ask |
|---|---|
| Thicker means higher quality | Higher quality for which failure mode? |
| The alloy will be fine | How does this alloy behave with this thickness target? |
| The finish shop will manage it | Is the geometry friendly to this callout? |
| The sample looked strong | What about assembly after finishing? |
The more custom the enclosure becomes, the less I trust generic thinking. Custom work punishes lazy assumptions.
A better decision rule
My rule is simple: match the thickness to the job.
That means I look at:
- wear demand
- appearance demand
- tolerance sensitivity
- downstream assembly
- alloy behavior
- real use environment
I also like asking the finisher a practical question: “What thickness range is most stable for this alloy and this part shape?” That question is often more useful than asking for the maximum possible thickness.
Here is the framework I use:
| Decision point | What I ask myself |
|---|---|
| Wear | Will the surface actually be stressed? |
| Appearance | Is visual consistency a priority? |
| Tolerance | Are there tight features that can punish buildup? |
| Assembly | Will screws, threads, or mating fits become more sensitive? |
| Supplier capability | Can this shop hit the target consistently on this geometry? |
That kind of thinking feels less dramatic. It also works better.
And once buyers stop chasing thickness as a status symbol, they can start looking at another quiet driver of real results: alloy and part shape.
How do alloy and part geometry change the “typical” thickness?
This is the part many people do not enjoy talking about because it breaks the fantasy of one neat answer. But I think it is one of the most important parts of the whole topic.
Why not every aluminum alloy behaves the same
Not every aluminum alloy anodizes the same way. Some alloys are friendlier. Some respond more cleanly. Some limit how attractive or how stable the final result becomes. Some work better with hardcoat than others.
That means the same thickness note can produce different real-world results on different materials.
I never feel comfortable discussing anodizing thickness without knowing the alloy. The finish note and the material note belong together.
| Alloy-related factor | Why it matters |
|---|---|
| Surface response | Final appearance may change |
| Hardcoat behavior | Achievable and stable result may differ |
| Cosmetic consistency | Some alloys make visual control harder |
| Process friendliness | Certain targets are easier on some alloys than others |
A buyer may say, “This thickness worked on our last part.” My first thought is: Was the last part the same alloy? If not, I do not treat the old result as proof.
That is not being difficult. That is just being honest about process reality.
Why part shape matters more than many buyers expect
Part shape changes everything.
A flat test piece is easy to talk about. A real custom enclosure is not. Real parts have sharp edges, thin walls, deep recesses, corners, threaded areas, logo zones, contact spots, and mixed-purpose surfaces.
That complexity changes how I think about any “typical” thickness.
These features make me slow down:
- sharp edges
- deep cavities
- thin wall sections
- narrow threaded areas
- parts with both cosmetic and functional zones
| Geometry feature | Why I pay attention |
|---|---|
| Sharp edges | Finish behavior can be less forgiving |
| Deep recesses | Process uniformity becomes harder |
| Thin walls | Heavy coating logic can become risky |
| Threads | Functional feel can change too much |
| Mixed-use surfaces | One finish goal may conflict with another |
A part can be simple in CAD and still be complicated in finishing. That is something I wish more buyers saw earlier.
Why “typical” should always be checked against the actual design
I do not trust a “typical” thickness until I have mentally placed it onto the actual part.
A flat sample panel is not a full enclosure body. A simple coupon is not a lid with holes, corners, threads, and branding features. A lab-perfect idea can turn awkward on a real production part.
That is why I believe good suppliers review the function of the design, not just the finish note.
| Design review question | Why it matters |
|---|---|
| Is this a cosmetic part or a wear part? | The answer changes the finish logic |
| Are there mixed priorities on one part? | One target may not serve all surfaces equally |
| Does the geometry support the requested thickness? | Capability is not the same as suitability |
| Does the buyer expect both beauty and heavy wear? | Trade-offs need to be discussed early |
I have seen finish notes copied onto parts that clearly did not want them. The note looked professional. The design did not agree. That gap is one of the most avoidable sources of trouble in custom enclosure work.
And once I have checked alloy and shape, I can usually answer the practical buyer question more directly: what should I choose?
What thickness should a custom enclosure buyer usually choose?

This is the part buyers care about most, and I understand that. People do not just want theory. They want a decision path.
For branded electronics housings
For branded electronics housings, I usually lean toward Type II when appearance, color consistency, and manageable dimensional shift matter most.
This often includes:
- OEM housings
- control boxes
- branded device enclosures
- consumer-facing cases
- products where the buyer cares about visual finish and first impression
These are usually the projects where the enclosure is part of the product story, not just a protective shell.
| Housing type | What I usually lean toward | Why |
|---|---|---|
| Branded electronics enclosure | Type II | Better visual balance |
| Control box with customer visibility | Type II | Good appearance with practical protection |
| Retail-facing aluminum housing | Type II | Better fit for color and presentation |
| Light-duty custom enclosure | Type II | Often enough without hardcoat burden |
If a buyer tells me the product will be sold partly by how it looks and feels, I start paying very close attention to cosmetic consistency. That is usually where Type II makes more sense.
For industrial or wear-heavy housings
For more industrial or wear-heavy projects, I usually lean toward Type III.
That includes cases like:
- field equipment housings
- rugged-use enclosures
- machine-mounted boxes
- surfaces that face repeated wear
- products that value durability more than decorative finish quality
I do not choose Type III because it sounds tougher. I choose it when the product’s real life suggests it needs that kind of surface logic.
| Housing type | What I usually lean toward | Why |
|---|---|---|
| Machine-side enclosure | Type III | Better wear resistance logic |
| Rugged field housing | Type III | Stronger functional protection |
| Repeated-contact enclosure | Type III | Surface durability matters more |
| Industrial service box | Type III | Better fit for harder use conditions |
I always ask what kind of damage the product is most likely to face. That question often decides the finish faster than a long technical explanation.
A practical selection framework
When I want to simplify the decision, I reduce it to a short framework.
- Choose by end use
- Check tolerance risk
- Confirm alloy compatibility
- Review masking or conductive contact needs
- Approve the finish from both sample and function review
Here is the version I use most often:
| Step | Question |
|---|---|
| 1 | Is the part mainly visual or mainly functional? |
| 2 | Are there tight fits, holes, or threads that need caution? |
| 3 | Does the alloy support the planned finish well? |
| 4 | Are masking or contact zones required? |
| 5 | Does the sample reflect both appearance and assembly reality? |
I do not approve a finish based on color alone. I also do not approve it based on wear claims alone. I want both the surface story and the assembly story to make sense together.
That is why supplier discussion matters so much before the finish is locked in.
What should buyers ask their anodizing supplier before finalizing thickness?
A lot of finish problems could be prevented by better early questions. I believe that very strongly.
Questions that prevent expensive mistakes
When I talk with an anodizing supplier or finisher, I want to move past vague language as fast as possible. I do not want to hear only, “Yes, we can do it.” I want to know what will happen to the part.
These are the questions I think buyers should ask:
| Question | Why I ask it |
|---|---|
| What thickness range is most stable for this alloy? | Stability matters more than theory |
| How much growth should I expect on critical areas? | Fit problems usually cost more than people expect |
| Will dyed appearance change at this thickness? | Cosmetic surprises hurt branded projects |
| Should any areas be masked? | Contact and fit may depend on it |
| Is this target realistic for this geometry? | Real parts are not flat test coupons |
I also like these practical follow-up questions:
- Which features worry you most on this part?
- Would you change anything on the drawing before coating?
- Do threaded areas need special attention?
- Have you seen similar parts fail with this finish choice?
- What thickness would you choose if this were your own production job?
That last question is especially useful. It pulls the discussion out of sales language and into real judgment.
Why supplier communication matters
I have said this many times in my own work: good suppliers save buyers from preventable mistakes. Weak suppliers simply process the drawing and leave the customer alone with the consequences.
That difference is huge.
A strong finisher or enclosure supplier can catch problems early. They can point out tolerance risk. They can question unrealistic thickness targets. They can suggest masking. They can tell you when a part shape is working against the finish request.
A weak one usually says yes too quickly.
| Supplier behavior | What it usually leads to |
|---|---|
| Early review and feedback | Fewer surprises after finishing |
| Honest warning on risk | Better design decisions |
| Silence and blind execution | Late-stage problems |
| Weak communication | Costly rework and frustration |
I have had customers come to me after other suppliers created trouble simply because nobody challenged the finish note early enough. The sad part is that many of those problems were not difficult. They were just ignored.
Early review is cheap. Late correction is not.
And when I say that, I do not mean only money. I also mean time, mood, trust, and project momentum. Those things matter too.
Conclusion
When I look at Type II and Type III anodizing thickness, I do not see a neat chart first. I see a decision with consequences. That is why I do not like answering this topic with one fixed number and a fast conclusion. In real enclosure work, that kind of answer is too shallow to be useful.
Type II is usually the thinner, more appearance-friendly route. Type III is usually the thicker, more function-driven route. That part is easy to say. The harder part, and the more honest part, is this: the best thickness is the one that matches the job in front of me.
That is why I think buyers should stop asking only, “What is typical?” and start asking, “What is typical for my part, my alloy, my fit, my use, and my risk?”
I think this way because I have seen how small coating choices quietly control bigger outcomes. I have seen nice-looking samples turn into awkward assemblies. I have seen strong-looking specs cause unnecessary tolerance problems. I have seen buyers feel safe because the drawing looked professional, even while the real design logic was still weak. Those experiences changed how I judge finishing decisions.
I do not believe in choosing anodizing thickness by habit. I do not believe in choosing it by fear either. I believe in choosing it by function, by fit, by appearance needs, by alloy behavior, and by how stable the supplier’s process really is. That is the only way the decision feels honest to me.
If I am working on a branded enclosure that will be seen, touched, and judged quickly, I often lean toward Type II and protect the visual result. If I am working on a harder-use housing that needs stronger surface durability, I start leaning toward Type III. If the design has tight holes, threaded areas, contact points, or mixed priorities, I slow down and review the risk before I commit. That is how I avoid being fooled by the word typical.
For me, that is the real lesson here. “Typical” is not a destination. It is only a starting point.
If you are working on a custom aluminum enclosure and you are not sure which anodizing thickness makes sense for your part, I suggest reviewing the drawing, the alloy, the fit-sensitive features, and the actual end use before you lock the finish note. And if you want a second opinion on enclosure design, finish choice, logo treatment, or custom manufacturing details, you can reach out to me at info@maidatech.com or visit maidatechenclosure.com. I would rather help sort out the decision early than watch a small coating note become a big project problem later.







