Skip to content

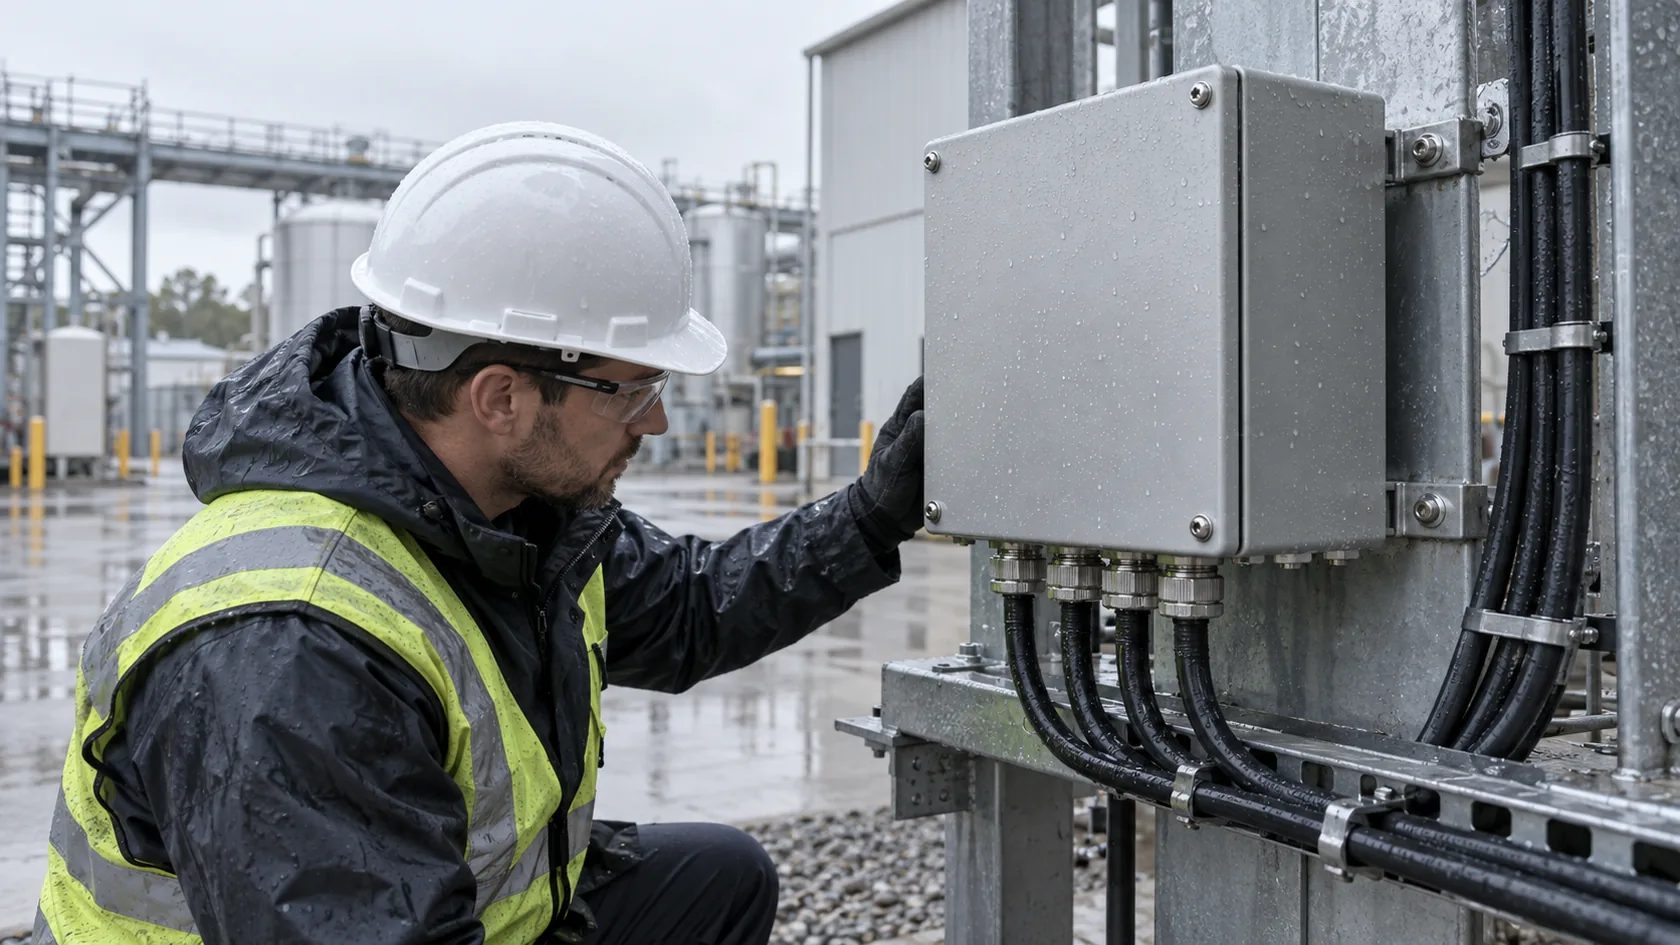
An IP-rated waterproof enclosure is often requested with one short line in an RFQ: “Need IP65.” That line is a useful start, but it does not yet describe the product that must survive outdoors, beside a wash-down area, or on equipment with several cables and connectors.
The IP code tells buyers what an enclosure has been tested to resist in relation to solid objects and water. It does not mean that every box with a gasket is waterproof in every use. The final result depends on the closed cover, sealing surfaces, cable glands, connectors, mounting direction, and the way the unit is installed.
In my factory work, I treat an IP rating as a claim about a defined, assembled configuration. A strong aluminum housing is helpful, but a poorly selected gland or an uneven gasket can create the leak path that decides the real performance.
This guide explains what the IP code means, how an enclosure seal works, and what to specify before asking a supplier for a waterproof design.
The first step is to separate the rating code from the broader word “waterproof.”
What an IP Rating Actually Means
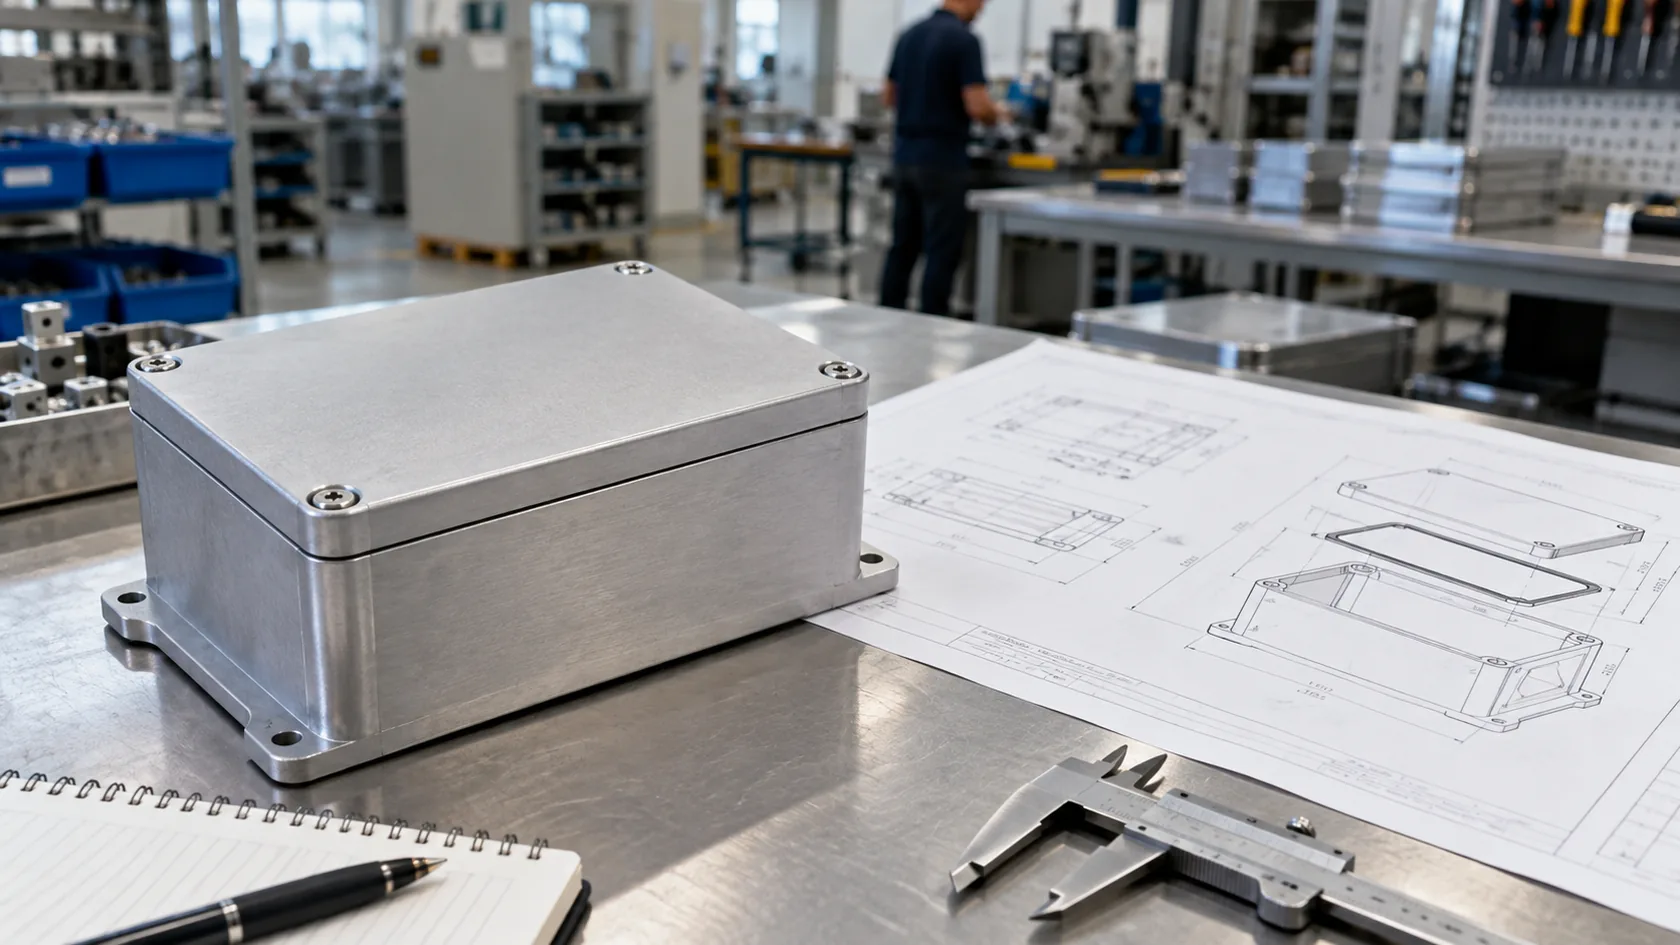
IP stands for Ingress Protection. The IEC 60529 IP Code classifies the protection an electrical enclosure provides against access to hazardous parts, ingress of solid foreign objects, and harmful effects from water ingress.
In an ordinary two-digit code, the first digit concerns access and solid objects; the second concerns water. Higher numbers are not a generic “better” score. They describe different tested conditions, so the correct selection starts with the real exposure.
Reading the two digits
| Code element | What it addresses | Practical question for the buyer |
|---|---|---|
| First digit | Access to hazardous parts and solid-object ingress | Is dust exposure, finger access, or fine-particle protection relevant? |
| Second digit | Harmful effects from water ingress | Is the unit exposed to rain, splashing, jets, or temporary immersion? |
| Optional letters | Extra information when specified | Does the product standard or customer requirement call for them? |
For example, IP65 is commonly used for dust-tight protection with water-jet exposure, while IP67 addresses a defined temporary-immersion condition. That does not make IP67 automatically the right choice for a high-pressure wash-down process, nor does it make IP65 an all-weather promise without attention to installation details.
I avoid selecting a number from a catalog headline alone. The useful question is, “What water reaches this product, from which direction, for how long, after it is installed?”
Once the exposure is clear, the code becomes a design target rather than a marketing label.
How a Waterproof Enclosure Seal Works
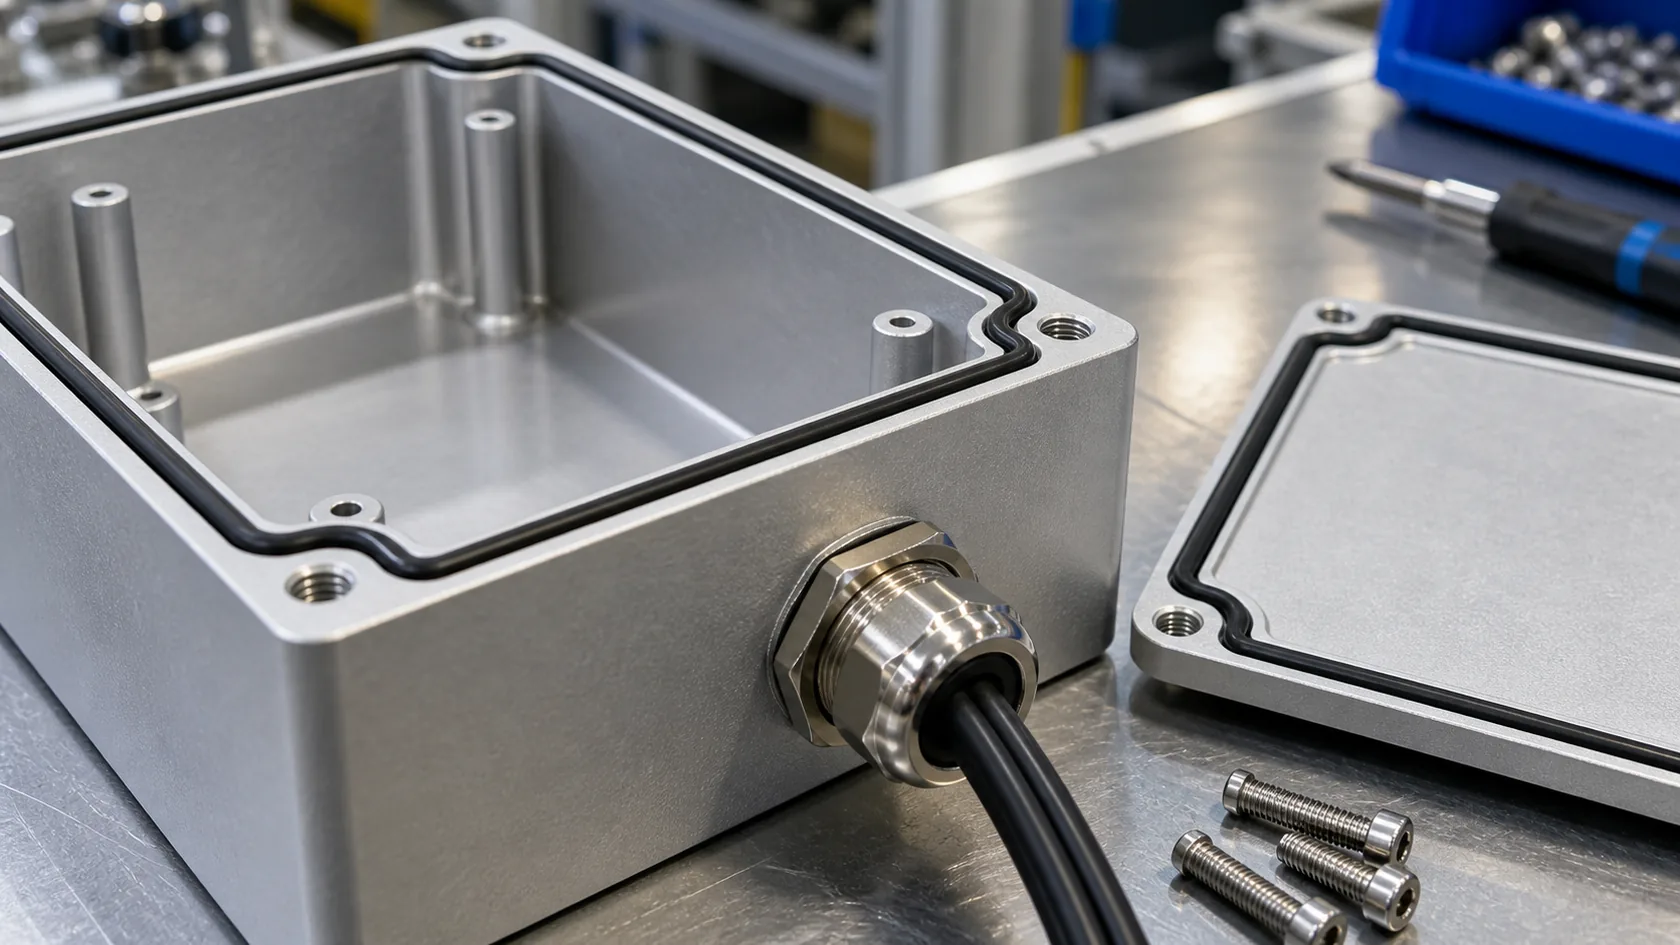
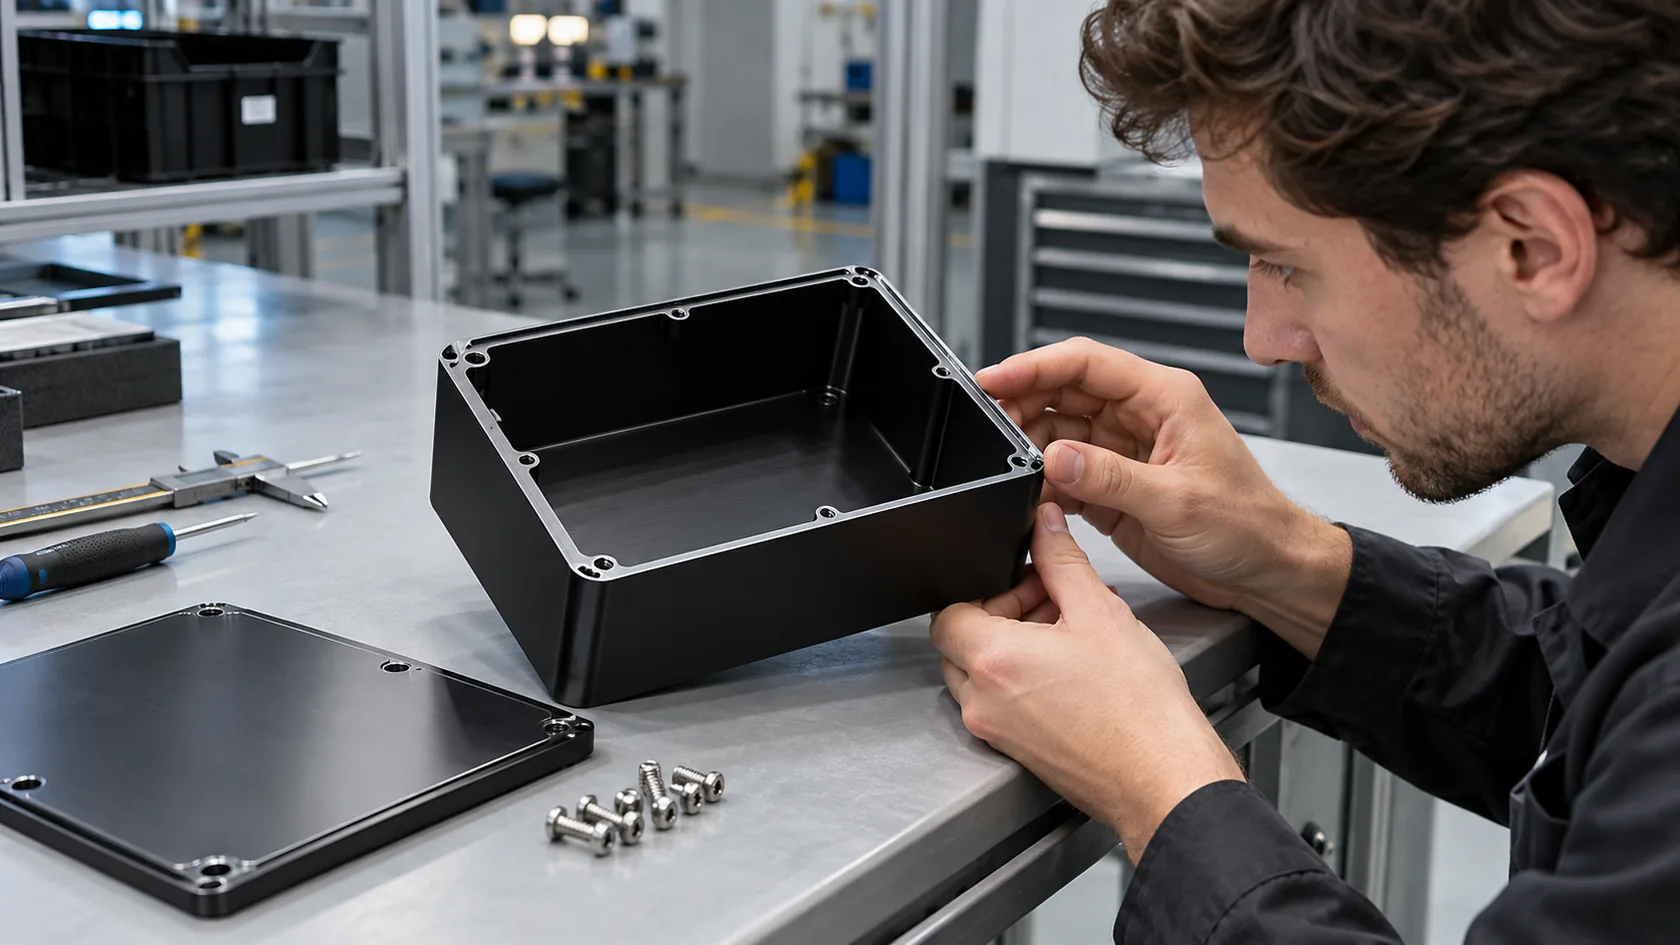
Most enclosure walls are not the weak point. Water usually enters at an interface: a cover joint, cable entry, connector, window, pushbutton, hinge, mounting feature, or unused opening. The complete boundary must resist water without leaving a continuous path inward.
The cover joint and gasket
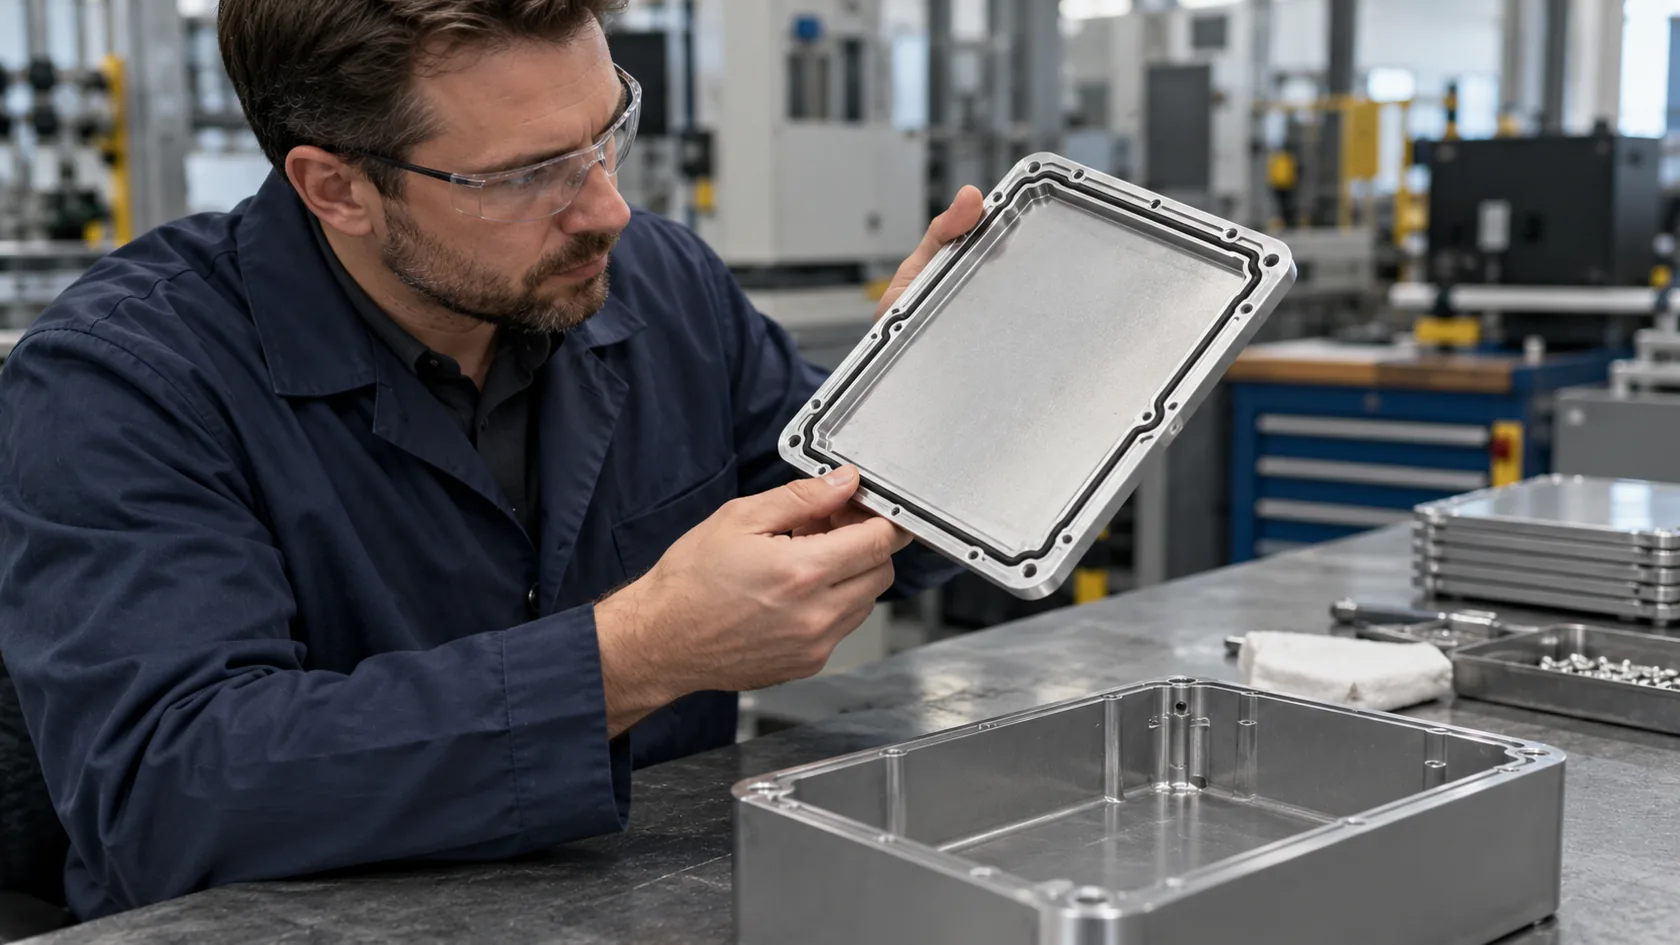
A gasket or O-ring works by being compressed between controlled surfaces. The groove, seal profile, surface finish, cover stiffness, screw spacing, latch position, and closure force all affect that compression. Too little compression can leave a channel; too much can damage the seal or make it take a permanent set.
Corners deserve extra attention. A gasket that sits perfectly on a straight bench surface can pinch, stretch, or lose support around a tight corner. Coating buildup, burrs, scratches, and warped covers can also interrupt what looked like a continuous sealing land in CAD.
Cable entries and accessories
A cable gland needs the correct thread or cutout, sealing washer where applicable, cable outside-diameter range, torque, and cable route. A gland with a high catalog rating cannot make up for a cable that is too small for its sealing range or a hole enlarged in the field.
| Interface | What keeps it sealed | Common way the protection is lost |
|---|---|---|
| Cover joint | Even gasket compression and continuous seal land | Cover distortion, burrs, wrong torque, pinched gasket |
| Cable gland | Correct cable range and installed sealing components | Wrong cable diameter, loose nut, damaged thread or washer |
| Connector or window | Component rated for the intended mounted condition | Cutout tolerance or accessory not qualified with the enclosure |
| Spare opening | Correct plug and intact mating surface | Field drilling, missing plug, or damaged coating |
From experience, the gasket should never be treated as the entire waterproofing plan. It is one part of a controlled seal path.
That path must keep working after the enclosure leaves a clean assembly bench.
How It Works in Real Installation
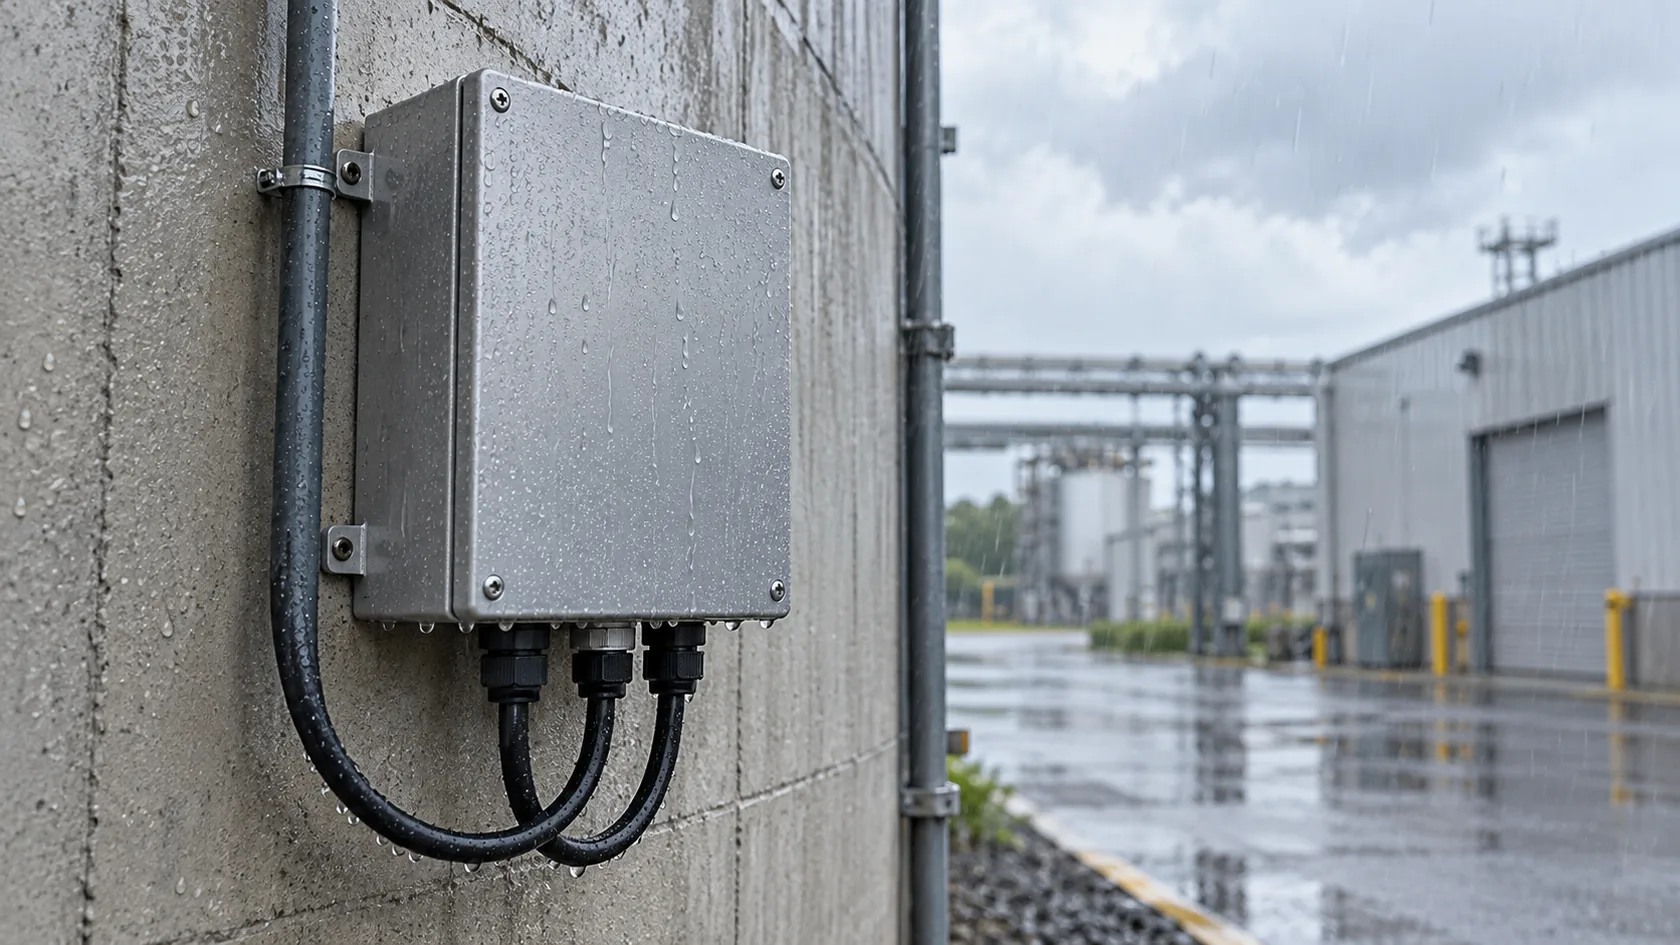
An IP rating applies to an enclosure in the condition defined for its test. In use, water behavior changes with orientation, cable routing, nearby equipment, heat, vibration, and maintenance. A vertically mounted cover may shed water very differently from a horizontal one that can hold a puddle at the joint.
Water should be directed, not invited
Outdoor installation details matter. A top-entry cable can carry water toward its gland if the cable route has no drip loop. A downward-facing opening may reduce direct rain exposure but can introduce other routing or clearance problems. Standing water around joints, cut edges, or mixed-metal interfaces increases corrosion and sealing risk over time.
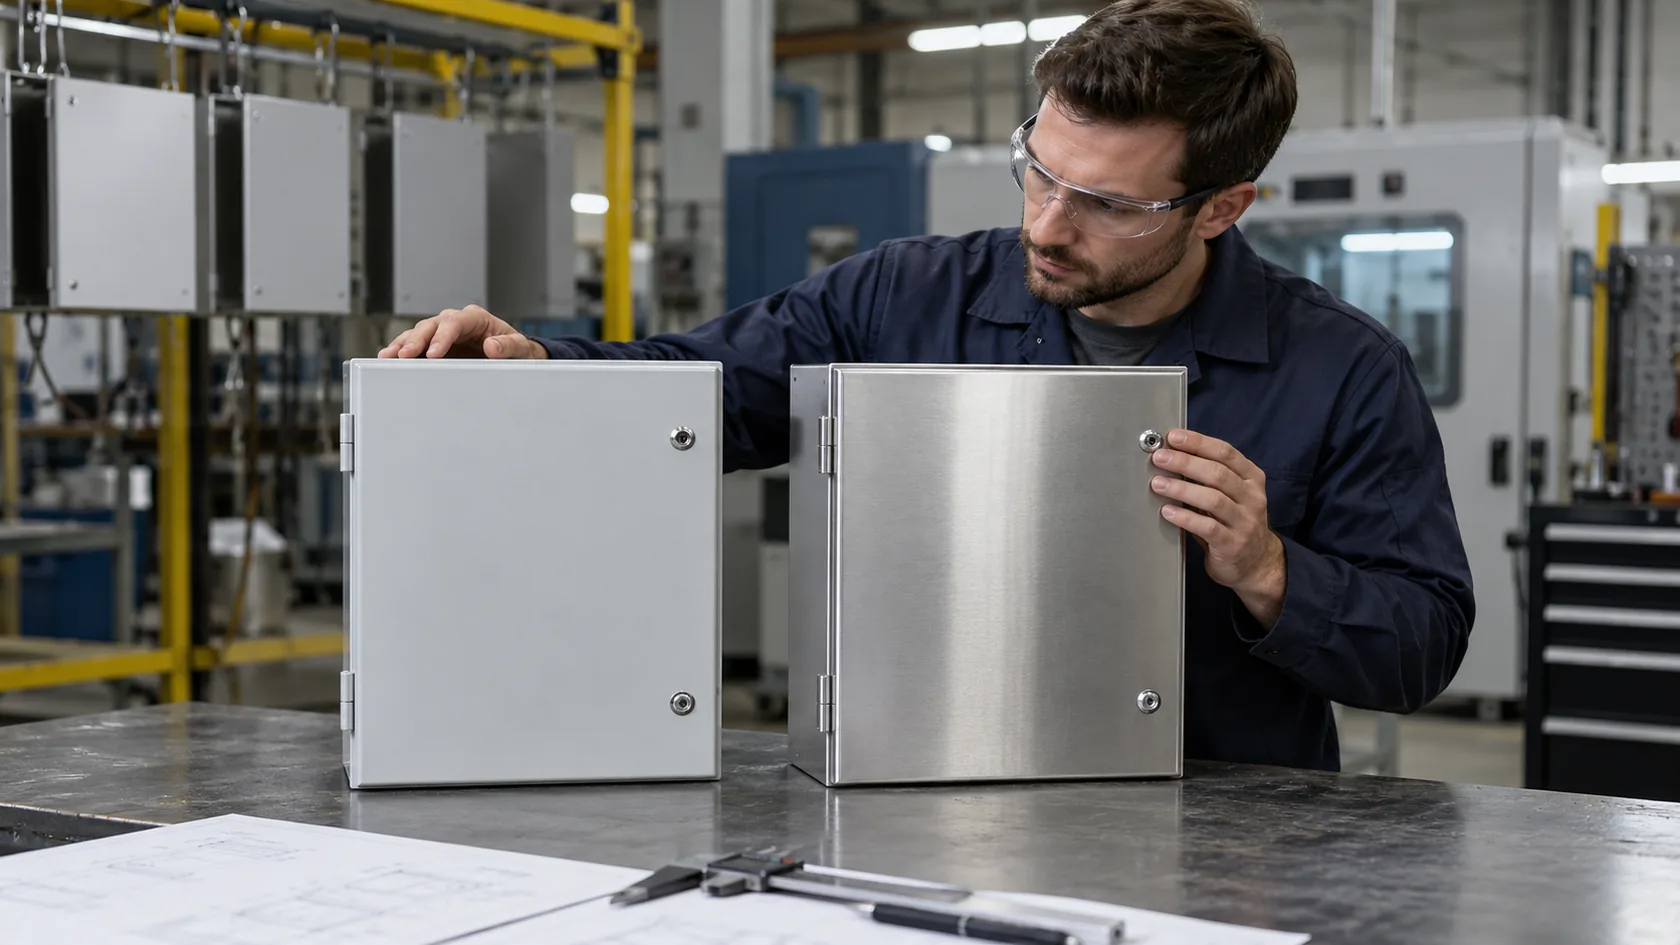
For external equipment, consider UV exposure, corrosion environment, thermal cycling, drainage, and service access along with the IP target. An enclosure that is tightly sealed against direct ingress can still face internal condensation when temperature changes move or cool humid air.
Sealing, heat, and condensation are connected
More sealing can reduce airflow. Adding a vent can help pressure equalization or thermal management, but it becomes another component whose installed suitability must be checked. Likewise, a coating can improve corrosion resistance yet must not create an uncontrolled sealing surface or break a required grounding path.
I prefer to review heat and water together, especially for outdoor electronics. A late vent or field-drilled entry added after a hot-weather complaint can undo the configuration that originally supported the IP claim.
This is why the right rating starts with the application, not the highest available digit.
How to Specify the Right IP-Rated Enclosure
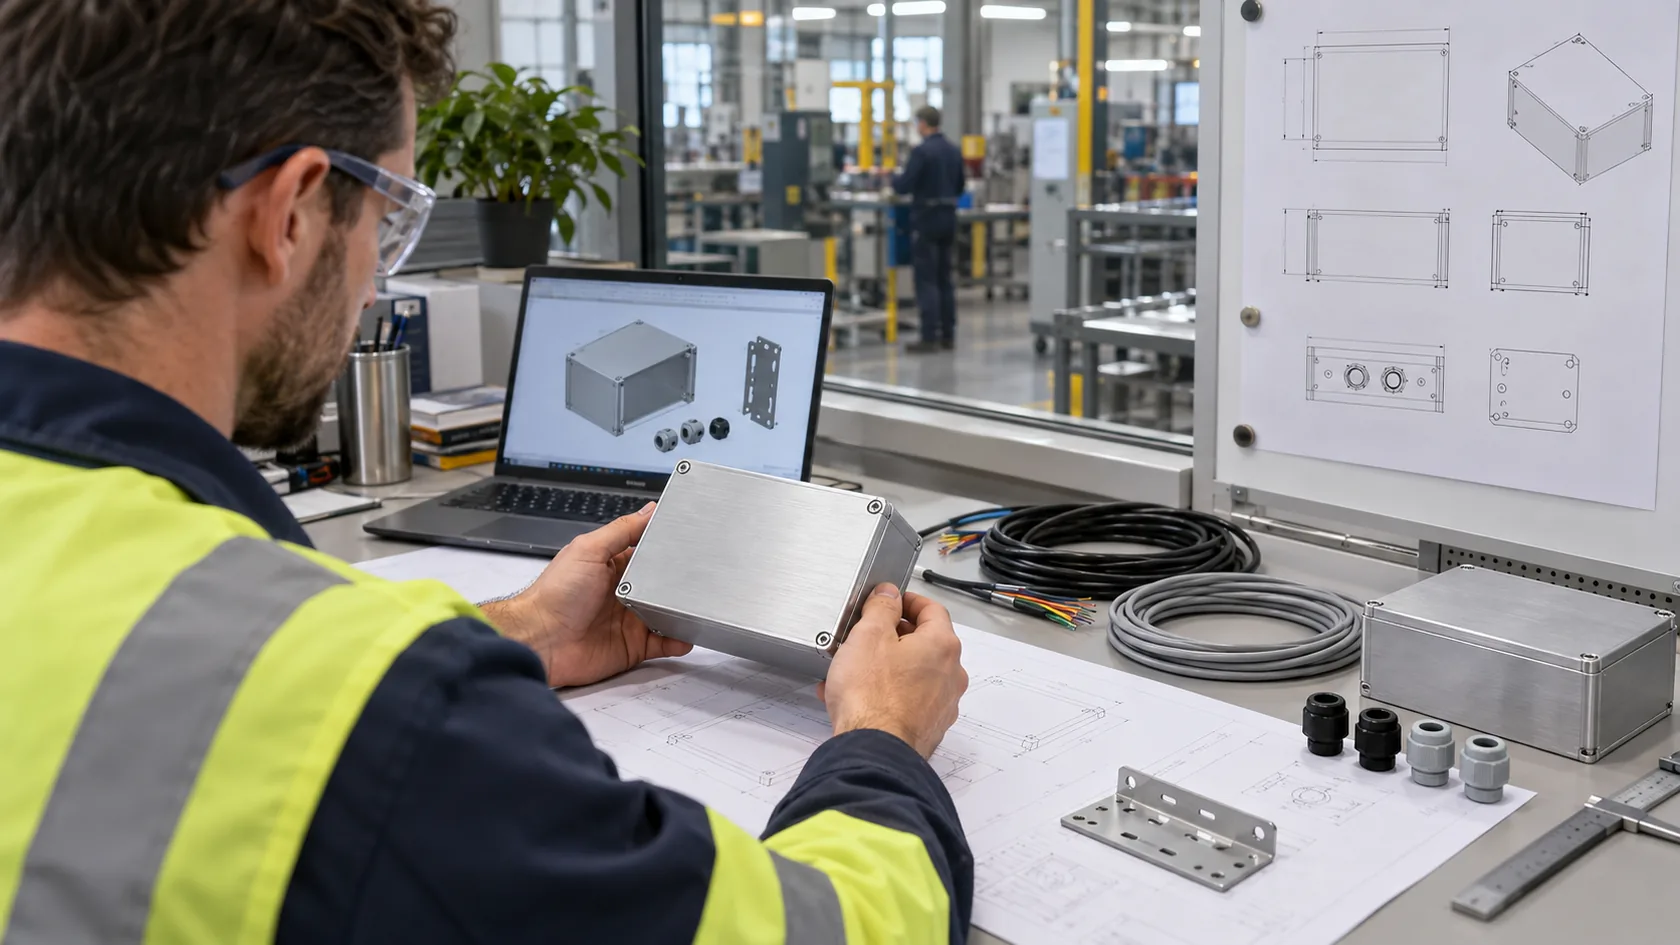
Give the supplier the conditions that define the enclosure—not only the rating. A useful brief makes design, quotation, testing, and later production checks much easier to align.
Questions to answer before requesting a quote
- What is the real exposure: indoor splash, rainfall, wash-down, dust, temporary immersion, or something else?
- What is the mounting orientation, and where can water collect or run along a cable?
- Which cable outside diameters, connectors, vents, windows, controls, and spare entries are required?
- What temperature range, internal heat load, UV, salt air, chemicals, vibration, and maintenance access apply?
- Which product, regional, customer, or test-method requirement is actually required?
| Requirement | Detail to lock down | Why it changes the enclosure |
|---|---|---|
| Water exposure | Source, direction, intensity, duration, and location | Determines the meaningful water-test condition |
| Assembly | Cover, gasket, fasteners, glands, connectors, plugs | Defines the actual sealing boundary |
| Installation | Orientation, cable route, bracket, drainage | Changes water paths and retained moisture |
| Environment | UV, corrosion, heat, condensation, vibration | Affects material, finish, and service life |
| Production | Quantity, revision control, validation needs | Determines process, tooling, and inspection controls |
Do not assume an IP code converts exactly to a NEMA Type. NEMA’s comparison guidance explains that NEMA Types include additional environmental considerations and that the two systems cannot be converted in both directions.
My practical advice is to show the planned cable and mounting layout on the drawing. That small addition often exposes the difficult seal path before tooling and field installation make it expensive.
With the configuration defined, testing can answer a much more useful question.
Test the Complete Assembly, Not Just the Housing
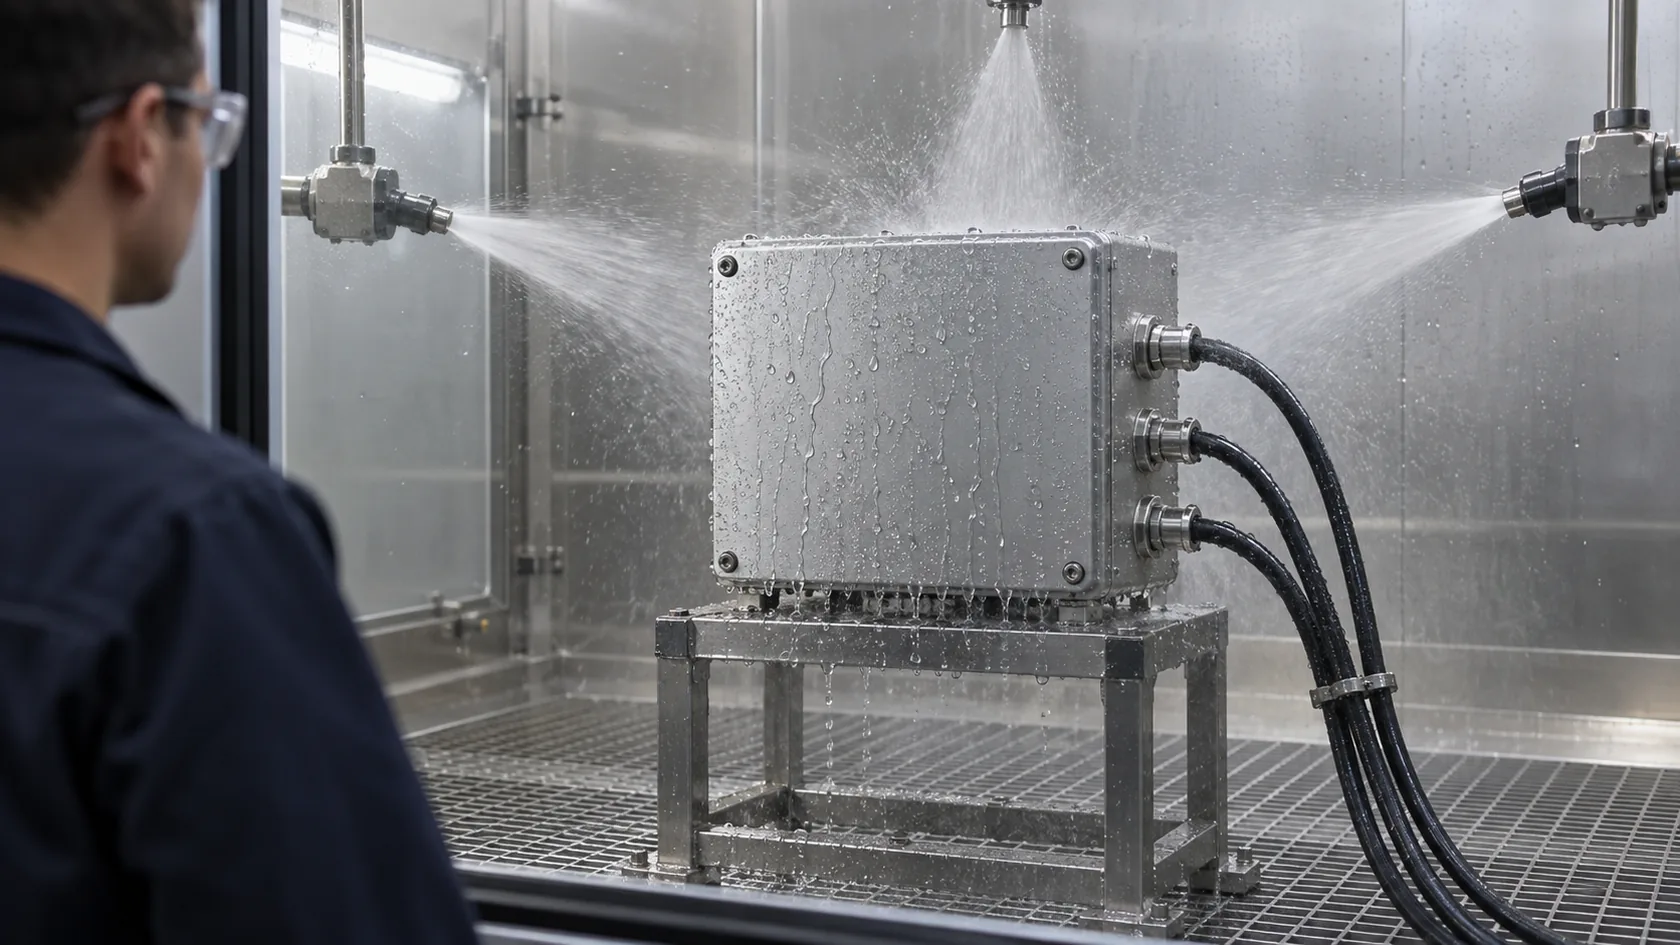
The enclosure body, cover, gasket, cable glands, connectors, plugs, fasteners, and installed accessories should match the configuration being claimed. A bare empty housing can be useful for development, but it does not prove that later openings and add-ons retain the same protection.
UL Solutions notes that enclosure accessories can be evaluated for their ability to maintain an environmental seal when mounted on a suitably rated enclosure. That reinforces a sensible procurement rule: evaluate the complete, installed boundary.
Evidence worth asking a supplier to provide
- The applicable standard and revision, product drawing revision, and claimed rating
- Photos or clear identification of the tested assembly, including entries and accessories
- The test condition, mounting orientation, preconditioning where relevant, and acceptance criteria
- Gasket material and profile, gland model and cable range, and closure or torque method
- A change-control plan for substitutions in components, finish, tooling, or assembly process
For higher-risk outdoor or utility applications, exposure may also require corrosion, UV, thermal-cycle, or application-specific assessment beyond the basic IP test. IP classification does not on its own cover every environmental risk such as corrosion, solar radiation, condensation, or mechanical impact.
I consider a documented test configuration more valuable than a vague “IP certified” statement. It tells the buyer what was actually proven and what must stay controlled in production.
That same evidence gives the enclosure a realistic chance of performing as expected after installation.
Conclusion
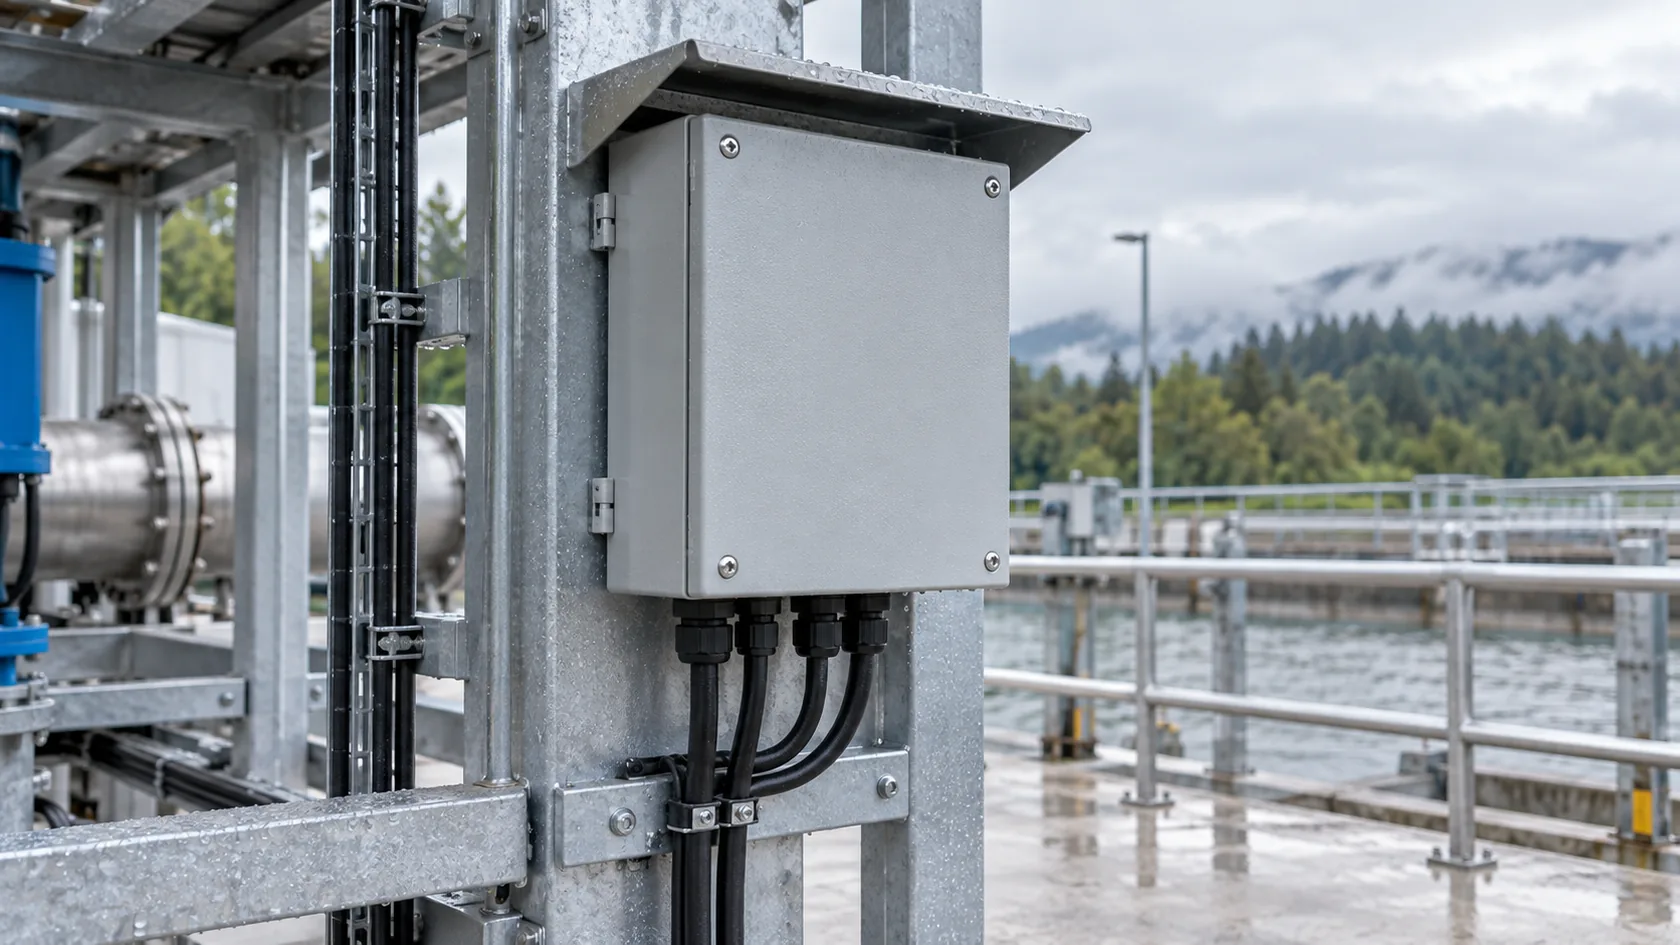
An IP-rated waterproof enclosure is a tested protective system, not simply a box with a rubber gasket. The IP code identifies protection against solid-object and water ingress under defined conditions, while the real result relies on an uninterrupted seal path across the cover, gasket, entries, accessories, and installation.
My experience is that the most reliable waterproof enclosure projects begin with the actual exposure and a complete installed layout. From there, we can select a suitable target, design the joint and entries around it, and validate the configuration that production will repeat.
If you are preparing a custom enclosure for wet or outdoor use, share the drawing, mounting orientation, cable and connector list, environment, and target rating. We can review the seal path, manufacturability, and test questions before the first production batch is released.