Skip to content
A waterproof enclosure test should answer a practical question: will this exact assembly keep water from causing harmful trouble in its real installation? It is not a beauty test for an empty box. The cover, gasket, cable glands, connectors, vents, fasteners, mounting angle, and unused openings all belong to the answer.
I have seen a clean sample pass on a bench and then create problems after cable installation in the field. Usually the housing was not the whole issue. A gland was fitted to the wrong cable range, a gasket was disturbed during rework, or the enclosure was mounted in an orientation the test never represented.
For buyers, the useful goal is a clear test basis tied to exposure, configuration, and acceptance criteria. IEC 60529 provides the IP-code framework, but the drawing and test plan still need to describe the real product.
The first decision is not the label on the quotation. It is the water the enclosure will actually meet.
Start With the Actual Water Exposure
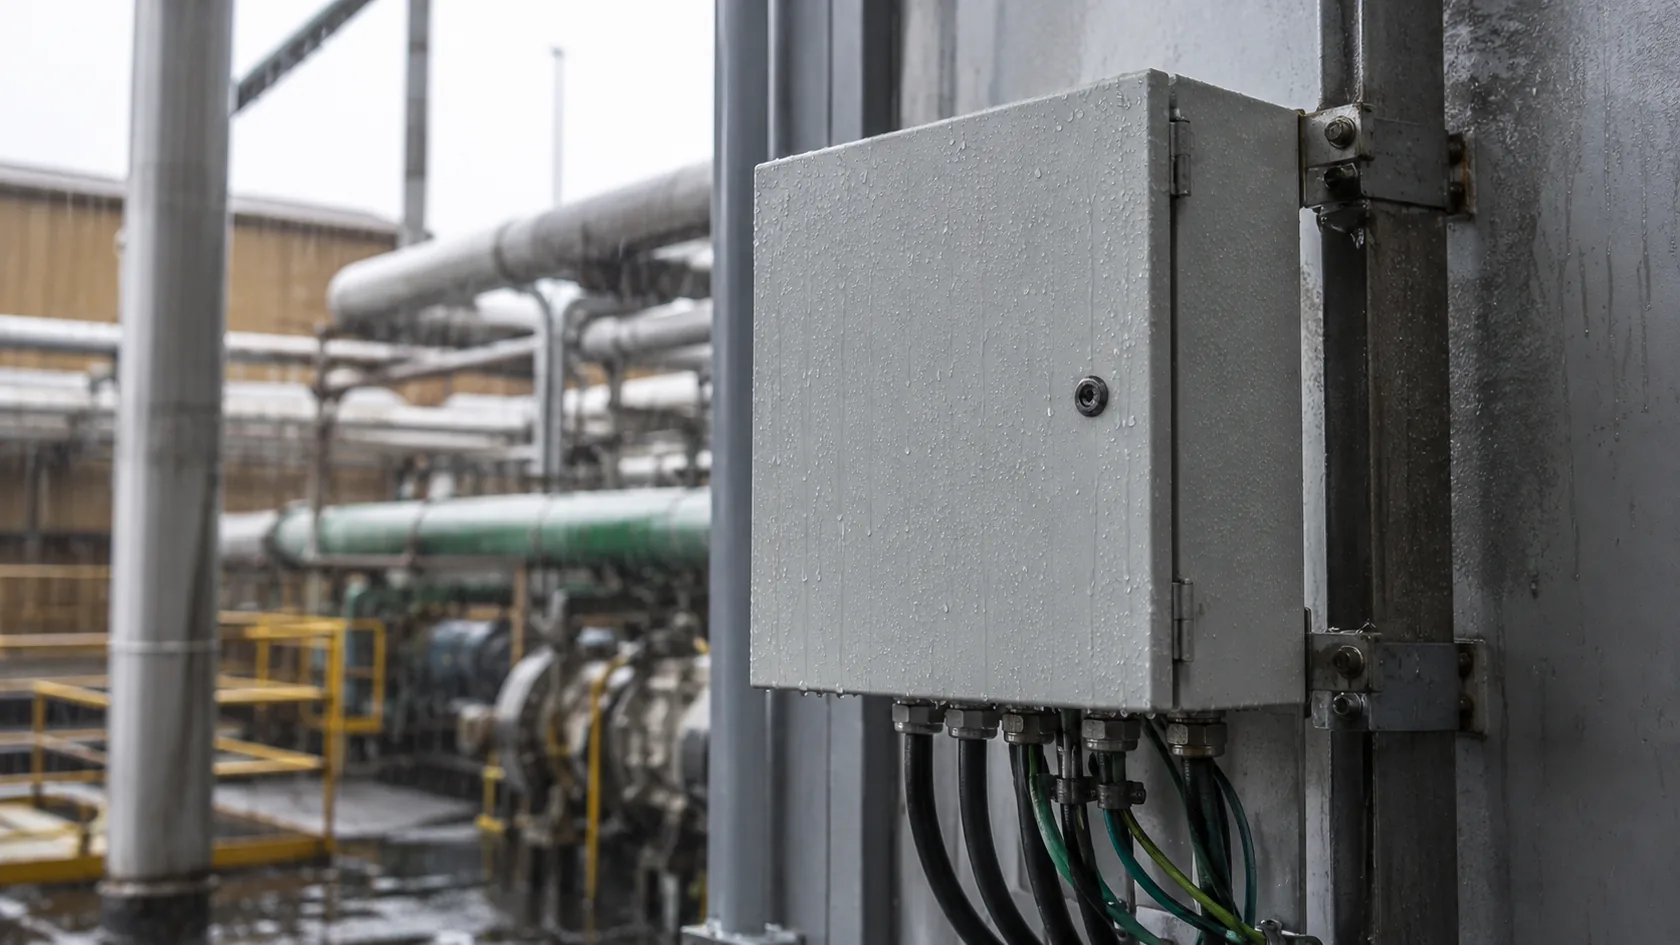
Rain, wind-driven rain, washdown, splash from a road, and temporary immersion are different conditions. A product mounted under a canopy may need a very different validation plan from one fixed to mobile equipment that is regularly cleaned or exposed to standing water.
Write an exposure statement before choosing a rating
The statement should say where water comes from, how often it occurs, the enclosure orientation, and what happens if moisture enters. It should also identify whether the unit is energized, vented, serviced outdoors, or fitted with user-supplied cables. Those details stop a rating from becoming a vague promise.
| Installation reality | Question to settle before testing |
|---|---|
| Outdoor wall-mounted unit | Can water pool on the top, cover seam, or cable-entry side? |
| Washdown area | What jet direction, pressure, distance, and duration are expected? |
| Mobile or low-mounted equipment | Is temporary immersion possible, and at what service position? |
| Serviceable control cabinet | Does opening and reclosing the door change gasket compression or introduce debris? |
My preference is to define a severe but credible use case, then test the exact configuration against it. Asking for an unnecessarily high rating without checking cooling, cable access, and maintenance can add cost while leaving the actual weak point unchanged.
Once the exposure is clear, the standard can be selected without treating similar-looking labels as synonyms.
Choose the Right Standard and Rating Language
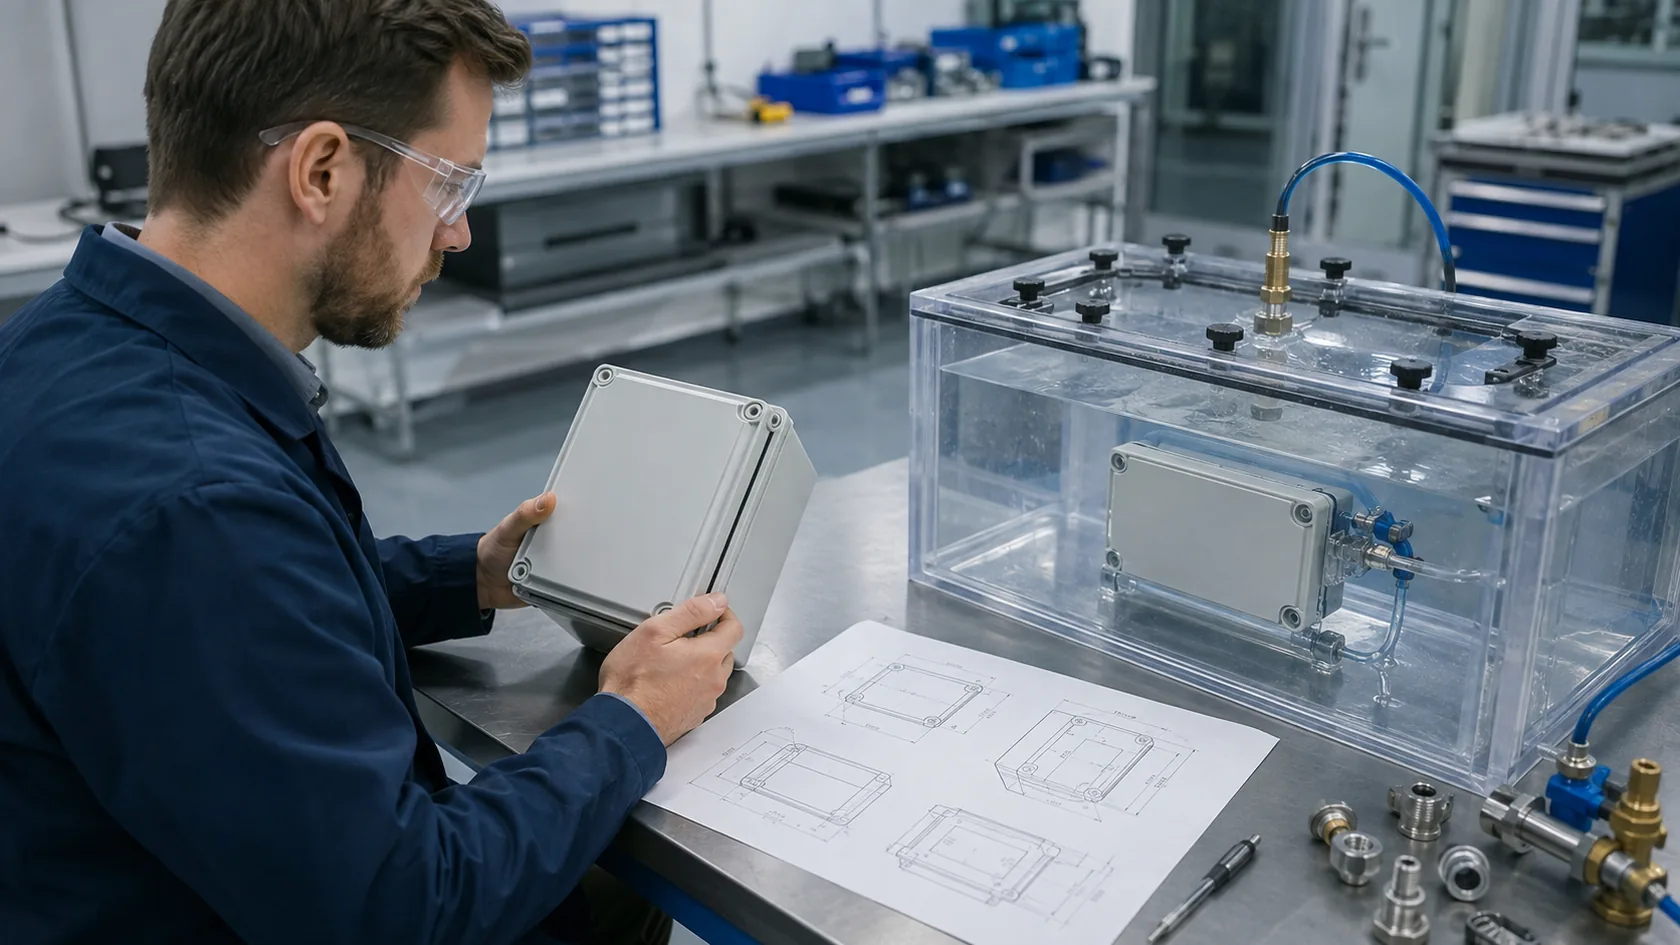
For many global electronic products, IEC 60529 is the reference for the IP Code. Its second characteristic numeral addresses protection against water under the specified test conditions. The test level and configuration matter; an IP result does not automatically cover a different connector layout, cable diameter, or installation direction.
Keep IP, NEMA Type, and UL requirements in their own lanes
In North American projects, ANSI/NEMA 250 and applicable UL requirements may be part of the customer specification. These systems use different scopes and test approaches. A cross-reference can be useful during design, but it is not permission to reverse-convert an IP code into a NEMA Type or to claim equivalence without the relevant test basis.
UL 50E also makes an important boundary clear: condensation, icing, corrosion, and contamination entering through conduit or unsealed openings are not automatically solved by the enclosure designation. These risks need their own design controls.
| Requirement language | What to put in the test plan |
|---|---|
| IP water protection | Exact IEC 60529 water test, sample orientation, and installed components |
| NEMA / UL Type requirement | Required Type, applicable standard, product construction, and certification route |
| Site-specific water exposure | Additional jet, cycling, drainage, or field-installation checks where needed |
I advise buyers to name the standard edition, required level, sample condition, and pass criterion in the purchase specification. It prevents the costly argument where one side tested a bare enclosure and the other expected a wired product to survive washdown.
With that language fixed, the lab method becomes much easier to interpret.
Main Waterproof Enclosure Test Methods
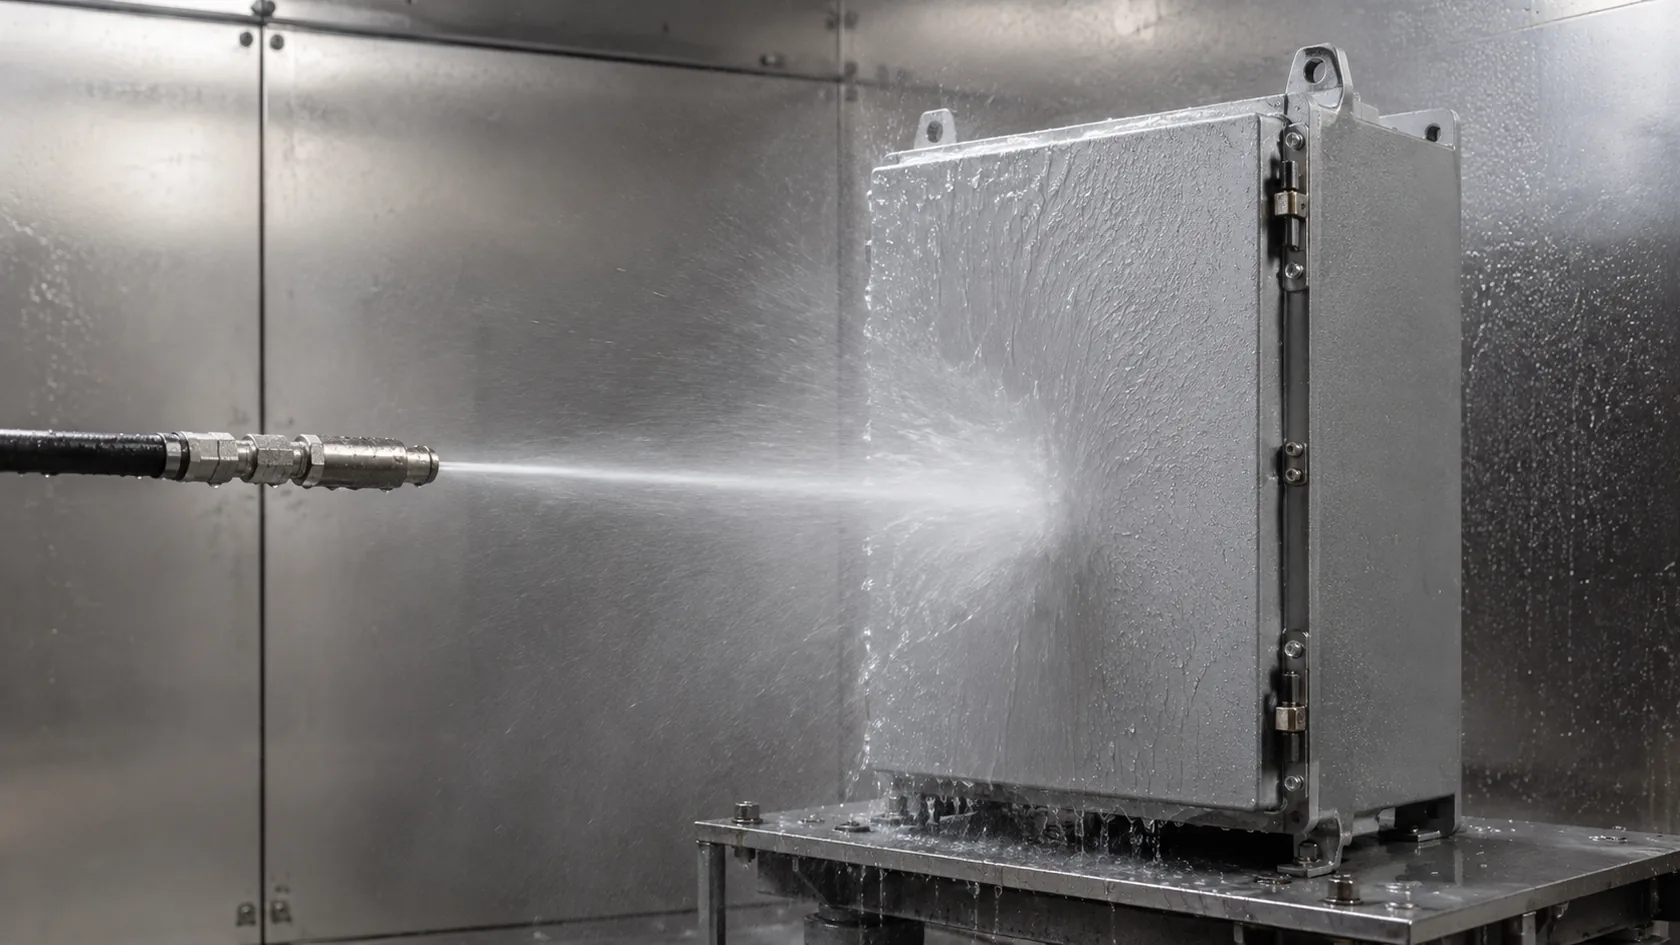
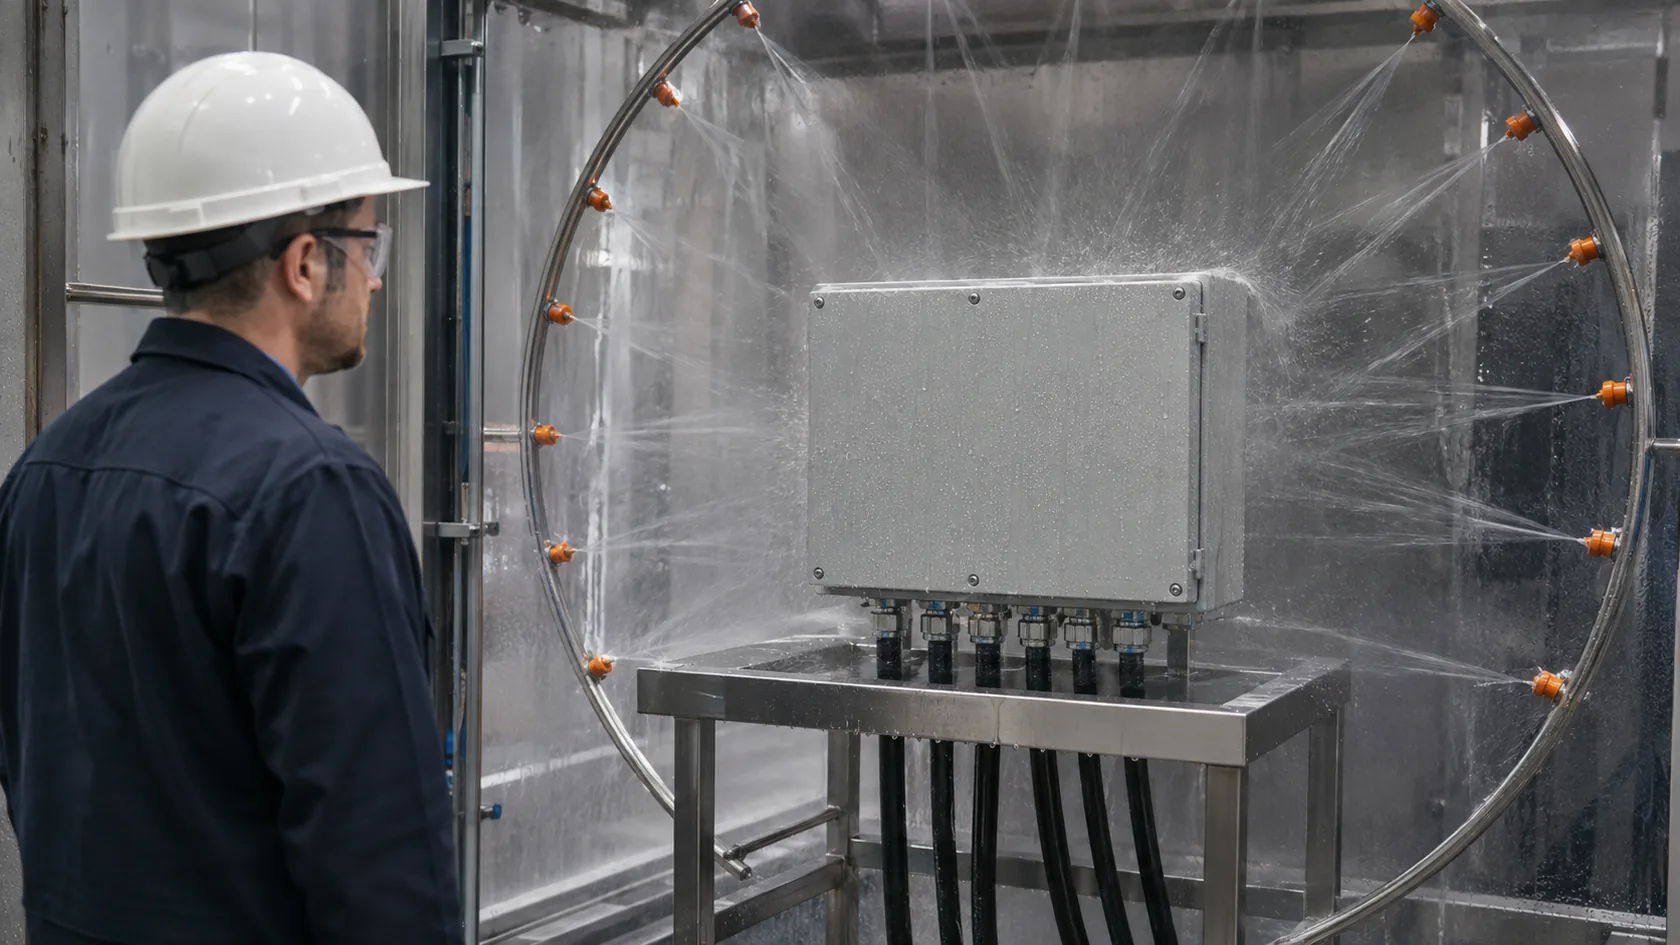
Waterproof-enclosure testing commonly progresses from light water exposure to water jets and, where the intended use calls for it, immersion. The applicable standard defines equipment, flow, direction, duration, sample position, and evaluation. Do not replace those conditions with a casual hose test when a compliant result is required.
Typical test families
- Drip and spray tests evaluate protection against water falling or sprayed from specified directions.
- Water-jet tests assess a closed assembly under the specified jet arrangement and duration.
- Immersion tests evaluate a sample in its specified service position at the defined depth and time.
- Complementary checks, such as thermal cycling or gasket inspection, may be justified by the application but should not be presented as a substitute for the named ingress test.
For perspective, a published IPX6/IPX7 test report describes a jet test and a separate immersion test with different fixture conditions and inspection steps. The lesson is not to copy a number into every project; it is to follow the method that belongs to the claim. UL Solutions lists IP water and dust testing across IPX1 through IPX8, which is a useful reminder that the laboratory setup must match the requested level.
Control the sample and the inspection
Before a test, record the revision, material and finish, gasket condition, fastener torque, cable type and diameter, gland part number, blanking plugs, and service position. Afterward, inspect the inside according to the method and the product’s harmful-ingress criterion. A dry-looking outer surface is not a result.
In production work, I would rather repeat a properly documented test on a representative assembly than rely on a dramatic video of water hitting a box. The record must let a customer understand exactly what was proven.
The next step is where many otherwise good reports become incomplete: treating the accessories as part of the enclosure.
Test the Complete Installed Assembly
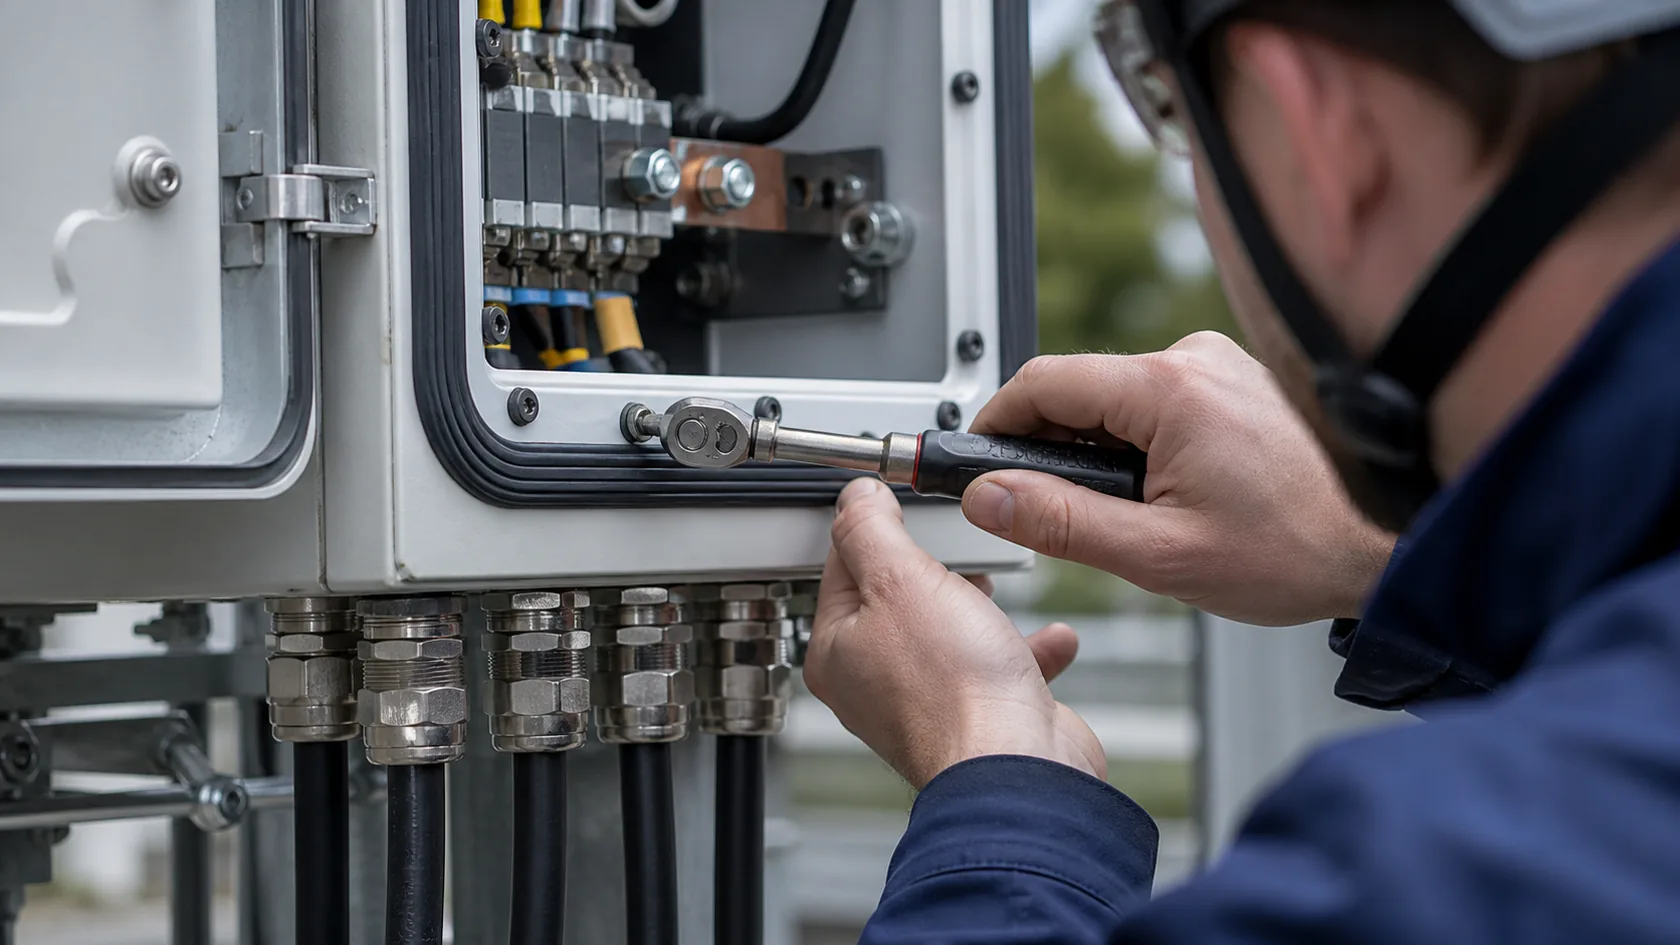
The installed system is only as strong as its least capable sealing path. A high-rated enclosure body does not automatically give the finished product the same protection when a connector, vent, window, gland, or field-made knockout is added.
Check each penetration and resealable joint
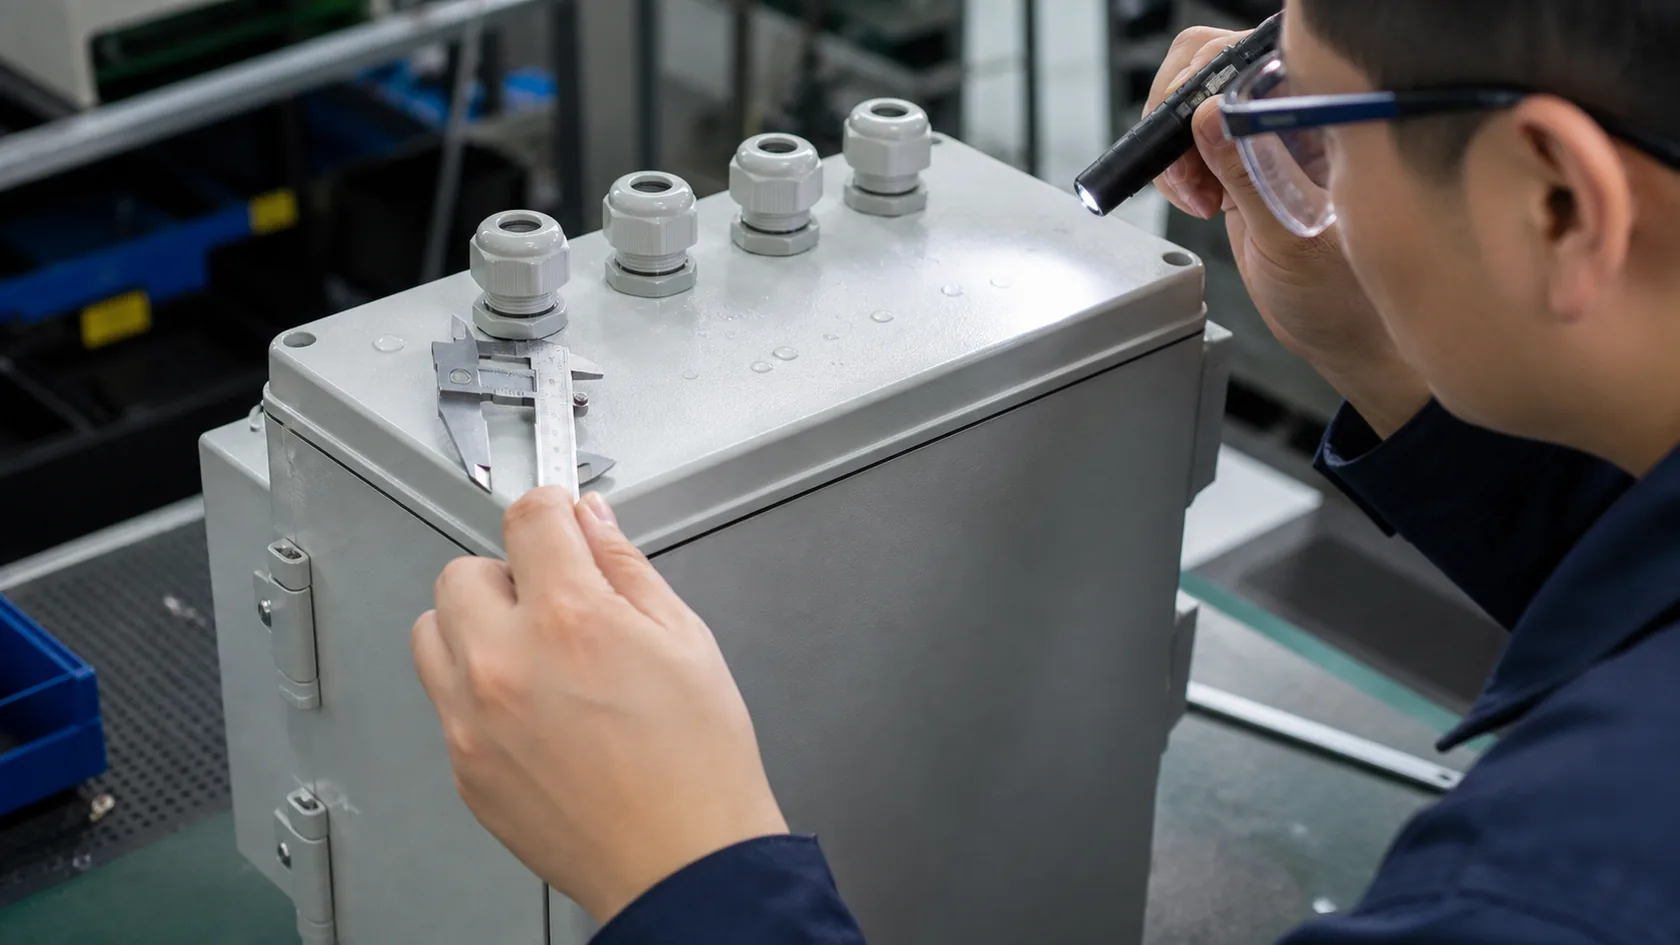
Cable glands need to suit the hole form, thread arrangement, cable diameter, jacket surface, and tightening instruction. CMP Products notes that maintaining a specified ingress level can depend on the thread arrangement, sealing washer, grease where applicable, and proper tightening. That is why a gland data sheet alone is not a finished-enclosure certificate.
The same thinking applies to cover gaskets. Groove geometry, compression, corner joining, cover stiffness, screw pattern, torque sequence, coating buildup, and re-opening cycles can each change the seal. Consider condensate, too: a more sealed unit can restrict air exchange, while temperature swings can still create moisture inside. Drainage, breather selection, thermal path, and internal clearance should be designed together rather than added after a leak test.
Mount it as it will be used
Test with the intended cable entries, plugs, seals, and orientation. If a cable exits upward in service, show how the design handles water tracking. If the customer will install components later, define approved component ratings and installation instructions. NEMA’s enclosure FAQ emphasizes that the assembly’s result is limited by its least severe component rating, which is a sensible purchasing check even when the project is specified by IP code.
I treat a customer-installed cable entry as a controlled interface, not a footnote. A clear gland range and torque instruction often protect the project better than a broad claim on the main enclosure body.
After a configuration passes, the job shifts from one laboratory event to repeatable production control.
Turn One Test Into a Production Control Plan

A type test proves one defined sample under one defined method. It does not by itself guarantee that every future unit will be assembled the same way. For a production enclosure, translate the critical test details into drawings, bills of materials, work instructions, inspection points, and change control.
Separate validation from routine verification
| Control stage | Practical purpose |
|---|---|
| Design validation | Demonstrate the defined enclosure configuration meets the stated water-test method |
| First-article review | Confirm production tooling, finish, gasket, and assembly match the approved design |
| Routine assembly control | Check gasket seating, gland selection, torque or closure process, and visual defects |
| Change review | Reassess a modified gasket, supplier, coating, cutout, connector, or assembly sequence |
The sampling plan should reflect risk and customer requirements. A noncritical indoor enclosure and an outdoor control product with expensive electronics do not deserve the same assumptions. Where testing every finished unit is impractical, clear process controls and periodic verification help make the production evidence meaningful.
Ask for a test record you can audit
Request the standard and revision, product drawing revision, test date, sample configuration, photos, fixture conditions, any preconditioning, result, inspector, and nonconformance disposition. Also keep records for gasket material, glands, torque tools, and any component substitutions.
From a factory viewpoint, small uncontrolled substitutions create large arguments later. A new cable gland or thicker coating may look harmless on a purchase order, but it changes the seal path that the original test actually proved.
That discipline turns the final result from a marketing phrase into a configuration buyers can rely on.
Conclusion
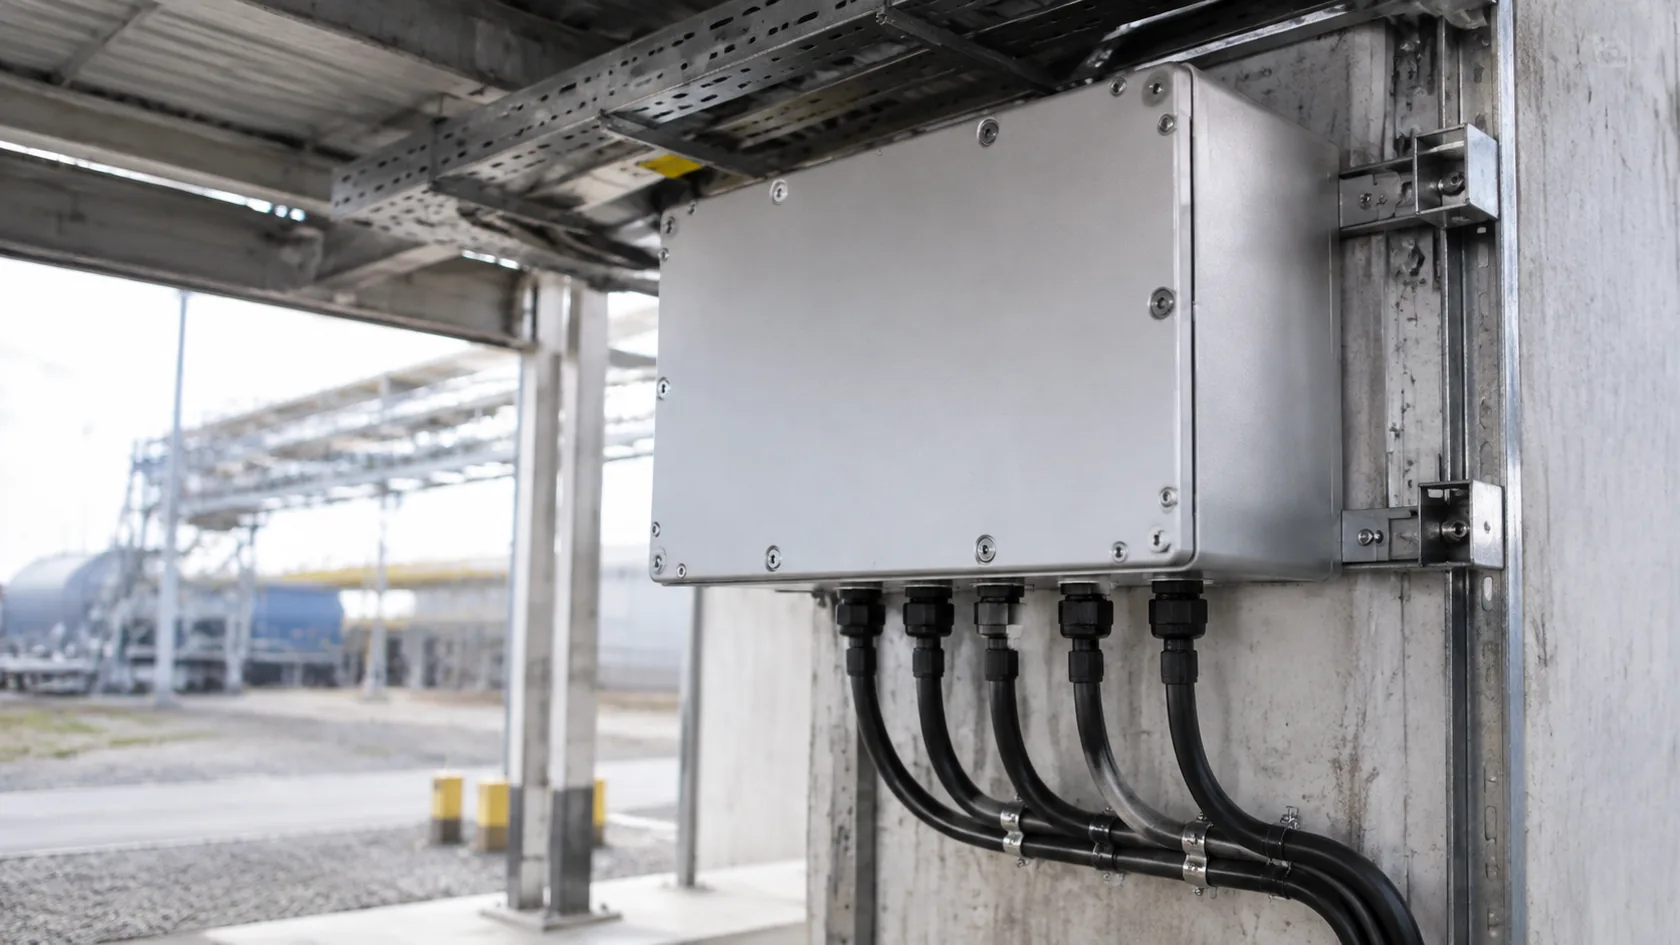
Waterproof enclosure testing works best when it starts with real exposure and ends with a documented, fully assembled configuration. Select the applicable IP, NEMA, or UL requirement; follow its actual test method; include every sealing interface; and carry critical conditions into production controls.
In my experience, the most useful review happens before tooling or final assembly instructions are locked. If you share the installation environment, drawing, cable plan, opening layout, and target requirement, we can help identify the seal-path and manufacturability questions that deserve validation before the order is released.