 Skip to content
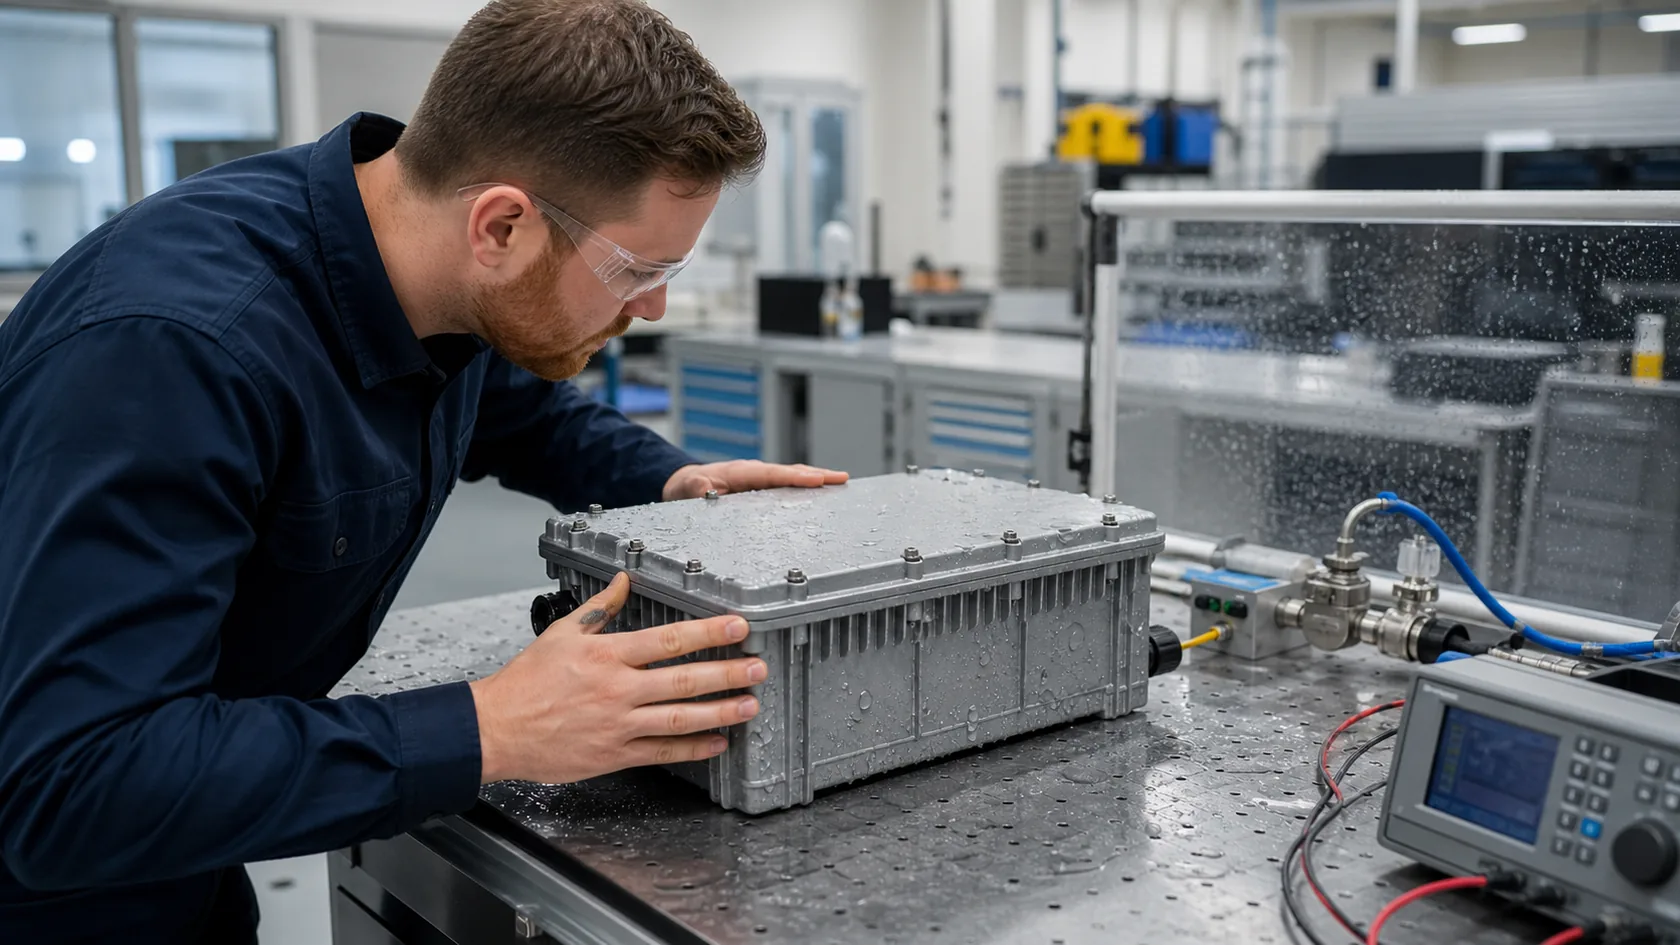
The first waterproof enclosure sample often looks excellent on an inspection bench. The cover closes smoothly, the gasket is new, the cable gland is tightened by an experienced technician, and the water test passes. Then the order moves to 500 or 5,000 pieces, and a few units begin leaking after installation.
That result is frustrating, but it is rarely mysterious. In mass production, waterproof performance depends on the repeated agreement of the housing, cover, gasket, fasteners, cable entries, finish, assembly method, and test method. A good enclosure body cannot compensate for a seal compressed unevenly, a cable gland fitted to the wrong cable diameter, or a cover that changes shape after coating.
In my factory work, I treat waterproof enclosure design as a production system, not a rubber-strip feature on a drawing. The aim is not to make one beautiful sample. It is to make the same seal path work through normal material and process variation.
This article explains where waterproof enclosure designs commonly fail after mass production and what buyers can lock down before tooling, machining, and assembly begin.
The first risk is the gap between a hand-built prototype and a repeatable product.
A Prototype Is Not a Production-Proven Enclosure
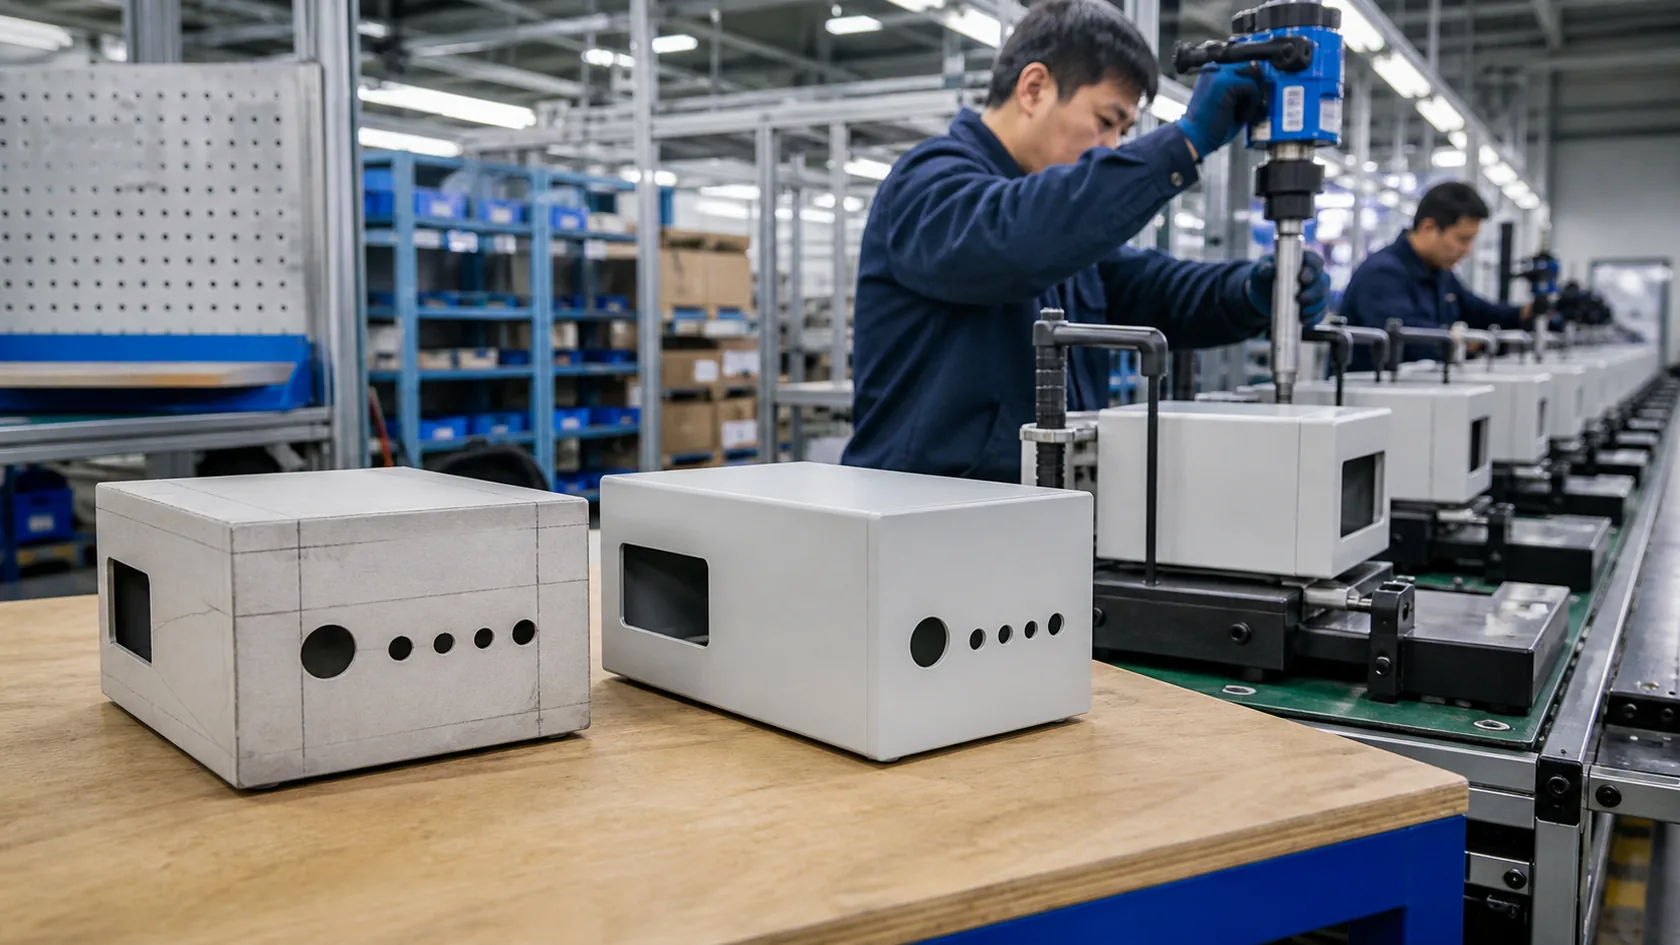
A prototype is useful, but it can hide variation. A technician may select the best gasket, clean every sealing surface, and tighten each screw by feel. Production has different realities: incoming material batches vary, operators change, fixtures wear, coating builds up, and assemblies move at a faster pace.
What changes between hand-built and repeated assembly
The enclosure may be made from the same drawing, yet small differences can add together. A cover can be slightly less flat, a gasket can sit a little proud at a corner, or a screw can receive less clamp load. None of those differences needs to be dramatic before a water path appears.
| Prototype condition | Mass-production question |
|---|---|
| One selected housing and cover | What is the permitted flatness and fit range across the lot? |
| Skilled manual assembly | How are torque, sequence, and gasket placement made repeatable? |
| Fresh parts on a clean bench | What happens after coating, shipping, handling, and site installation? |
| One passed test | How many parts, configurations, and changes are covered by validation? |
I am cautious when a supplier says a sample is waterproof but cannot explain the assembly controls. The sample proves potential; the control plan proves whether that potential can survive production.
That leads directly to the seal path, where small differences usually become visible first.
The Seal Path Is Usually the First Weak Link
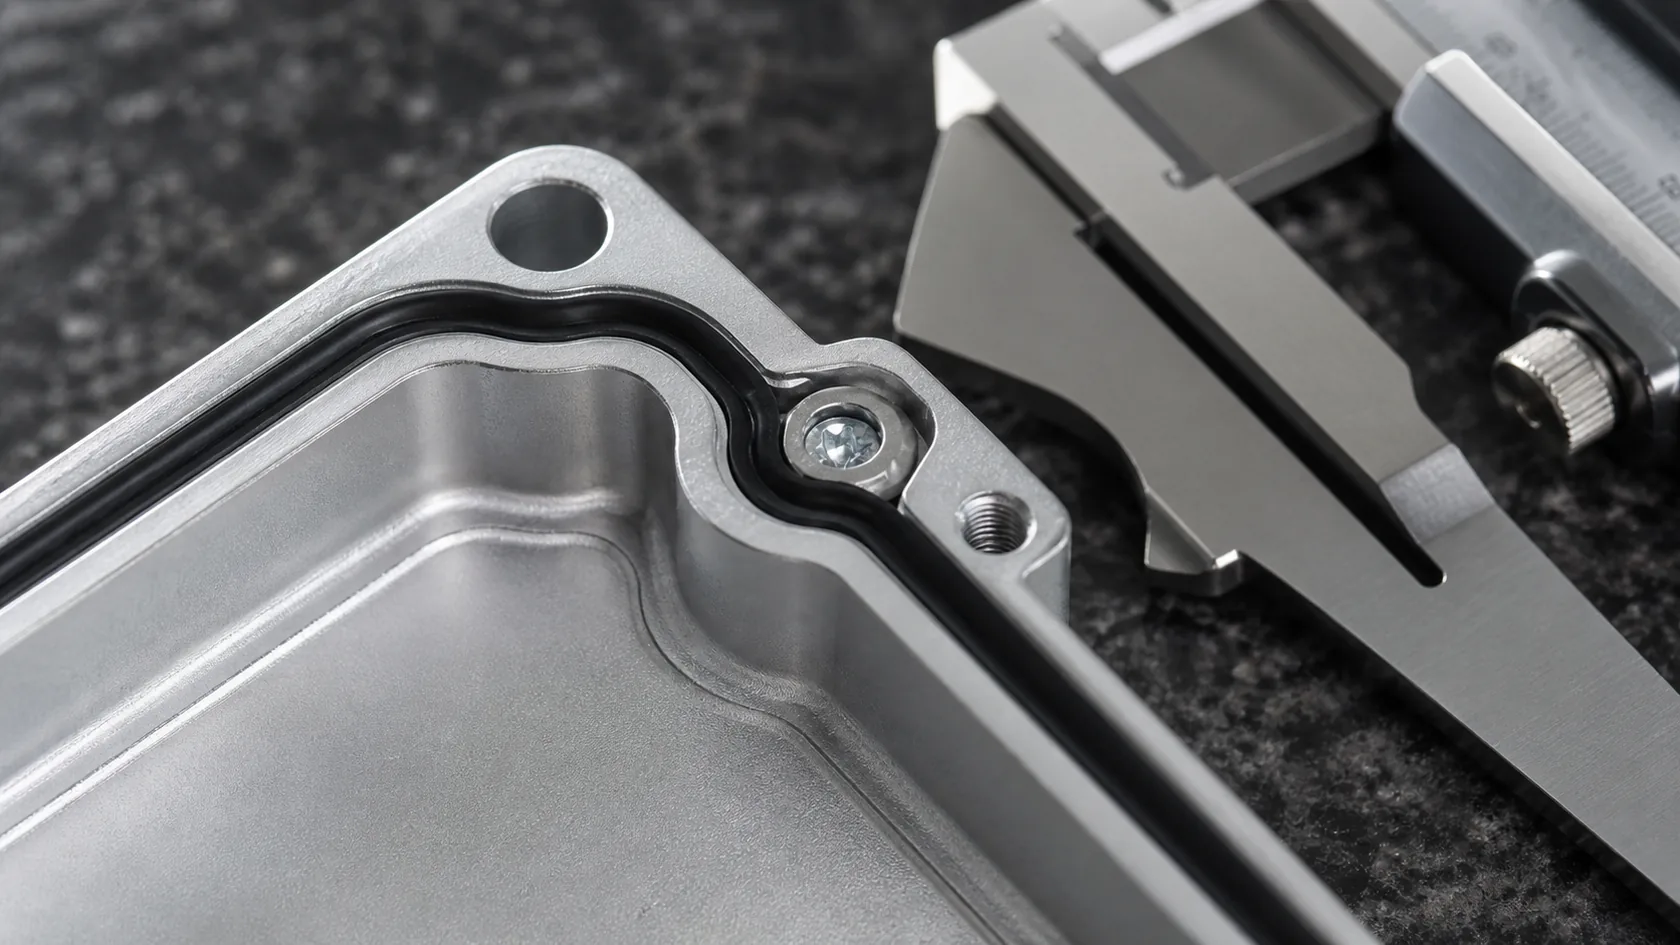
Most water ingress does not come through the middle of a solid metal or plastic wall. It finds an interface: the cover joint, a corner, a fastener area, a window, a connector, or a cable entry. The gasket is important, but it only works when the surrounding geometry lets it compress evenly and stay compressed.
Gasket compression, corners, and hard stops
The gasket material, cross-section, groove, compression range, screw spacing, latch position, and corner detail need to work as one system. Too little compression can leave a channel. Too much can damage the gasket or cause permanent set. A long cover without adequate stiffness can seal at the screws and relax between them.
Hard stops can be useful because they limit over-compression, but their height and placement must match the gasket design. A generic gasket added late in the project is a common source of uncertainty. It may look correct until a corner folds, shifts, or sees repeated temperature changes.
Flatness, finish buildup, and cover distortion
Powder coating, anodizing, welding heat, bending, and machining burrs can change the sealing surface. The practical question is not simply whether the finish looks good. It is whether the gasket lands on a clean, continuous surface with the intended clamp load.
| Seal-path check | Why it matters in production |
|---|---|
| Gasket groove and joint dimensions | Controls the compression window |
| Cover flatness and stiffness | Prevents gaps between fasteners |
| Corner transitions | Avoids pinched, stretched, or unsupported seal sections |
| Surface condition at the seal | Prevents channels from burrs, scratches, and finish buildup |
| Fastener pattern and torque method | Makes clamp load repeatable |
When a waterproof design needs workers to judge gasket compression by eye, I expect variation. It is better to build the decision into the geometry, fixture, and work instruction.
The same discipline must continue at every intentional hole in the enclosure.
Cable Entries and Accessories Can Quietly Break the Rating
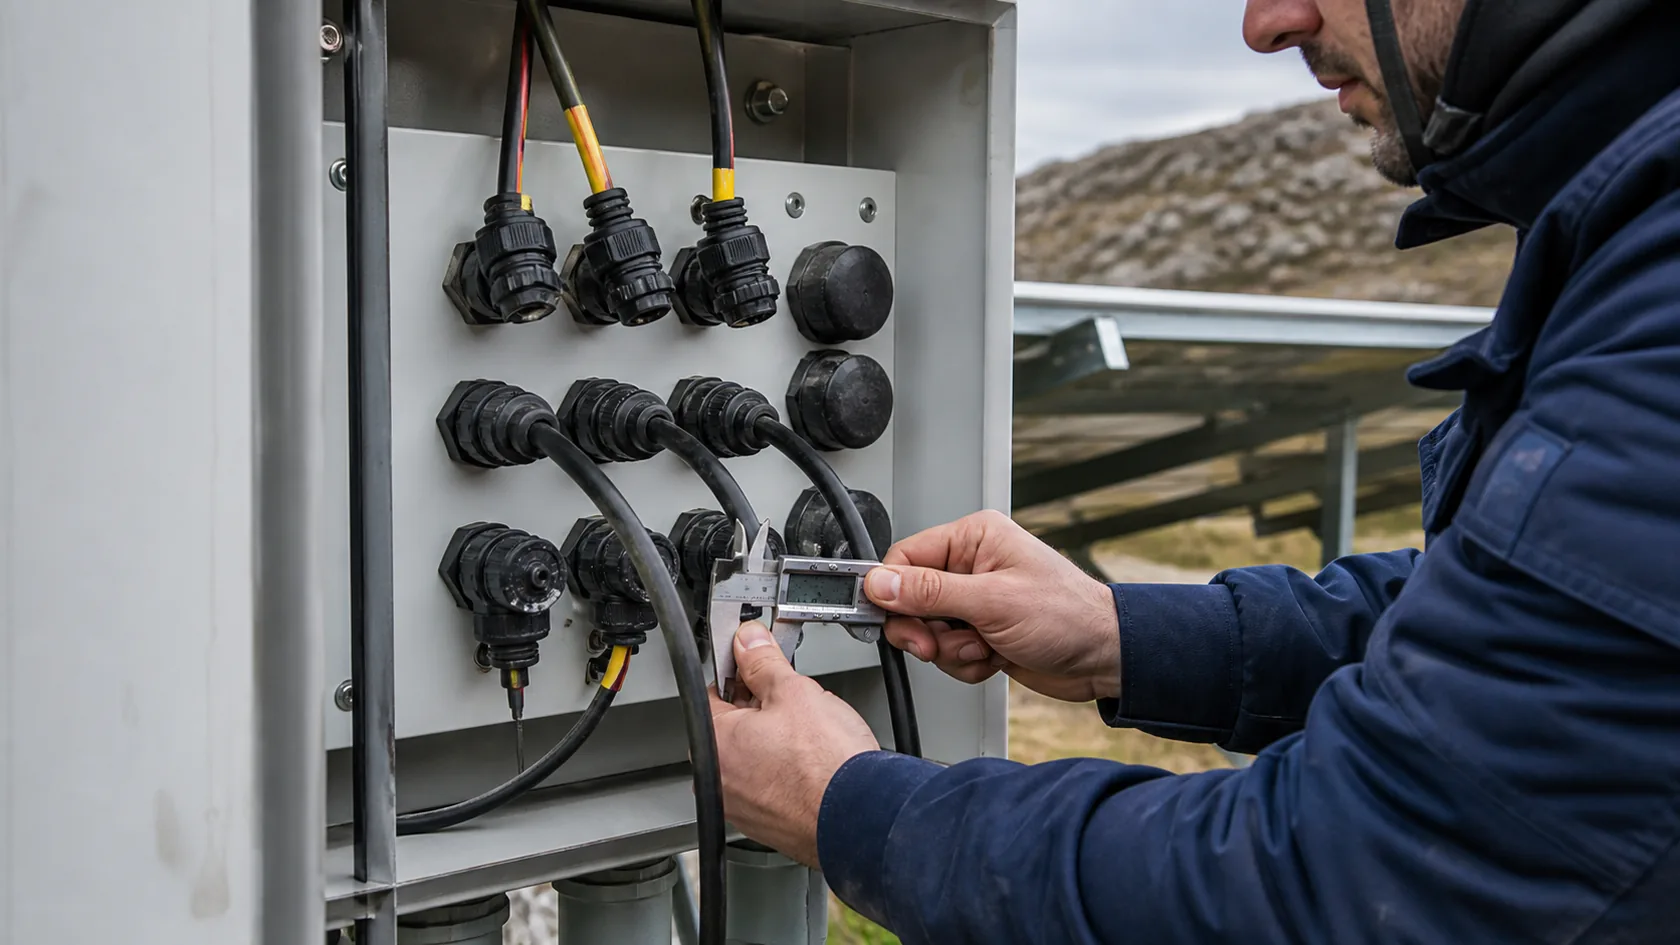
An enclosure rating is not a promise that every later cutout will be protected. A cable gland, connector, vent, window, pushbutton, hinge, and unused knockout changes the boundary that water sees. The installed assembly is only as strong as its weakest relevant interface.
IEC 60529 sets out the IP Code for degrees of protection provided by enclosures. NEMA also cautions that IP and NEMA Type designations are not equivalent, and NEMA Type requirements consider a fully installed, ready-for-use enclosure. Those are good reasons to specify the complete installed condition rather than copy a number onto a drawing.
Match components and installation to the target claim
A gland needs the correct thread, wall interface, washer or sealing arrangement, cable outside-diameter range, tightening method, strain relief, and environmental suitability. A high-rated catalog fitting cannot seal a cable that is outside its clamping range or a hole that was enlarged during installation.
Design out field-drilled surprises
If spare entries are likely, define their location, plug type, and sealing method before production. Field drilling often removes coating, leaves burrs, and bypasses the inspection plan. For outdoor enclosures, cable route and mounting orientation also matter because standing water and water running along a cable increase the demand on the fitting.
From experience, I prefer a drawing that shows all intended penetrations and tool access over a clean drawing that pushes difficult decisions to the installer. A small entry decision can decide the reliability of the complete assembly.
Once the enclosure begins heating and cooling, even a small weak point is tested repeatedly.
Thermal Cycling Turns Small Variation Into Water Ingress
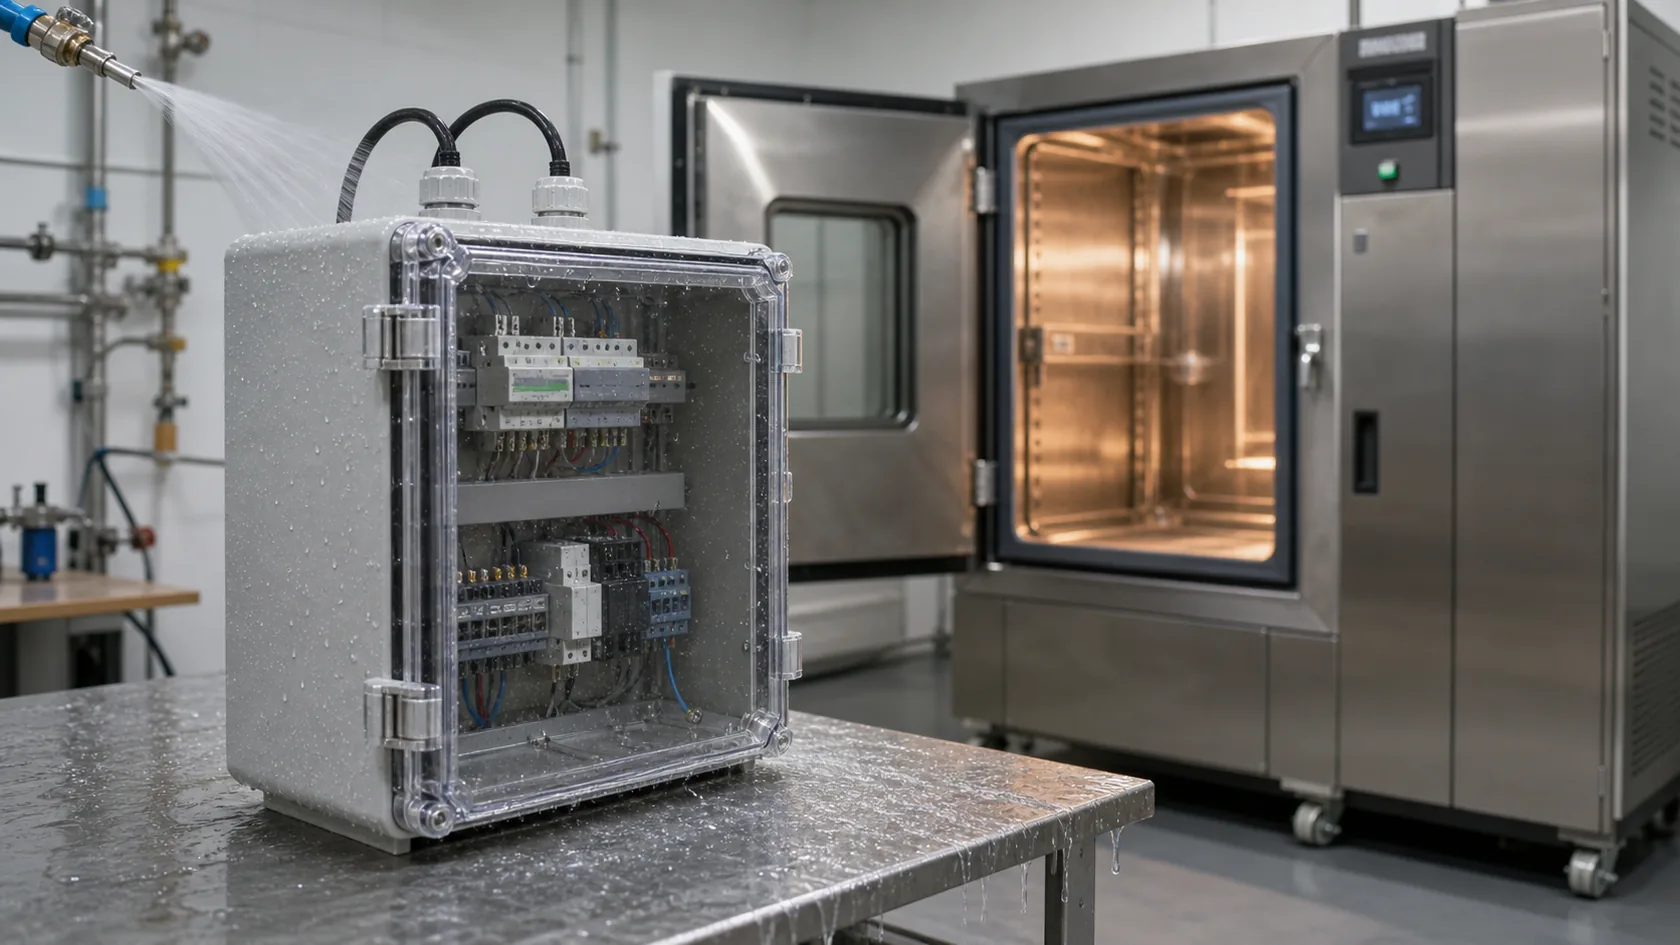
Outdoor electronics do not stay at one temperature. Sun, internal heat, night cooling, rain, and seasonal change can expand and contract metal, plastic, fasteners, gaskets, and cable jackets at different rates. The seal may pass a room-temperature test and still lose margin in service.
Expansion, pressure changes, and condensation
Temperature changes can alter gasket compression and can move moist air through a weak interface. Condensation can also form inside an enclosure even when no obvious rain path exists. That is why a waterproof claim should not be separated from the expected temperature range, heat load, orientation, drainage, and any needed pressure-management approach.
UL Solutions notes that watertightness testing can be combined with thermal cycling to evaluate sealing as materials expand and contract. I find that approach more useful than assuming a single ambient test represents an outdoor lifetime.
Do not solve heat and sealing separately
A sealed enclosure can restrict airflow. Adding vents may help thermal management but creates another interface that must be designed and qualified for the intended environment. Similarly, a conductive treatment may support grounding or EMC at selected interfaces, while a coated seal land must still give the gasket the planned surface. These choices need a shared review.
| Design choice | Possible benefit | Water-related question |
|---|---|---|
| Tighter sealing | Reduces direct ingress paths | How will heat and internal moisture be managed? |
| Vent or membrane | Can support pressure equalization | Is the complete vent interface suitable for the target exposure? |
| More rigid cover | Helps gasket consistency | Does it add cost or complicate access? |
| Different material or finish | Can improve corrosion or appearance | What happens at joints, cut edges, and dissimilar-metal contacts? |
I would rather discuss thermal and sealing trade-offs before production than add an unqualified vent after the first hot-weather complaint.
Temperature variation exposes design margin; production processes can consume it as well.
Production Processes Can Change the Geometry
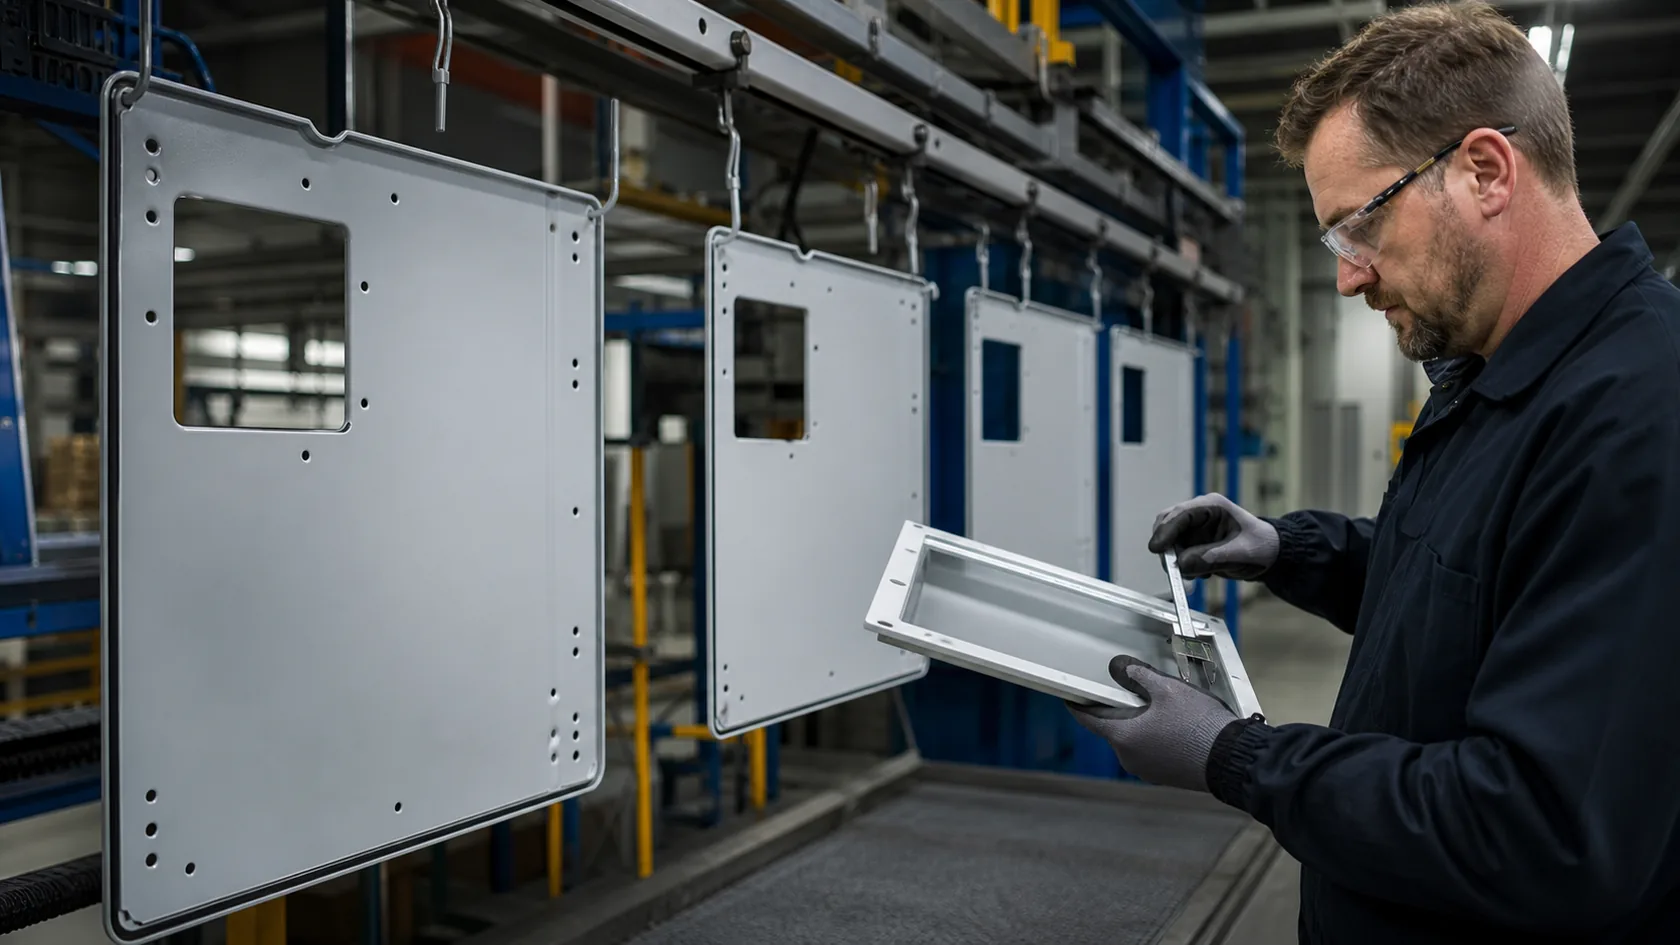
The right manufacturing process depends on volume, geometry, material, tooling budget, tolerance needs, finish, and assembly method. CNC machining, sheet-metal fabrication, extrusion with machined end panels, die casting, and molded plastic housings can all produce effective waterproof enclosures when their limits are respected.
Machining, bending, welding, casting, and coating risks
Sheet-metal bending can influence cover shape. Welding can introduce local distortion. Die casting needs appropriate draft, wall transitions, tooling, and post-process sealing surfaces. Machined parts may have sharp edges or burrs if deburring is not controlled. Coating can round edges and add thickness where a gasket or washer needs a flat land.
This does not mean one process is always safer. A machined aluminum cover may offer excellent local precision at modest volume, while a well-designed molded or cast part may be more repeatable at higher volume. The sealing geometry and the production controls must fit the chosen process.
Use control points that can be measured
Good production control starts with features that inspectors can check: sealing-land flatness, cover fit, groove dimensions, hole size, coating condition, gasket presence and orientation, fastener torque, and final assembly condition. If a critical feature cannot be measured or visually confirmed, it is difficult to keep stable across a large batch.
| Process checkpoint | Example evidence |
|---|---|
| Incoming gasket verification | Material, profile, cut length, and batch traceability |
| Housing and cover inspection | Key seal dimensions and flatness record |
| Finish inspection | No chips, runs, or buildup on defined sealing lands |
| Assembly control | Torque tool setting, sequence, and operator instruction |
| Final inspection | Correct accessories, plugs, labels, and visual seal check |
In a production review, I look for this chain of evidence. It tells me whether the factory can find drift before the customer finds water.
Even a controlled process still needs validation on the assembly the customer will actually use.
Test the Real Assembly, Not Only a Golden Sample
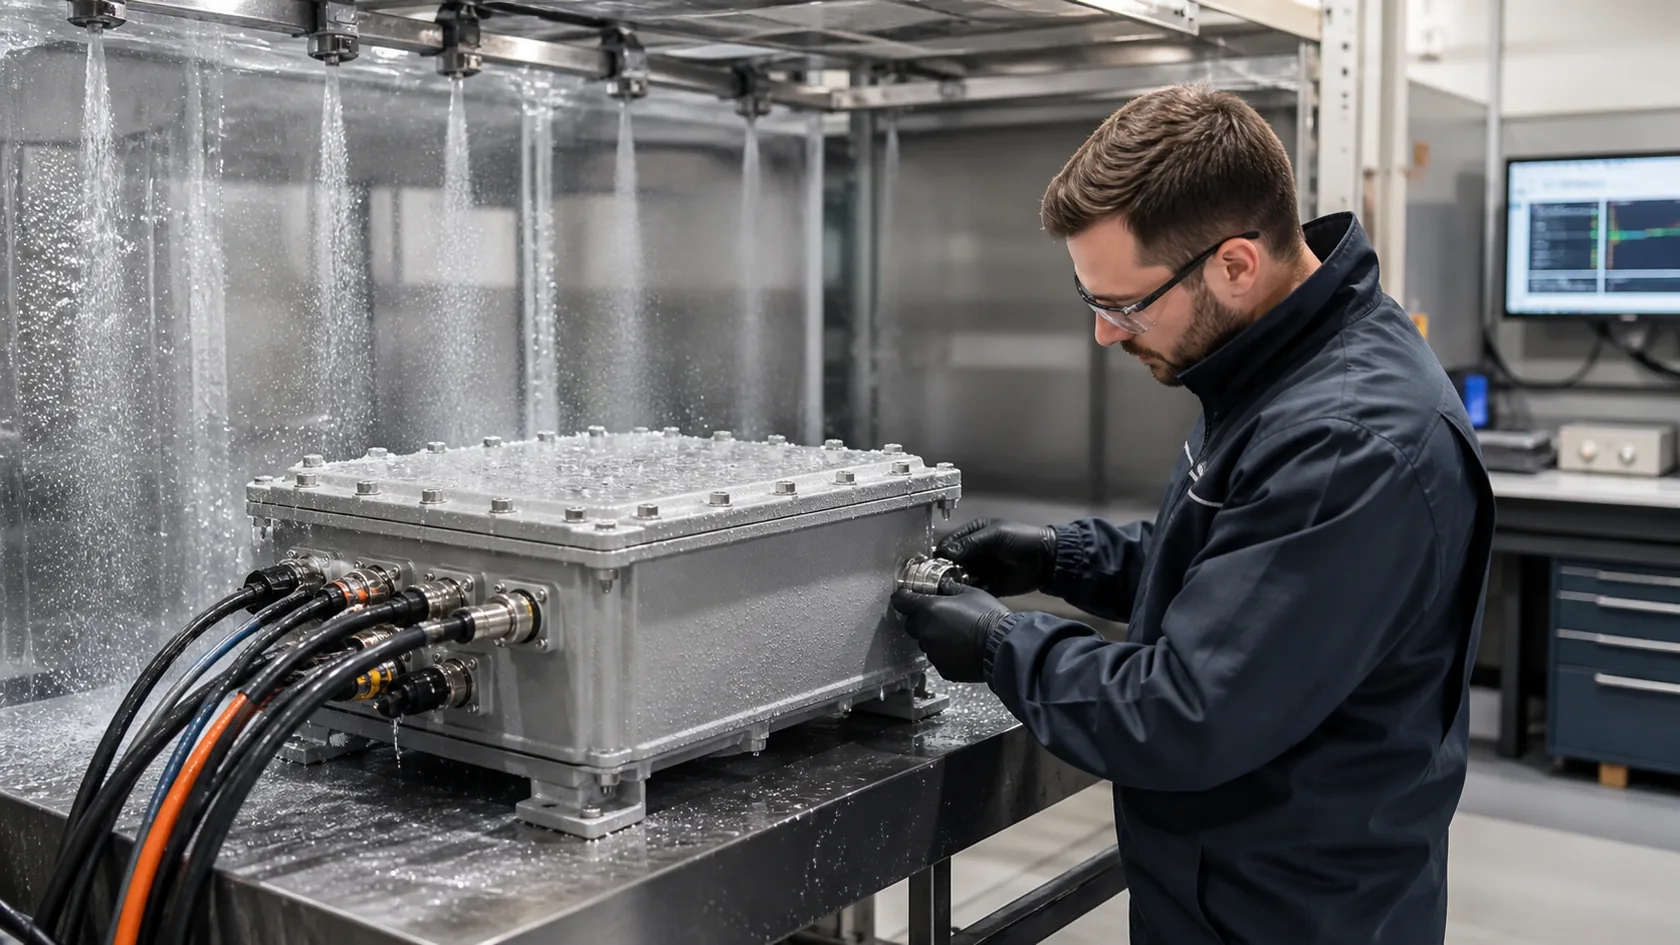
A waterproof test is meaningful only when its configuration, method, duration, acceptance criteria, and installation condition are clear. A bare enclosure may pass while the production configuration with cable glands, connectors, hinges, labels, or mounting hardware behaves differently.
UL Solutions describes watertightness assessment around enclosure design, gasket material, cover interfaces, intended installation, service environment, and the claimed performance objective. That is the correct mindset for procurement: test the claim you plan to make, not a more convenient version of the product.
First article, lot sampling, and change control
Start with first-article validation using production-intent parts, tooling, finish, gasket, accessories, and assembly instructions. Then agree on appropriate lot sampling or process checks based on the product risk and customer requirement. A change in gasket supplier, coating system, gland model, fastener, cover tool, or assembly fixture should trigger a review, not disappear inside a purchasing substitution.
| Validation question | What to document |
|---|---|
| What product is tested? | Part revision, accessories, gasket, finish, and assembly condition |
| What exposure is relevant? | Water method, temperature condition, orientation, and duration |
| What counts as a failure? | Defined ingress or functional acceptance criterion |
| Which lot is represented? | Production date, batches, tooling, and operator process |
| What triggers revalidation? | Design, supplier, material, process, or fixture change |
I do not recommend using an IP or NEMA label as a shortcut around this documentation. The real value is knowing which assembled product was tested and being able to build it again.
Before that work begins, buyers can prevent many disputes with a short but specific production brief.
What Buyers Should Lock Before Mass Production
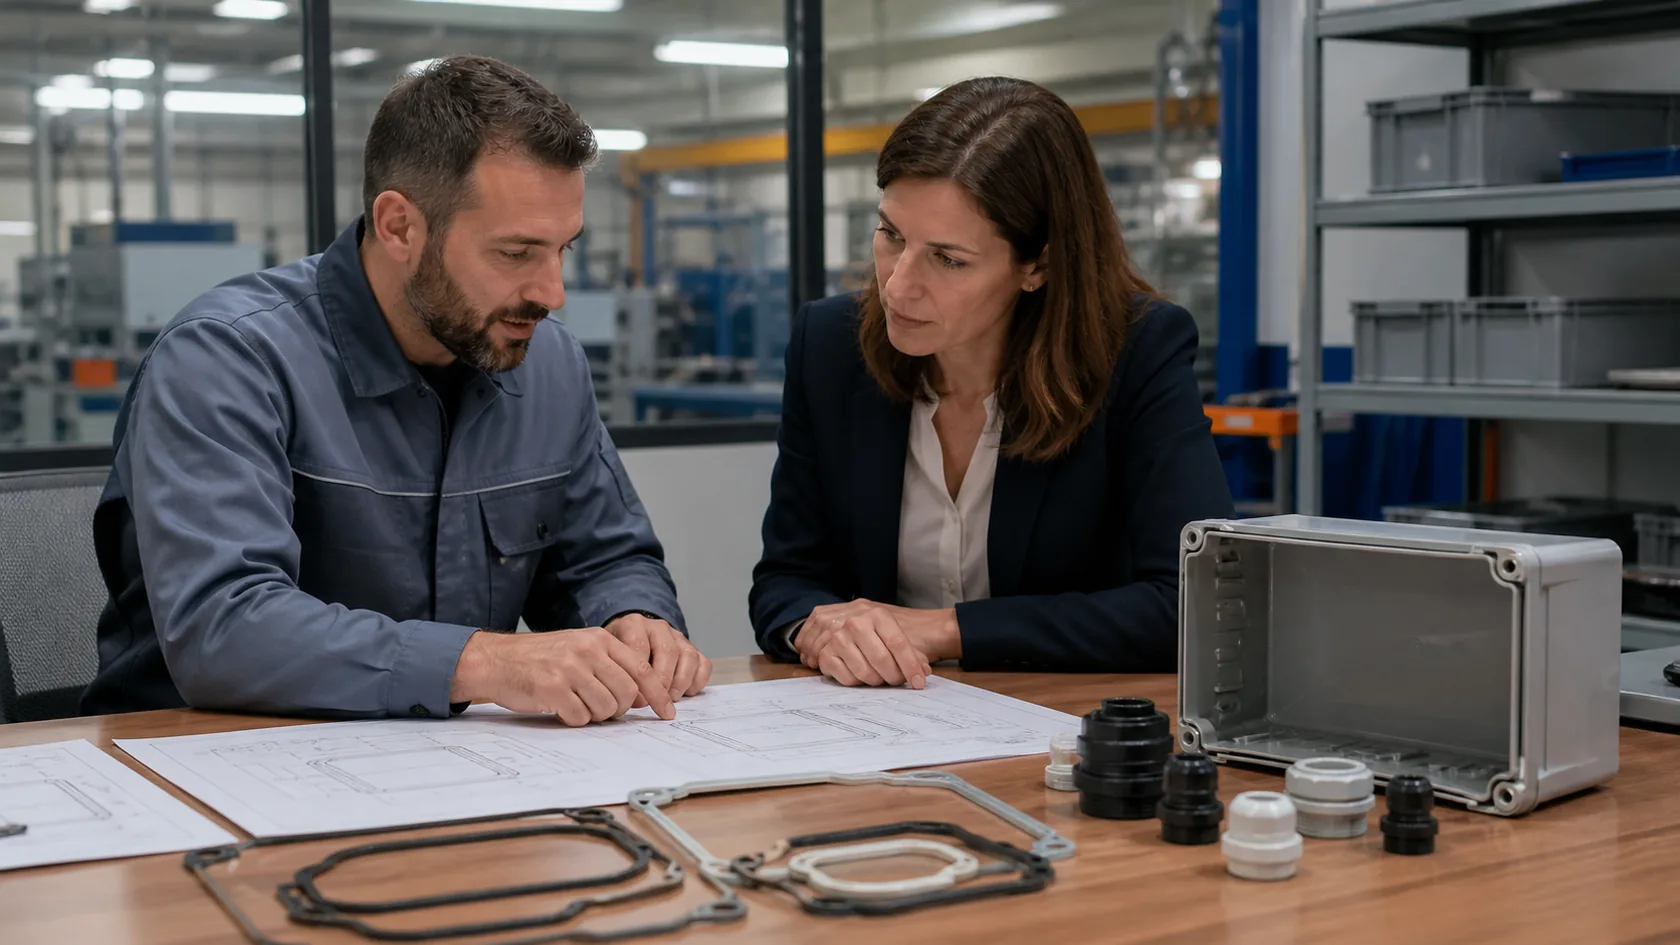
The best time to remove waterproof risk is before the drawing, bill of materials, and production method are frozen. A supplier cannot control what the RFQ leaves undefined, especially when an enclosure will be customized for a cable route, display, connector pattern, or outdoor mounting position.
An RFQ-to-pilot checklist
- State the real exposure: rain, hose-down, temporary submersion, dust, salt air, chemicals, UV, vibration, and temperature range.
- Name the required standard or claim and the exact installed configuration it applies to.
- Provide mounting orientation, cable route, cable outside-diameter range, connector list, and every planned cutout.
- Define enclosure material, finish, sealing materials, and any grounding or EMC requirements that touch the joint design.
- Identify critical sealing dimensions, fastener pattern, torque method, and gasket installation instruction.
- Request production-intent first articles and documented water-test acceptance criteria.
- Set a change-notification rule for components, finish, tooling, fixtures, or assembly process.
At MaidaTech, I find these details useful because they let us challenge a risky seal path while the solution is still a drawing change, not a field repair. A buyer does not need to over-specify every dimension, but the interfaces that control water need a clear owner.
When those decisions are visible, mass production becomes far more predictable.
Conclusion
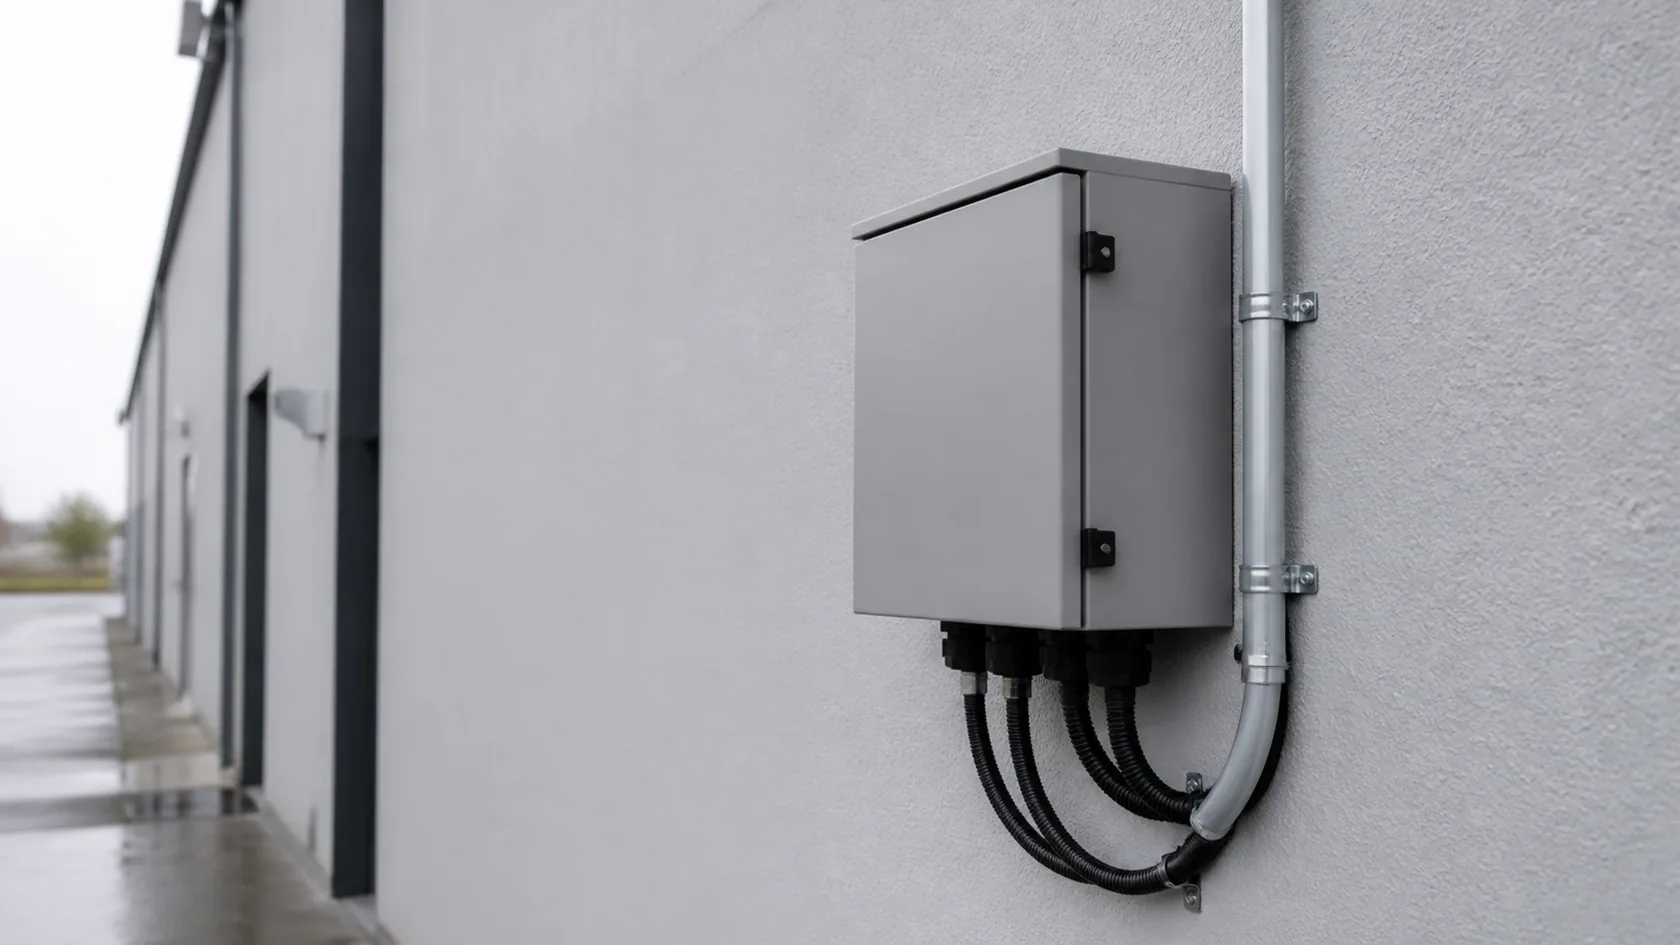
Waterproof enclosure failures after mass production usually come from lost control, not one dramatic mistake. A prototype may pass, while normal variation in geometry, gasket placement, finish, fastener load, cable entries, thermal movement, or assembly quietly removes the sealing margin.
My practical view is simple: design the full installed seal path, choose a process that can hold it, verify it with production-intent parts, and document what must not change. Standards and rated components are valuable, but they work only when the actual assembly matches the intended test condition.
If you are preparing an outdoor or wet-environment enclosure for volume production, send the drawing, installation direction, cable and connector list, target environment, and planned quantity. We can review the seal path and production controls before the first batch makes a field problem expensive.







