 Skip to content
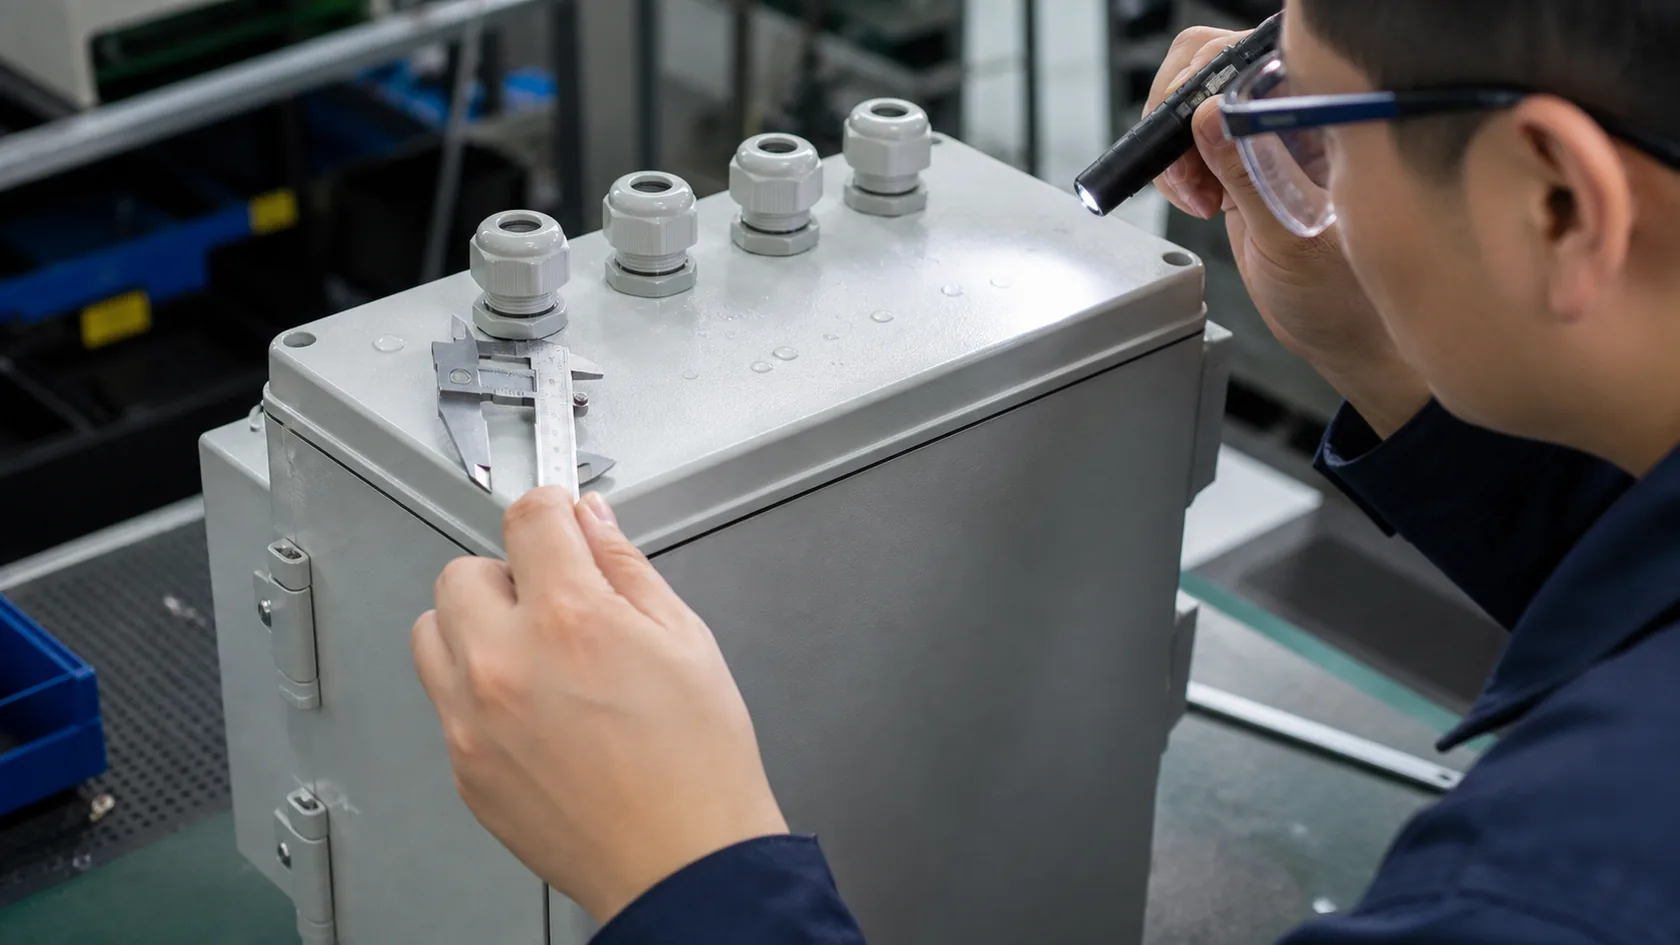
On a quotation desk, top cable entry can look very reasonable. The cable comes from above. The route is short. The side walls stay clean. The internal terminals line up nicely. On the drawing, everything feels tidy.
Then the enclosure goes outdoors, and the drawing meets rain.
This is where the problem starts. Top cable entry does not fail because every gland is poor. It fails because the design puts the sealing point where water naturally wants to go. Rain lands on the top surface. Water runs along the cable jacket. Dust sits around the washer. UV ages plastic and rubber. A small installation mistake stays wet for months.
When I review an outdoor enclosure drawing, I do not ask only, "Is the gland rated?" I ask, "If water runs down this cable, where will it go, and how long will it stay there?" That question often changes the cable entry decision before we machine the first panel.
This article explains why top cable entry is usually a bad idea for outdoor enclosures, when it may still be acceptable, and what buyers should confirm before production.
Let us start with why top entry looks so tempting in the first place.
Why Top Entry Looks Clean But Works Hard
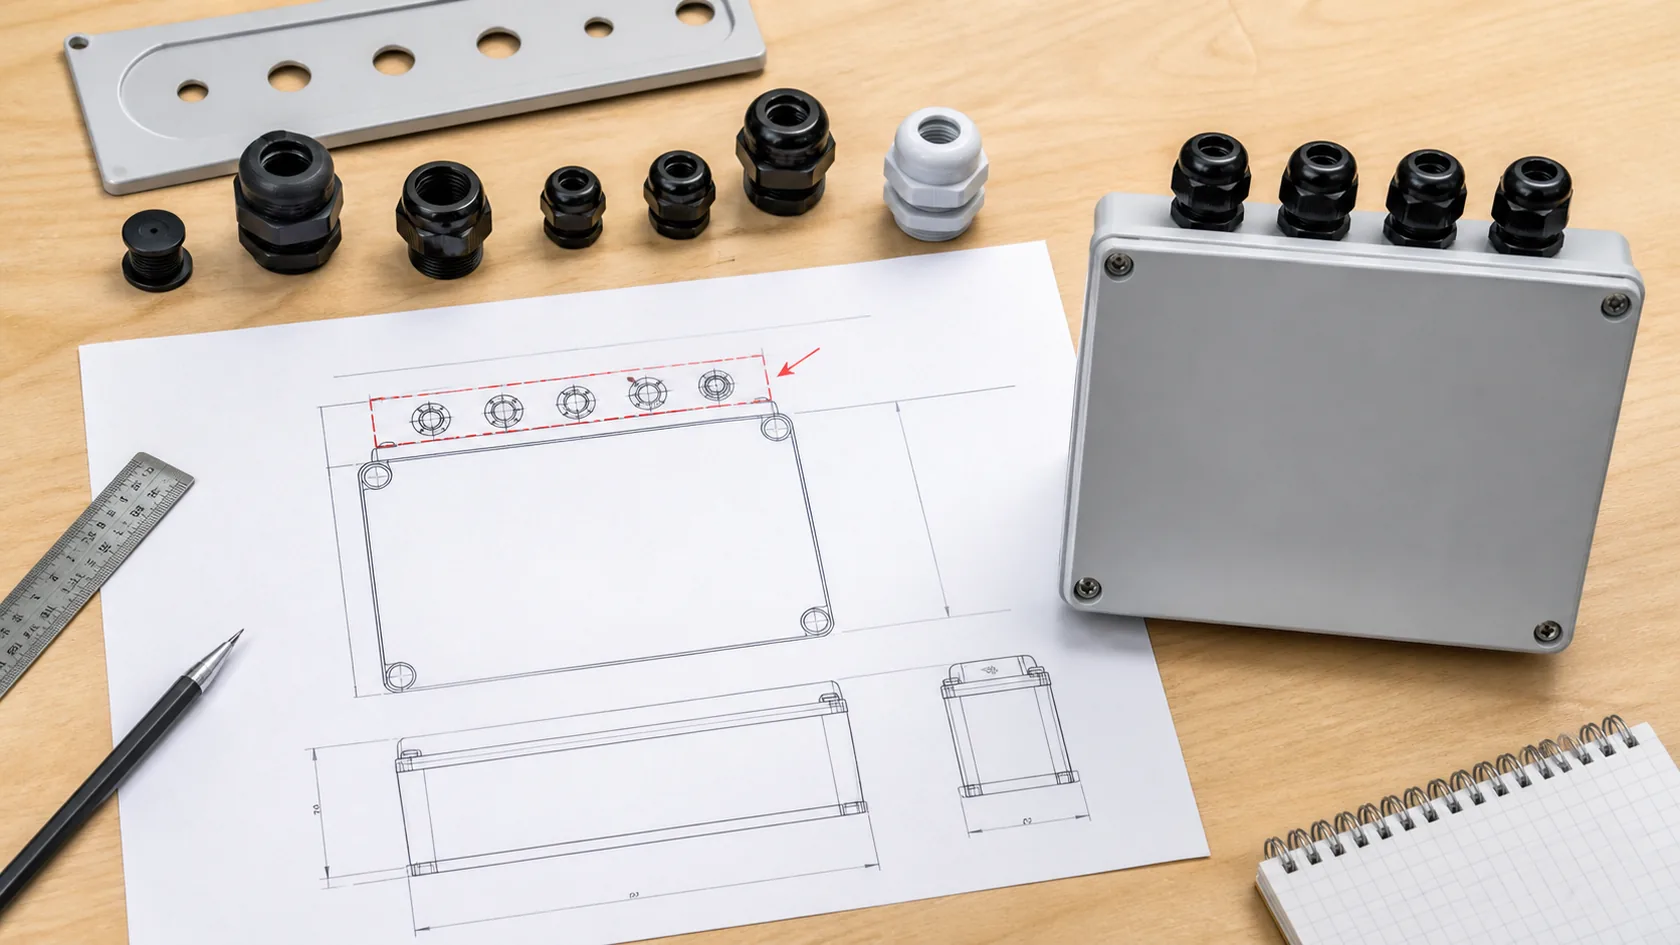
Top entry often wins the first layout discussion because it solves visible problems. The cable may come from a ceiling tray, pole, solar panel, antenna mast, or upper machine frame. A short vertical route can reduce cable length. It can also keep the left and right sides open for mounting brackets, displays, vents, or labels.
From a drawing view, this can look like good engineering. The cable drops straight in. The internal wiring is short. The gland pattern sits in a neat row. The enclosure looks balanced.
Outdoors, the top surface has the hardest job. It receives direct rain. It holds dust. It sees the most sun. If the enclosure is mounted level, small water droplets can sit around the gland washer. If the top panel has coating buildup, burrs, scratches, or slight unevenness around the hole, the washer may not seal evenly.
| Top entry advantage | Outdoor trade-off |
|---|---|
| Short cable route | Water can follow the same short route |
| Clean side walls | The top surface becomes full of penetrations |
| Easy internal terminal alignment | Cable bend and strain relief may be ignored |
| Simple CAD layout | Real rain, dust, and UV are not shown in CAD |
| Less cable length | Higher sealing risk may cost more later |
In my factory work, I accept a short cable route only when the water route is also controlled. A cable path that saves 300 mm of cable but creates a direct rain path is not really a saving. It is a risk moved from the drawing stage to the field stage.
The reason is simple: water does not need a big opening. It needs a patient path.
How Rain Follows Cables and Threads
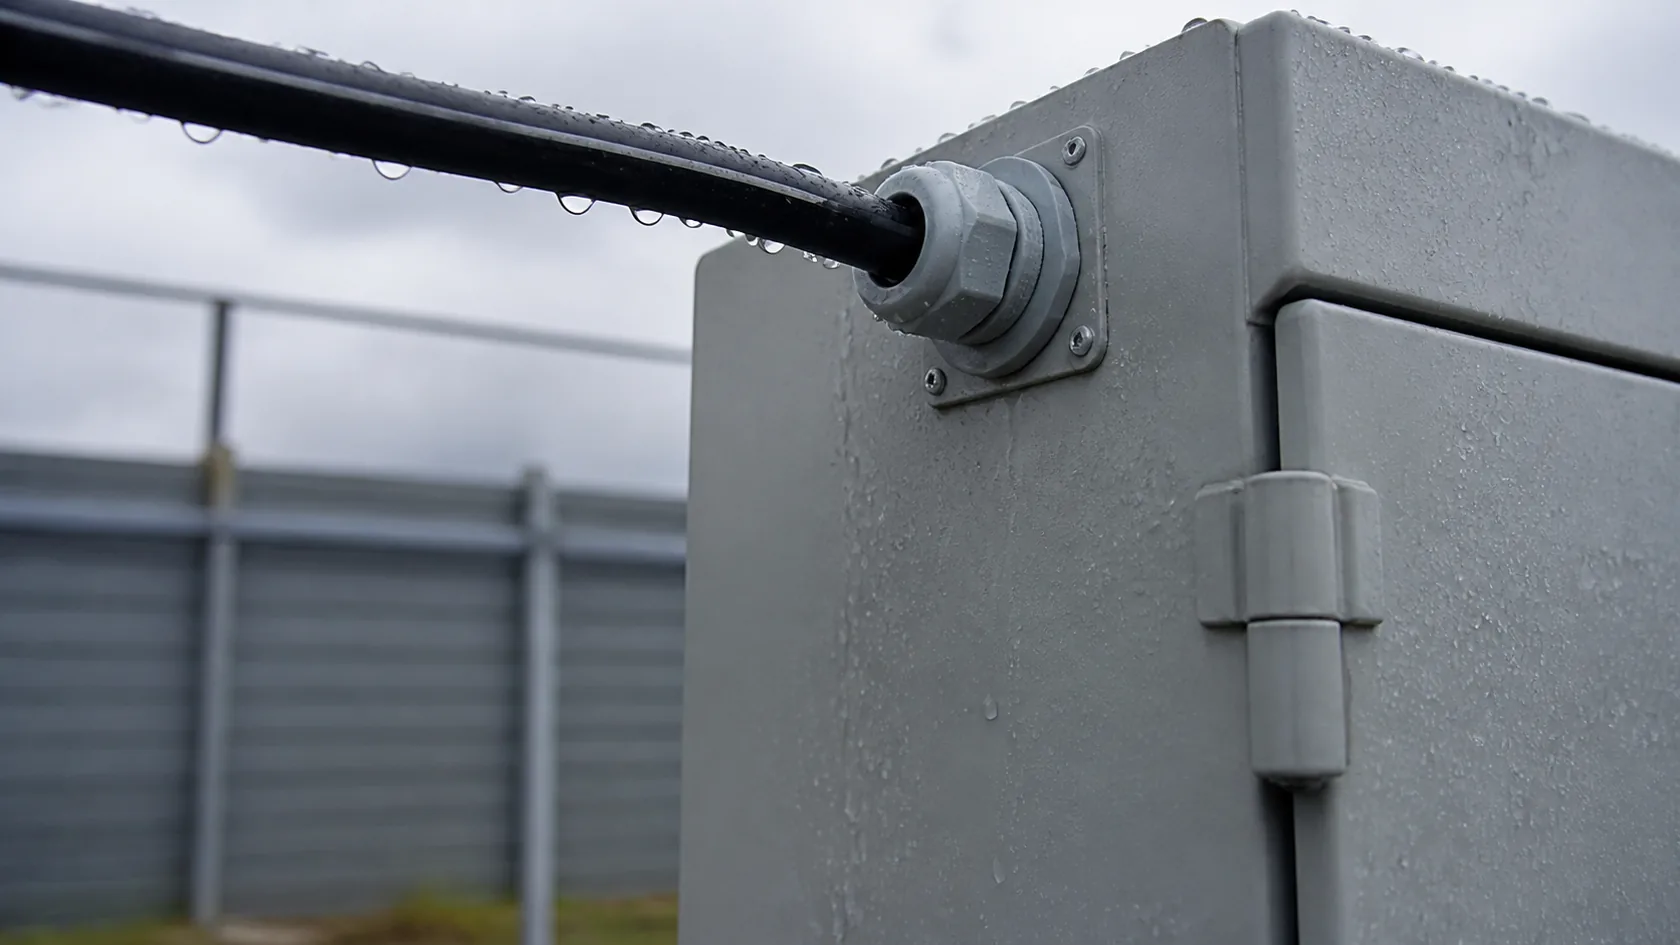
Rainwater does not always fall straight down and disappear. It clings to cable jackets, follows surfaces, collects at low points, and works slowly around threads and washers. Wind can push it sideways. Temperature changes can pull damp air into the enclosure. Dust can hold moisture around the gland like a dirty sponge.
This is why cable direction matters as much as gland quality. A cable that enters from above gives water a natural road to the entry point. If the cable goes straight into a top gland, the gland must handle water again and again. Even a good seal is being asked to work in the worst possible position.
The Cable Tray Institute notes that outdoor wiring systems should enter from the bottom when possible, side entry is the next choice, top entry is the last choice, and a drip loop should sit below the enclosure entry point. That advice is practical because it uses gravity instead of fighting it.
The drip loop is not decoration
A drip loop gives water a lower point where it can fall off the cable before reaching the gland. It is a small detail, but it changes the water path.
| Cable route | What water tends to do |
|---|---|
| Cable drops straight into top gland | Runs toward the gland and washer |
| Cable enters side from above | Follows the cable unless a drip loop is added |
| Cable enters bottom after a loop | Drips off before reaching the entry |
| Cable is pulled tight with no sag | Gives water a clean path to the enclosure |
I like drip loops because they are cheap, visible, and easy to understand. If a design needs a long explanation to prove that water will not reach the gland, I usually ask whether the entry position can be changed first.
Once water reaches the entry, the next question is whether the fitting and wall interface can really hold the rating.
Why Ratings Do Not Save a Bad Entry Layout
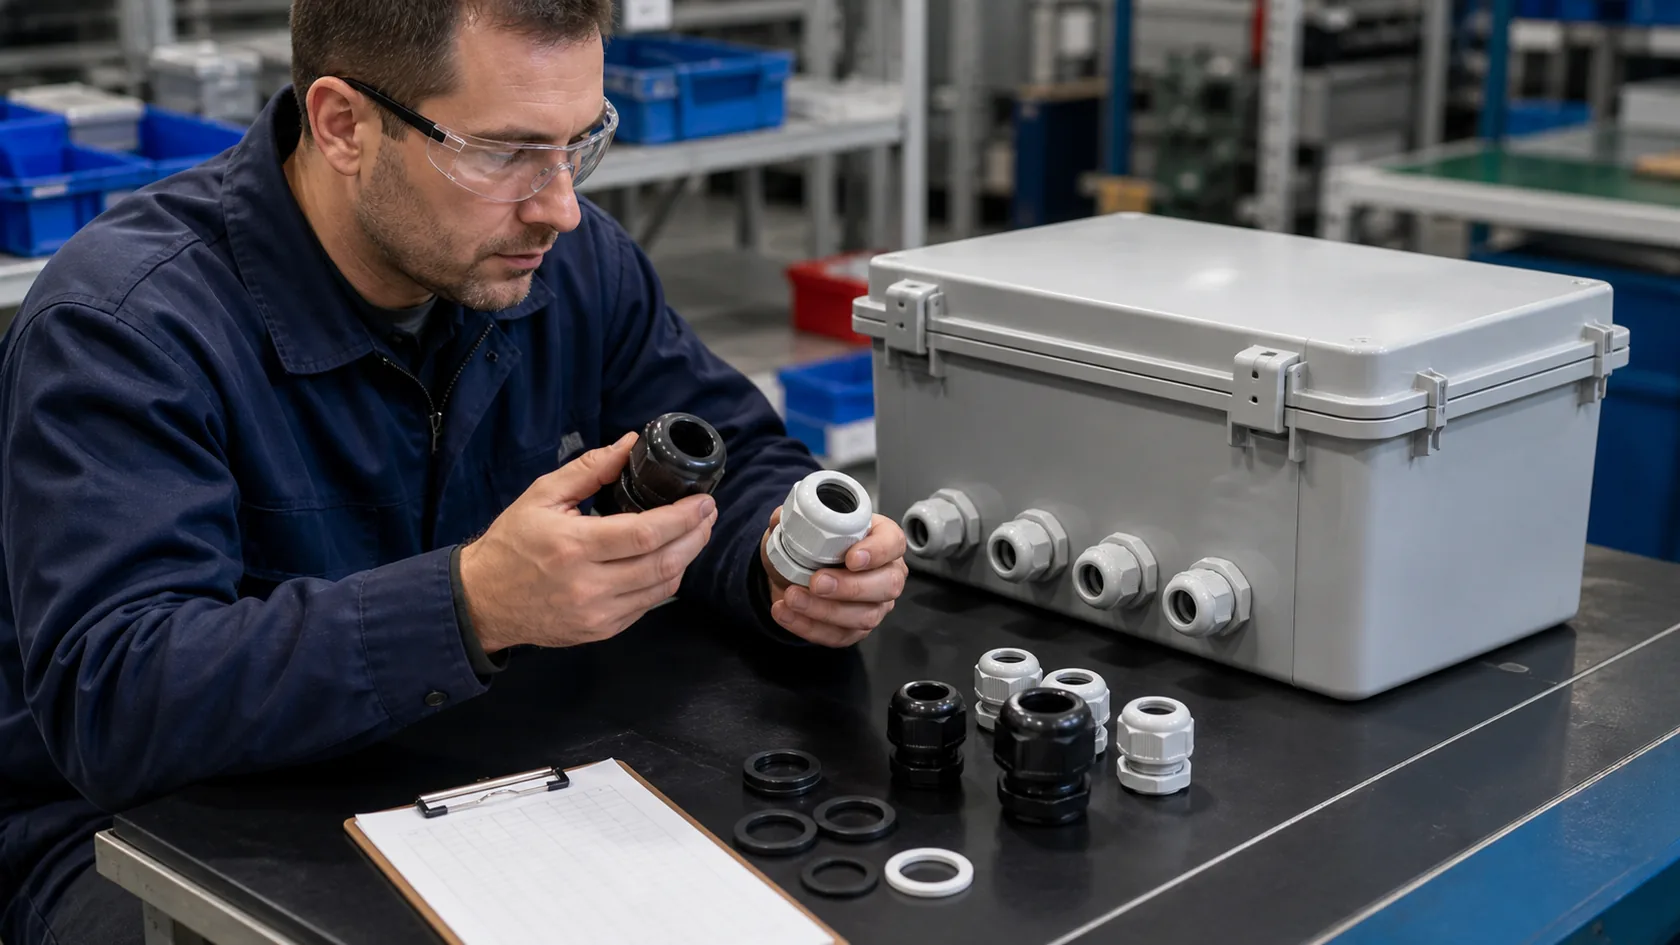
Many buyers feel safe after they choose an IP66, IP67, NEMA 4, or NEMA 4X enclosure. The rating matters, of course. It tells us what kind of protection the enclosure is designed and tested to provide. But the rating is not a magic shield after new holes are added.
IEC 60529 defines degrees of protection provided by enclosures under the IP Code. Schneider Electric's NEMA rating summary explains common Type ratings such as 3R, 4, and 4X for outdoor and wet environments. These references are useful, but a real project still depends on the installed assembly.
The enclosure body, door gasket, cable gland, washer, thread, locknut, wall thickness, cable diameter, and worker installation all need to agree with each other. If one part is weak, the whole system becomes weak.
A rated gland can still fail in the wrong setup
Top cable entry makes this worse because the fitting is under longer water contact. A gland may have a suitable rating in a test condition, but the actual installation may be different:
- The cable is smaller than the gland clamping range.
- The washer sits on powder coating buildup or a scratched surface.
- The hole is slightly oversized after field drilling.
- The locknut is hard to tighten because internal parts block tool access.
- The cable pulls sideways and relaxes the seal over time.
- A spare top hole is closed with a weak plug.
When I check a rated outdoor enclosure, I treat each mounted accessory as part of the waterproof design. I do not let the rating on the box hide the risk created by a careless top penetration.
That matters even more once custom production starts, because cable entry is no longer only a catalog choice.
The Hidden Cost of Top Entry in Custom Production
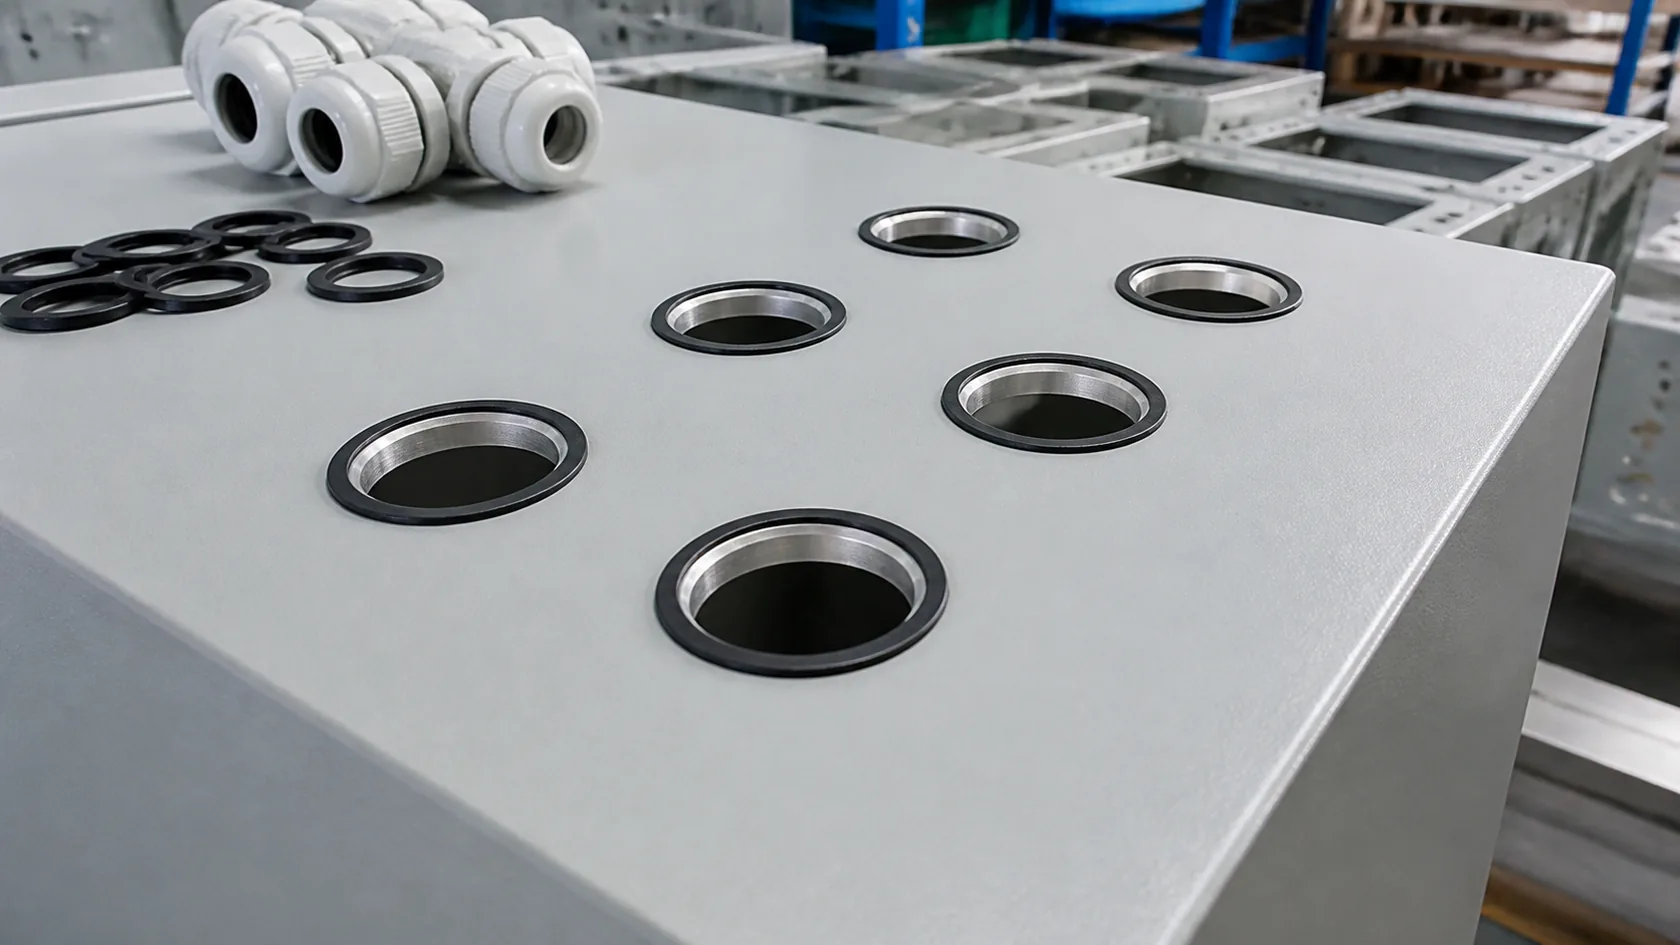
For a custom enclosure, a top cable entry affects more than waterproofing. It affects machining, finishing, assembly, inspection, packaging, and later service.
The top panel needs clean holes. The washer needs a flat sealing land. The coating cannot be chipped around the edge. The wall thickness must suit the gland thread and locknut. The internal side needs wrench clearance. The cable needs bend radius after it enters. If the top cover is removable, the cable route must not make maintenance painful.
Small problems at this stage become expensive because they happen after material, machining, and finishing are already done.
| Production detail | Why top entry increases risk |
|---|---|
| Hole position | A small move may be needed for locknut clearance |
| Surface flatness | Washer sealing depends on a clean, flat land |
| Coating around hole | Chips or buildup can affect sealing and corrosion |
| Panel stiffness | Multiple top holes can weaken a thin cover |
| Internal cable bend | Cable may press against terminals or PCB parts |
| Assembly access | Workers may under-tighten glands in crowded spaces |
| Packaging | Protruding top fittings can be damaged in transit |
In quotations, I prefer to fix cable entry before the drawing is frozen, because moving a hole in CAD is cheap. Moving a hole after CNC machining means remake, plug, rework, or an ugly compromise. None of those makes the enclosure better.
This is why top entry should have a clear reason. If the reason is only that it looks neat, the design is not ready.
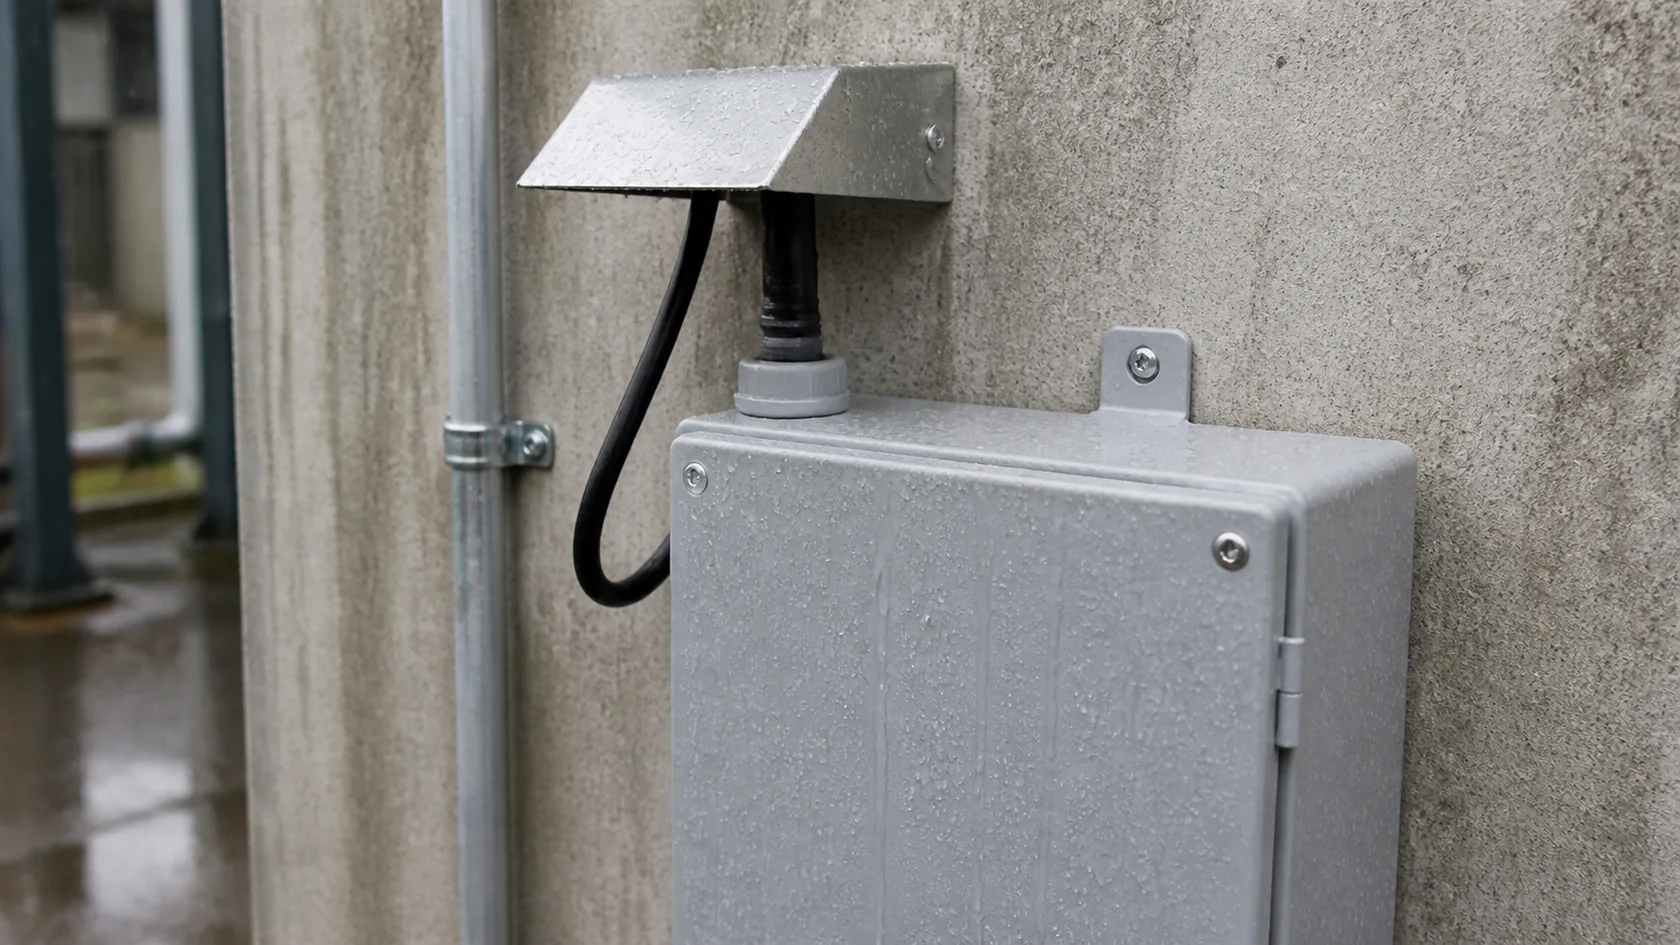
I do not say top entry is impossible. Some projects really need it.
An antenna cable may come from above. A solar project may route wires from a panel frame. A machine may block bottom access. A pre-terminated cable may not have enough bend space for bottom entry. A wall-mounted enclosure may need the lower area for service loops, batteries, or terminals.
When top entry is unavoidable, the design needs a protection plan. It should not rely on hope and a good-looking gland photo.
Practical ways to reduce the risk
| Protection method | What it helps control |
|---|---|
| Rain hood or shield | Reduces direct rain on the fitting |
| Downward cable bend before entry | Creates a drip point before the gland |
| Raintight hub or suitable outdoor gland | Protects the wall interface better |
| Correct sealing washer | Helps seal between fitting and enclosure wall |
| Cable OD matched to gland range | Lets the insert compress correctly |
| UV and corrosion suitable material | Reduces aging in sun, salt, or chemical air |
| Internal strain relief | Keeps cable weight from pulling the seal |
| Installation instruction | Prevents a worker from routing cable straight into the gland |
Hammond Power Solutions recommends side or bottom conduit entry for several enclosure types and notes that hubs are needed to prevent water intrusion when top entry is used. CTC also advises avoiding holes in the top of enclosures when possible because of moisture and access concerns.
When I approve top entry, I want to see the installed cable route, the fitting data, the sealing surface, and the service method. A top gland with a shield, drip loop, correct washer, and clear installation note may be acceptable. A top hole added because the cable "comes from above" is not enough.
The best time to decide this is before machining, not after the installer is standing outside with a drill.
A Better Cable Entry Review Before Machining
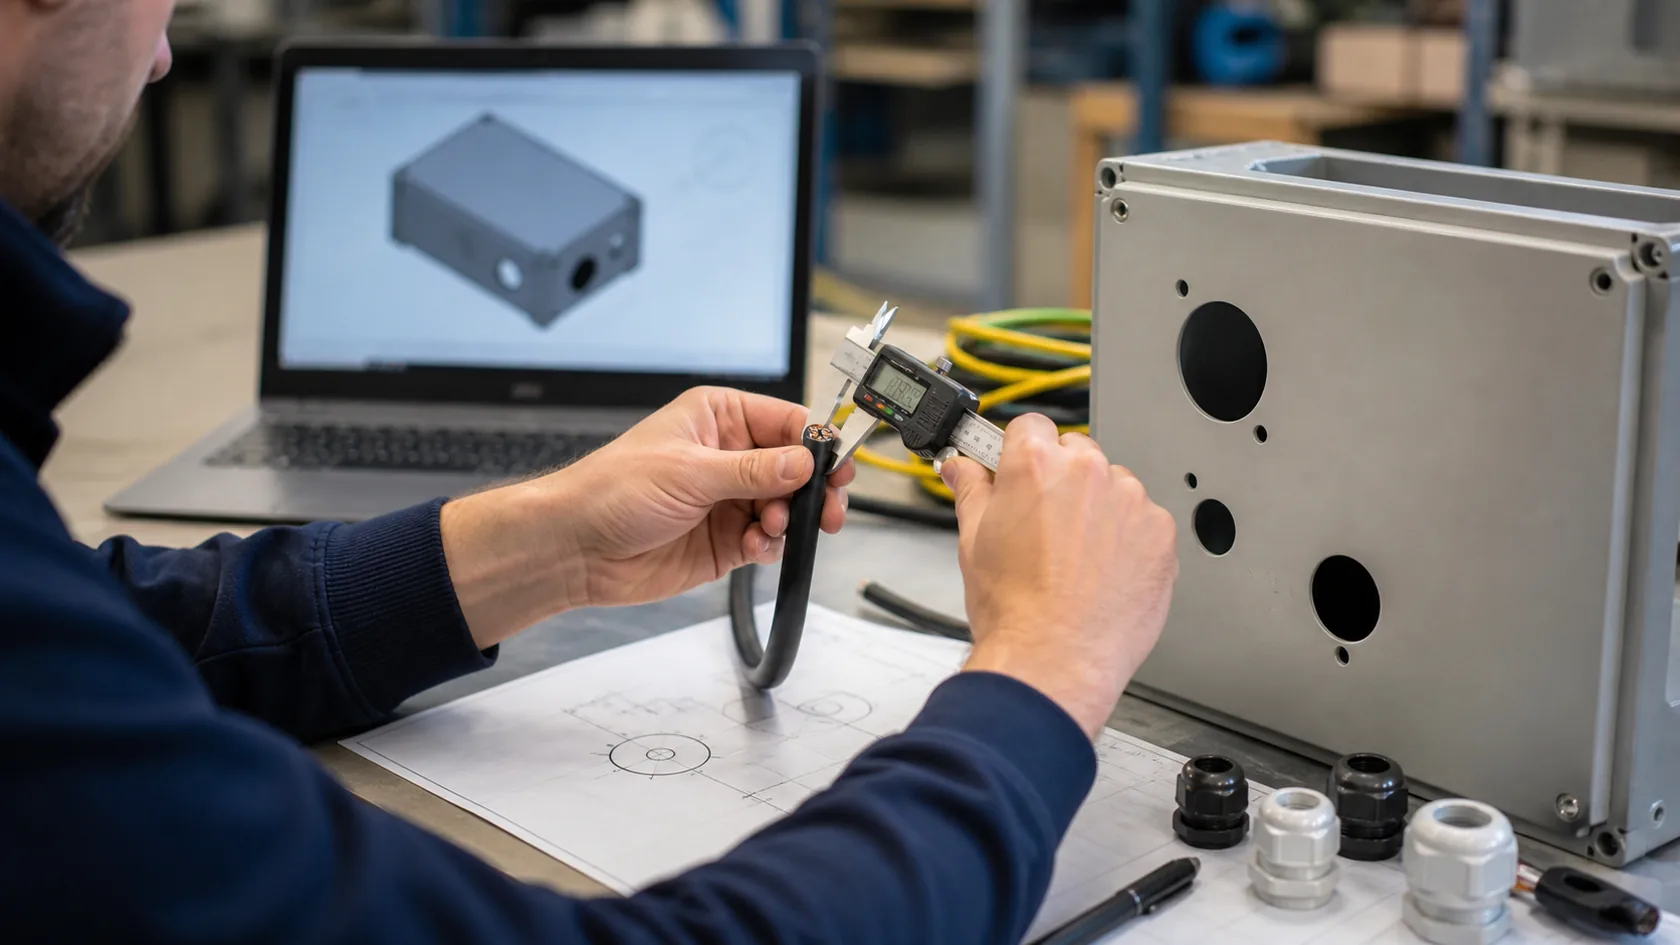
A good cable entry review is not complicated. It just needs the right information early.
For OEM outdoor enclosures, I like to confirm the installation direction first. Which face points up? Which face sees rain? Does the cable come from a pole, tray, ground conduit, machine frame, or solar panel? Will the enclosure be wall-mounted, pole-mounted, floor-mounted, or under a cover?
Then I check the cable and gland details. The thread size alone is not enough. The real cable outside diameter, jacket material, bend radius, clamping range, sealing washer, and gland body material all matter.
RFQ details that help prevent top-entry mistakes
| Detail to send | Why it matters |
|---|---|
| Installation orientation | Confirms which surface is actually the top |
| Cable route before entry | Shows whether water can follow the cable |
| Cable OD minimum and maximum | Matches the gland sealing range |
| Cable type and jacket material | Affects compression, UV aging, and bending |
| Required IP or NEMA Type | Sets the target for the whole assembly |
| Preferred entry face | Lets the supplier challenge risky positions early |
| Quantity of current and spare entries | Prevents unplanned extra holes later |
| Internal component layout | Confirms locknut, bend, and tool clearance |
| Site exposure | Rain, washdown, salt air, dust, heat, or vibration |
At MaidaTech, I would rather ask these questions before production than explain a leak after delivery. A buyer may feel that cable entry is a small item, but it controls the main border between the weather and the electronics.
After the review, the choice is usually clearer: bottom entry if space allows, side entry with a proper drip loop when needed, and top entry only with a real protection plan.
Conclusion
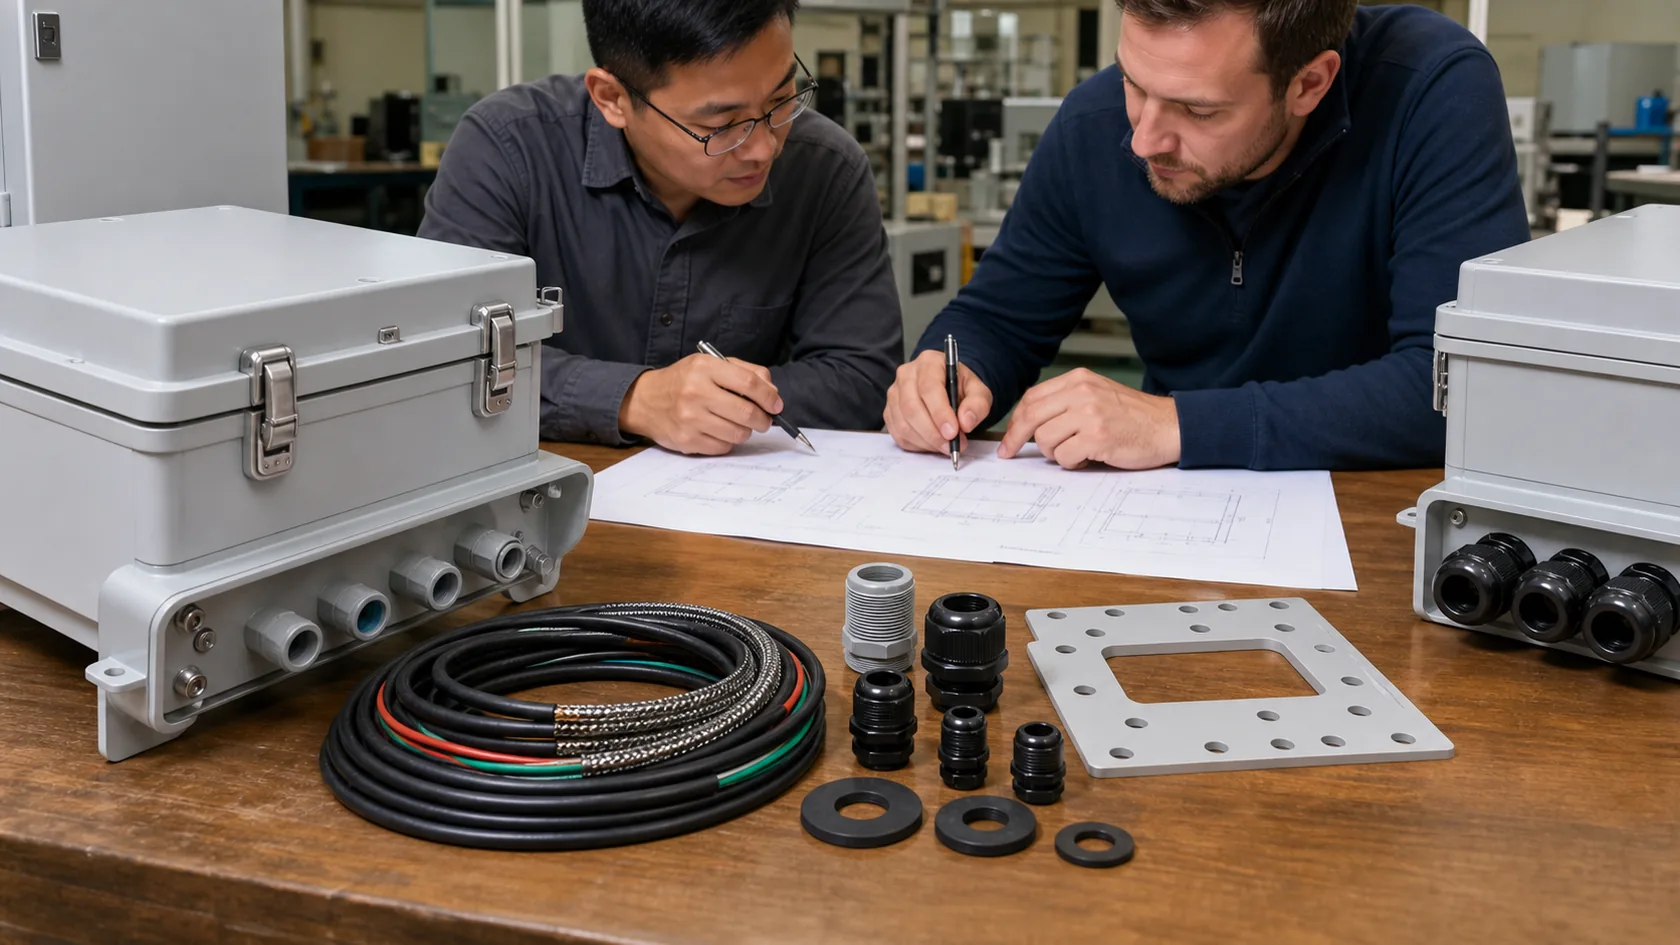
Top cable entry is a bad idea for many outdoor enclosures because it puts the seal in the direct water path. It asks the gland, washer, thread, cable jacket, and installer to fight gravity every time it rains.
That does not mean top entry can never work. It means top entry should be treated as a high-risk choice, not a default convenience. If the design needs it, the protection plan must be clear: shield the entry, control the cable route, use the correct fitting, match the cable diameter, support the cable, and make the installation method hard to misunderstand.
From my experience, outdoor enclosure reliability improves when we stop asking one cable gland to solve a whole water-management problem. The better question is simple: can we make water leave before it reaches the entry?
If you are designing a custom outdoor enclosure and the cable entry is still open, send the drawing with the installation direction, cable route, and cable diameter range. We can review the entry layout before the holes are machined, when the solution is still easy.







