Skip to content
A low-volume enclosure often arrives with a deceptively simple request: make 20, 50, or 200 pieces, keep the unit price sensible, and leave room for a few changes. The difficult part is that the first pieces must carry nearly all the engineering decisions—while the order has too few units to spread those decisions very far.
That is the cost trap of custom enclosure design in low-volume projects. It is not that a small quantity is automatically bad business. It is that CAD review, CAM programming, fixture planning, first articles, finish trials, and approval work can be necessary whether the order is 20 units or 20,000. A low headline piece price can also hide a design that requires extra setups, manual assembly, or a revision after the sample.
In my factory work, the safest saving is usually the one made before material is cut. A clear decision about the product interface can remove several later operations; a vague decision usually returns as a change order. The goal is not to make every enclosure cheap. It is to spend deliberately on the features that protect the product and remove accidental cost from the rest.
Start with the Cost of a Change, Not the Unit Price
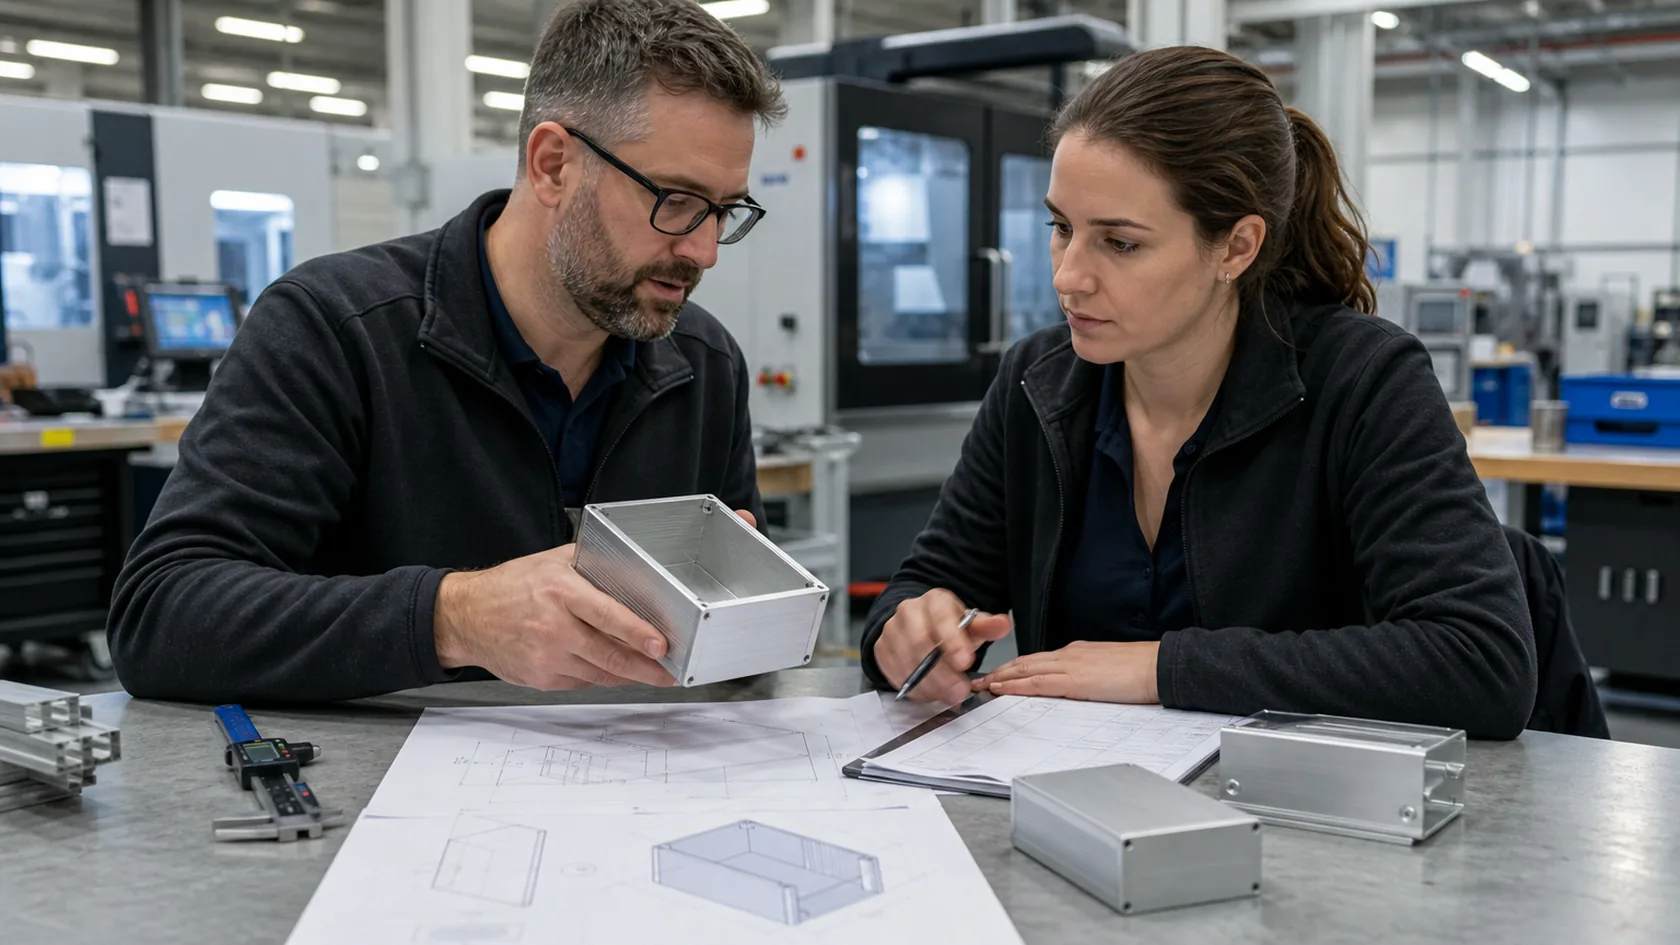
The quote should distinguish recurring costs from one-time work. Material, machining time, coating, hardware, assembly, and packing normally recur with each enclosure. Engineering review, programming, custom fixtures, and sample preparation may be paid once, but their cost is divided across a much smaller quantity.
Separate recurring and non-recurring work
Ask the supplier to show which assumptions drive each part of the quote. This makes a comparison more useful than asking only for one total.
| Cost area | What can be one-time work | What usually repeats per unit |
|---|---|---|
| Engineering | DFM review, CAD cleanup, CAM programming | Controlled drawing updates |
| Production | Fixture design or special tooling | Material, machine time, deburring |
| Finish and assembly | Color or process trial | Coating, inserts, hardware, labor |
| Quality | First-article plan | Inspection and records required for each batch |
The ASQ cost-of-quality framework is a helpful lens here: prevention, appraisal, and failure costs are different costs. Spending time to clarify a connector location before machining is prevention. Reworking a coated panel because the connector does not fit is internal failure. They should not be treated as equivalent.
Define the design freeze that a sample can actually test
A sample is valuable only when it tests decisions that are intended to stay. Before sampling, freeze the enclosure envelope, PCB and connector datums, mounting method, material, finish, hardware, and required environmental conditions. Keep a short list of genuine open choices, with one person responsible for approving each one.
I would rather quote one purposeful sample revision than receive five informal changes by email. The second approach looks flexible, but it can make the factory repeat engineering work without ever producing a sample that represents the release design. Once the decision list is visible, process selection becomes much more rational.
Choose a Process That Can Tolerate Change
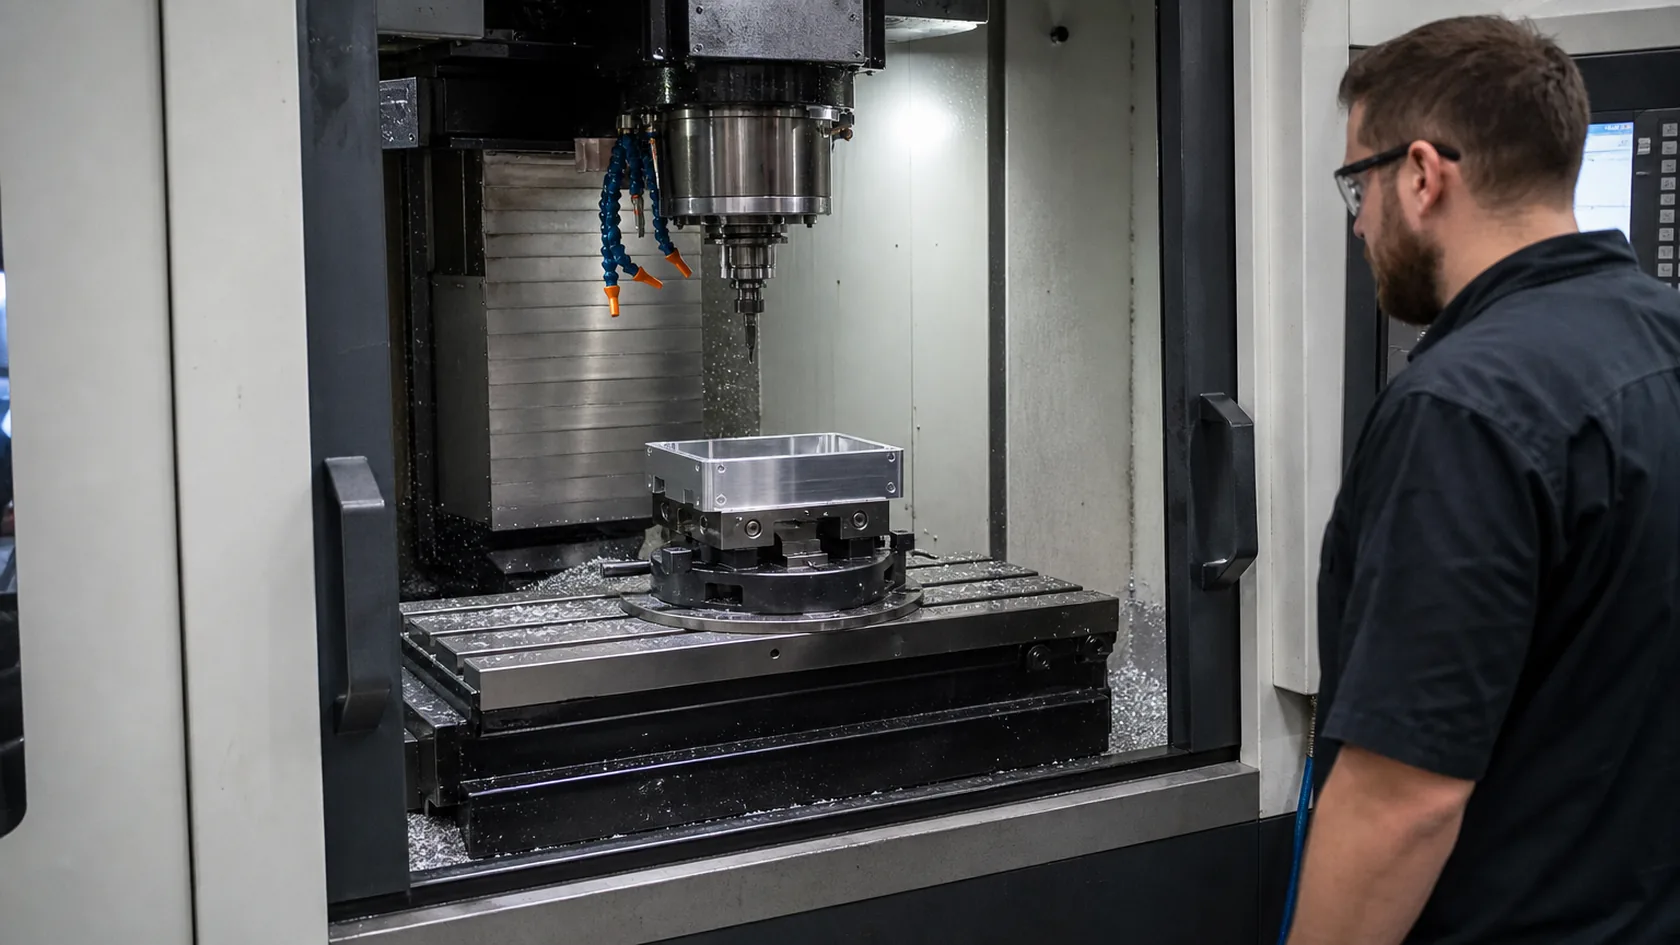
No process wins every low-volume enclosure project. The right route depends on geometry, required strength, thermal path, cosmetic needs, repeatability, and how much the design may still change.
CNC machining for localized features and flexible revisions
CNC machining can be a sensible route when a compact enclosure has changing cutouts, localized pockets, close-fit interfaces, or a small quantity. It avoids committing to a full production tool, but its cost can rise quickly when a part needs multiple setups, very deep features, thin walls, tiny cutters, or many small pockets. Protolabs' machining guidance similarly flags thin walls, deep holes, complex geometry, and small end mills as machinability and cost considerations.
Sheet metal, extrusion, and die casting have different commitments
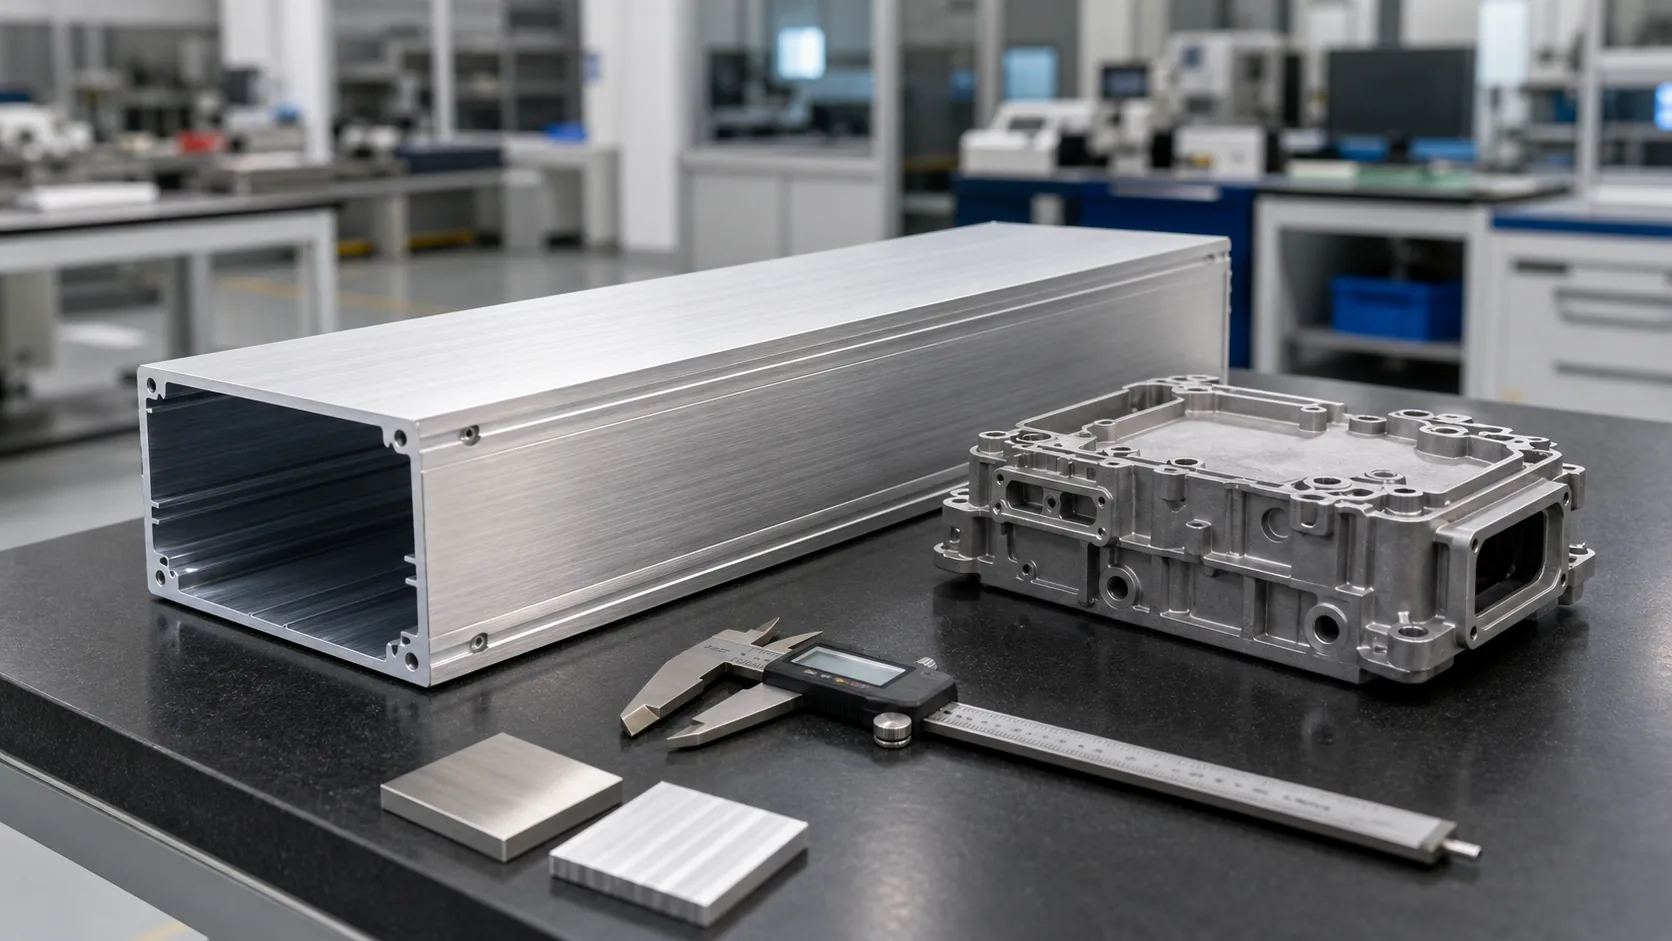
Sheet metal can suit enclosures with constant wall thickness, accessible bends, and a layout that avoids excessive custom tooling. An extrusion can make sense for a long, constant cross-section, such as a rail-mounted or heat-dissipating body, but ends, cutouts, and threads may still require machining. Die casting can consolidate ribs, bosses, and mounting features, yet dedicated tooling and later tool changes need stable geometry and enough expected volume to justify the commitment.
| Route | Often useful when | Low-volume cost risk |
|---|---|---|
| CNC machining | Features may change; critical local interfaces | Many setups, deep pockets, long cycle time |
| Sheet metal | Uniform walls and accessible bends | Extra welding, hardware, or awkward bend details |
| Aluminum extrusion | Long, constant profile with repeated section | Die cost plus machining of ends and local features |
| Die casting | Compact, stable geometry with integrated features | Tooling commitment and costly late revisions |
The point is not to label one method as premium. A NIST manufacturing-planning paper notes that materials and tolerance requirements affect manufacturability and cost, and that tighter tolerances generally raise manufacturing cost. A process choice should follow those real requirements—not force the requirements to fit the process. Next, the drawing needs the same discipline.
Let Critical Features Earn Their Tolerances
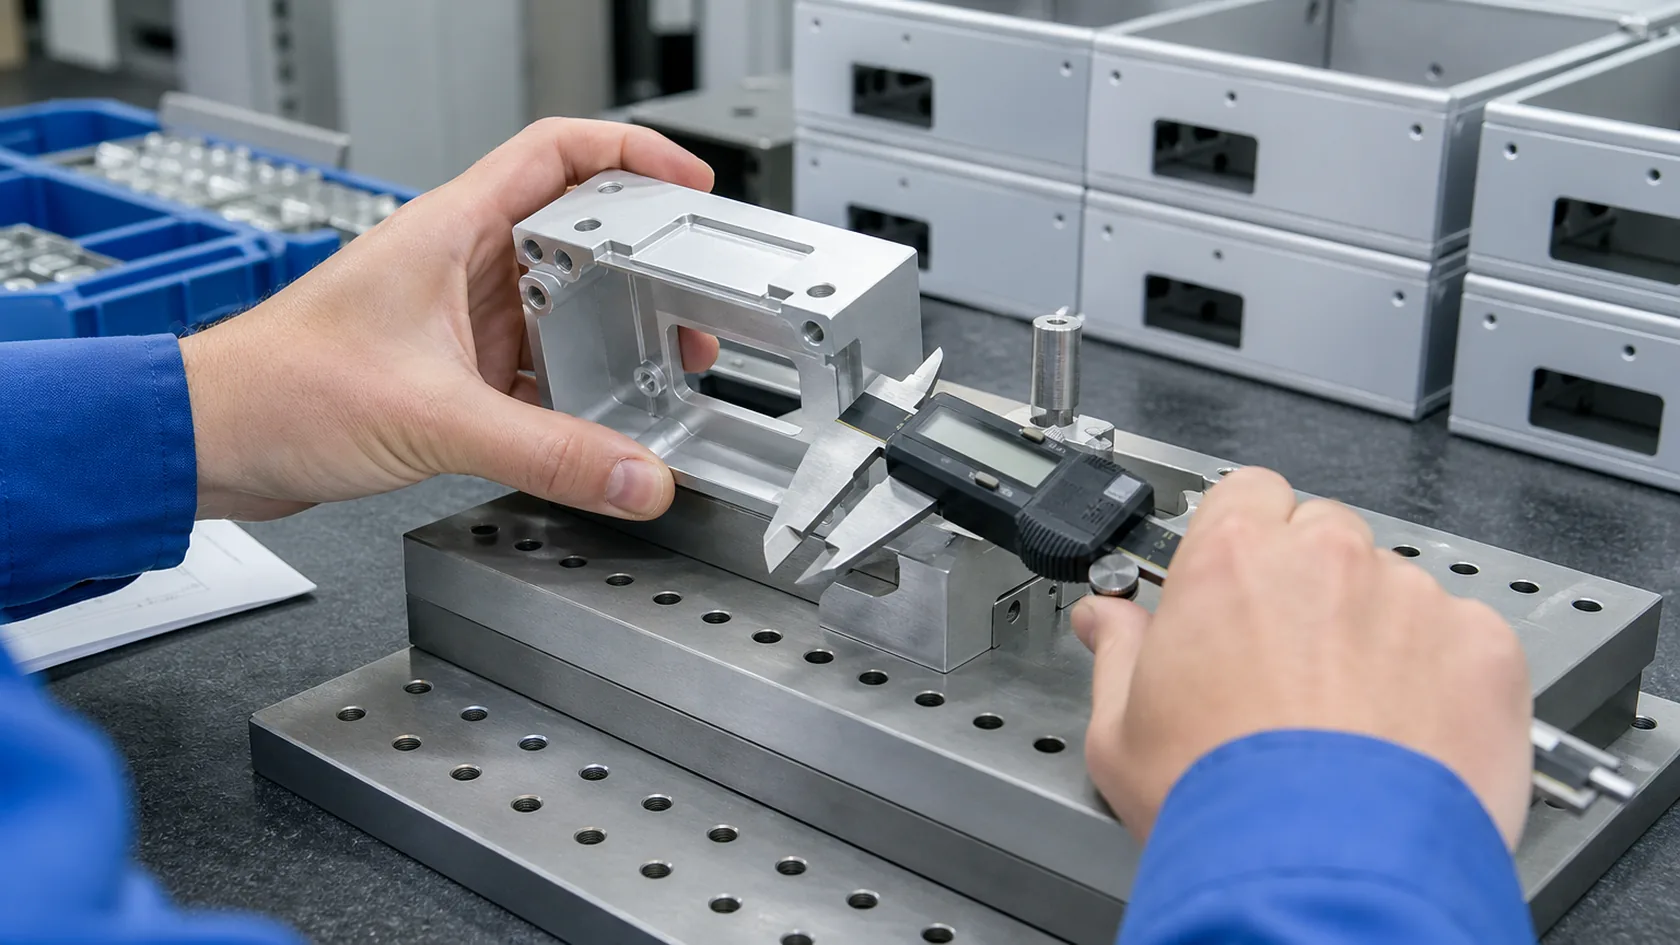
Every dimension cannot be equally critical. When a drawing applies close tolerance everywhere, it can increase setup time, measurement work, rejection risk, and supplier disagreement without improving the assembled product.
Protect real interfaces, not every drawing dimension
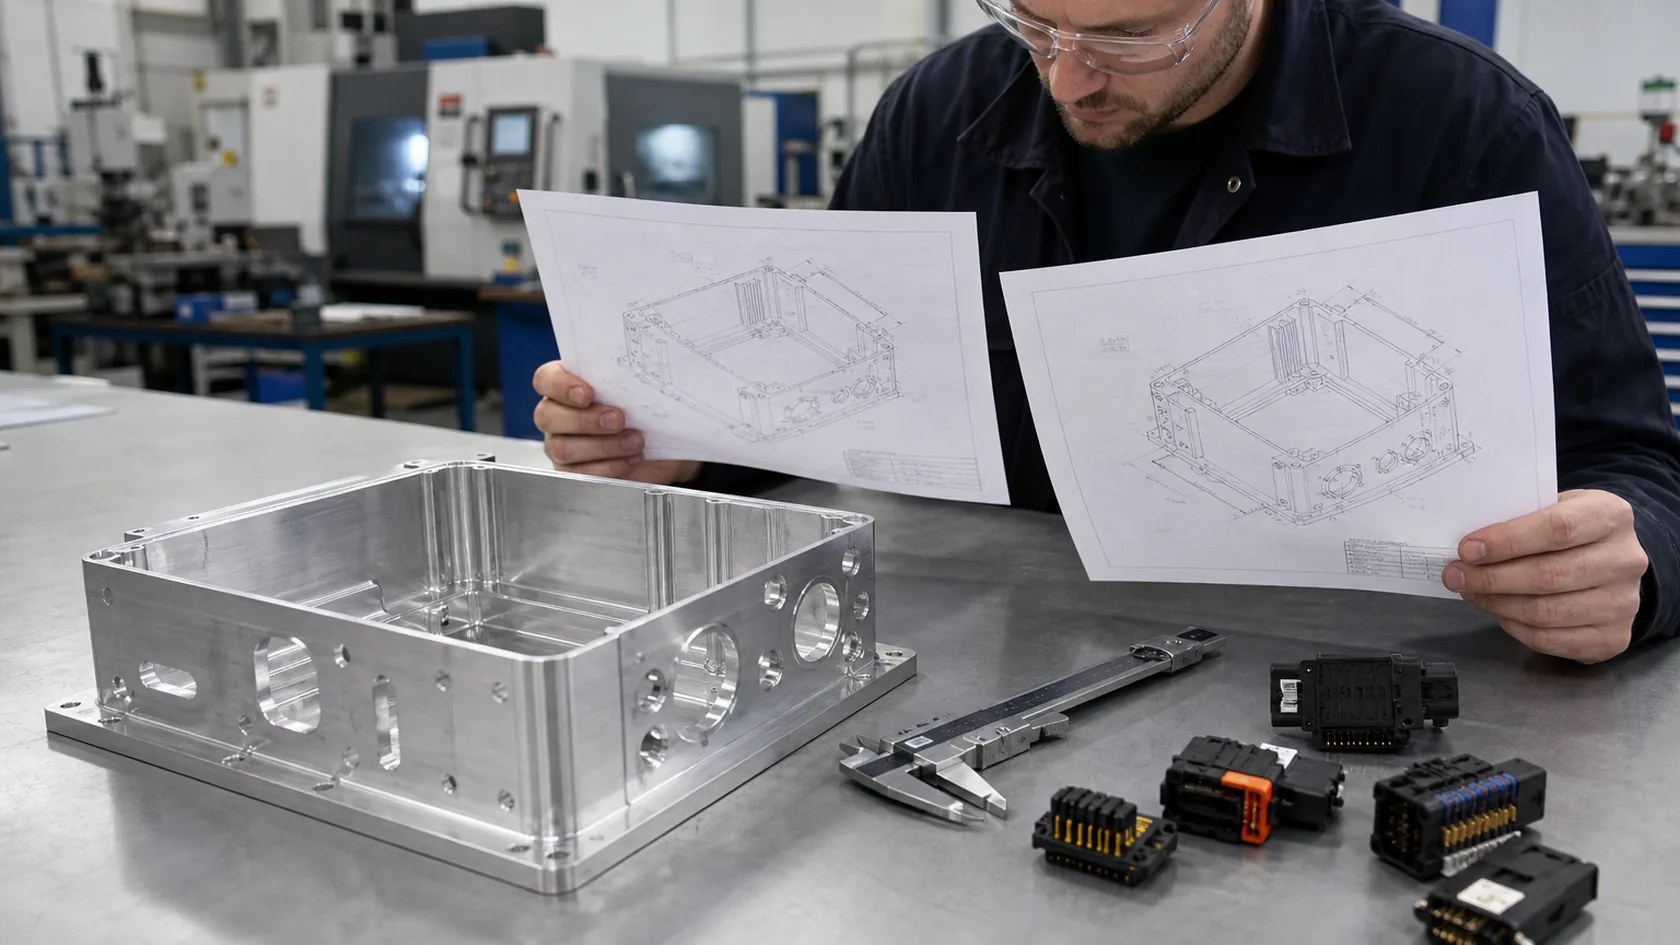
Mark the dimensions that control a real fit: PCB standoffs, connector centers, display openings, gasket lands, rail locations, mounting holes, and mating faces. Then state the datum and the function. A technician can inspect a dimension consistently when the drawing makes clear what feature it relates to.
For aluminum profiles, published tolerances also matter. The Aluminum Association's tolerance guidance covers characteristics such as straightness and twist; it is a reminder that an as-extruded part and a precision-machined interface should not be assumed to have the same capability.
Review cuts, threads, sealing faces, and cosmetic surfaces together
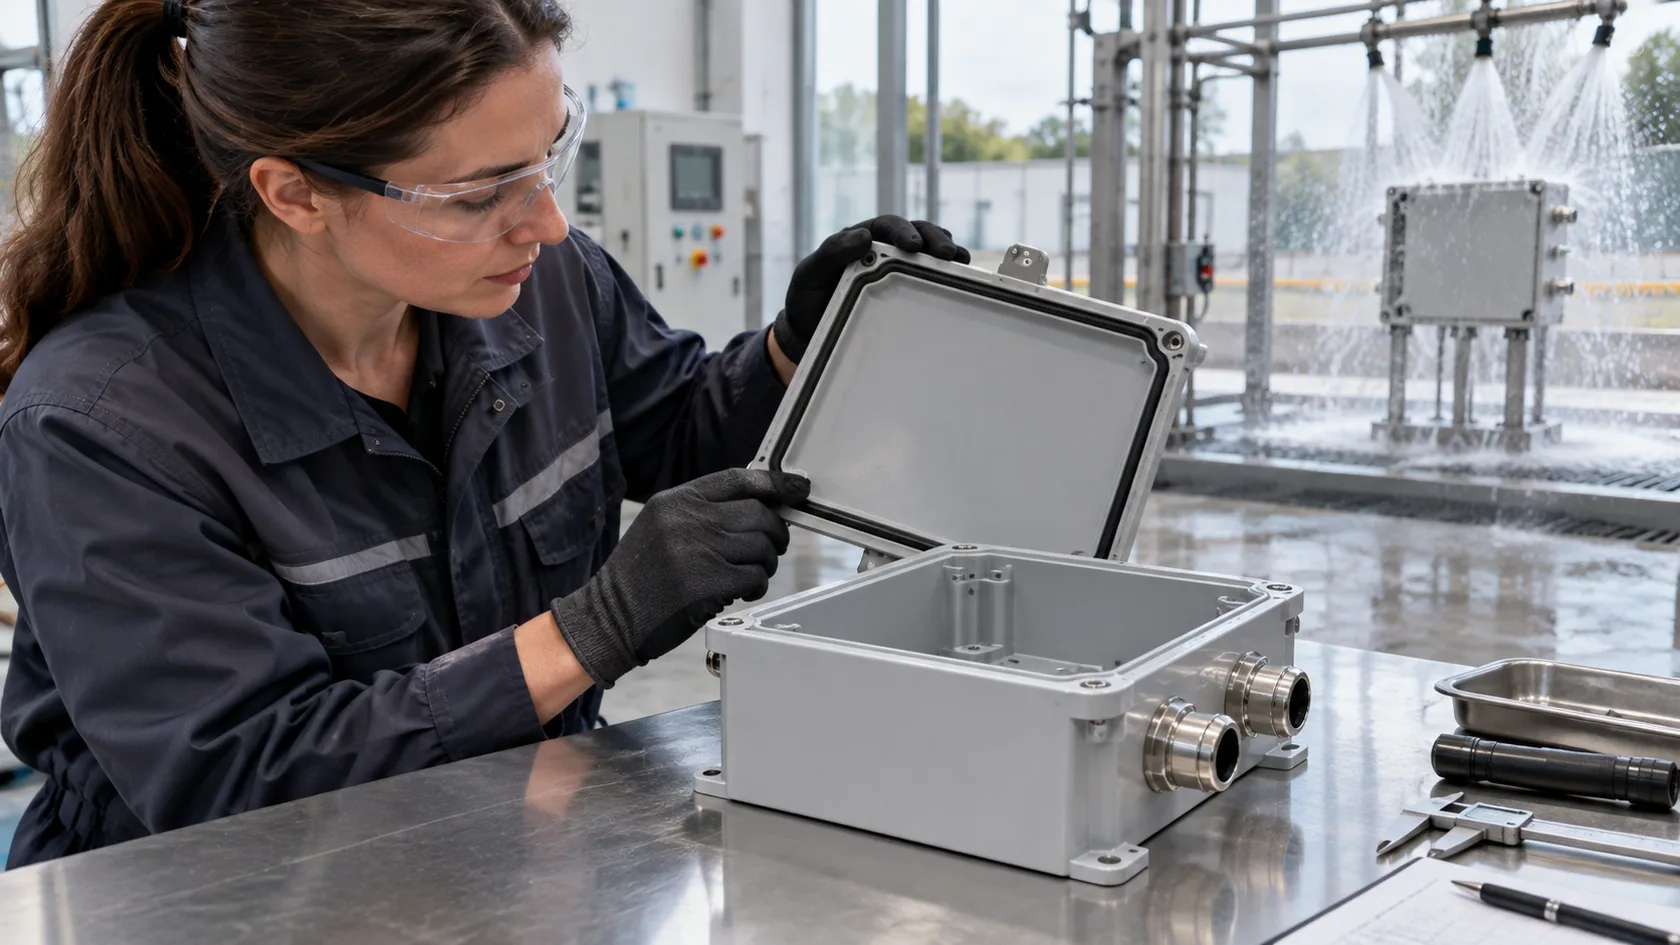
A tapped hole may need a different material thickness or insert than a through hole. A display opening may need a cosmetic edge treatment. A gasket land needs flatness and surface condition appropriate to the seal design. If an enclosure needs ingress protection, its rating is an installed-system result: joint geometry, gasket compression, fasteners, cable entries, connectors, orientation, and the test configuration all matter.
My practical rule is that tolerance should buy a specific functional result. A close tolerance on a connector datum is often worthwhile; the same control on an unseen non-mating edge may just make the part harder to manufacture. That leads directly to the next saving opportunity: reducing operations that no user will notice.
Stop Features from Creating Secondary Operations
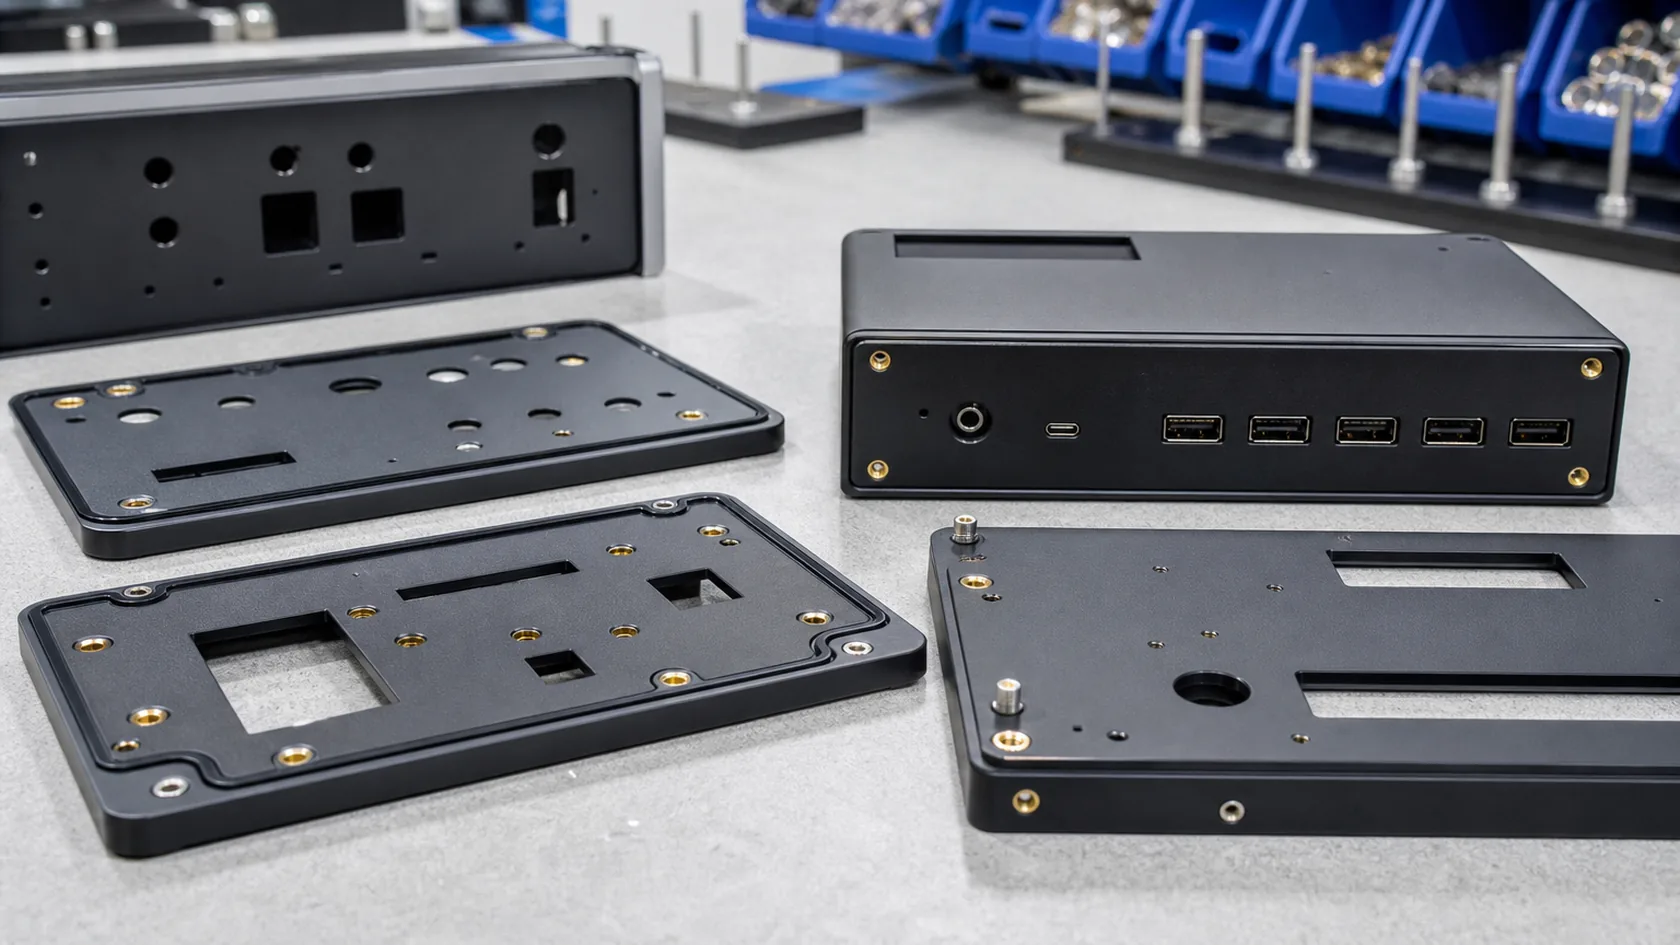
The enclosure cost is the completed assembly, not the price of a raw box. A feature becomes expensive when it triggers extra handling before or after the main manufacturing operation.
Simplify cutouts, fasteners, and internal mounting where possible
Use standard hardware sizes where they meet the need. Group cutouts on accessible faces. Leave tool clearance around fasteners and connectors. Avoid dense patterns of tiny holes unless airflow, optics, or another requirement proves they are necessary. Confirm whether a threaded feature can use a standard insert, a formed feature, or a different fastener arrangement.
For sheet metal, the design route matters as much as material price. Protolabs' sheet-metal design guide notes that early feature and function decisions help reach a manufacturable design, and that universal tooling is generally more economical than part-specific tooling.
Design the finish and assembly sequence early
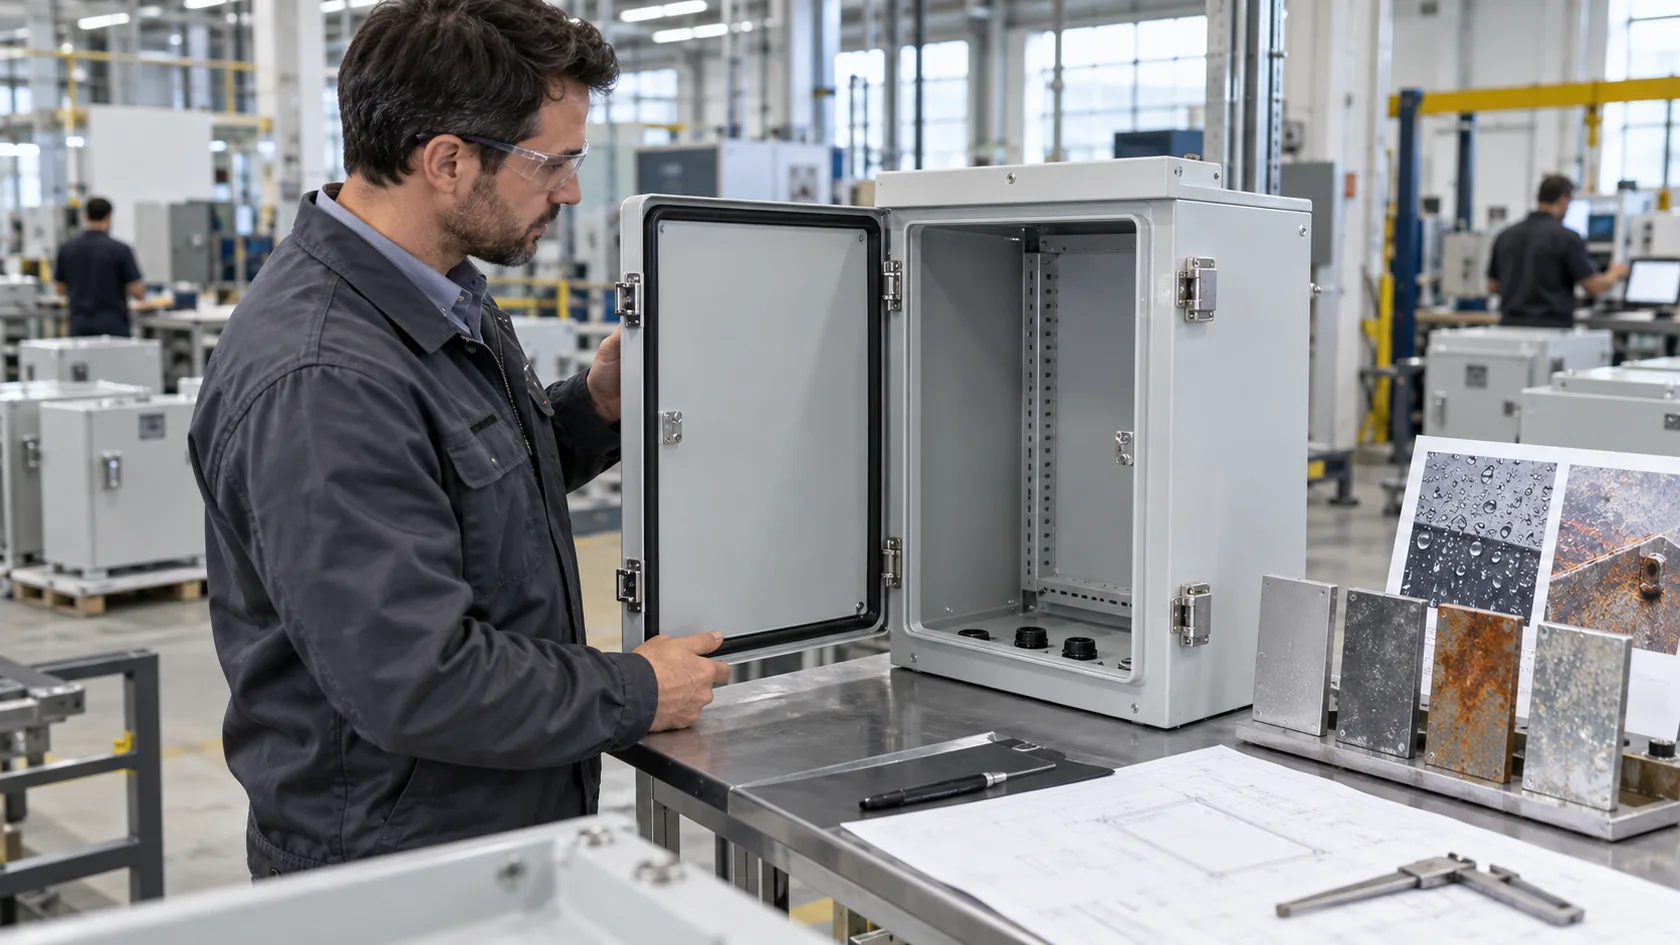
Powder coating, anodizing, chemical film, printing, and laser marking are not interchangeable finishing words. A coating can add corrosion protection and appearance but may require masking at a conductive ground point or close-fit interface. Anodizing can change the surface condition that a threaded or electrical contact feature expects. Inserts may be installed before or after finishing depending on the part and process. Each choice affects handling, protection, inspection, and rework.
I look at the operation order before accepting a clever-looking feature. A pocket that needs machining, hand deburring, masking, coating protection, and a second inspection is rarely a low-cost detail on a 50-piece order. A production-intent sample should prove the remaining details rather than postpone them.
Make Samples Answer Specific Questions

A good sample is not only a photograph for approval. It is evidence that the PCB installs, connectors mate, fasteners can be torqued, covers close, surfaces meet expectation, and the design can be repeated with the intended process.
Build a production-intent sample plan
Before the sample starts, list its questions and pass criteria. The list can include fit with the actual PCB and cables, connector accessibility, thermal contact approach, assembly sequence, cosmetic standard, mounting load, cable bend radius, and applicable sealing or grounding checks. If an IP or NEMA requirement is involved, specify the installed configuration and test basis; a bare enclosure does not prove a wired finished assembly.
Turn feedback into one controlled revision cycle
Record sample feedback against the drawing revision, photographs, and component part numbers. Categorize findings as must-fix, optional improvement, or future version. Then release a controlled revision before the next lot. This avoids the common low-volume trap where a supplier follows an old PDF while the buyer refers to a newer message.
In my experience, the sample stage pays for itself when it catches an assembly issue before finish and repeat production. It is much less useful when the team treats it as permission to reopen every design decision. After that release, the quote itself needs one last full-product review.
Quote the Whole Delivered Enclosure
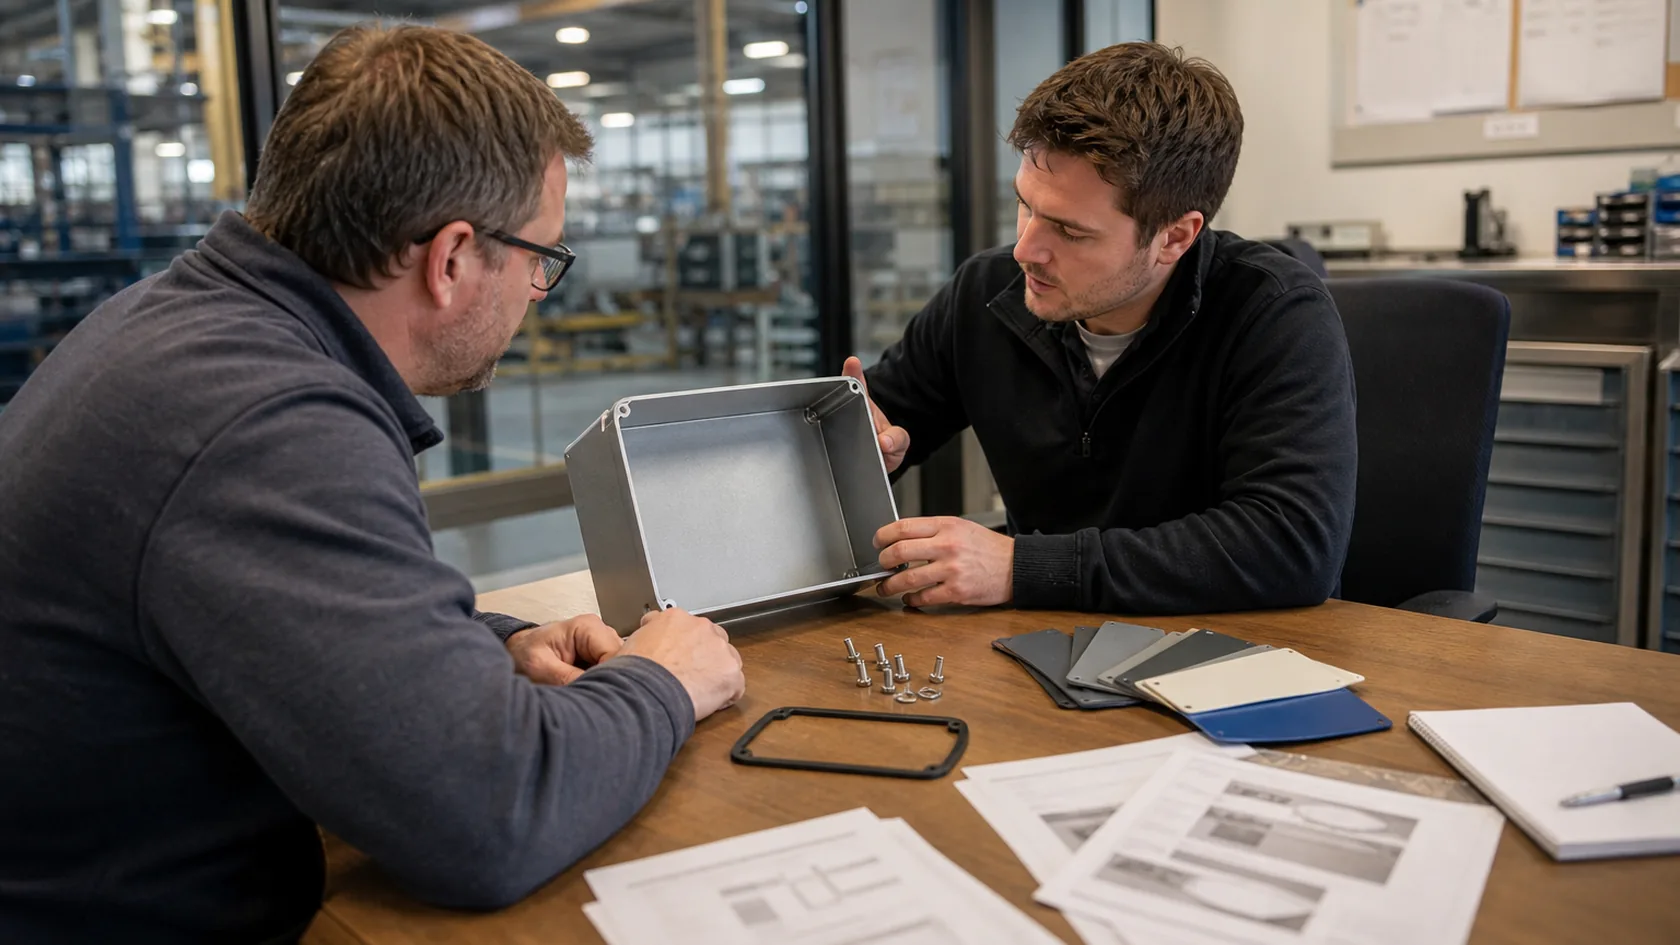
Two quotations can list the same enclosure size and still describe different delivered products. The lowest number is not comparable if one quote excludes hardware, extra inspection, protective packaging, or the change work that the other quote includes.
Use a complete RFQ checklist
- 2D drawing and, where available, a STEP model with revision number
- Quantity for the first lot and expected annual demand, stated separately
- Material, thickness or profile, finish, color, and cosmetic expectations
- PCB, connector, cable-gland, display, and hardware data sheets
- Critical dimensions, datums, and acceptance checks
- Environmental, sealing, grounding, thermal, or compliance requirements with the applicable test basis
- Assembly scope, labeling, packaging, delivery terms, and named approval owner
Compare supplier assumptions, not only totals
Ask each supplier what is included in tooling or non-recurring engineering, sample count, revision allowance, material certification if required, inspection method, packaging, and freight terms. Clarify who pays if a late change comes from an incomplete drawing versus a manufacturing error. That is not contract decoration; it is how both sides avoid surprise charges and schedule arguments.
My preference is a transparent quote with a slightly higher visible setup line over a low total that quietly assumes away the difficult work. It gives the buyer a practical choice: simplify the design, accept the cost, or move the feature to a later version. The best low-volume project is not the one with the smallest first number—it is the one that reaches usable production without paying for the same decision twice.
Conclusion
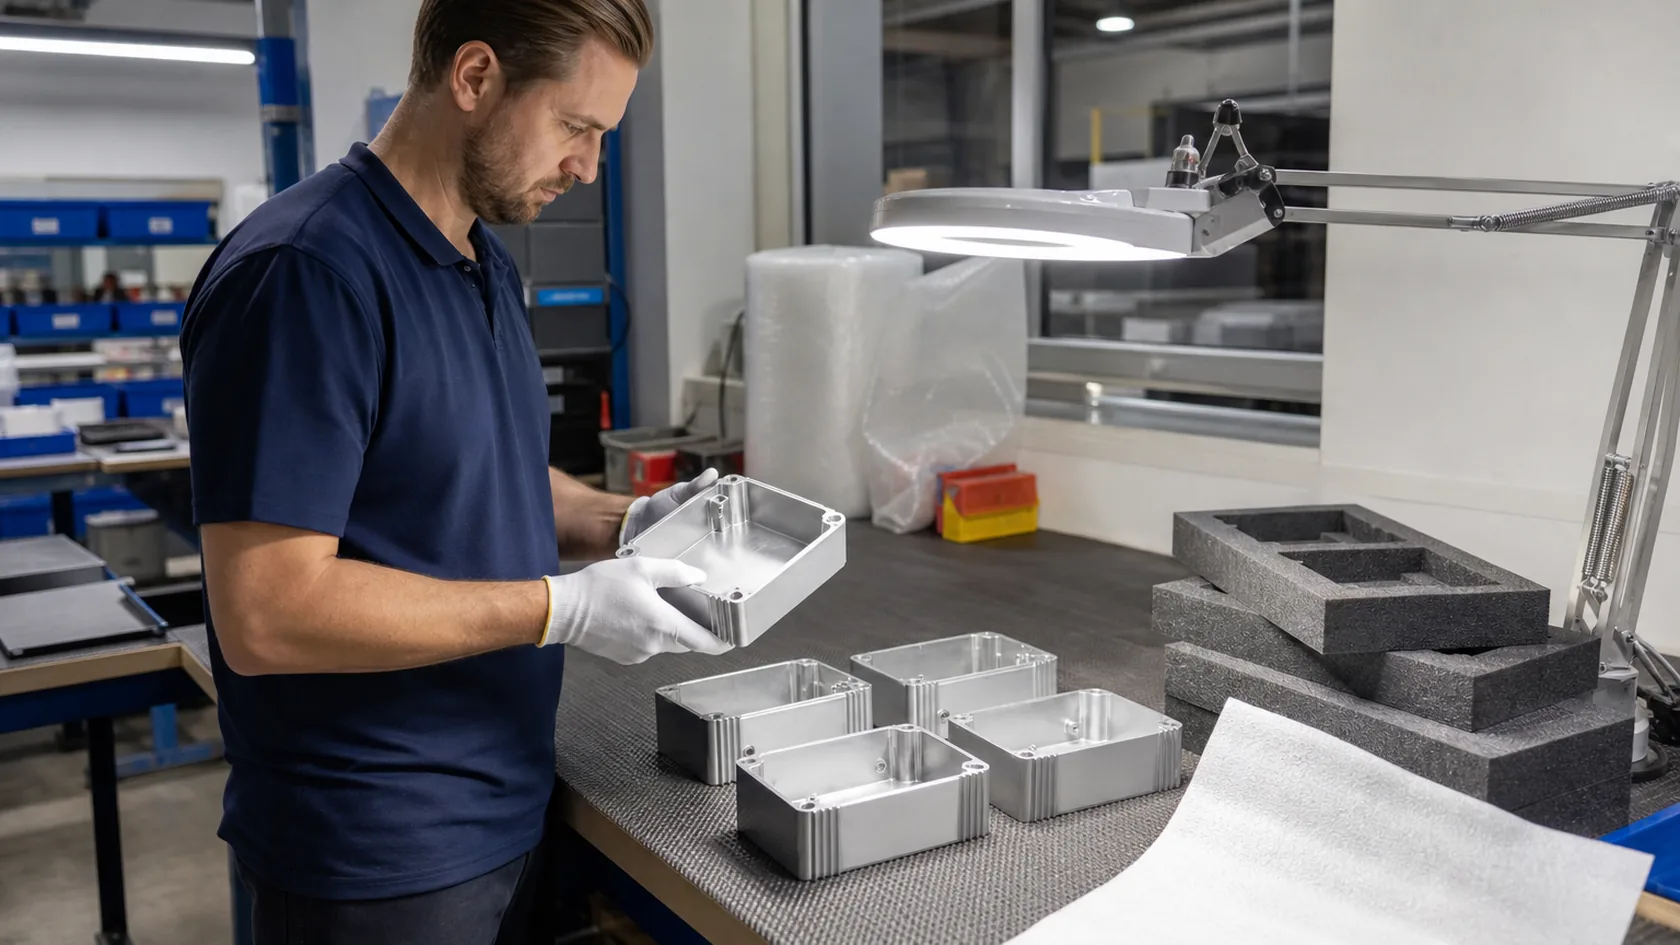
Low-volume custom enclosure design becomes expensive when an unfinished product is quoted as though it were already stable. Setup, engineering, samples, special features, inspection, and revision risk do not disappear at a small quantity; they become more visible because fewer units share them.
From my factory perspective, the sensible approach is to protect the real interfaces, select a process that can accommodate the current level of design maturity, and make the sample answer planned questions. Simplify secondary operations where they do not improve the product, but do not save money by weakening a sealing path, mounting interface, or service requirement.
If you are preparing a low-volume custom enclosure RFQ, send the current drawing, quantity, PCB and connector details, finish expectation, and the few features that must not change. We can review the manufacturability and cost drivers before the first sample turns a small order into an expensive learning exercise.