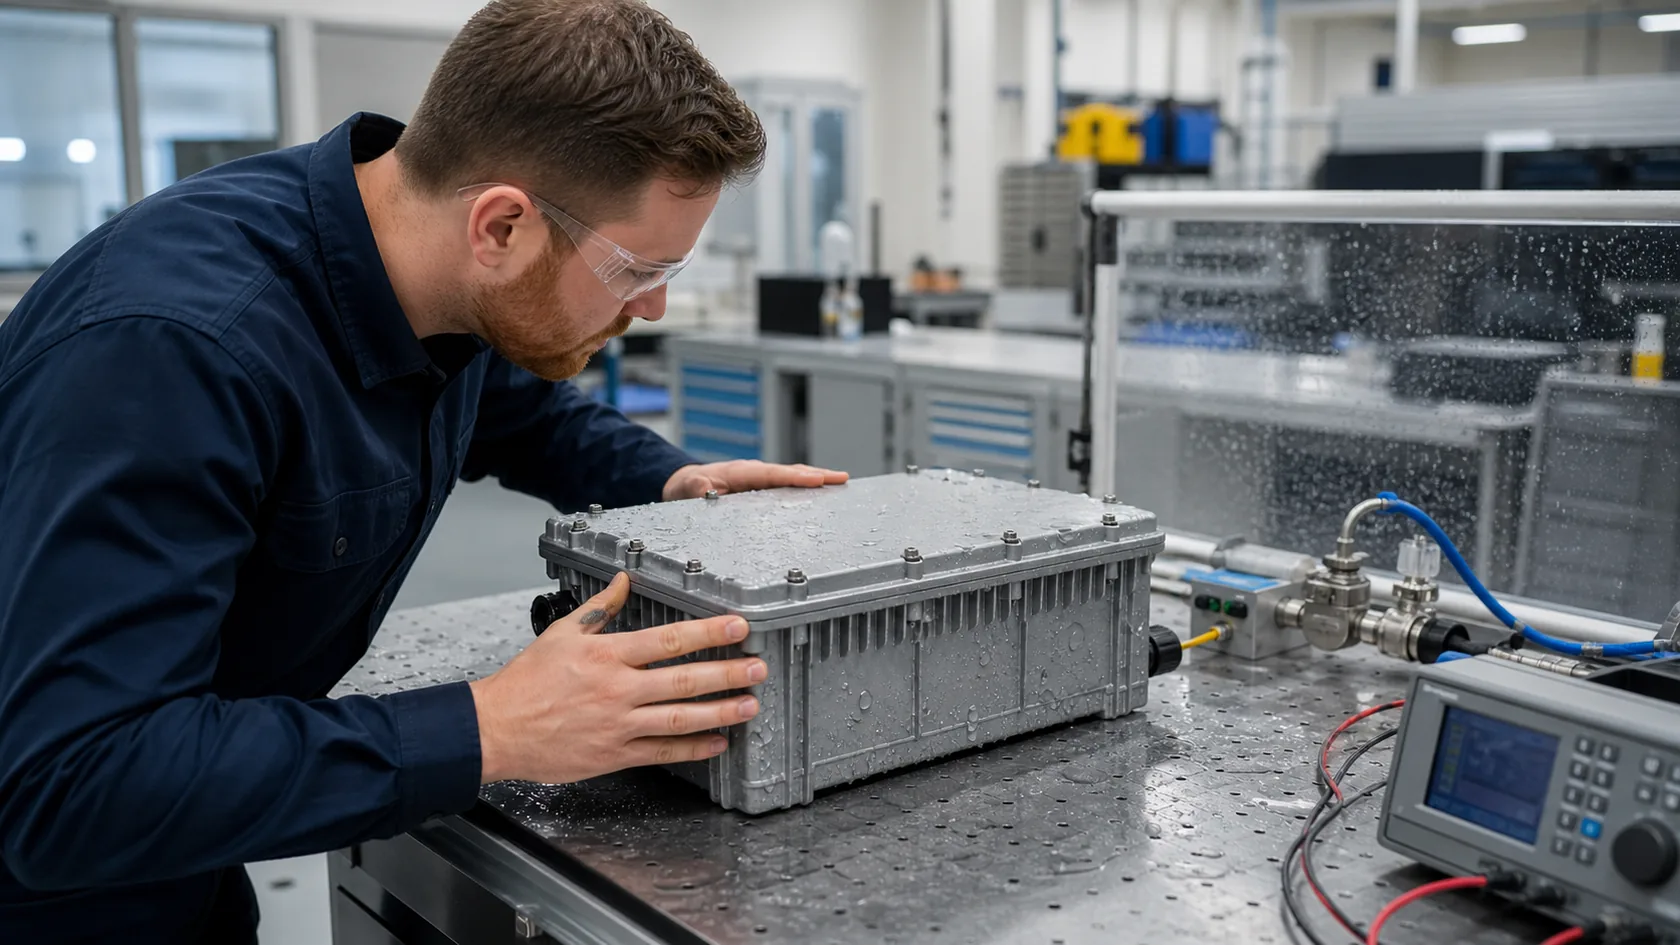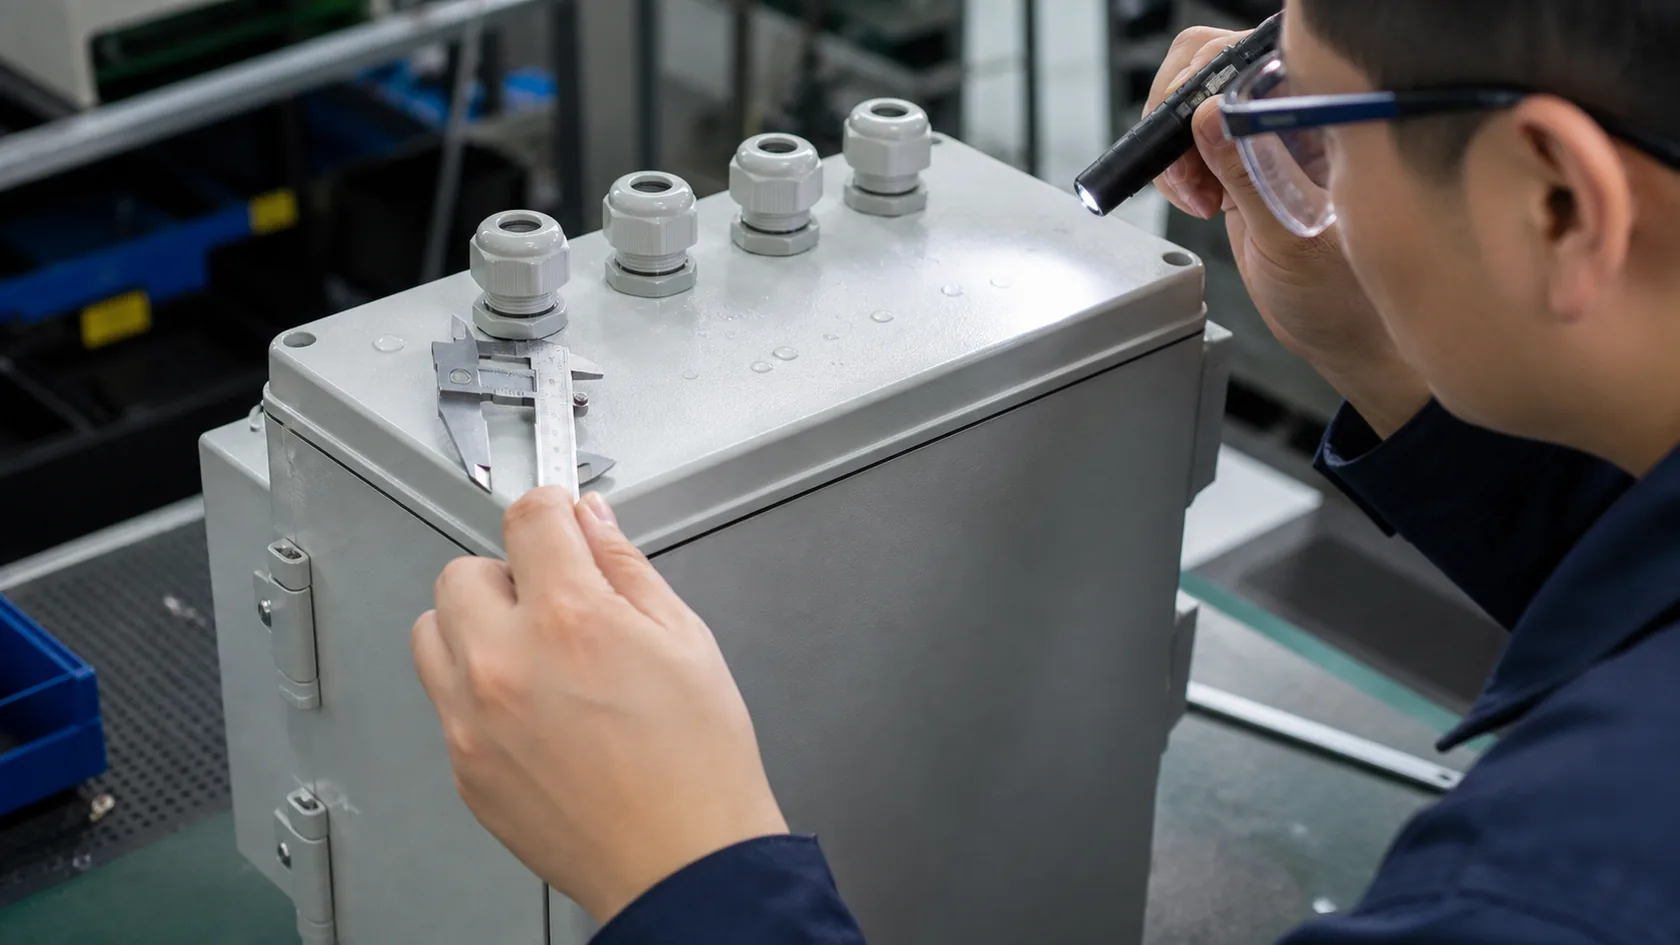
A coating quotation can look wonderfully simple.
Anodizing: a few dollars per part. Powder coating: perhaps even less. Add masking, packing, and a minimum batch charge, and the number appears complete.
But it often is not.
I have worked on custom enclosure projects where the coating price looked competitive at the beginning, yet the final parts became expensive after inspection, assembly, repacking, and replacement. The coating line did its job. The problem appeared later.
One project involved a set of black aluminum panels for an electronic device. The finish looked acceptable when each panel was checked alone. Once we assembled the front, rear, and side panels together, the shade difference became obvious. One panel looked slightly warmer. Another looked darker under office lighting.
None of the parts was technically “wrong.” Still, the complete enclosure looked wrong.
We had to sort the panels again, rematch the sets, inspect them under the same light, and replace several pieces. The coating charge did not change. The real cost did.
That experience shaped how I now think about surface finishing.
I do not judge a finish by what it costs when it leaves the coating line. I judge it by what it costs when one acceptable enclosure is assembled, packed, delivered, and ready for use.
For custom aluminum enclosures, sheet metal housings, plastic enclosures, and branded electronic cases, the largest losses often appear after coating. They appear in handling, inspection, assembly, branding, packaging, shipping, and customer rejection.
A low coating price does not create a low-cost part when the finish causes problems further down the process.
That is where the real calculation begins.
Why the Coating Price Is Not the Total Finishing Cost
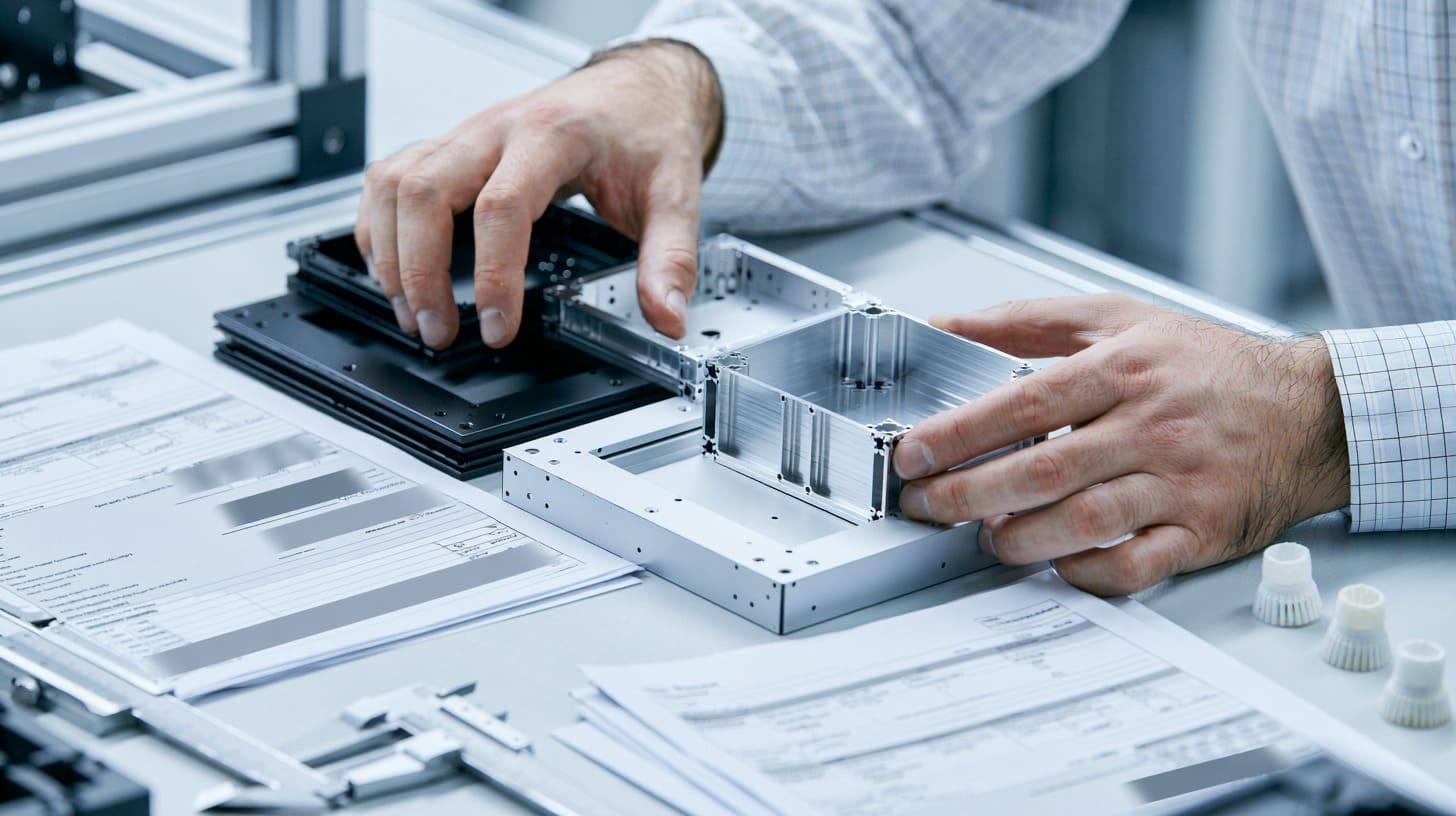
A buyer usually receives a quotation with several clear items. The document may list anodizing, powder coating, masking, color matching, and fixture fees.
Those numbers matter. But they only describe the visible part of the process.
When I review a coating price, I first ask what work still has to happen after coating, because that is where a cheap quotation often starts becoming expensive.
Direct Costs Shown in the Quotation
Most surface-finishing quotations include some version of the following items:
| Cost item | What it usually covers | Why it matters |
|---|---|---|
| Pretreatment | Cleaning, degreasing, etching, conversion coating, or blasting | Poor pretreatment can cause adhesion and corrosion problems |
| Main finish | Anodizing, powder coating, wet painting, plating, or another coating | This is usually the largest visible line item |
| Color matching | Matching a RAL, Pantone, sample, or approved reference | Special colors may need testing or small-batch preparation |
| Masking | Protecting threads, contact points, gasket areas, or cosmetic zones | Complex masking increases labor and error risk |
| Fixtures | Racks, hooks, plugs, or custom holding tools | Fixture marks and contact points must be planned |
| Minimum batch charge | The minimum price for running the line | Small orders often carry a higher cost per part |
These costs are easy to compare because they appear on paper.
The problem is that two quotations with the same coating description may not include the same level of process control.
One supplier may include careful masking, final inspection, individual protection, and batch records. Another may quote only the coating operation itself.
The prices look comparable. The actual deliverables are not.
Costs That Usually Remain Hidden
The hidden costs often arrive as labor, delays, or rejected parts rather than a clear invoice line.
They may include:
- Extra cosmetic inspection
- Sorting by color or gloss
- Reworking threads
- Correcting tight fits
- Separating acceptable and unacceptable panels
- Repacking finished parts
- Replacing scratched components
- Stopping an assembly line
- Sending urgent replacements by air
- Handling customer complaints
- Losing trust in the project
I have seen a coating cost increase by only a small amount, while the post-coating labor increased several times over.
The arithmetic is simple.
| Stage | Example cost per part |
|---|---|
| Powder coating | $1.20 |
| Extra sorting and inspection | $0.35 |
| Thread cleaning | $0.20 |
| Protective film and repacking | $0.30 |
| Average rework allowance | $0.45 |
| Effective finishing-related cost | $2.50 |
The quoted coating price was $1.20.
The effective cost became $2.50.
This does not even include project delay, customer claims, or replacement shipping.
The Better Cost Question
Many buyers ask:
How much does the coating cost per part?
I think a better question is:
What will one acceptable, assembled, packed, and delivered part cost?
That question changes the discussion.
It forces the buyer and manufacturer to think about:
- Acceptance standards
- Assembly fit
- Grounding points
- Thread protection
- Color consistency
- Packaging
- Shipping risk
- Rework responsibility
A surface finish is not an isolated decoration step. It is part of the complete product.
The coating price may win the quotation comparison. The downstream process decides whether it wins the project.
And inspection is usually the first place where that difference becomes visible.
Inspection Is Where Finishing Problems Become Expensive
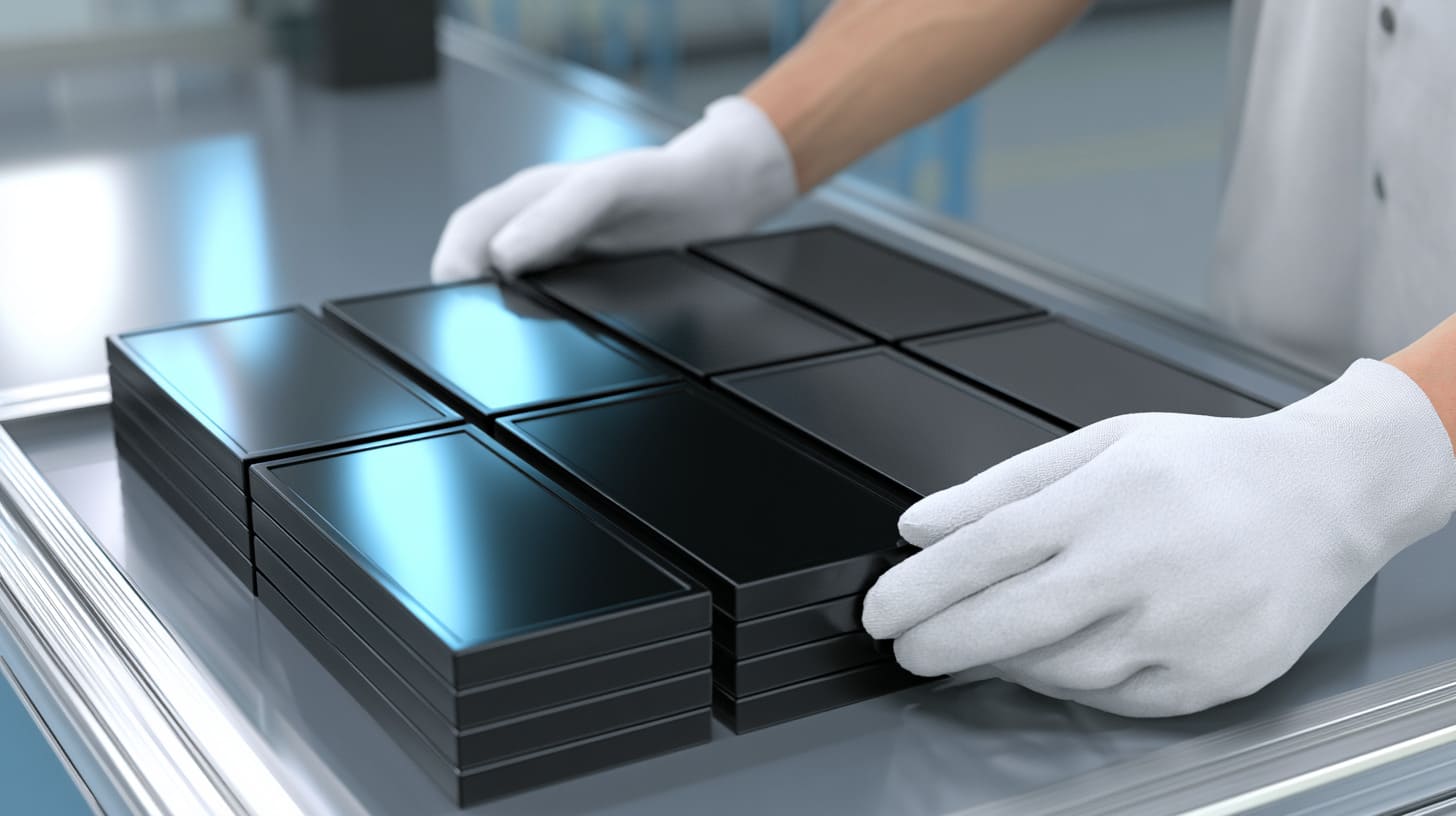
A finished part can look fine in a carton and still fail once someone checks it carefully.
The defect may be small. A water mark. A slight color shift. A thin edge. A rough corner. A tiny pinhole.
The cost starts when somebody has to decide whether that defect is acceptable.
I usually spend more time defining how a part will be inspected than arguing over a small coating-price difference, because unclear acceptance rules create far more waste.
Cosmetic Inspection Requirements
Cosmetic inspection is not as simple as asking whether the part looks good.
Different people can look at the same surface and reach different conclusions.
One person may accept a light scratch. Another may reject it. A production worker may inspect the part under bright factory lighting. The customer may inspect it beside a window or under warm retail lighting.
The same panel can look different in each setting.
Common cosmetic inspection points include:
| Inspection point | What I look for | Typical risk |
|---|---|---|
| Color | Shade consistency between parts and batches | Separate panels may not match after assembly |
| Gloss | Uniform reflection and brightness | Flat areas may show uneven gloss |
| Texture | Consistent grain, roughness, or matte effect | Different spray angles can change appearance |
| Water marks | Stains or flow marks after pretreatment | Often visible on large flat surfaces |
| Scratches | Handling or rack contact marks | May appear after coating, not during coating |
| Dust and particles | Small raised points in the coating | More visible on smooth glossy finishes |
| Orange peel | Uneven powder texture | Can make premium parts look cheap |
| Pinholes | Tiny holes or bubbles | May indicate contamination or trapped gas |
| Edge coverage | Thin coating or exposed metal | Creates both cosmetic and corrosion risk |
The inspection method should match the product.
A hidden internal bracket does not need the same cosmetic standard as the front panel of a premium electronic device.
That sounds obvious. Still, many drawings label every surface with one general finish note. The factory then has to guess which areas matter most.
Functional Inspection Requirements
A finish can pass cosmetic inspection and still create a functional failure.
I often check the following items after finishing:
- Coating thickness
- Adhesion
- Corrosion resistance
- Thread condition
- Electrical continuity
- Grounding areas
- Assembly dimensions
- Gasket contact surfaces
- Sliding and mating features
| Functional requirement | Possible finishing problem | Result |
|---|---|---|
| Thread engagement | Powder enters the thread | Screw binds or strips |
| Sliding fit | Coating adds thickness | Panel becomes difficult to install |
| Grounding | Contact area remains coated | Poor electrical continuity |
| Gasket sealing | Coating buildup changes the groove | Uneven compression or leakage |
| Hinge movement | Coating enters moving joints | Stiff or damaged hinge |
| Connector fit | Edge buildup reduces opening size | Connector cannot seat correctly |
| Corrosion protection | Thin coating at edges | Early rust or oxidation |
A coating thickness reading alone does not prove that a part is acceptable.
The finish must also work with the design.
Why Premium Appearance Standards Increase Cost
Premium appearance standards increase cost in several ways.
They require more inspection time. They create more rejected parts. They often require approved samples, controlled lighting, and careful packing.
A large flat front panel is especially unforgiving. It behaves like a mirror for defects. Even a matte panel reflects enough light to reveal waves, dust, scratches, and color changes.
The acceptable defect level also changes with the market.
A machine installed inside a factory may tolerate small cosmetic marks. A consumer-facing device placed on a desk may not.
| Product type | Typical cosmetic sensitivity | Inspection approach |
|---|---|---|
| Internal mounting bracket | Low | Basic finish and corrosion check |
| Industrial control box | Medium | Visible surfaces checked at normal distance |
| Branded desktop enclosure | High | Controlled light and approved sample |
| Premium consumer device | Very high | Tight color, gloss, texture, and handling control |
I never assume that the word “premium” has the same meaning for every buyer.
I ask for a physical reference, photos, a finish sample, or a written acceptance standard. Without that, the finish may become a debate rather than a specification.
Inspection finds the problem. Rework makes it expensive.
Rework Multiplies the Original Finishing Cost
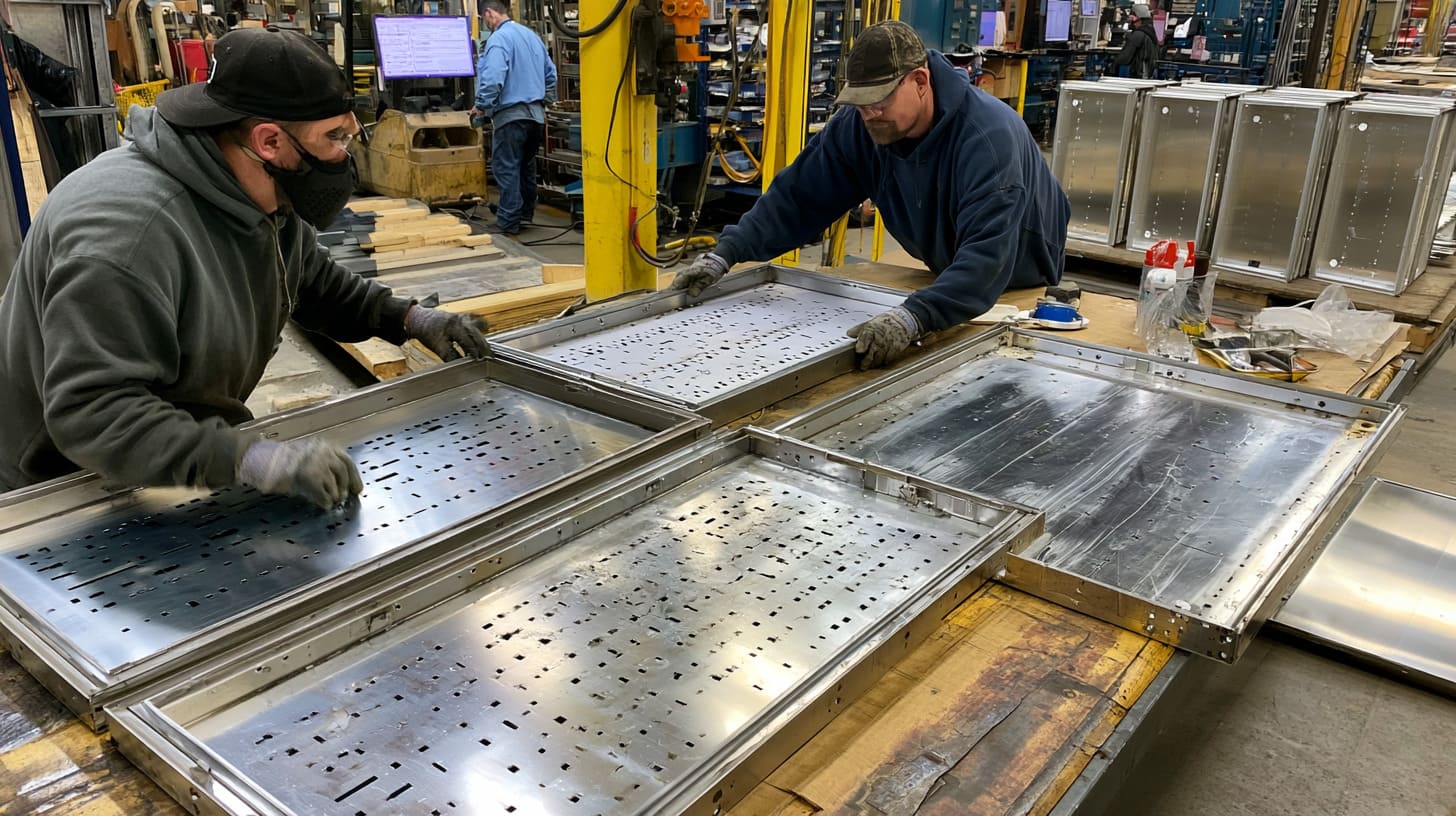
The phrase “we can coat it again” sounds reassuring.
It can also be misleading.
Recoating is rarely the same as pressing a reset button. The first finish has already changed the surface, dimensions, edges, and appearance of the part.
Once a cosmetic batch needs rework, I treat every part as a new risk rather than assuming a second coating pass will restore it.
Common Reasons for Rework
Surface-finishing rework usually starts with one of these problems:
- Incorrect color
- Wrong gloss level
- Poor adhesion
- Uneven anodizing
- Powder buildup in corners
- Thin coating on edges
- Scratches from handling
- Incomplete masking
- Contaminated surfaces
- Visible rack marks
- Dust or pinholes
- Mixed parts from different batches
Some defects affect only appearance. Others affect function.
A wrong gloss level may still protect the metal. A blocked grounding point may look perfect but create an electrical problem.
That is why I separate cosmetic and functional rework.
Why Recoating Is Not a Simple Second Pass
A powder-coated part may need stripping before recoating. The stripping process may involve chemicals, heat, blasting, sanding, or a combination of methods.
Each method carries risk.
| Rework step | Possible effect |
|---|---|
| Chemical stripping | May attack the base material or leave residue |
| Sandblasting | Can change surface texture and edge sharpness |
| Manual sanding | May create visible waves or uneven areas |
| Re-cleaning | Adds handling and contamination risk |
| Re-masking | Creates another chance for masking errors |
| Recoating | Adds more thermal exposure and thickness variation |
| Re-inspection | Requires more labor and may reveal new defects |
Anodized aluminum is even less forgiving.
If the anodized color is wrong, the part may need stripping and re-anodizing. This can change dimensions and surface texture. Fine machining marks may become more visible. Edges may lose definition.
For high-end cosmetic parts, re-anodizing may not produce a result that matches the original batch.
Sometimes replacement is safer than repair.
That choice can feel wasteful. But repeated rework can cost more and still fail.
The Real Rework Calculation
I calculate rework beyond the second coating charge.
A more complete formula looks like this:
Real rework cost = original finish + stripping + cleaning + second finish + inspection + labor + delay + scrap risk
Here is a simple example:
| Rework item | Batch cost |
|---|---|
| Original coating | $600 |
| Stripping | $250 |
| Surface preparation | $180 |
| Recoating | $600 |
| Sorting and inspection | $220 |
| Thread repair | $120 |
| Replacement of damaged parts | $350 |
| Production delay | Difficult to price |
| Visible rework cost | $2,320 |
The original coating cost was $600.
The visible rework cost became almost four times that amount.
The schedule may also move by several days or weeks. If the project is tied to an exhibition, installation, or launch date, the delay can cost more than the parts.
I have learned to ask a blunt question:
Is this part truly recoverable, or are we only trying to avoid admitting that it should be remade?
That question often saves time.
The next problem is more subtle. A coating can look perfect and still stop the enclosure from fitting together.
Coating Thickness Can Create Assembly Costs
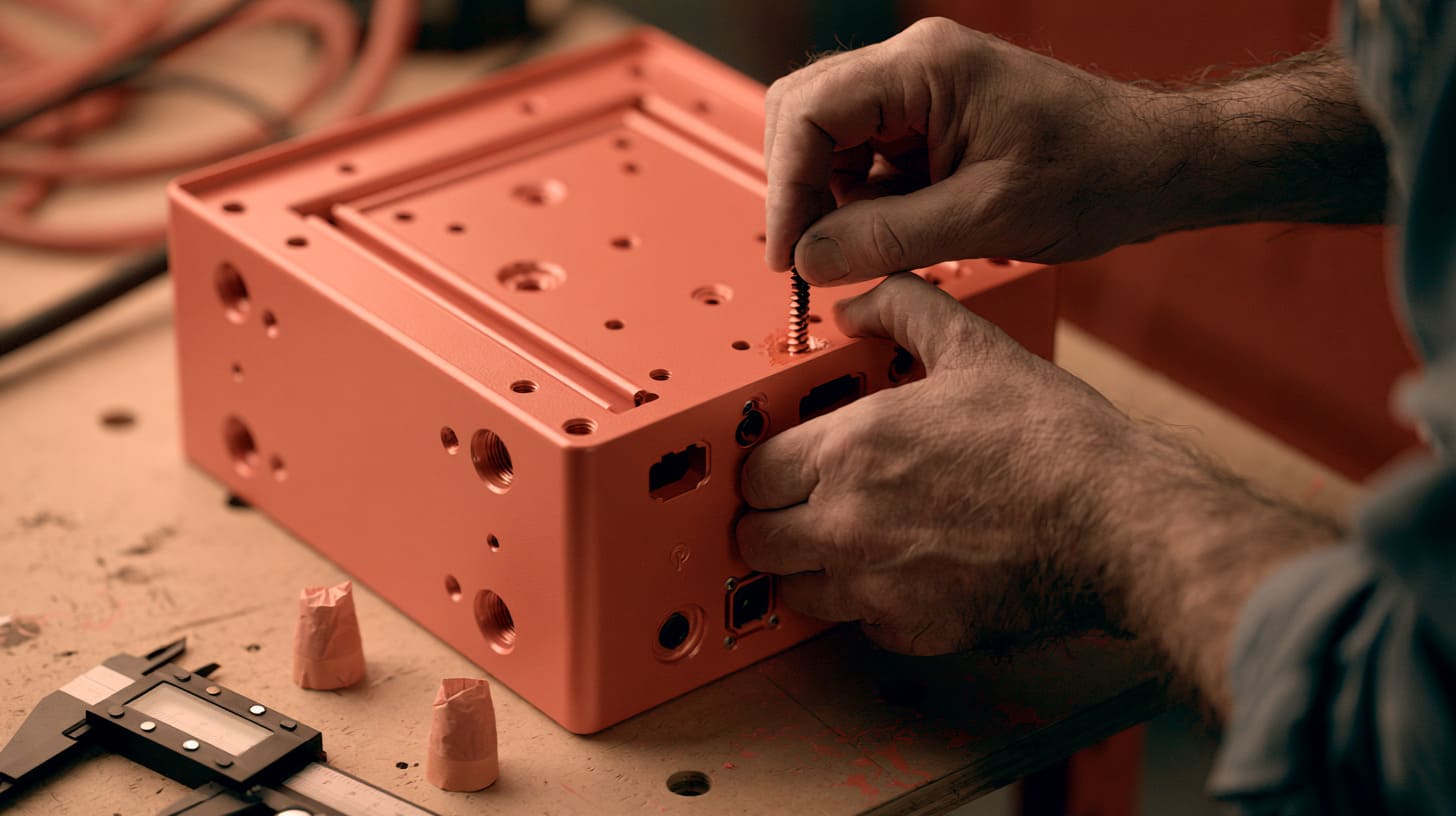
A drawing may show the correct dimensions before finishing. The parts may pass machining inspection. Then the coating adds thickness.
A few tenths of a millimeter may not sound serious.
On a tight sliding joint, thread, hinge, gasket groove, or connector opening, it can be enough to stop assembly.
For close-fitting parts, I never treat the coating as a visual layer only; I treat it as material added to every surface it touches.
Threads and Fastener Problems
Powder coating can enter threaded holes and build up around their edges.
When an operator installs a screw, several things may happen:
- The screw becomes difficult to turn.
- The powder cracks around the hole.
- The thread strips.
- The screw head scratches the finished surface.
- The operator uses too much force.
- Assembly time increases.
The common solutions are:
| Method | Advantage | Limitation |
|---|---|---|
| Silicone plug | Fast and reusable | May leave a visible edge |
| Threaded masking screw | Protects the full thread | Adds installation labor |
| Tape masking | Useful for larger areas | Can lift or shift |
| Thread chasing after coating | Restores thread function | Adds labor and metal debris |
| Design allowance | Reduces sensitivity | Must be planned before production |
I prefer masking critical threads before coating.
Thread chasing can work, but it becomes a post-coating repair step. It may also expose raw metal.
For grounding screws or outdoor enclosures, that exposed area may need further treatment.
Mating and Sliding Features
Custom aluminum enclosures often use sliding covers, end plates, grooves, rails, or overlapping flanges.
A coating layer on both mating surfaces reduces the available clearance twice.
For example, if one surface receives 0.08 mm of coating and the opposite surface receives the same amount, the total clearance may decrease by 0.16 mm.
That can be enough to turn a smooth sliding panel into a forced fit.
| Feature | Common problem after coating | Better approach |
|---|---|---|
| Sliding rail | Cover sticks or scratches | Add realistic coating allowance |
| Overlapping flange | Parts no longer align | Define coated and uncoated zones |
| Hinge pin area | Movement becomes stiff | Mask the moving interface |
| Press-fit component | Fit becomes too tight | Base tolerance on finished dimensions |
| Connector cutout | Opening becomes smaller | Add edge allowance or post-check |
A forced assembly creates another problem. It damages the finish during installation.
The enclosure may technically fit, but the customer receives a scratched product.
Grounding and Electrical Contact Areas
Anodizing and powder coating are usually electrically insulating.
That is useful for appearance and protection. It is not useful where the enclosure needs electrical contact.
Common contact areas include:
- Grounding studs
- Protective earth points
- PCB standoffs
- EMI contact surfaces
- Shielding fingers
- Bonding points between panels
- Connector shells
These areas may need masking, conductive treatment, or controlled finish removal.
| Requirement | Risk if ignored |
|---|---|
| Protective earth | Safety failure |
| EMI shielding | Poor EMC performance |
| Panel bonding | Different enclosure sections remain isolated |
| Connector grounding | Noise or signal problems |
| Contact resistance | Unstable electrical performance |
I do not accept “the screw will break through the coating” as a complete grounding plan.
It may work once. It may not remain stable after vibration, corrosion, or repeated service.
A defined metal-to-metal contact area is safer.
Seals and Gaskets
Gasket grooves also need finishing consideration.
Too much coating can reduce groove depth. Uneven coating can create local high points. Rough surfaces can reduce sealing consistency.
For an IP-rated enclosure, those small changes matter.
I check:
- Groove width after coating
- Groove depth after coating
- Gasket compression
- Corner buildup
- Joint flatness
- Fastener spacing
- Coating damage during assembly
A finish should protect the enclosure. It should not quietly damage the fit, seal, or grounding path.
Even when the dimensions remain correct, another risk begins once workers start touching the finished parts.
Handling After Finishing Creates New Damage Risks
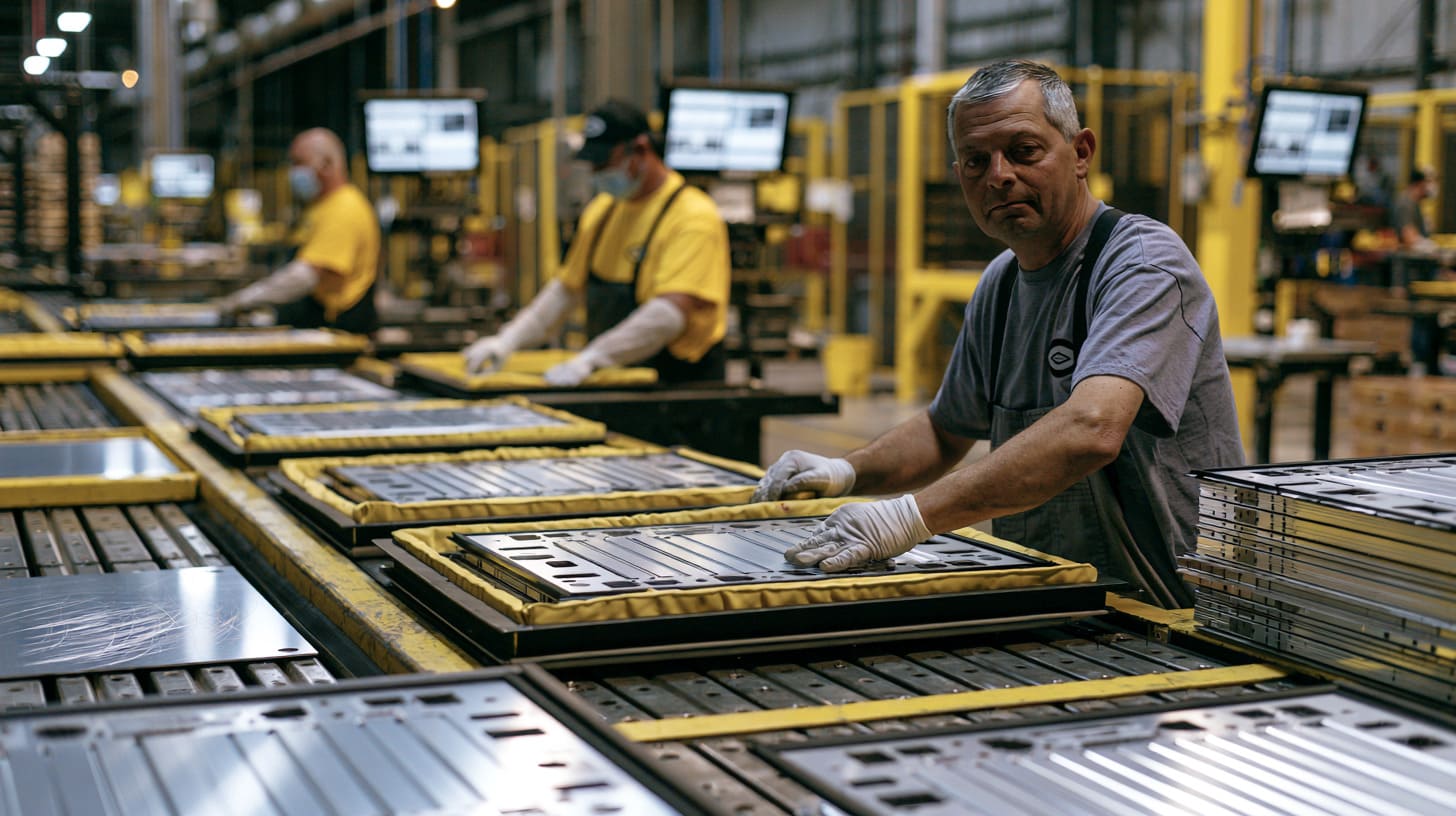
A finished enclosure may pass coating inspection and still become defective before packing.
The cause may be something ordinary: a metal worktable, a stack of panels, a dirty glove, or a careless transfer cart.
I often find that the most dangerous stage is not the coating line itself, but the quiet movement between inspection, branding, assembly, and packing.
Every Additional Touch Adds Risk
After coating, a part may pass through many hands.
It may be:
- Removed from the coating rack
- Sorted
- Inspected
- Moved to storage
- Sent to printing
- Returned for assembly
- Fitted with hardware
- Cleaned
- Packed
- Reopened for final checking
Every touch creates a chance for damage.
The risk increases when cosmetic parts are treated like ordinary production parts.
A hidden bracket can be stacked in a tray. A brushed and anodized front panel may need individual protection from the first moment it leaves the rack.
Typical Post-Finishing Damage
| Damage type | Common cause | Prevention |
|---|---|---|
| Fine scratches | Metal-to-metal contact | Use separators or individual sleeves |
| Edge chips | Impact during stacking | Add edge protection |
| Fingerprints | Bare-hand handling | Use clean gloves |
| Stains | Dirty gloves or cleaning cloths | Control handling materials |
| Pressure marks | Tight stacking or soft coating | Allow proper cure and reduce load |
| Rack marks | Poor fixture placement | Define hidden contact areas |
| Table marks | Rough work surface | Use clean soft mats |
| Drag marks | Sliding parts across benches | Lift parts instead of dragging them |
Black anodized surfaces often show fingerprints and light marks more clearly than silver anodized surfaces.
Glossy powder coating shows waves, dust, and scratches more easily than textured coating.
The finish choice changes the handling requirement.
Why Workflow Design Matters
I try to reduce unnecessary transfers.
A simple flow may look like this:
| Poor workflow | Better workflow |
|---|---|
| Coat → bulk stack → inspect → restack → print → restack → assemble | Coat → protect → inspect → print → assemble → pack |
| Mixed cosmetic and non-cosmetic parts | Separate handling rules |
| Shared rough worktables | Dedicated protected tables |
| Uncovered transport carts | Lined trays or separated racks |
| Final protection added at packing | Protection added immediately after inspection |
I also prefer to complete risky machining before cosmetic finishing.
Post-coating drilling, deburring, grinding, or panel modification can expose raw metal and create scratches. Sometimes it is necessary, but it should not be the default plan.
The best coating process can still fail in a badly designed workflow.
And branding adds another layer of risk.
Branding and Secondary Operations Can Ruin a Good Finish
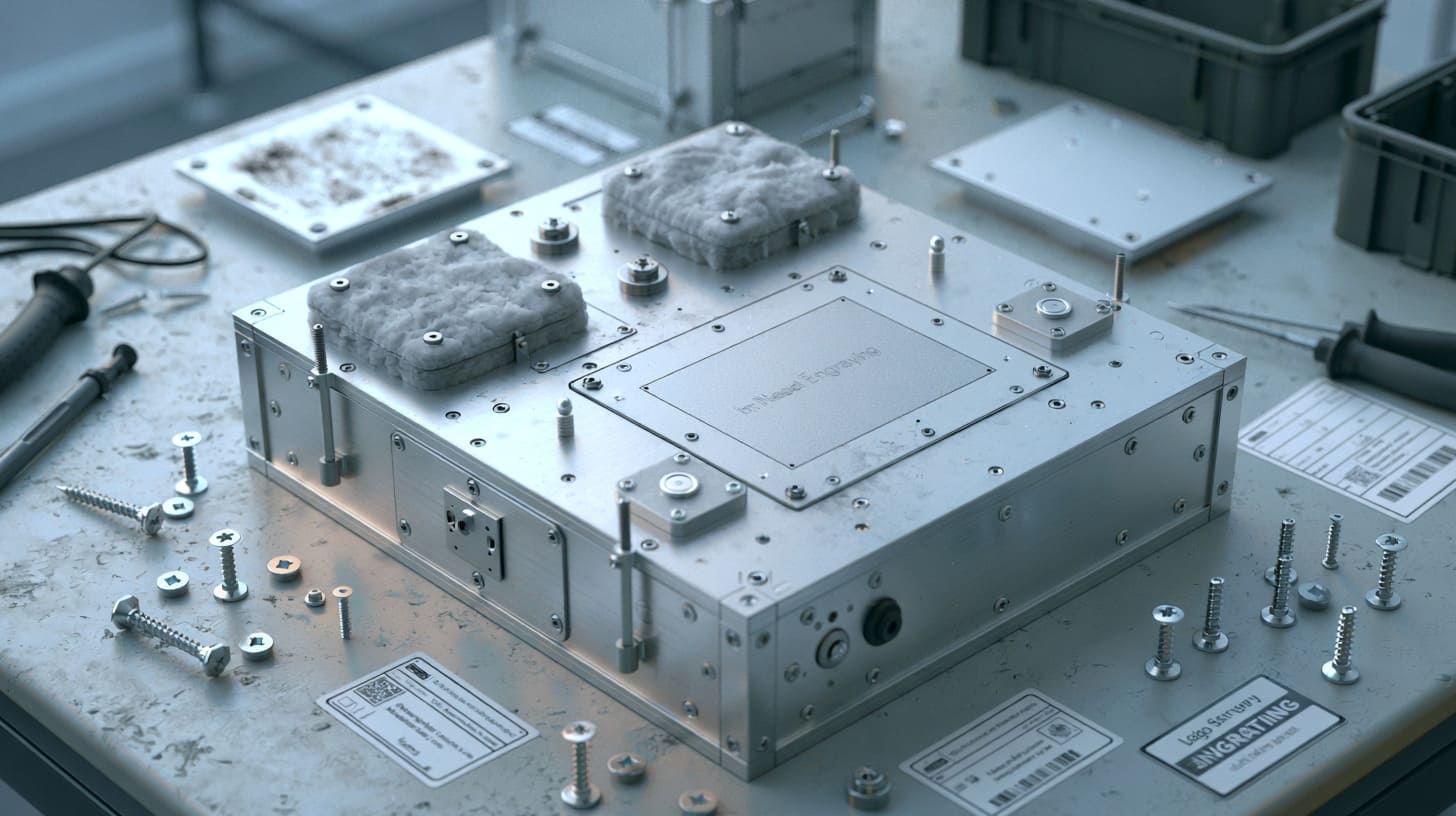
A finished enclosure often needs more work.
It may need silk-screen printing, UV printing, laser engraving, labels, serial numbers, inserts, hardware, or final assembly.
Each operation can improve the product. Each operation can also damage the finish.
Before I approve a finishing sequence, I check which later process has the highest chance of touching, heating, cleaning, clamping, or scratching the cosmetic surface.
Printing, Engraving, and Label Application
Branding looks simple on the drawing.
The logo sits in the correct position. The color looks clear. The size appears balanced.
Production introduces more variables.
| Branding method | Common risk | What I check |
|---|---|---|
| Silk-screen printing | Poor ink adhesion or smudging | Surface compatibility and curing |
| UV printing | Color difference or raised texture | Adhesion and scratch resistance |
| Laser engraving | Uneven mark color | Material and finish consistency |
| Label application | Bubbles, lifting, or misalignment | Surface cleanliness and adhesive type |
| Pad printing | Position shift on curved areas | Fixture accuracy |
| Serial marking | Variation between parts | Data control and readability |
Cleaning agents can also damage the finish.
A strong solvent may remove ink, dull the coating, or leave marks. A rough cloth may create fine scratches.
I always prefer testing the real branding method on the real finished material.
A generic test on another aluminum sample may not reveal the same result.
Post-Coating Machining
Sometimes the customer changes a connector after coating. A new hole is needed. A slot must move. A cutout must become larger.
Post-coating machining may seem faster than remaking the part.
It creates several risks:
- Exposed raw metal
- Burrs
- Scratches
- Chipped powder
- Broken corrosion protection
- Visible edge mismatch
- Metal chips inside the enclosure
- Poor cosmetic alignment
For an internal prototype, this may be acceptable.
For a production enclosure, especially an outdoor or customer-facing product, I usually advise against it unless the affected area can be properly protected and hidden.
A corrected part can work. It may not look like a production part.
Assembly After Branding
Assembly tools can damage printed and coated surfaces.
A screwdriver can slip. A screw head can rotate against the coating. A fixture can press on the logo. Loose hardware can move inside the enclosure.
Cosmetic assembly often needs:
- Protected fixtures
- Soft jaws
- Torque control
- Clean gloves
- Covered worktables
- Dedicated trays
- Clear orientation instructions
- Final visual inspection
The order of operations matters.
For example:
- Machine the parts.
- Test-fit the enclosure.
- Finish the surfaces.
- Apply branding.
- Protect the cosmetic faces.
- Assemble hardware.
- Inspect the full unit.
- Pack it.
Changing this order can create extra risk.
A beautiful finish has no value if the logo is crooked or the assembly tool leaves a scratch beside it.
That is why packaging should not be treated as a separate final task. It is part of finish protection.
Packaging Is Part of the Surface-Finishing Process

Many buyers spend days selecting a finish and only a few minutes discussing packaging.
That order of attention is backwards.
The finish must survive the journey, not only the factory inspection.
When I choose packaging, I think about the worst contact point inside the carton, because one loose corner can undo every earlier quality-control step.
Why Standard Packaging May Be Insufficient
Standard packaging may be fine for rough industrial parts. It may fail for cosmetic enclosures.
Common problems include:
- Panels rubbing against each other
- Screws moving inside the carton
- Foam leaving pressure marks
- Protective film lifting at the edges
- Moisture trapped inside plastic bags
- Cartons collapsing under stacking
- Sharp corners cutting through bags
- Heavy parts striking lighter parts
The correct packaging depends on:
- Finish type
- Part weight
- Surface sensitivity
- Shipping method
- Storage time
- Destination climate
- Customer unpacking process
Packaging Choices That Affect Total Cost
| Packaging option | Best use | Cost effect |
|---|---|---|
| Individual plastic bag | Basic scratch protection | Low |
| Soft foam sleeve | Cosmetic aluminum parts | Low to medium |
| Interleaving sheet | Flat panels in layers | Low |
| Protective film | Large visible surfaces | Medium |
| Corner protectors | Sharp or heavy enclosures | Low |
| Custom foam insert | Premium or fragile assemblies | Medium to high |
| Molded tray | Repeated production shipments | High setup, lower repeat handling |
| Desiccant | Humid or long-distance shipping | Low |
| Moisture-barrier bag | Sensitive metal surfaces | Medium |
| Double-wall carton | Heavy export shipment | Medium |
| Wooden case | Large or high-value equipment | High |
Protective film deserves special attention.
Some films leave adhesive marks after long storage. Some become difficult to remove after heat exposure. Some react badly with textured powder coating.
I prefer to test the film on the actual finish and leave it for a realistic storage period.
Cheap Packaging Versus Low Total Cost
A buyer may save $0.20 per part by removing a foam sleeve.
That decision can become expensive if five percent of the panels arrive scratched.
Here is a simple comparison:
| Option | Packaging cost per part | Damage rate | Replacement effect |
|---|---|---|---|
| Basic bag only | $0.15 | 5% | High |
| Bag plus foam separator | $0.35 | 1% | Low |
| Custom tray | $0.80 | 0.2% | Very low |
The cheapest packaging is not always the lowest-cost option.
The correct question is:
What level of protection keeps the finish acceptable through the real shipping route?
A carton that survives a short domestic truck journey may not survive ocean freight, warehouse stacking, customs inspection, and final-mile delivery.
Packaging protects the finish. Logistics tests it.
Logistics and Storage Can Change Finish Quality

A part can leave the factory in perfect condition and arrive with marks, corrosion, pressure spots, or damaged protective film.
Nothing changed in the drawing.
The environment changed.
For export projects, I judge the finish against the shipping route and storage time, not only against the condition inside our facility.
Temperature and Humidity Exposure
Temperature and humidity affect several parts of the packaging system.
Moisture may cause:
- Corrosion on exposed metal
- White staining
- Marks beneath protective film
- Damage around cut edges
- Adhesive failure
- Carton weakening
Heat may cause:
- Protective film adhesive transfer
- Softening of labels
- Pressure marks
- Warping of plastic packaging
- Changes in uncured coatings
Long storage creates another risk.
A film that removes cleanly after one week may leave residue after three months. A carton that looks strong in dry storage may soften in a humid warehouse.
Transportation Damage
Transportation adds vibration, impact, compression, and repeated handling.
| Logistics force | Possible finish damage |
|---|---|
| Vibration | Rubbing marks and edge wear |
| Impact | Chips, dents, and cracked coating |
| Compression | Pressure marks and carton collapse |
| Repeated handling | Scratches and dropped cartons |
| Loose internal parts | Damage to enclosure walls |
| Long stacking time | Permanent marks on soft surfaces |
Heavy enclosures need special attention.
A small unit may survive in a simple carton. A large sheet metal enclosure may require reinforced corners, stronger cartons, or a wooden case.
Weight changes everything.
International Project Consequences
A damaged finish is not only a cosmetic issue.
It may delay:
- Customer assembly
- Product photography
- Certification testing
- Trade-show preparation
- Installation
- Product launch
- Retail delivery
Replacement shipping is often much more expensive than the original coating.
A replacement panel worth $20 may need $100 in airfreight. The customer may also need to stop work while waiting.
That is why I treat logistics damage as part of finishing cost.
The most painful defects are not the ones we find before shipment. They are the ones the customer finds after delivery.
Customer Rejection Costs More Than Factory Rejection
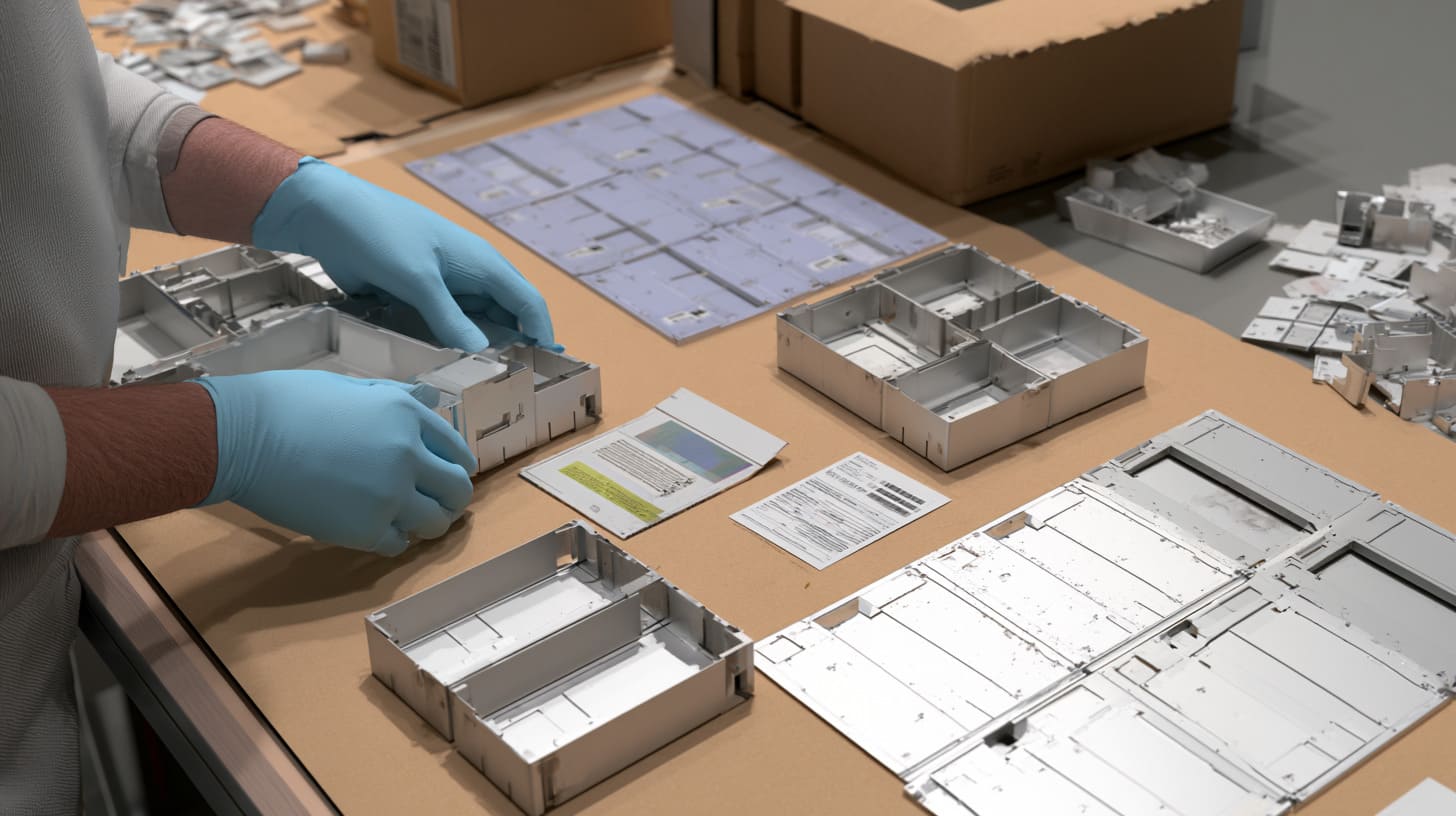
A rejected part inside the factory is inconvenient.
A rejected part at the customer’s facility is expensive.
It has already consumed machining, coating, inspection, packing, shipping, customs, and handling costs. It may also be mixed with acceptable parts.
I would rather reject a doubtful cosmetic part before packing than defend it later after the customer has stopped trusting the whole batch.
Costs Created by Escaped Defects
An escaped defect can trigger several costs at once:
- Complaint investigation
- Photo and video review
- Internal meetings
- Customer sorting
- Return shipping
- Replacement production
- Airfreight
- Line interruption
- Project delay
- Loss of supplier confidence
| Cost category | Factory rejection | Customer rejection |
|---|---|---|
| Sorting | Internal labor | Customer labor or paid service |
| Shipping | None | Return and replacement freight |
| Delay | Limited | Can stop assembly or launch |
| Communication | Internal | Multiple emails, calls, and reports |
| Trust | Usually unaffected | Often damaged |
| Replacement urgency | Normal schedule | Often requires air shipment |
A customer may also over-inspect the remaining parts after finding one defect.
That behavior is understandable.
Once trust drops, every small mark becomes suspicious.
Why Approved Samples Are Essential
An approved sample creates a shared reference.
It can define:
- Color
- Gloss
- Texture
- Grain direction
- Acceptable marks
- Logo position
- Edge appearance
- Visible and hidden surfaces
I prefer a physical sample when appearance matters.
Photos are useful, but screens change color. Lighting changes color. Camera settings change color.
A physical sample is not perfect, but it gives both sides a much stronger reference.
The inspection conditions should also be clear.
For example:
| Item | Example requirement |
|---|---|
| Viewing distance | 500 mm |
| Lighting | Neutral white light |
| Viewing time | 5 to 10 seconds per surface |
| Critical surfaces | Front and top panels |
| Hidden surfaces | Internal bottom and rear |
| Color reference | Approved physical sample |
| Minor marks | Not visible at normal viewing distance |
Without these rules, acceptance becomes personal opinion.
When Cosmetic Expectations Must Be Written Down
Written cosmetic requirements become especially important for:
- Multi-panel assemblies
- Premium consumer electronics
- Branded desktop products
- Retail products
- Large flat covers
- Matching batches
- Visible welds
- Brushed or anodized aluminum
- High-gloss finishes
I also ask whether the parts will be viewed alone or assembled together.
A small shade difference may be acceptable when parts are used separately. It may become obvious when three panels meet at one corner.
The final product decides the standard.
And many of these risks begin much earlier, at the design stage.
Design Decisions Determine Downstream Finishing Cost
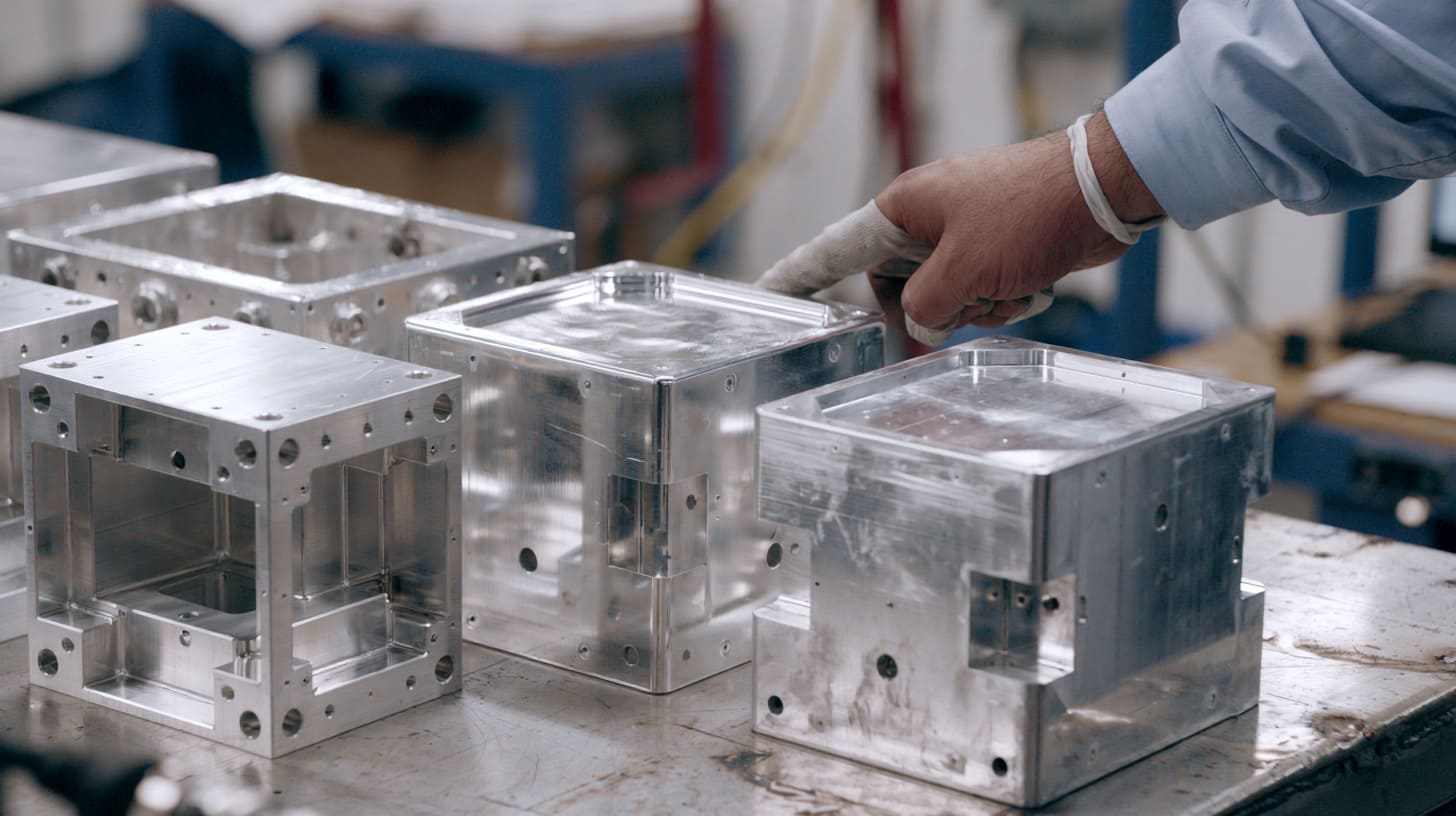
The coating line cannot fully repair a design that is difficult to finish.
Sharp corners, deep recesses, welded seams, narrow gaps, and mixed materials all affect the final result.
When a design has a large cosmetic surface and several difficult corners, I assume the finishing risk is high before I even see the coating quotation.
Geometry That Increases Risk
Some shapes are naturally harder to finish.
| Geometry | Finishing challenge |
|---|---|
| Deep recess | Difficult spray access and uneven coverage |
| Sharp internal corner | Powder buildup or thin edge coverage |
| Narrow gap | Poor cleaning and coating access |
| Welded seam | Visible distortion or color difference |
| Large flat panel | Shows waves, dust, and gloss variation |
| Complex masking zone | Higher labor and masking-error risk |
| Hidden cavity | Traps liquid or contamination |
| Tight overlapping flange | Fit changes after coating |
A designer may focus on appearance in CAD. The finishing process sees access, drainage, grounding, hanging, and coating flow.
Both views matter.
Material and Process Compatibility
Different materials respond differently to the same finish.
For anodizing, aluminum alloy choice matters.
| Material condition | Possible result after anodizing |
|---|---|
| 6063 extrusion | Often suitable for decorative anodizing |
| 6061 machined part | Good performance, but shade can differ from 6063 |
| Cast aluminum | May show uneven or darker appearance |
| Welded aluminum | Weld area may remain visible |
| Mixed alloy assembly | Different parts may not match |
| Reworked surface | Texture may differ after anodizing |
Powder coating can hide some material differences better than anodizing. It also adds more thickness.
Wet painting may provide good color control, but it may be less durable for certain uses.
There is no universally best finish.
The best choice depends on:
- Appearance
- Corrosion resistance
- Electrical needs
- Tolerance
- Cost
- Volume
- Environment
- Repairability
Designing for a Stable Finish
I recommend defining the finish before the design is fully frozen.
The drawing should identify:
- Cosmetic surfaces
- Non-cosmetic surfaces
- Coating type
- Color
- Gloss
- Texture
- Coating thickness
- Masking zones
- Grounding points
- Thread protection
- Gasket surfaces
- Approved sample reference
A stable design also avoids unnecessary tight tolerances on coated interfaces.
This does not mean making everything loose.
It means applying tight control only where it creates value.
For example, a visible panel gap may need tight control. An internal bracket may not.
A designer who understands finishing can reduce cost before the first part is made.
A buyer can do the same by comparing quotations correctly.
How Buyers Should Compare Surface-Finishing Quotations
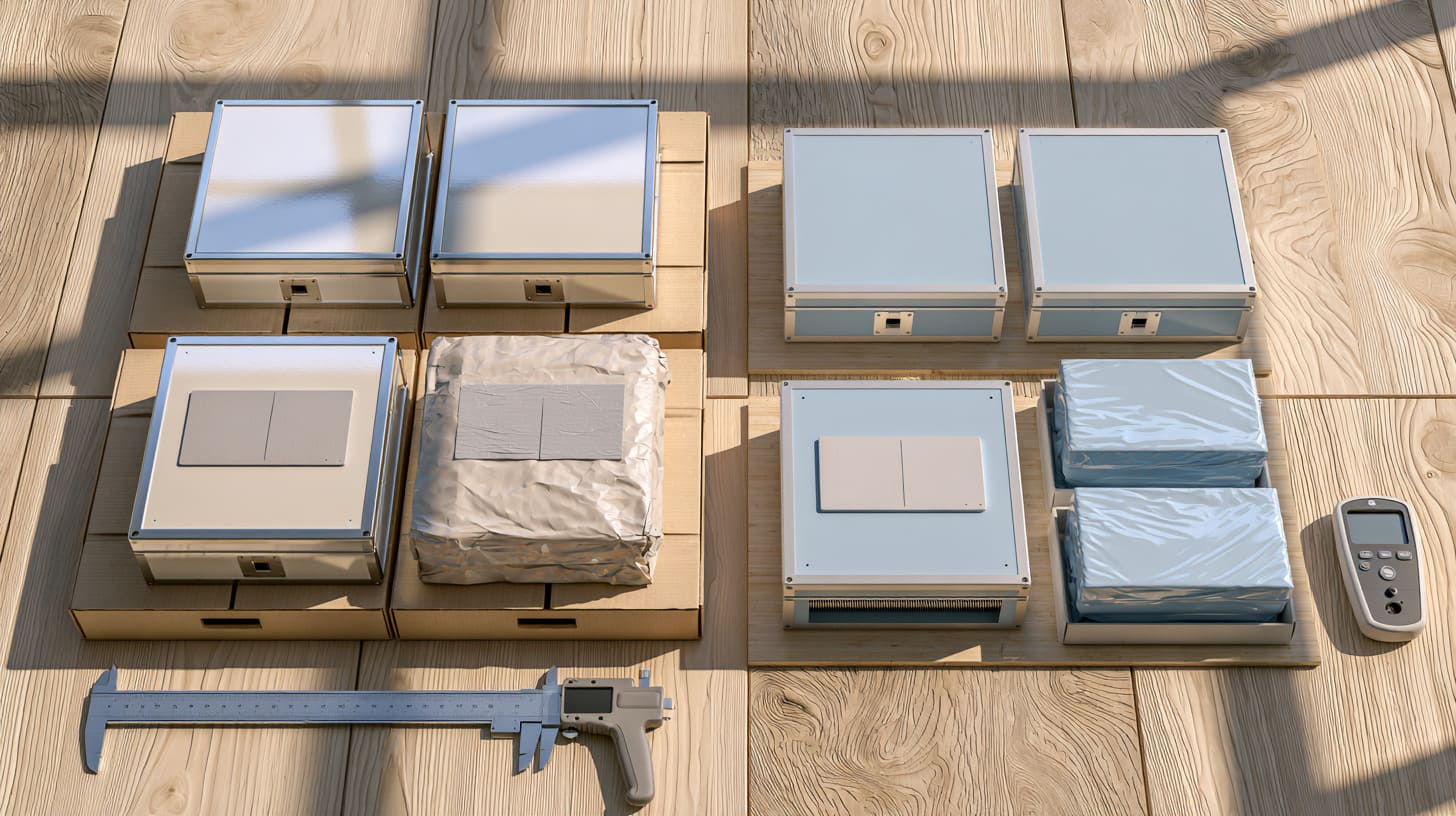
Two quotations may both say “black powder coating.”
One may include proper pretreatment, masking, inspection, individual protection, and a rework policy.
The other may include only the spraying operation.
When two prices differ, I do not ask which one is cheaper first; I ask whether both suppliers are promising the same finished result.
Compare the Same Technical Scope
A useful quotation comparison should cover the same requirements.
| Comparison item | Questions to ask |
|---|---|
| Pretreatment | What cleaning and conversion process is included? |
| Coating type | What powder, paint, anodizing, or plating system is used? |
| Thickness | What range is controlled? |
| Color | Is the reference RAL, Pantone, sample, or instrument reading? |
| Gloss | What gloss range is acceptable? |
| Texture | Smooth, fine texture, coarse texture, brushed, or matte? |
| Masking | Which threads, holes, contacts, and gasket areas are protected? |
| Inspection | What defects are checked and at what sampling level? |
| Packaging | Are parts individually protected? |
| Rework | Who pays when the finish fails the agreed standard? |
Without this information, a price comparison can create false confidence.
Evaluate Supplier Process Control
I also look beyond the finish sample.
A good sample proves that one part can be made well.
Process control shows whether one hundred or one thousand parts can be made consistently.
Useful signs include:
- Approved-sample control
- Batch traceability
- Coating-thickness records
- Color measurement
- Clear masking instructions
- Defined rack positions
- Protected handling areas
- Packaging standards
- Experience with cosmetic enclosures
- Root-cause analysis for defects
A supplier does not need expensive equipment for every project.
But the supplier should know which variables matter and how to control them.
Use a Total-Cost Formula
I use a simple model:
Total finishing cost = coating price + inspection + sorting + rework + assembly correction + packaging + failure risk
A more detailed comparison may look like this:
| Cost factor | Supplier A | Supplier B |
|---|---|---|
| Coating price | $1.10 | $1.35 |
| Extra inspection | $0.25 | Included |
| Thread cleaning | $0.15 | Included |
| Protective packing | $0.20 | Included |
| Expected rework | $0.30 | $0.08 |
| Estimated effective cost | $2.00 | $1.43 |
Supplier A appears cheaper.
Supplier B may deliver the lower total cost.
The Correct Purchasing Judgment
A higher coating price is not automatically better.
Some suppliers charge more without providing better control. A low price is not automatically risky either. A well-organized factory may be efficient.
The decision should come from evidence.
I look for:
- Clear scope
- Stable samples
- Real process control
- Sensible packaging
- Honest discussion of risk
- Fast technical communication
The cheapest quotation has value only when it repeatedly creates acceptable parts.
The next step is to reduce risk before mass production begins.
How to Reduce Post-Coating Costs Before Production
Most finishing problems are cheaper to prevent than to repair.
The best time to solve them is before the production batch reaches the coating line.
I prefer to spend one extra day confirming the finish and masking plan rather than lose a week sorting a batch that was never clearly defined.
Freeze Requirements Early
The basic finish specification should be confirmed before mass production.
I try to freeze:
- Base material
- Surface preparation
- Finish type
- Color
- Gloss
- Texture
- Coating thickness
- Cosmetic surfaces
- Hidden surfaces
- Masking areas
- Grounding points
- Packaging method
A simple finish checklist can prevent many problems.
| Requirement | Confirmed reference |
|---|---|
| Material | 6063-T5 aluminum |
| Finish | Black anodizing |
| Texture | Fine brushed surface |
| Color reference | Approved physical sample |
| Cosmetic faces | Front, top, and two sides |
| Hidden faces | Internal bottom |
| Grounding point | Masked M4 stud |
| Threads | Plug before anodizing |
| Packaging | Individual foam sleeve |
Clear information does not remove every risk.
It makes responsibility and inspection much clearer.
Validate With Samples
A finish sample should use the intended material and process.
For example, an anodized 6063 extrusion sample may not fully represent a machined 6061 panel. A flat test coupon may not show corner buildup on the real enclosure.
The most useful samples include:
- Actual material
- Real machining marks
- Representative corners
- Final pretreatment
- Final finish
- Actual logo method
- Planned protective film
I also test assembly after finishing.
That step catches:
- Tight fits
- Blocked threads
- Poor grounding
- Gasket problems
- Connector interference
- Visible panel mismatch
Run a Pilot Batch
A pilot batch sits between one perfect sample and full production.
It shows whether the process is stable.
A pilot batch can verify:
- Color consistency
- Gloss consistency
- Coating thickness
- Masking repeatability
- Thread condition
- Assembly fit
- Logo position
- Packaging protection
The batch does not need to be large.
It only needs to be large enough to reveal variation.
For a new cosmetic finish, ten to thirty parts may tell us much more than one golden sample.
Build Quality Into the Complete Workflow
The finishing plan should connect all later operations.
I coordinate:
- Machining
- Deburring
- Surface preparation
- Trial assembly
- Coating
- Inspection
- Branding
- Hardware installation
- Final assembly
- Cleaning
- Packaging
- Shipping
When a defect appears, I try to find the root cause.
A scratch may come from packing, not coating. A poor logo may come from surface contamination. A tight screw may come from missing masking. A color mismatch may come from mixed alloys.
Calling every problem a “coating issue” hides the real cause.
The useful measurement is not the cost of coated parts.
It is the cost of acceptable finished products.
Conclusion

I view surface finishing as a chain, not a single operation.
The coating line sits in the middle of that chain. Before it, material choice, machining, geometry, and surface preparation shape the result. After it, inspection, handling, branding, assembly, packaging, storage, and shipping decide whether the result survives.
My final decision is based on the cost of a part that reaches the customer in the right condition, because a cheap finish that needs correction is not truly cheap.
I think this way because I have seen small surface issues grow into large project problems.
A blocked thread slows assembly. A shade difference makes a complete enclosure look inconsistent. A careless stack creates scratches. Weak packaging turns acceptable parts into customer complaints. One rejected batch can erase the savings from many low coating quotations.
That is why I ask more questions before production.
I want to know which surfaces matter. I want to know how the parts fit. I want to know where grounding is needed. I want to know how the product will be packed, shipped, stored, and used.
Those details may look small on a drawing.
They are not small when production begins.
At MaidaTech, I approach custom enclosure finishing as part of the full manufacturing process. I connect material selection, machining, surface treatment, branding, assembly, inspection, and packaging rather than treating them as separate tasks.
If you are developing a custom aluminum enclosure, sheet metal housing, plastic enclosure, or branded electronic case, you can send me your drawings, finish requirements, and application details at info@maidatech.com.
I will help you review not only the coating quotation, but also the hidden costs that may appear after the parts leave the coating line.