 Skip to content
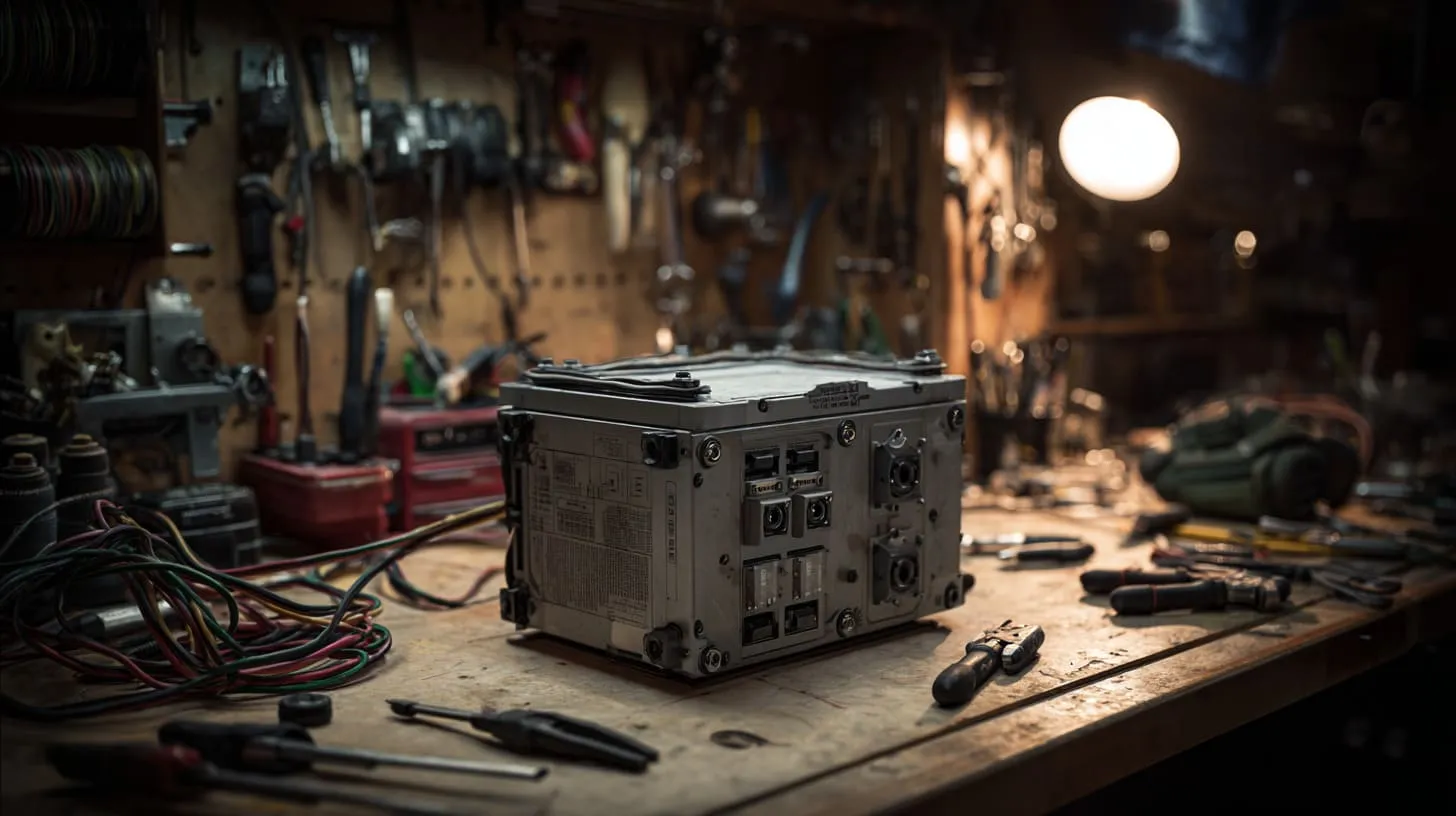
On many projects, the junction box is not the first thing anyone talks about. People focus on sensors, PLCs, cloud dashboards, and beautiful CAD drawings. Then a cable burns, water gets in, or maintenance cannot reach a terminal, and suddenly the small grey box becomes the main problem.
I have seen this pattern many times with customers from Europe, North America, and Asia. The drawing looks simple: a rectangle, a few cable entries, and maybe a short note like “IP66 junction box”. But behind that rectangle there are real questions about layout, safety, assembly time, and long-term reliability. If those questions stay vague, the project pays the price later.
When I design or manufacture a junction box with a customer, I do not treat it as “just a box”. I see it as part of the whole system: wiring, installers, environment, service team, and budget. This is where many engineers and buyers struggle. They look only at size and rating, and forget how people will actually use the box.
Common mistakes I see again and again:
- Choosing a box that is too small “to save cost”
- Ignoring the bending radius of cables and the space for hands and tools
- Mixing IP and NEMA ratings without really matching the environment
- Forgetting space for future expansion or extra terminals
- Over-specifying stainless steel or very high IP ratings when they are not needed
For some buyers, a standard box from a catalog is fine. For others—OEM projects, ODM ideas, or re-brand business on Amazon—custom junction boxes are a better long-term move. A custom box can match the PCB, fit the branding, and reduce assembly time on the production line.
One rule has helped me in many projects: if you feel forced to “fight the box” during design, it is a sign you should design the box instead of accept it.
As soon as people understand the basic idea of a junction box, the next question is simple: “What exactly is it, and how is it different from other enclosures?” That is where I like to start.
What Is an Electrical Junction Box?
Definition and basic function
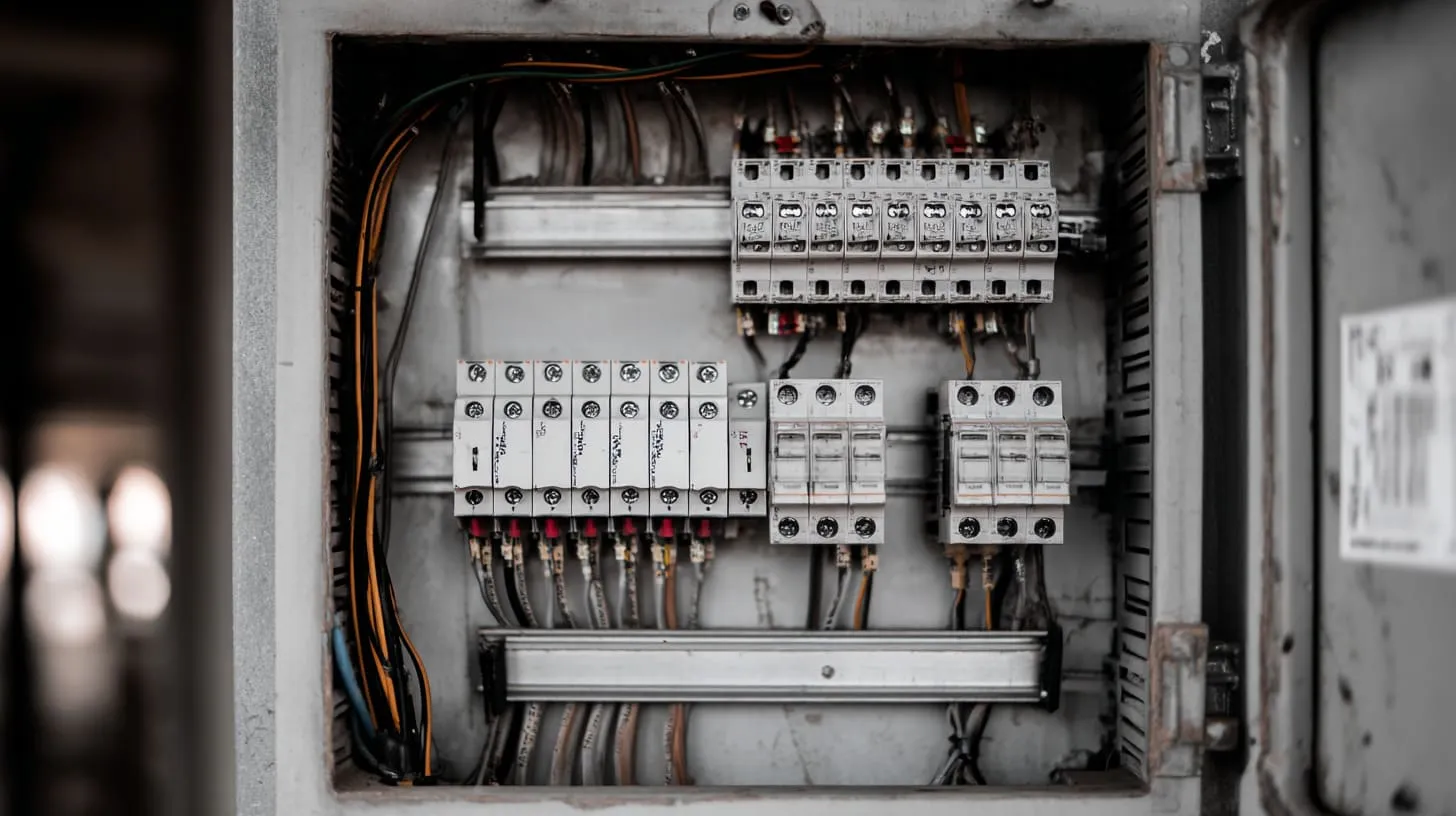
An electrical junction box is a protective housing where electrical connections join, split, or transition. Inside, you may have:
- Terminal blocks
- Wire splices
- Small PCBs
- Relays or small modules
The box shields these connections from touch, dust, moisture, and mechanical damage. It also helps organize the wiring so installers and maintenance teams can work safely and clearly.
From my side as a manufacturer, a good junction box is not only safe; it is also easy for an electrician to understand within a few seconds after opening the lid.
How junction boxes differ from enclosures and control cabinets
Many people use “junction box”, “enclosure”, and “control cabinet” as if they mean the same thing. They do not.
| Item | Typical Size | Inside Contents | Main Purpose |
|---|---|---|---|
| Junction box | Small to medium | Terminals, wire splices, small modules | Distribute and protect connections |
| General enclosure | Medium | PCBs, power supplies, small controls | Protect electronics or sub-systems |
| Control cabinet | Medium to very large | PLCs, drives, breakers, panels | Full control system with many devices |
A junction box is usually simpler than a control cabinet. It rarely has a full PLC or HMI panel. It focuses on safe, tidy connection points.
Typical applications across industries
You can find junction boxes almost everywhere:
- Industrial machines and production lines
- Building wiring and lighting systems
- Outdoor sensors and CCTV systems
- Solar string connections and combiner points
- IoT gateways or field wiring hubs
In many of these cases, the final user never thinks about the box. They only notice it when it fails, or when opening it is a nightmare.
One thought guides my decisions here: whenever I see too many cables trying to enter one small space, I know we are not talking about a simple box anymore but about a connection system that deserves proper design.
When people reach this point, they usually start asking, “Do I really need something custom, or can I live with a standard box?” That is the next big decision.
When Should You Make a Custom Electrical Junction Box?
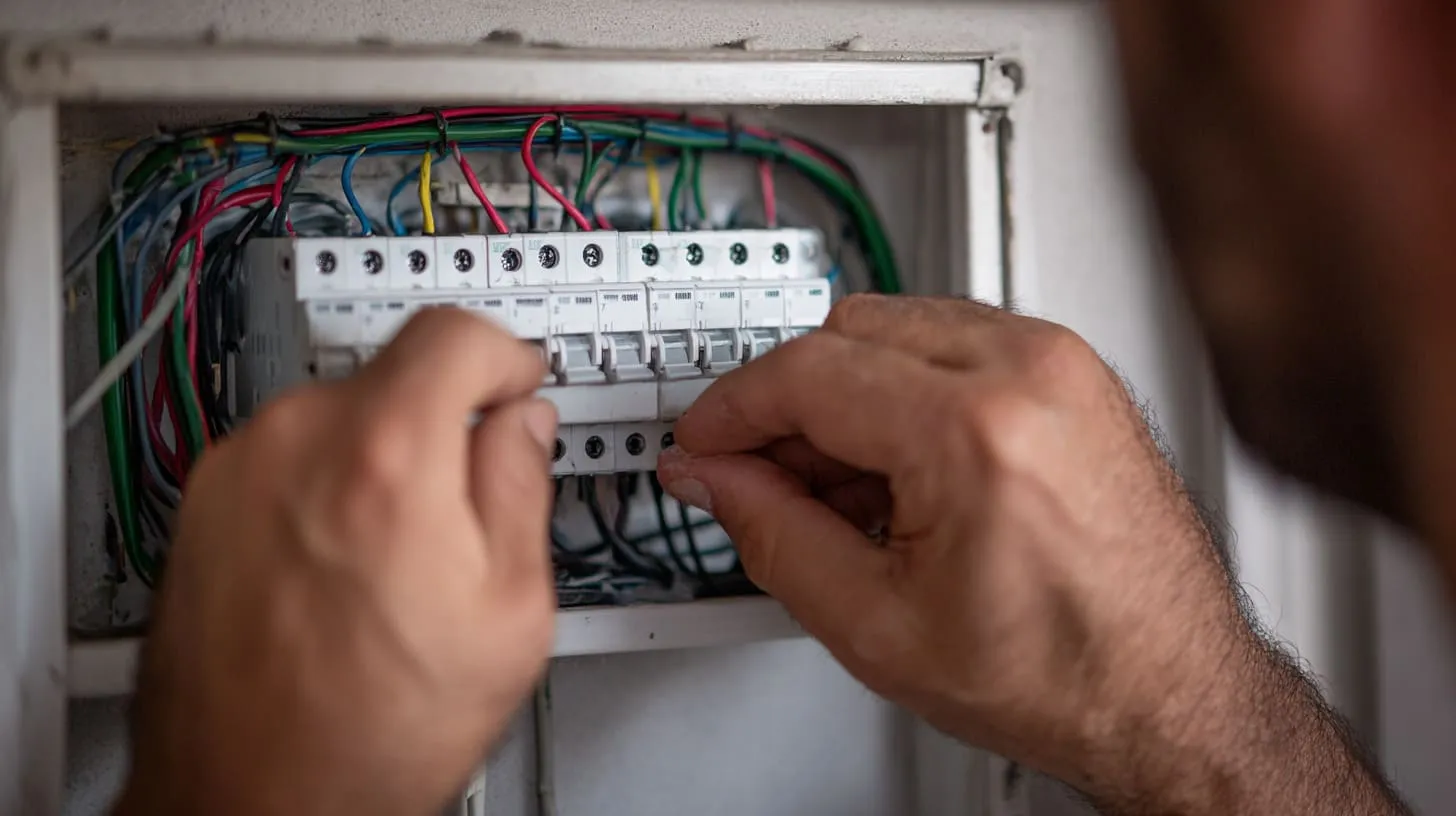
Standard off-the-shelf vs custom-made junction boxes
Standard junction boxes are fast and cheap. You can buy them from many brands, in fixed sizes, with common materials and ratings. For simple indoor wiring, that is often enough.
Custom junction boxes are different. Size, layout, openings, and even color can be tailored to match your project. You may need custom mounting points for a PCB, special knockouts, or a non-standard depth to fit a connector.
A simple comparison helps many of my customers think clearly:
| Aspect | Standard Box | Custom Box |
|---|---|---|
| Lead time | Very fast (stock) | Longer (design + tooling or machining) |
| Upfront cost | Low | Higher per design |
| Per-piece cost (volume) | Higher for big volume | Lower after tooling is amortized |
| Flexibility | Limited to catalog | Very high |
| Brand identity | Generic look | Matches your product family and brand |
| Assembly efficiency | Often compromised | Can be optimized for your exact wiring pattern |
Project scenarios that require customization
I suggest custom junction boxes when I see cases like:
- PCB or module shape that does not fit standard footprints
- Many cable entries from different directions or large cable glands
- Special connectors, such as circular industrial plugs or high-current busbars
- Tight space inside machines, where every millimeter matters
- Strong branding needs: color, logo, and face design must match other products
Sometimes Davide, my typical product engineer customer, sends me a standard junction box link and a drawing of his PCB. After a quick review, I can see that making the PCB fit will create ugly adapters, extra brackets, and longer assembly time. In those cases, the cost of forcing the design into a standard box is higher than doing a custom one.
Cost, lead time, and flexibility trade-offs
Custom always sounds nice, but we must face budget and schedule.
- For small quantity and urgent projects, standard boxes are safer.
- For ongoing production, custom boxes usually pay back through lower piece price and faster assembly.
- For ODM ideas or new product families, custom boxes support long-term brand and technical goals.
A simple rule I use with customers is this:
| Annual Volume | My Usual Recommendation |
|---|---|
| < 50 pcs | Standard box + minor machining if needed |
| 50–300 pcs | Case by case; light customization or soft tooling |
| 300–1000 pcs | Strong candidate for custom enclosure design |
| > 1000 pcs | Custom junction box almost always makes financial sense |
What often decides the direction is not only the part price but the assembly time; when I see a technician needing “tricks” to make everything fit, I know the real cost of a standard box is higher than it looks on the BOM.
Once that decision is clear, the next question is “What should the box be made of?”—and that is where materials become the main topic.
What Materials Are Used to Make Electrical Junction Boxes?
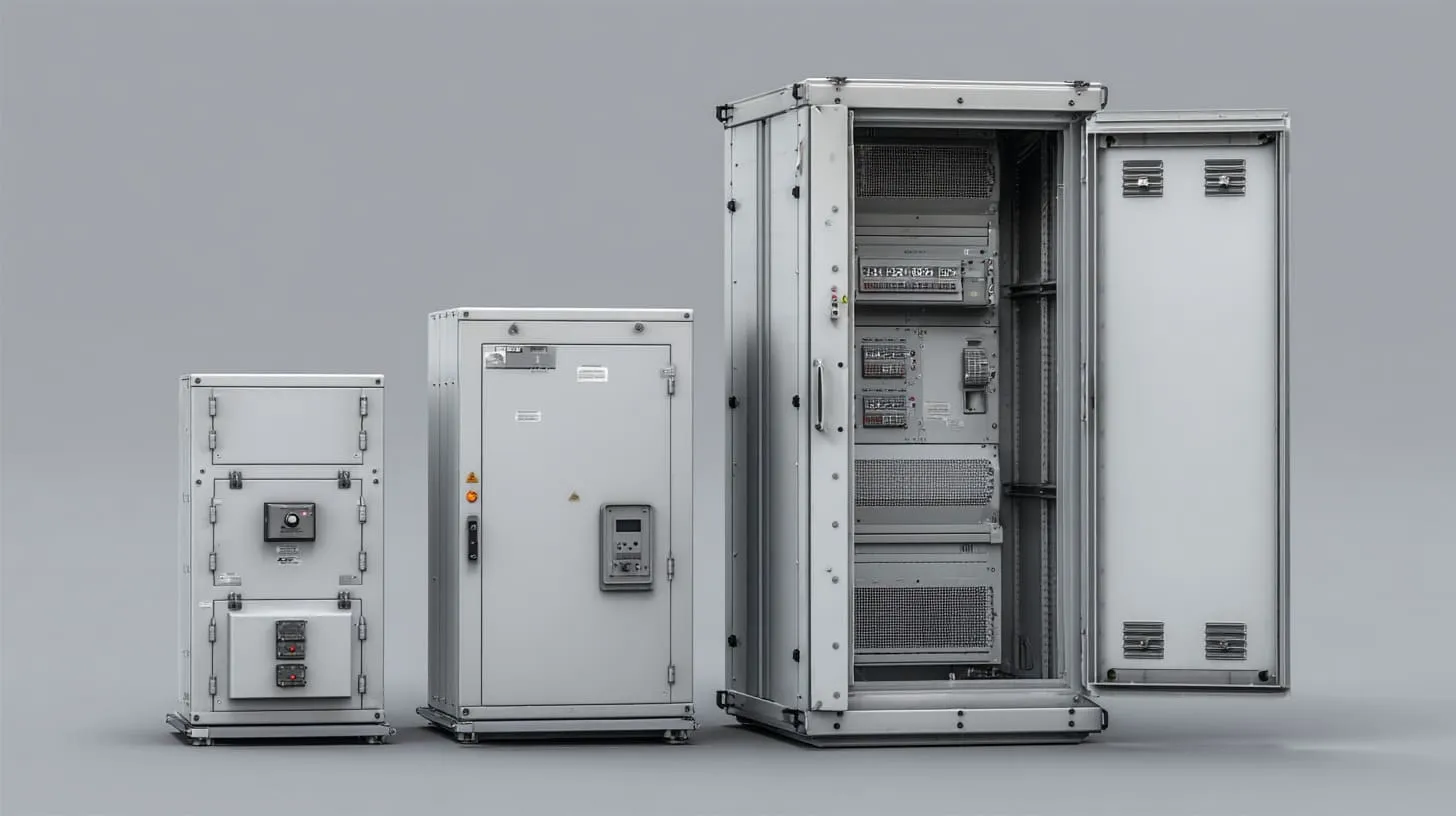
Aluminum junction boxes
Aluminum is one of the most popular choices for industrial junction boxes. It offers:
- Good mechanical strength
- Reasonable weight
- Good heat dissipation
- Strong corrosion resistance with proper surface treatment
At MaidaTech, we work a lot with aluminum because it balances performance and cost for many industrial and outdoor applications. It is also flexible for CNC machining and for small and medium production runs.
Plastic junction boxes (ABS, PC, PA)
Plastic junction boxes are common in building wiring, low-risk environments, and cost-sensitive projects. The main types include:
- ABS – good impact strength, easy to mold, not ideal for high UV exposure
- PC (Polycarbonate) – higher impact resistance, better for outdoor with UV-stable grades
- PA (Nylon) – good mechanical strength, often used in more rugged housings
Plastic boxes are lighter and often cheaper in high volume, but they may not handle heat, impact, or chemicals as well as metal.
Stainless steel and sheet metal options
Stainless steel junction boxes are for harsh conditions:
- Food and beverage plants
- Chemical environments
- Areas with aggressive cleaning or washdown
Mild steel with powder coating is also used in many industrial panels. It is strong and can be cost-effective, but it needs good coating and maintenance to avoid corrosion.
Material comparison table: strength, corrosion resistance, cost, weight
I often share a simple comparison like this with customers:
| Material | Strength | Corrosion Resistance | Weight | Typical Cost Level |
|---|---|---|---|---|
| Aluminum | Medium–High | High (with coating) | Light | Medium |
| ABS Plastic | Medium | Medium | Very light | Low |
| Polycarbonate | Medium–High | Medium–High | Very light | Medium |
| Stainless Steel | Very High | Very High | Heavy | High |
| Mild Steel (coated) | High | Medium (coating-dependent) | Heavy | Medium |
My private check before I suggest any material is simple: if the environment is unknown or “maybe harsh”, I stay away from the weakest option because replacement in the field always costs more than choosing the right material at the start.
Once the material is decided, the conversation moves quickly from “what” to “how”—how to design the box so it actually works for the wiring, the environment, and the people who will open it.
How to Design an Electrical Junction Box
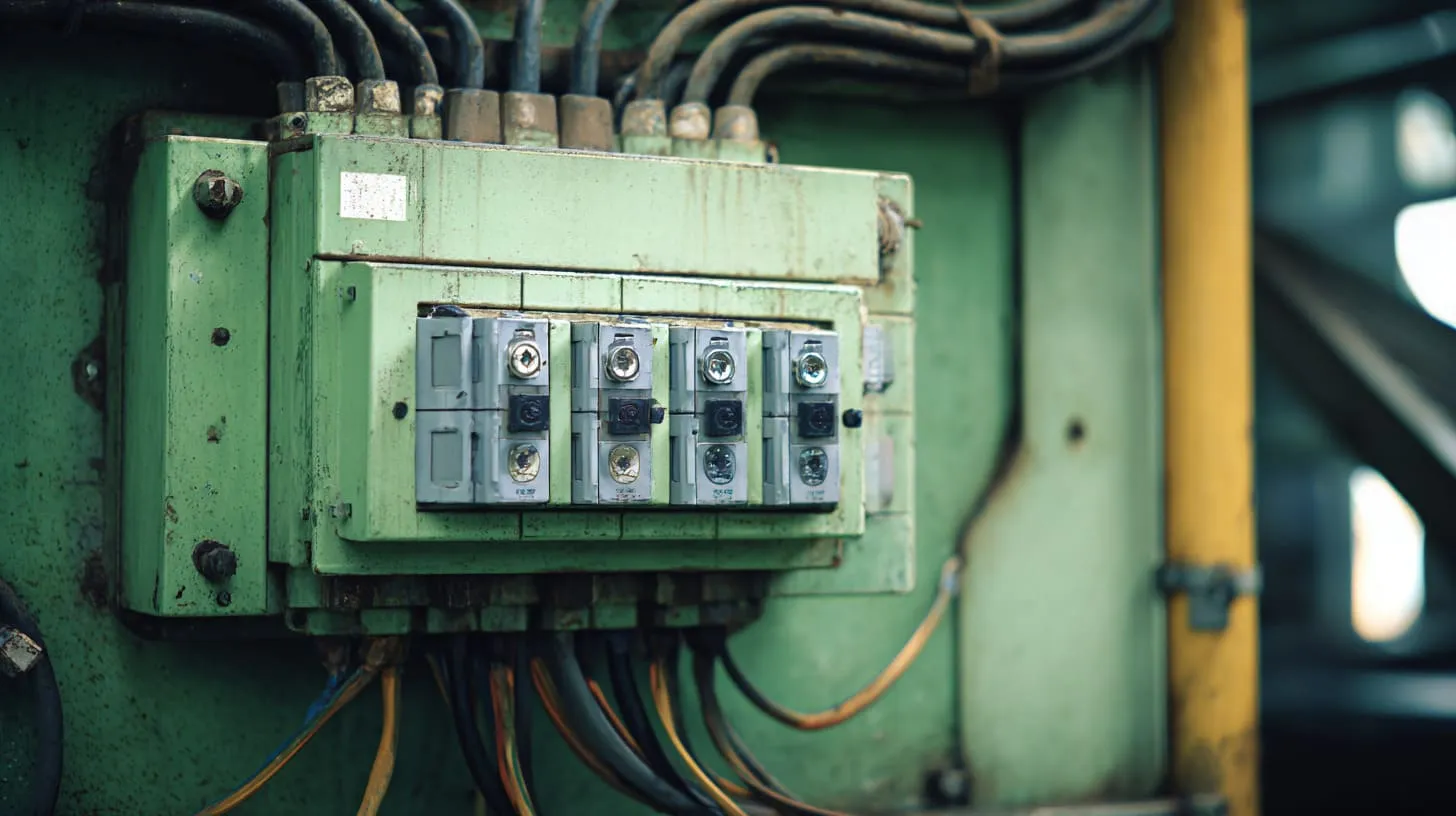
Defining internal components and space requirements
I always start from the inside out. First, I list:
- Terminals, PCBs, and modules
- Cable types and sizes
- Required clearances and creepage distances
- Tools that will be used inside the box
A simple layout sketch helps a lot. Even a hand drawing with rough dimensions can save hours of guesswork later.
Wall thickness and structural strength considerations
Wall thickness depends on material, size, and loading. For example:
| Material | Typical Wall Thickness Range (small box) |
|---|---|
| Aluminum (die-cast or machined) | 2.0–3.5 mm |
| ABS / PC plastic | 2.5–4.0 mm |
| Sheet steel | 1.2–2.0 mm |
If the box will be stepped on, mounted on a vibrating machine, or carry heavy cable glands, we increase thickness or add ribs and support points.
Mounting options: wall mount, DIN rail, pole mount
Mounting is often an afterthought, but it should be part of the first design discussion.
Common options:
- Wall brackets or feet
- Direct wall mounting holes
- DIN rail inside for terminals or modules
- Pole mounting kits for outdoor applications
What I have learned is that if the installer has to “invent” a mounting method on site, the design is not complete.
Cable entry planning and layout
Cable entry is the heart of the junction box. You need to decide:
- Side, bottom, or top entries
- Gland size and quantity
- Separation between power and signal cables
- Space for bending radius and strain relief
A small layout table can help:
| Cable Type | Entry Side | Gland Size | Shielding Need | Notes |
|---|---|---|---|---|
| Power 4×4 mm² | Bottom | M25 | Medium | Keep away from signal side |
| Signal 8×0.75 | Right | M16 | High | Group with shield clamps |
| Ethernet | Left | RJ45 feed-through | High | Maintain bend radius |
Thermal management and ventilation design
If the junction box contains power electronics or devices with heat dissipation, you may need:
- Bigger enclosure size
- Heat sinks or metal enclosure for conduction
- Ventilation holes with filters
- Separation between hot and sensitive components
The thought that often helps me here is: if I am not comfortable placing my hand on the box in my mental picture of the installation, then the thermal part of the design needs more work.
After the internal design is clear, most engineers start to ask, “What rating do we really need for this environment?” That is where IP and NEMA discussions begin.
What Protection Ratings Should You Consider?
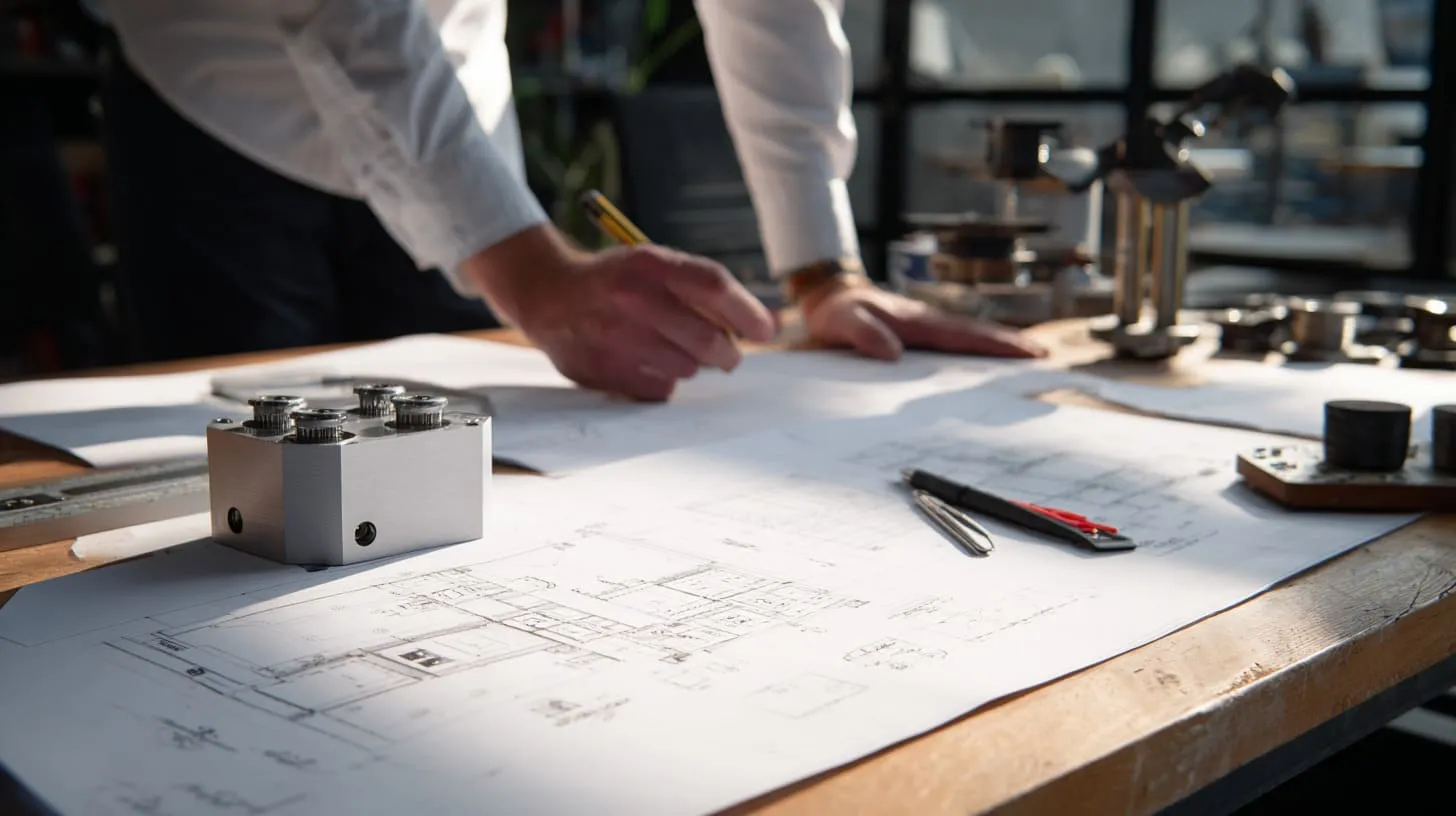
Understanding IP ratings for junction boxes
IP ratings describe protection against solids and liquids. For example:
- IP20 – finger-safe, no water protection
- IP54 – limited dust, splashing water
- IP65 – dust tight, jets of water
- IP66 – strong water jets
- IP67 – temporary immersion
Both digits matter. Many drawings only show “IP65” without saying if there will be hose cleaning, exposure to dust, or outdoor rain with wind. That missing detail often leads to over- or under-specifying.
NEMA ratings and when they are required
In North America, NEMA ratings are common:
- NEMA 1 – indoor, basic protection
- NEMA 3/3R – outdoor, rain and sleet
- NEMA 4 – watertight, hose-down
- NEMA 4X – like NEMA 4, plus corrosion resistance
These ratings are not one-to-one with IP codes, but there is partial overlap. That is why clear discussion is important when a global team mixes both systems.
Matching protection level to environment
I usually map the environment like this:
| Environment | Typical Minimum Rating |
|---|---|
| Clean indoor panel room | IP20–IP40 / NEMA 1 |
| Dusty workshop | IP54–IP55 / NEMA 12 |
| Outdoor sheltered | IP54–IP65 / NEMA 3/3R |
| Outdoor exposed, hose wash | IP66 / NEMA 4 or 4X if corrosive |
| Chemical or food plant | IP66–IP69K / NEMA 4X |
My practical test during discussions is simple: if the maintenance team plans to point a pressure washer at the box, I treat anything below IP66 or NEMA 4 as a risk, even if the spec sheet says otherwise.
Common rating mistakes in real projects
Some frequent problems:
- Picking IP67 just because it “sounds strong”, even though there is no immersion
- Using NEMA 1 indoors where dust is heavy, leading to dirt inside the box
- Assuming stainless steel automatically means NEMA 4X without checking seals and hardware
- Forgetting that cable glands and accessories must match the same rating
Once the rating questions are clear, customers often ask how we actually make these boxes in the factory, and what processes we use for different materials.
How Are Electrical Junction Boxes Manufactured?
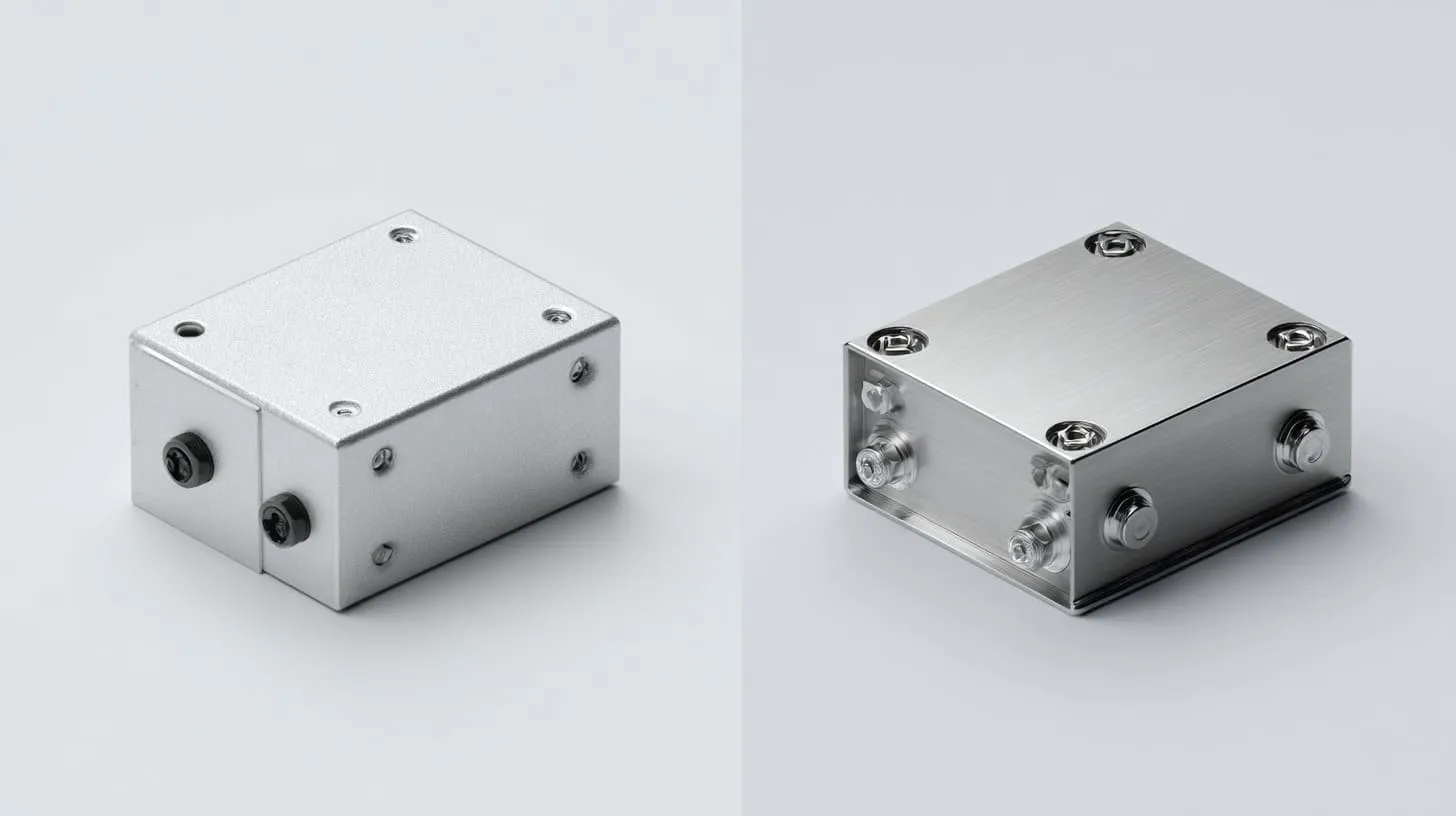
CNC machining process for aluminum junction boxes
For custom aluminum junction boxes, CNC machining is a flexible method, especially for low and medium volume. Typical steps:
- Cut raw aluminum blocks or extrusions
- CNC mill the outer shape and inner cavity
- Drill and tap holes for covers, glands, and mounting
- Deburr and smooth edges
- Apply surface treatment (anodizing or powder coating)
CNC machining lets us react fast to design changes without new tooling. It is ideal for prototype runs and engineering samples.
Injection molding for plastic junction boxes
When volume is high and design is stable, injection molding makes sense for plastic boxes:
- Build a steel mold based on 3D design
- Inject molten ABS or PC into the mold under pressure
- Cool, eject, trim, and check parts
- Add any metal inserts if needed
Tooling is a big upfront investment, but piece price becomes very low for large orders.
Sheet metal fabrication steps
For stainless or mild steel junction boxes, sheet metal processes are common:
- Laser cutting or punching flat patterns
- Bending on press brakes
- Welding seams if needed
- Grinding and cleaning
- Surface finishing (powder coating or polishing)
Sheet metal is very flexible for size and shape, especially for larger junction boxes.
Surface finishing options (anodizing, powder coating, painting)
Surface finishing affects both corrosion resistance and appearance:
| Material | Typical Finishes |
|---|---|
| Aluminum | Anodizing, powder coating, painting |
| Mild steel | Powder coating, painting |
| Stainless | Brushed, polished, bead-blasted |
| Plastic | Natural color, painting, printing |
Whenever I choose a finish with a customer, I try to imagine the box after five years in the field; if the finish feels fragile in that mental picture, we change it before cutting any metal.
After manufacturing, many customers start to think about how to make the box feel like “their product”, not just a generic component. That is where custom features come in.
How to Add Custom Features to a Junction Box
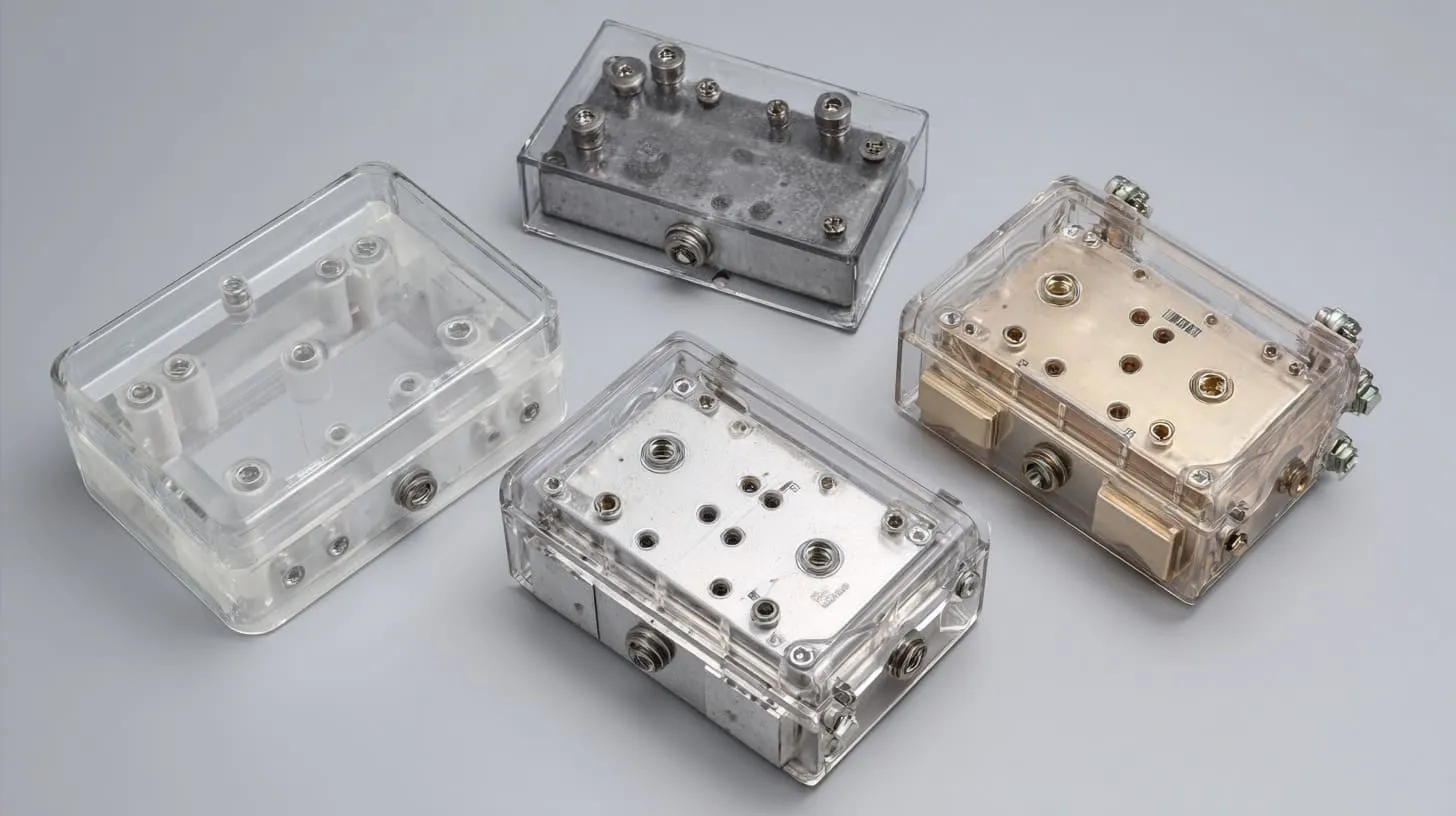
Custom cutouts and holes
Custom cutouts are often the first step beyond a standard box. We can add:
- Round holes for glands and push buttons
- Square or rectangular openings for connectors or displays
- Special slots for cable entries or ventilation
These can be done by CNC machining, laser cutting, or punching, depending on the material and volume.
Logo engraving and printing
Branding matters, even on a junction box. Options include:
- Laser engraving directly on metal
- Silk-screen or pad printing for logos and text
- Labels with durable adhesive and overlaminate
I notice that when an OEM invests in a clean logo on the enclosure, installers and end users tend to treat the product as more serious and premium.
Custom colors and surface treatments
Color can help:
- Match product families
- Separate voltage levels or functions
- Make boxes more visible in safety-critical areas
For metal, we often use custom RAL powder coating. For plastic, color masterbatch in molding is typical.
Labeling, markings, and regulatory information
Good labeling saves many emails and phone calls later. Typical items:
- Model number and serial number
- Voltage and current limits
- IP or NEMA rating
- Safety marks (UL, CE, etc.)
This is also where mistakes can be expensive; if a label claims a rating that the design does not meet, compliance and trust both suffer.
What usually guides my choices here is this simple idea: if someone opens a box in five years and cannot quickly see what it is, who made it, and what limits it has, we probably missed an important part of the design.
Once the visible features are set, the next layer is less visible but just as important: standards and certifications.
What Standards and Certifications Are Required?
IEC, UL, CE, and regional compliance overview
Different markets expect different certifications:
- IEC standards – global technical basis for many designs
- UL – widely used in North America for safety testing
- CE – required for many products in the European Economic Area
- Local standards – for example, CSA in Canada, or regional approvals in some Asian countries
The junction box may be part of a larger certified system, so the enclosure must not break the overall compliance.
How certification affects design and materials
Standards can affect:
- Minimum distances between live parts and walls
- Choice of plastics (flammability class, glow-wire)
- Types of gaskets and sealing materials
- Mechanical strength and impact resistance
A small change in material—for example, switching to a cheaper plastic—can break compliance if flammability ratings no longer match.
Common compliance issues buyers face
Typical problems I see:
- Assuming any “IP66” label is valid without a traceable test or report
- Choosing non-rated gaskets or cable glands that reduce overall protection
- Forgetting that labels, adhesives, and printed markings also need to survive the environment
- Using plastics without proper flame ratings for the target market
Whenever I talk with engineers about standards, I ask them to imagine the worst inspector they have ever met; if we can answer that imaginary person’s questions with confidence, then our design and documentation are probably strong enough.
After standards, one big area remains: how to make sure each batch of boxes really matches the design. That is where testing and inspection steps in.
How to Test and Inspect a Junction Box
Mechanical strength testing
Mechanical testing includes:
- Drop tests for small enclosures
- Impact tests on corners and flat surfaces
- Torque tests on screws and glands
These tests check whether the box can survive handling, installation, and minor accidents.
Sealing and waterproof testing
For IP and NEMA ratings, sealing tests matter a lot:
- Dust chamber tests for dust-tight ratings
- Water jets at specified angles and pressures
- Temporary immersion tests where required
We also check gasket compression and recovery, because a perfect seal today may not be perfect after years of opening and closing.
Dimensional and tolerance inspection
Dimensional checks confirm that:
- Cover fits properly
- Mounting holes align with drawings
- Cutouts are in the correct position
- Wall thickness stays within limits
For CNC parts, we use calipers and gauges. For higher volume parts, sampling plans and control charts may be needed.
Pre-shipment quality control checklist
A simple pre-shipment checklist can look like this:
| Check Item | Method | Pass/Fail |
|---|---|---|
| Visual surface inspection | Visual | |
| Dimensions (critical features) | Measurement | |
| Gasket installed and intact | Visual/touch | |
| Correct labeling and logo | Visual | |
| Hardware and accessories included | Counting/checklist |
The thought that keeps me strict here is that the junction box is often the last thing anyone wants to rework on site; if something is wrong, the cost to fix it after installation is much higher than fixing it before shipping.
As soon as cost appears on the table, the conversation changes: “All of this sounds good, but how much will it cost me to make these boxes?” That is exactly what we need to examine next.
How Much Does It Cost to Make an Electrical Junction Box?
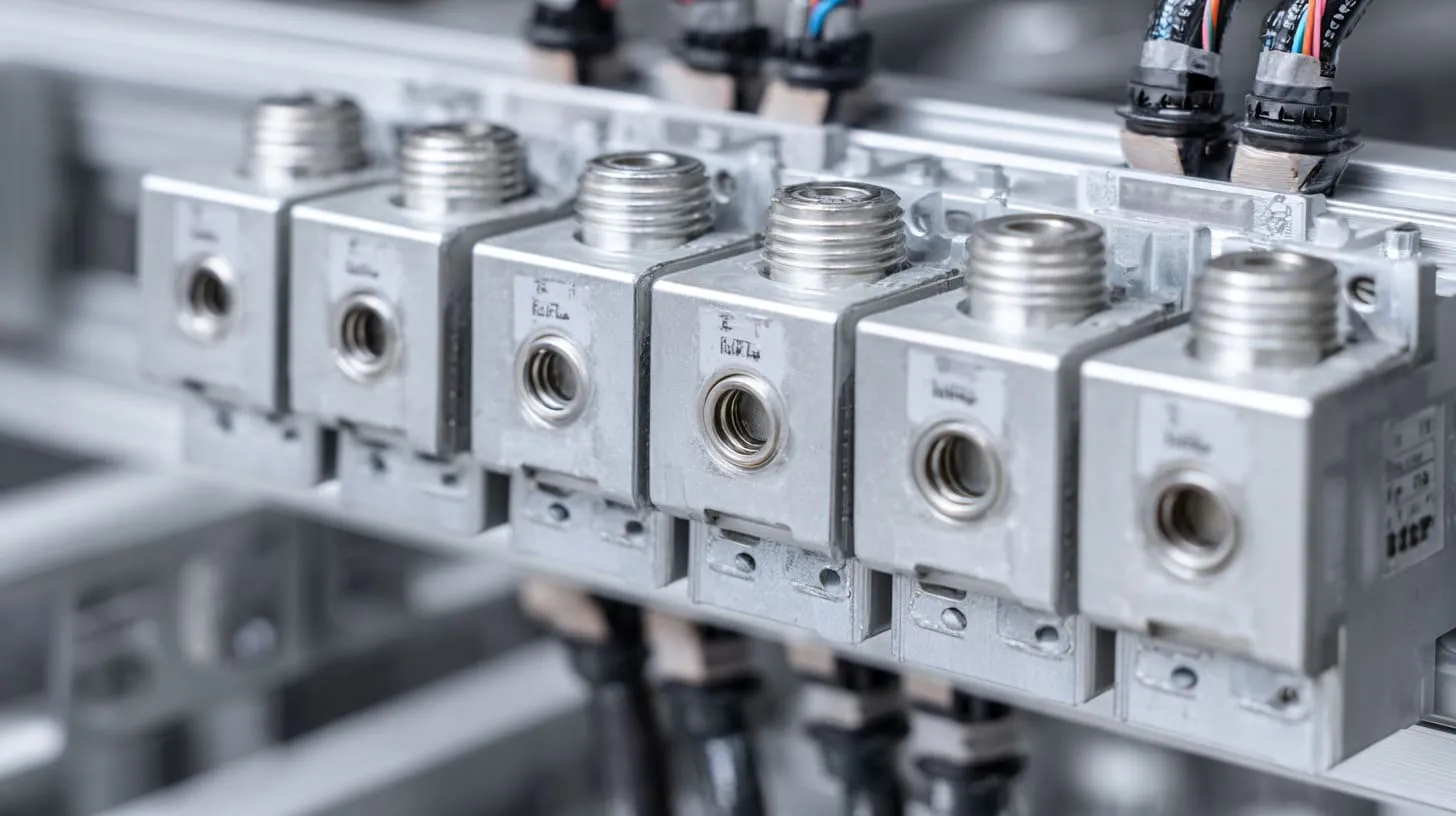
Cost drivers: material, size, quantity, customization
Cost is not only about material price per kilogram. Key drivers include:
- Box size and wall thickness
- Material type (aluminum, plastic, stainless)
- Quantity per order and annual volume
- Complexity of machining or tooling
- Surface finishing and branding
- Testing and certification needs
A simple breakdown helps many buyers:
| Cost Driver | Impact Level | Notes |
|---|---|---|
| Material | High | Especially for stainless or thick walls |
| Machining time | High | Many cutouts = more CNC time |
| Tooling (molds) | High upfront | Very low per-piece cost in high volume |
| Finish | Medium | Some finishes add multiple process steps |
| Packaging | Low–Medium | Higher for export and e-commerce |
Prototype vs mass production pricing
Pricing changes a lot between prototype and mass production:
- Prototype: higher unit price, low or no tooling, very flexible changes
- Mass production: lower unit price, but requires stable design and larger commitment
How to reduce cost without sacrificing quality
I often work with customers to reduce cost by:
- Harmonizing sizes across product lines to reuse enclosures
- Reducing the number of custom cutouts by using modular inserts
- Using aluminum instead of stainless steel where corrosion risk is moderate
- Adjusting wall thickness where tests show we have extra margin
My mental filter here is simple: if a cost-saving idea makes future maintenance harder or increases failure risk, I prefer not to offer it, even if it makes the quote look more attractive in the short term.
After cost is clear, the key question becomes how to actually work with a manufacturer so that drawings, samples, and shipments move smoothly.
How to Work With a Manufacturer to Make a Junction Box

Preparing drawings and technical files
Good input files save a lot of time. Ideal package includes:
- 2D drawings with key dimensions, tolerances, and notes
- 3D model in common format (STEP, IGES, etc.)
- Cable layout or PCB outline if relevant
- Material and finish requirements
- Target standards or ratings
Even a simple hand sketch is better than a long email with no visuals.
Communication tips for OEM and ODM projects
For OEM or ODM work, I find these habits helpful:
- Group questions by topic (mechanical, electrical, logistics)
- Use simple language and clear bullet points
- Confirm key decisions in writing (material, finish, rating)
- Share expected schedule for prototypes and mass orders
Sample approval and iteration process
A typical flow:
- Discuss requirements and propose design options
- Make prototype (CNC or soft tooling)
- Customer tests sample in real conditions
- Collect feedback and revise design if needed
- Confirm final drawings and move to mass production
Keeping the number of iterations under control needs clear decisions from both sides, especially about “must have” and “nice to have” features.
Managing lead time and shipping risks
Lead time includes:
- Design and drawing time
- Prototype manufacturing
- Final tooling (if any)
- Mass production
- Packing and shipping
For overseas customers, shipping and customs can add more uncertainty.
When I plan a project with customers, I always try to imagine the worst timing chain—delayed decisions, slow sample testing, shipping issues—and then build enough buffer so that the real schedule still feels comfortable.
Even with good planning, mistakes can happen. Understanding the most common errors around junction box projects helps to avoid extra stress and cost.
Common Mistakes to Avoid When Making a Junction Box

Overdesigning or underdesigning the enclosure
Overdesign:
- Unnecessary stainless steel in clean indoor areas
- Very high IP ratings without real need
- Oversized boxes that waste space and cost
Underdesign:
- Boxes that are too small for wiring
- Insufficient sealing in dusty or wet environments
- Thin walls in areas with vibration or heavy cables
Ignoring real installation conditions
Drawings often show a clean wall and perfect mounting. Reality is different:
- Uneven surfaces
- Shared space with pipes, ducts, and other equipment
- Hard-to-reach corners in machines
I try to picture the installer standing with the box in hand; if I cannot see a simple, safe way to mount and wire it in that real environment, something in the design is not finished.
Poor communication with manufacturers
Common communication issues:
- Vague notes like “good quality required” without measurable criteria
- Changing key parameters late in the process
- Not sharing final installation photos or constraints
Choosing price over reliability
Price pressure is real. However:
- Using very cheap gaskets or glands often ends with water ingress
- Saving a few dollars on material can lead to expensive field failures
- Choosing suppliers only by lowest quote ignores service and problem-solving ability
A small internal checklist for many buyers is useful:
| Question | Yes/No |
|---|---|
| Does the design match real conditions? | |
| Are materials and ratings clearly defined? | |
| Is there space for service and expansion? | |
| Are we sure the cheapest quote is safe? |
When all these points line up, the final step is to step back and look at the full picture: why we made these choices and how they support long-term success.
Conclusion

When I look back at all the junction box projects I have been part of, one simple idea repeats itself: the box is small, but its impact on the project is large. A clear design, the right material, and honest conversation about ratings and cost can save many headaches later.
I think this way because I have seen both sides. On one side, there is the project where everyone “just picked a standard box” and hoped it would be fine. On the other side, there is the project where we spent a bit more time early, matched the box to the real environment, and gave installers enough space to work. The second type has fewer emails, fewer urgent calls, and much calmer production meetings.
The reason I put so much focus on things like cable entry layout, wall thickness, and mounting methods is not to make the design look clever. It is because these small details decide whether the electrician on site quietly finishes the job, or calls the engineer in frustration. That feedback, good or bad, always finds its way back to the brand.
From a manufacturer’s view here in China, I also see how communication and timing affect everything. When Davide or John sends us clear drawings, realistic timelines, and honest constraints, we can turn their ideas into stable, repeatable products. When information is vague or late, even the best factory struggles. That is why I encourage engineers and buyers to treat junction boxes as part of the core design, not an afterthought.
If you are planning a new project, this is my simple suggestion:
- Map your real environment honestly.
- Decide whether a standard box is truly enough.
- If not, design the box with the same care you give to your PCB or software.
And if you need a partner to turn a sketch or idea into a real aluminum or plastic junction box with custom cutouts, logos, and proper ratings, you are welcome to reach out to me and my team at MaidaTech. Even a rough concept is a good place to start a practical conversation.







