 Skip to content
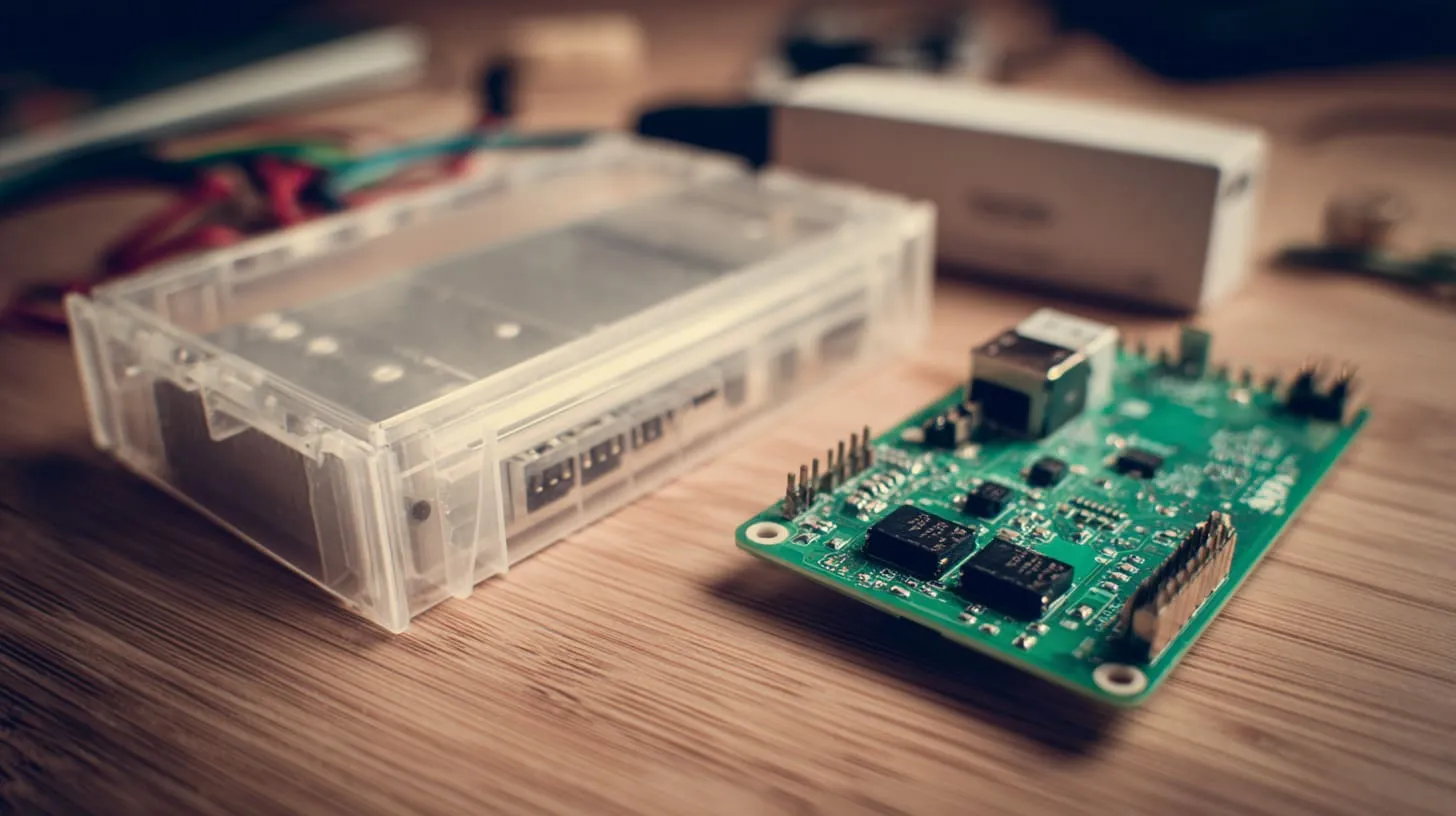
There’s a moment that comes up again and again in my daily work. A product is almost ready. The PCB is tested. The software runs fine. Then someone asks a simple question: “What are we putting this in?”
That’s where the plastic case quietly steps in.
A plastic case for electronics is not just a shell. It protects the board, defines the shape, controls heat, and often decides how the product feels in the user’s hand. In many projects I see, the enclosure is treated as a late decision. But in reality, it influences cost, reliability, and even how customers judge the product.
Custom plastic enclosures matter because no two electronics projects are the same. Some need impact resistance. Some need heat control. Others need to look clean and consumer-friendly. A standard box can work. But when it doesn’t, custom design becomes the only real option.
In this article, I’ll walk through how a plastic case for electronics is made—from early design thinking, to material choice, prototyping, and finally mass production. I’ll share what works, what often goes wrong, and how we approach these decisions in real projects.
Materials and Design Considerations
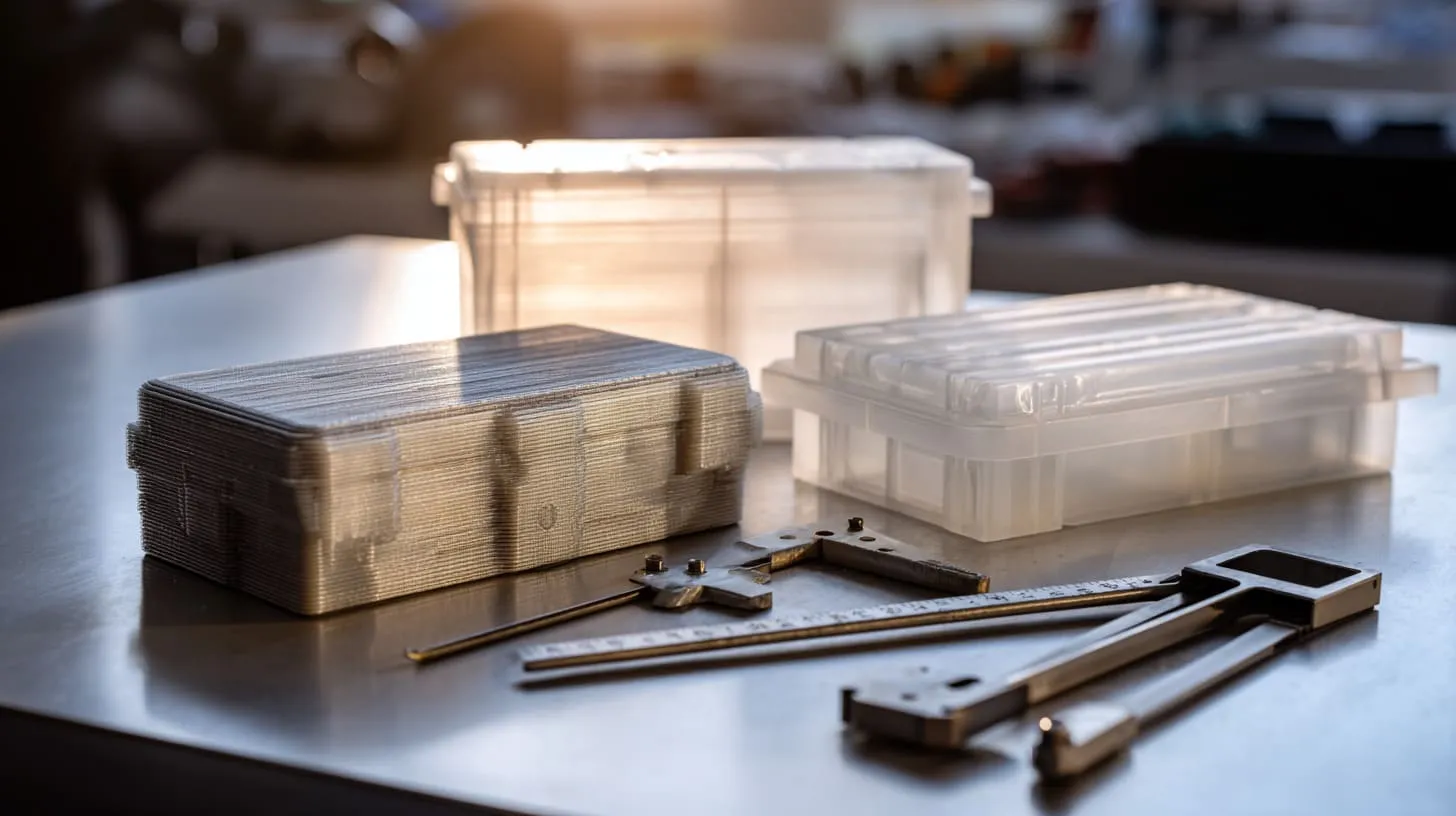
You can’t build a good house without picking the right bricks. And it’s the same with plastic cases—the material sets the tone for everything else.
Material Selection for Plastic Cases
Some clients come to us and just say: "Make it strong and cheap." Sounds simple, but plastic isn’t one-size-fits-all.
Here’s a quick comparison of the most commonly used materials:
| Material | Pros | Cons |
|---|---|---|
| ABS | Strong, impact-resistant, low-cost | Can yellow under UV, less heat resistant |
| Polycarbonate (PC) | Transparent, high heat resistance | More expensive |
| HIPS | Easy to machine, affordable | Lower strength |
| Nylon | Great for wear & heat resistance | Can absorb moisture |
| PVC | Flame retardant | Brittle in cold environments |
Each material brings its own personality. For rugged outdoor devices, PC wins. For inner electronics that won’t see sunlight? ABS does just fine.
Mechanical and Structural Design
Once we’ve nailed the material, structure is next. A good case must not only hold the PCB—it must protect it from knocks, static, and poor handling.
Here’s what I always check during early design reviews:
- Does the PCB float securely inside?
- Are the wall thickness and ribs optimized for injection molding?
- Are all port cutouts aligned and accessible?
- Do we have draft angles for clean mold release?
These are small things, but they decide if the case will just work or constantly frustrate users.
Thermal and Environmental Requirements
One time, a Finnish client sent us back 100 cases. They had warped in a hot warehouse. We later found out the vents were too tiny for their power-hungry processor.
It’s easy to forget heat and moisture. But when you do, plastic warps, electronics fry, and customers complain.
Key things I evaluate:
- Will the heat escape through vents, heatsinks, or forced airflow?
- Is there risk of water ingress? Should we add gaskets?
- Are the materials UV-rated for outdoor use?
Designing for the real world—especially harsh environments—takes extra steps. But it saves headaches later.
Aesthetic and Branding Elements
People often ask me, “Can you match the Apple look?” I smile and say, “We can try—but with your logo.”
Color and finish matter. They shape first impressions.
| Option | Description |
|---|---|
| Color | Can be molded in or painted after production |
| Texture | Matte, glossy, or soft-touch |
| Branding | Pad printing, laser engraving, silk screening |
| Special finishes | Metallic flakes, clear windows, rubber coating |
A logo isn’t just a stamp—it’s a silent salesman. I’ve seen basic boxes transform into premium products with just the right finish and font.
So we always ask: How do you want it to feel in your customer’s hands?
Let’s say we’ve picked the material and outlined the look. The next question naturally becomes—how do we test it fast?
Prototyping Methods
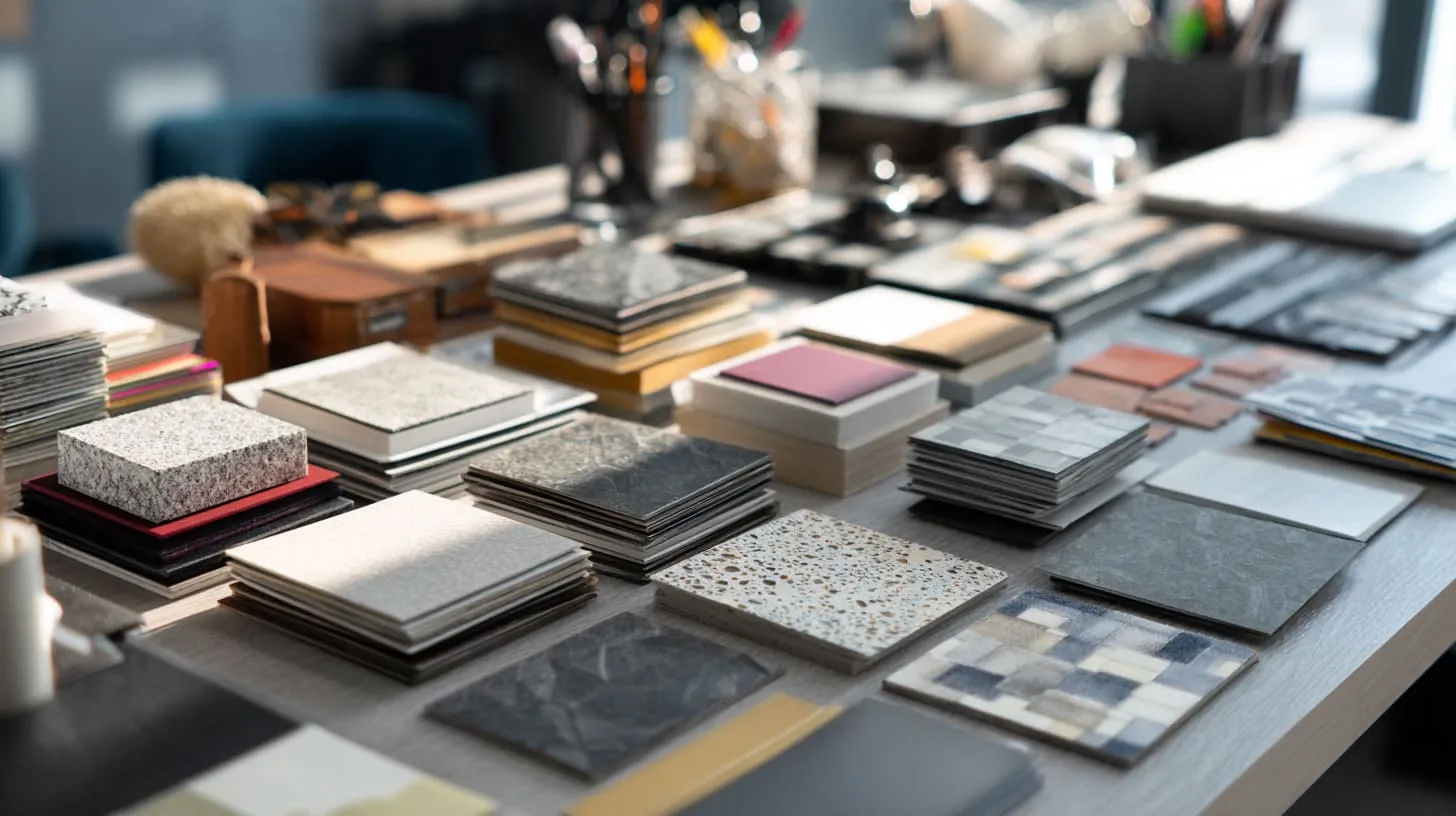
3D Printing / Additive Manufacturing
When I need speed, 3D printing is my best friend. FDM for rough concepts, SLA when we need smooth edges and snap-fits.
| Type | Strengths | Limitations |
|---|---|---|
| FDM | Fast, cheap | Rough surfaces |
| SLA | Smooth, detailed | Fragile, brittle |
| SLS | Strong, no support structures | Expensive |
We usually do 2-3 prototype cycles before tooling. It’s the perfect time to test size, fit, and even airflow.
CNC Machining / Subtractive Processes
If I want to mimic the final part more accurately, CNC machining comes in. It’s especially useful when clients want a pre-launch sample with real plastic—not 3D printed resin.
- Machined ABS or PC blocks
- Accurate to final injection quality
- Great for investor demos or thermal testing
John from Hungary once asked me to CNC his Raspberry Pi clone case for CES—got him 5 units in 4 days. He landed a distributor deal right there at the booth.
Vacuum Forming & Thermoforming
This method looks like magic. Heat a plastic sheet, press it onto a mold, and voila—a curved case.
It’s limited to simpler shapes, but cheap for large faceplates or inner trays.
Use it when:
- Your part isn’t full 3D
- You need quick & dirty samples
- The budget is tight
Silicone/Urethane Mold Casting
Low-volume, high-quality. It’s our go-to for short runs of 50–100 cases.
- We make a master model
- Pour silicone mold around it
- Cast urethane parts inside
Perfect when the final injection mold is too expensive, but the quality can’t be compromised.
Once we’ve picked the right prototyping method, it's time to move forward into the big leagues.
Mass Production Techniques
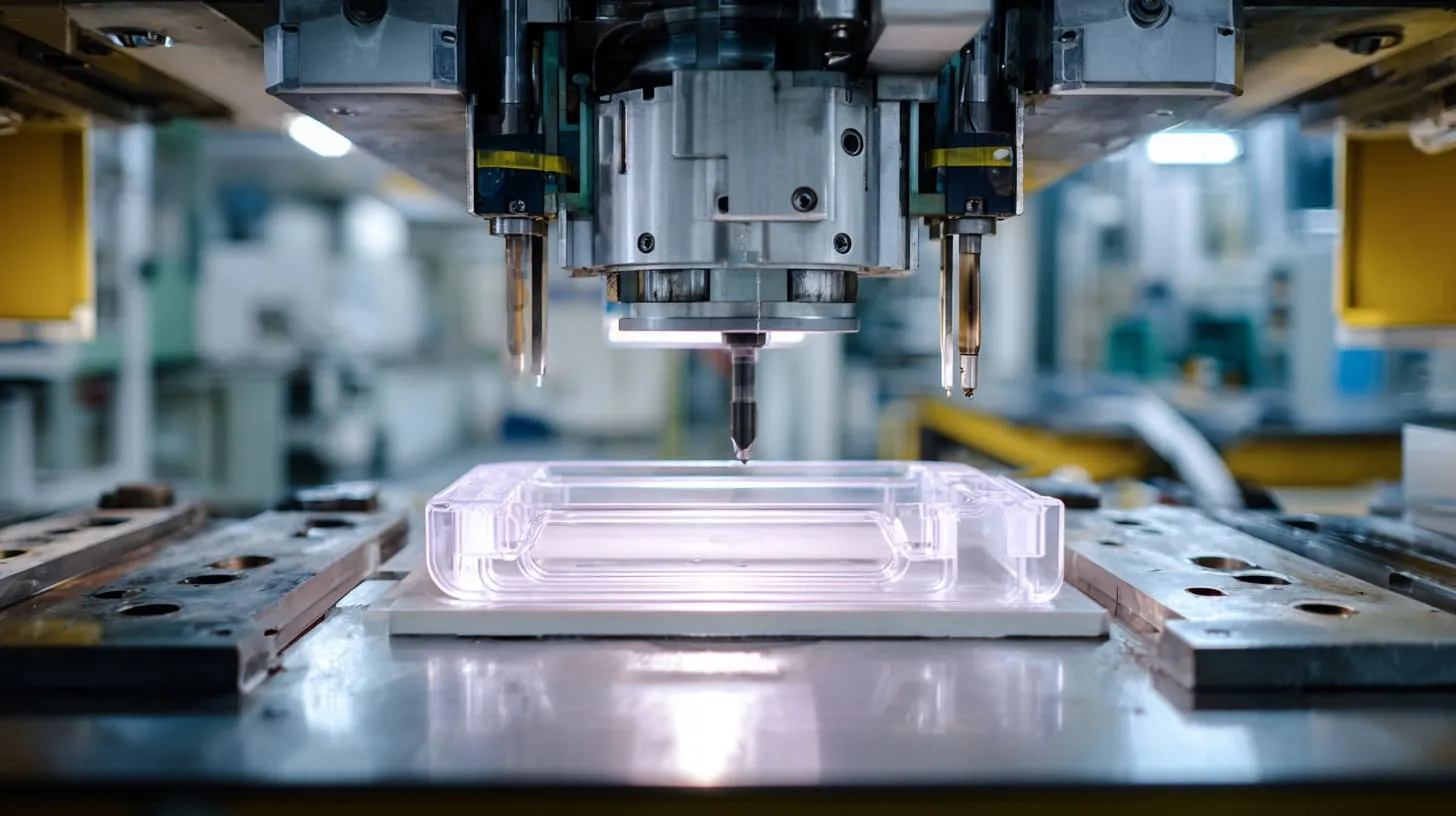
Injection Molding
The king of plastic case manufacturing. It’s expensive upfront—but unbeatable in volume.
Key stages:
- Close the mold
- Inject hot plastic
- Cool it down
- Eject the part
| Mold Material | Pros | Cons |
|---|---|---|
| Steel | Durable, for 100k+ shots | Expensive |
| Aluminum | Cheap, good for 10k–50k | Wears faster |
A good mold can last for years. But a badly designed one? That’s just wasted money.
Other Production Methods
For specific applications, we’ve used:
- Blow molding: for hollow enclosures
- Extrusion: for long, continuous profiles
- Insert molding: embedding metal screw threads
These aren’t as common but can be lifesavers for niche parts.
By now, we have a beautiful mold. But how do we keep production smooth and mistakes minimal?
Manufacturing Workflow

From Concept to Production
Here’s our typical process with OEM clients like Davide:
- CAD and 3D files from the client
- We do DFM (Design for Manufacturing) checks
- Prototype → feedback → confirm
- Mold build
- Pilot run
- Mass production
Simple on paper, but every step needs close attention.
Tooling and Mold Fabrication
Mold building is its own art. Cooling channels, vent placements, even how you polish the inner walls—these all affect part quality.
We work closely with mold shops in Dongguan who’ve done this for decades. Because a good mold isn’t just metal—it’s consistency.
Quality Control and Testing
You don’t want surprises when 5,000 units arrive. That’s why we run:
- Dimensional inspection with calipers and CMMs
- Assembly tests on real PCBs
- Drop tests from 1.5m height
- Aging tests under heat/moisture
We also invite clients to inspect the pilot batch via video or third-party labs.
Finishing and Assembly
Sometimes, we spend more time finishing than molding. Because in the client’s hands, only the final polish matters.
- Flash removal (trimming excess plastic)
- Surface polishing or bead blasting
- Logo printing
- Screw fitting, packaging
A perfect part can be ruined by a poor sticker. We don’t let that happen.
Now you may be wondering… this all sounds expensive. How much does it really cost?
Cost, Lead Time and Manufacturing Strategy

Key Cost Components
| Item | Cost Impact |
|---|---|
| Material Type | 10–20% |
| Mold Fabrication | 40–50% (one-time) |
| Production Volume | Per-unit cost drops as volume increases |
| Surface Finish | Adds 5–15% |
| Packaging & QC | Variable |
Davide once got quoted $2.50/unit but ended up paying $4 because he forgot about packaging and drop testing. Always factor in the hidden costs.
Reducing Lead Time and Risk
- Use existing case designs as a starting point
- Confirm drawings clearly before mold cutting
- Use fast channels like air freight for samples
- Communicate daily during mold testing
Speed comes from clarity. Confusion always delays.
Scaling from Prototype to Volume Production
Scaling is tricky. Sometimes, your pilot run is great—but the full batch? Not quite.
We keep close QC at each batch size, optimize mold cooling, and pre-test material batches for consistency.
Now that we've walked through the how-to, let's peek at what success stories look like.
Case Studies / Examples (Optional)
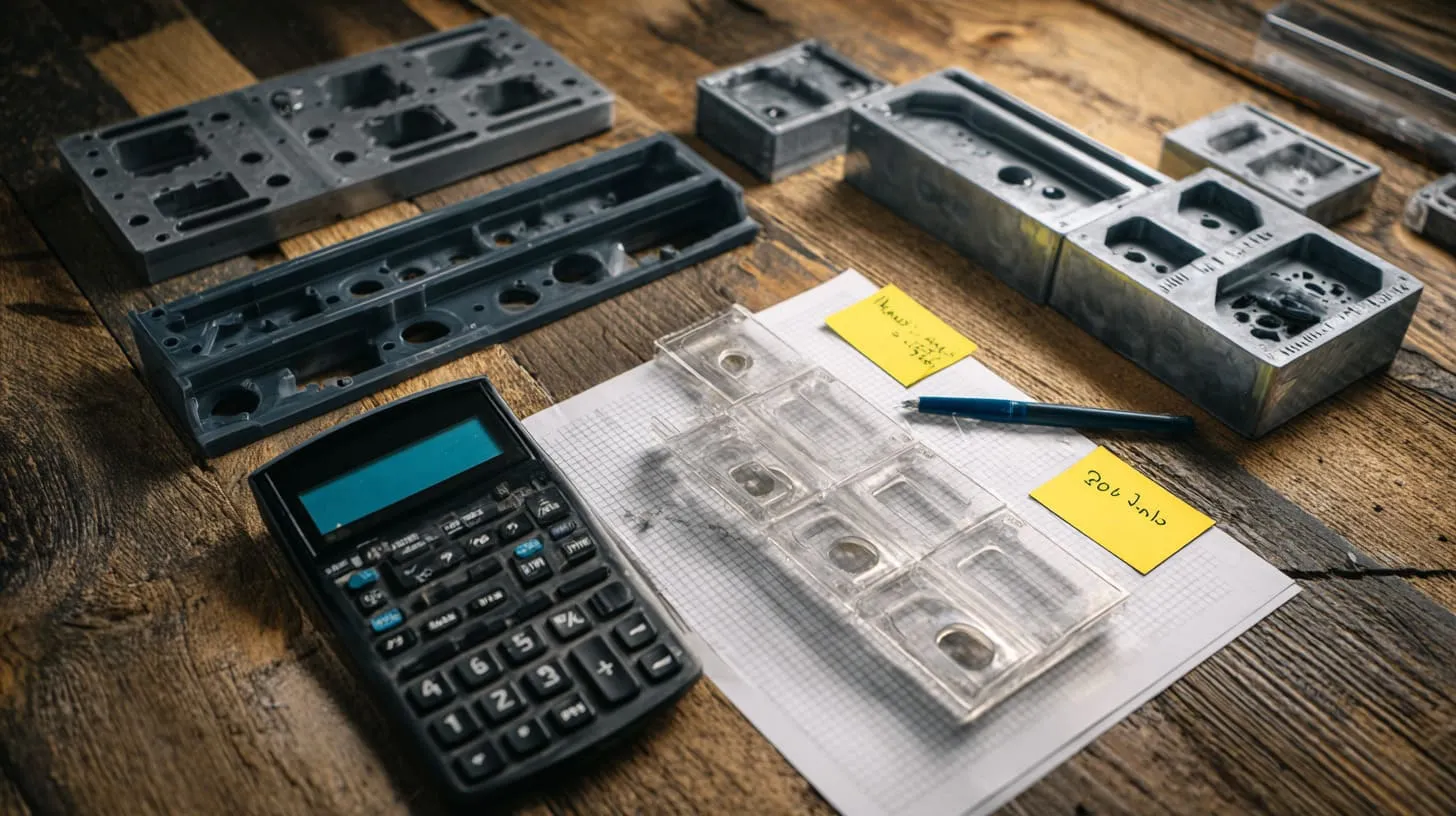
Example: Small Run Custom Project Case
A German maker wanted a 200-unit batch of a soft-touch enclosure for IoT devices. Budget was tight. We used silicone molds with black urethane and pad-printed logos.
He launched on Kickstarter and sold out in 3 weeks.
Example: Mid-volume Electronics Enclosure Production
A Canadian robotics firm needed 8,000 cases in 4 months. We CNC’d prototypes, built aluminum molds in 22 days, and hit delivery with 2 days to spare.
Sometimes speed and scale are possible—if the planning is solid.
Conclusion
Making a plastic case isn’t just about plastic. It’s about translating a vision into something real. Durable. Beautiful. Functional.
From material choice to prototyping, from tooling to shipping—I’ve learned that success always hides in the details.
If you’re planning a project, don’t wait till the end to think about your enclosure. Start now. It might just be the part your customers remember most.







