 Skip to content
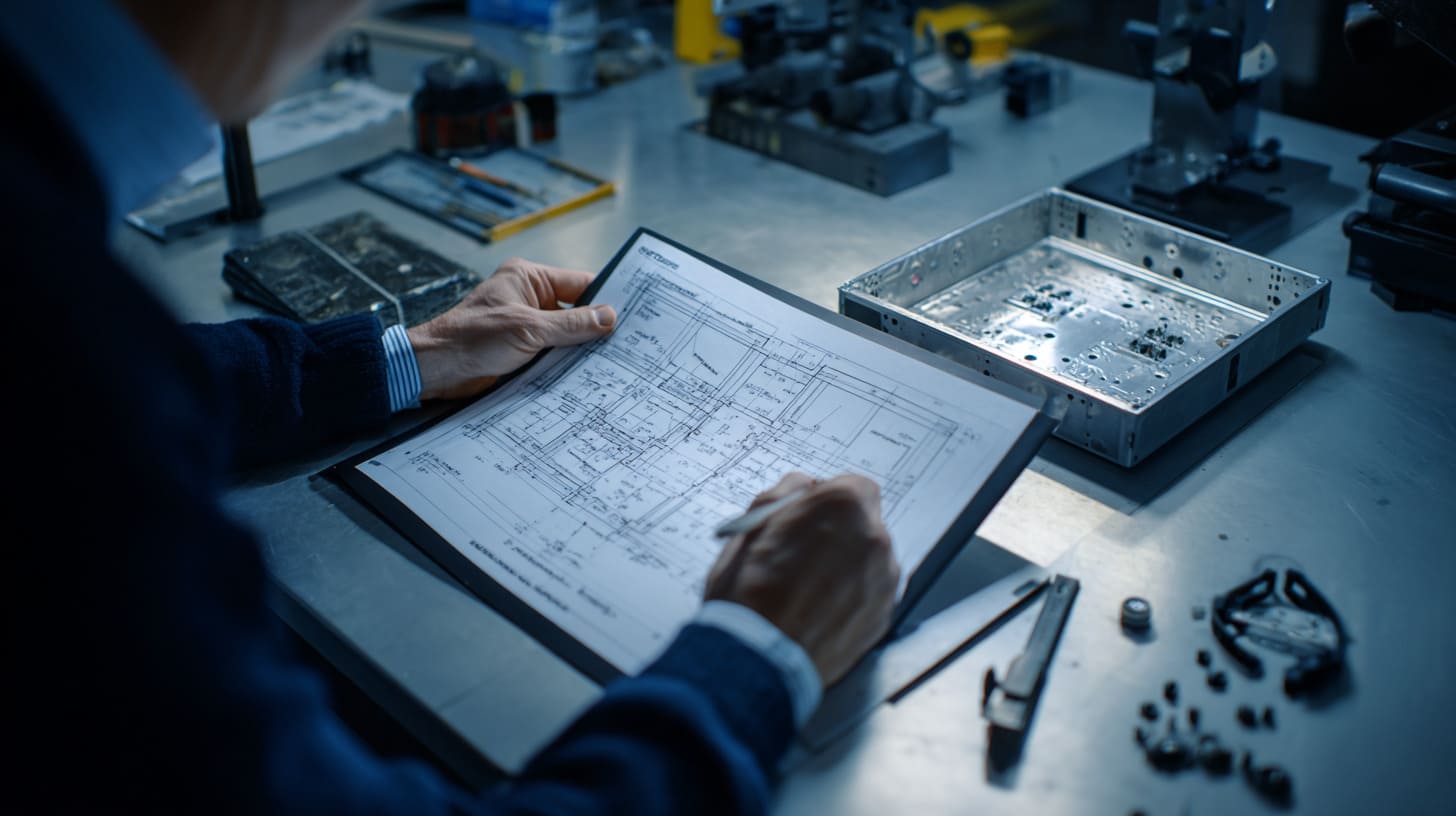
A drawing can look calm in a PDF. Nice outer shape. Clean dimensions. A few holes. Maybe a note for powder coating. Then the real work starts. The board gets mounted. The connector sits 2 mm too close to the wall. The bend line eats space that nobody counted. The heat builds up faster than expected. Then that “simple metal box” stops feeling simple.
I have seen this happen with both experienced buyers and first-time project owners. One customer sent me a design for a compact controller enclosure. The outer size looked perfect. The logo area was ready. The cable openings looked neat. But when I checked the inside, the terminal block and the lid screw path were fighting for the same space. On screen, it looked finished. In production, it was waiting to fail.
That is why I never treat sheet metal enclosure design as just a drafting task. I see it as a chain of decisions. Each one touches cost, assembly, shipping, lead time, and real-world use. A small mistake in one corner can spread across the whole project.
For buyers like Jackson, Davide, or John, this matters even more. They are not buying a metal shell just to fill a drawing. They need the enclosure to protect electronics, fit their brand, support installation, and arrive on time. That is a very different standard.
In this guide, I want to walk through the things I actually think about when I look at a sheet metal enclosure design. Not just theory. Not just textbook rules. The real checks. The real trade-offs. The small details that can save a project from turning into a very expensive lesson.
The hard part is not drawing a box. The hard part is making that box work in real life. That is where the next question starts.
What Is a Sheet Metal Enclosure and Why Does Design Matter?
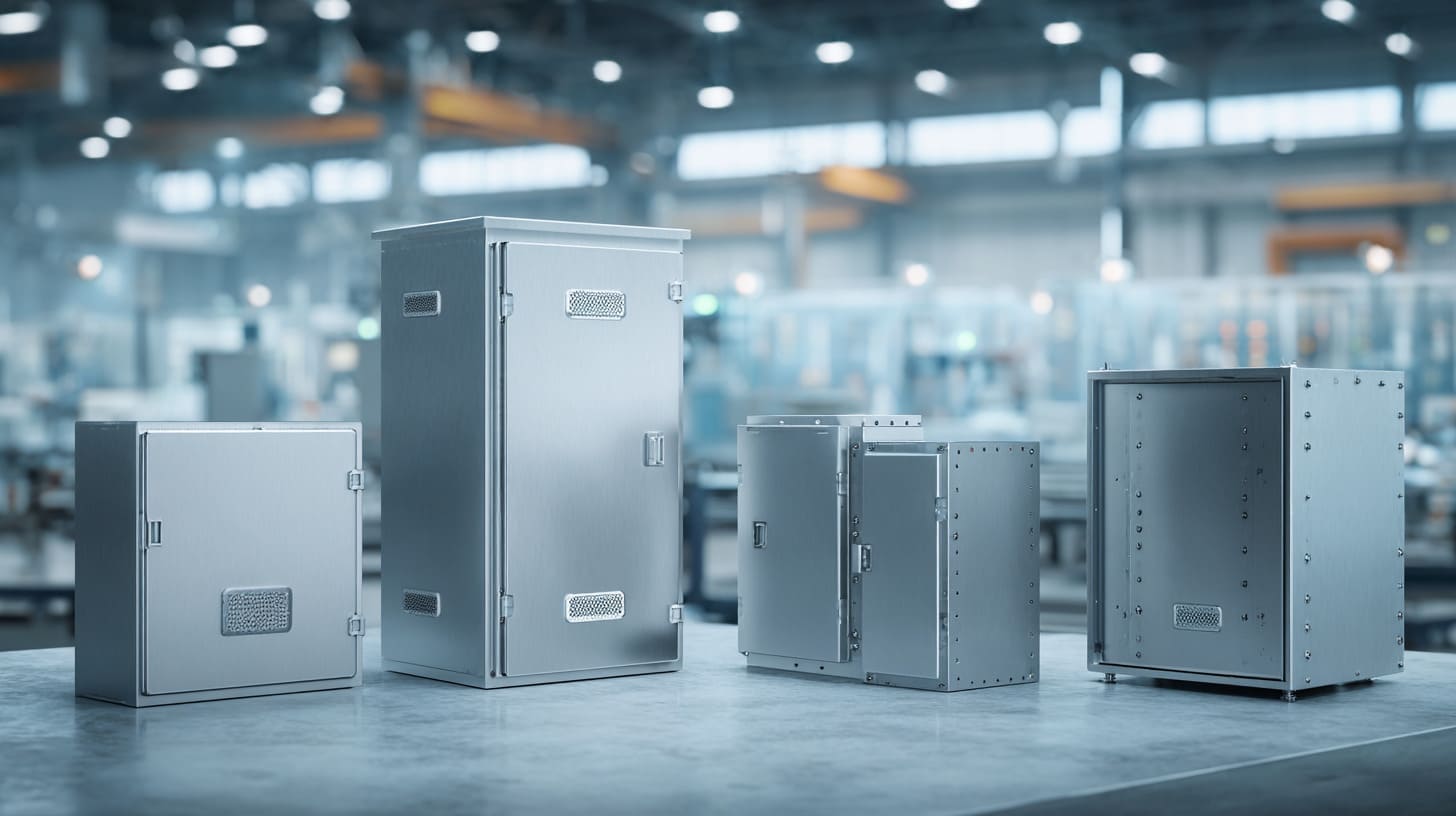
A sheet metal enclosure is a housing made from flat metal sheet that gets cut, bent, punched, welded, and finished into a usable structure. It protects electrical parts, control systems, boards, power units, and many other internal components. In simple words, it is the outer body that keeps the inside safe and usable.
I work with sheet metal enclosures for many kinds of products. Some are small desktop control boxes. Some are wall-mounted cabinets. Some are custom housings for industrial devices. Some are close in style to Raspberry Pi cases, but bigger, stronger, and built for custom boards or harsh environments.
What Defines a Sheet Metal Enclosure
The enclosure usually starts as a flat sheet. Then the factory cuts it by laser or punch. After that, the sheet goes through bending, joining, surface finishing, and final assembly. That process sounds direct. Still, the design has to respect each step.
A good sheet metal enclosure often includes:
- Panels or a folded shell
- Mounting holes
- Vent holes or fan cutouts
- Connector openings
- Screws, studs, or rivets
- Surface finish
- Internal supports or brackets
Here is a simple way I look at it:
| Part of the enclosure | What it does | Why it matters |
|---|---|---|
| Outer shell | Protects the internal parts | Affects strength, size, and appearance |
| Cutouts | Allows access to ports and switches | Affects fit and usability |
| Mounting features | Holds boards and hardware in place | Affects assembly and stability |
| Finish | Protects and improves appearance | Affects corrosion resistance and branding |
| Seals or gaskets | Blocks dust or water | Affects IP performance |
One thing I always keep in mind is this: an enclosure is not only a protective shell. It also controls how a product gets assembled, installed, touched, opened, repaired, and judged by the end user.
Common Applications in Industrial and Electronic Products
I see sheet metal enclosures used in many fields because they are flexible and cost-effective. Buyers choose them for both strength and customization.
Common uses include:
- Industrial control boxes
- Power supply housings
- Network and communication devices
- Smart device housings
- Machine interface panels
- Wall-mounted electrical cabinets
- OEM electronics boxes
- Test equipment housings
Some buyers want a heavy-duty steel cabinet. Some want a small aluminum enclosure with clean branding and tight board fit. The application changes the design priorities.
Why Poor Design Leads to Higher Costs and Delays
A weak design usually does not look weak in the first email. It looks fine until real manufacturing starts. Then the trouble shows up.
I have seen poor designs create problems like these:
- Holes too close to bend lines
- Lid screws blocked by internal parts
- Wrong material for outdoor use
- No room for cable bending
- Bad airflow path
- Tolerance stack-up that ruins assembly
- Overly complex structure that slows production
I do not judge a design by how nice the rendering looks. I judge it by whether the factory can build it smoothly and whether the customer can use it without fighting the product.
That is where costs quietly rise. One extra welding step. One redesign after sampling. One delayed approval. One missed ship date. None of those feel dramatic by themselves. Put them together, and the project starts bleeding time and money.
How Design Impacts Manufacturability and Assembly
Good design makes factory work cleaner. It makes parts easier to cut, bend, coat, assemble, and inspect. It also makes final installation easier for the user.
Bad design does the opposite. It turns easy steps into frustrating ones.
Here is a quick comparison:
| Design choice | Good result | Bad result |
|---|---|---|
| Proper bend allowance | Accurate formed part | Dimensional mismatch |
| Clean hole spacing | Easy punching and assembly | Deformation or tool limits |
| Reasonable tolerances | Consistent fit | Rework and rejection |
| Logical part structure | Faster assembly | Higher labor cost |
| Space for tools and hands | Easy service | Difficult maintenance |
This is why design matters so much. The enclosure is not only a metal box. It is a manufacturing decision, a cost decision, and a user-experience decision all at once.
A lot of buyers first focus on shape. That is normal. But after shape comes a much tougher question: what metal should actually be used?
What Materials Should You Choose for Sheet Metal Enclosures?
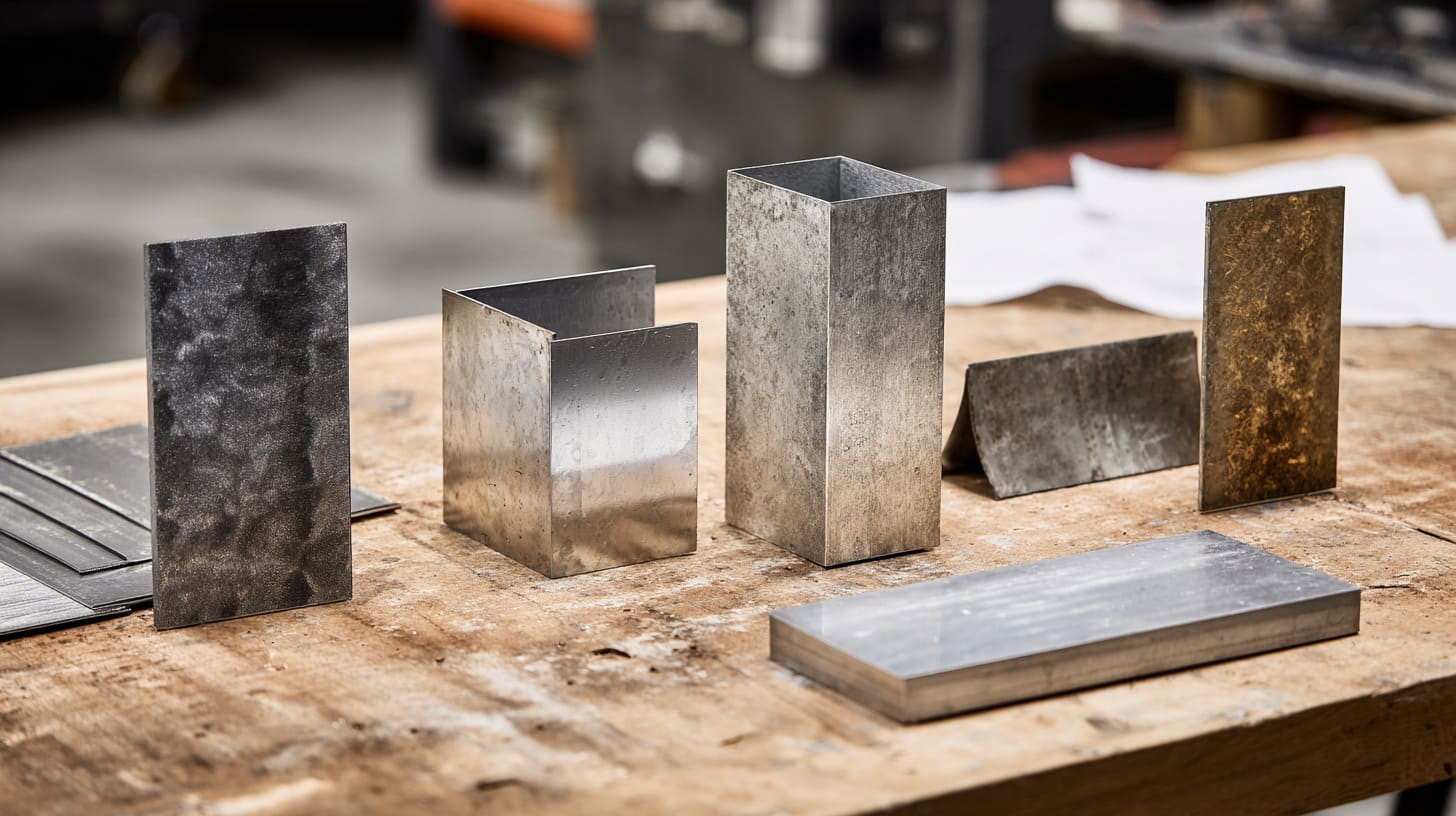
Material choice changes almost everything. It changes cost, weight, strength, corrosion resistance, finish options, and shipping feel. I have had buyers ask for stainless steel because they wanted something “better,” but when I checked the real use case, powder-coated steel or aluminum made more sense.
That is why I try not to treat material like a prestige label. I treat it like a tool. The right one depends on the job.
Common Materials: Steel, Stainless Steel, Aluminum
These are the materials I see most often in sheet metal enclosures:
| Material | Main strengths | Main limits | Common use |
|---|---|---|---|
| Cold-rolled steel | Strong, cost-effective, easy to process | Can rust if not protected | Indoor industrial enclosures |
| Galvanized steel | Better corrosion resistance than plain steel | Surface finish options can be limited | Utility boxes, general electrical use |
| Stainless steel | Strong corrosion resistance | Higher cost, harder processing | Food, marine, medical, harsh use |
| Aluminum | Light, corrosion-resistant, clean look | Softer than steel in some cases | Electronics, branded housings, portable units |
I usually start with use environment first. Then I check cost target. Then I check finish and weight needs. A buyer may love stainless steel on paper, but if the enclosure lives indoors in a dry room, that extra cost may not bring much value.
Differences Between Cold-Rolled Steel and Galvanized Steel
This is a choice many buyers do not think deeply about at first. They hear “steel” and assume it is all the same. It is not.
Cold-rolled steel is smooth and strong. It works very well when the enclosure will be powder coated or painted. It is often a practical choice for indoor products.
Galvanized steel has a zinc coating that helps resist rust. It is useful when extra corrosion protection is needed, especially in more exposed environments.
Here is the simple difference:
| Type | Surface | Rust resistance | Good for |
|---|---|---|---|
| Cold-rolled steel | Smooth and clean | Low without finish | Powder-coated indoor products |
| Galvanized steel | Zinc-coated | Better than plain steel | Utility and semi-exposed uses |
I have learned to be careful here. Some buyers choose galvanized steel for safety, but later want a premium cosmetic finish. That is where expectations can clash with the material’s surface character.
When to Use 304 vs 316 Stainless Steel
This question comes up a lot in custom projects, especially for outdoor or demanding applications.
304 stainless steel is the more common choice. It has good corrosion resistance and works well in many indoor and outdoor conditions.
316 stainless steel has stronger resistance against chlorides and more aggressive environments. It is better for coastal, chemical, marine, or washdown-heavy settings.
| Stainless grade | Best for | Main advantage | Cost level |
|---|---|---|---|
| 304 | General outdoor and industrial use | Good balance | Lower |
| 316 | Marine, chemical, coastal use | Better corrosion resistance | Higher |
I do not automatically say 316 is the smart choice just because it sounds safer. If the product is going into a normal indoor plant, 304 may already do the job well. Overbuying material is still a mistake if it hurts the project budget without solving a real risk.
Aluminum Grades and Their Typical Applications (5052 vs 6061)
Aluminum is one of my favorite materials for many custom enclosures because it is light, clean, and easier to handle in branding projects. Still, not all aluminum grades behave the same way.
5052 is very common in sheet metal enclosure work. It bends well and has good corrosion resistance.
6061 is strong and widely used, but in true sheet metal bending work, it can be less forgiving than 5052 depending on thickness and form.
| Aluminum grade | Best feature | Good for | Watch out for |
|---|---|---|---|
| 5052 | Better bendability | Bent sheet metal enclosures | Slightly lower structural stiffness than some other grades |
| 6061 | Strong and widely known | Machined parts, structural parts | Can crack more easily in tight bends |
A lot of people hear 6061 so often that they assume it must be the default best choice. I do not think that way. If the design has many bends, I look very carefully at whether 5052 would give a cleaner and safer result.
Trade-Offs Between Cost, Strength, Corrosion Resistance, and Weight
Material choice is always a trade-off. There is no magic metal that wins in every direction.
Here is how I often explain it to buyers:
| Priority | Material that often fits |
|---|---|
| Lowest cost | Cold-rolled steel |
| Better rust protection without going premium | Galvanized steel |
| Harsh environment resistance | Stainless steel |
| Lower weight and better branded look | Aluminum |
I often tell customers this in a very plain way: if the product needs to be lifted often, shipped internationally, or sold as a premium electronic device, weight and appearance start to matter much more than many people expect.
That is the kind of detail that shifts the whole design path. Once the material is chosen, the next question gets very physical very fast: how thick should the metal actually be?
How Do Thickness and Structural Strength Affect Your Design?
Thickness looks like a small number on the drawing. 1.0 mm. 1.5 mm. 2.0 mm. Easy to write. Harder to judge well. That number changes stiffness, weight, bend behavior, cost, and even how the enclosure feels in the user’s hand.
I have held two enclosures with almost the same outer size and shape. One felt solid and confident. The other flexed when I pressed the side panel. That difference often starts with thickness and structure, not surface finish.
Standard Sheet Thickness Options and Selection Criteria
There is no one perfect thickness for every project. The right choice depends on enclosure size, load, mounting method, use environment, and price target.
Common thickness ranges I see:
| Thickness | Typical feel | Common use |
|---|---|---|
| 0.8 mm | Light and economical | Small indoor housings |
| 1.0 mm | Common starting point | General electronics enclosures |
| 1.2 mm | Better stiffness | Medium-size housings |
| 1.5 mm | Stronger build | Industrial enclosures |
| 2.0 mm+ | Heavy-duty | Large cabinets or high-abuse use |
I do not pick thickness by habit. I first look at panel size. A small box can work well at 1.0 mm. A larger door panel at the same thickness may feel weak and noisy.
Load-Bearing Requirements and Structural Integrity
Some enclosures only need to cover and protect electronics. Others need to support transformers, power supplies, heavy connectors, or mounting stress from wall installation.
That changes the design.
Here are the questions I ask:
- Will the enclosure support heavy internal parts?
- Will users press buttons on the front panel often?
- Will the box be wall mounted?
- Will it be opened and closed many times?
- Will vibration or transport shock matter?
One detail that gets missed a lot is how the enclosure behaves after shipping, not just after production. A design may pass inspection in the factory and still get bent edges or loose alignment after a long trip if the structure is too soft.
Preventing Deformation and Vibration Issues
Thin sheet metal can work very well. Still, wide flat areas can create trouble. They can flex, vibrate, drum, or deform. This gets worse in larger enclosures or in equipment that runs with fans, motors, or repeated handling.
Some common causes of weakness:
- Large unsupported flat panels
- Thin material on wide surfaces
- Poor support near mounting points
- Too many cutouts in one area
- Heavy internal parts hanging from weak surfaces
A practical way to think about it is this:
| Risk | What often causes it | Better design move |
|---|---|---|
| Side panel flex | Large flat wall | Add bends or stiffening features |
| Lid vibration | Thin top panel | Increase thickness or add support |
| Mounting area distortion | Heavy component load | Reinforce locally |
| Connector panel weakness | Too many close cutouts | Add bracket or increase material |
Reinforcement Methods: Ribs, Bends, and Brackets
I do not always solve strength problems by using thicker metal. Sometimes that is the lazy answer. It works, but it raises cost and weight.
Better reinforcement can come from smart geometry.
Common options include:
- Return bends on edges
- Embossed ribs
- Internal support brackets
- Welded or riveted stiffeners
- Folded corners
- Local reinforcement plates
| Reinforcement method | Main benefit | Best use |
|---|---|---|
| Return bend | Adds stiffness to panel edge | Covers, doors, lids |
| Rib or emboss | Improves panel rigidity | Broad flat surfaces |
| Internal bracket | Supports mounted items | Heavy internal hardware |
| Folded structure | Stronger overall shell | Main body design |
A lot of weak enclosures are not weak because the metal is too thin. They are weak because the shape is too simple for the loads it needs to carry.
Balancing Strength vs Cost Efficiency
There is always a tension here. Stronger often means heavier or more expensive. Lighter often means less forgiving. The right answer depends on the product.
I usually compare choices like this:
| Goal | Likely direction |
|---|---|
| Lower cost and weight | Use thinner sheet with smart bends |
| Premium strength feel | Thicker material and reinforcement |
| Better shipping efficiency | Avoid unnecessary weight |
| Higher durability | Support key stress areas carefully |
I pay close attention to how the user will touch the enclosure, not just how the engineer will draw it. A panel that flexes under normal hand pressure can make the whole product feel cheaper, even when the electronics inside are excellent.
Once thickness and structure are in place, the next challenge becomes very factory-specific. That is where manufacturability starts to decide whether a clean design stays clean in real production.
How Should You Design for Manufacturability (DFM)?
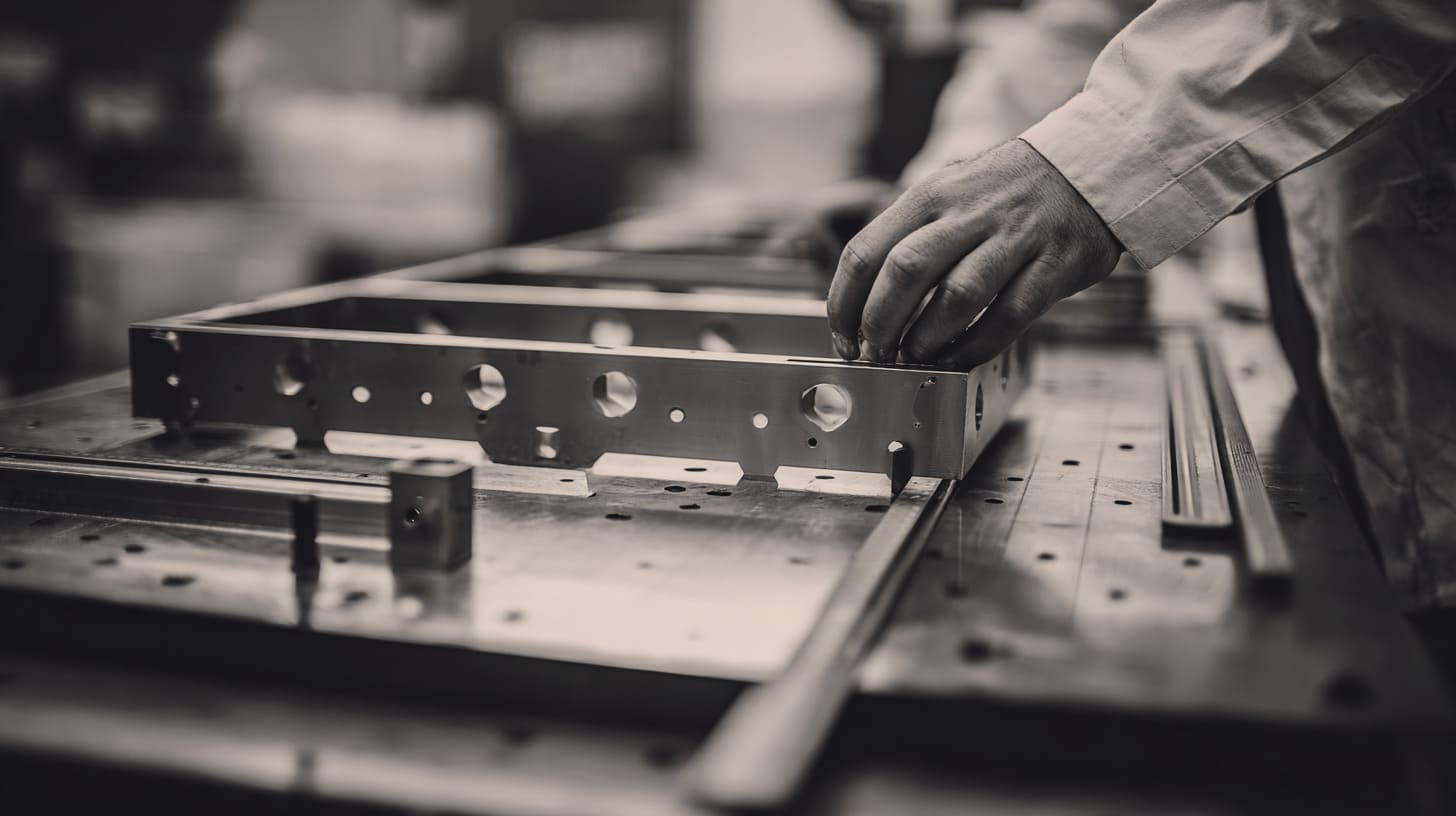
A design can be technically possible and still be a bad production design. That sounds harsh, but it is true. I have seen drawings that could be made, but only with extra setup, extra handling, extra scrap risk, and extra time. That is not good design. That is avoidable cost.
DFM means designing in a way that fits how the part will really be manufactured. It is one of the biggest differences between a project that flows and a project that gets stuck in back-and-forth revision.
Importance of DFM in Sheet Metal Fabrication
DFM is not about limiting creativity. It is about making sure the design is realistic, efficient, and repeatable.
When DFM is handled well, it helps with:
- Faster quotation
- Fewer revisions
- Smoother production
- Lower scrap rate
- Better consistency
- Easier assembly
I have found that the best projects are not always the most advanced-looking ones. They are the ones where the drawing respects the actual process from cutting to bending to final inspection.
Bending Limitations and Minimum Bend Radius
Metal does not bend like a drawing line. It stretches and compresses. It needs room. It has limits based on material type, thickness, and grain direction.
A common problem is asking for bends that are too tight for the chosen material.
| Design issue | What happens | Better approach |
|---|---|---|
| Bend radius too small | Cracking or distortion | Match radius to material and thickness |
| Multiple close bends | Tool interference | Add spacing or redesign |
| Bend too near feature | Hole or edge deformation | Move feature farther away |
This is where many nice CAD models lose contact with reality. A part may look perfect flat on screen, but when I imagine the punch and die coming down, I can already see trouble.
Hole Placement Rules and Spacing Guidelines
Hole placement seems basic. Still, it causes a lot of production headaches.
Some bad examples I often see:
- Holes too close to bends
- Holes too close to edges
- Dense cutout areas with weak bridges
- Mounting holes that leave no tool clearance
These are not small issues. A hole near a bend can deform. An edge can tear. A wrench may not fit during assembly.
A simple guideline table looks like this:
| Feature | Why spacing matters |
|---|---|
| Hole to bend distance | Prevents distortion after forming |
| Hole to edge distance | Reduces cracking or weakness |
| Cutout grouping | Maintains panel strength |
| Tool access space | Makes assembly possible |
Tolerance Considerations for Cutting and Bending
Tolerance is where many people get either too loose or too strict. If it is too loose, parts do not align. If it is too tight, manufacturing cost rises for no practical benefit.
I try to think about tolerance in terms of function:
- Does this feature need exact alignment?
- Is this a visual surface or a hidden one?
- Does this part mate with another rigid component?
- Can the assembly absorb small variation?
| Feature type | Tolerance mindset |
|---|---|
| Cosmetic outer panel | Keep it visually clean |
| Connector opening | Fit must be controlled |
| Mounting hole group | Position matters for assembly |
| Hidden cover edge | May allow a looser tolerance |
The mistake I see often is giving tight tolerance to everything. That looks careful, but it can punish the project without improving the result.
Avoiding Complex Features That Increase Production Cost
Complexity has a price. Sometimes that price is worth paying. Often it is not.
Features that can raise cost fast include:
- Too many bends
- Tiny tabs and slots
- Unusual forming features
- Many welded joints
- Mixed fastening methods
- Cosmetic details that force extra handling
I have learned to ask one plain question before approving a tricky feature: does this detail help the product work better, or does it only make the drawing feel clever?
That question saves money more often than people think.
When DFM is handled well, the part becomes easier to build. Then another issue comes into view, and it is one many buyers only notice after testing: heat.
What Are the Key Considerations for Thermal Management?
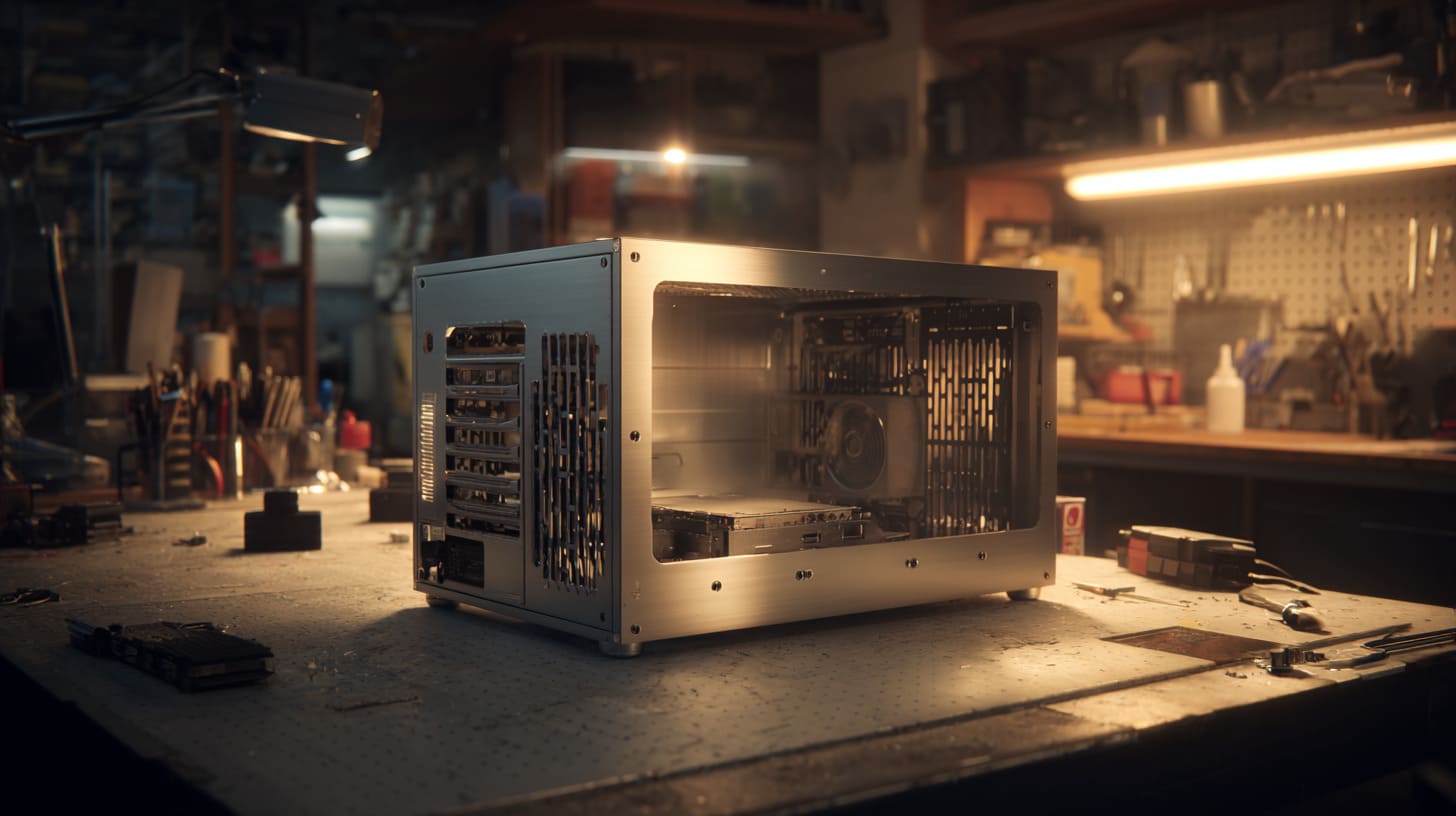
Heat can ruin a good-looking enclosure very quietly. The shell may look sharp. The finish may look perfect. The logo may be clean. Still, if the inside runs too hot, the product loses reliability, component life, and user trust.
I have seen projects where the enclosure looked professionally designed, but the internal temperature told a different story. A few missing vents. A blocked fan path. A board placed too close to a hot wall. That was enough to turn a decent design into a problem.
Why Heat Dissipation Is Critical in Enclosures
Electronic parts create heat. Some create a little. Some create a lot. If the enclosure traps that heat, the internal temperature climbs.
That can cause:
- Reduced component life
- Performance instability
- Unexpected shutdown
- User discomfort
- Failure in hot environments
Heat is not only about the hottest component. It is also about how the enclosure handles the full thermal path.
Passive Cooling Methods (Vents, Heat Sinks)
Passive cooling uses no powered airflow. It relies on natural heat movement and good enclosure design.
Common passive methods:
- Vent slots
- Mesh openings
- Heat sinks
- Better internal spacing
- Using the enclosure body as a heat path
| Passive method | Best use | Limitation |
|---|---|---|
| Vent slots | Low to medium heat load | Needs good airflow path |
| Heat sink | Local hot component control | Needs space |
| Thermal contact to housing | Aluminum housings | Depends on layout |
| Open spacing inside | Basic heat relief | Limited in compact designs |
I often prefer passive cooling when noise, dust control, and maintenance matter. Fans solve some problems, but they can also create new ones.
Active Cooling Options (Fans, Airflow Design)
When passive cooling is not enough, active cooling becomes necessary. That usually means fans and forced airflow.
Still, a fan is not a shortcut. It needs the right path.
A useful airflow design considers:
- Cool air entry
- Hot air exit
- Direction across heat sources
- Dust exposure
- Serviceability
| Active cooling part | Why it matters |
|---|---|
| Fan size | Affects airflow volume and noise |
| Fan position | Controls actual cooling path |
| Intake and exhaust design | Prevents heat stagnation |
| Filter access | Helps maintenance in dusty use |
I get nervous when I see a fan added late in the design just to “fix heat.” That often means the original layout was not thought through carefully enough.
Placement of Ventilation Holes and Airflow Paths
Vent holes are not decoration. Their location matters more than many people think.
Bad vent placement can result in:
- Hot air trapped in corners
- Fan recirculation
- Dust entering sensitive areas
- Weak cooling effect despite open holes
I usually look at the airflow path like a route, not a feature. Where does cool air come in? What does it pass over? Where does hot air leave?
That sounds simple, but it changes the design a lot.
Impact of Material on Heat Transfer
Material also affects thermal behavior. Aluminum is especially useful because it transfers heat better than steel in many enclosure situations.
| Material | Thermal behavior | Design meaning |
|---|---|---|
| Aluminum | Better heat transfer | Good for heat-spreading enclosure bodies |
| Steel | Lower heat transfer | May need stronger vent strategy |
| Stainless steel | Lower thermal efficiency than aluminum | Less helpful as a heat path |
One of the first things I examine in a compact electronics housing is whether the enclosure body is helping remove heat or simply trapping it. That small judgment often points me toward aluminum or a better vent plan right away.
Heat leads naturally into another issue that is just as practical: the inside has to fit real parts, real cables, and real hands.
How Do You Plan for Internal Layout and Component Integration?
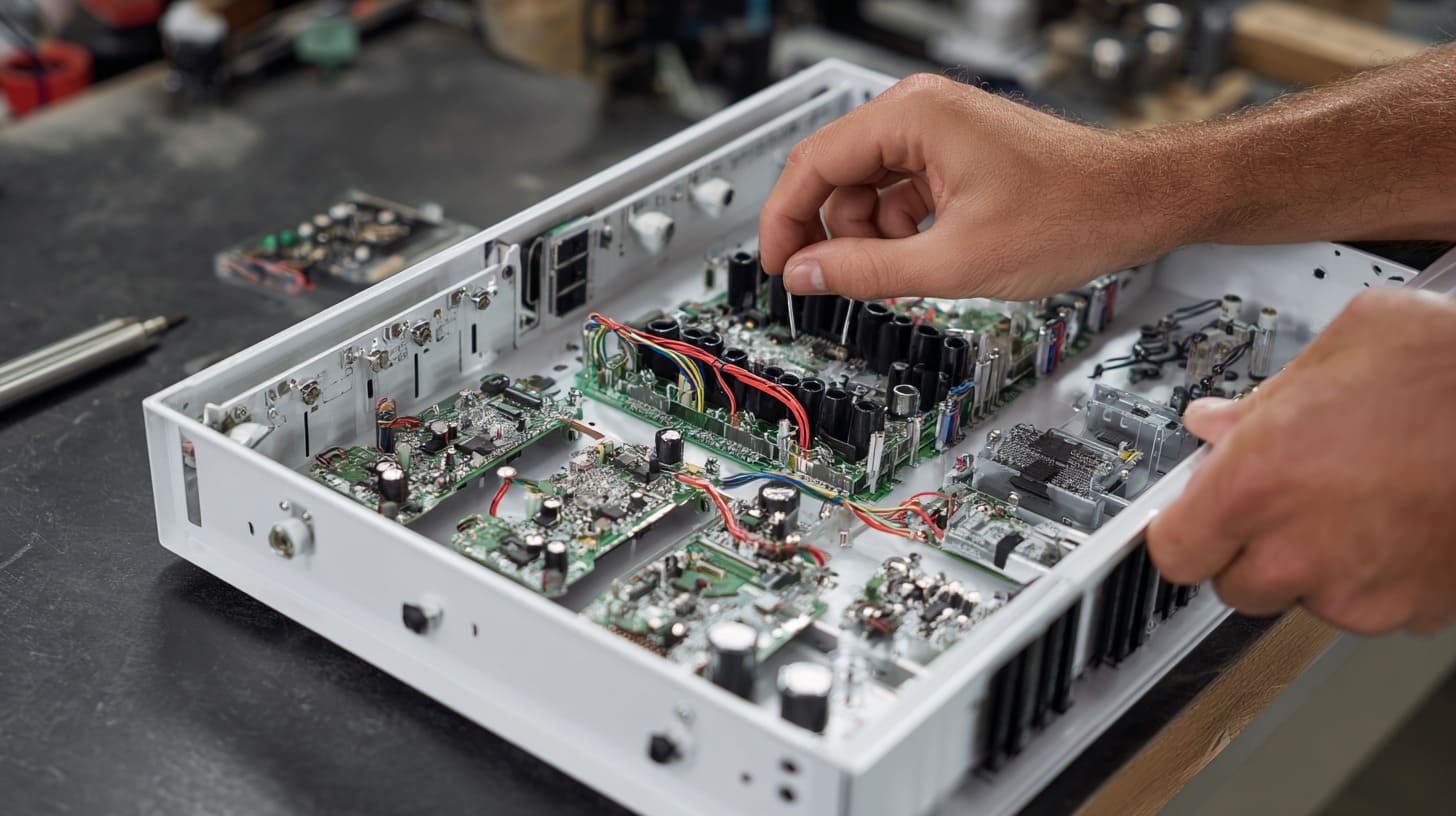
A sheet metal enclosure is never empty for long. Once the PCB, power unit, terminal block, cable set, and mounting hardware arrive, the available space starts shrinking fast. This is why internal layout is one of the first things I test mentally when I review a design.
A box can have the right outside size and still fail badly inside.
PCB Mounting and Spacing Considerations
The PCB is often the heart of the enclosure. It needs stable support, safe spacing, and room for connectors and service access.
I usually check:
- Board size and hole pattern
- Distance from walls
- Clearance above tall components
- Screw or standoff access
- Electrical safety spacing
| PCB layout issue | Risk |
|---|---|
| Board too close to side wall | Connector clash or short risk |
| Low top clearance | Lid hits components |
| Poor support point location | Board flex during use |
| Hard-to-reach screws | Slow assembly |
A very common mistake is designing around the board outline only. The board outline is not enough. The parts on the board matter just as much.
Cable Routing and Connector Access
Cables are never as obedient as they look in CAD. They bend. They need radius. They take space. They get pulled by installers. They need hand access.
I do not trust a layout until I can picture how a real person plugs, routes, and secures the cables.
Things I watch closely:
- Cable bend space
- Strain relief area
- Access to ports
- Separation from hot parts
- Risk of pinching during lid closure
| Cable factor | Why it matters |
|---|---|
| Bend radius | Prevents stress and poor fit |
| Port spacing | Helps user access |
| Cable exit direction | Affects installation space |
| Fixing points | Reduces movement and wear |
Mounting Points and Standoff Design
Mounting points look small on the drawing, but they control how safely and cleanly internal parts sit in place.
Common support methods include:
- PEM studs
- Welded studs
- Screwed standoffs
- Brackets
- Rail mounts
Each method has trade-offs in cost, strength, and assembly speed.
| Mounting method | Strength | Flexibility | Cost impact |
|---|---|---|---|
| PEM stud | Good | Good | Moderate |
| Welded stud | Strong | Lower after fabrication | Higher labor |
| Screw standoff | Simple | Easy to change | Moderate |
| Bracket mount | Very flexible | High | Depends on structure |
Accessibility for Maintenance and Upgrades
Not every enclosure needs regular service. Still, many do. That means the design should consider real access, not just final fit.
Questions I ask:
- Can the lid open easily?
- Can the user reach key parts?
- Can a technician replace a board without removing everything?
- Are labels and connectors visible?
- Can tools fit where needed?
I have seen designs that technically worked but made basic maintenance miserable. The product was not broken. The access strategy was.
Avoiding Interference Between Internal Components
Interference problems can come from many places:
- Connector and wall collision
- Cable and fan collision
- Screw path blocked by component
- Lid touching tall part
- Bracket blocking port
These are small geometry conflicts. Still, they can stop production fast.
| Interference type | Typical cause | Result |
|---|---|---|
| Lid clash | Height not checked | Assembly failure |
| Port mismatch | Opening not aligned | Rework |
| Cable pinch | No routing allowance | Reliability risk |
| Tool access block | Tight internal spacing | Slow service |
I tend to look for the “invisible crowding” inside an enclosure. A design can appear spacious until screws, cable heads, and finger space are added mentally. That is usually where the truth shows up.
Once the inside is working well, the outside starts to matter in a different way. That brings me to finishing.
What Role Does Surface Treatment and Finishing Play?
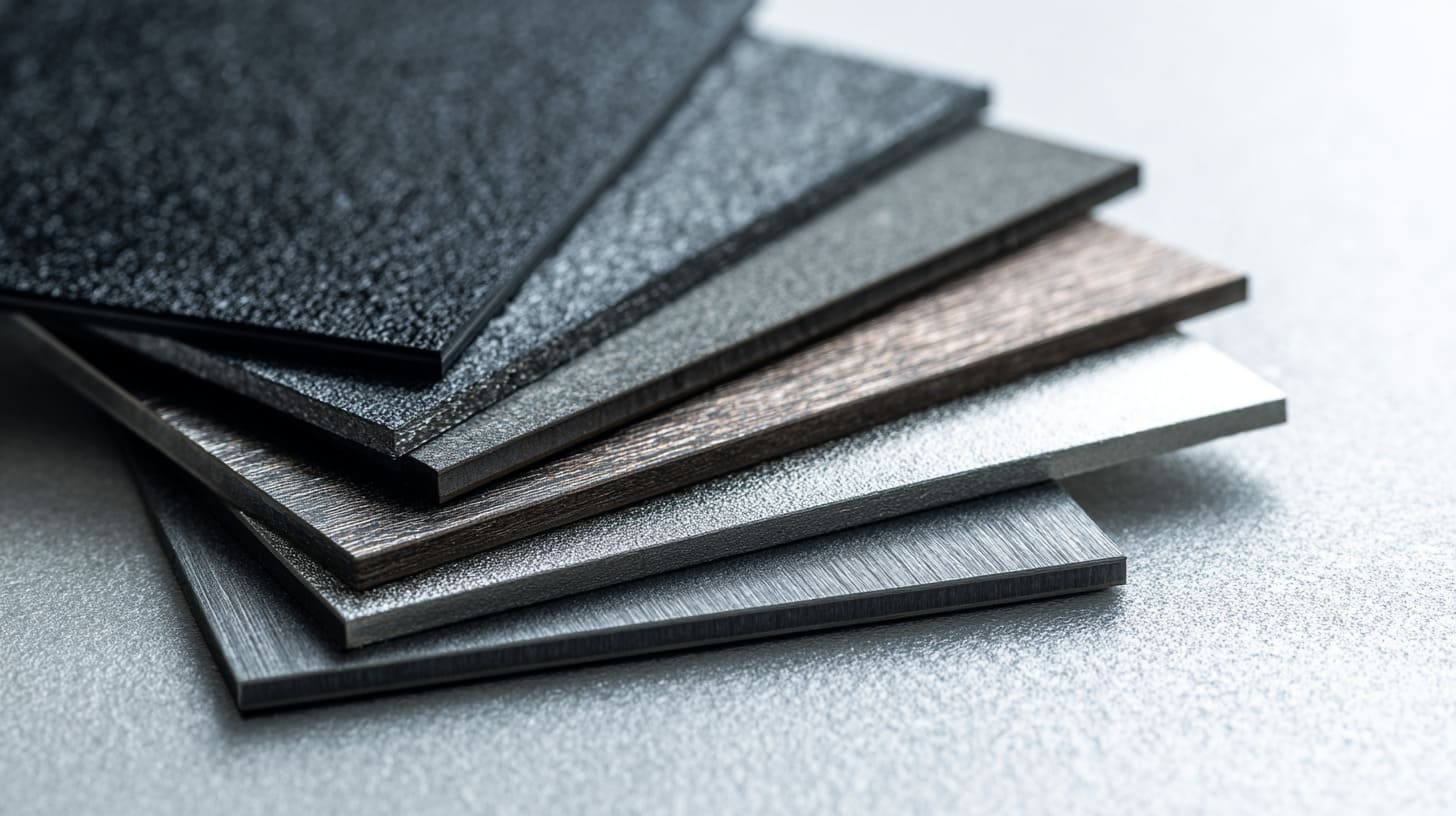
Finish changes both protection and perception. It decides how the enclosure handles corrosion, scratches, branding, and customer first impressions. I have seen buyers spend weeks on structure and then rush the finish choice at the end. That usually leads to regret.
A finish is not a decorative afterthought. It is part of the product strategy.
Common Finishes: Powder Coating, Anodizing, Plating
These are some of the most common finish options I see:
| Finish | Common material | Main benefit |
|---|---|---|
| Powder coating | Steel, aluminum | Durable color surface |
| Anodizing | Aluminum | Clean metal look and corrosion resistance |
| Plating | Steel and some other metals | Surface protection or conductivity |
| Brushing/polishing | Stainless steel, aluminum | Premium appearance |
Powder coating is practical and popular. Anodizing is often preferred for aluminum housings with a cleaner, more technical appearance.
Corrosion Protection and Environmental Durability
The finish has to match the use environment. Indoor equipment has different needs from outdoor or humid-use products.
I usually compare it like this:
| Environment | Finish priority |
|---|---|
| Dry indoor use | Appearance and basic protection |
| Humid indoor use | Better corrosion resistance |
| Outdoor use | Strong weather resistance |
| Harsh industrial use | Durability and chemical resistance |
A clean-looking finish that chips, fades, or rusts too quickly can damage the product image fast. That is why I do not separate aesthetics from durability. In real life, they affect each other.
Aesthetic Considerations for Branding and Appearance
Many buyers want the enclosure to support their brand. That means color, texture, logo clarity, and overall feel matter.
Things that shape appearance:
- Matte or gloss finish
- Color accuracy
- Surface smoothness
- Logo contrast
- Edge quality after fabrication
| Branding goal | Good finish direction |
|---|---|
| Premium tech look | Black anodizing or clean matte coating |
| Industrial utility look | Texture powder coating |
| Clean OEM branding | Consistent surface and crisp logo area |
Impact of Finishing on Cost and Lead Time
Finishing affects more than appearance. It also affects schedule and budget.
Extra cost can come from:
- Special colors
- Multi-step surface prep
- Masking for functional areas
- Small-batch color matching
- Cosmetic quality requirements
Lead time can also grow when the finish has strict visual standards.
I often look at the finish sample before I look at the color code. The same color number can still look very different if the texture, gloss, or prep quality changes.
Choosing Finishes Based on Application Environment
The best finish depends on where and how the enclosure will be used.
| Use case | Finish approach |
|---|---|
| Consumer-facing device | Appearance and touch feel matter more |
| Industrial indoor box | Durability and cost balance matter |
| Outdoor equipment | Strong corrosion resistance matters |
| Branded OEM housing | Consistency and logo performance matter |
Once finish decisions start touching environment, the conversation naturally gets more serious. That is where IP rating enters the picture.
How Important Is IP Rating and Environmental Protection?

IP rating sounds technical, but the real question is simple: what needs to stay out, and how sure do I need to be? Dust? Rain? Splashing water? Hose-down cleaning? Outdoor weather? The answer changes the enclosure design in very practical ways.
I have seen some projects ask for a high IP rating almost by habit. That can be a mistake. Higher protection often means more sealing work, higher cost, harder assembly, and different ventilation strategy.
Understanding IP Ratings (IP54, IP65, IP67)
IP ratings describe protection against solids and liquids.
A very simple comparison:
| IP rating | General meaning |
|---|---|
| IP54 | Dust limited entry, splash protection |
| IP65 | Dust-tight, protected against water jets |
| IP67 | Dust-tight, protected against temporary immersion |
The rating target should come from real use, not from fear alone.
Sealing Methods: Gaskets, Foam, Silicone
To reach stronger protection, the enclosure usually needs sealing support.
Common sealing methods include:
- Rubber gaskets
- Foam strips
- Silicone sealing
- Compression seals
- Sealed cable glands
| Sealing method | Best for | Watch point |
|---|---|---|
| Gasket | Repeated lid opening | Compression consistency |
| Foam strip | Basic sealing | Aging and fit |
| Silicone | Fixed joints | Harder rework |
| Cable gland | Wire entry sealing | Port planning needed |
Designing for Dust, Water, and Outdoor Conditions
Environmental protection affects more than just seals. It changes layout, venting, hardware choice, finish choice, and drain strategy.
I check things like:
- Will the enclosure face rain directly?
- Is dust heavy and fine?
- Will it be mounted vertically or horizontally?
- Could water sit on the lid?
- Is there risk of pressure wash?
One thing that gets overlooked a lot is water path, not just water resistance. A design may have a gasket and still invite trouble if the top shape holds water around the seam.
Weatherproof vs Waterproof Design Differences
These words get mixed up all the time.
Weatherproof often means the enclosure can handle outdoor exposure like rain, dust, and sun within expected limits.
Waterproof suggests a much stronger level of sealing, often tied to specific test conditions.
| Term | Practical meaning |
|---|---|
| Weatherproof | Good outdoor resistance in normal exposure |
| Waterproof | Stronger resistance to water entry under defined conditions |
I get cautious when a buyer says “waterproof” in a broad way. That word sounds simple, but it needs exact definition or the project can drift into confusion.
Compliance Requirements for Different Industries
Some industries have stricter expectations. Food, medical, telecom, and outdoor electrical use often involve more formal design standards.
Typical concerns include:
- Safety compliance
- Sealing performance
- Material suitability
- Corrosion resistance
- Inspection requirements
The first thing I try to understand is not the label the customer wants printed on the spec sheet. It is the actual exposure the enclosure will face after installation. That is where the right protection level becomes clear.
Once environmental protection is defined, the design has to stay practical for assembly. That is where many “high-performance” designs start becoming awkward.
What Should You Consider for Assembly and Installation?
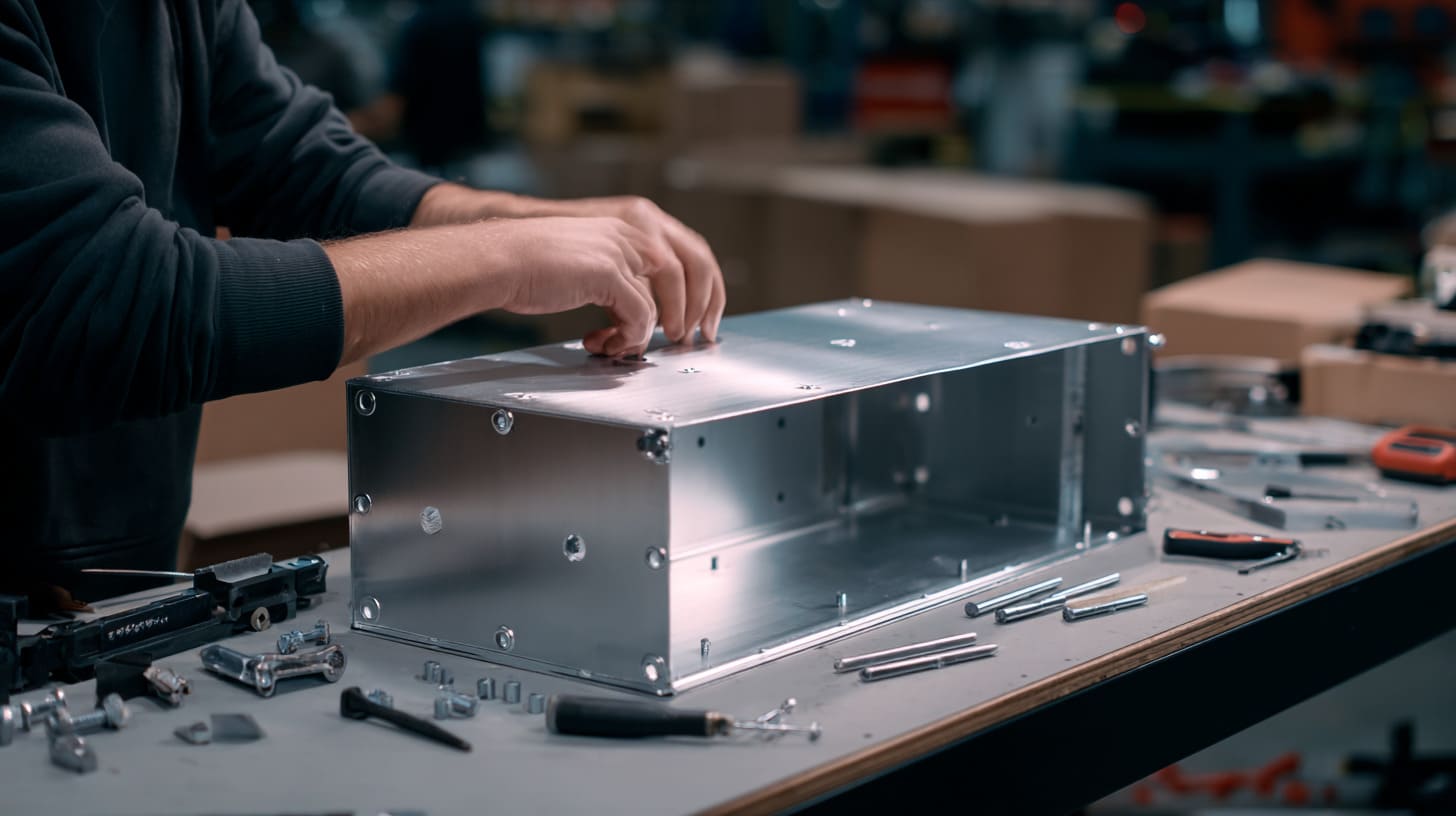
A design can be strong, sealed, and beautiful, then still frustrate everyone at assembly. I care a lot about this because assembly is where drawings meet real hands, real tools, and real time pressure.
A project that takes too long to assemble is not only a factory problem. It becomes a cost problem, a consistency problem, and sometimes even a service problem.
Fastening Methods: Screws, Rivets, Welding
Different joining methods serve different goals.
| Method | Main strength | Main limit |
|---|---|---|
| Screws | Easy to remove and service | Slower assembly |
| Rivets | Fast and simple | Hard to reopen |
| Welding | Strong and clean structure | More labor and heat effect |
I choose fastening based on how the enclosure will be used later. If the customer may open it for service, I avoid making everything permanent unless there is a very strong reason.
Modular vs Integrated Enclosure Design
Some enclosures are built as modular systems with separate panels and parts. Others use a more integrated shell structure.
| Approach | Benefit | Trade-off |
|---|---|---|
| Modular | Easier service and flexibility | More parts and hardware |
| Integrated | Cleaner structure and sometimes lower part count | Harder maintenance |
A modular design often helps custom OEM work because buyers may need to change one panel for a different connector set or logo layout.
Ease of Installation for End Users
Installation matters a lot in real use. A wall box, control housing, or machine-mounted enclosure has to fit real site conditions.
I think about:
- Screwdriver access
- Cable entry direction
- Mounting hole reach
- Label visibility
- Clearance around the enclosure
I have watched good products lose favor because installers found them annoying. That kind of feedback is easy to underestimate until it starts showing up in repeat orders.
Reducing Assembly Time and Labor Cost
Assembly cost grows quietly. A few extra screws. An awkward bracket. A hard-to-reach nut. A lid that needs careful balancing. These details look tiny. They add up very fast.
Ways to improve assembly:
- Reduce part count
- Standardize screws
- Use easy-access mounting features
- Avoid hidden fasteners where not needed
- Design with tool clearance in mind
| Assembly issue | Effect |
|---|---|
| Too many fastener types | Slower line work |
| Tight tool space | Operator frustration |
| Loose internal routing plan | Rework and inconsistency |
| Complex lid alignment | Longer cycle time |
Designing for Repeatable and Consistent Assembly
One smooth sample is not enough. The design has to assemble well again and again.
That means:
- Features should align naturally
- Hardware should fit without forcing
- Parts should not depend on operator luck
- Assembly steps should be simple to repeat
When I review assembly, I often imagine the tenth worker on a busy day, not the most careful engineer during prototype fitting. That picture tells me far more about whether the design is truly production-friendly.
By this point, the enclosure can work well. Still, many OEM projects need more than function. They also need identity.
How Do Customization and Branding Affect Design?

For many buyers I work with, the enclosure is part of the brand. It is not just a shell around electronics. It is what the customer sees, touches, and remembers. That is especially true for private label, re-brand, and custom OEM projects.
A blank metal box may work. A branded one often sells better.
Logo Engraving, Printing, and Labeling Options
Branding can be done in several ways:
| Method | Best for | Main note |
|---|---|---|
| Screen printing | Simple logos and text | Good for larger runs |
| Laser engraving | Durable marking | Clean and permanent |
| UV printing | Detailed graphics | Needs suitable surface |
| Labels | Flexible and low setup | Less premium feel |
I usually decide branding method based on both appearance and production quantity. A beautiful logo method that slows the project too much may not be the smart choice for a cost-sensitive run.
Custom Cutouts for Connectors and Interfaces
Customization often means more than logo work. It often includes:
- Connector cutouts
- Switch openings
- Display windows
- Mounting changes
- Bracket changes
These custom features can make the enclosure fit a specific product perfectly. Still, they need to be designed carefully so they do not weaken the part or complicate production too much.
Packaging Considerations for OEM/ODM Projects
Packaging is often left too late. I think that is a mistake. OEM customers often need:
- Branded cartons
- Protective inner packing
- Barcode labels
- Bulk pack planning
- Accessory separation
| Packaging factor | Why it matters |
|---|---|
| Surface protection | Helps prevent cosmetic damage |
| Label accuracy | Supports channel sales |
| Pack size | Affects shipping cost |
| Internal arrangement | Protects hardware and finish |
Designing for Rebranding and Private Label Clients
Some customers want a design that can support several brand versions. That means the enclosure should allow flexible logo zones, label areas, and maybe even small panel changes.
This is very common in B2B resale work.
A practical design can support:
- Different logos on the same body
- Region-specific labels
- Small connector changes
- Different packaging sets
Balancing Customization with Production Efficiency
Customization creates value. It also creates complexity. That balance has to be managed.
| Custom feature | Value | Possible cost impact |
|---|---|---|
| Custom logo | Strong branding | Low to moderate |
| New cutout pattern | Product fit | Moderate |
| New enclosure size | Unique product identity | Higher |
| Special packaging | Better market fit | Moderate |
I try to separate “market-important customization” from “customization that only feels exciting during the design meeting.” That difference matters a lot when cost control becomes real.
And cost control always becomes real. So the next part deserves very honest attention.
What Are the Cost Drivers in Sheet Metal Enclosure Design?
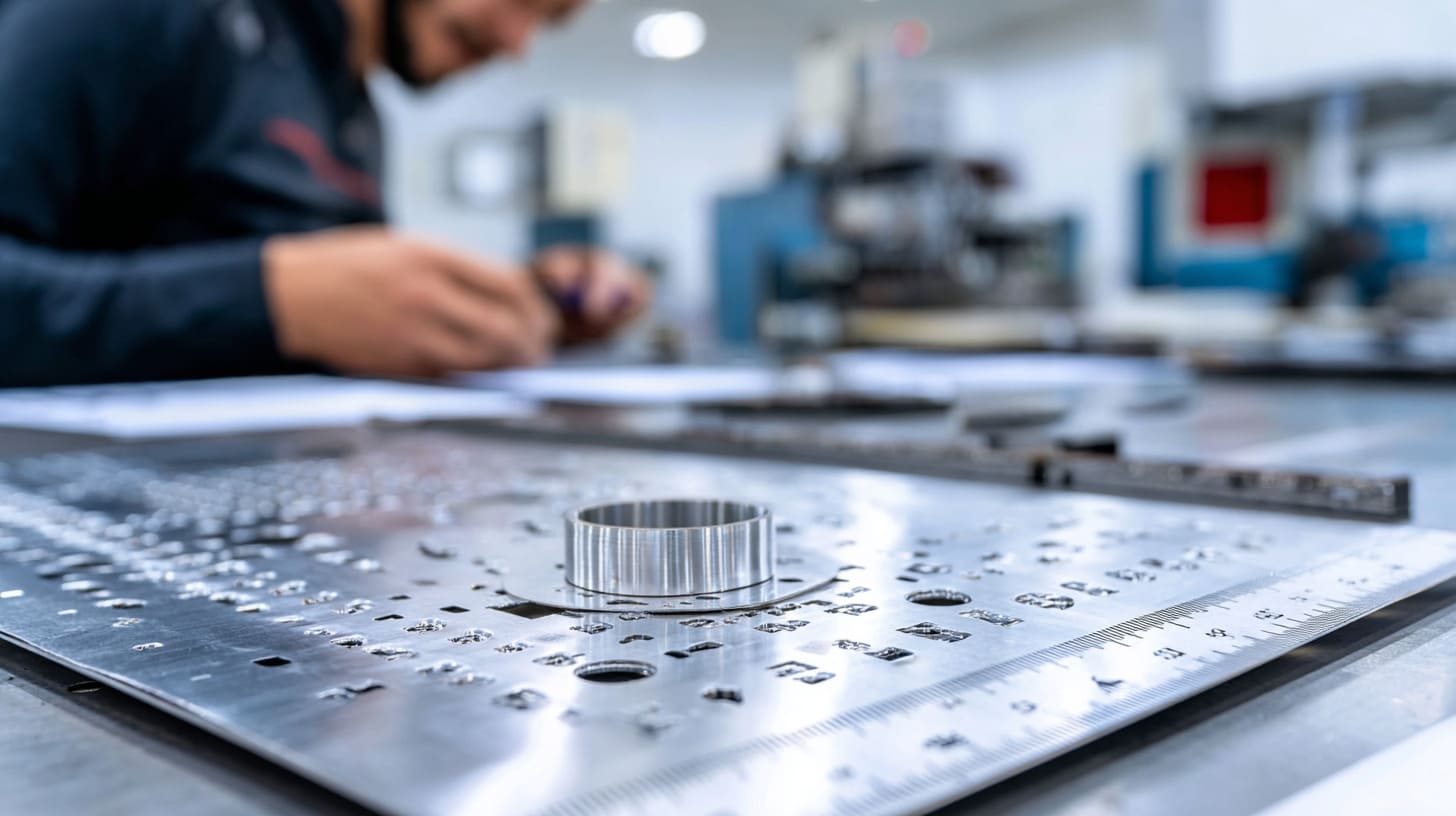
Cost is never just material price. I wish more buyers believed that early. I have seen people spend hours trying to save a little on sheet price while ignoring design choices that add much more cost through labor, complexity, or delay.
A lower unit price starts with smarter design, not only cheaper metal.
Material Cost vs Fabrication Cost
Material cost matters. Still, fabrication cost can matter just as much or more.
| Cost type | What affects it |
|---|---|
| Material cost | Grade, thickness, market price |
| Cutting cost | Complexity and machine time |
| Bending cost | Number of bends and setup |
| Joining cost | Welding, riveting, inserts |
| Finishing cost | Coating type, prep, cosmetic standard |
Sometimes a slightly more expensive material can reduce total cost if it allows a cleaner process or lighter shipping.
Impact of Complexity on Pricing
Complexity can raise price fast.
Common cost-raising features:
- Too many bends
- Very tight tolerances
- Multiple welded parts
- High cosmetic standards
- Many custom inserts
- Dense cutout patterns
I have learned not to ask whether a feature can be made. I ask whether the value it adds is bigger than the time and cost it creates. That is the question that protects margins.
Tooling and Setup Costs
Even when no expensive mold is involved, custom sheet metal still has setup costs.
These may include:
- Programming
- Tool setup
- Fixture prep
- Sample adjustment
- Finish preparation
Setup cost matters especially in low-volume projects.
| Volume level | Setup pressure |
|---|---|
| Prototype | High per piece |
| Small batch | Noticeable |
| Medium to large batch | Easier to spread across units |
MOQ Considerations for Custom Projects
MOQ affects price because setup and handling need to be absorbed somewhere.
A buyer may want 20 pieces of a fully custom enclosure. That can be done in some cases, but the price per piece will feel very different from 200 or 500 pieces.
I prefer open cost conversations early because unrealistic quantity expectations can damage trust fast once quoting starts.
How Design Decisions Influence Total Project Cost
The total cost is shaped by many design decisions together.
| Design decision | Cost effect |
|---|---|
| More bends | Higher fabrication cost |
| Thicker metal | Higher material and shipping cost |
| Better DFM | Lower labor and scrap cost |
| Easy assembly | Lower line cost |
| Smart customization | Higher market value without waste |
When a quote feels high, I usually look at structure before I look at supplier margin. Very often, the design itself is carrying hidden cost that can be reduced without hurting function.
Of course, some cost comes from mistakes. And some mistakes show up so often that they deserve direct warning.
What Common Mistakes Should You Avoid?
I have seen many enclosure projects go off track for reasons that were completely avoidable. Not dramatic engineering failures. Just familiar mistakes. Small ones. Repeated ones. The kind that waste time, money, and patience.
A lot of these problems do not come from lack of effort. They come from skipping one practical question too early.
Ignoring Manufacturability Constraints
A design that ignores bending rules, spacing needs, or assembly reality often gets revised late.
That creates:
- Delayed quoting
- New drawings
- Slower samples
- Tense communication
I always worry when a buyer wants factory feedback only after the design is “final.” That usually means the most useful input is arriving too late.
Overcomplicating the Design
Many designs can be simplified without losing performance.
Signs of overcomplication:
- Too many separate parts
- Decorative features with no real function
- Unnecessary bend count
- Overly tight packaging
- Mixed fastening logic
A simpler design is often stronger, cheaper, and easier to support later.
Poor Communication Between Engineer and Supplier
This one causes more pain than many technical errors.
Common communication gaps include:
- Missing 3D files
- Unclear finish expectations
- No tolerance discussion
- Late change notices
- No assembly notes
| Communication issue | Likely result |
|---|---|
| Incomplete drawing package | Quote confusion |
| No finish sample agreement | Appearance dispute |
| Unclear quantity plan | Wrong cost expectation |
| Late design change | Lead time slip |
Underestimating Lead Time and Logistics
A good enclosure still has to arrive on time. That means production lead time and shipping time need honest planning.
Common timing mistakes:
- Forgetting sample revision time
- Assuming finish is instant
- Ignoring holiday periods
- Waiting too long to confirm details
- Underestimating shipping delays
Not Validating Prototypes Before Mass Production
Skipping prototype validation is one of the most expensive “time-saving” moves I know.
A sample helps confirm:
- Fit
- Function
- Strength
- Finish
- Assembly flow
- User access
I trust prototypes most when they are handled like working tools, not trophies. They need to be opened, tested, mounted, and challenged a little. That is how they reveal the truth.
Once those mistakes are clear, one final piece becomes important: how to work with the manufacturer in a way that keeps the whole project steady.
How to Work Effectively with a Sheet Metal Enclosure Manufacturer?
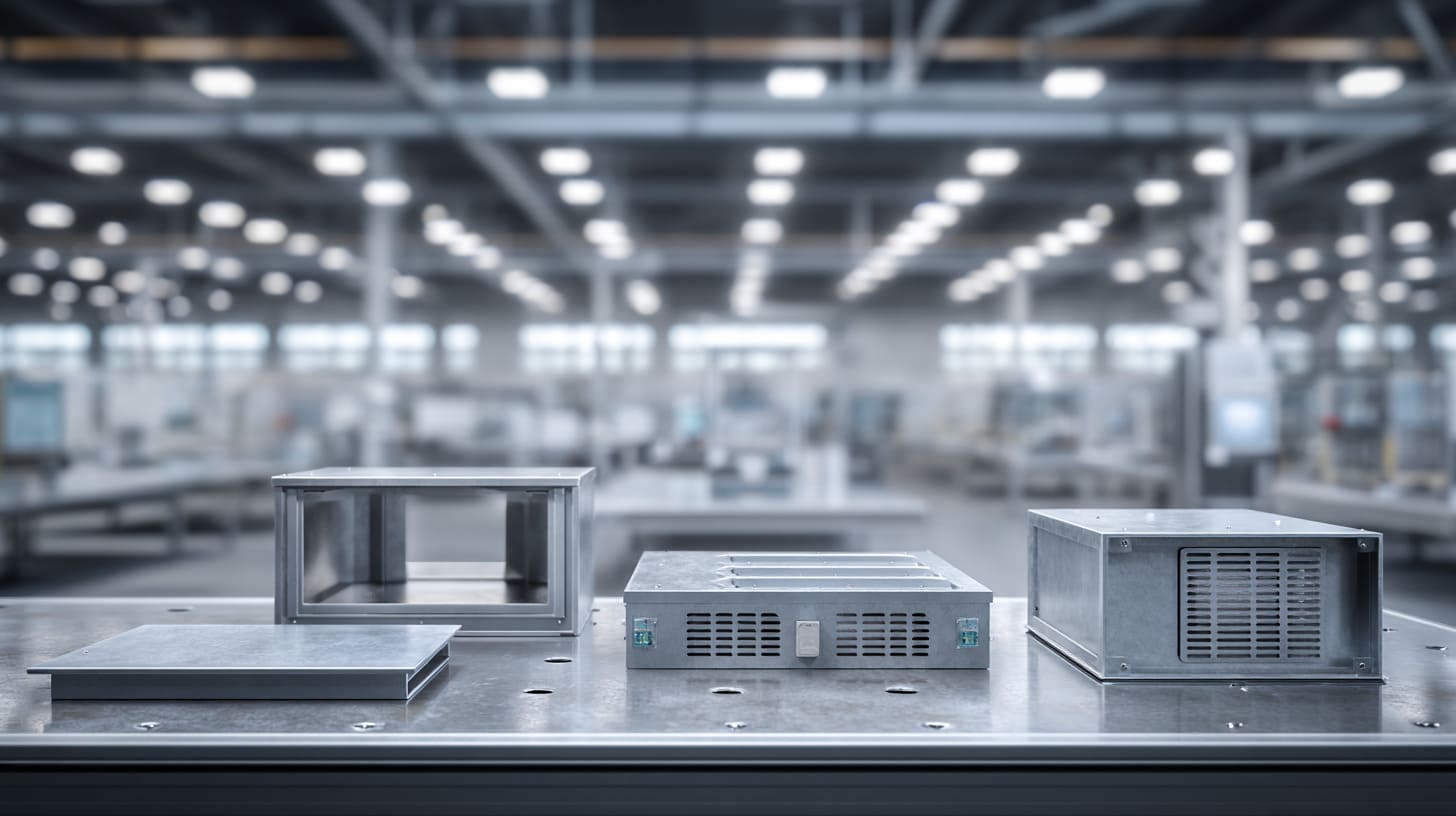
A strong supplier relationship saves more than price. It saves time, clarity, and stress. I have seen average designs succeed because communication was excellent. I have also seen good designs struggle because the working process between buyer and supplier was messy.
A custom enclosure project works best when both sides know what the other side needs.
What Information Suppliers Need (Drawings, Specs, Quantities)
The more complete the input, the better the output.
A supplier usually needs:
- 2D drawings
- 3D files
- Material request
- Thickness
- Finish request
- Quantity
- Assembly notes
- Packaging needs
- Logo files
- Testing or sealing needs
| Information | Why it matters |
|---|---|
| 3D file | Helps structure review |
| 2D drawing | Controls production details |
| Quantity | Shapes cost and process |
| Finish request | Affects pricing and lead time |
| Use environment | Guides material and sealing choice |
Importance of Clear Communication and Feedback Loops
Good projects have fast, clear feedback. Not constant noise. Just useful communication.
I like a process where:
- Questions are answered early
- Changes are documented clearly
- Samples are reviewed against agreed points
- Risks are raised honestly
The projects that move best are usually the ones where nobody pretends the drawing is perfect on day one. Real cooperation leaves room for improvement without drama.
Sample Validation and Prototyping Process
Prototype work should be treated seriously. It is the safest place to catch problems.
A strong sample review often includes:
- Fit check
- Board mounting test
- Cable routing test
- Lid opening and closing test
- Surface finish review
- User handling review
| Sample review area | What I want to confirm |
|---|---|
| Structure | Strong enough for use |
| Internal fit | No interference |
| Finish | Meets visual expectation |
| Assembly | Smooth and repeatable |
| Function | Matches product use |
Managing Timelines and Expectations
Custom projects go more smoothly when the timeline is realistic.
That includes:
- Review time
- Sample making time
- Revision time
- Production time
- Shipping time
I try to be very direct about timing because vague optimism is dangerous in custom manufacturing. A calm schedule beats a rushed promise almost every time.
Choosing the Right Supplier for Long-Term Cooperation
Not every supplier is the right fit for every buyer. I think the best match depends on product type, communication style, quality needs, and project rhythm.
Things I would check:
- Communication speed
- Technical understanding
- Sample quality
- Finish consistency
- Ability to handle custom work
- Packaging support
- Delivery reliability
I usually trust the supplier more after seeing how they respond to a difficult design question than after reading a polished sales introduction. Real problem-solving tells me much more than nice wording ever can.
Conclusion
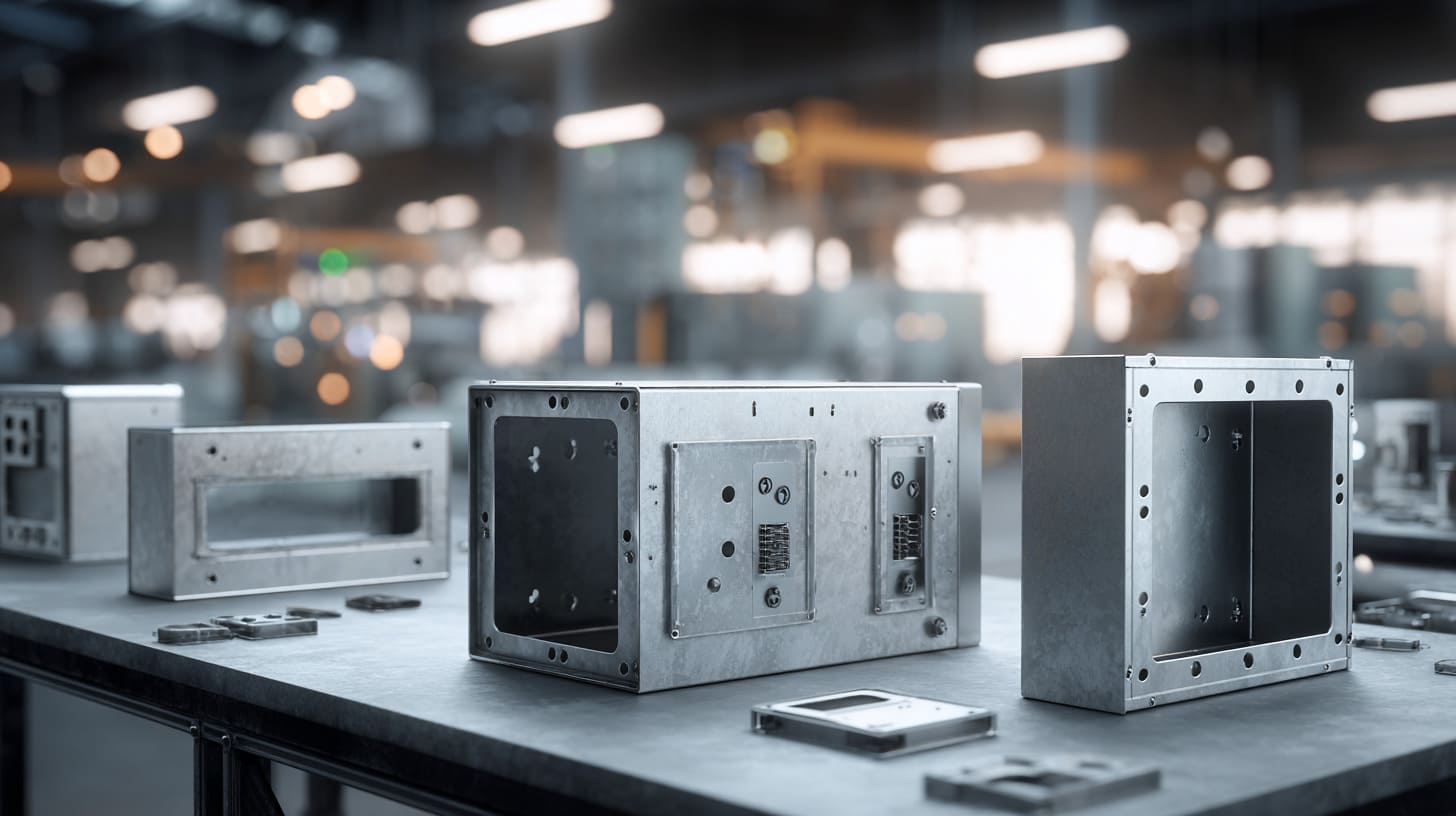
Designing a sheet metal enclosure is never only about drawing a metal box. I see it as a practical balancing act between structure, manufacturability, heat, layout, finish, protection, assembly, branding, and cost. When one of those gets ignored, the whole project can start leaning in the wrong direction.
What I have learned from real custom projects is simple: the best enclosure designs usually do not come from chasing the most features. They come from asking better questions early. Is the material right for the environment? Is the thickness enough without becoming wasteful? Can the factory build it smoothly? Can the user install it without frustration? Can the design still protect margin after all the custom work is added?
That is the kind of thinking I trust.
If you are designing a custom sheet metal enclosure now, I would strongly suggest reviewing the structure, internal layout, and manufacturing logic before locking the drawing. That step saves far more trouble than most people expect. And if you want a second set of eyes on your enclosure design, I am always happy to look at the details and help turn the concept into something that works well in production and in the market.







