Skip to content

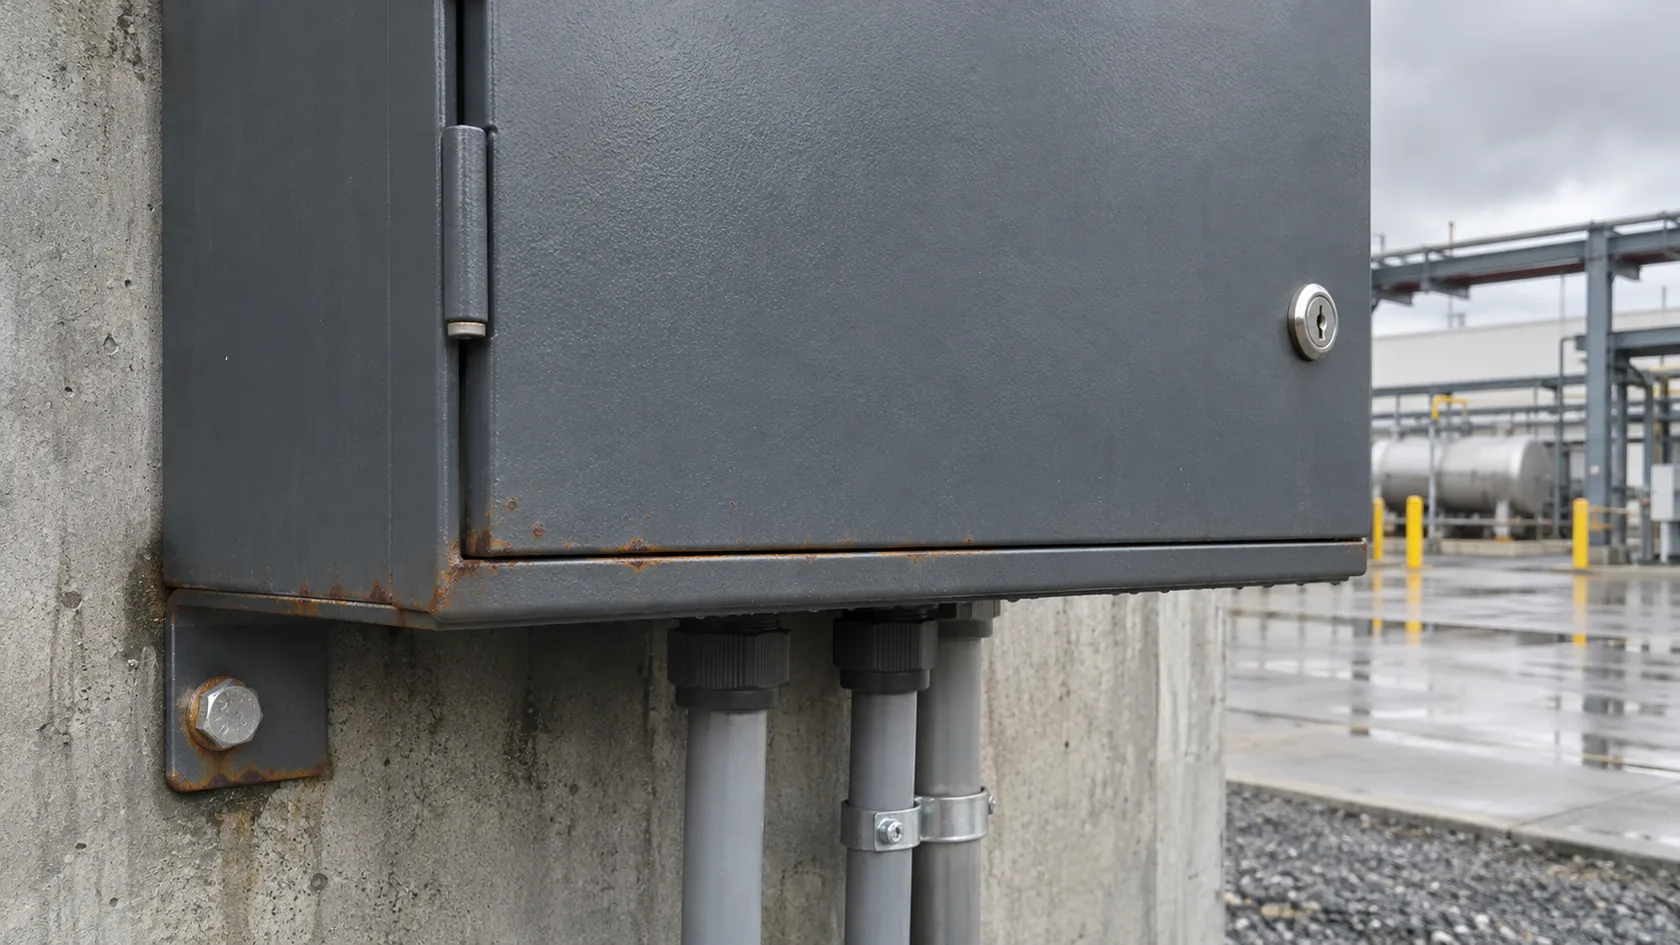
A powder-coated steel enclosure can leave the factory looking excellent: even color, smooth doors, clean corners, and no visible rust. Then it arrives at an outdoor site or a damp production floor. Months later, the first complaint is often a small brown line at a cut edge, a blister beside a weld, or corrosion creeping from a mounting point. By that stage, the powder coating has become the visible suspect, even when the real mistake happened much earlier.
For buyers, “powder coated steel” is not a complete corrosion specification. The steel grade, fabrication geometry, weld cleanup, cleaning and pretreatment, powder system, application coverage, cure, hardware, water path, and actual service environment work together. ISO 12944-2 makes the same basic point from a standards perspective: the environment’s corrosivity is an essential input when selecting a protective coating system.
In our factory, I do not judge a finish only by the color panel. I look for the small areas where steel, water, and damage can meet after assembly. That is usually where a buyer’s future warranty cost is hiding.
The first useful step is to separate a coating defect from a design or fabrication detail that made a good coating difficult to apply.
A Finish Cannot Repair a Poor Fabrication Detail
Powder is a barrier, not filler metal
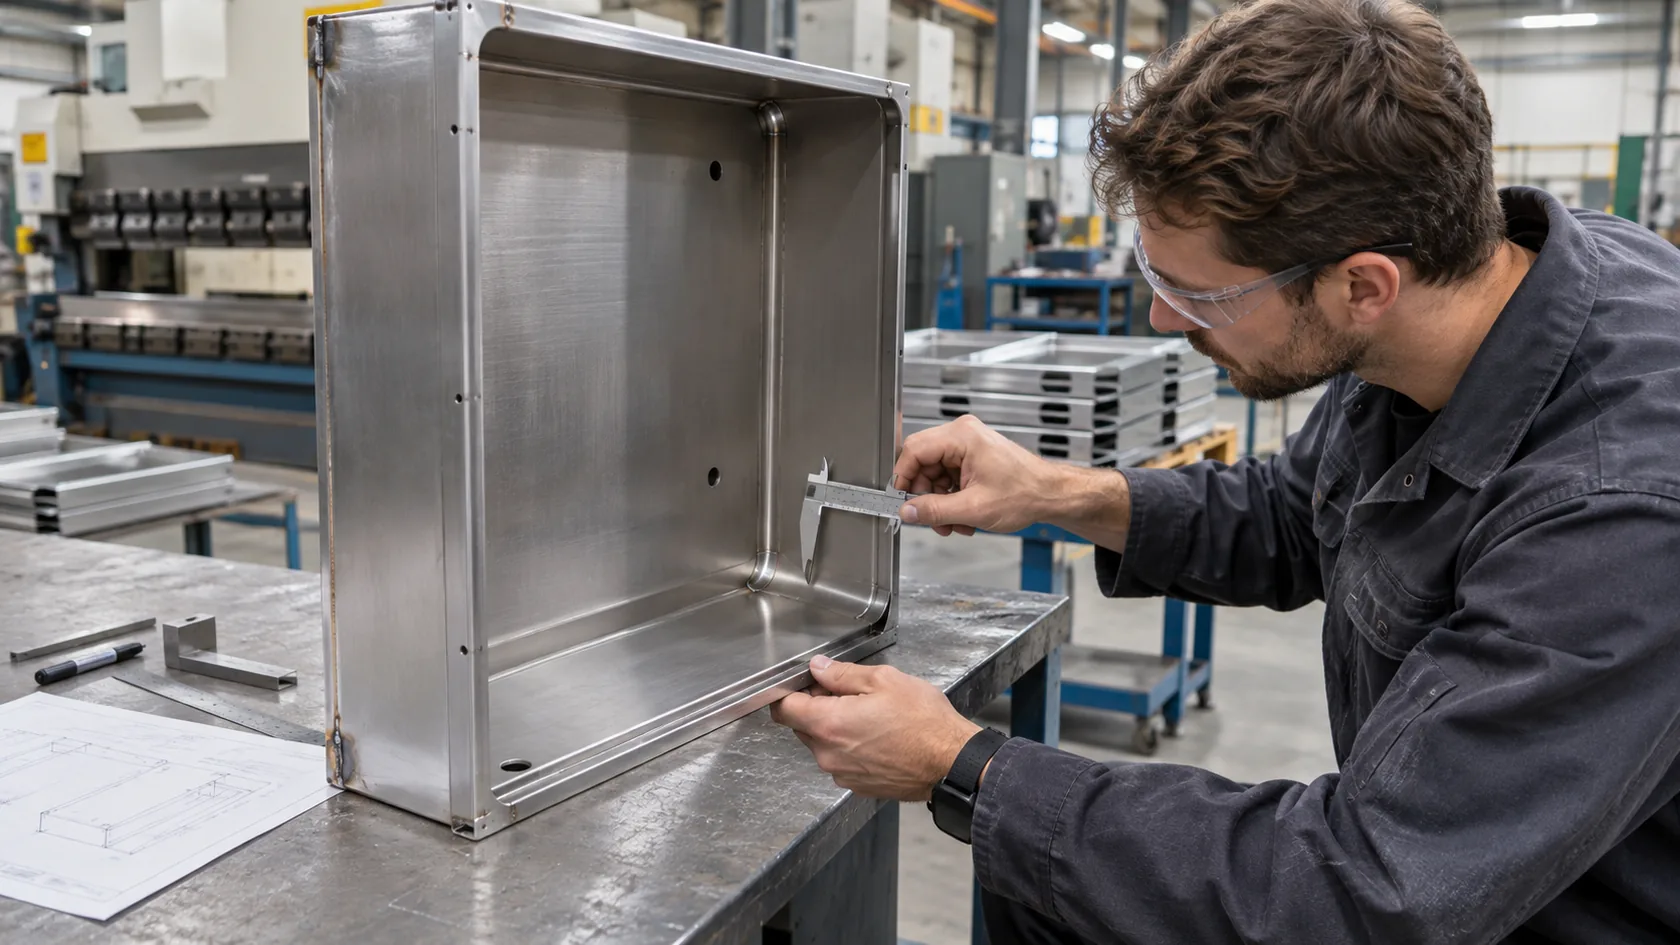
Powder coating protects steel by forming a continuous cured film. It does not turn a sharp laser-cut corner into a rounded edge, close a crevice between overlapped panels, remove weld spatter, or make an inaccessible drain path disappear. A part can pass a quick visual check while those details still reduce film coverage or hold moisture later.
The design review should therefore include the manufactured condition, not just the CAD appearance. Ask whether an inside corner can be cleaned and coated, whether the back side of a flange has spray access, and whether a seam will trap water after the enclosure is mounted. A flat sample coupon cannot answer those questions for a formed, welded cabinet.
I would rather add a modest radius, drain path, or accessible seam before tooling than promise that a thicker-looking finish will solve an impossible geometry. That choice costs less than stripping and rebuilding a batch after corrosion shows up.
Before selecting a powder color, make the metal shape friendly to cleaning, coating, assembly, and drainage.
Sharp Edges, Welds, and Crevices Start Many Failures
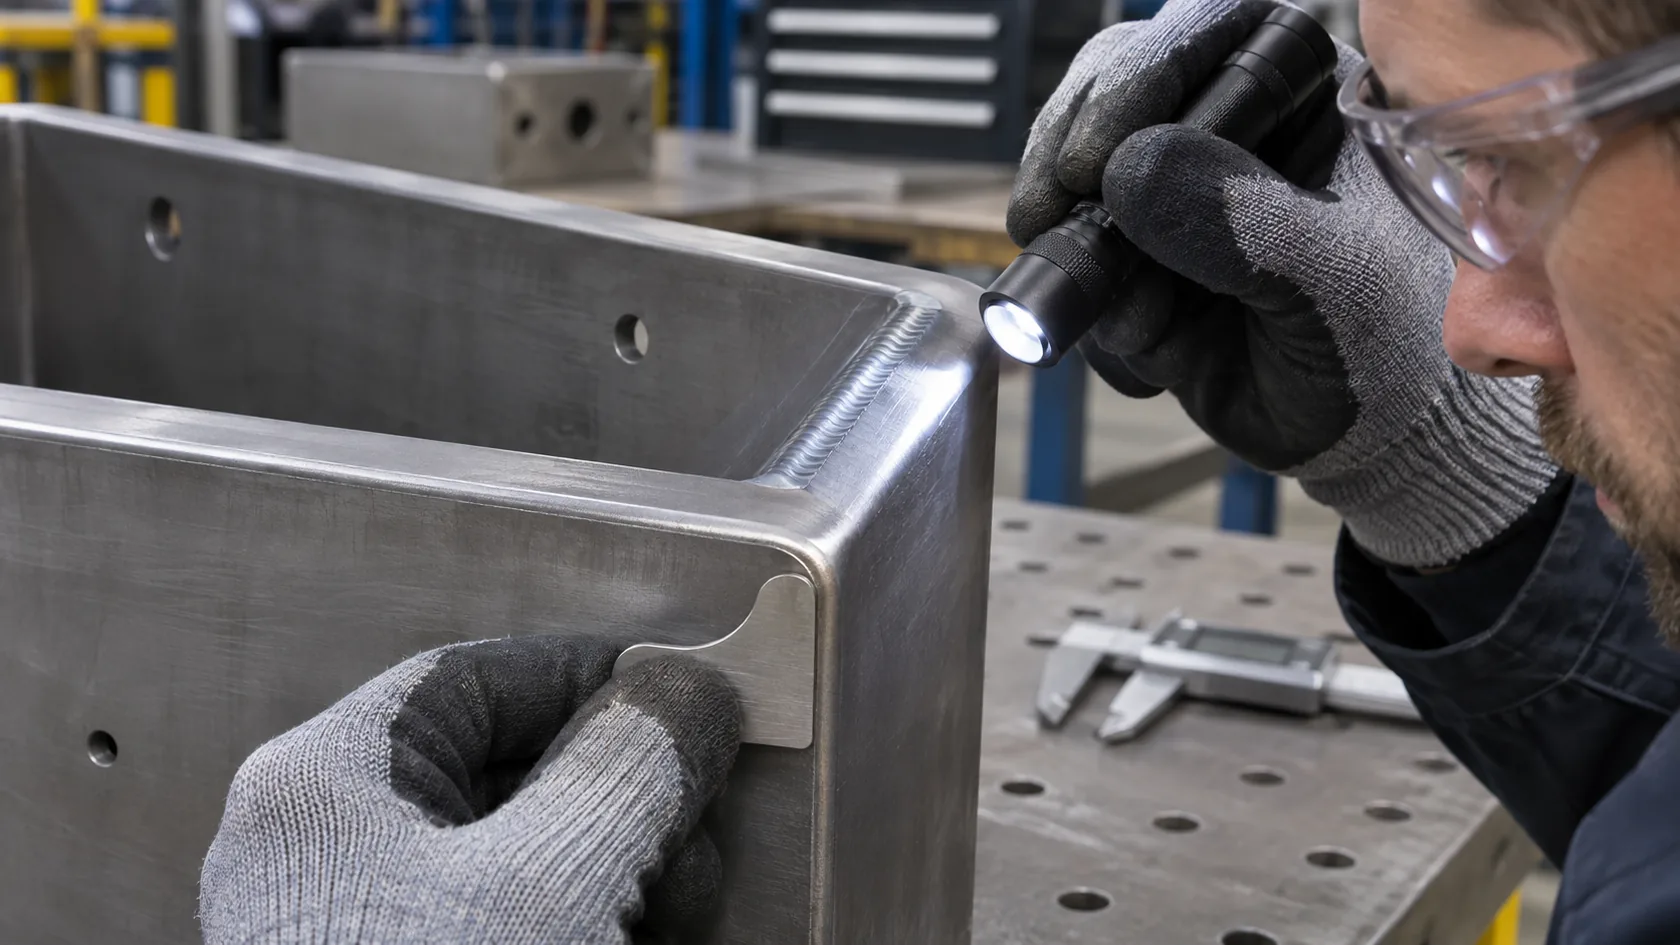
Give the coating a realistic edge to cover
Sharp cut edges are difficult places to build a robust, even film. The coating can draw thin around a corner, and later abrasion or impact can expose the steel. Burrs make this worse: they can create a high point with poor coverage and a fragile finish edge. Edge break, deburring, and a suitable formed radius are practical fabrication controls, not cosmetic extras.
Treat welded areas as a separate inspection zone
Weld bead irregularity, spatter, pores, heat tint, and grinding marks can affect cleaning and coating appearance. A welded seam also deserves a water-path review. If the joint creates a pocket that stays wet, even a good powder system faces a harsher local environment than the broad outer panel.
The Powder Coating Institute notes that pretreatment choice must consider the base metal and soil being removed; that is especially relevant when weld zones and fabrication residues are present. Where hot-dip galvanized steel is also involved, the American Galvanizers Association specifically warns that galvanizing does not hide burrs, porosity, crevices, or thermally cut edges.
| Detail | What can go wrong | Buyer question before production |
|---|---|---|
| Laser-cut edge | Thin film, chip initiation, early rust line | Are edges deburred and broken to a defined, practical condition? |
| Weld seam | Contamination, pinholes, water retention | Which weld areas are cleaned, dressed, and visually accepted before coating? |
| Overlap or lap joint | Trapped wash water or service moisture | Can the joint be sealed, drained, or redesigned for the installation orientation? |
| Blind corner | Weak cleaning or spray access | Can the process reach and inspect this feature on the finished part? |
From my experience, a clean weld and a small edge break are much more valuable than a vague instruction to make the finish “heavy duty.” They make the specified coating process achievable.
Once the part is physically coat-friendly, the next risk is what remains on the steel before powder ever reaches it.
Cleaning and Pretreatment Set the Adhesion Foundation
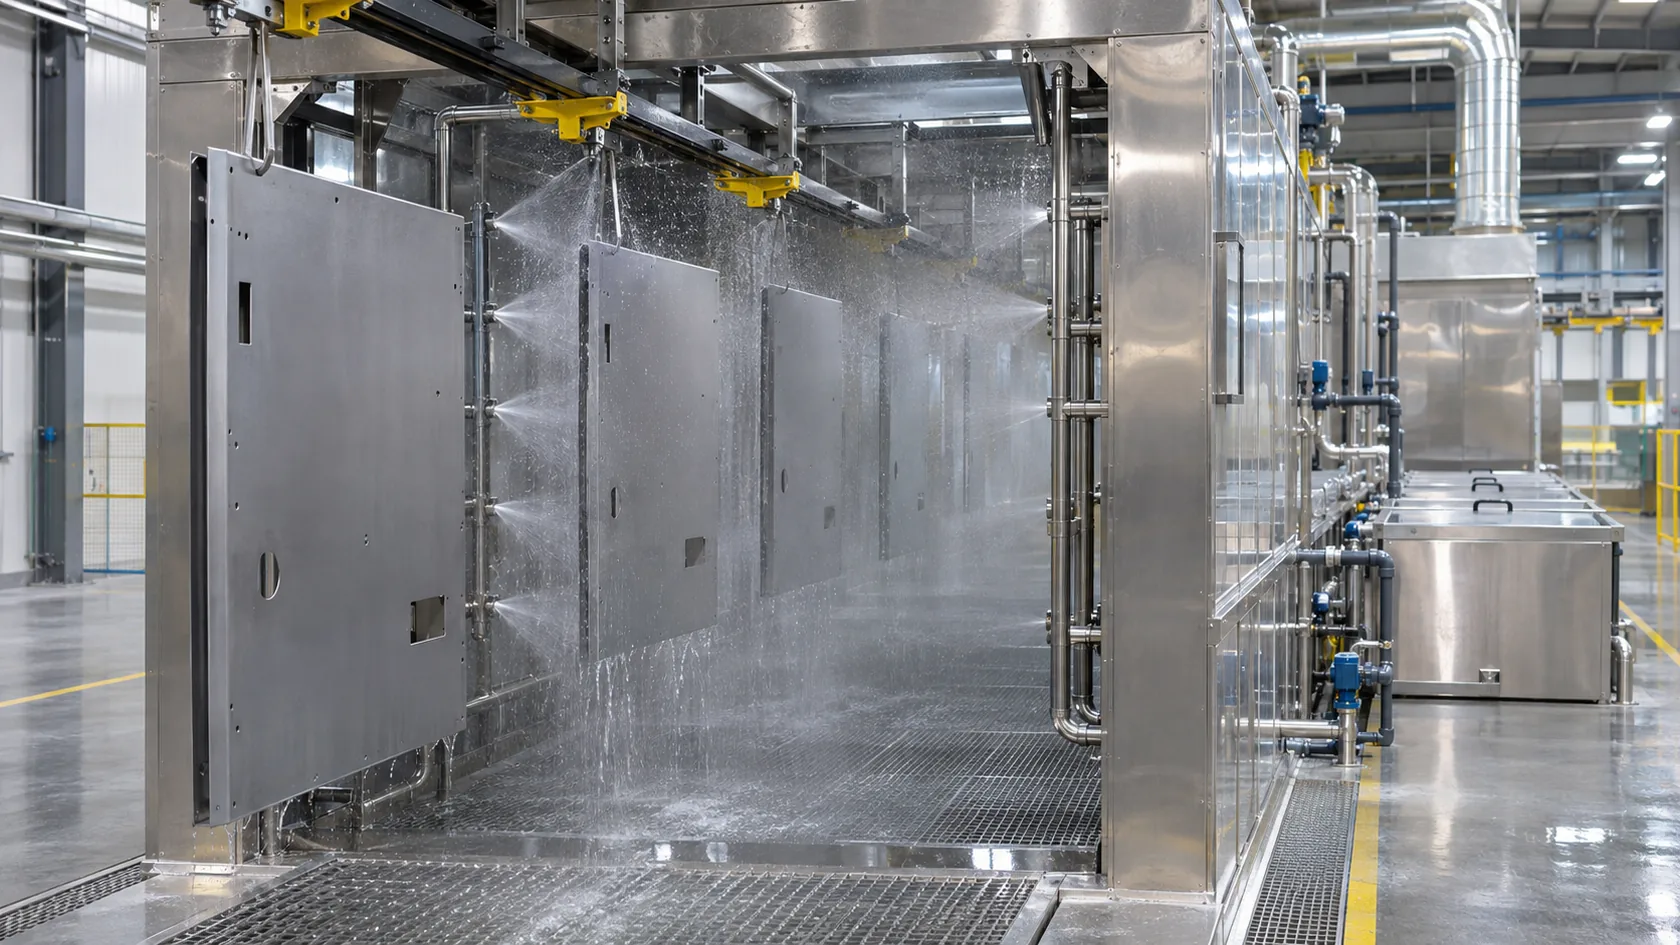
Oil, mill residue, salts, and fingerprints are not small details
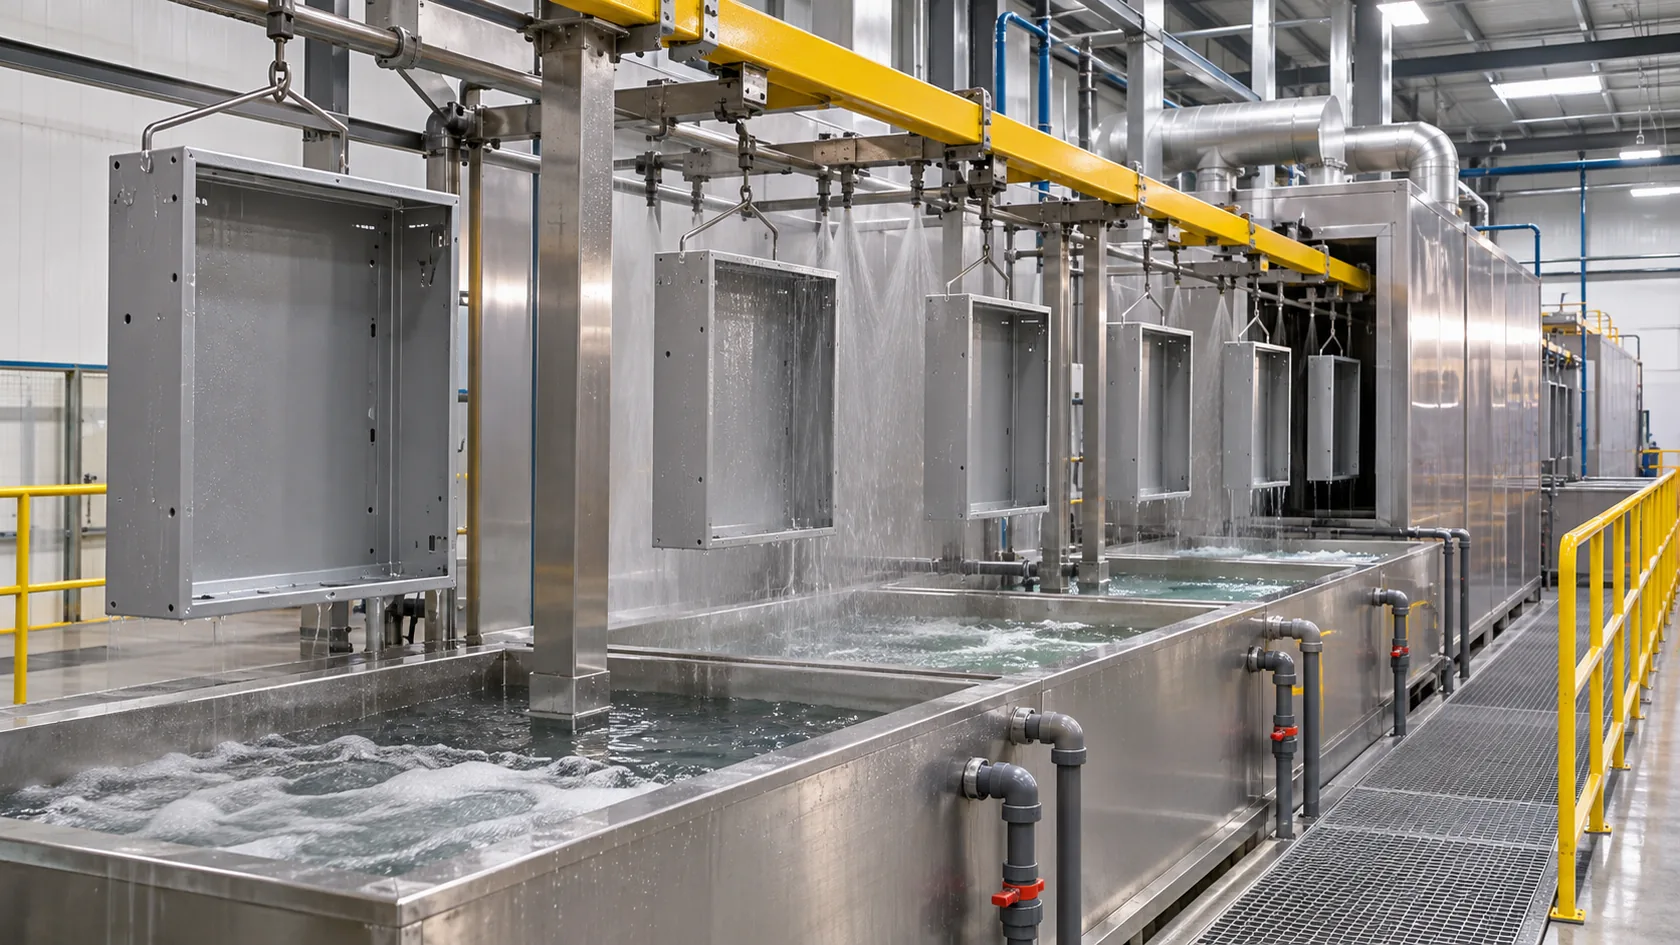
Steel parts move through cutting, bending, welding, grinding, handling, and sometimes storage before coating. Oils and coolants, weld residue, shop dust, water-borne contamination, and flash rust can all interrupt the system if the cleaning sequence is not appropriate and controlled. Powder has no solvent phase to forgive poor cleaning; the Powder Coating Institute emphasizes that the wash process must clean well for successful powder application.
Pretreatment is not one universal recipe. The substrate, exposure, powder chemistry, wash-line capability, and required performance all matter. Iron phosphate is common; zinc phosphate and other conversion systems may be considered when the released system and performance need justify them. A buyer should ask for the actual process family and control plan, not assume that the word “pretreatment” guarantees the same result from every supplier.
Keep coating after cleaning on a controlled path
After a properly prepared part leaves its final stage, recontamination can still happen through poor handling, dirty racks, unsuitable storage, or a long delay. The right handling method depends on the production route, but the principle is simple: a clean, treated surface needs protection from new soil before application.
I never treat a conversion coating as magic insurance. It supports adhesion and corrosion resistance only when the preceding cleaning, rinsing, drying, and process control also match the part and the required service environment.
That foundation helps the film stick, but it does not ensure powder reaches every location with the intended coverage.
Recesses and Internal Corners Can Receive Less Powder
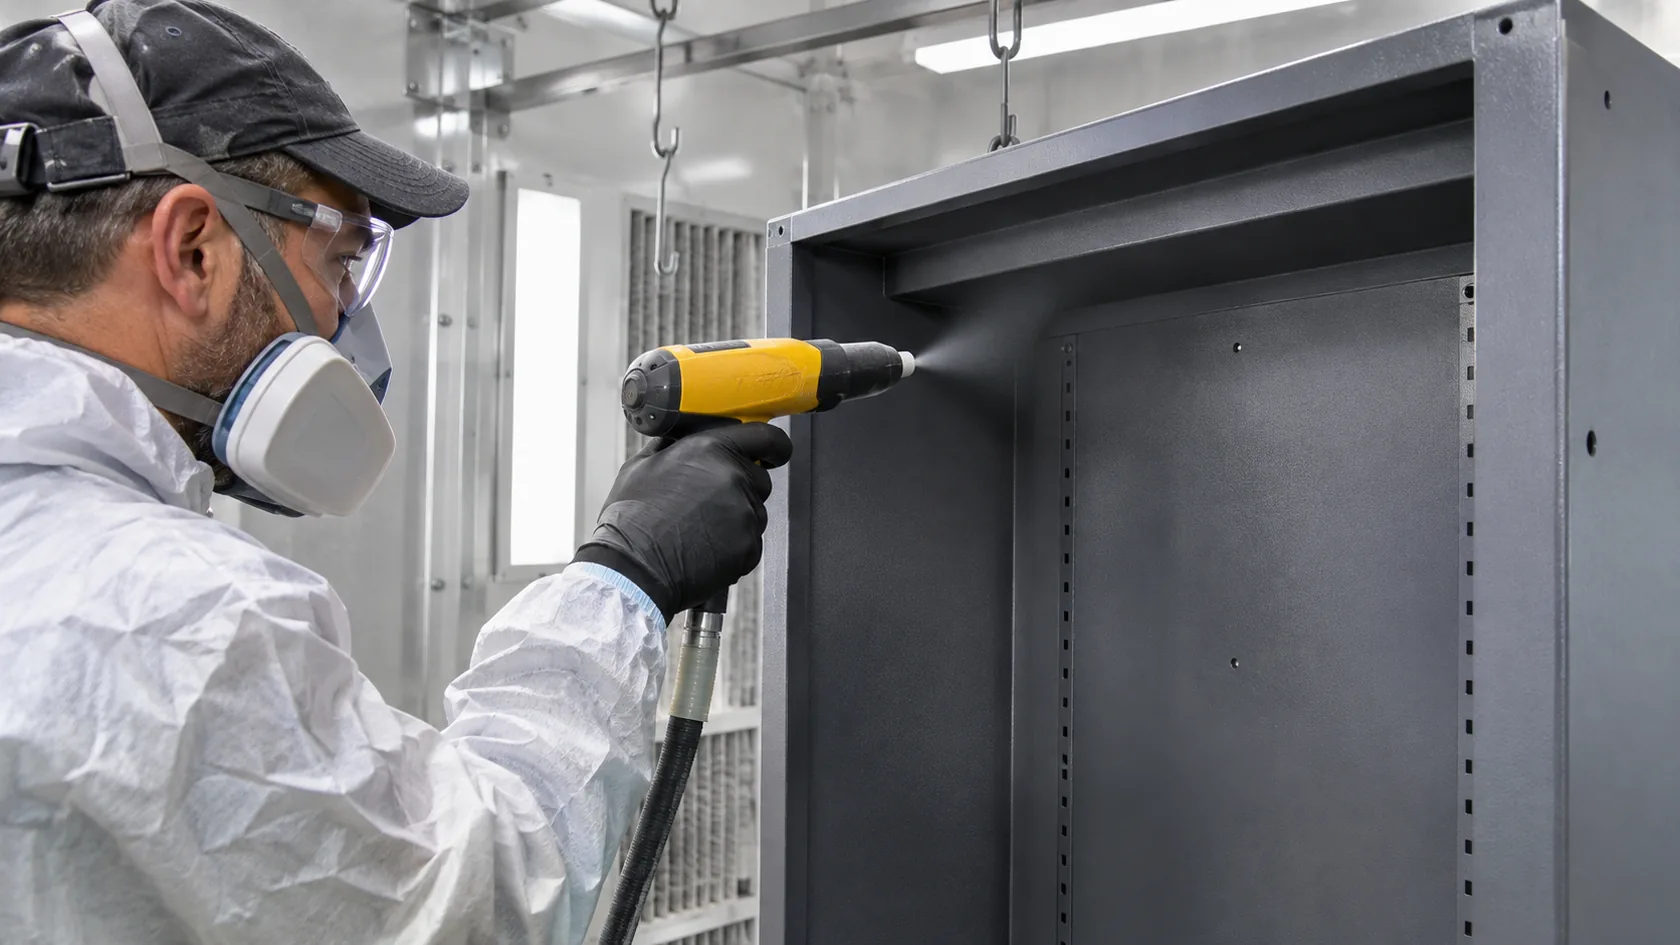
Electrostatic application has geometry limits
Powder is normally electrostatically charged and attracted to a grounded workpiece. This works very well on open faces, but deep recesses, narrow channels, blind corners, and closely spaced features can be harder to coat evenly. These areas are commonly described as Faraday-cage areas. The Powder Coating Institute explains that successful coating of them depends on charge, airflow, and electric-field control.
For an enclosure, likely trouble spots include internal rails, narrow returns, deep door hems, shielded bends, recessed mounting lands, and the inside of welded boxes. A supplier may need a different gun setting, part orientation, manual touch-up pass, revised racking plan, or a small geometry change. The correct choice depends on the part; there is no single gun adjustment that solves every shape.
| Enclosure feature | Practical risk | Useful release check |
|---|---|---|
| Deep return flange | Thin or incomplete film inside the return | Inspect a representative coated cross-section or reachable interior face. |
| Dense internal hardware area | Shadowing after partial assembly | Coat before hardware where the process and design permit it. |
| Recessed screw land | Poor coverage or later handling damage | Define whether it is cosmetic, sealed, conductive, or protected by hardware. |
| Large door and body | Uneven coverage from racking or spray access | Approve the rack orientation and visual checkpoints on a first article. |
In quotation discussions, I flag features that a spray gun cannot see easily. It is better to agree on a touch-up or inspection plan early than to discover an uncoated recess after the enclosure has been assembled.
Coverage is only one half of application quality; the powder also needs to cure into the film the selected product is designed to deliver.
Cure Control Is About Part Temperature, Not an Oven Promise
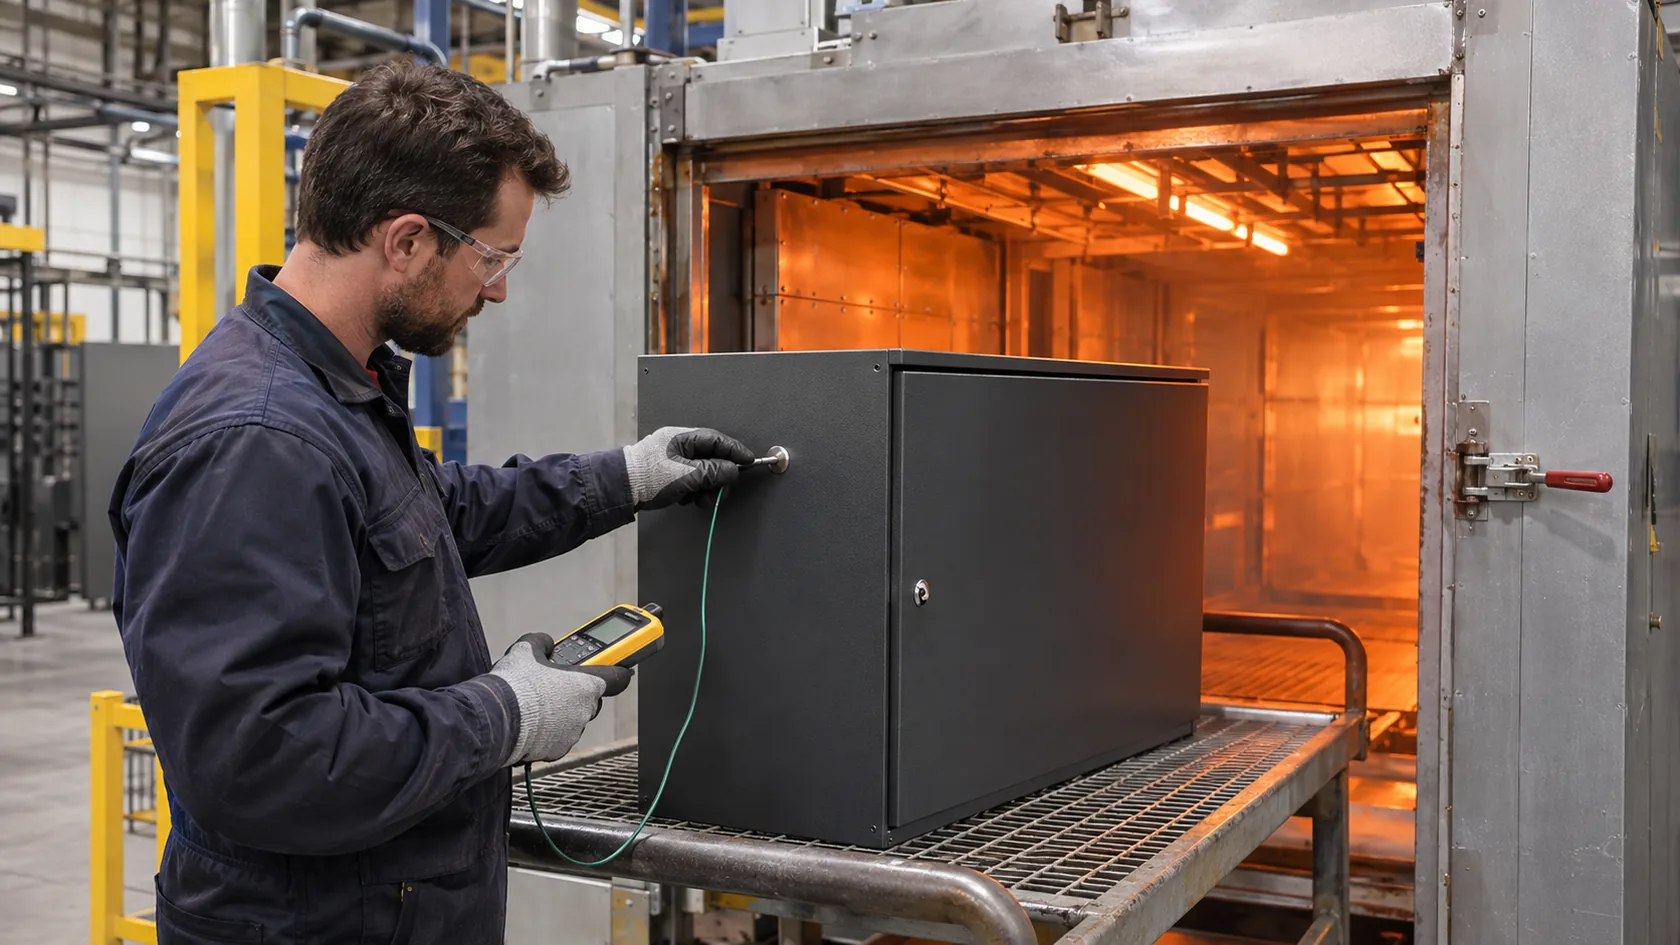
The enclosure’s mass changes the heating reality
Powder suppliers specify cure conditions for their products. The useful production question is whether the entire part reaches and holds the required metal temperature for the stated time—not merely what number appears on an oven controller. A thin cover, a heavy welded base, and a dense multi-part rack can heat differently.
Under-cure, over-bake, incompatible powder, poor film formation, or an unverified oven profile can affect appearance and coating performance. The correct cure schedule comes from the named powder’s technical data and the supplier’s validated process, not from a generic number copied into a purchase order.
Confirm the system when the part or color changes
Changes in color, texture, powder manufacturer, substrate condition, part mass, rack loading, or oven configuration deserve review. They may not always require a new qualification, but they should not be invisible substitutions when corrosion performance is important.
I ask for evidence that the production part—not only a small coupon—has been processed within the agreed window. A beautiful finish that was rushed through an overloaded oven is a risky place to save time.
After cure, the remaining failures usually come from damage and water paths created in assembly, transport, and installation.
Hardware, Water Paths, and Damage Change the Real Service Result
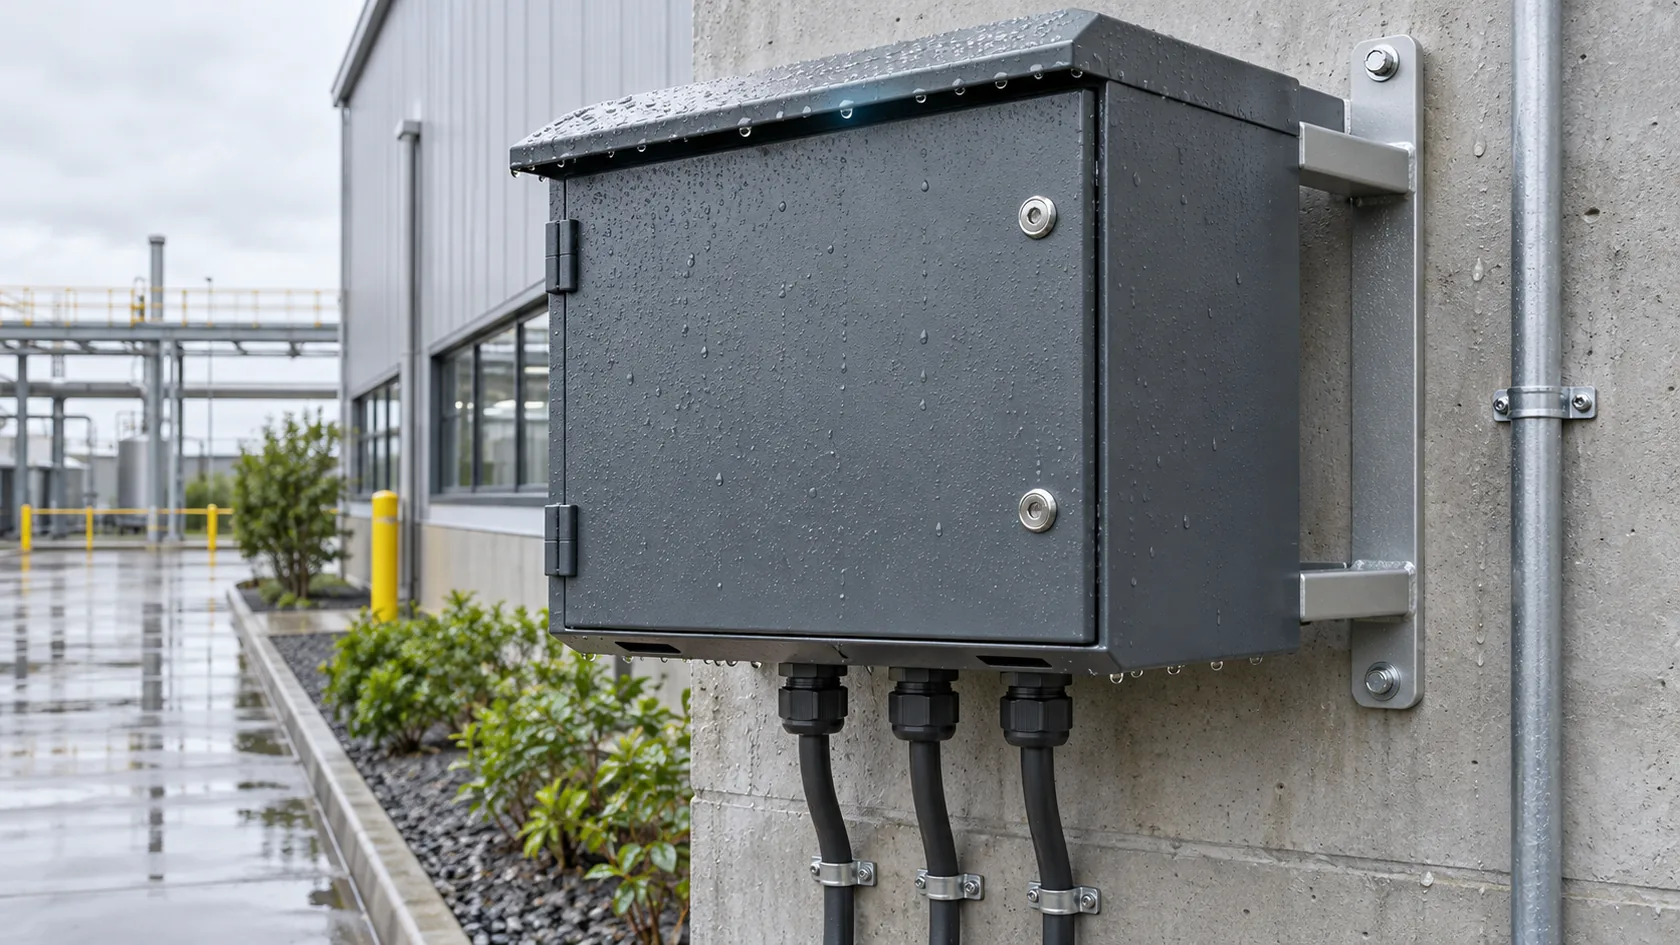
An enclosure is more than its painted shell
Drilling after coating, aggressive fasteners, unprotected cutouts, damaged edges, incompatible hardware, and loose panels can expose steel or create wet interfaces. A mounting bracket can also turn a dry-looking external surface into a water trap. Outdoor installations add rain, condensation, UV, temperature cycling, airborne salts, and maintenance practice; the relevant exposure is the local micro-environment, not just the city on a shipping label.
An ingress rating, when required, is an installed-system result. The enclosure joint, gasket compression, cable glands, connectors, fasteners, mounting orientation, drainage, and installation quality all influence it. Powder coating may protect the shell, but it does not prove a completed enclosure will meet an IP or NEMA requirement.
Protect intentional bare or modified locations
Some designs need a masked earth contact, a conductive EMC interface, a welded stud, or a post-coat process step. Those areas must be deliberately designed for both function and corrosion protection. Do not let an assembler create a random paint scratch and call it a controlled interface.
I am cautious when an outdoor enclosure drawing shows no drainage thought but asks for a premium powder. Standing water at a seam or bracket can overpower a good finish system because the geometry keeps creating the same wet spot.
The most defensible way to buy a coating system is to define evidence for the released assembly rather than asking for an undefined duration or a marketing adjective.
Specify Evidence That Matches the Enclosure and Exposure

State the environment before requesting a test
Indoor electrical equipment in a clean room, a coastal telecom cabinet, and an industrial wash-down enclosure need different decisions. Describe the installation exposure, expected wetting, chemicals, UV, salt or pollutant risk, operating temperature, cleaning regime, and maintenance access. ISO 12944 provides a framework for classifying corrosive environments and selecting protective paint systems; it is a useful starting point, but the product owner still needs to specify the actual enclosure configuration and acceptance requirements.
Salt-spray hours are often requested because they are easy to compare. They are not a universal service-life promise. If corrosion testing is part of the release, define the standard, specimen or complete assembly, scribe condition where applicable, duration, evaluation criteria, and who approves the result. ASTM D1654 is one recognized method for evaluating corrosion, blistering, loss of adhesion at a scribe, and related film failure after exposure; it evaluates a stated system, not a generic claim for all powder-coated enclosures.
Put the important controls on the purchasing package
- Base material, thickness range, and fabrication condition, including edge and weld expectations.
- Cleaning and pretreatment system, named powder product or approved equivalent, and defined appearance range.
- Features requiring masking, special coverage, electrical function, sealing, or post-coat work.
- Target application and cure controls appropriate to the released product and process.
- First-article checkpoints: visible coverage, accessible recesses, finish damage, hardware interfaces, and assembly condition.
- Relevant validation method and pass criteria for the actual environment and configuration.
My preferred specification is not the longest one. It is the one that gives the sheet-metal team, powder coater, assembler, and inspector the same picture of what must survive service.
That shared picture turns a finish from an assumption into a controlled part of the enclosure design.
Conclusion
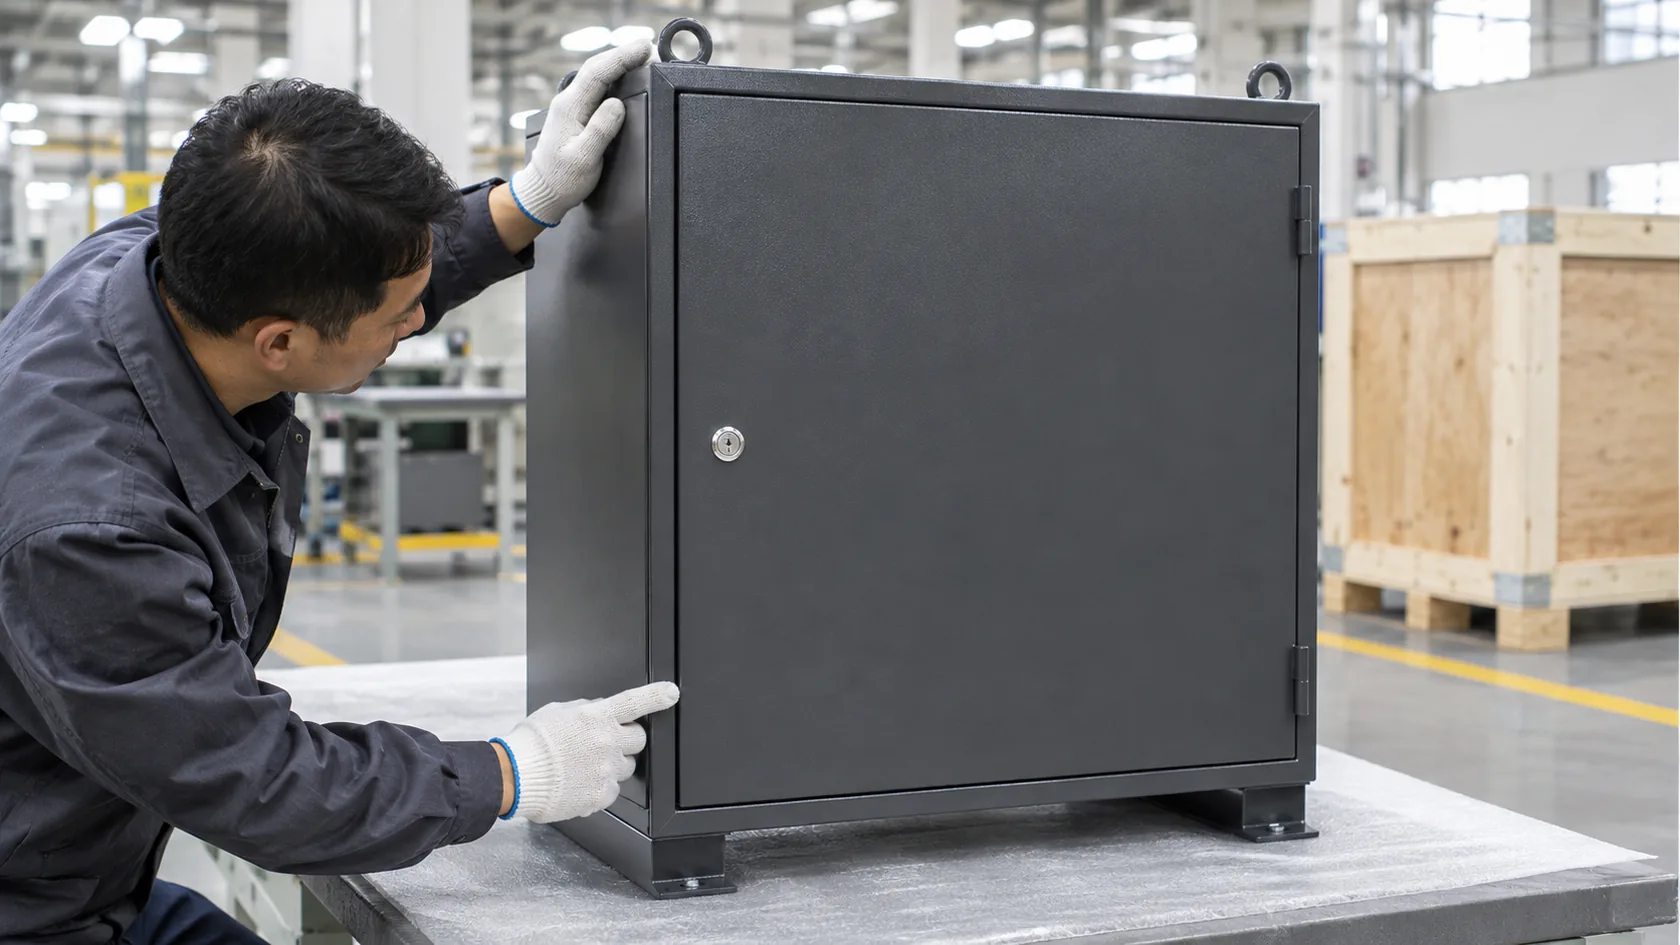
Powder-coated steel enclosures rarely fail because someone chose the wrong color. More often, the failure begins with an unbroken sharp edge, an unclean weld zone, an inaccessible corner, a rushed cure, a water-trapping bracket, or a change that was treated as cosmetic. Powder coating can be a strong and practical finish, but its performance depends on the whole fabrication and assembly system.
After years of working through custom enclosure details, I have learned to start with the places a customer may never see until they rust: edges, seams, recesses, grounding or mounting points, and the direction water will travel after installation. Send us the drawing, finish target, service environment, mounting direction, and any sealing or electrical interfaces. We can review the fabrication details before a finish defect becomes a field failure.